


The whole of the world was set ablaze when Apple released Apple Pay. Of course, everyone who enjoyed the Android platform had that same functionality since 2011. The thing is, an overwhelming majority of users aren’t taking advantage of this payment system (on either platform). But seeing as how it’s both more secure and more convenient than many standard payment systems, it might be wise to begin using it.
With that in mind, I want to help you setup your Google Wallet so that it’s ready for Tap and pay at over 300,000 locations. It’s fairly easy to set up — especially with a form of payment already associated with your Google account (the same one used to purchase apps).
So, let’s get your Wallet set up and ready for Tap and pay.
Installation
The first thing you must do is install Wallet. Here’s how:
- Open the Google Play Store on your Android device
- Search for Wallet
- Locate and tap the entry for Google Wallet
- Tap Install
- Read through the permissions listing
- If the permissions listing is acceptable, tap Accept
- Allow the installation to complete
Once it’s installed, you should find a launcher on your home screen or your app drawer (or both). Tap that launcher to begin setting up Google Wallet.
Setup
When you first launch the app, you’ll see a three-page welcome introduction. Swipe through that, and then tap done (or just tap Skip). At this point, you’ll be asked to set up a PIN (if you haven’t already). If you’ve already set up a Google Wallet PIN, you’ll be prompted to enter your PIN (Figure A).
Figure A
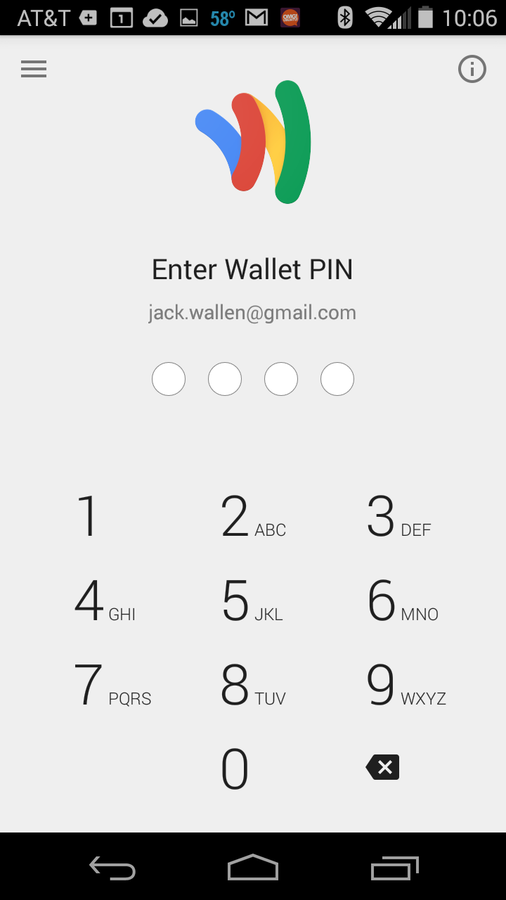
Entering Google Wallet on a Verizon-branded HTC M8.
From the main Wallet screen (Figure B), you should see that Tap and pay is listed as unavailable. This is because you need to select the card to associate with the service.
Figure B

You have yet to select a card for Wallet.
When you tap the warning, you’ll see a listing of your available credit cards (Figure C). Select the card you want to associate with the service or tap the plus sign [+] to add a new card (do not do this on an insecure Wi-Fi network).
Figure C
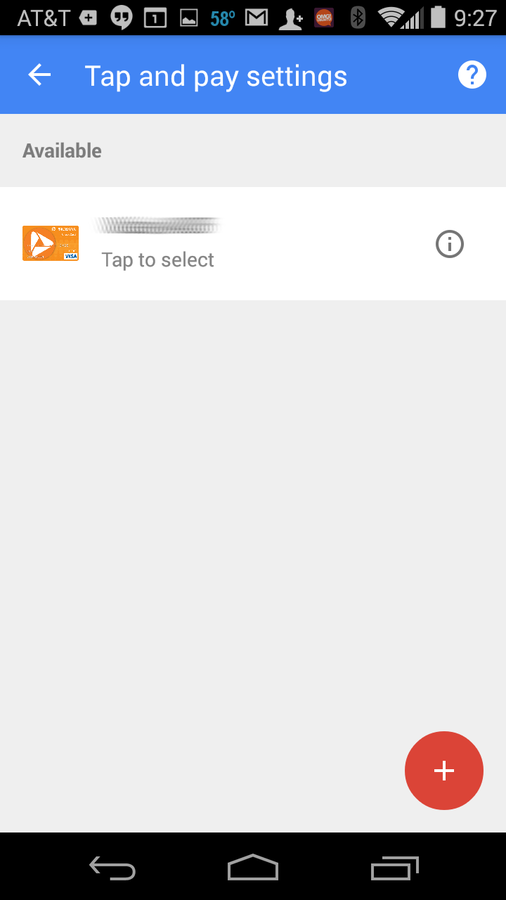
Selecting the card to use for Tap and pay.
Once you’ve selected (or added) the card, the warning will go away on the Google Wallet main window, and you’re ready to start using that card with Google Wallet Tap and pay. All you have to do is wake your phone up, swipe the phone near the retailer’s NFC reader, and (if prompted) enter your Wallet PIN.
Loyalty programs
Of course, that’s not all you can do with Google Wallet. You can also add your loyalty cards. Here’s how:
- From the main Google Wallet Window, tap Add any loyalty program
- Tap the plus sign [+]
- Tap Add your loyalty program
- Using the apps built-in scanner, scan both the front and back of the card (Figure D)
- Tap Next
- Give the merchant a name
- Enter the membership ID (or scan the card’s barcode)
- Tap Save
Figure D
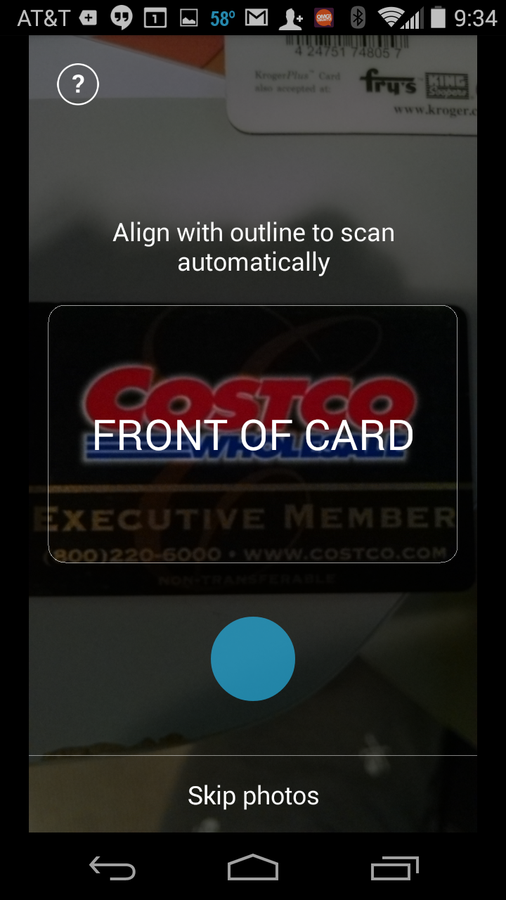
Adding a loyalty program to Google Wallet.
When you need to use one of those loyalty cards, do the following:
- Open Google Wallet
- Swipe from the left edge of the screen
- Tap Loyalty programs (Figure E)
- Tap to select the loyalty card to use
- Use the card
Figure E
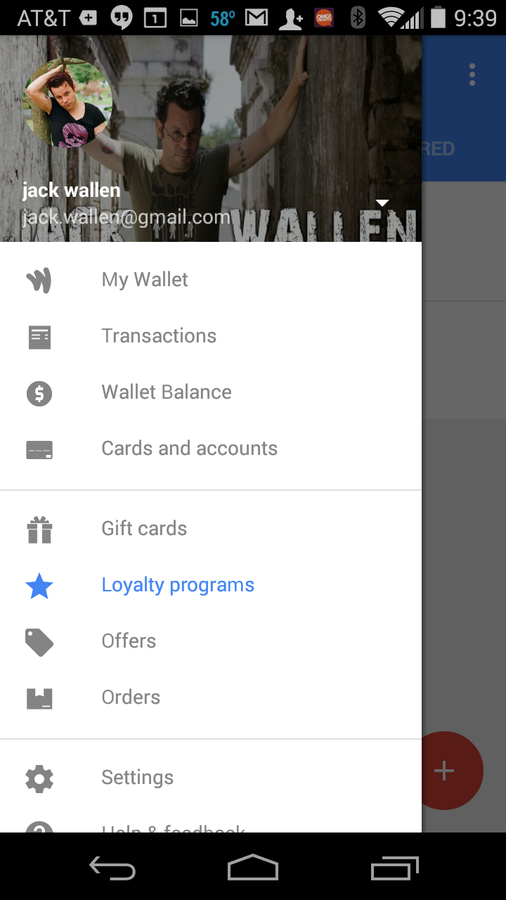
Using a loyalty card from within Google Wallet.
You are now ready to take full advantage of Google Wallet. There are other features (such as sending money and using gift cards), but the most important usage of Google Wallet is Tap and pay and loyalty programs. Set it up and use it to enjoy more secure purchasing.
Have you set up Google Wallet? If not, what’s holding you back? Let us know in the discussion thread below.