An Excel Web query allows you to bring data from a Web site
into an Excel worksheet. It will find any tables on the Web page and let you
select the ones containing data you want to put into your worksheet, allowing
for dynamic updates from the Web page. Web queries are not just useful for
pulling information from standard HTML pages. They can also be used quite
nicely in situations where a standard ODBC connection would be difficult or
impossible to create or maintain, such as a worksheet that’s used by
salespeople around the country.
We’re going to work through a basic example to get a feel
for how Web queries operate. Then, we’ll look at a couple of tricks that allow
you to work around some Excel limitations and see how a little VBA code can
give you the results you want. You can download this Excel workbook to see a
sample implementation of these techniques.
Getting started
To demonstrate the process, we’re going to start with a
simple Web query using Yahoo! Finance historical stock prices. This is a great
example because the data we’re interested in is presented in a plain, tabular
format. Another advantage is that the URL contains the stock symbol (GOOG, in
this case), so it will be easy to manipulate via a VBA macro, and it has little
confusing information in it. Finally, this Web query doesn’t put important
information in images or through links.
To create the Web query:
- Select
the first cell in which you want results to appear. - Choose
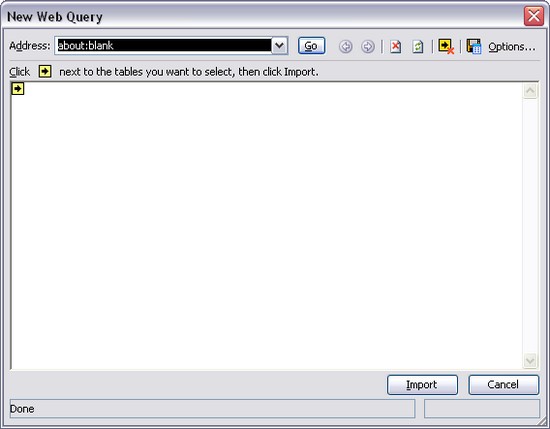
Data | Import External Data | New Web Query to open the dialog box shown in Figure A.
|
Figure A |
 |
- Enter
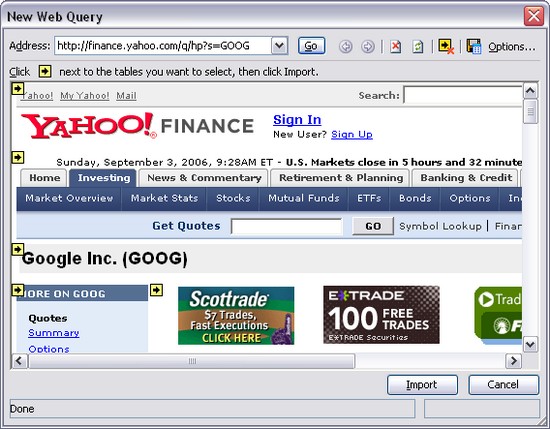
the URL to query in the Address area and click the Go button (Figure B).
|
Figure B |
 |
- Select
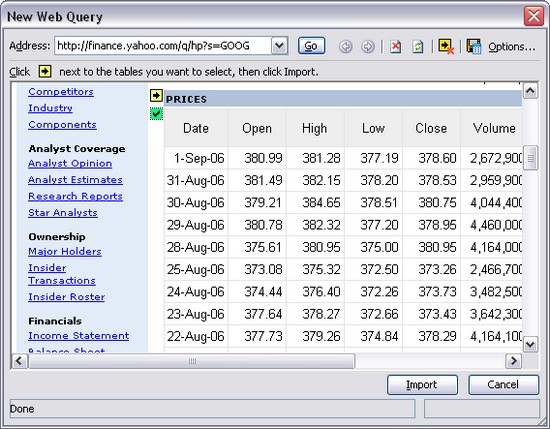
the table you want to use for the query (Figure
C).
|
Figure C |
 |
- Click
the Import button.
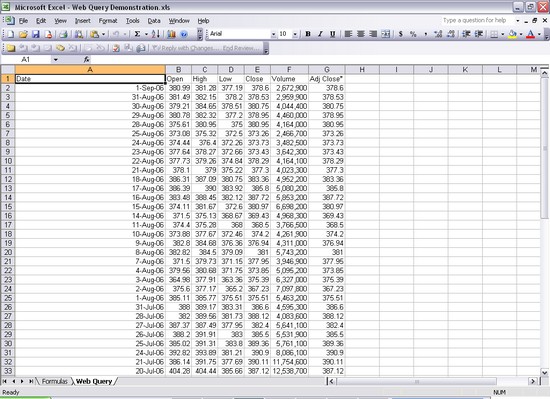
That’s it. The data is now in your worksheet (Figure D).
|
Figure D |
 |
Customizing the query
After you create a Web query, you can customize it to meet
your needs. To access Web query properties, right-click on a cell in the query
results and choose Edit Query. (You can also click Edit Query on the External
Data toolbar or choose Data | Import External Data | Edit Query.) When the Web
page you’re querying appears, click the Options button in the upper-right
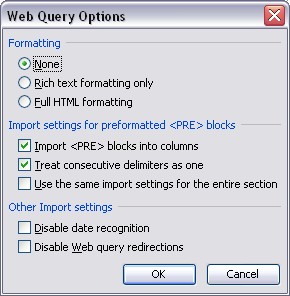
corner of the window to open the dialog box shown in Figure E. The options here allow you change how the query interacts
with the Web page itself.
|
Figure E |
 |
In addition, you have the same choice of Data Range
options that you have with other external data queries, such as ODBC queries. Just
right-click on a cell in your query results and choose Data Range Properties
(or click Edit Query on the External Data toolbar or choose Data | Import
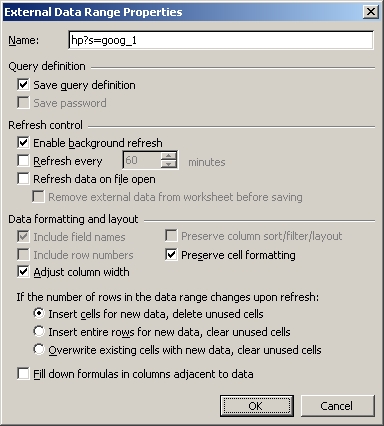
External Data | Data Range Properties) to open the dialog box shown in Figure F. You’ll probably want to
change the Data Range’s name from the default to a name you
can easily access through a macro. In this example, we’ll rename the Data Range
to Stock Prices.
|
Figure F |
 |
Parameters
Unfortunately, working with parameters is not as straightforward
as it could be. The wizard that created the sample query above doesn’t allow
you to put in parameters. When it fetches the Web page, it will escape the parameter
identifiers in the URL and return a page without the right results. For many
Web pages, this prevents you from selecting the table you want to use for the
import, so you’ll need to work around this Excel limitation. The Web query
parameters let you use set values, get the values from a worksheet range,
prompt the user for input, or set values programmatically via VBA macros.
One workaround is to create your query as outlined above and
then run a VBA macro to dynamically change the Connection property of the query
to provide the correct URL for Web pages that use the GET data. In this
example, we could use code similar to
Listing A
.
For Web pages that use GET
data, this is a perfectly fine solution. For Web pages that use POST data, this
is not a solution. Those scenarios will require a little bit of manual labor. You’ll
need to open a text editor and create an IQY (Internet Query) file as a plain
text file to use as the basis for your data import. The IQY file should have four
lines:
Type of Query
Query Version
URL
POST Parameters
The Query Type line should just be WEB and the Query Version
line can be whatever you want (1 is just fine). The URL line should be the URL
itself. The parameters should be in the following format:
Parameter1=Value1&Parameter2=[“Value 2”, >”Please input a value for Parameter 2: “]
This is where you can work a couple of tricks. With that
sample parameter line, “Value1” will be passed as the value for Parameter1, but
the user will be prompted with the phrase “Please input a value for Parameter
2:” to provide the value for Parameter2. This works with GET as well as POST
queries. The prompt text is optional.
In this example, we just need a single parameter–the stock
symbol. So our Web Query file looks like this:
WEB
1
http://finance.yahoo.com/q/hp
s=[“Stock Symbol”]
Once you’ve created the query file, you can use it in the
worksheet. Choose Data | Import External Data | Import Data and point the Open dialog
box to the query file you created. You’ll be prompted to specify the stock
symbol to be used. Your query results will then show up in the worksheet.
One final trick is to use this query file to fool the import
wizard into allowing you to select the exact table of desired data and still
use parameters. Once the query file has been loaded, you can edit the query in
Excel. The query won’t work because the editor won’t pass our values along
properly. It will, however, show you the Web page, and from there you can
navigate or search or whatever you need to do to see the page with the table so
you can select it. Once you’ve selected the table (just like creating a Web
query through the wizard), you can edit the parameters to use the desired methodology
(prompts, hard-coded values, or data from a worksheet range). You can also now
set these values through VBA code.
Once the Web Query has been created from the file, you no
longer need the file. It doesn’t have to be distributed with the Excel worksheet.
Working with the query through
VBA
The DataRange gets added to the QueryTables collection, which is a
member of the Worksheet object, and can be referenced by index
number or by the DataRange name. In our
example, ThisWorkbook.Sheets(“Web Query”).QueryTables(“Stock
Prices”) refers to our Web query. The most common use of VBA with
the Web Query is to have its Refresh()
method force the data to be refreshed from the source and reloaded into the worksheet.
You can also use the SetParam() method on the Parameter property of the QueryTable object to manually set (or
prompt the user to input) the value of the parameter (the Value property is read only). The sample piece of code in
Listing B
takes the stock symbol as a string, puts it into the
parameter, and then updates the query’s data.