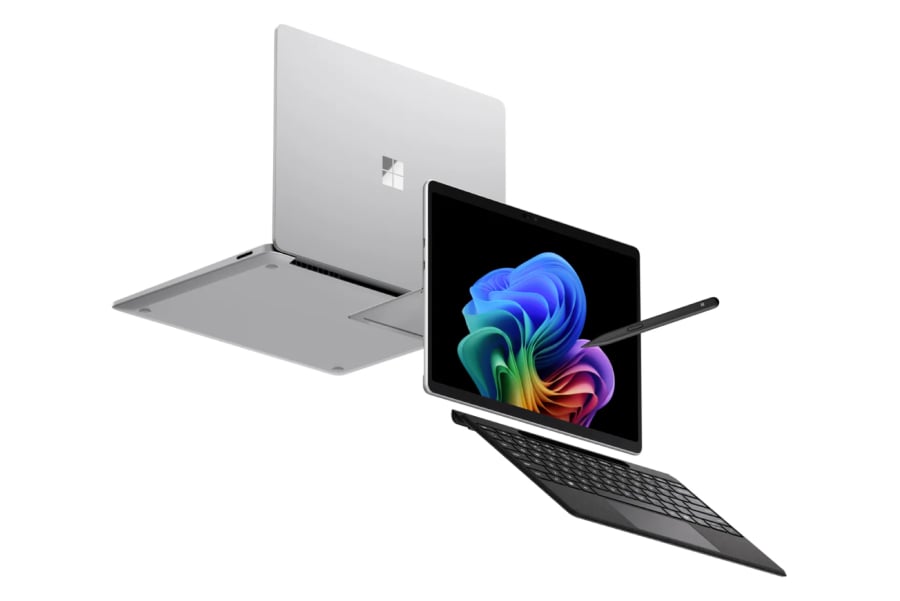
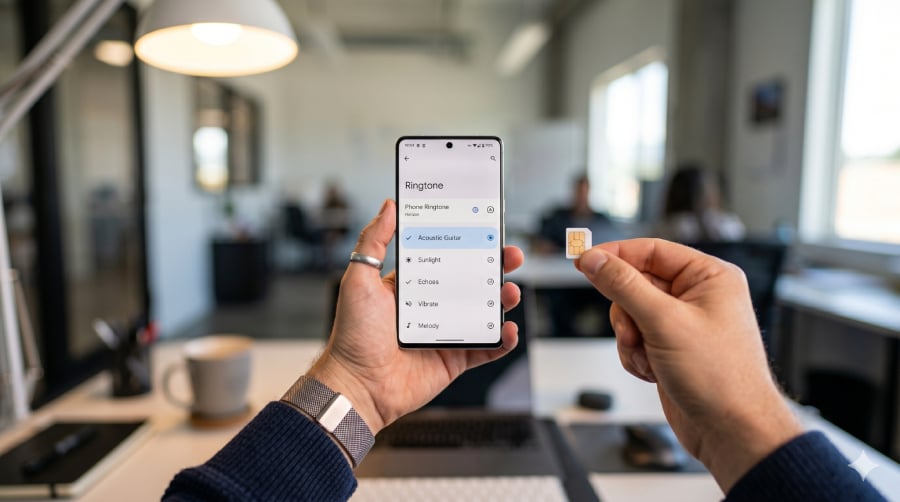
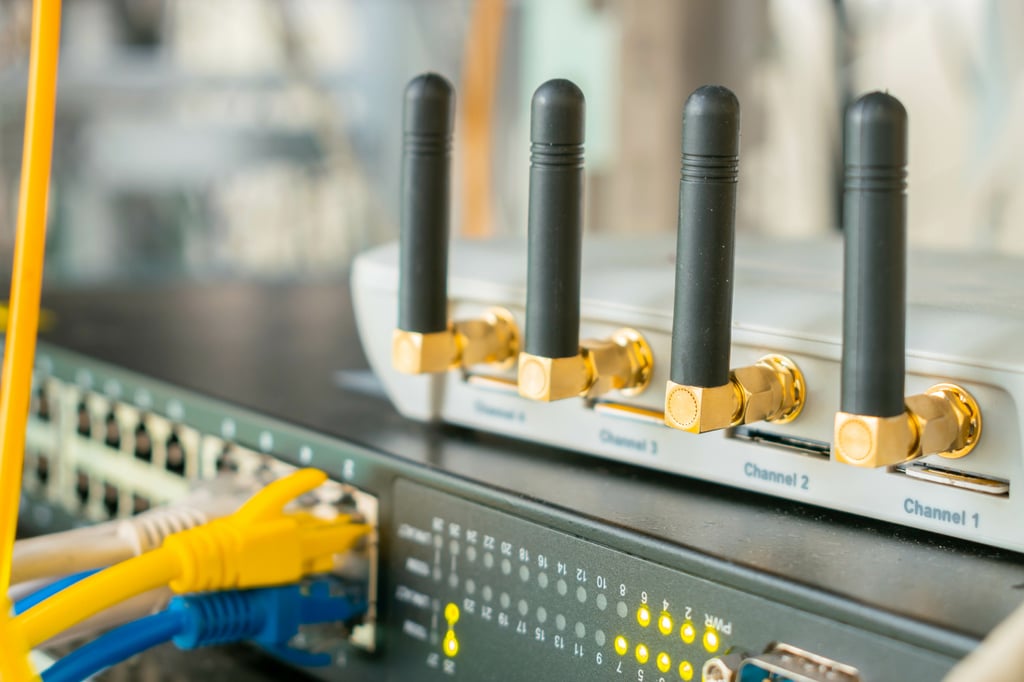
Have you ever played a game on your Android phone and discovered that using the volume rocker switch sometimes controlled the volume of the app, while other times it adjusted the volume of the ringer? I have. In fact, I’m embarrassed to admit that early on in my Android career I released apps to the market with this defect. Fortunately, the solution for this rather common UX faux pas is short and sweet.
This tutorial demonstrates a simple technique for assigning the hardware rocker switch to a specific audio stream for the duration of a single activity. You can follow along or download the entire project.
1. Create a new project in Eclipse targeted at Android 1.6 or higher. Be sure to rename the auto-created activity to Main.java.
2. In the /res/layout folder add a layout of radio buttons for the main user interface.
main.xml <?xml version="1.0" encoding="utf-8"?> <LinearLayout xmlns:android="http://schemas.android.com/apk/res/android" android:layout_width="fill_parent" android:layout_height="fill_parent" android:orientation="vertical" > <TextView android:layout_width="fill_parent" android:layout_height="wrap_content" android:text="Volume Control Stream Demo" /> <RadioGroup android:layout_width="fill_parent" android:layout_height="wrap_content" android:orientation="vertical" android:id="@+id/radio_buttons"> <RadioButton android:id="@+id/ringer" android:layout_width="fill_parent" android:layout_height="wrap_content" android:paddingLeft="40dip" android:text="Ringer"/> <RadioButton android:id="@+id/media" android:layout_width="wrap_content" android:layout_height="wrap_content" android:paddingLeft="40dip" android:text="Media"/> <RadioButton android:id="@+id/voice" android:layout_width="wrap_content" android:layout_height="wrap_content" android:paddingLeft="40dip" android:text="Voice"/> <RadioButton android:id="@+id/alarm" android:layout_width="wrap_content" android:layout_height="wrap_content" android:paddingLeft="40dip" android:text="Alarm"/> </RadioGroup> </LinearLayout>
3. Now we will move to the /src folder and flesh out Main.java. We hook the change event for our radio group, and make a simple call to Android’s Audio Manager to tie the rocker switch to a specific audio stream. You can get a list of the possible audio streams from the official documentation for the AudioManager class.
Main.java package com.authorwjf.say_what;
import android.app.Activity; import android.media.AudioManager; import android.os.Bundle; import android.widget.RadioGroup; import android.widget.RadioGroup.OnCheckedChangeListener;
public class Main extends Activity implements OnCheckedChangeListener{
/** Called when the activity is first created. */
@Override
public void onCreate(Bundle savedInstanceState) {
super.onCreate(savedInstanceState);
setContentView(R.layout.main);
RadioGroup rg = (RadioGroup)(findViewById(R.id.radio_buttons));
rg.setOnCheckedChangeListener(this);
}
@Override
public void onCheckedChanged(RadioGroup rg, int button) {
switch (button) {
case R.id.alarm:
setVolumeControlStream(AudioManager.STREAM_ALARM);
break;
case R.id.media:
setVolumeControlStream(AudioManager.STREAM_MUSIC);
break;
case R.id.ringer:
setVolumeControlStream(AudioManager.STREAM_RING);
break;
case R.id.voice:
setVolumeControlStream(AudioManager.STREAM_VOICE_CALL);
break;
}
}
}
We should be ready to give the code a try. Simply load the APK to a device or an emulator, toggle one of the radio buttons, and crank the volume up or down (on the emulator this can be done using Ctrl-F5 and Ctrl-F6).
Pretty painless right? I suggest taking a moment to initialize the volume control stream in all your activities that make use of the Android audio sub-system. Your users will thank you.
Figure A
Automatically sign up for TechRepublic's App Builder newsletter!


