
For gamers like me who grew up with arcades, having a game cabinet the basement would have been the ultimate cool toy. Even as PC and console games met and eventually surpassed arcade machines, the mystique of owning an arcade cabinet still exists. Besides, a mouse button click just isn’t as viscerally satisfying and frantically smashing and arcade control panel’s buttons. Unfortunately, authentic arcade machines are still fairly expensive to buy and maintain and few people have the space to accommodate more than one or two machines.
With emulation software, a little wood working knowledge, and a bit of wiring skill, retro gaming enthusiasts can now experience arcade gaming in their dens without spending their 401K. Multiple Arcade Machine Emulator (MAME) software allows users to run ROMs of vintage computer games. Emulation software is available for Windows, Linux, DOS, Mac OS, Unix and even consoles like Microsoft’s Xbox. In the U.S., owning emulation software is currently legal. Owning or distributing the game ROMs is another story. Most arcade games are protected under copyright law. Despite the fact that most emulated games are no longer commercially available or the originally copyright holder no longer exists, it may still be illegal to own or distribute game ROMs. Legal issues aside, many retro gamers are still looking to put the arcade thrill in their own game room.
Here are a collection of MAME cabinets and consoles that any arcade enthusiast would love.
Compiled by Bill Dewtiler
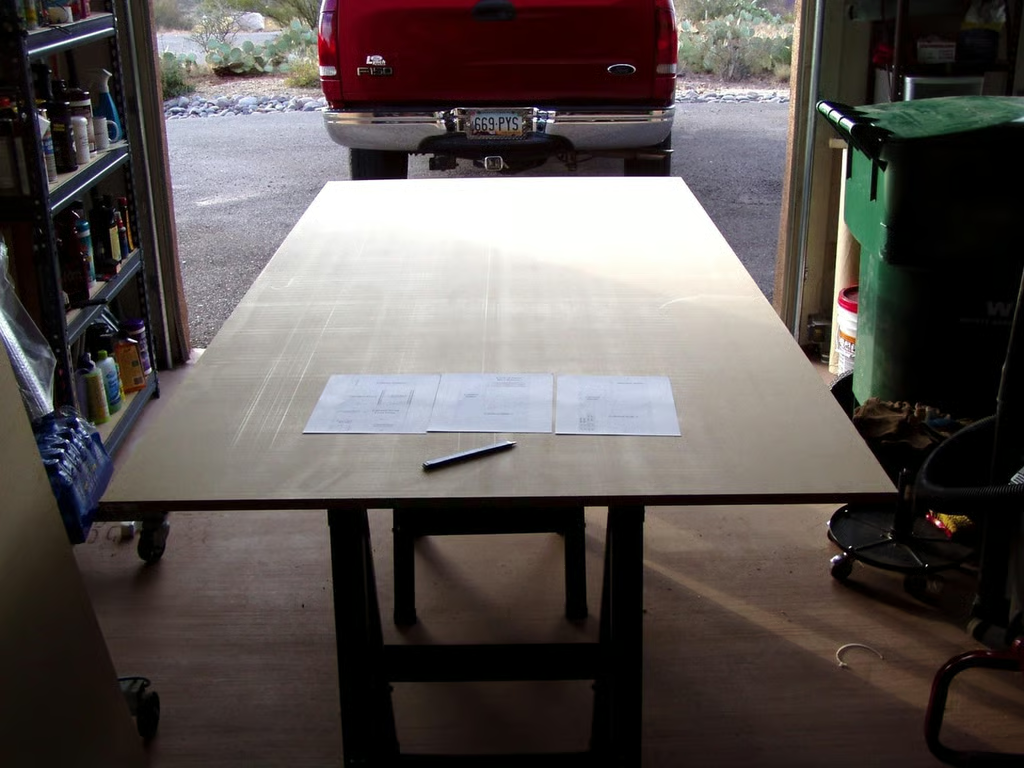
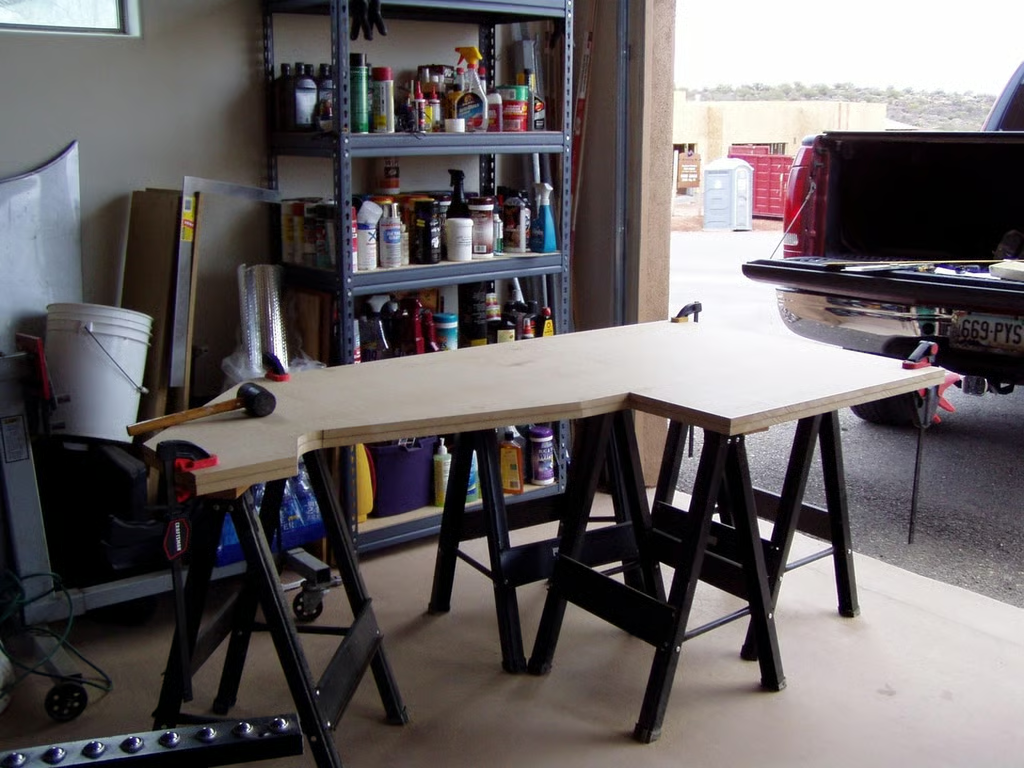
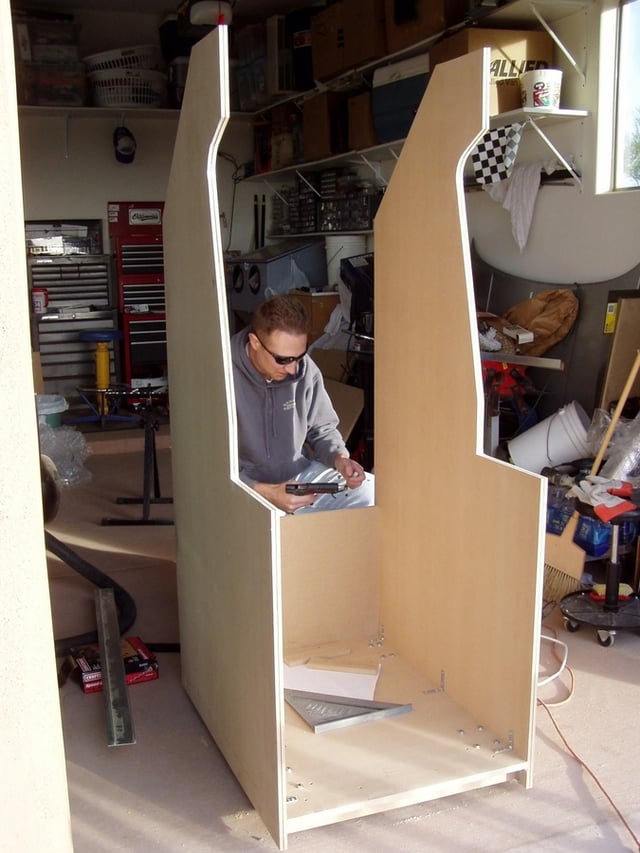
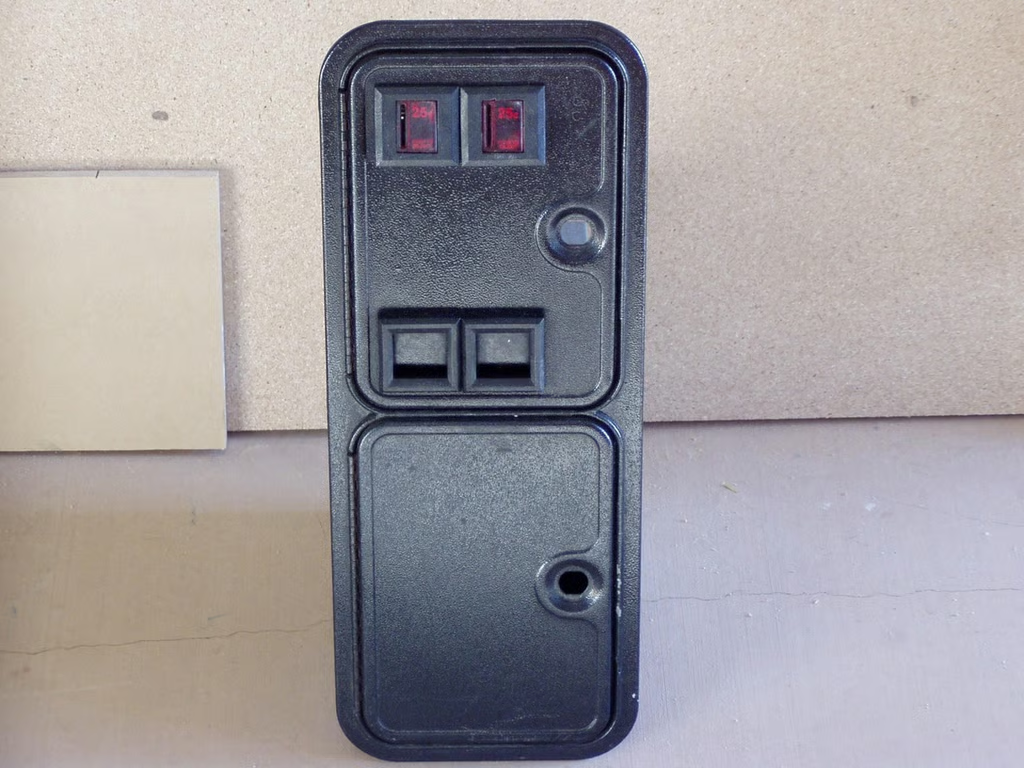
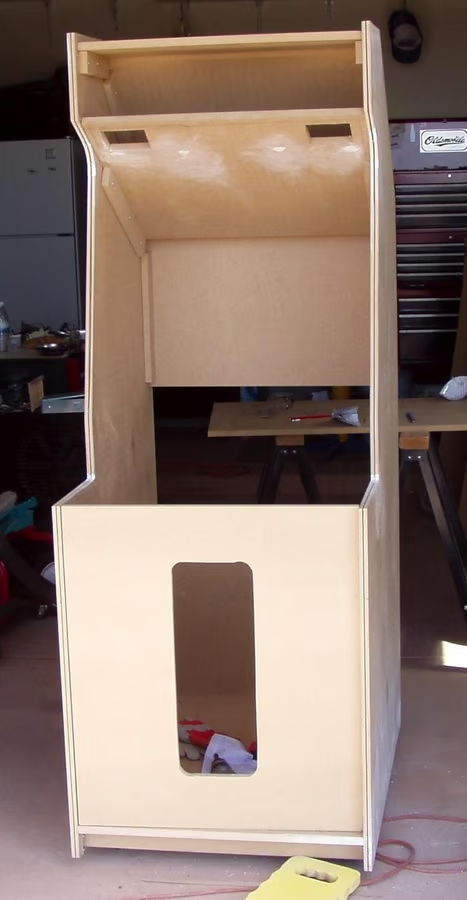
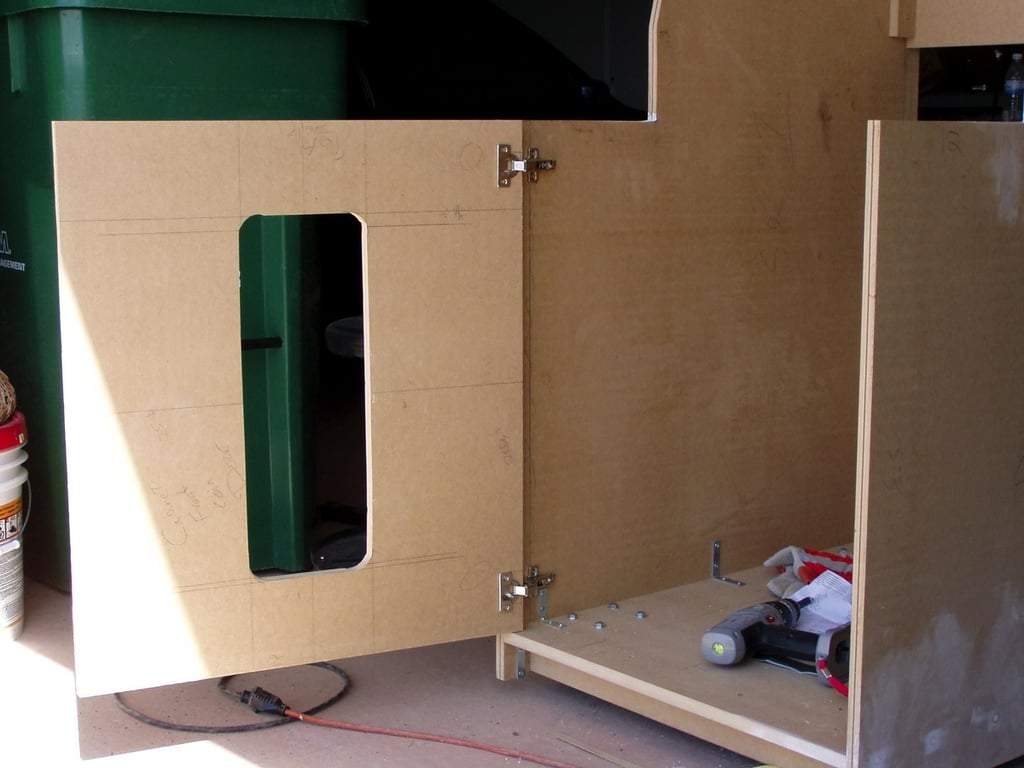
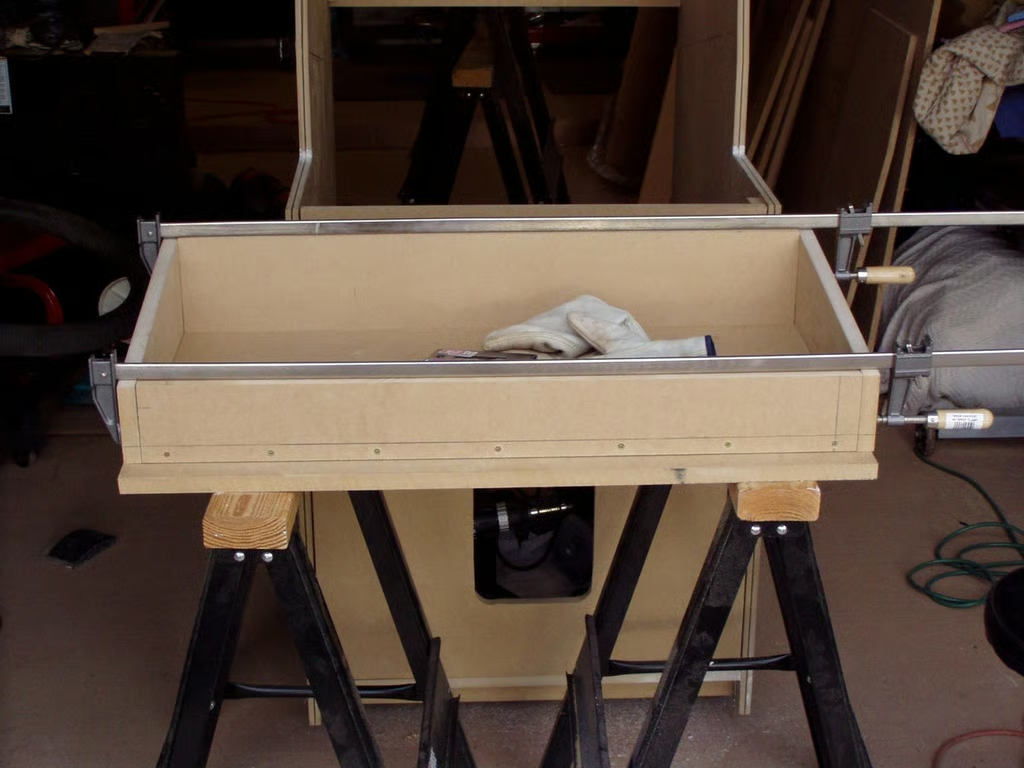
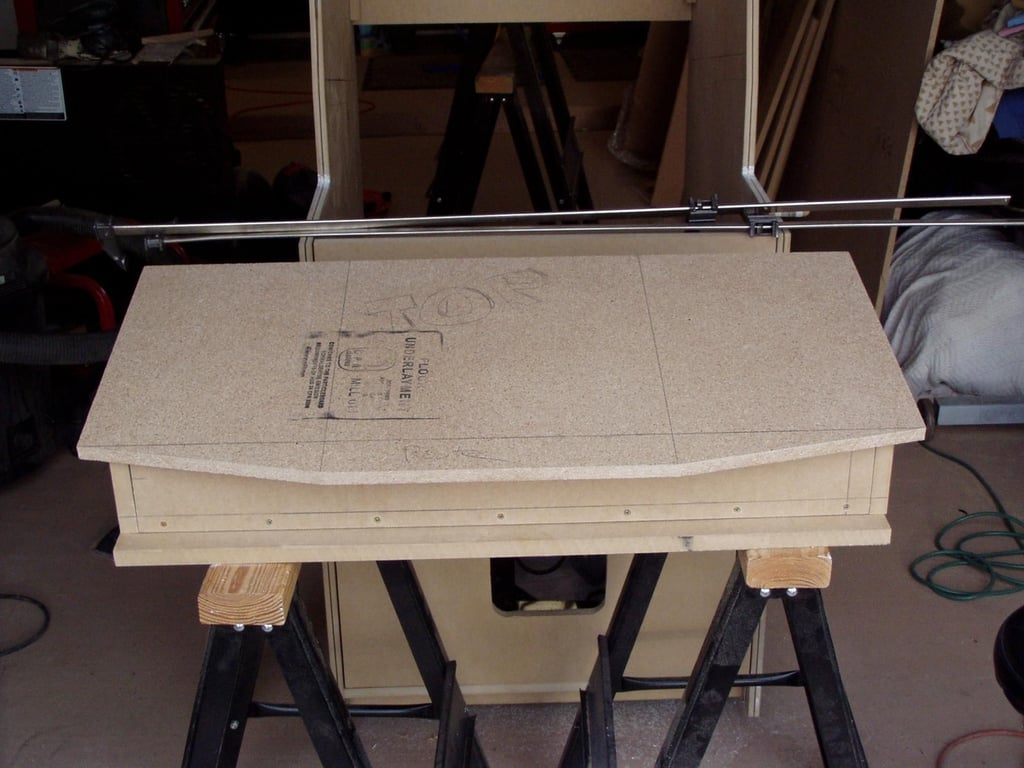
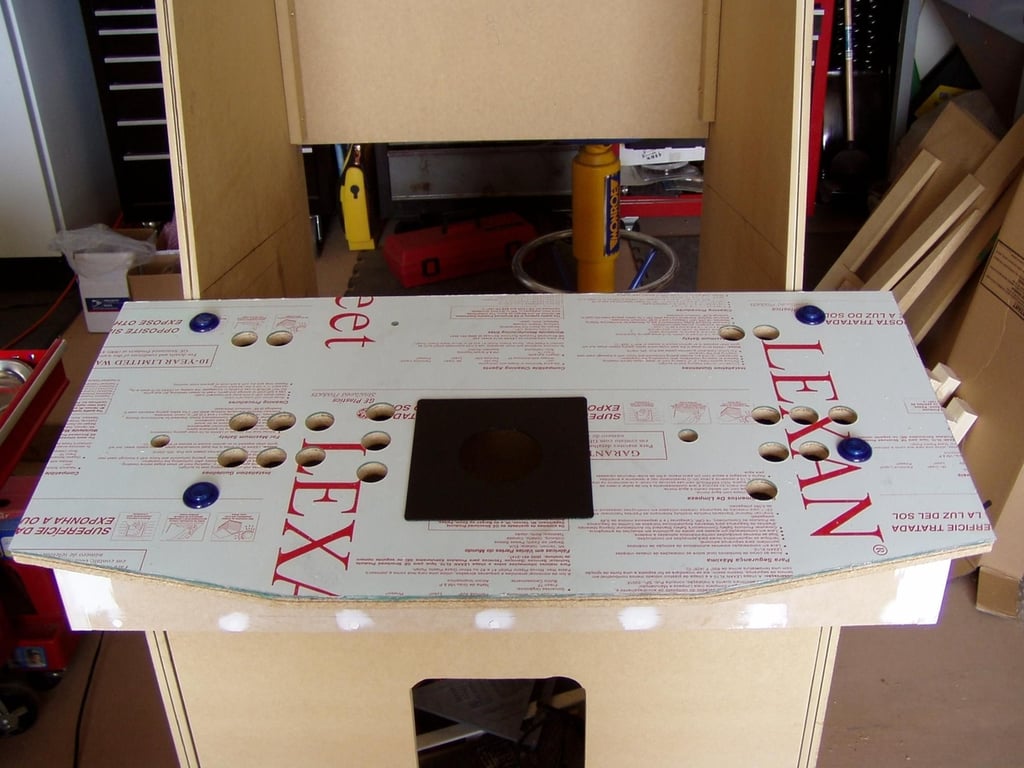
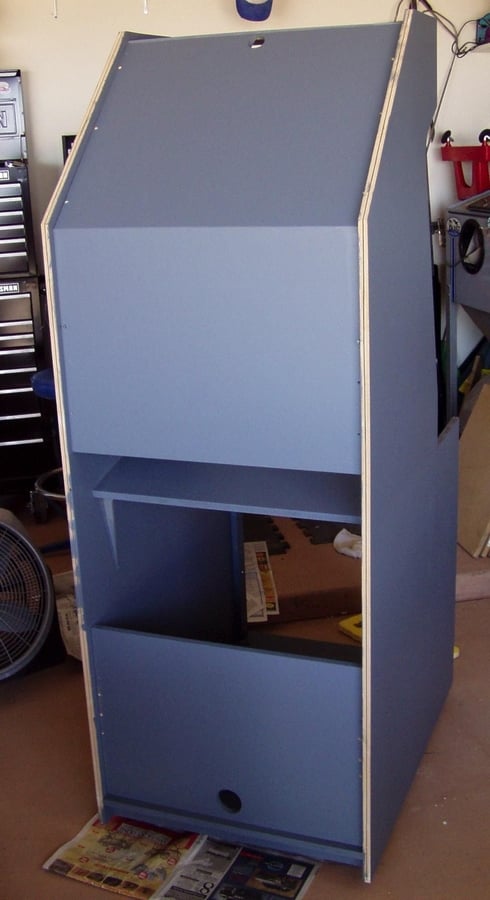
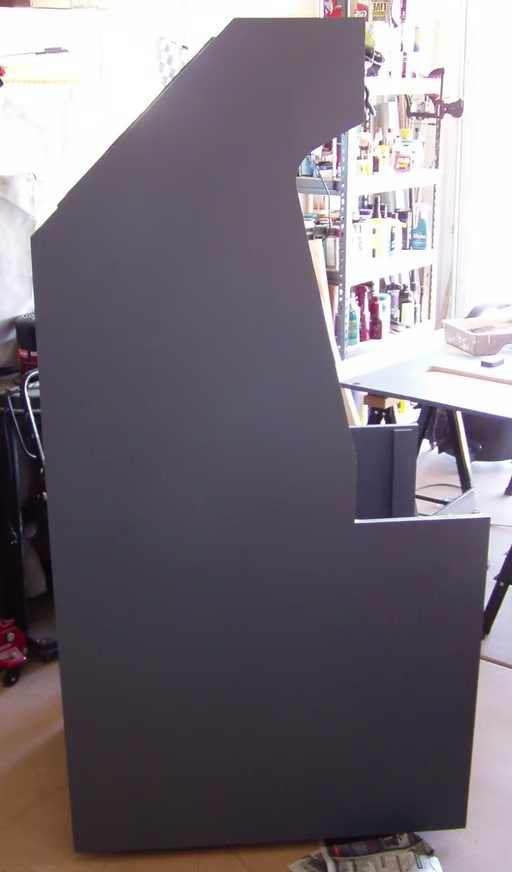
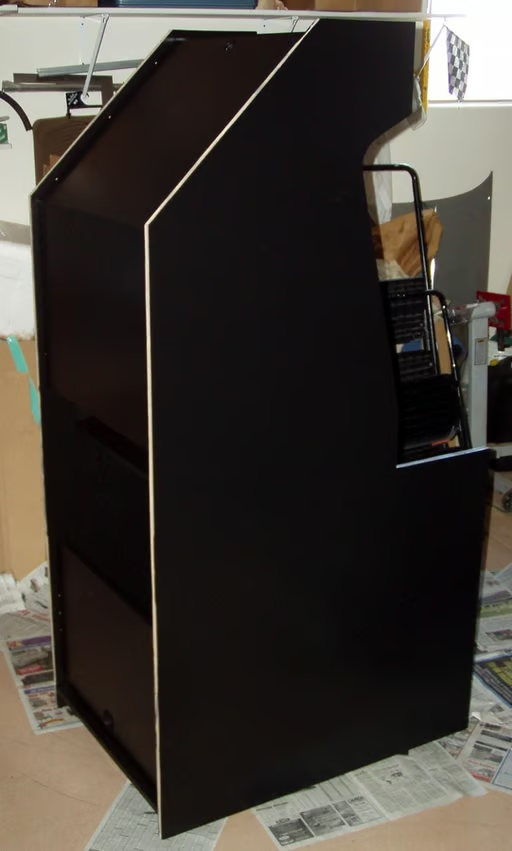
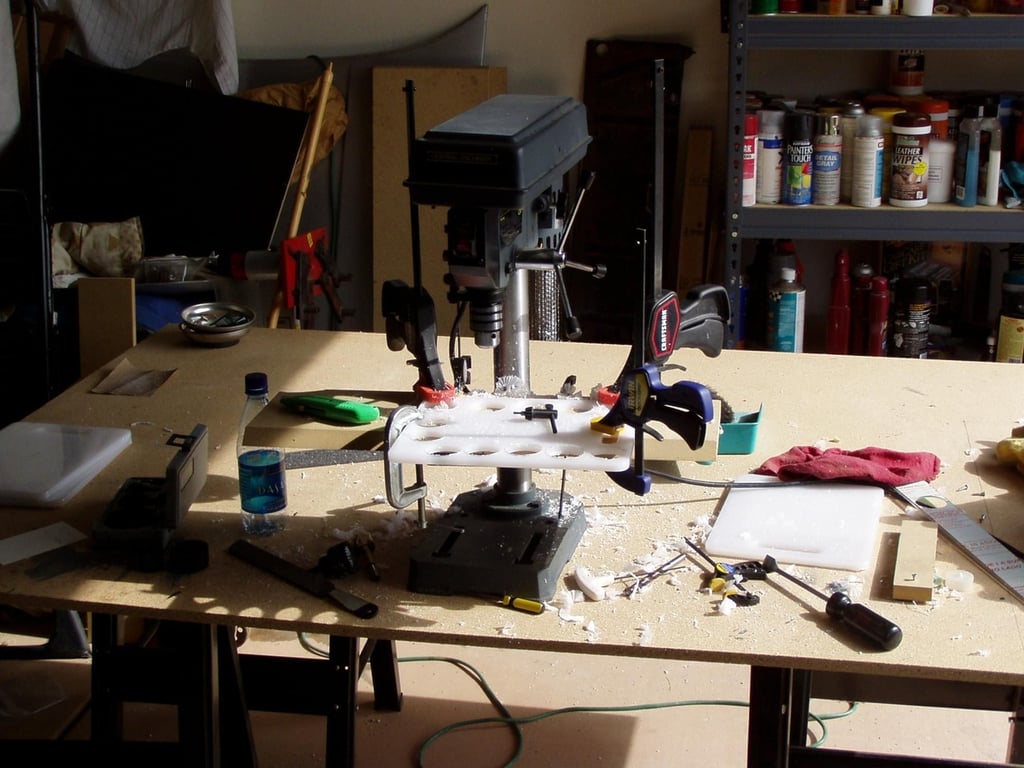
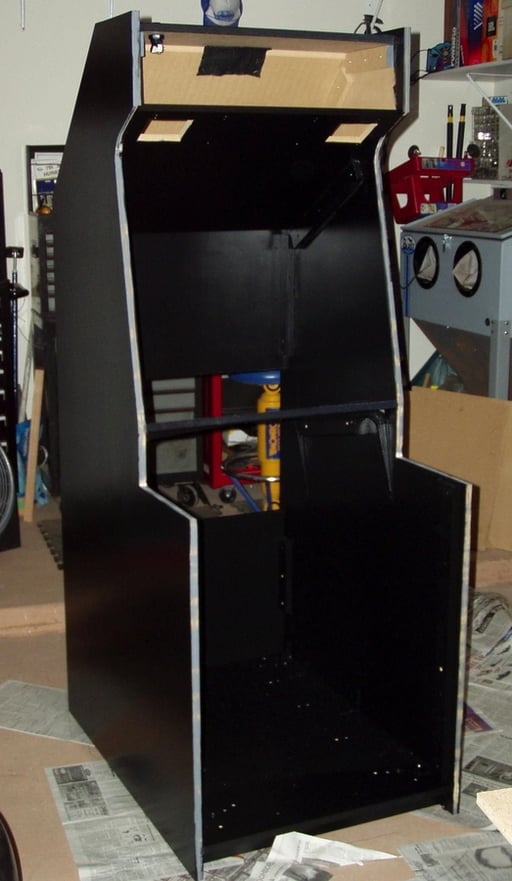
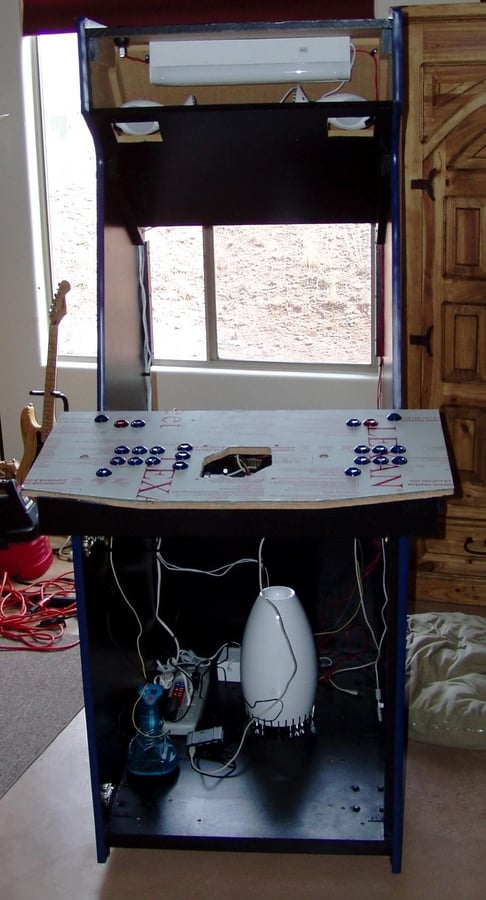
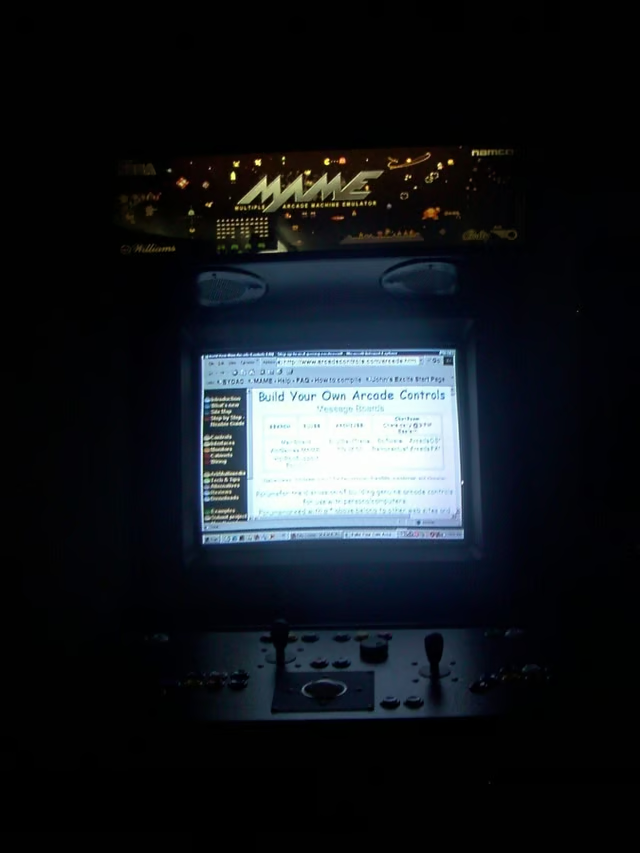
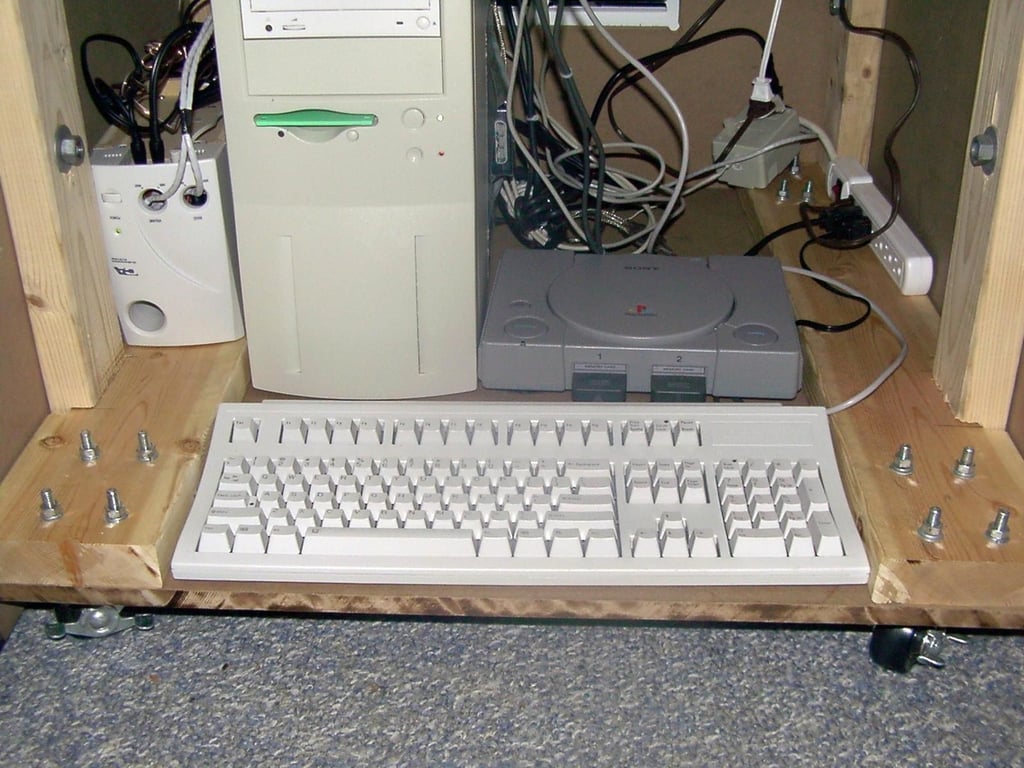
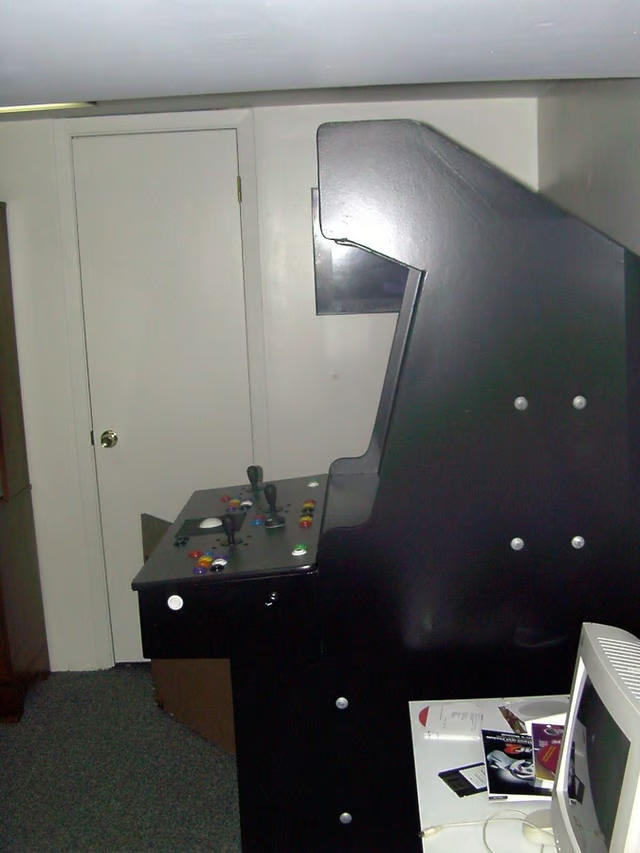
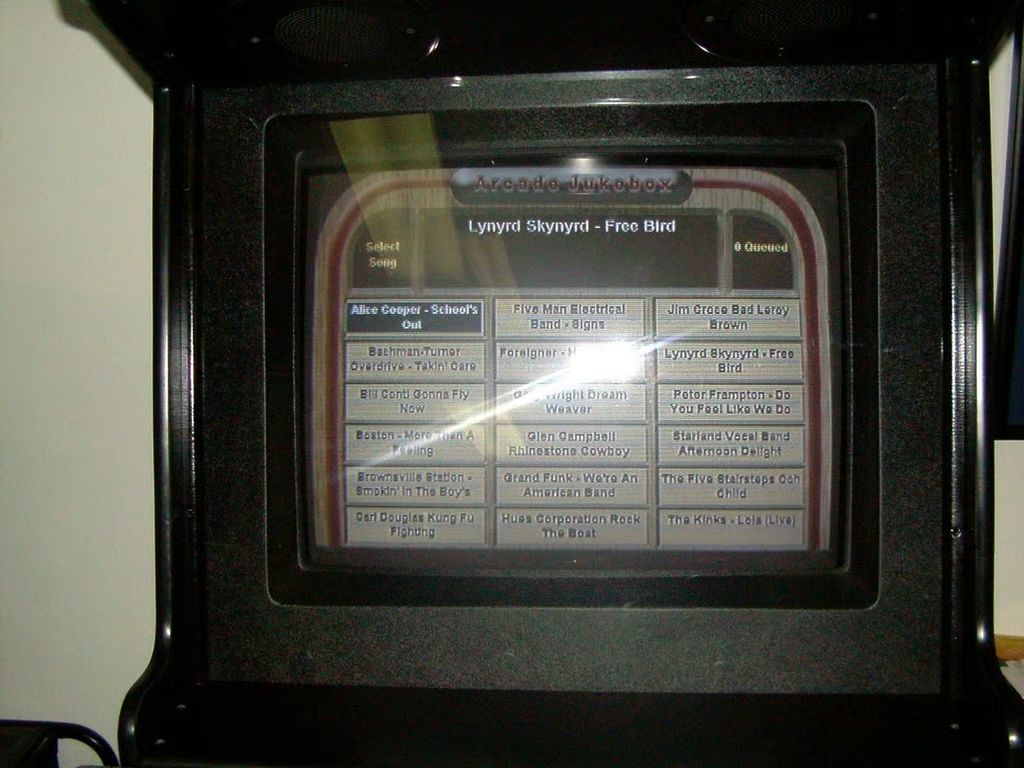
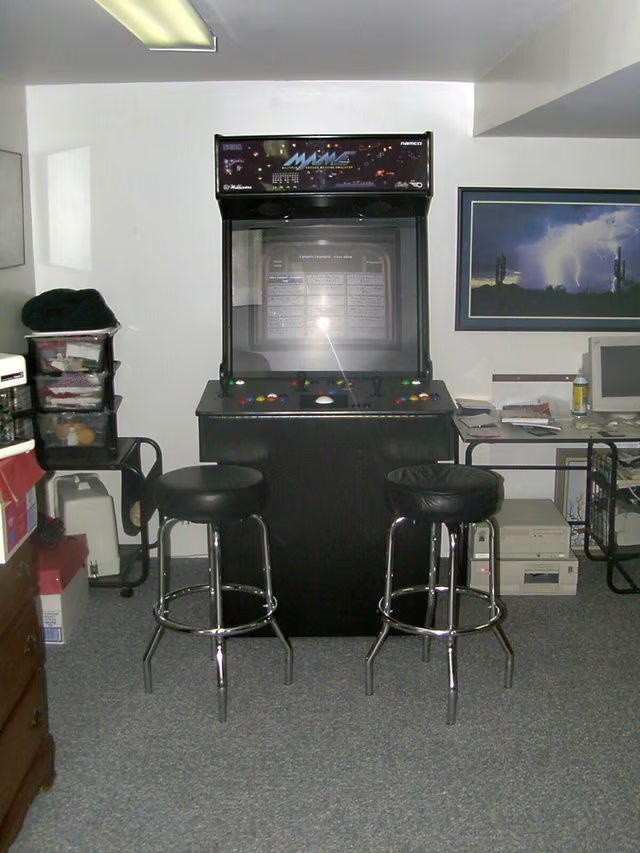
Webshots member 442much posted these the following 27 photos of his MAME cabinet project.
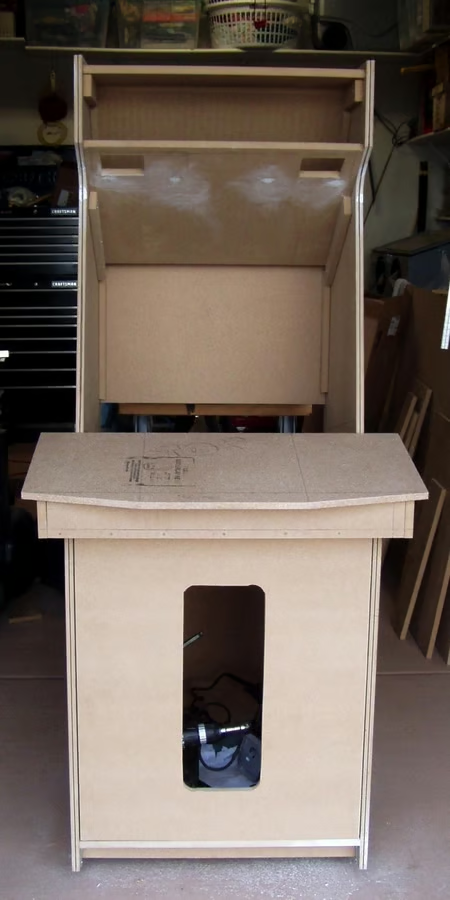
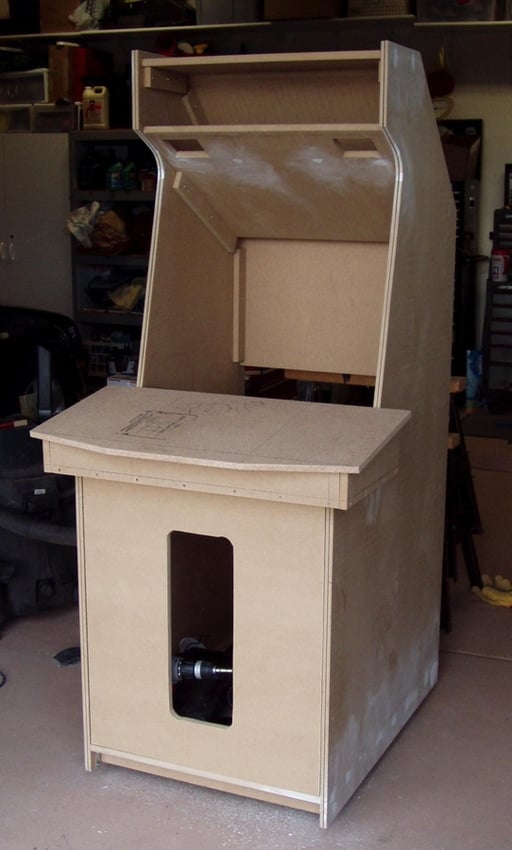
Where to start?
© Webshots – 442much
© Webshots – 442much
© Webshots – 442much
© Webshots – 442much
© Webshots – 442much
© Webshots – 442much
© Webshots – 442much
© Webshots – 442much
© Webshots – 442much
© Webshots – 442much
© Webshots – 442much
© Webshots – 442much

© Webshots – 442much

© Webshots – 442much
© Webshots – 442much
© Webshots – 442much
© Webshots – 442much
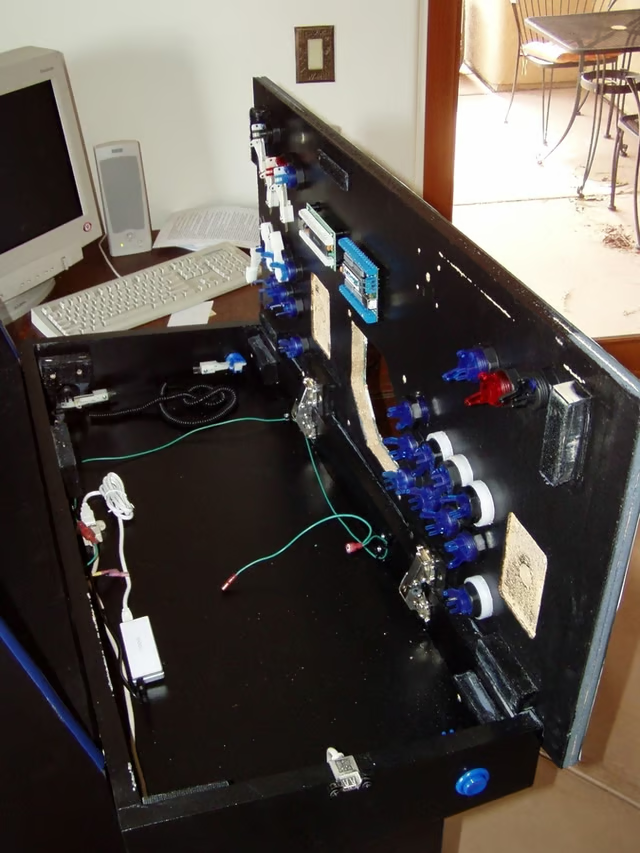
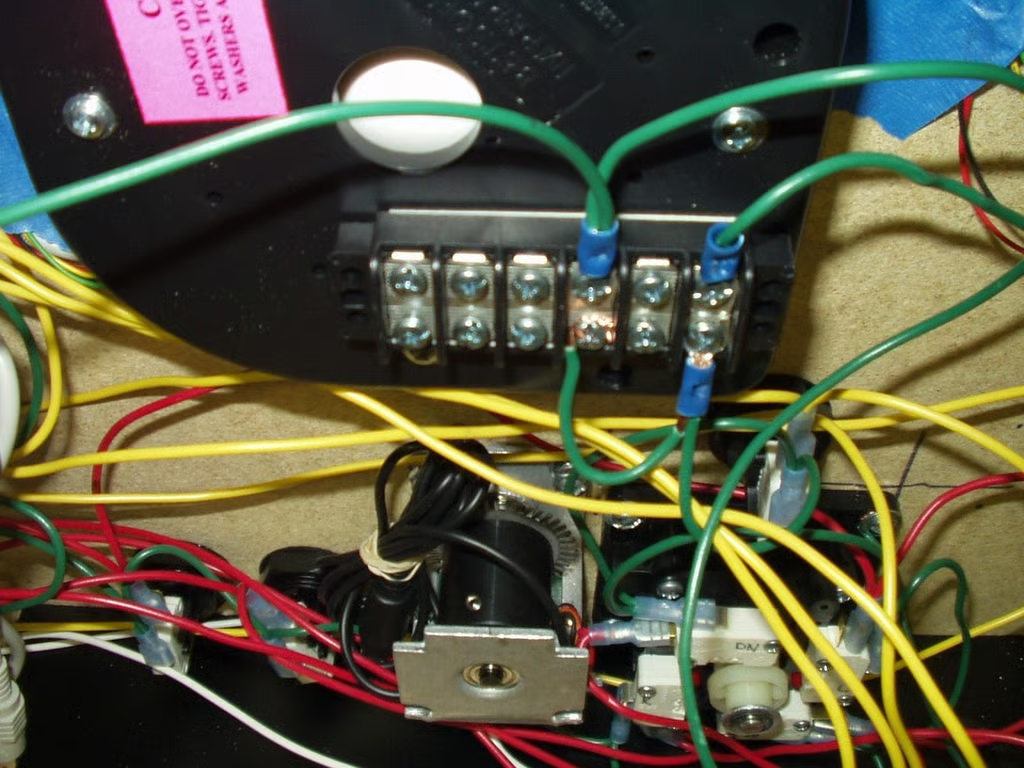
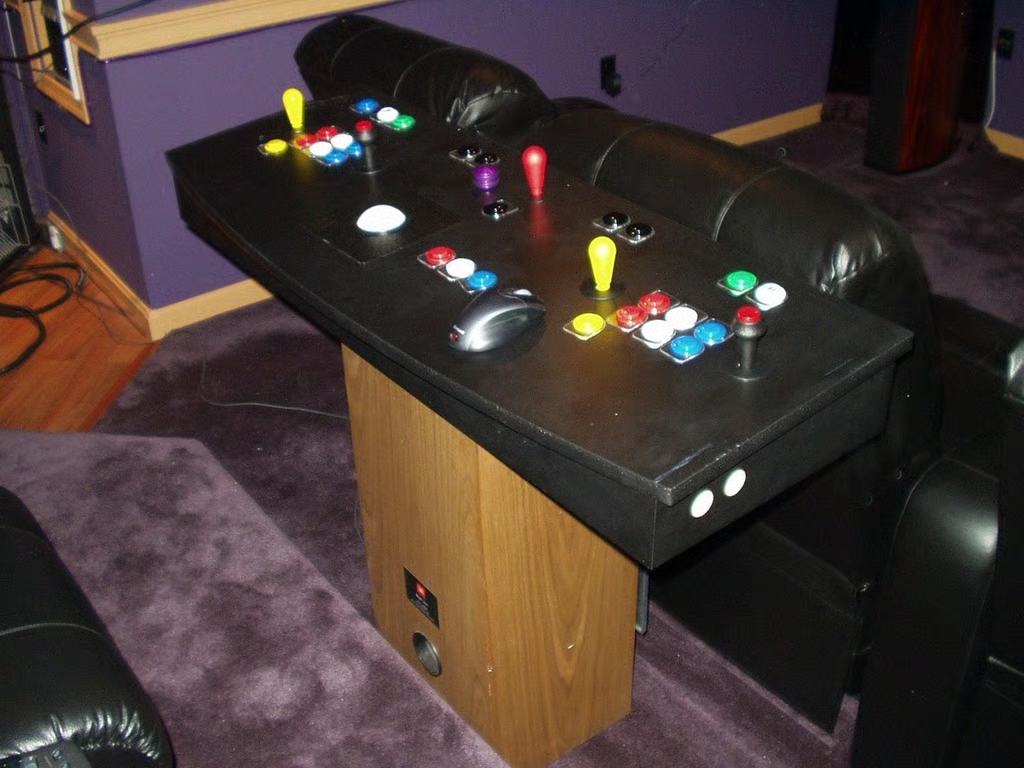
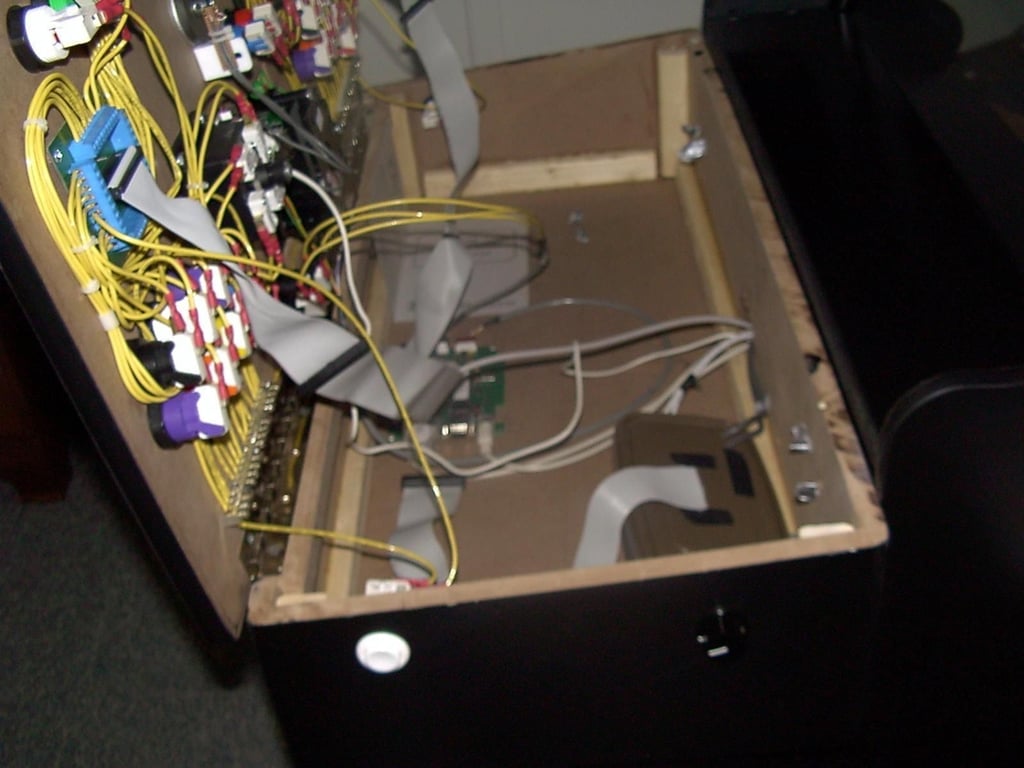
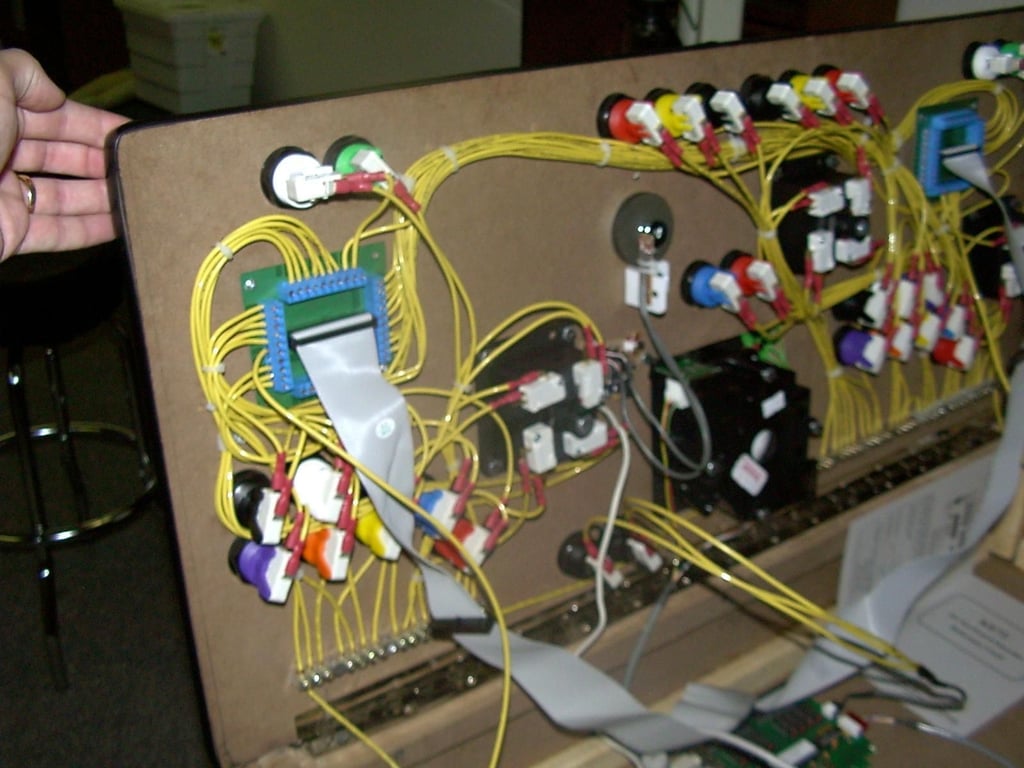
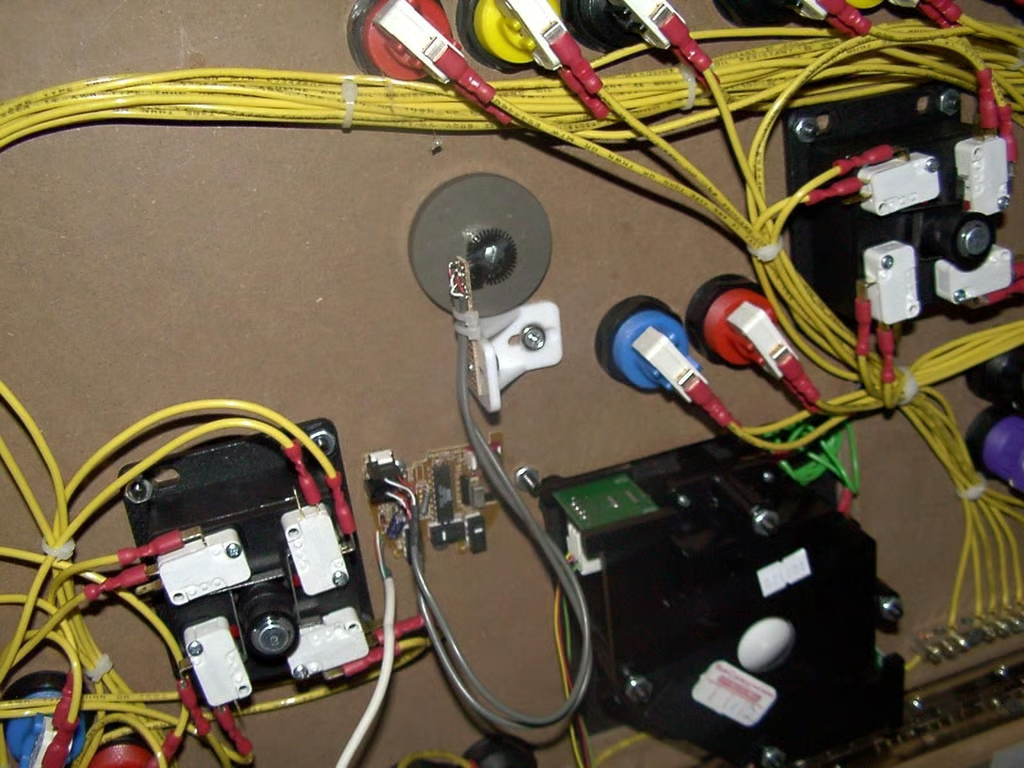
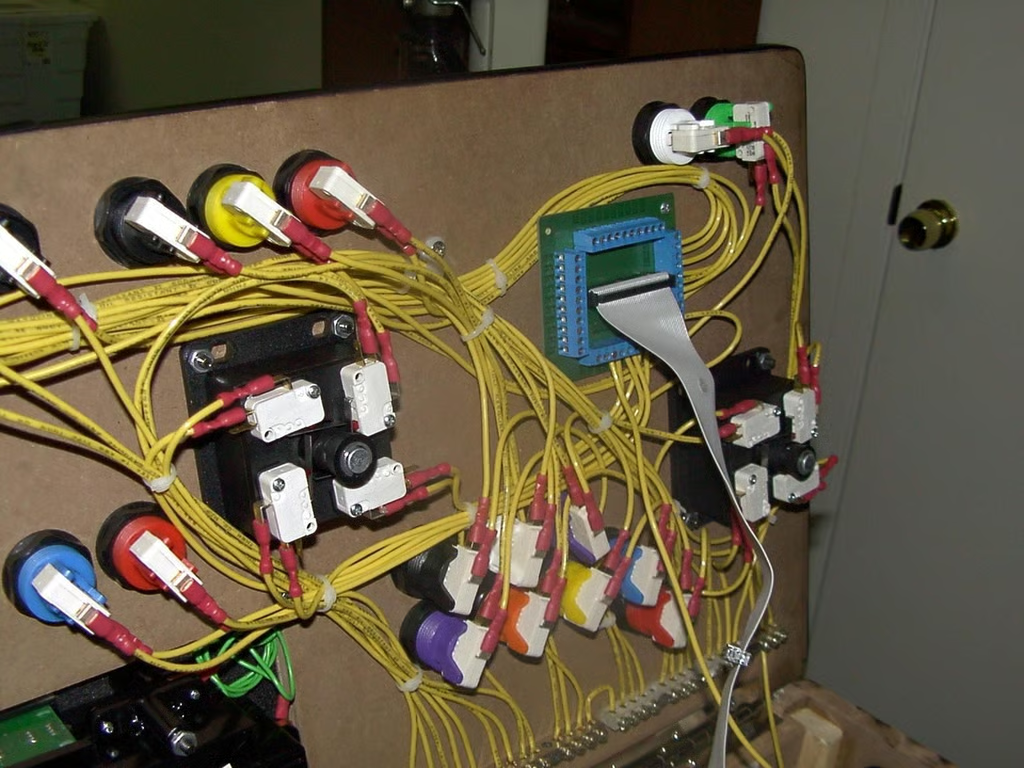
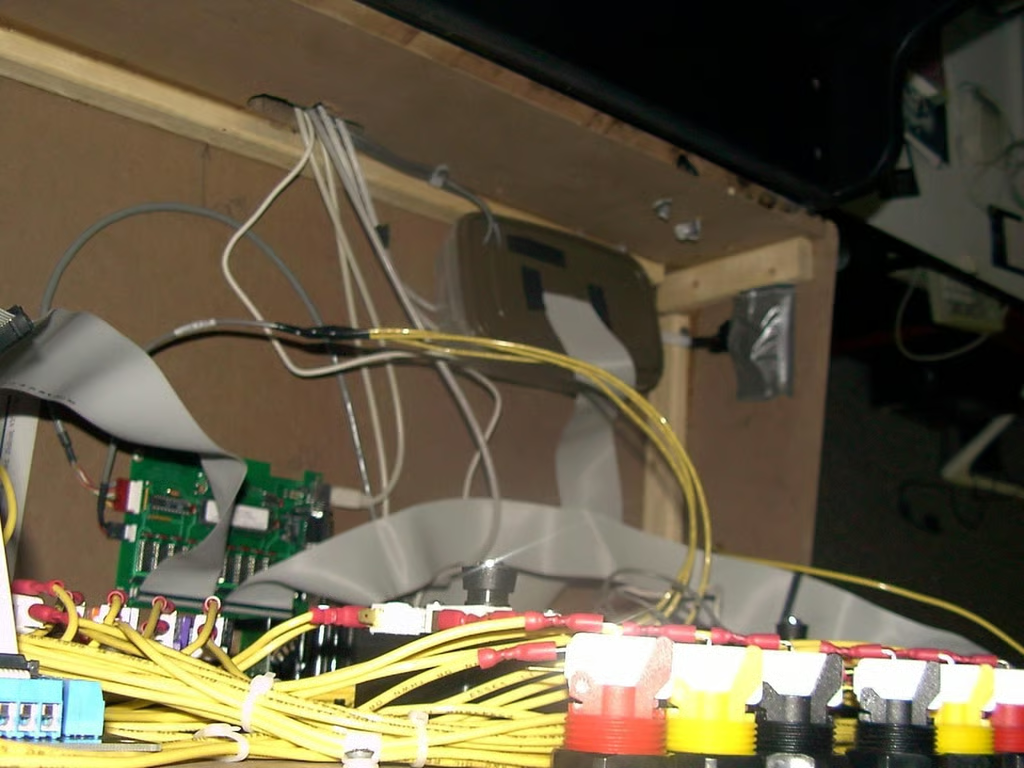
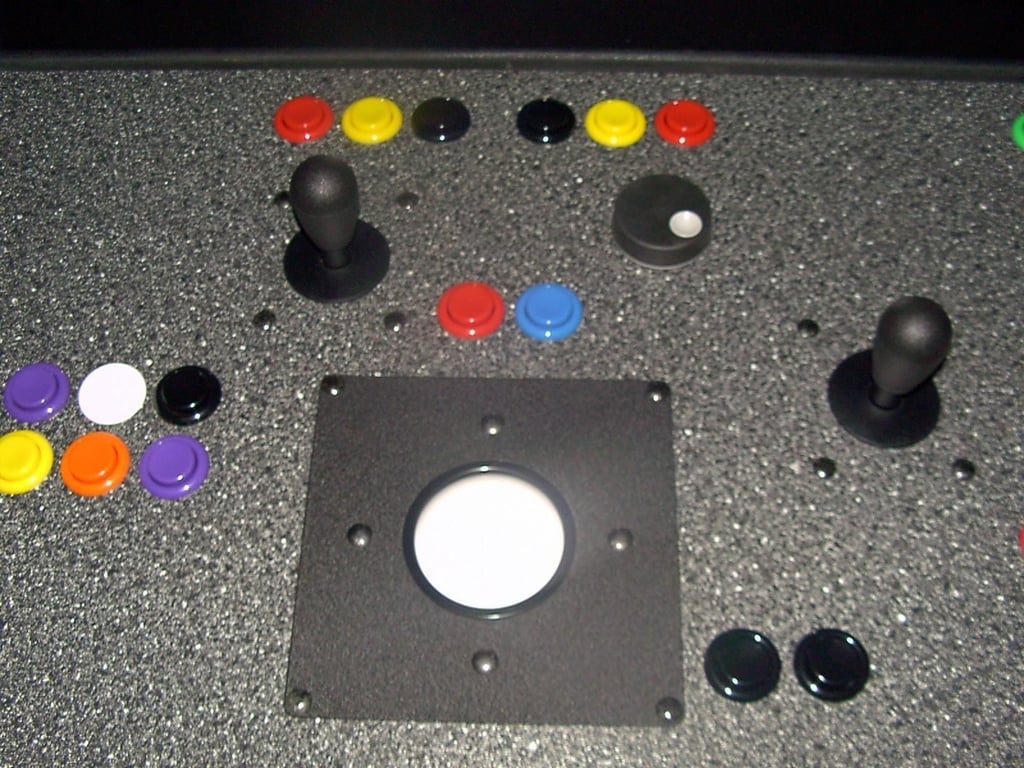
You can see my LED-Wiz for lighting the buttons and the I-Pac keyboard encoded. Common ground wires and 4-port USB hub with external USB connect on left side. Everything is design with quick disconnects so the CP can be removed.
© Webshots – 442much
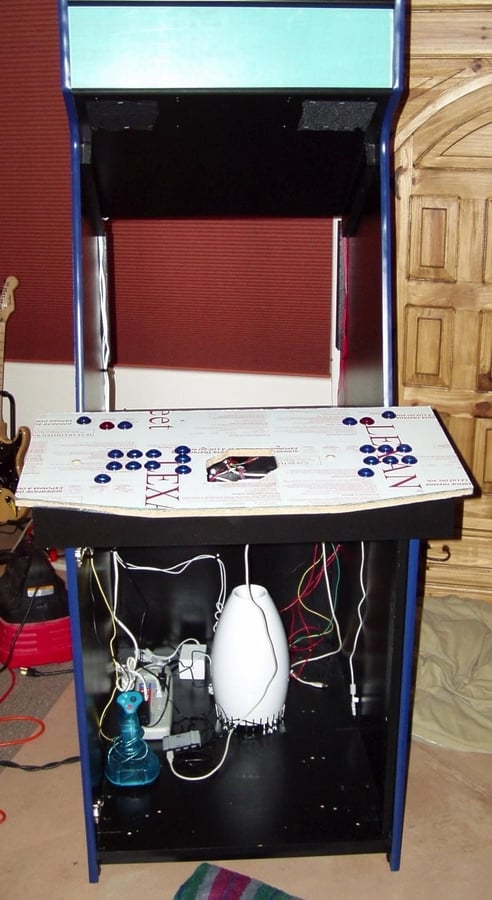
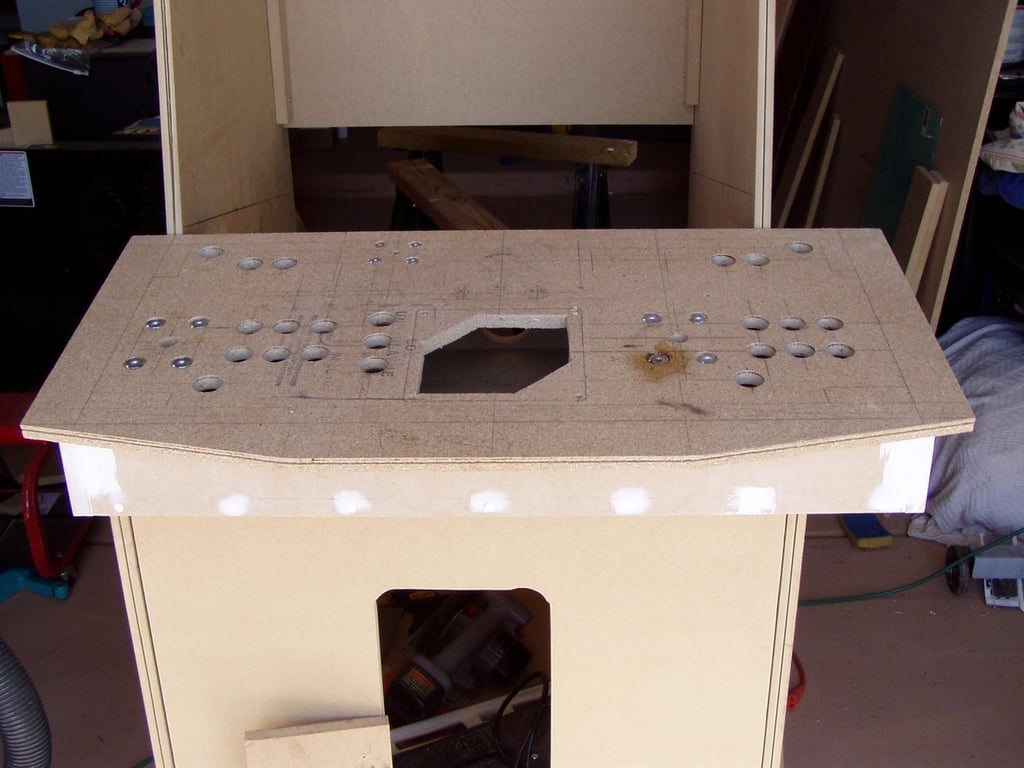
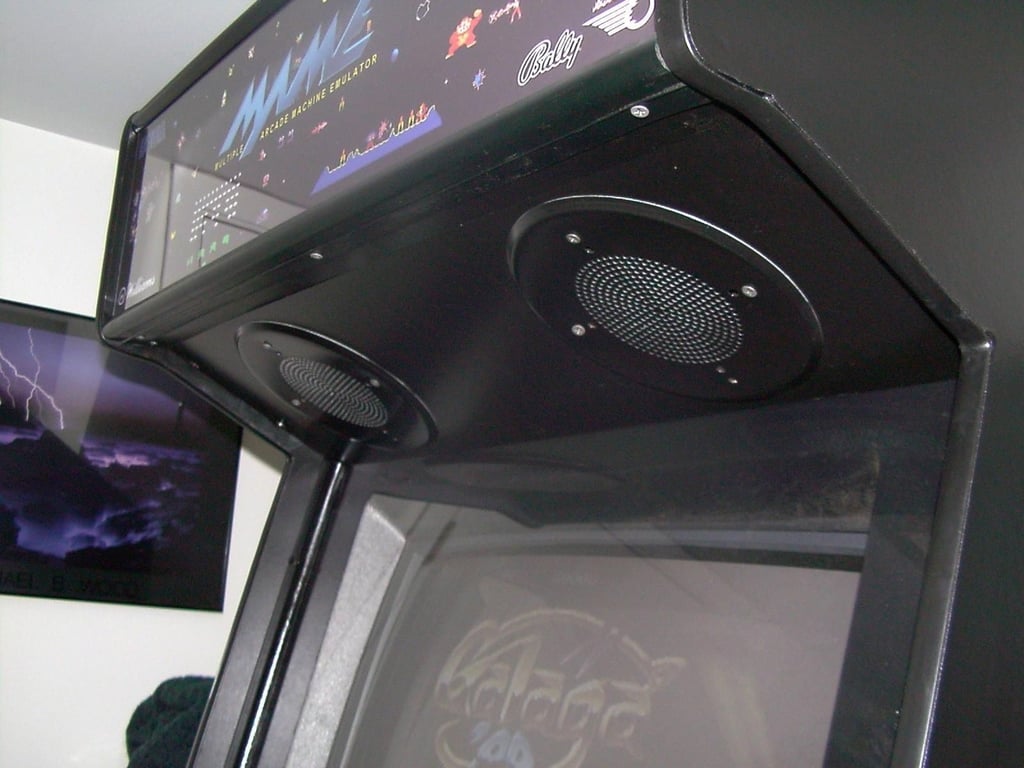
Added the marquee holder and some basic wiring. 12V and 5V power to CP. Speakers wired. Marquee light.
© Webshots – 442much
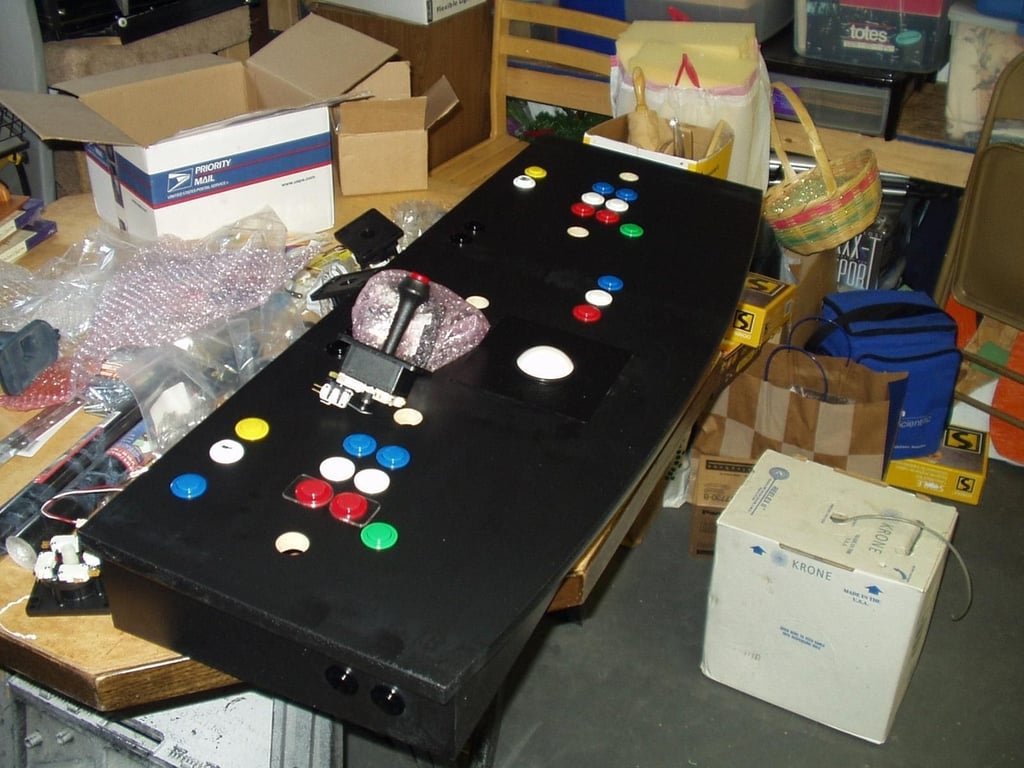
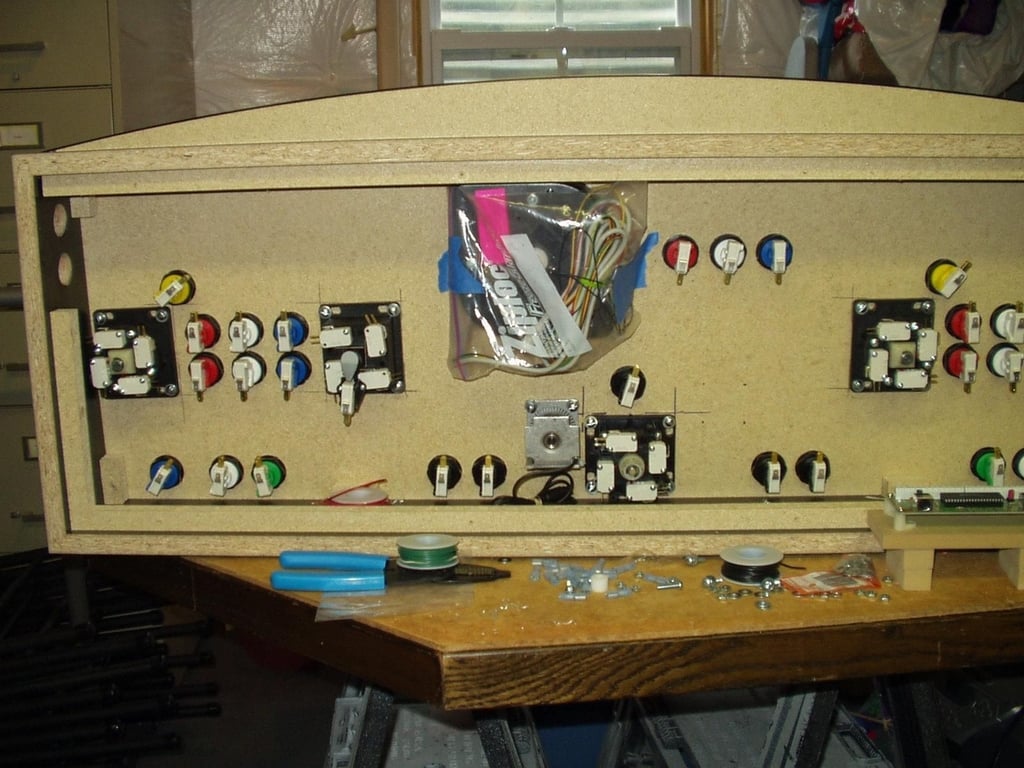
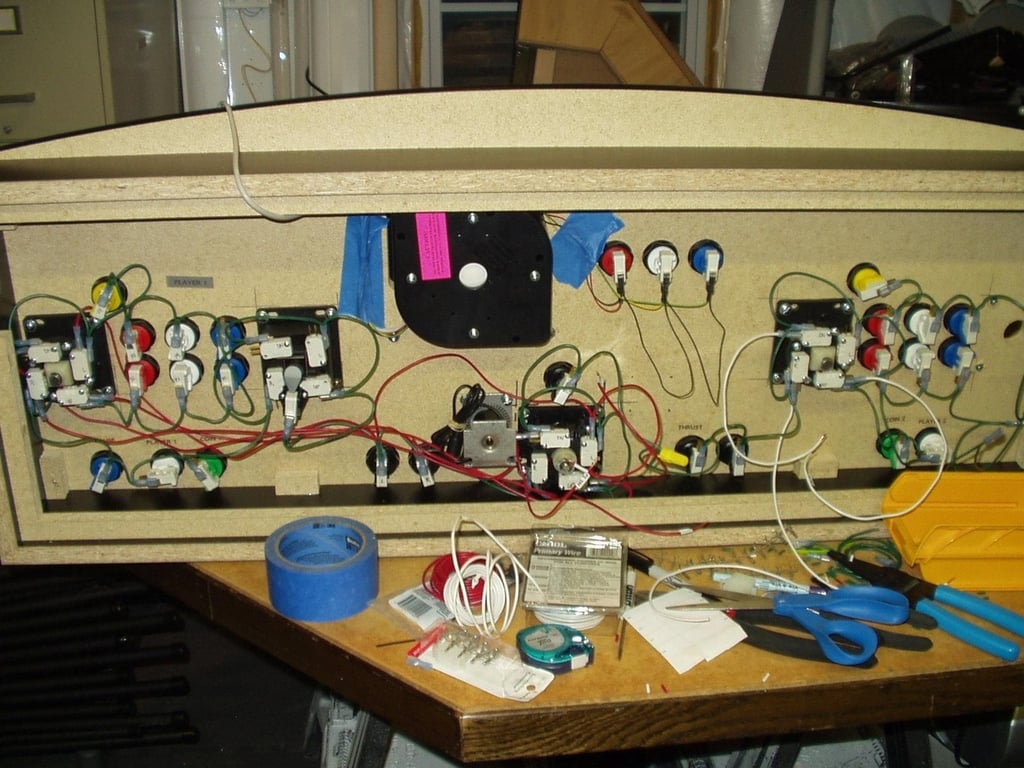
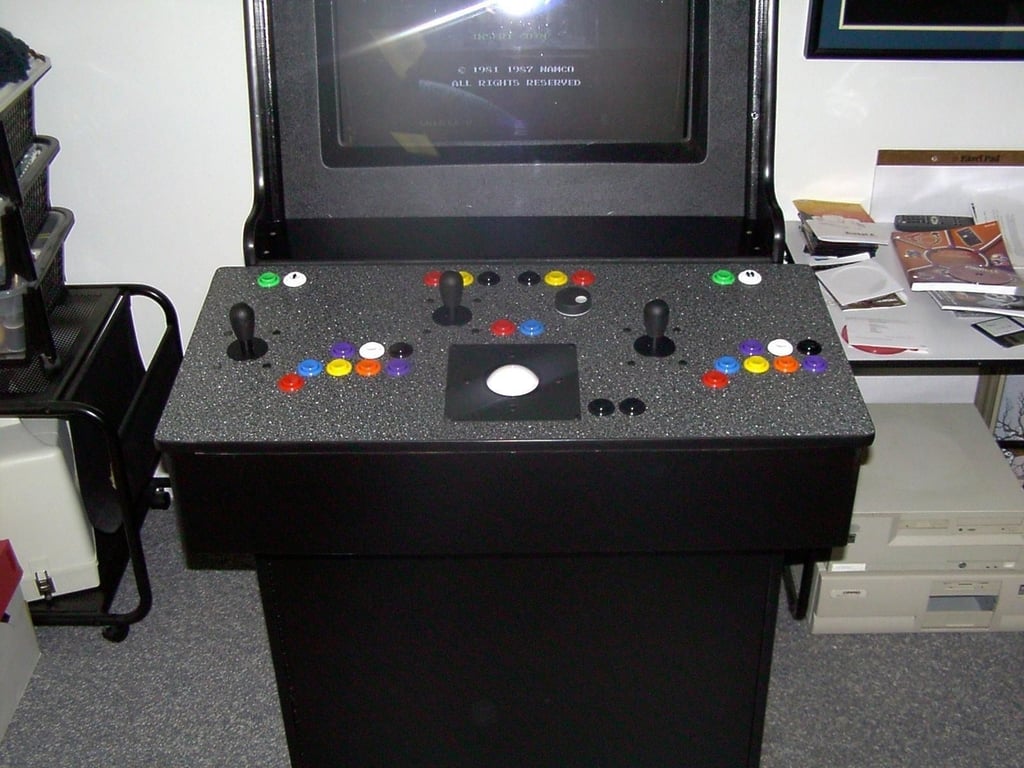
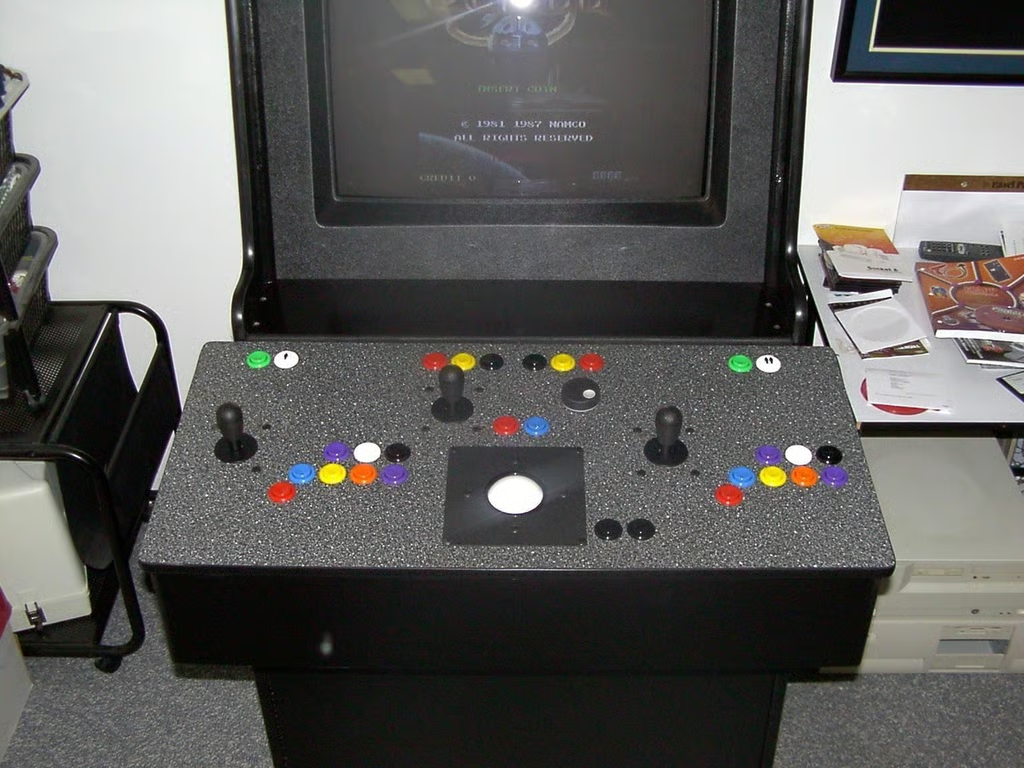
Webshots member capstone66 posted the following 16 photos of his MAME console project.
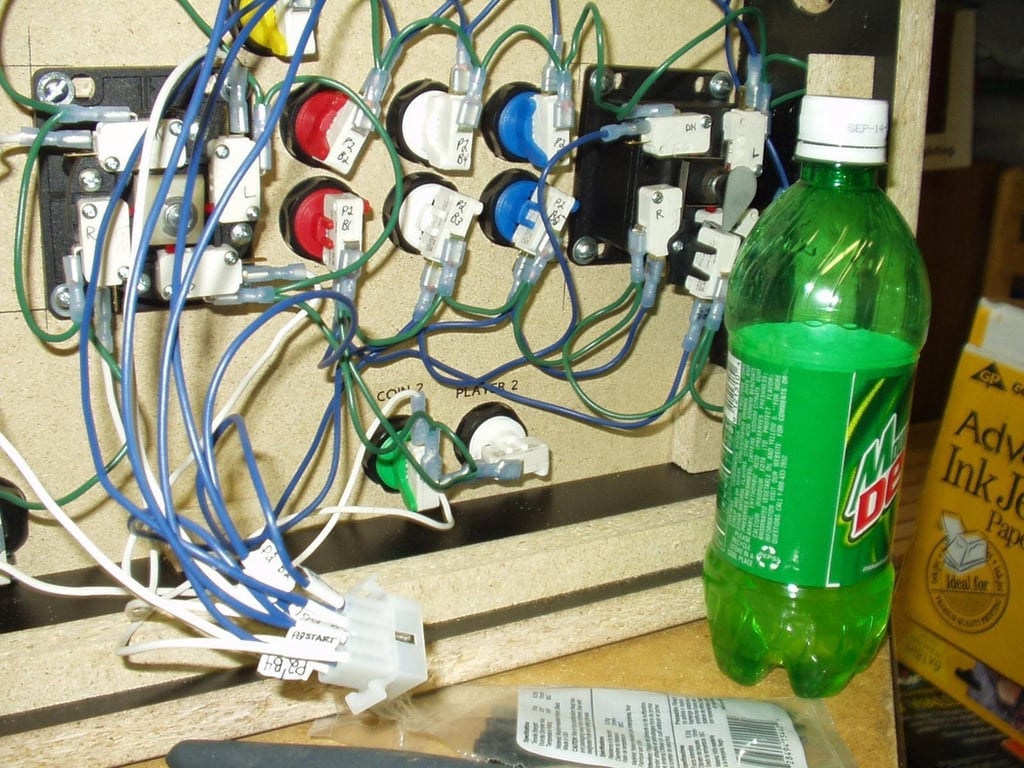
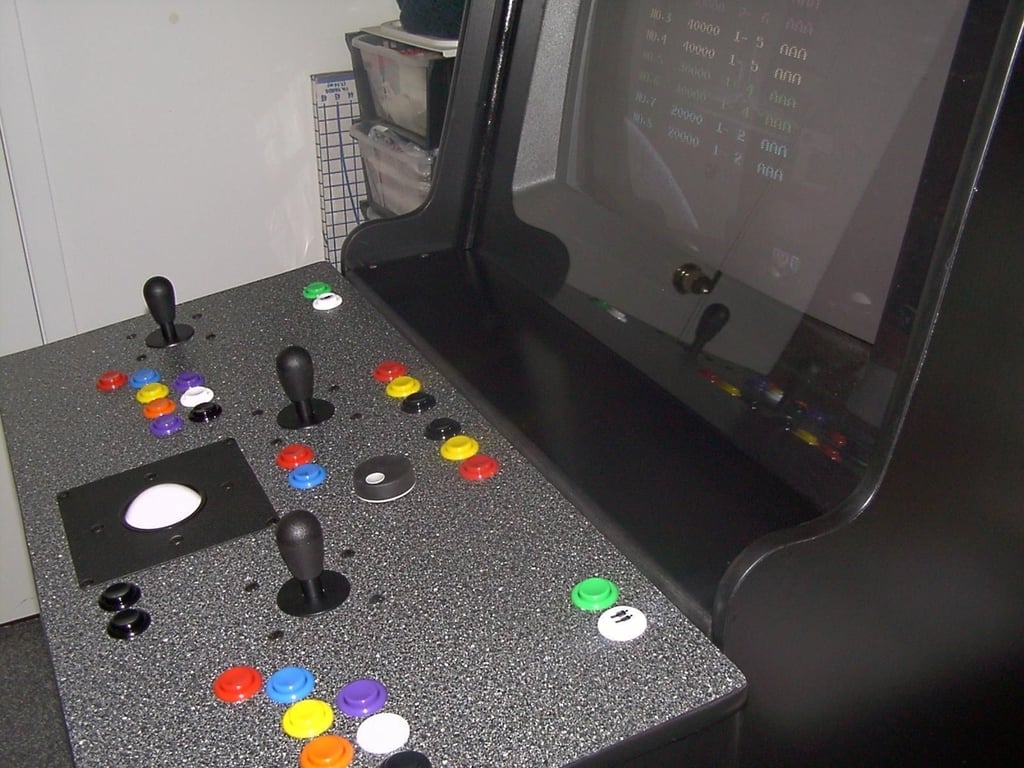
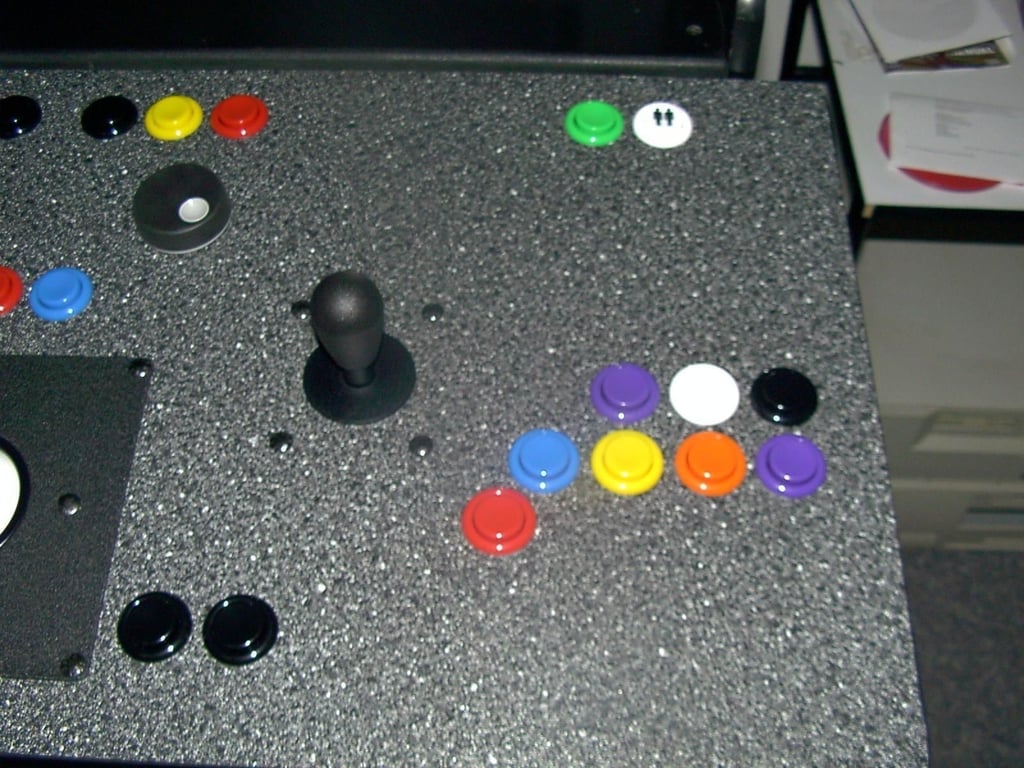
I went with a Red/White/Blue theme. It easy to tell the buttons apart in a dimly lit theater and looks great.
© Webshots – capstone66
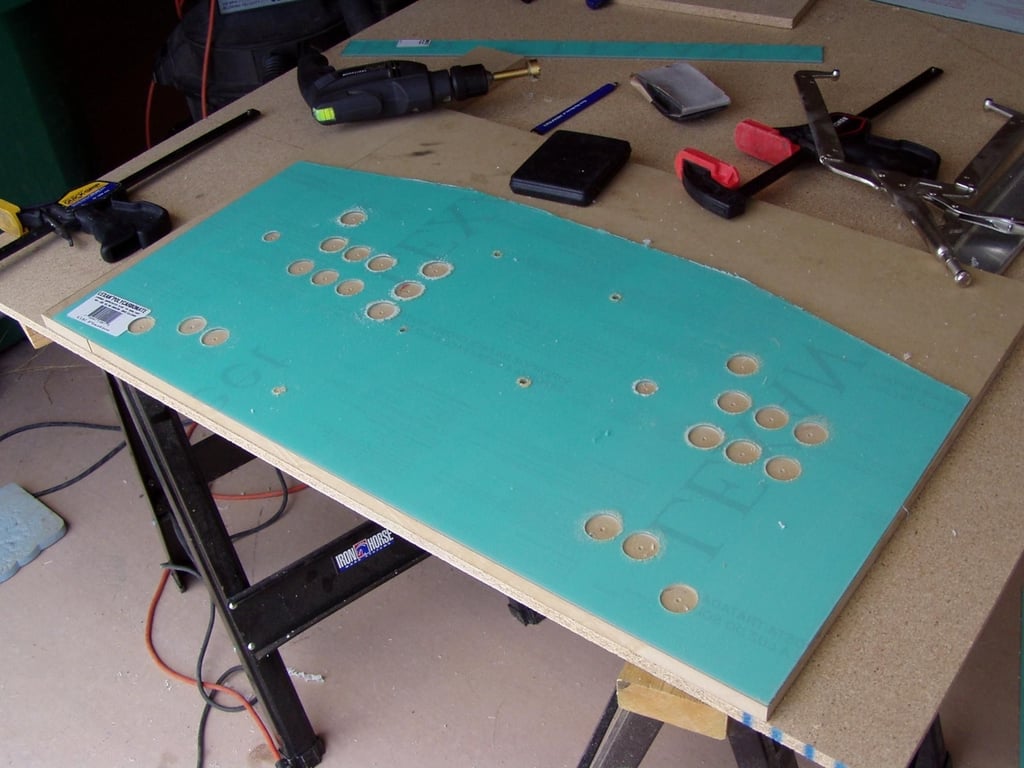
This is the Blank SlikStik panel loaded with the buttons, joysticks, trackball and spinner all ready to be wired.
© Webshots – capstone66

© Webshots – capstone66
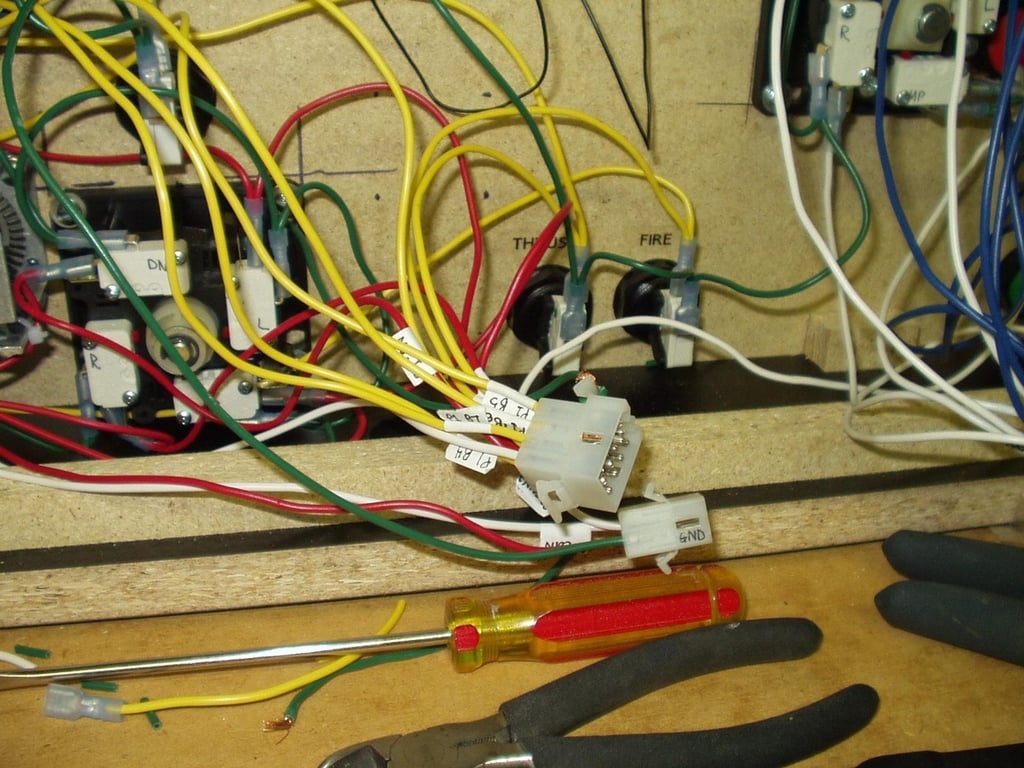
I used 16G stranded wire (Green for Ground) and color coded the rest of the controls
© Webshots – capstone66
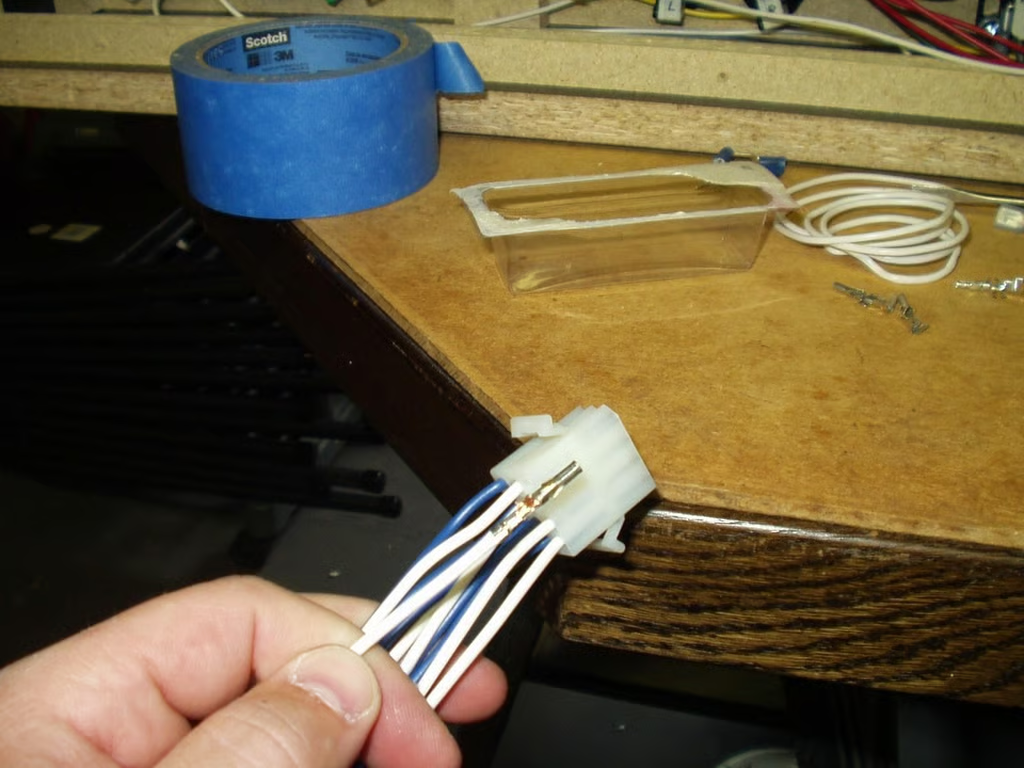
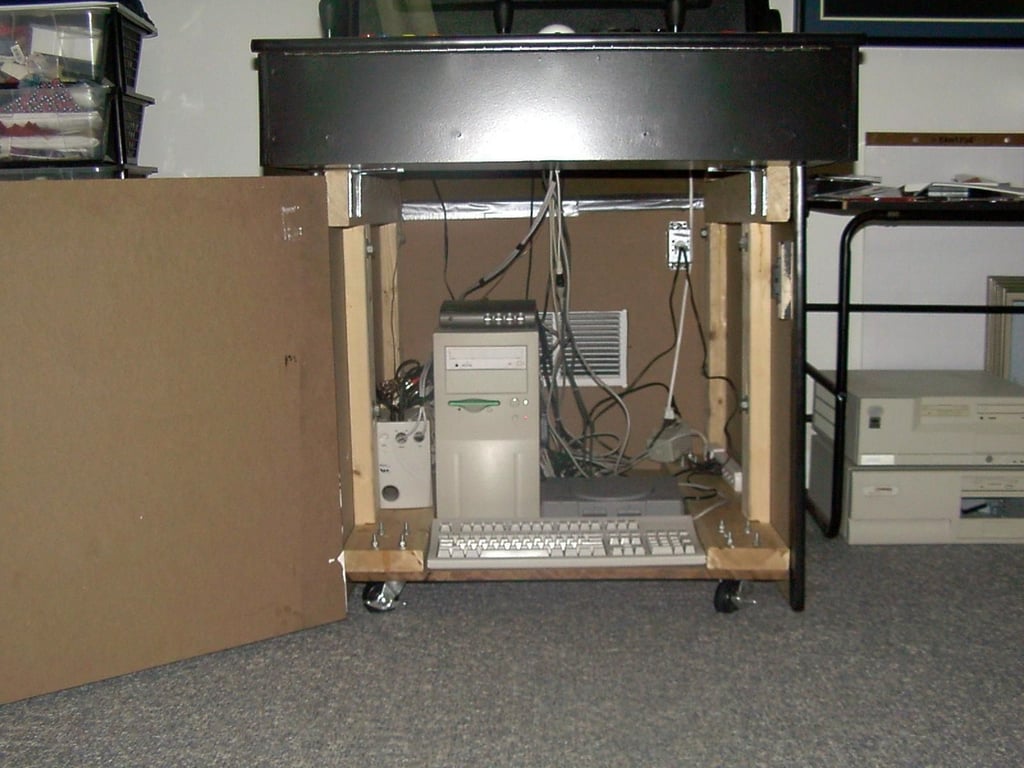
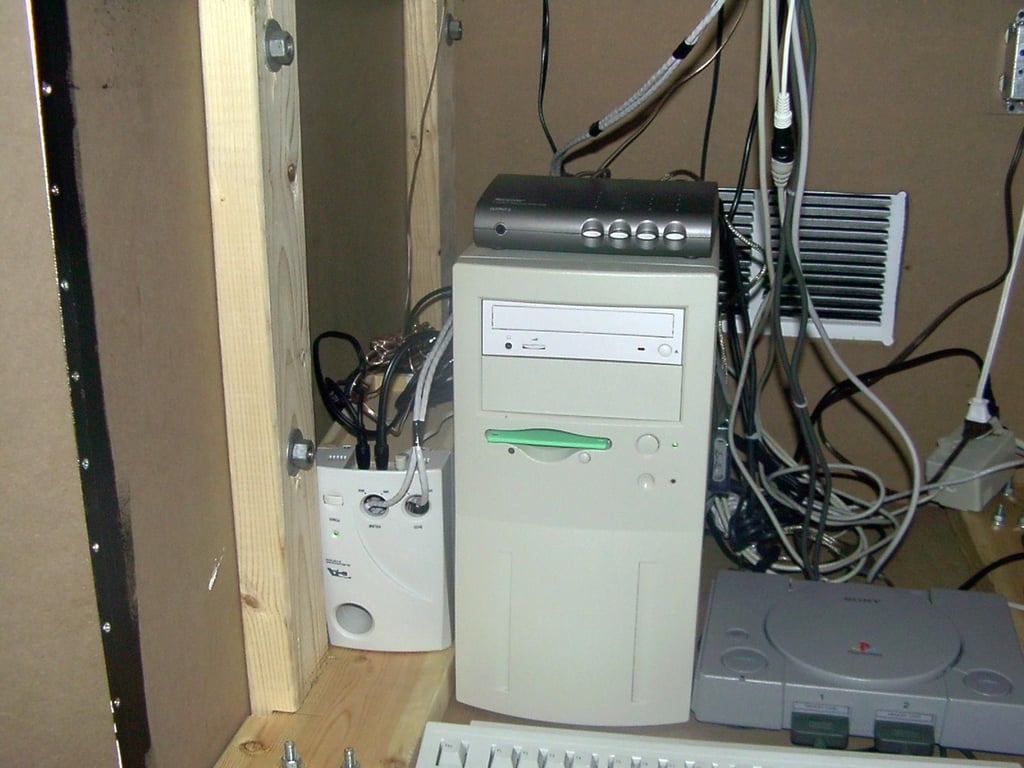
I originally was going to build a cabinet/pedestal to hold the PC HW, so I used Molex connectors to allow for access and strage.
© Webshots – capstone66
Commonly used for electronic wiring harnessness, this was my first crack at working with creating them. They take a long time to create but worth the effort when it comes time to disconnect and move the cabinet around.
© Webshots – capstone66
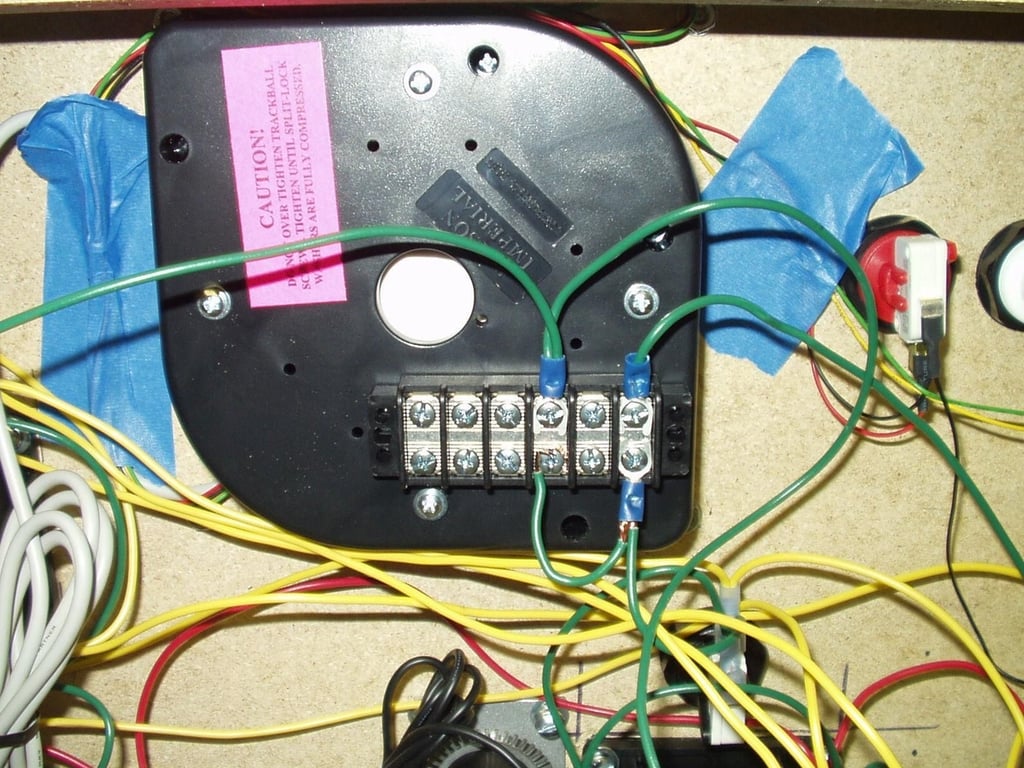
I used doublesided tack to secure the wiring strip to the underside of the trackball–a good central location for ground connections.
© Webshots – capstone66
The MOLEX connectors were a real pain, so a little MtnDew got me through.
© Webshots – capstone66
The spinner (Tempest, TRON and others) was smack-dab in the way of a lot of wiring, but what could I do.
© Webshots – capstone66
This was a “10 trips to Home Depot” project with the multiple connector types, wire colors etc, I was at Home Depot all the time.
© Webshots – capstone66
I crimped a total of 84 wires for the MOLEX connectors for this control panel.
© Webshots – capstone66
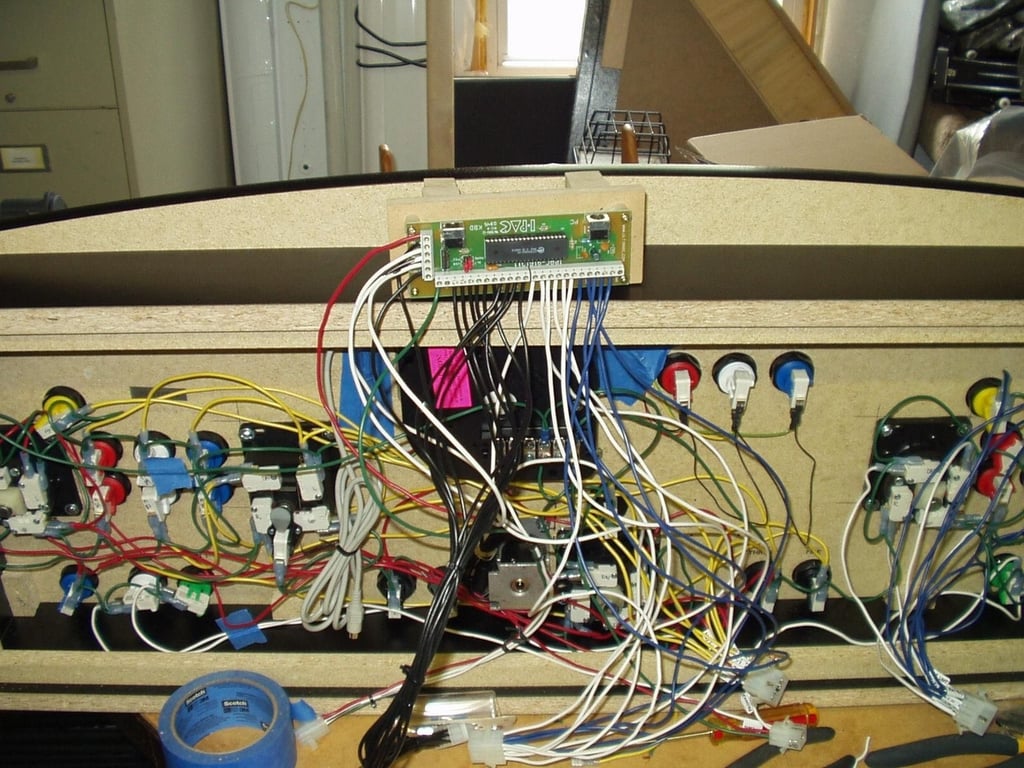
The wiring is almost complete. As you can see there’s a lot going on in there (and it’s not even finished). The Track Ball and Spinner have a separate console board that still needs to be installed.
© Webshots – capstone66
The pedestal for now is an old tower speaker. I am still noodling the pedestal plans to include a keyboard tray and storage for the GameCube controls.
© Webshots – capstone66
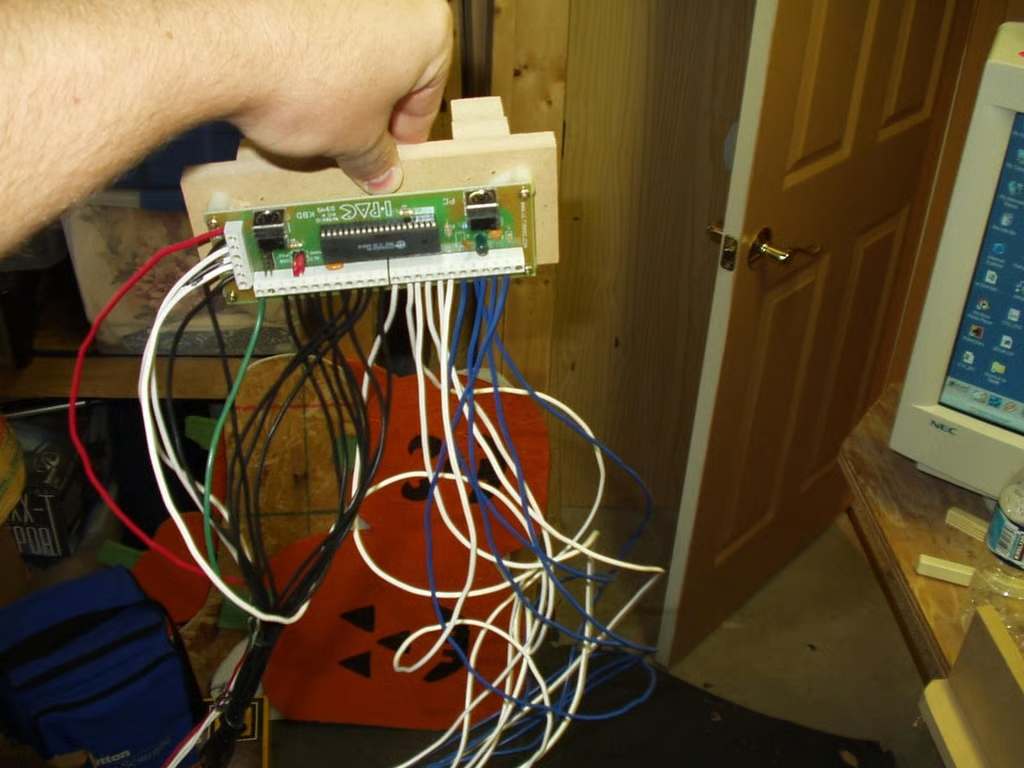
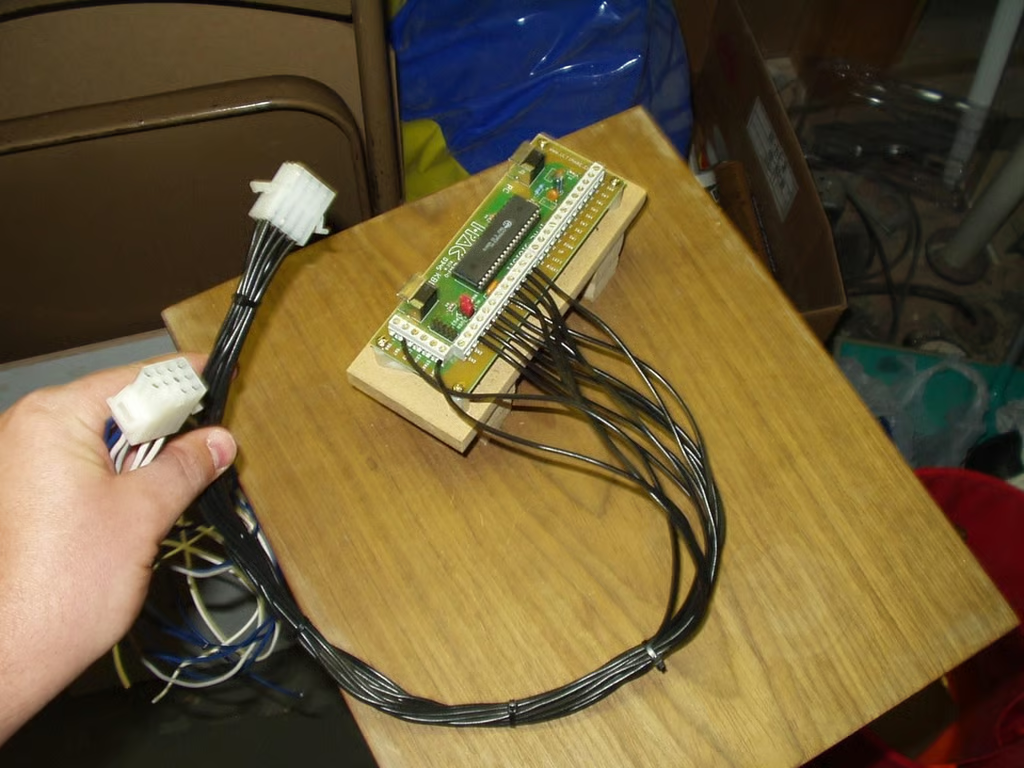
This is the heart of what sends the commands from the PC Emulator to the different arcade controls.
© Webshots – capstone66
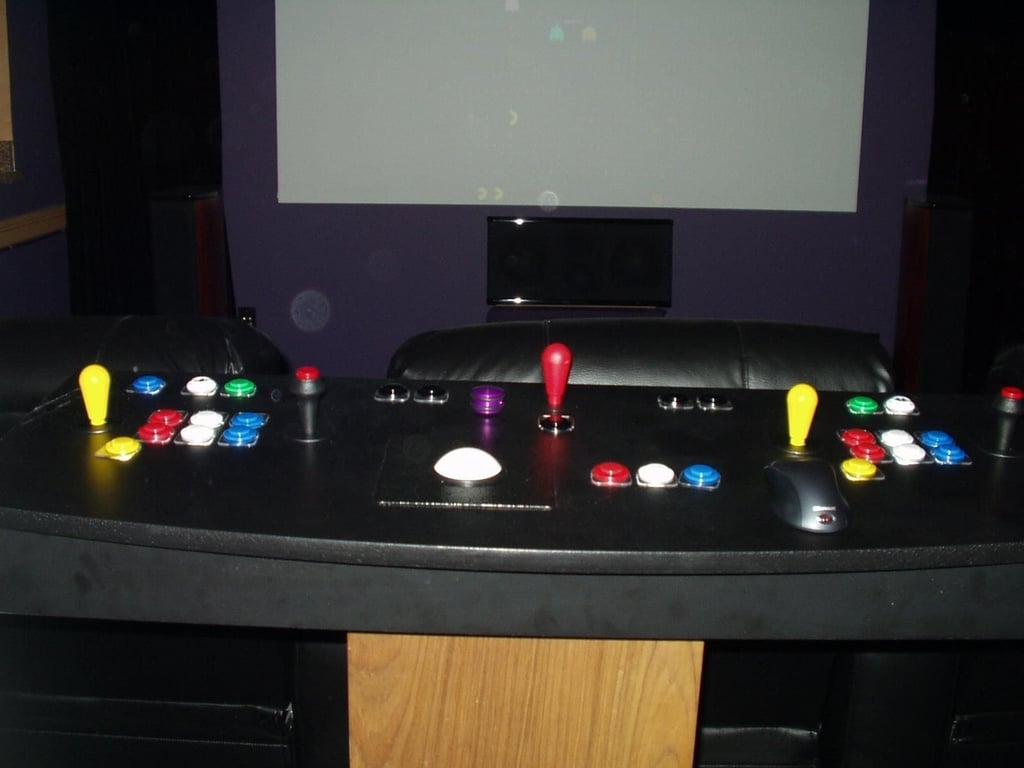
Here’s the MAME master control panel ready for Classic arcade fun.
© Webshots – capstone66
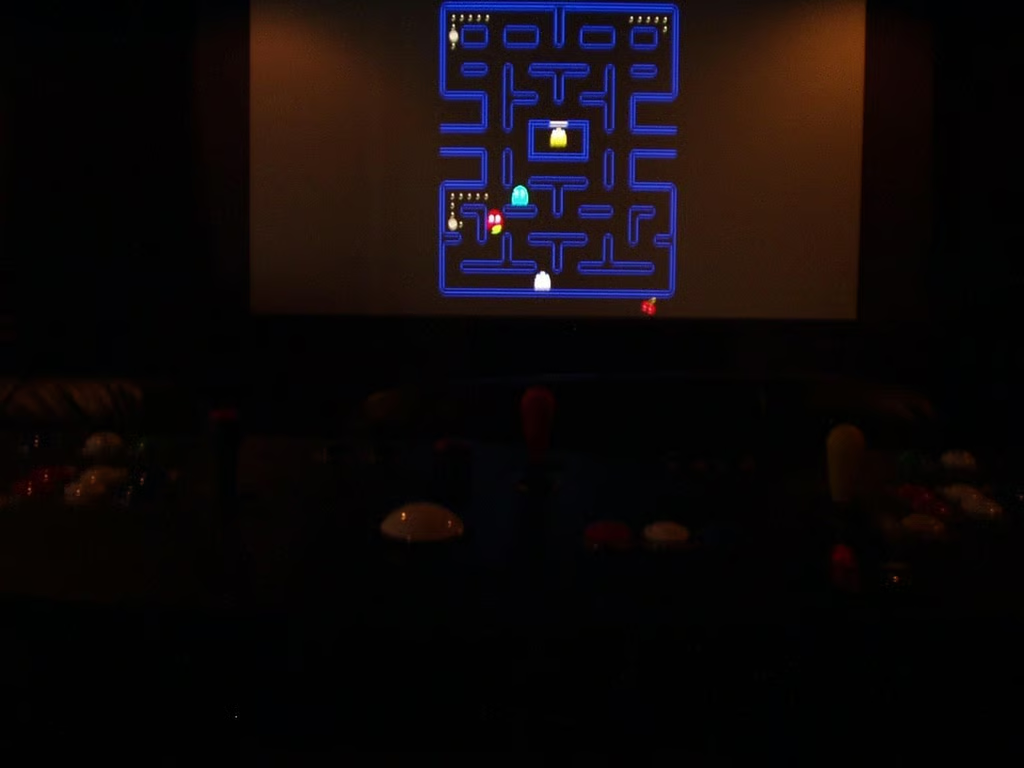
The first run with the new controls went very smooth. The configuration software offered by SlikStik was invaluable. GUI interface is perfect for guys like me.
© Webshots – capstone66

Webshots member capstone66 posted the following 24 photos of the homemade MAME cabinet.
I went with a Red/White/Blue theme. It easy to tell the buttons apart in a dimly lit theater and looks great.
© Webshots – iluvmame
© Webshots – iluvmame
© Webshots – iluvmame
© Webshots – iluvmame
© Webshots – iluvmame
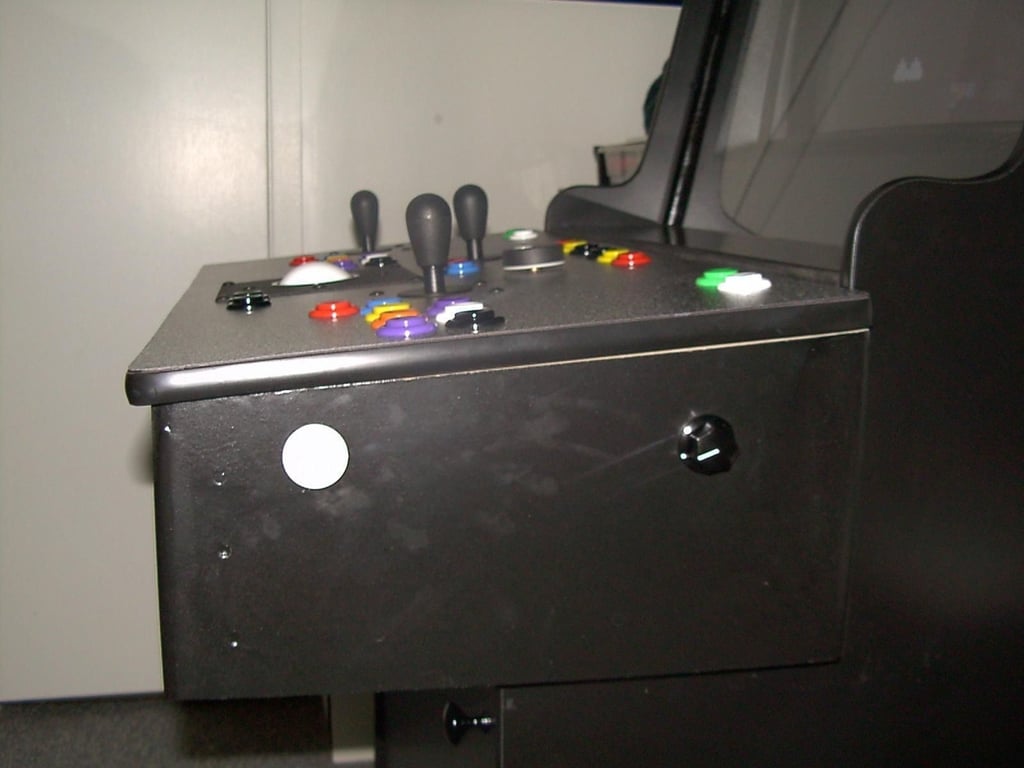
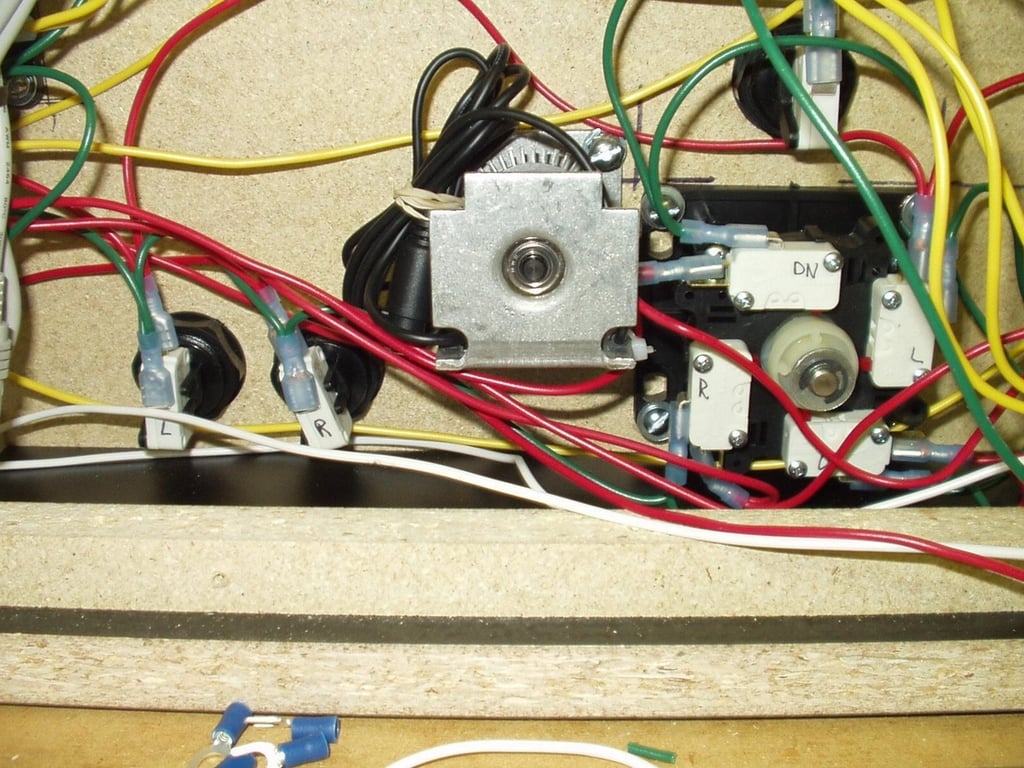
Bbutton and cabinet volume control knob
© Webshots – iluvmame
© Webshots – iluvmame
© Webshots – iluvmame
© Webshots – iluvmame
© Webshots – iluvmame
© Webshots – iluvmame
© Webshots – iluvmame
© Webshots – iluvmame
© Webshots – iluvmame

© Webshots – iluvmame
© Webshots – iluvmame
© Webshots – iluvmame
© Webshots – iluvmame
© Webshots – iluvmame
© Webshots – iluvmame
© Webshots – iluvmame
© Webshots – iluvmame
Bill Detwiler is the Editor for Technical Content and Ecosystem at Celonis. He is the former Editor in Chief of TechRepublic and previous host of TechRepublic's Dynamic Developer podcast and Cracking Open, CNET and TechRepublic's popular online show. Previously, Bill was an IT manager in the social research and energy industries. He has bachelor's and master's degrees from the University of Louisville, where he has also lectured on computer crime and crime prevention.


