In October 2010, Apple released the 2nd generation MacBook Air. The redesigned notebook is available in 11-inch and 13-inch models. We cracked open the 1st generation MacBook Air (released in 2008) and could wait to get our hands on the 2010 model.
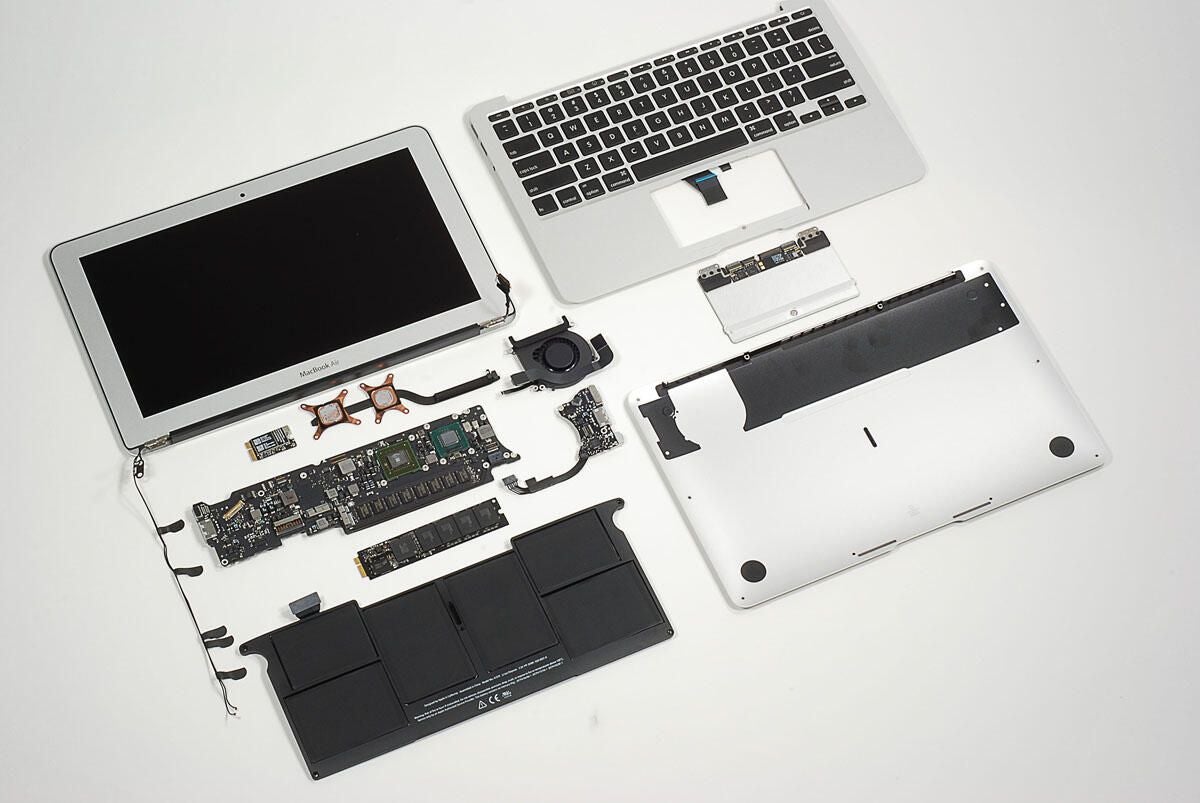
Follow along as we crack open the 11-inch MacBook Air.
To disassemble the new Air you’ll need a screwdriver with Torx T5 and T9 bits and either a very small flathead screwdriver or special “cloverleaf” security bit.
Photo by: Bill Detwiler / TechRepublic
Caption by: Bill Detwiler
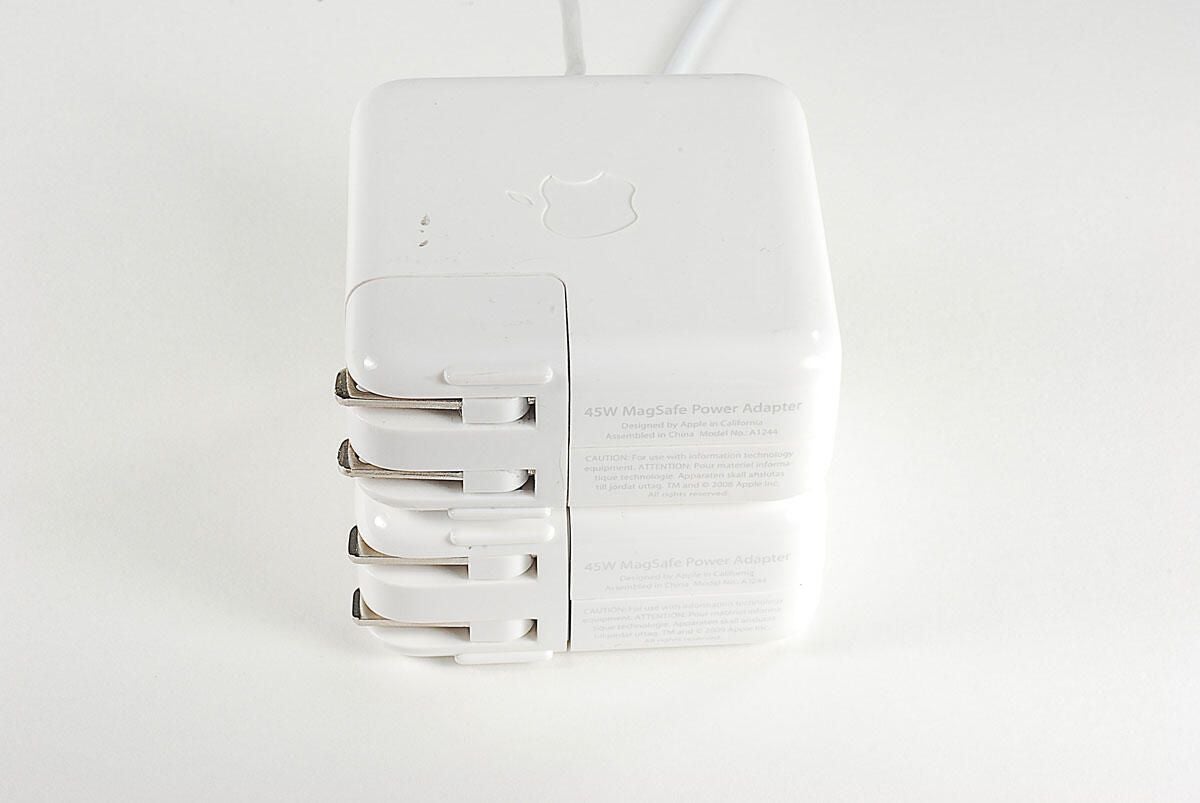
The new MackBook Air’s 45W MagSafe power adapter is the same size as the power adapter on the 2008 MacBook Air.
Photo by: Bill Detwiler / TechRepublic
Caption by: Bill Detwiler
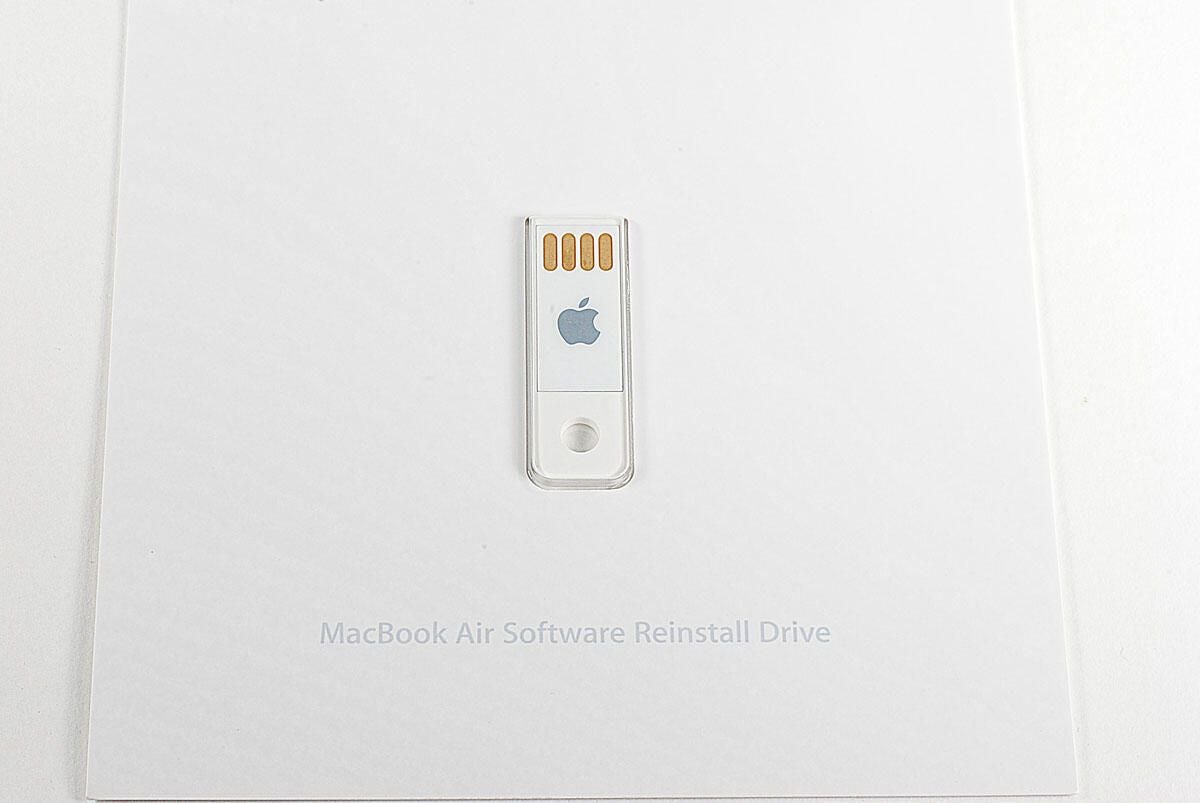
A long-overdue feature, this USB drive lets you reinstall the versions of OS X and iLife that ship with the MacBook Air.
Photo by: Bill Detwiler / TechRepublic
Caption by: Bill Detwiler
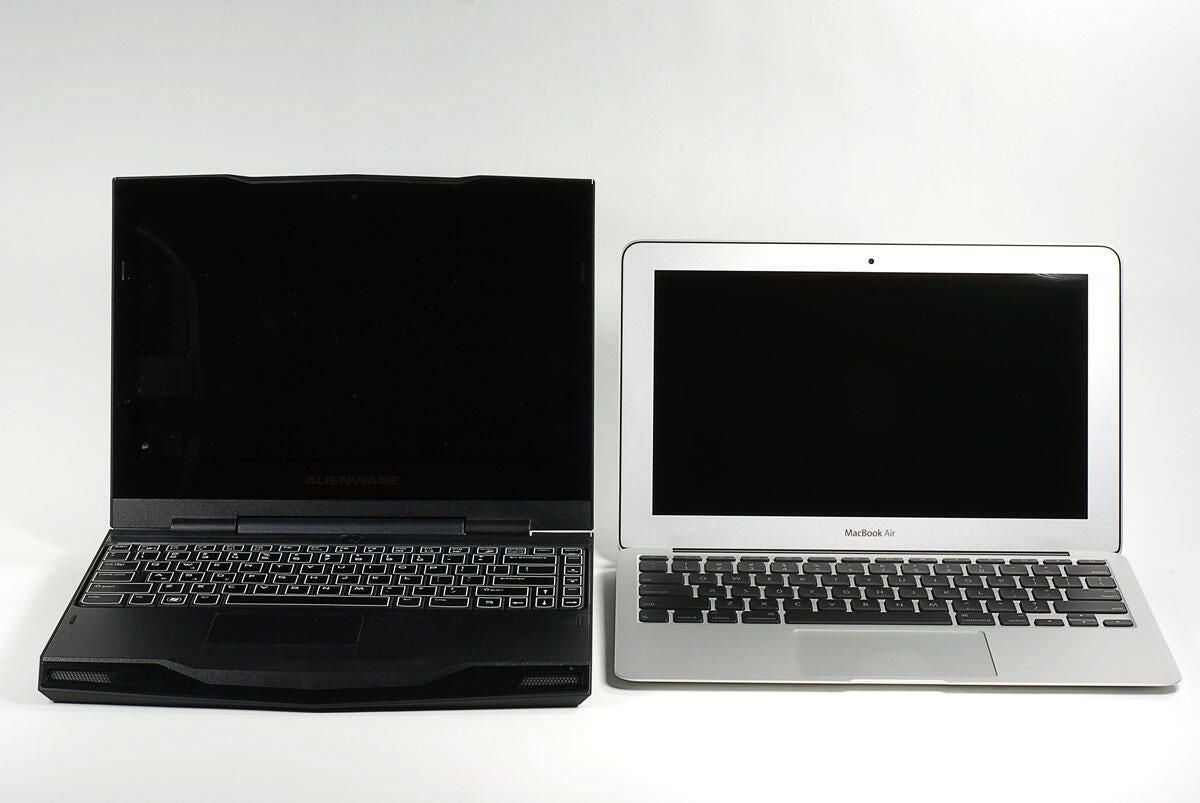
The 11-inch MacBook Air starts at $999, and I thought it would be interesting to compare it to another 11-inch notebook that costs $999–the Alienware M11x.
We reviewed the Alienware M11x back in April. As of this writing, an M11x with an Intel Core i5 520UM, NVIDIA NGT335M GeForce GPU, 4GB SDRAM, and 500GB HDD.
Photo by: Bill Detwiler / TechRepublic
Caption by: Bill Detwiler
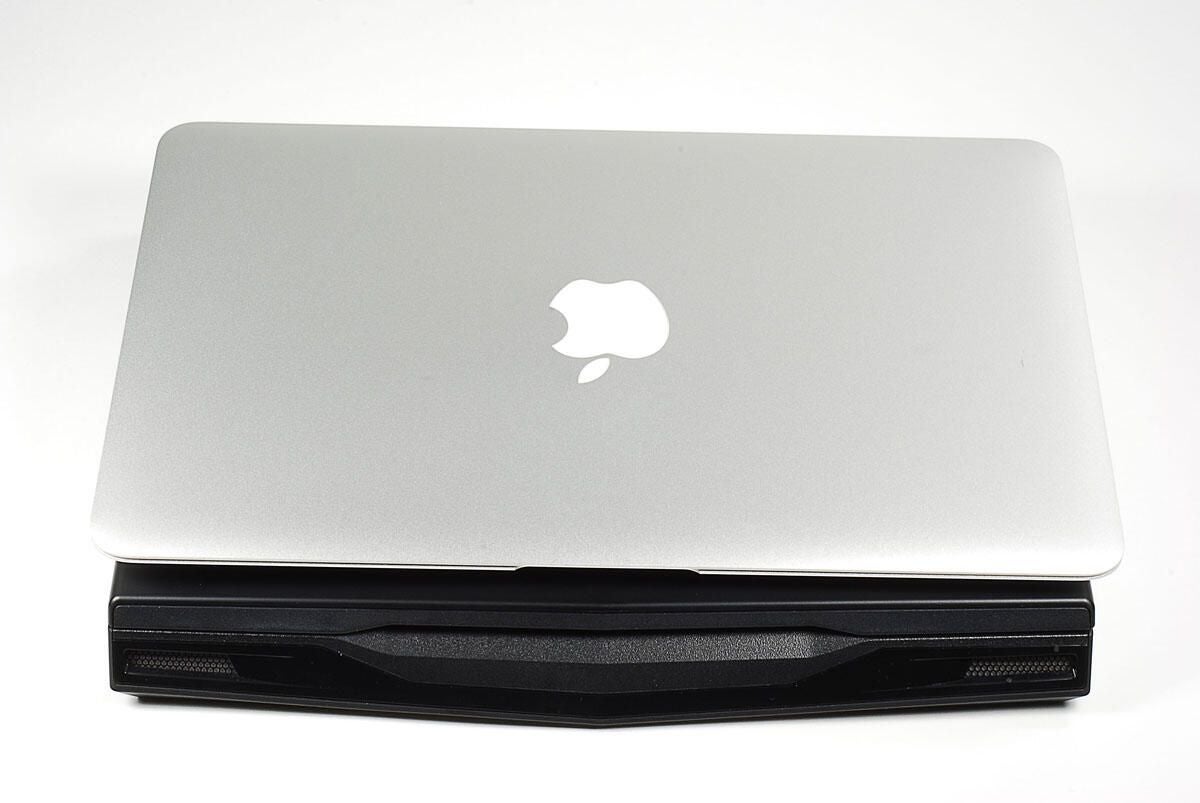
From the top, both 11-inch notebooks are about the same size.
Photo by: Bill Detwiler / TechRepublic
Caption by: Bill Detwiler
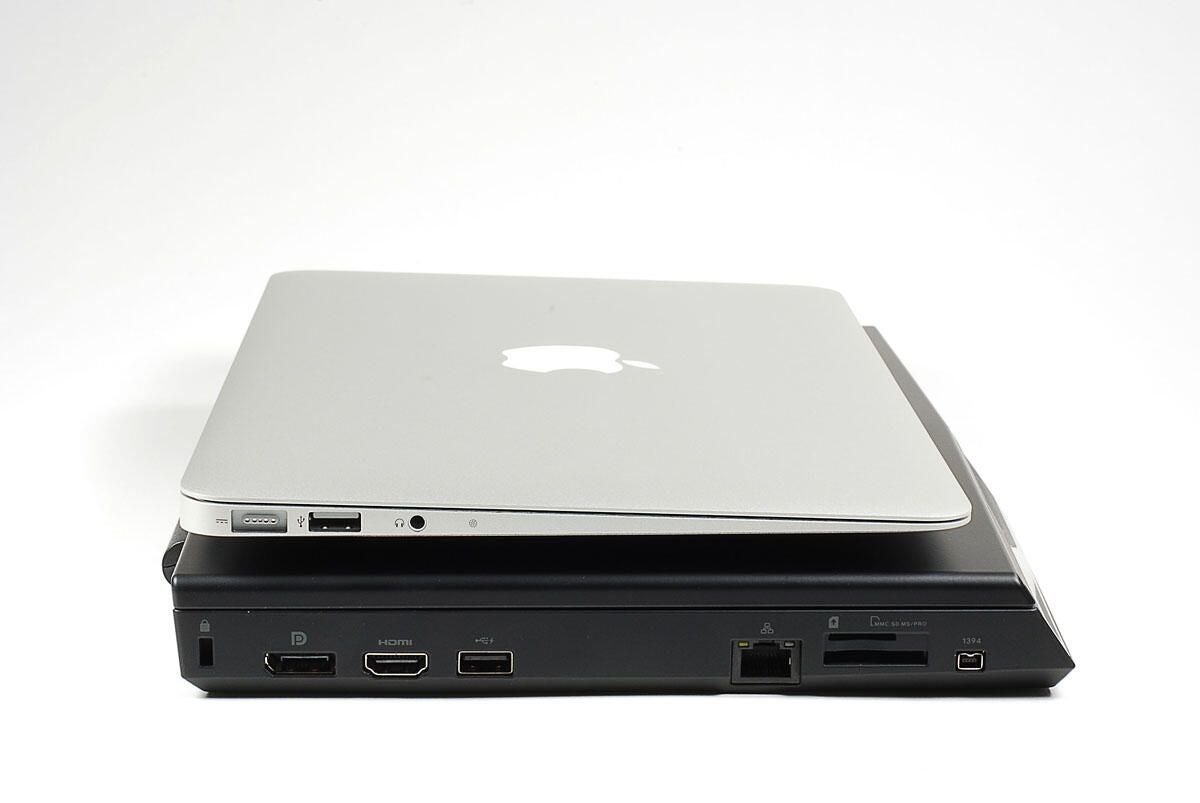
When you look at the sides of each notebook, the MacBook Air’s thinner profile is immediately noticeable. The Alienware M11x may have more power than the Air, but Apple’s ultra-thin machine is definitely more portable.
Photo by: Bill Detwiler / TechRepublic
Caption by: Bill Detwiler
The 2010 MacBook Air (11-inch) on top of the 2008 MacBook Air (13-inch).
Photo by: Bill Detwiler / TechRepublic
Caption by: Bill Detwiler
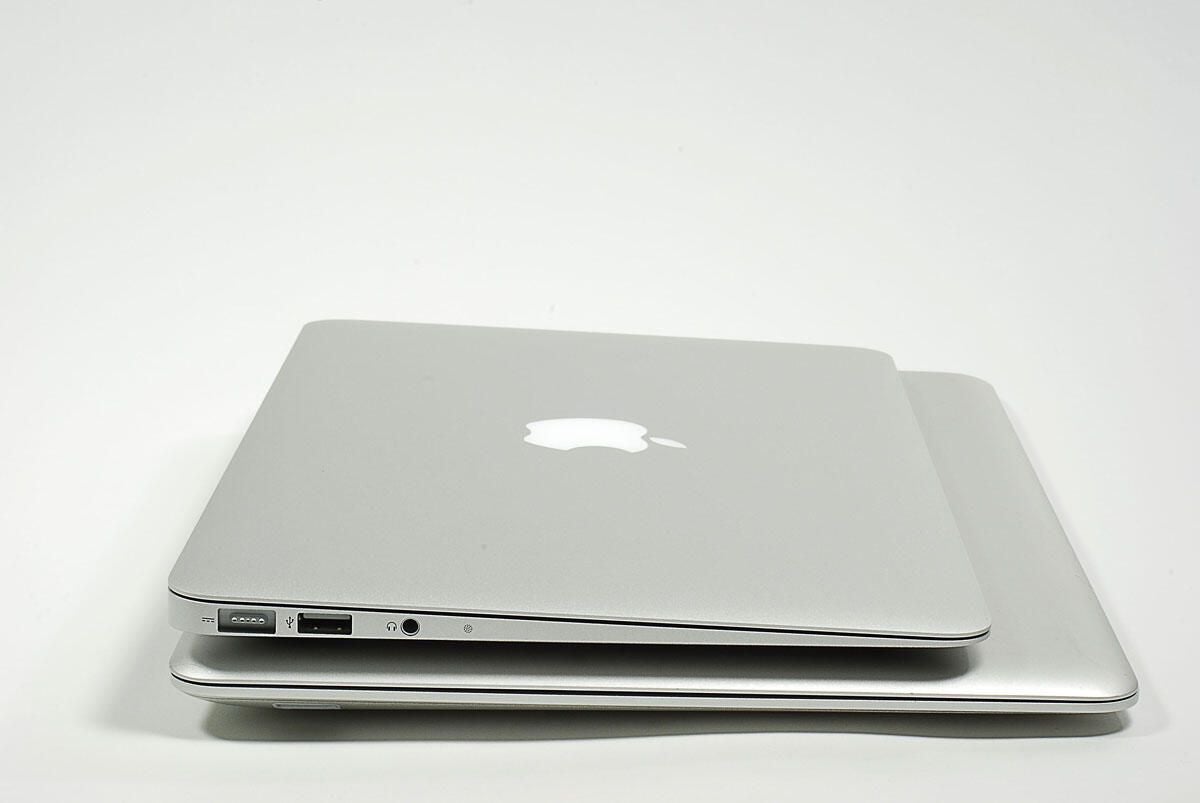
Photo by: Bill Detwiler / TechRepublic
Caption by: Bill Detwiler
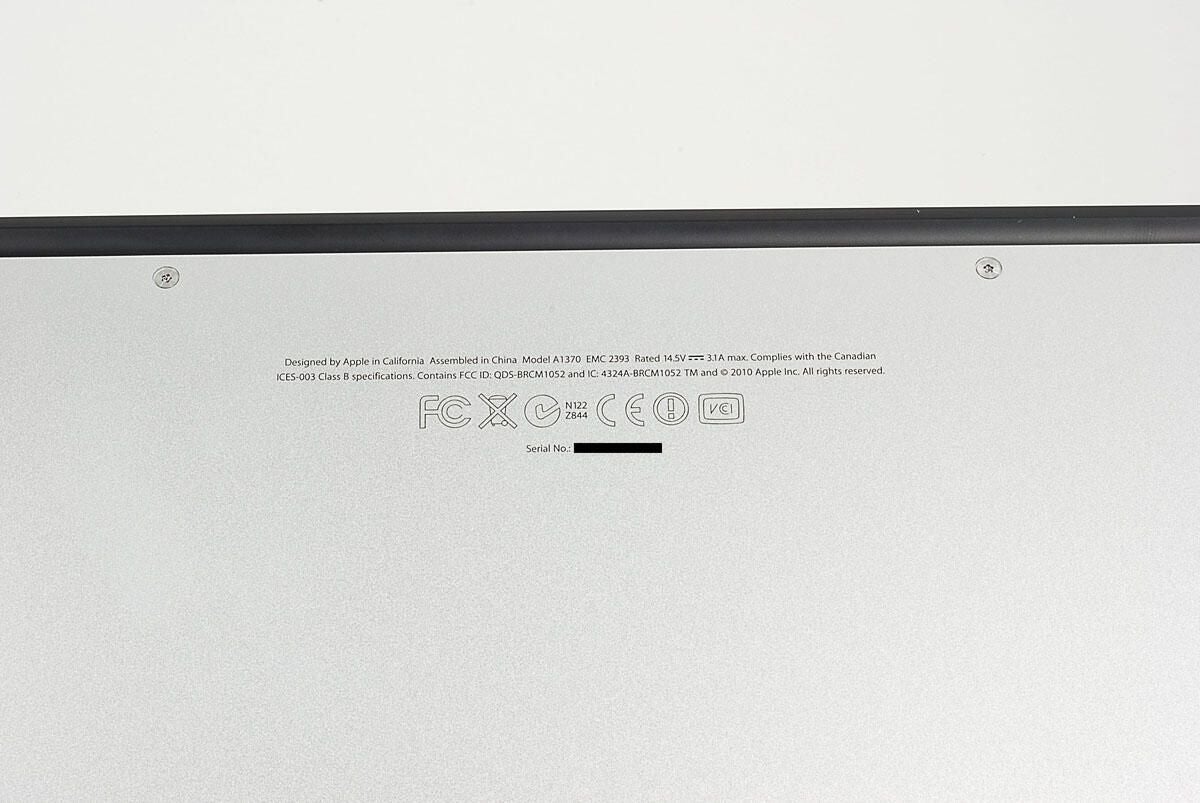
The 2010 11-inch MacBook Air has the model number A1370.
Photo by: Bill Detwiler / TechRepublic
Caption by: Bill Detwiler
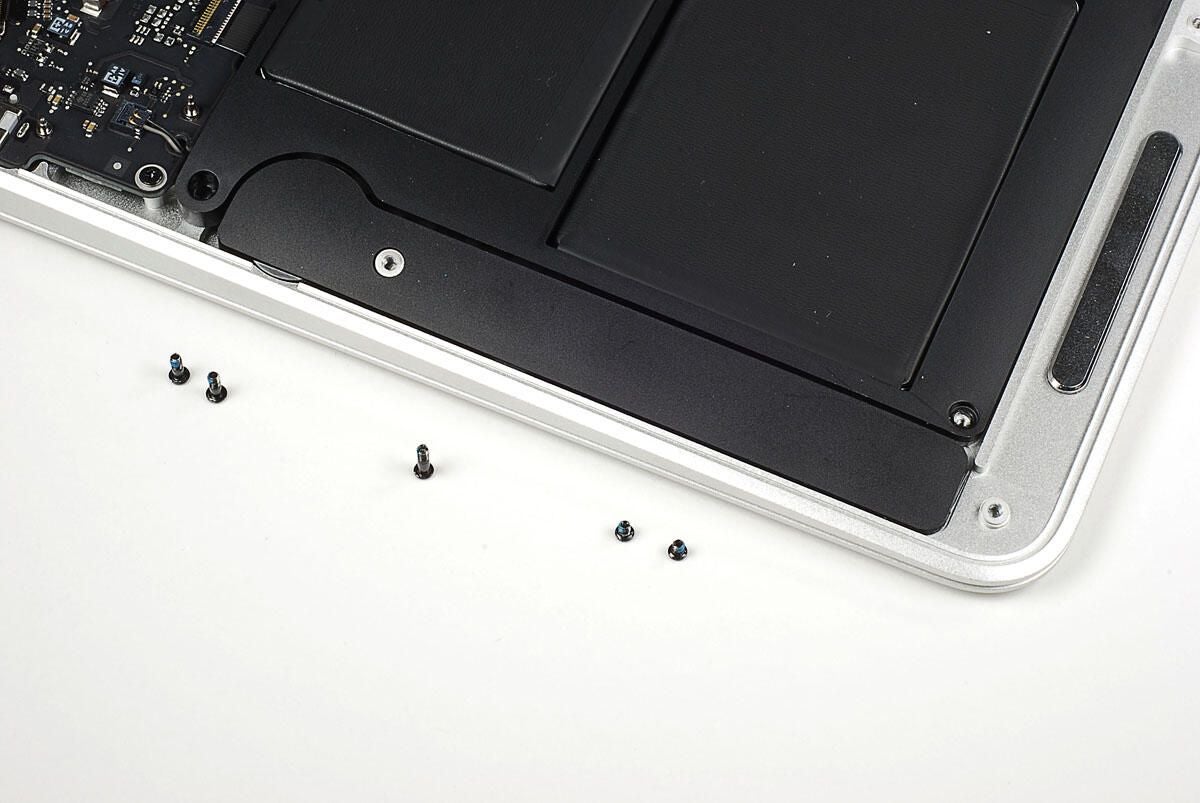
Photo by: Bill Detwiler / TechRepublic
Caption by: Bill Detwiler

Photo by: Bill Detwiler / TechRepublic
Caption by: Bill Detwiler
Photo by: Bill Detwiler / TechRepublic
Caption by: Bill Detwiler
The 2010 MacBook Air uses flash storage, exclusively. Our test unit came with 64GB. A single Torx T5 screw holds the unit in place. Once the screws is removed, you can disconnect the unit from the main logic board.
Photo by: Bill Detwiler / TechRepublic
Caption by: Bill Detwiler
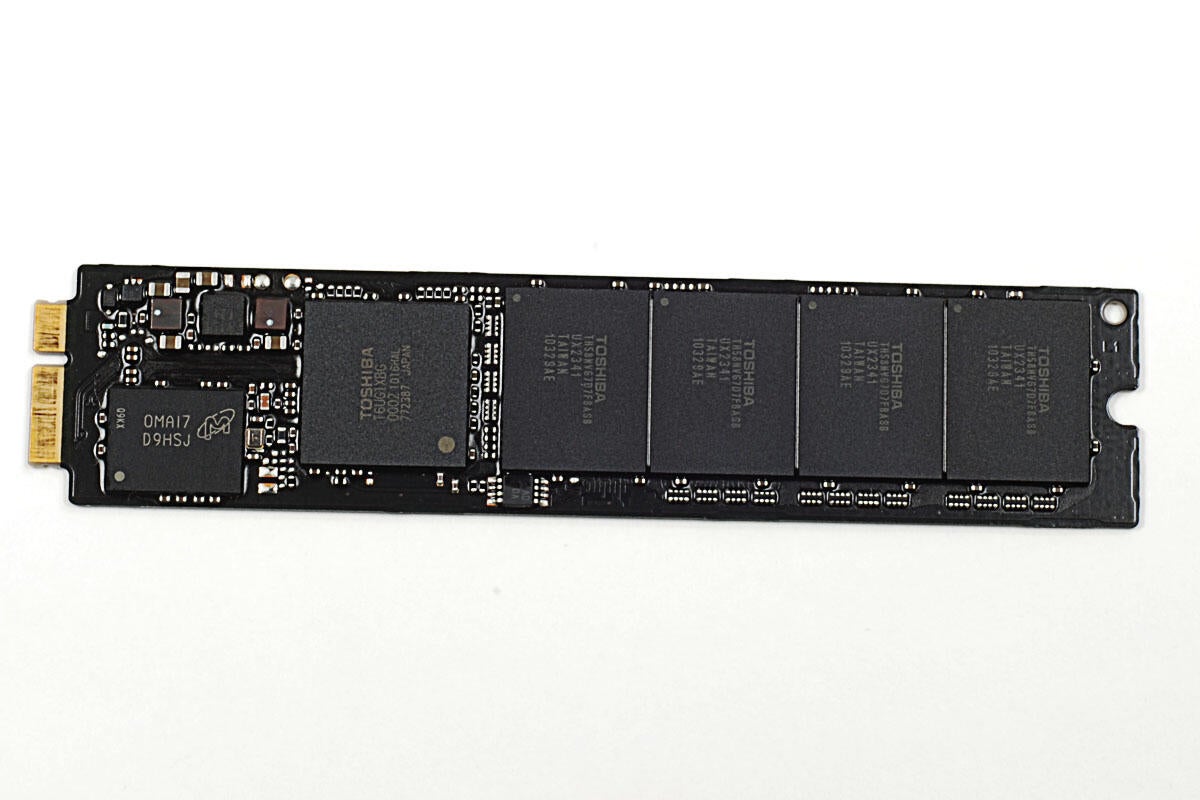
The MacBook Air’s flash storage unit contains four main components–the circuit board, a Toshiba Solid State Drive controller, a Micron DDR DRAM cache, and the actual Toshiba flash memory chips.
Photo by: Bill Detwiler / TechRepublic
Caption by: Bill Detwiler
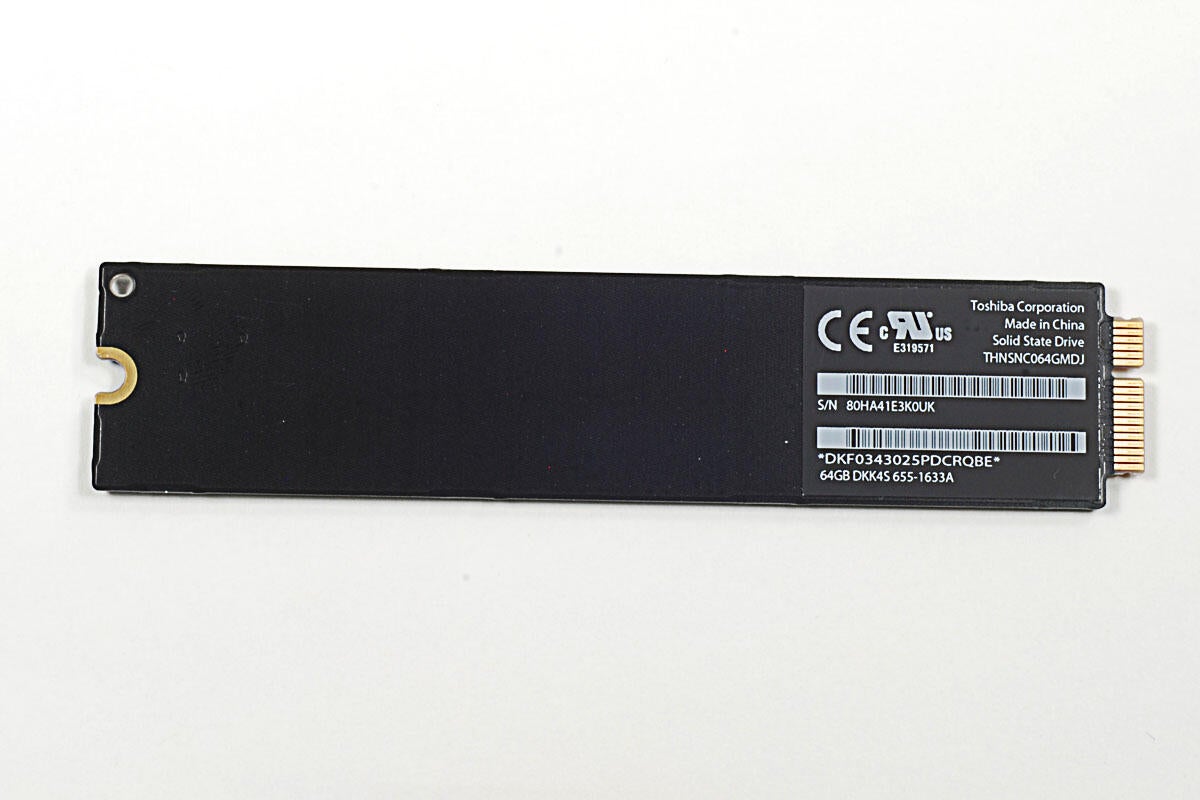
Photo by: Bill Detwiler / TechRepublic
Caption by: Bill Detwiler

Our 64GB MacBook Air’s flash memory storage unit has four Toshiba TH58NVG7D7FBASB 16GB flash chips.
Photo by: Bill Detwiler / TechRepublic
Caption by: Bill Detwiler

While you’re disconnecting the ribbon cable that runs across the fan, you might as well disconnect the left-side speaker cable underneath.
Photo by: Bill Detwiler / TechRepublic
Caption by: Bill Detwiler
Photo by: Bill Detwiler / TechRepublic
Caption by: Bill Detwiler

Before lifting the main logic board away from the MacBook Air’s case, we need to disconnect the display cable.
Photo by: Bill Detwiler / TechRepublic
Caption by: Bill Detwiler
There are no visible marking on the core of our MacBook Air’s Intel Core 2 Duo 1.4 GHz CPU, but there are markings printed onto the chip’s green circuit board.?
Photo by: Bill Detwiler / TechRepublic
Caption by: Bill Detwiler
This small chip is a Silicon Storage Technology SST25VF032B 32 Mbit SPI Serial Flash memory.
Photo by: Bill Detwiler / TechRepublic
Caption by: Bill Detwiler
Photo by: Bill Detwiler / TechRepublic
Caption by: Bill Detwiler
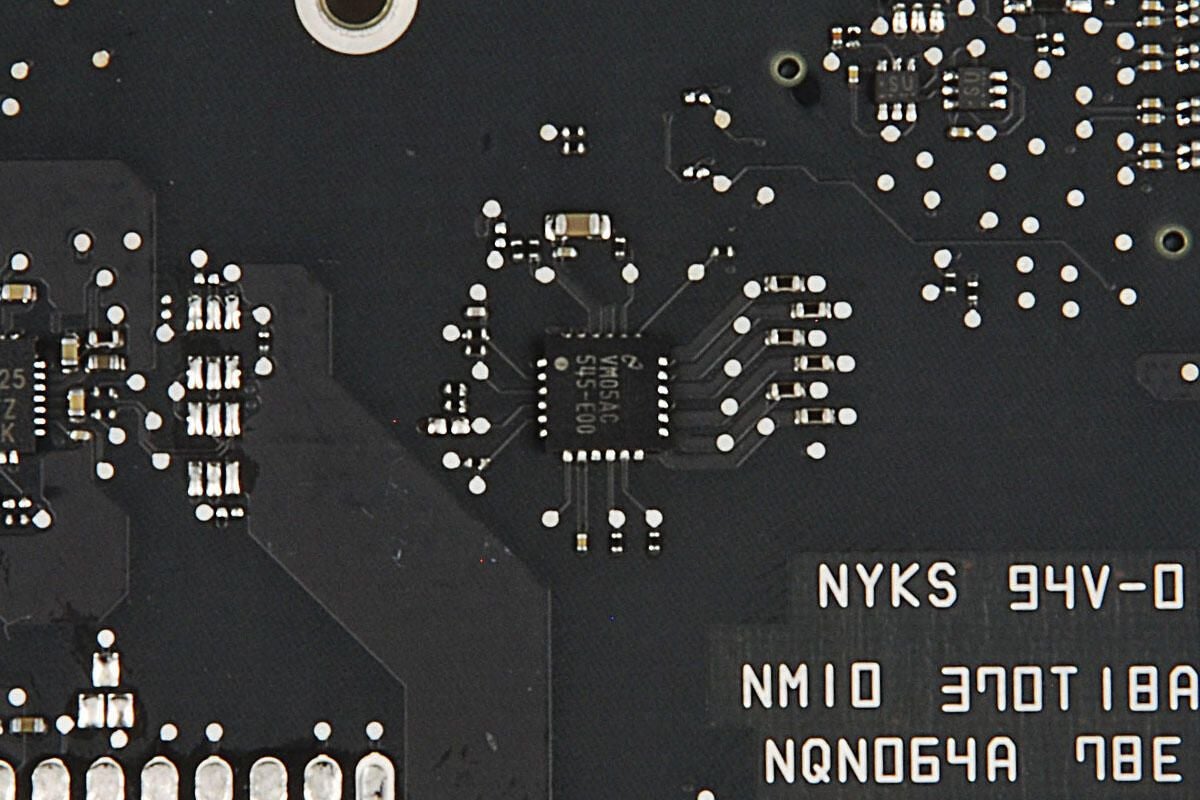
VM05AC 545-E00
Photo by: Bill Detwiler / TechRepublic
Caption by: Bill Detwiler

TPS 51116 TJ 071 AIRD
Photo by: Bill Detwiler / TechRepublic
Caption by: Bill Detwiler
After working our way around the MacBook Air’s main logic board, we should turn our attention back to the case. A small circuit board is located on the case’s left side and contains the MagSafe power port, USB port, and headphone jack. Three cables connect it to components remaining in the case. You’ll need to disconnect all of them before lifting the small board away from the case.
Photo by: Bill Detwiler / TechRepublic
Caption by: Bill Detwiler
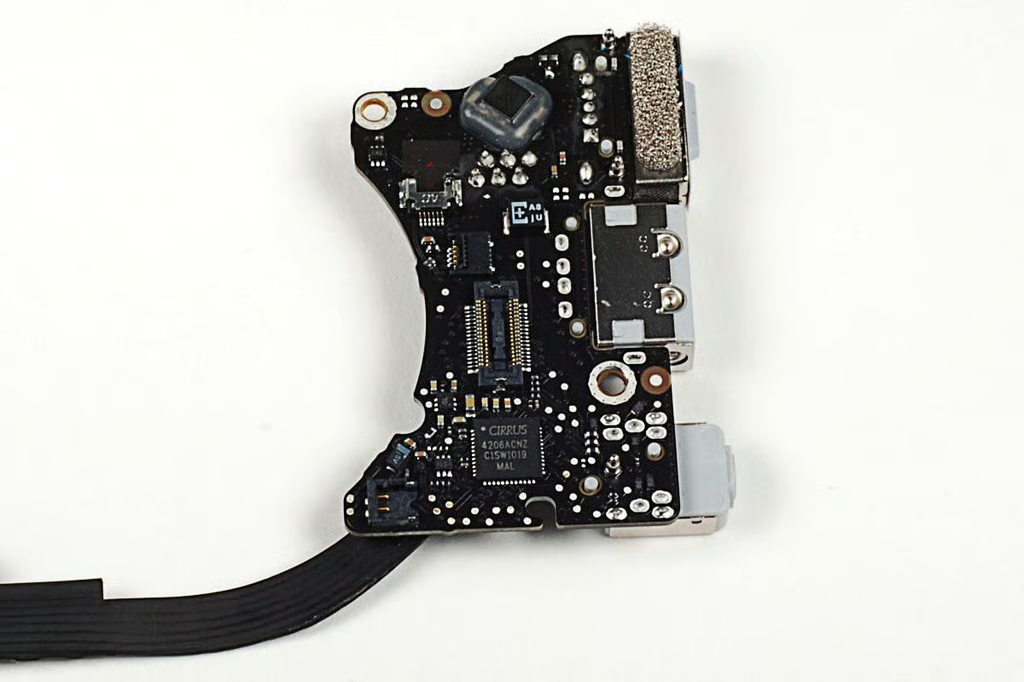
On the bottom of the small circuit board is a Cirrus Logic 4206ACNZ audio controller chip.
Photo by: Bill Detwiler / TechRepublic
Caption by: Bill Detwiler
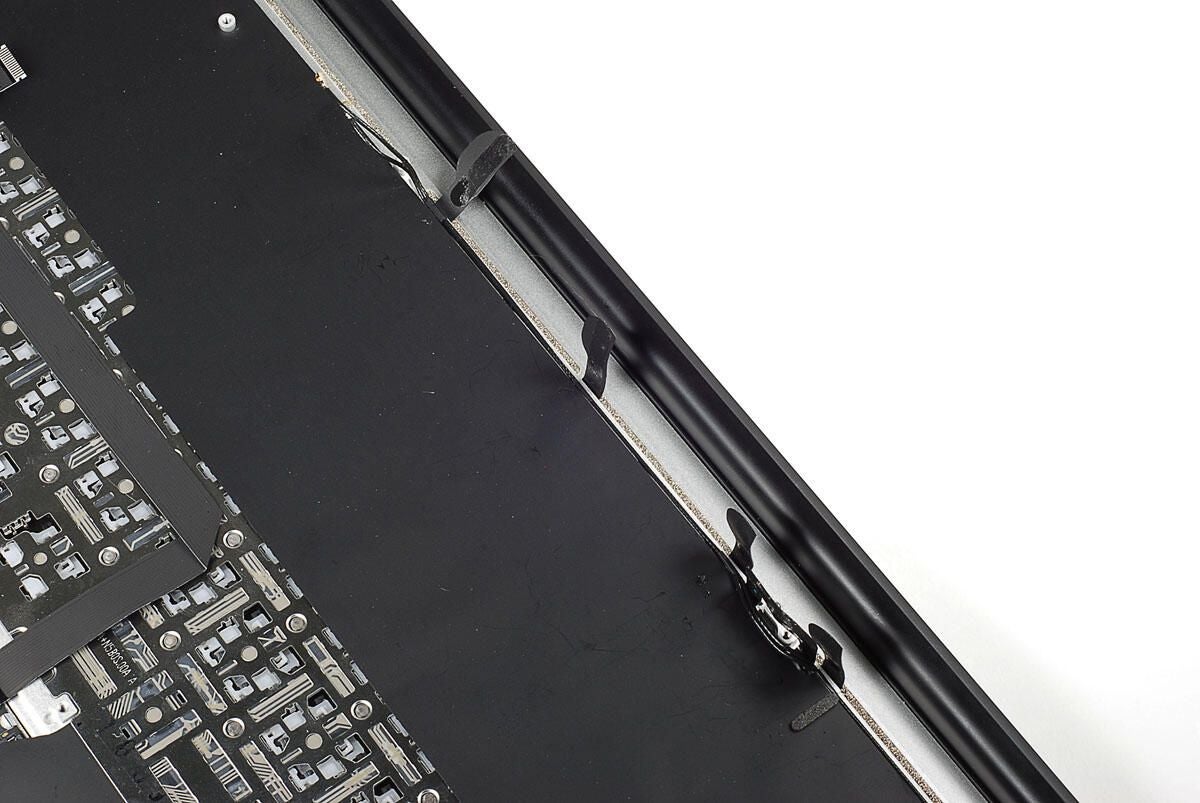
Several thin adhesive strips hold the MacBook Air’s antenna wire to the case. The strips run through think slots in the case and are folder over the cable. You’ll need to pull the strips through the slots and pull the wire free from the case before removing the lid.
Photo by: Bill Detwiler / TechRepublic
Caption by: Bill Detwiler
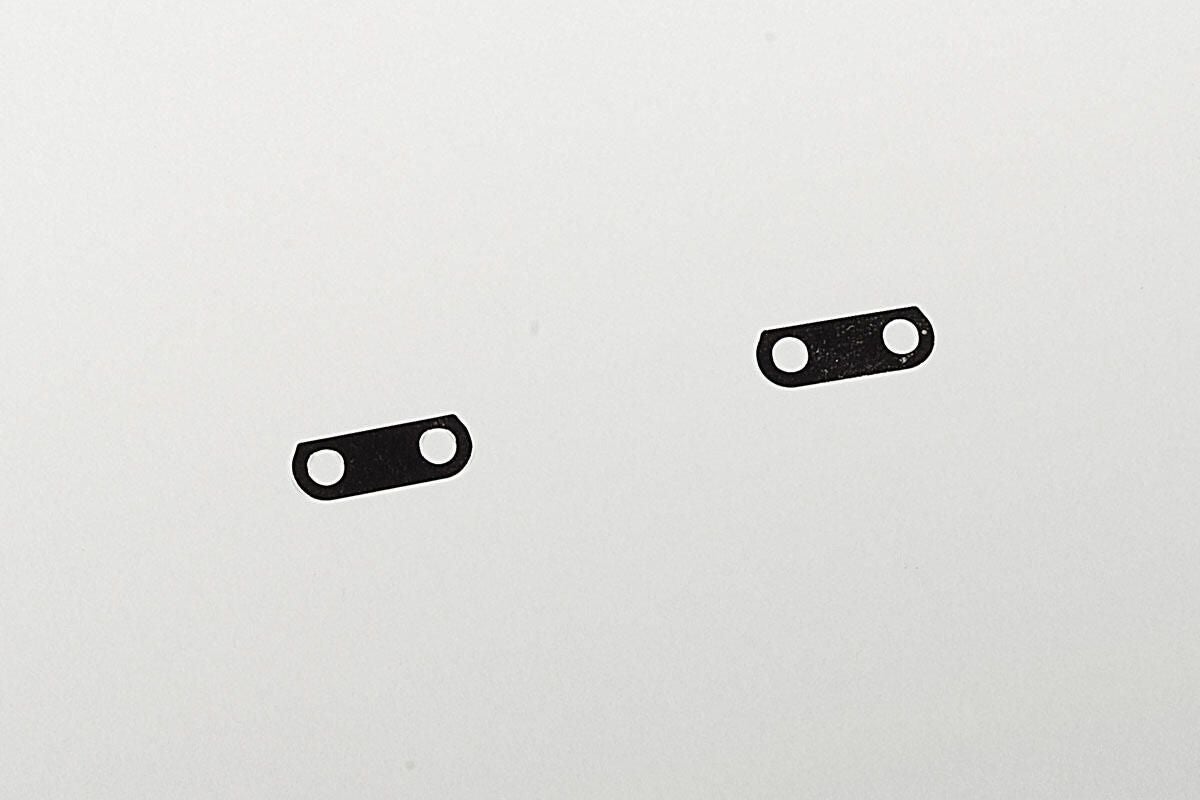
These two small metal spacers are located between the hinges and the case.
Photo by: Bill Detwiler / TechRepublic
Caption by: Bill Detwiler
Photo by: Bill Detwiler / TechRepublic
Caption by: Bill Detwiler
Photo by: Bill Detwiler / TechRepublic
Caption by: Bill Detwiler
Bill Detwiler is the Editor for Technical Content and Ecosystem at Celonis. He is the former Editor in Chief of TechRepublic and previous host of TechRepublic's Dynamic Developer podcast and Cracking Open, CNET and TechRepublic's popular online show. Previously, Bill was an IT manager in the social research and energy industries. He has bachelor's and master's degrees from the University of Louisville, where he has also lectured on computer crime and crime prevention.


