\n\tMembers of Let Them Tweet Cake, a female-only group in Louisville, KY that meets to discuss tech and geek-related stuff, were invited to LVL1 Hackerspace for a workshop on how to make MintiBoosts, battery-powered USB chargers made with Altoids tins. Check out this gallery to see images of yours truly trying to learn some geek skills and build my own MintiBoost!
\n
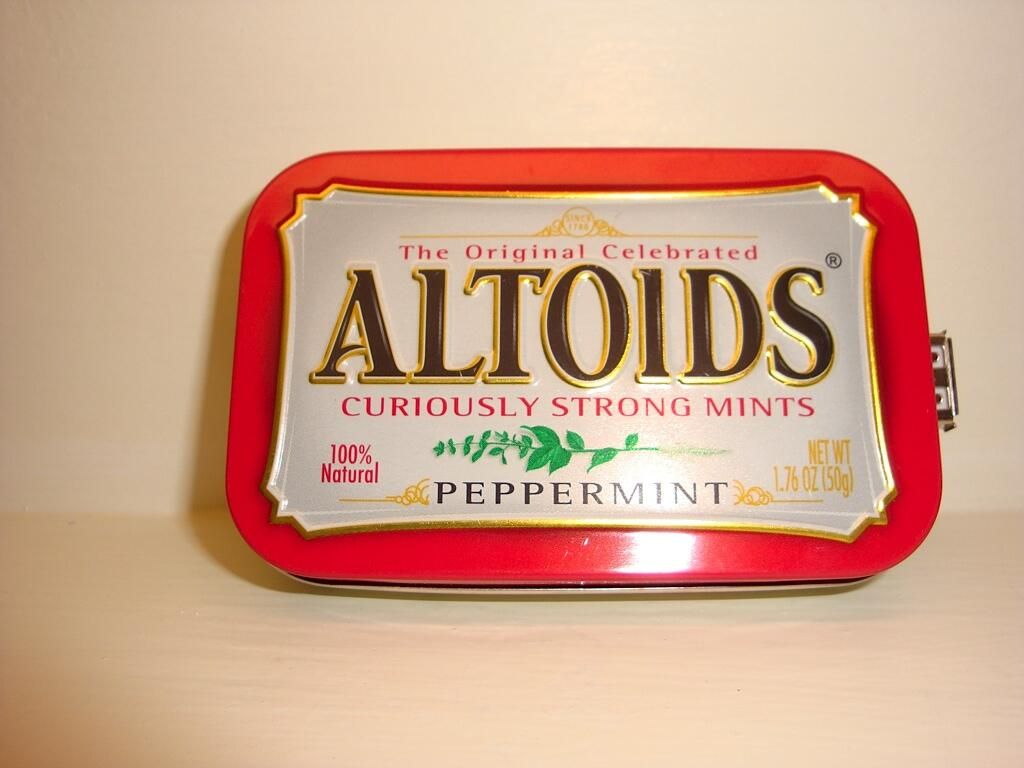
\n\tIt all starts with an Altoids tin.
\n
\n\tPhoto courtesy of Grace Simrall (@greendrv)
\n
\n\tFor more details about the project, read my Geekend post MintiBoost workshop for geek women at LVL1 Hackerspace.
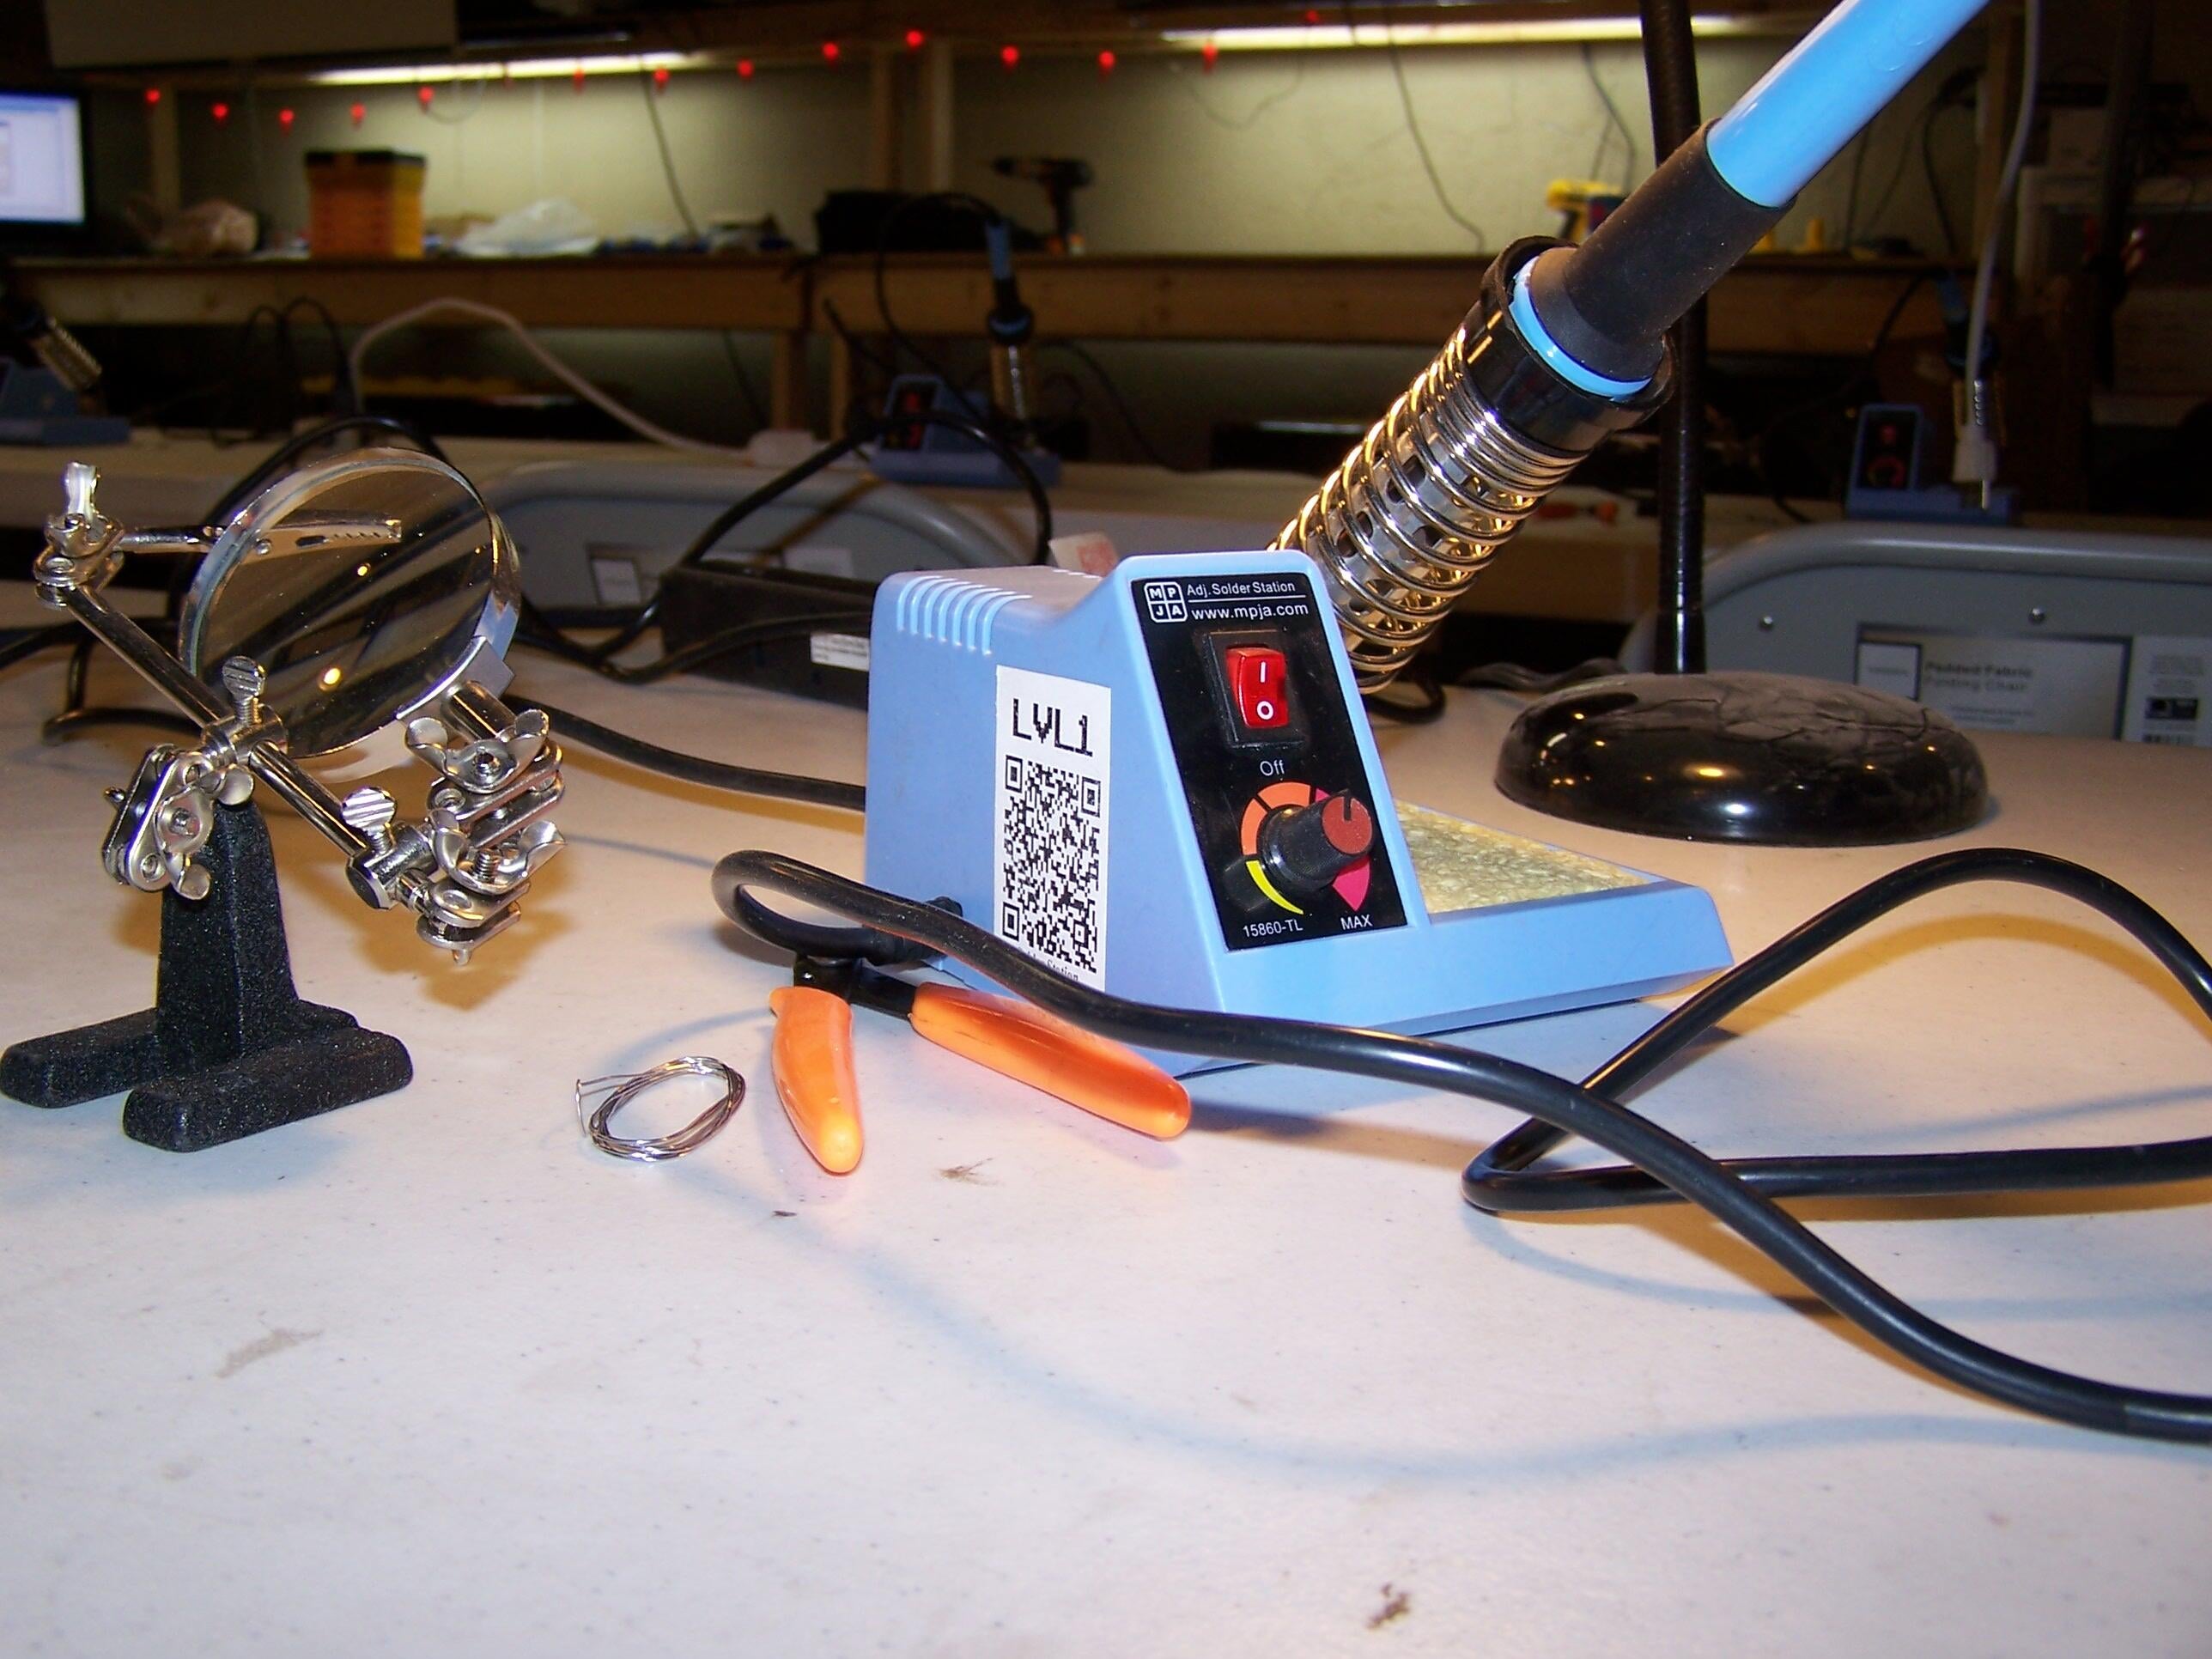
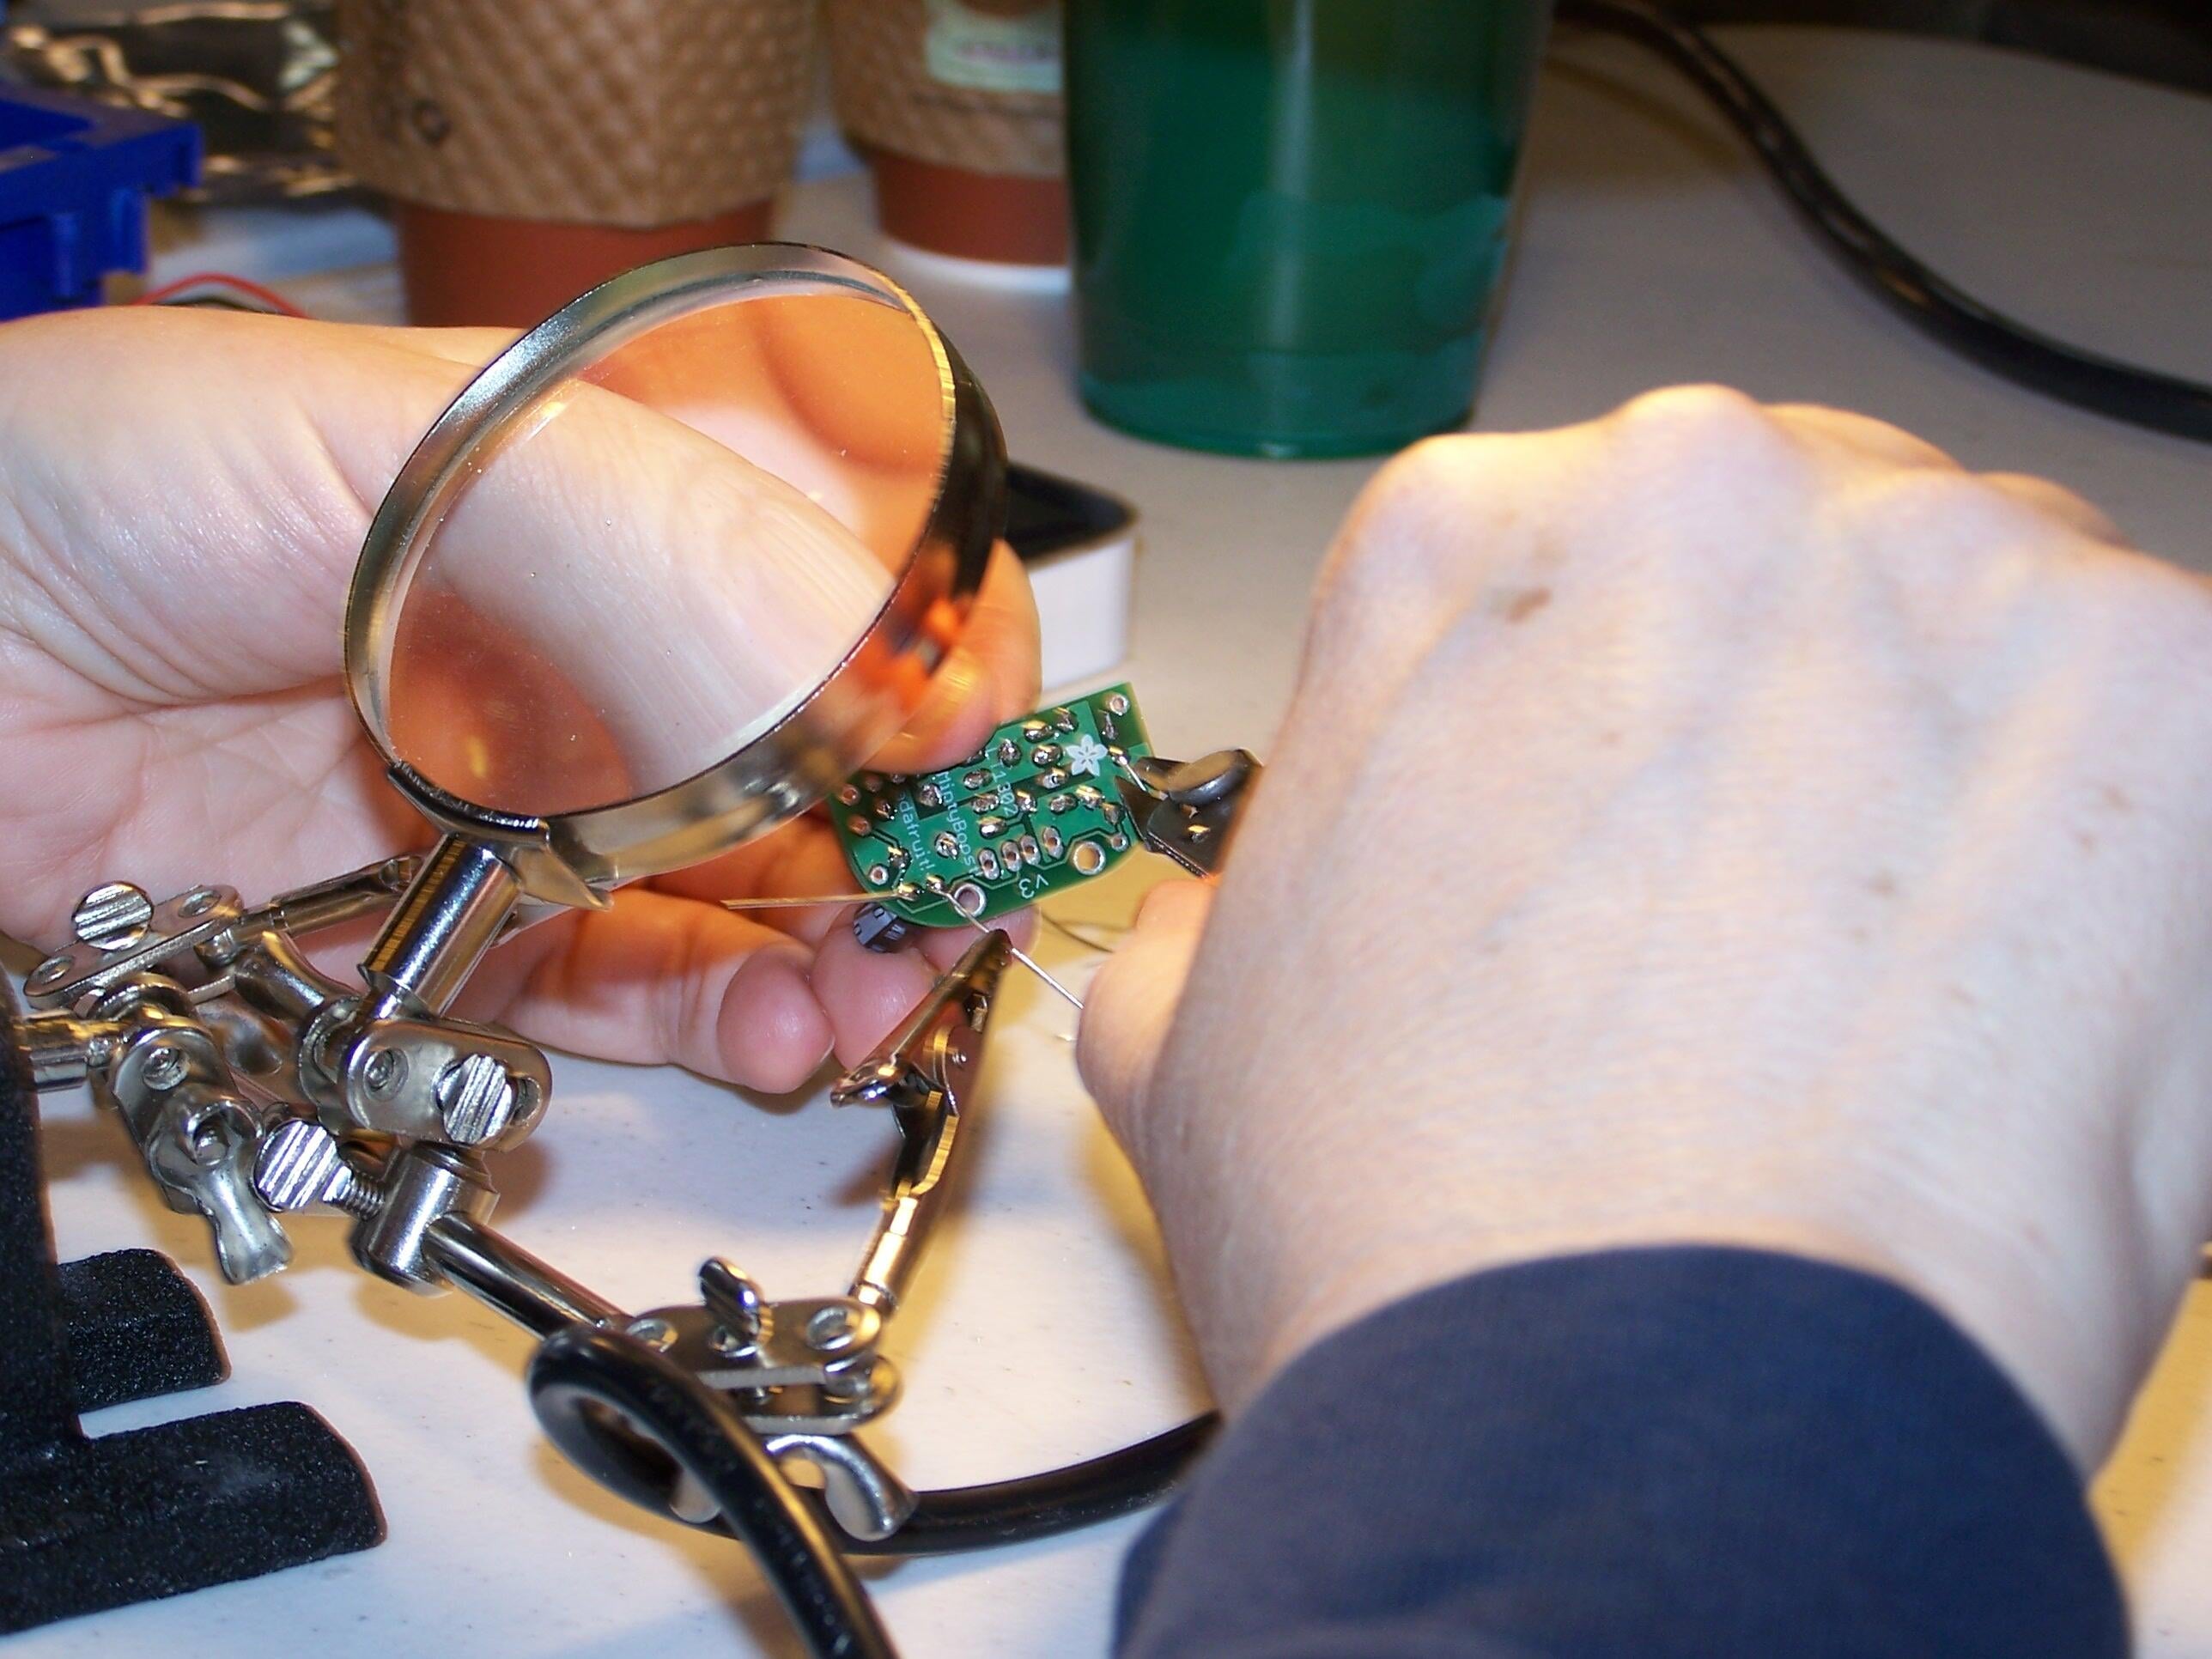
\n\tEach workstation had a soldering iron, a magnifying glass with attached clamps, and a bright light.
\n
\n\tPhoto credit: Nicole Bremer Nash
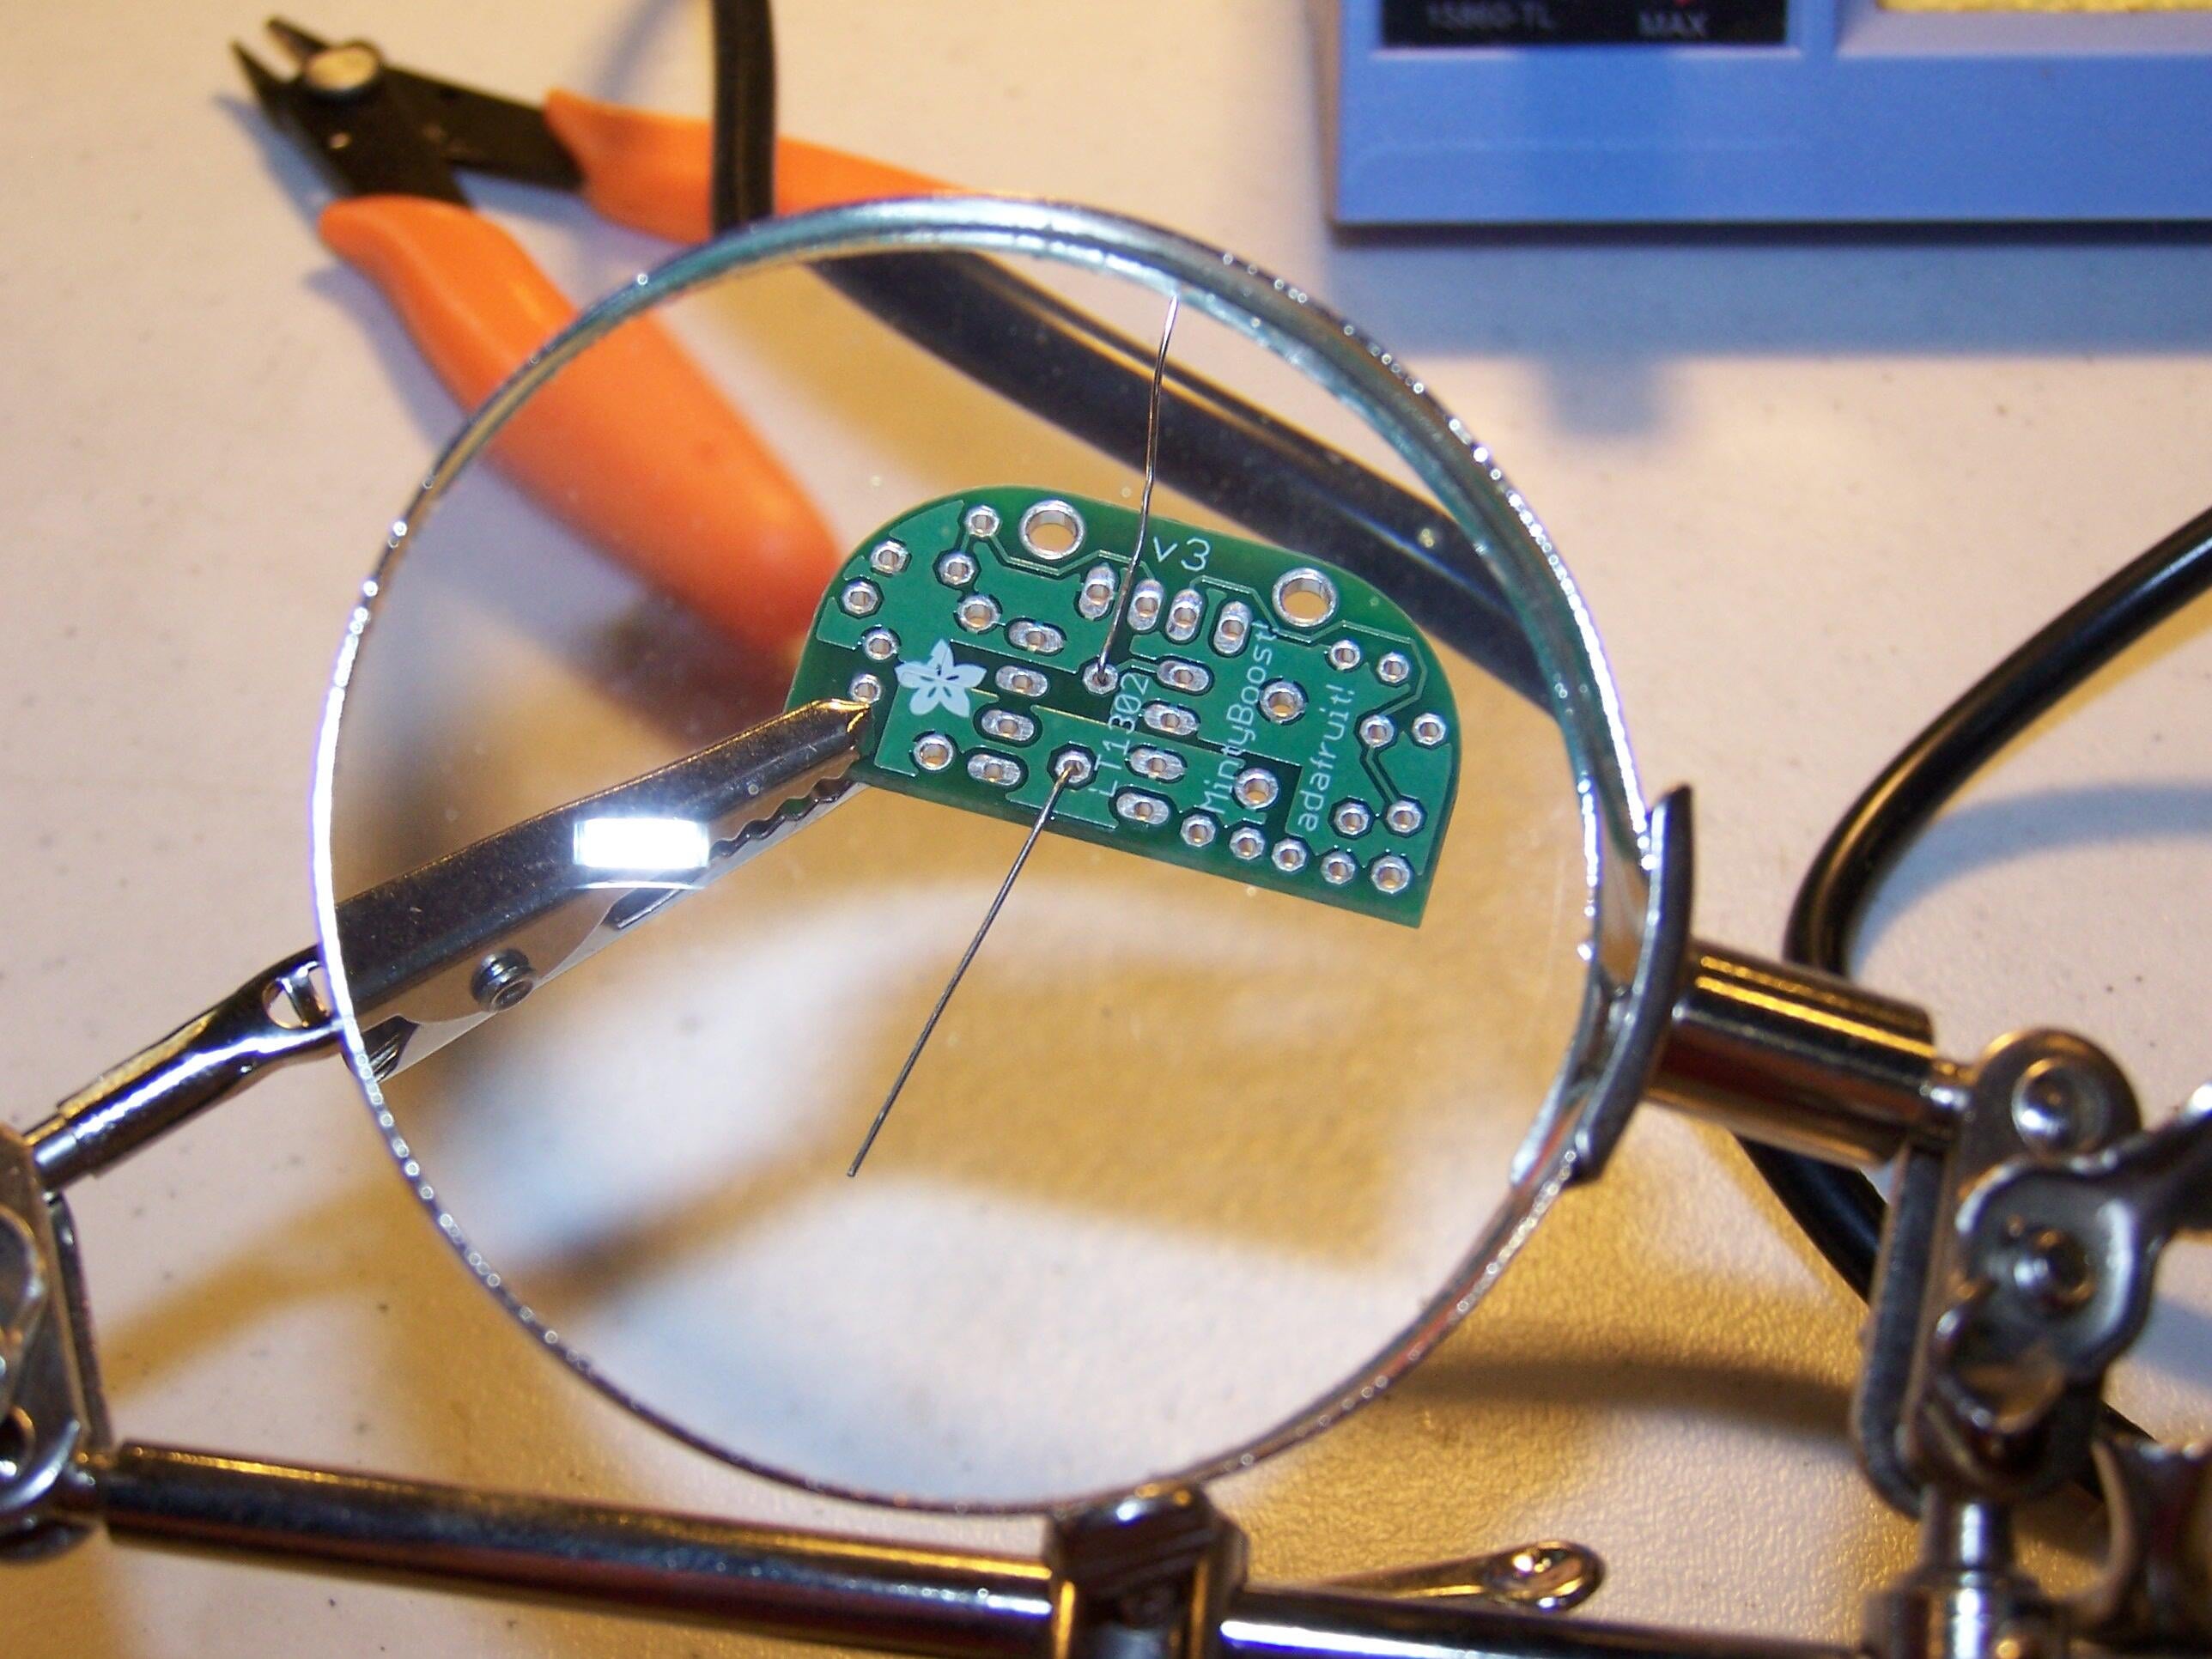
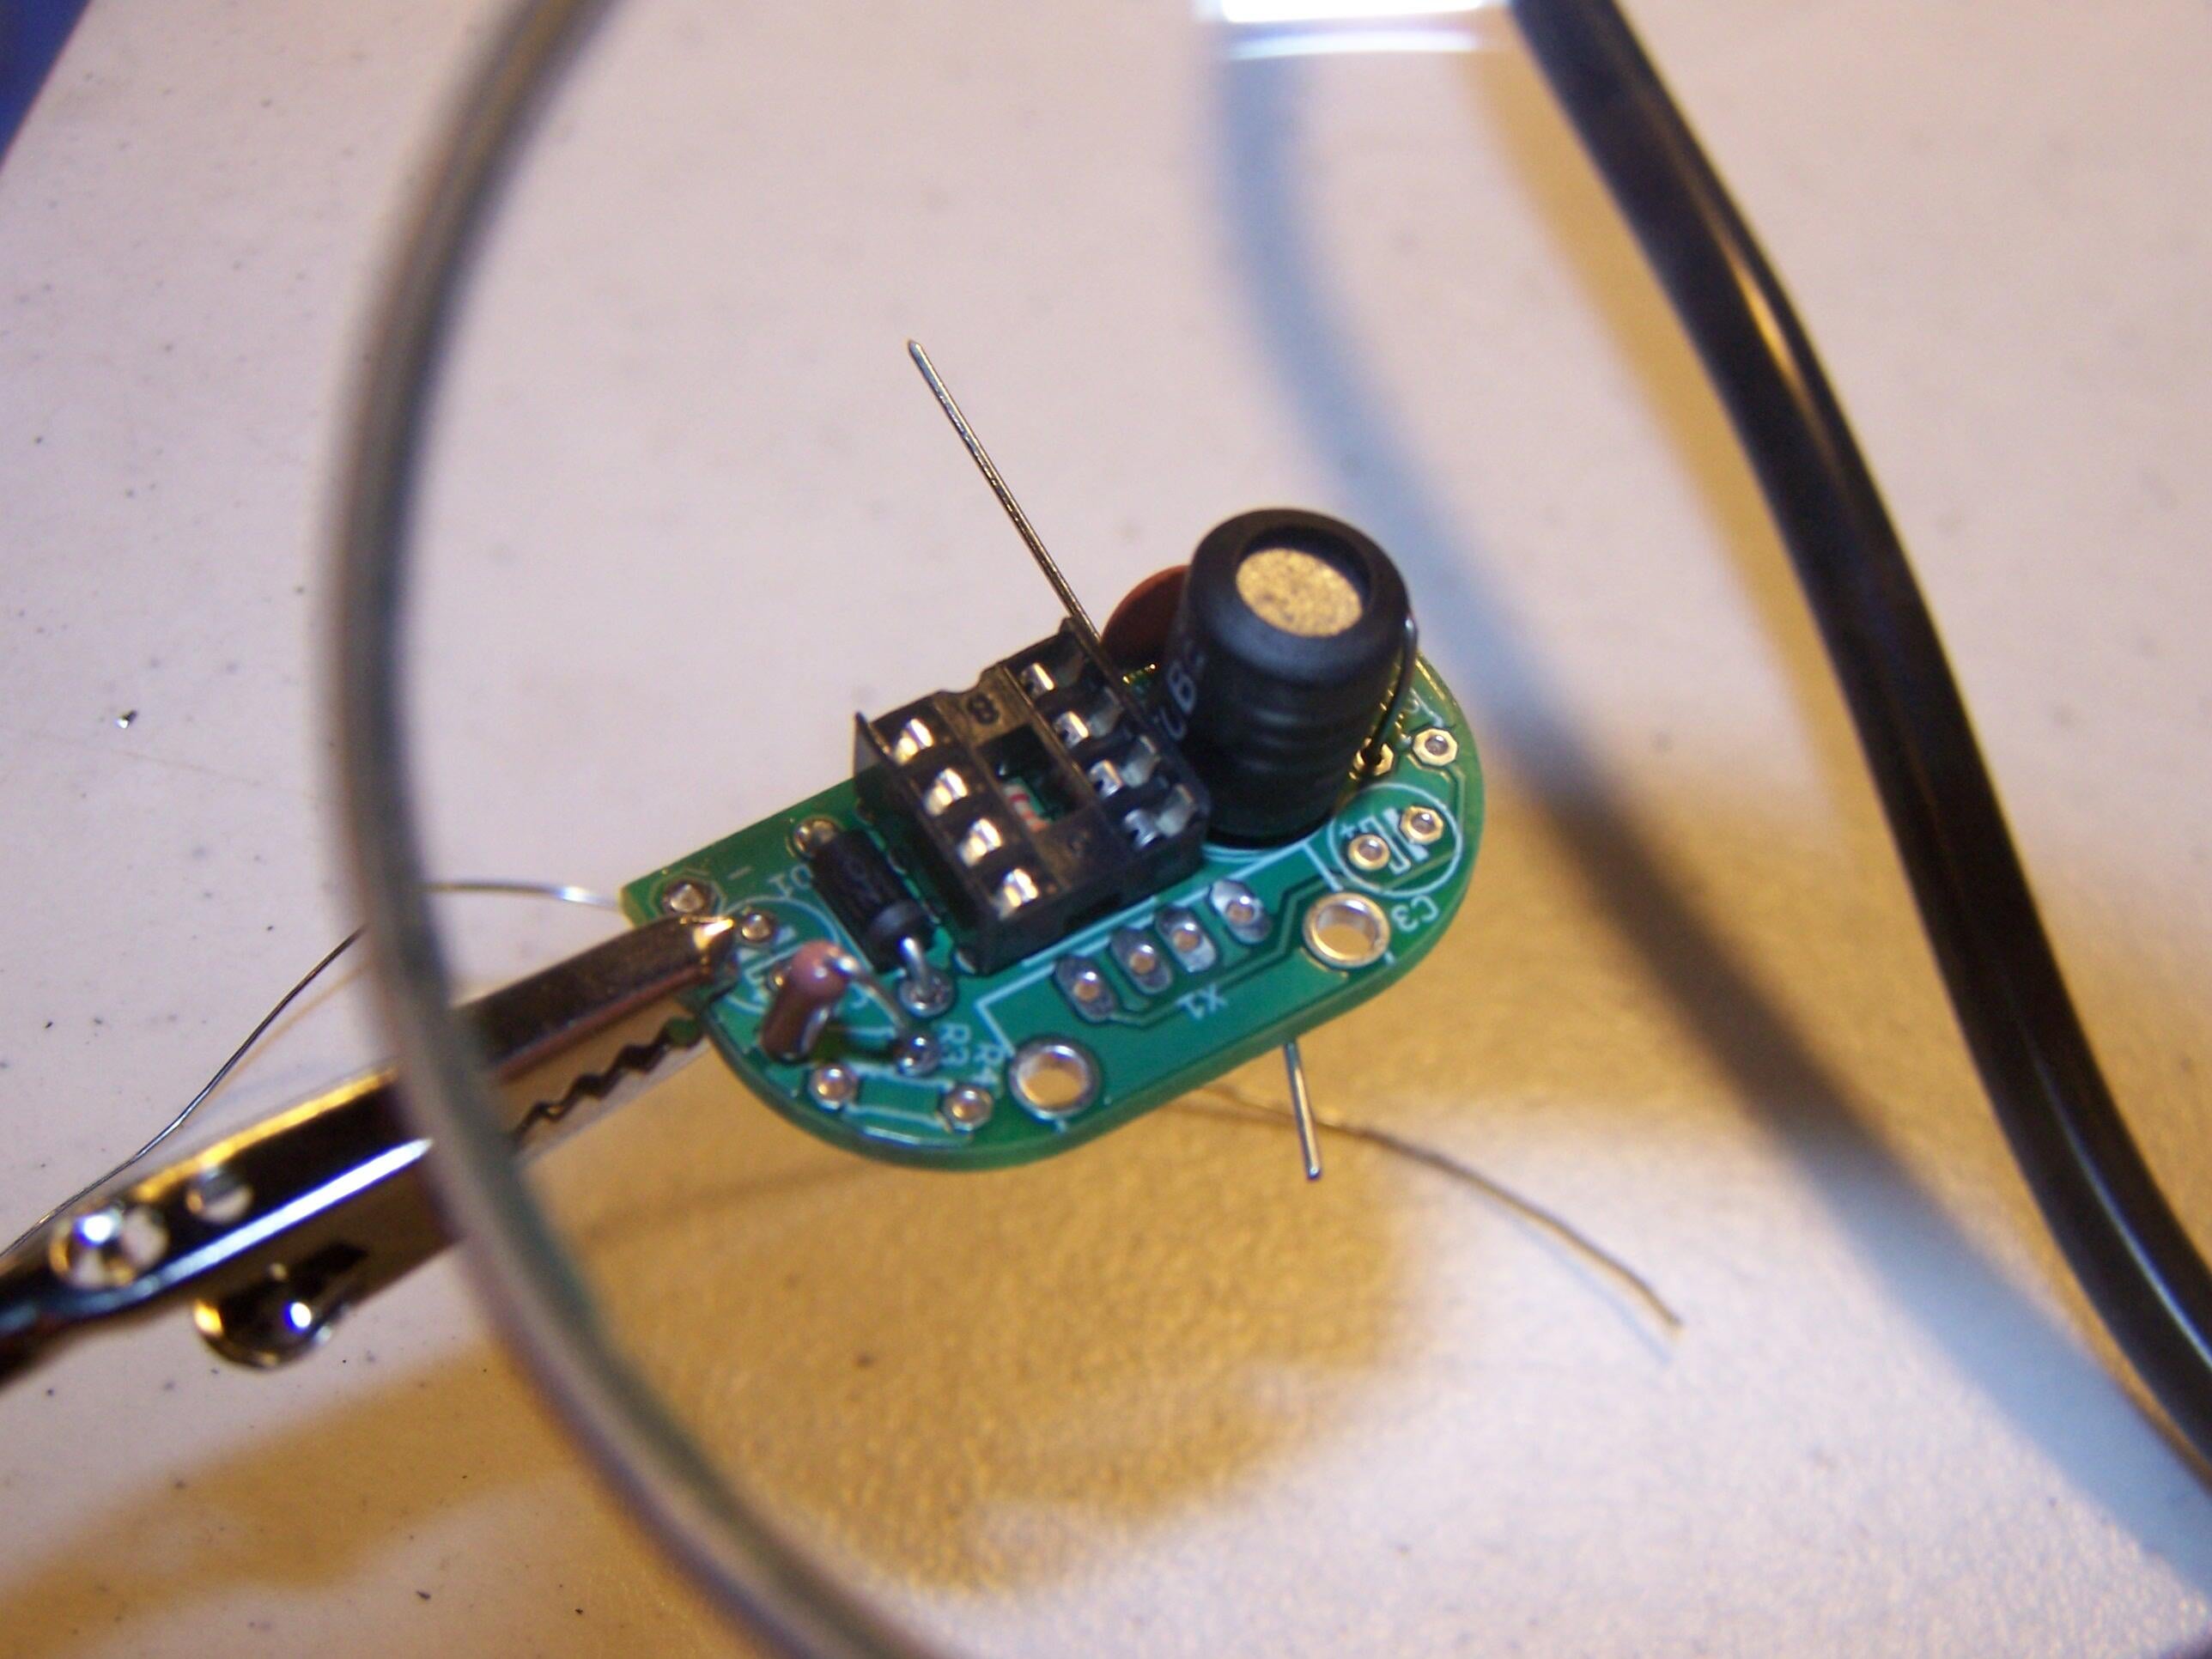
\n\tThis is the underside of the tiny motherboard. Each transistor has metal “legs” that are inserted in particular order and direction into holes on the motherboard. The soldering is done on this back side, and then the long wires are snipped short.
\n
\n\tPhoto credit: Nicole Bremer Nash
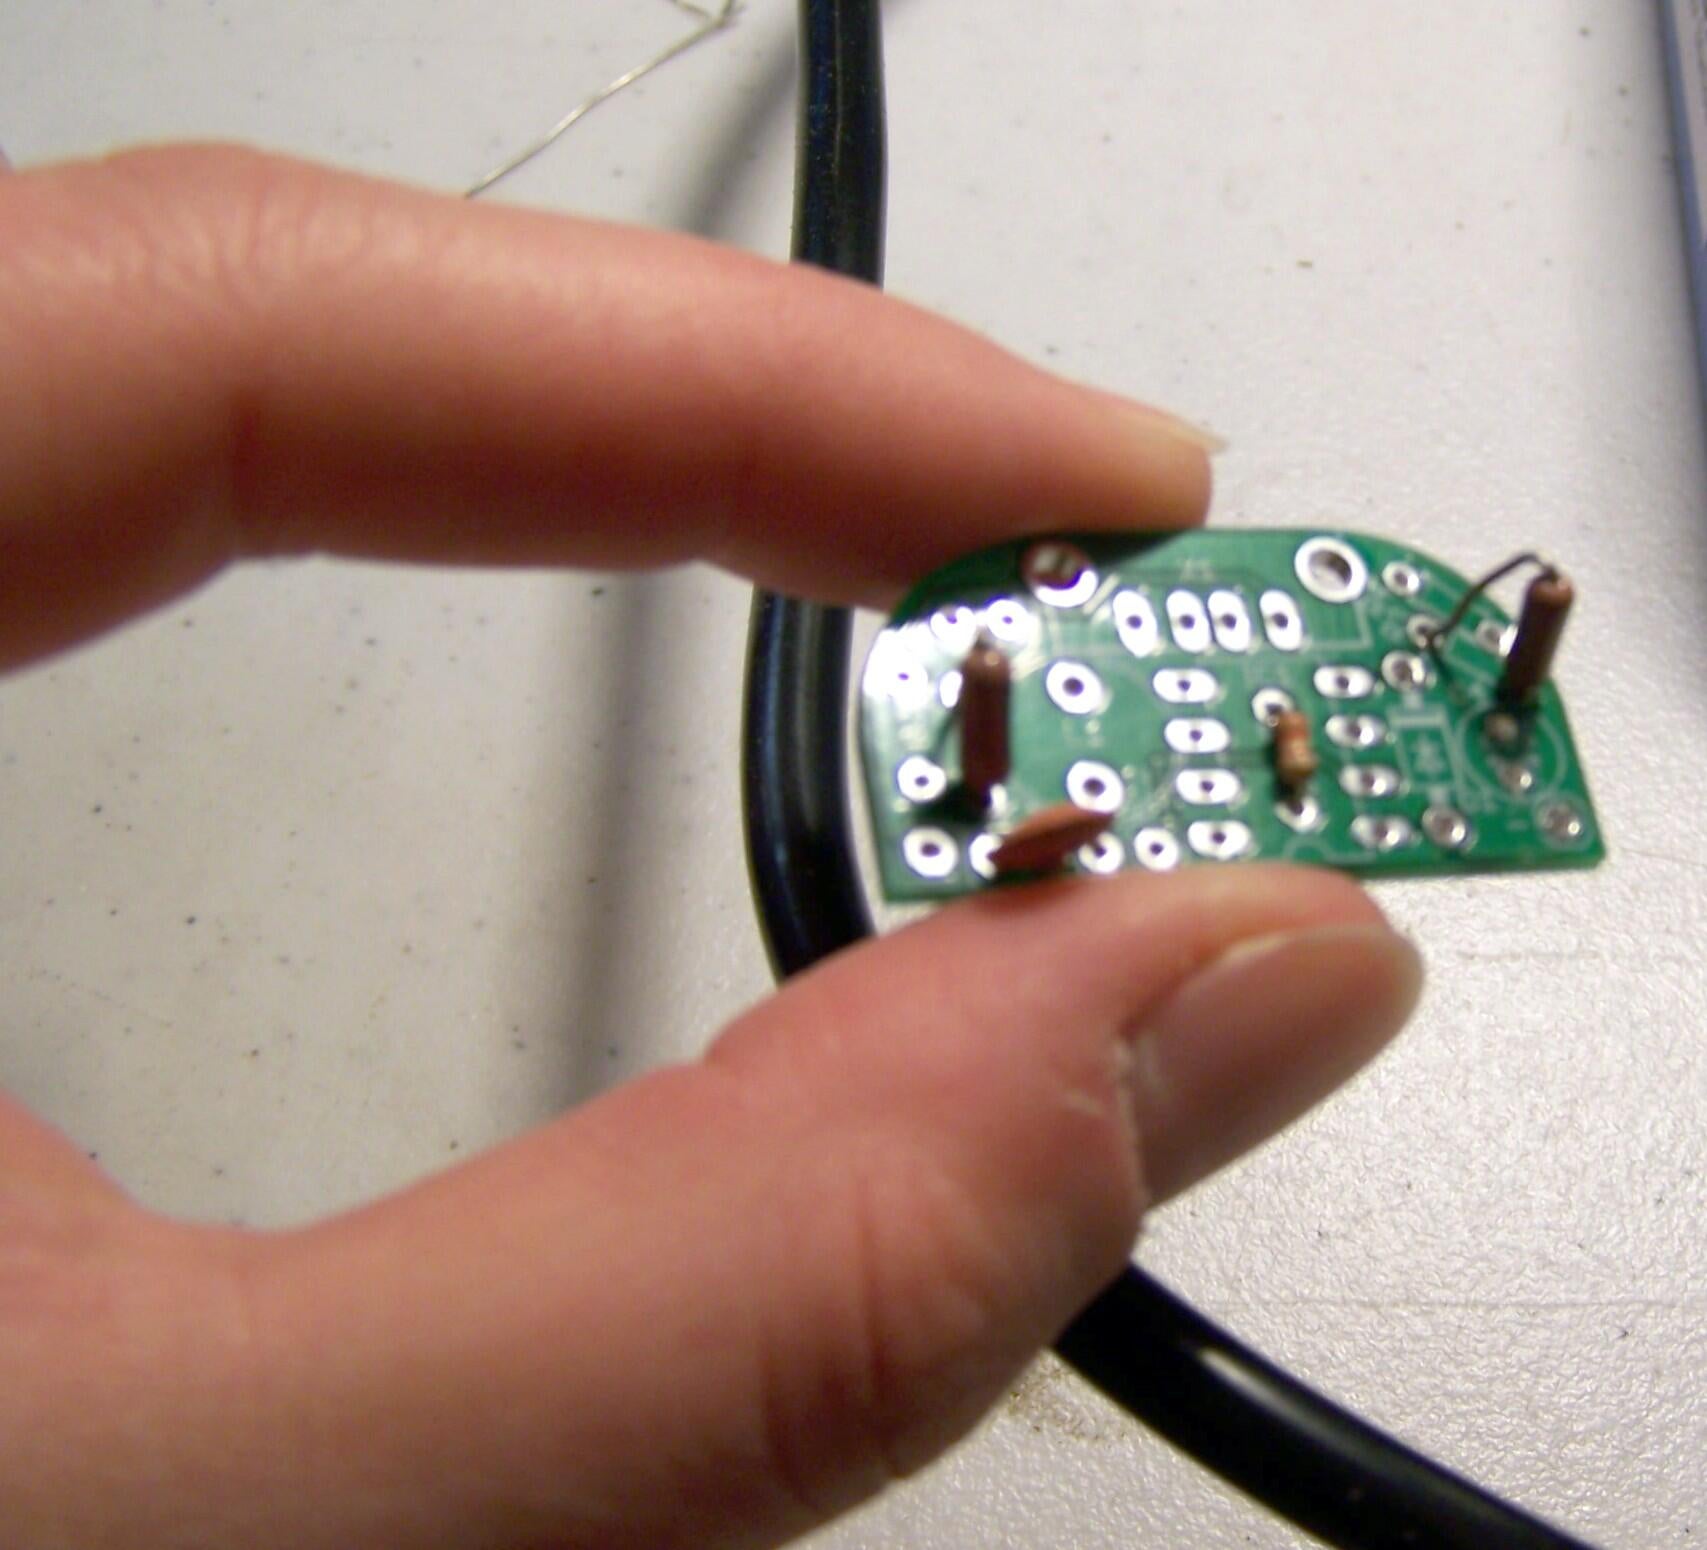
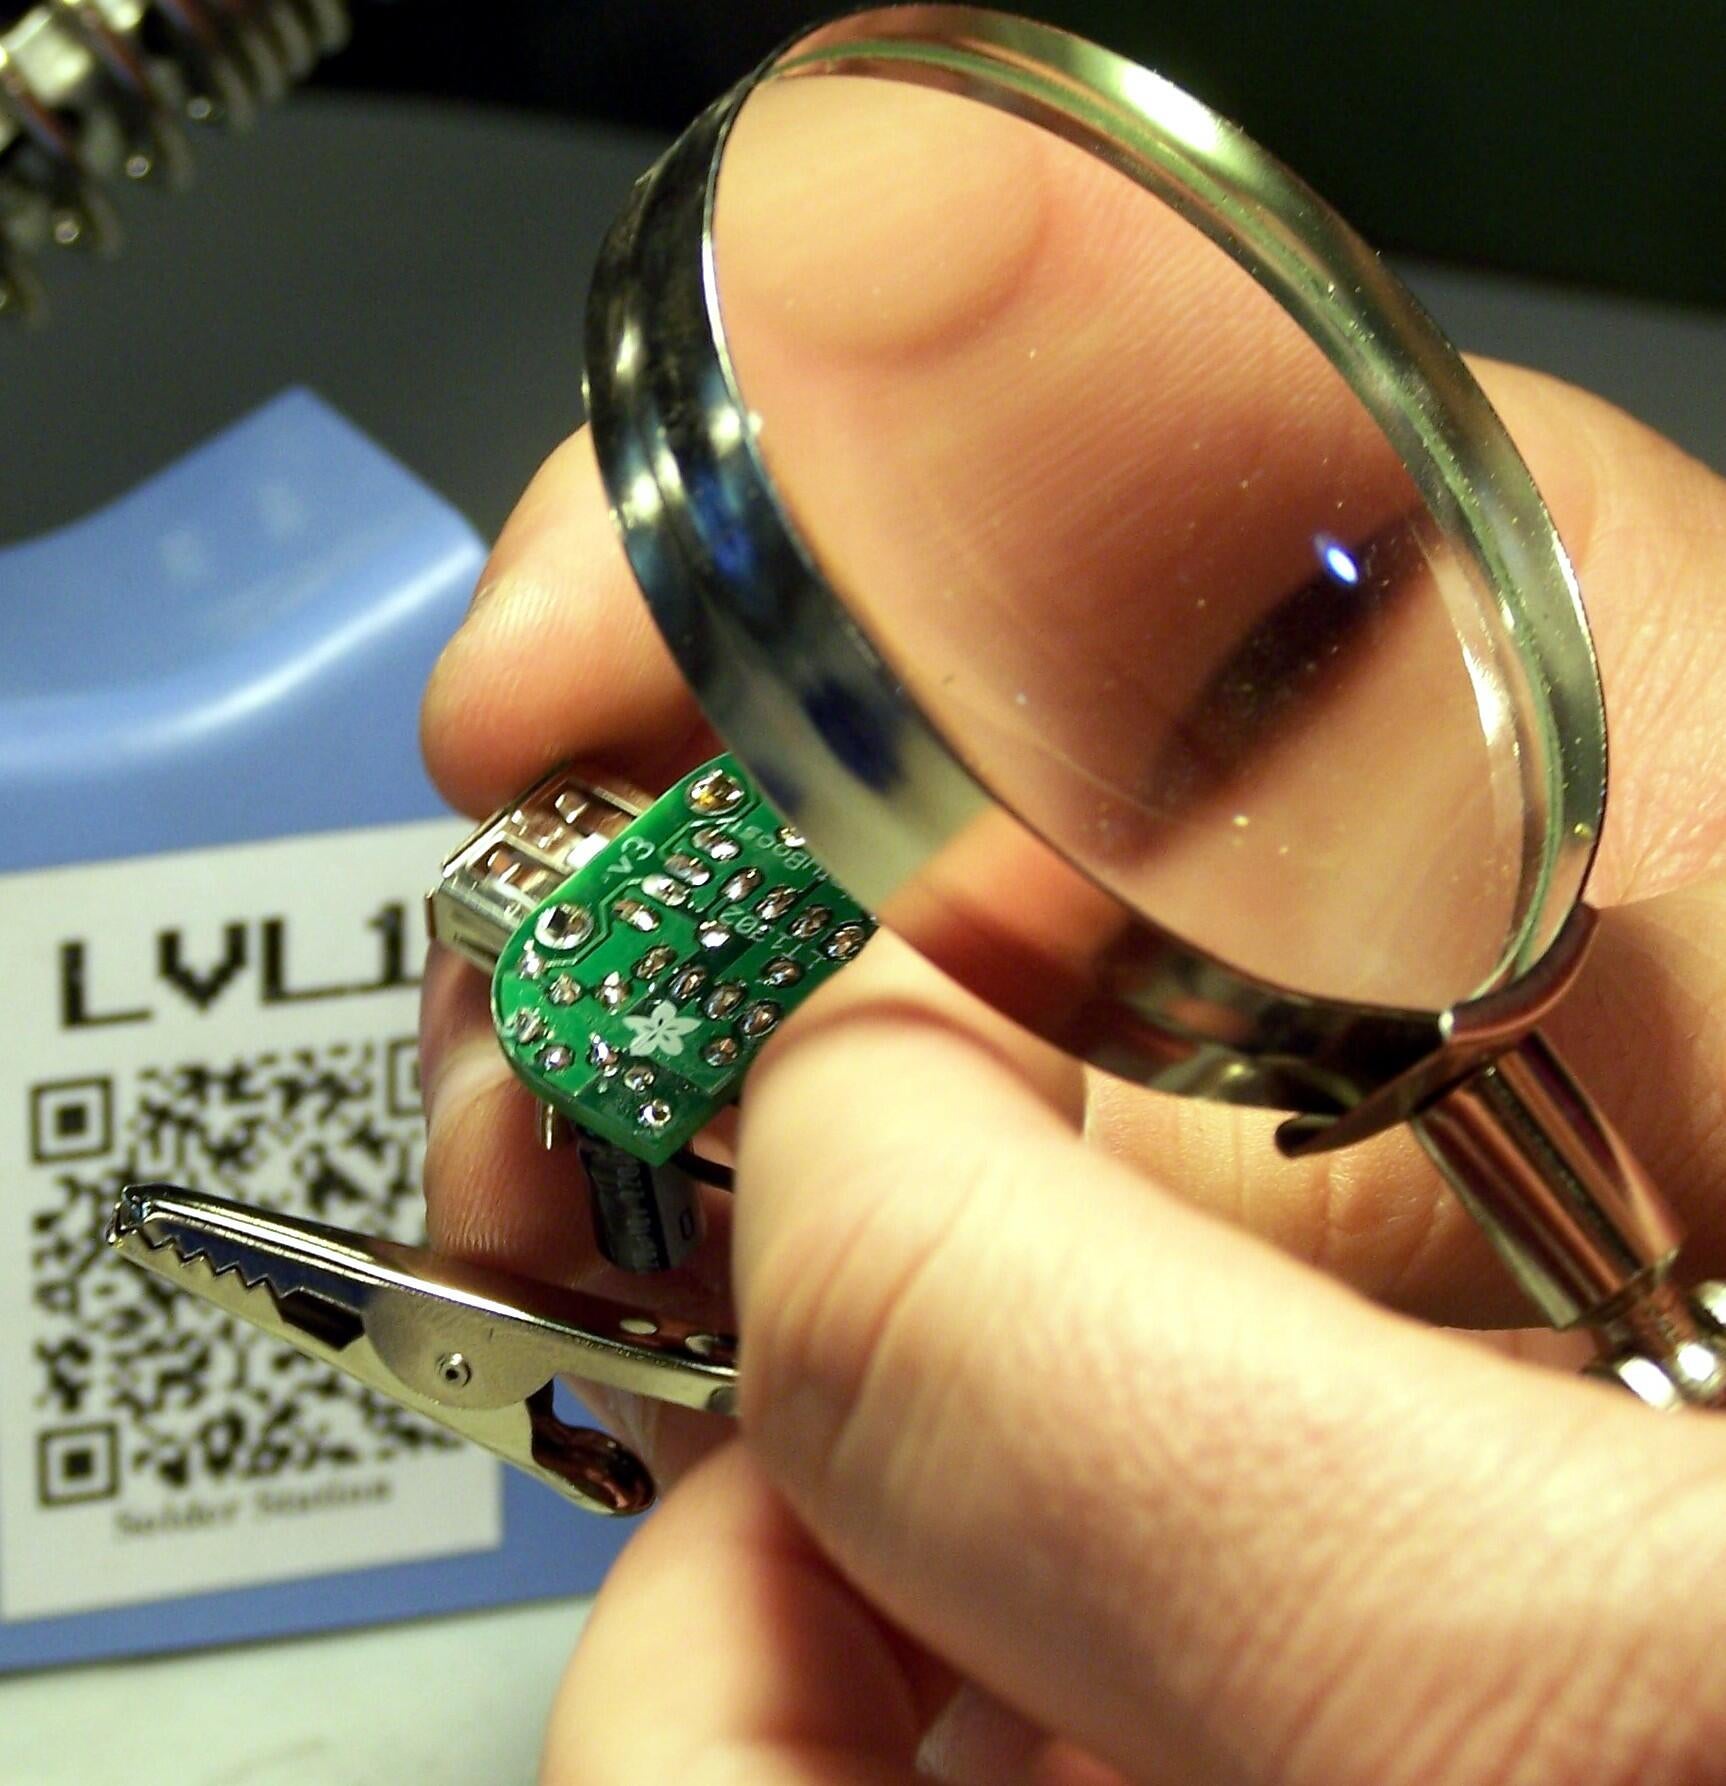
\n\tThe front of the motherboard with four transistors mounted.
\n
\n\tPhoto credit: Nicole Bremer Nash
\n\tSome Tweeps are fast learners and took to soldering very quickly.
\n
\n\tPhoto credit: Nicole Bremer Nash
\n\tThe board gets increasingly full, and by the end it is difficult to squeeze everything in.
\n
\n\tPhoto credit: Nicole Bremer Nash

\n\tEach completed MintiBoost was tested for performance. Can you guess which attendee didn’t do hers right? It seems this geek has difficulty with dry solder sockets. Lesson: don’t skimp on the solder.
\n
\n\tPhoto credit: Nicole Bremer Nash
\n\tI had to get some help with the soldering, and I never did get the hang of it.
\n
\n\tPhoto credit: Nicole Bremer Nash
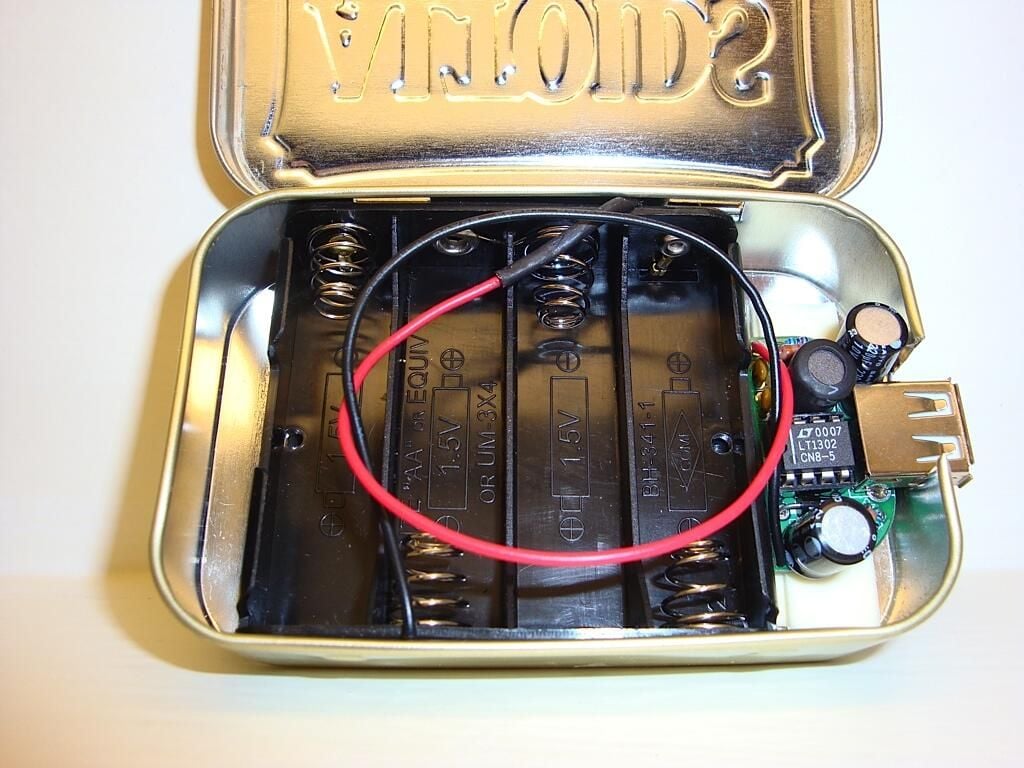
\n\tWhen it was all done, it gets nested inside an Altoids tin.
\n
\n\tPhoto courtesy of Grace Simrall (@greendrv)
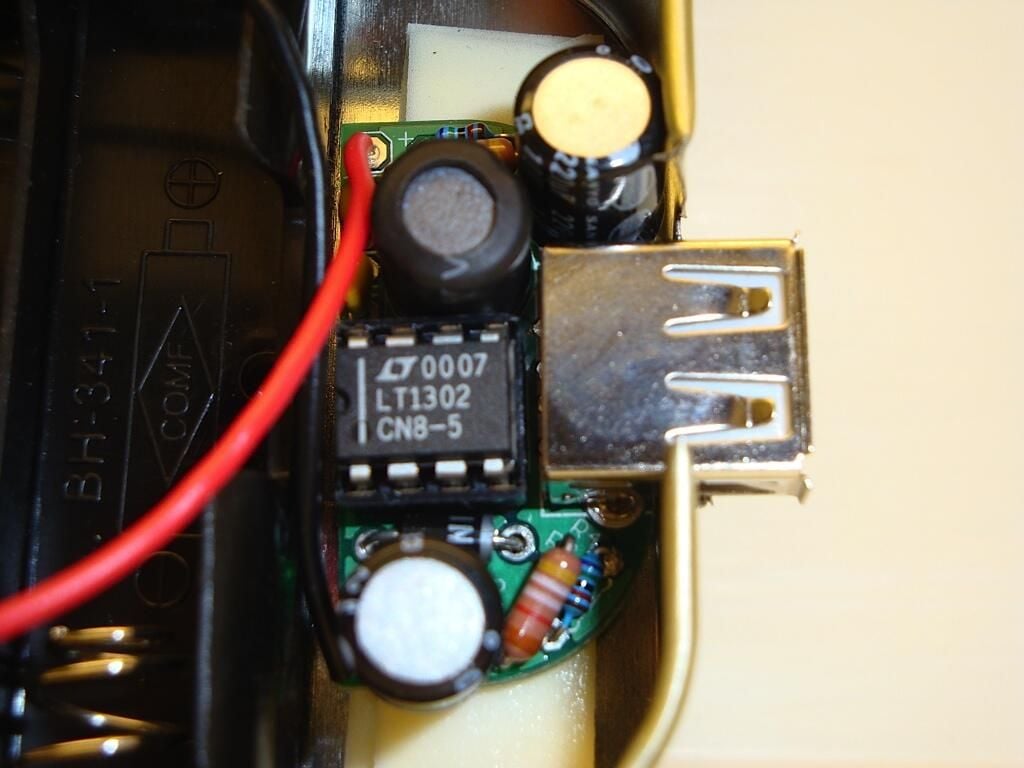
\n\tThe battery pack covers part of the motherboard, and the motherboard attaches to a USB port that sits in a cut-out slot on the side of the tin. With the lid closed, the user just plugs any USB device in, and it charges right up.
\n
\n\tI think a good hack on this project would be to use a small photovoltaic pack, like the ones used in making sun jars, and thereby eliminating the need for the batteries.
\n
\n\tPhoto courtesy of Grace Simrall (@greendrv)

Nicole Bremer Nash is Director of Content and Social Media for HuTerra, where she uses SEO and social media to promote charitable organizations in their community-building and fundraising efforts. She enjoys volunteering, arts and crafts, and conducting science experiments at home. Nicole has a Bachelor of Arts degree in English from Transylvania University, and has experience in copywriting for education, print, business, and the web. You can find her on Facebook and Twitter via @HuTerra.


