This gallery is also available as a TechRepublic article and TechRepublic download.
Before YaST, setting up DNS servers was a matter of hand-editing configuration files in Linux. This was tedious to those who didn’t have the time to learn the details of the various .conf or .cf files required. Fortunately, the good people at Novell and SuSE worked hard to bring the Linux administrator the YaST (Yet another Setup Tool) to help. This tool makes setting up a plethora of system settings as simple as it gets.
Author’s note
Our environment for this article will be OpenSuSE 10.2 and the GNOME 2.16 environment. Both are stable, robust, and very user-friendly. The installation of SuSE 10.2 was a complete install (read: five CDs full of software), so everything needed to set up a complete server is there. I highly recommend this method so you do not have to fight with dependencies should you have to install a piece of software for your server. After a complete install, you will have everything you need to set up DNS.
A quick look around YaST
Although it is contrary to what many Linux admins would advise, I’m going to log into my SuSE 10.2 machine as root for this setup. I don’t do this often, but it saves me from having to enter the root password every time I want to perform an administration task. Once you are done setting up these services, log out.
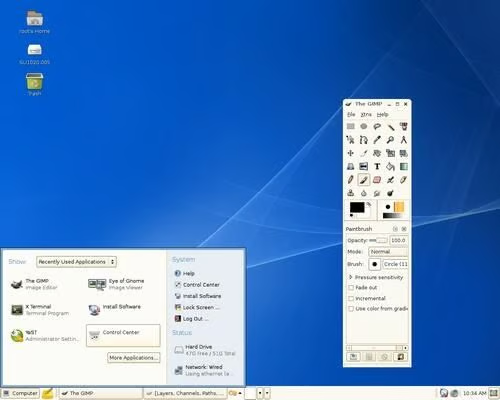
The first thing you’ll want to do is to select the Computer menu.
Configuring DNS
DNS (Domain Name System) translates IP addresses to user-friendly URLs. So, instead of having to remember 216.109.112.135, you just have to remember yahoo.com. This is taken care of by DNS.
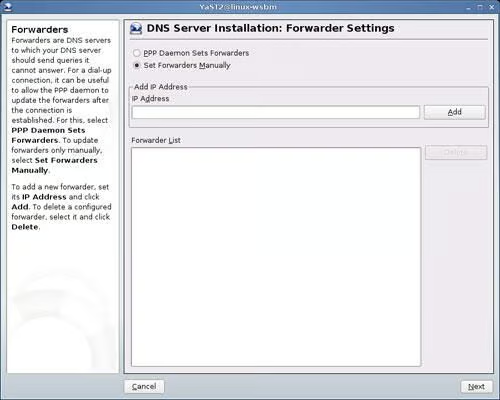
Setting up a DNS server with YaST is amazingly simple. The first step you need to take is to press the DNS Server button in the Network Settings of YaST. Once the new window opens, as shown in Figure E, the fun begins.
A DNS forwarder is DNS server that will send DNS requests to external (outside of your network) DNS servers when the internal DNS servers can not handle the request. Using this will make your DNS system more efficient.
Most likely you will be configuring the forwarder manually. So enter the DNS server information of the DNS server from your provider and click the Add button. Once you have entered all of the necessary external DNS servers click the Next button. Now you are ready to create a DNS zone.
A DNS zone is a fragment of the DNS namespace that has a designated responsibility. There is the root domain which is akin to the ‘/’ directory in Linux – it holds everything. And then there are the TLD (Top Level Domains) such as .net, .com, .org, .gov, .edu. Each of these can be considered a zone and each has its own responsibility. The first step here is to enter the name of the new zone in the Add New Zone text area as shown.
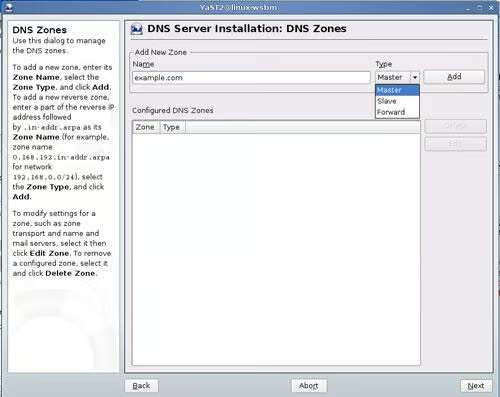
Once you have entered the name of the zone and selected the type of zone it represents, click the Add button and the new zone will appear in the Configured DNS Zones window. Once you’ve added a zone there is more fun to be had. Highlight the newly added zone and click the edit button to open up the zone editor.
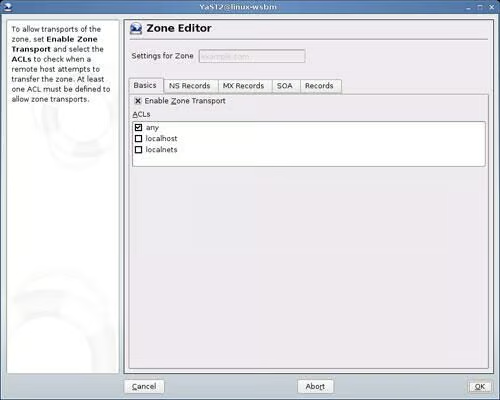
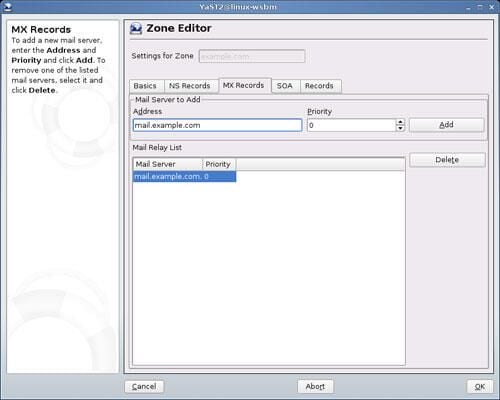
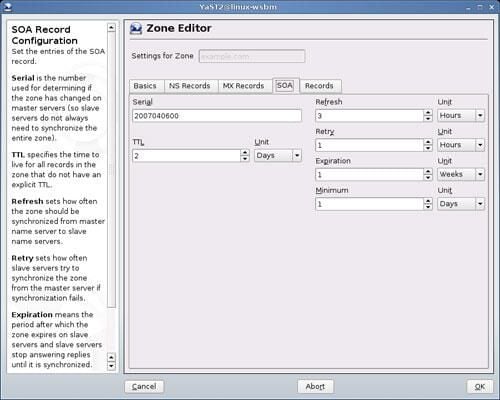
In the zone editor you are able to do the following:
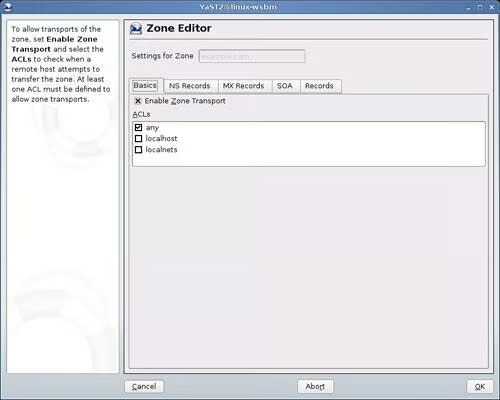


Once you have completed working in the Zone Editor click OK to return to the main DNS Zone window. Click Next to continue.
Last Steps
The final steps in the DNS configuration are nigh. The first thing you will do is open the port in the firewall so that DNS traffic can pass through. By default it is off, so click the check box next to Open Port In Firewall.
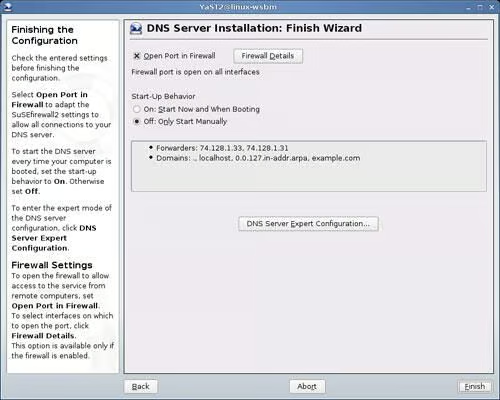
In this screen you are able to define if DNS is started manually or at boot. I highly recommend you have this set to start at boot, otherwise you are going to have to go back and manually start up DNS any time the server is restarted (which, granted is rare in Linux.)
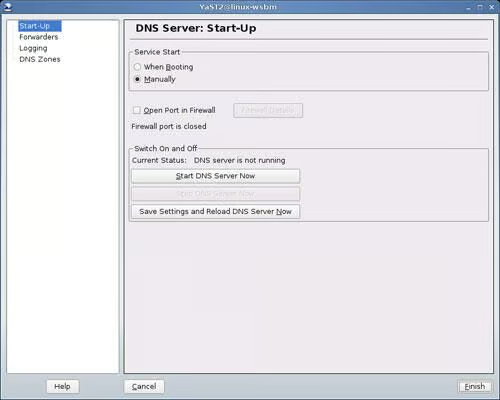
From this screen, you can also go into Expert mode. Don’t let the name fool you, expert mode only applies to start up with the only added feature being able to immediately start and stop DNS services with the click of a button and view log files.
And there you have it. Click Finish and your settings will be saved and the DNS services will be started.
Final Thoughts
DNS was once a very trick beast on Linux. No more. With the help of YaST, DNS has become a very simple task. The biggest trick with this type of service is understanding the fundamentals of DNS itself.

Jack Wallen is an award-winning writer for TechRepublic, The New Stack, and Linux New Media. He's covered a variety of topics for over twenty years and is an avid promoter of open source. For more news about Jack Wallen, visit his website jackwallen.com.


