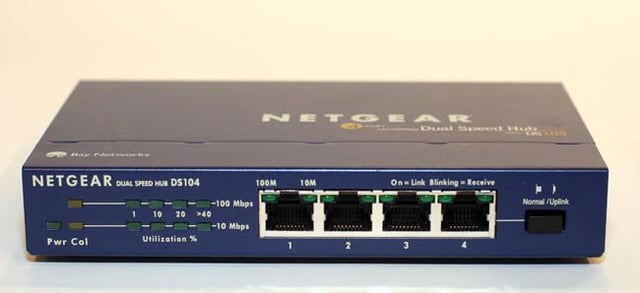
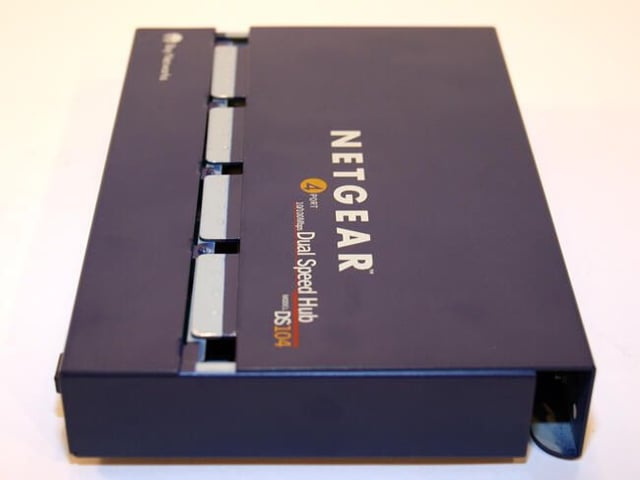
It’s not a switch, but it does boast four 10/100 Mbps dual-speed auto-sensing ports. Netgear even boasted this model’s “neat” metal case design provided for “an uncluttered desktop.”
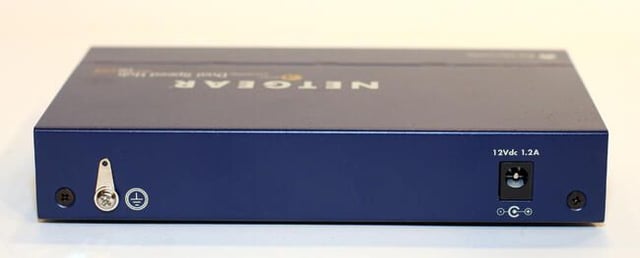
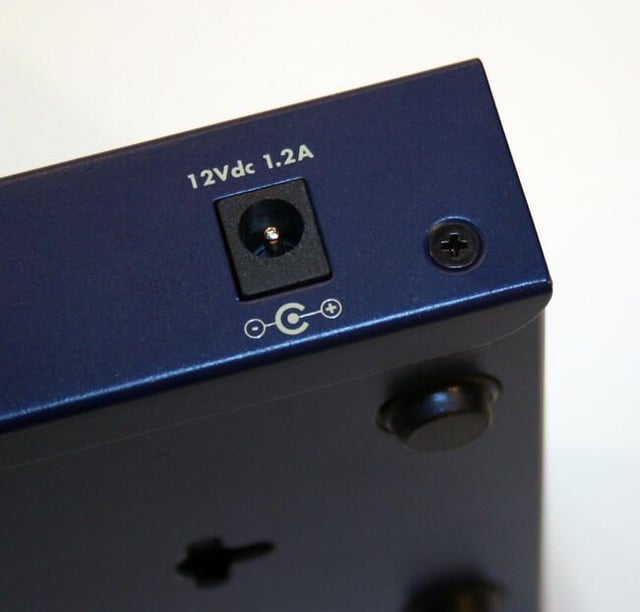
The Netgear DS104 boasts a simple rear panel. Other than its 12-volt DC (1.2amp) input, the device sported only a grounding clip and two Philips head screws.
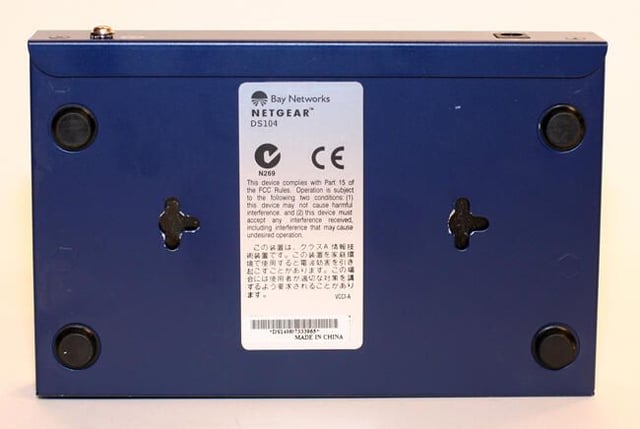
The Netgear DS104 bottom possesses two slots that enable simple wall-mounting. The four rubber feet, of course, helped prevent unintended movement when placed on a desk or shelf.
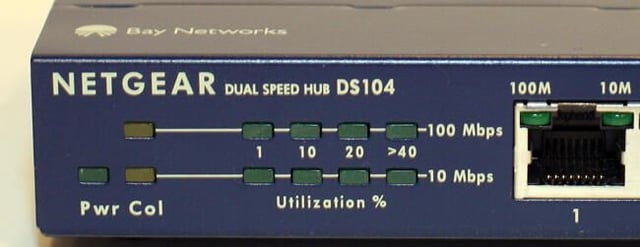
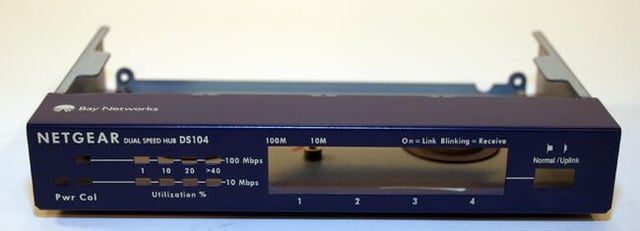
The Netgear DS104’s front panel features a green LED power indicator, as well as collision LEDs. Utilization LEDs appear to the right (with the 100 Mbps segment indicators appearing above 10 Mbps LEDs).

The Normal/Uplink button enables selecting an Uplink (MDI) or Normal (MDI-X) position for port number 4. Normal is used for regular connections, while Uplink is selected if another hub or switch is being connected to the DS104. The Uplink button essentially eliminated the need for using a crossover cable to connect older (switch or hub) equipment.
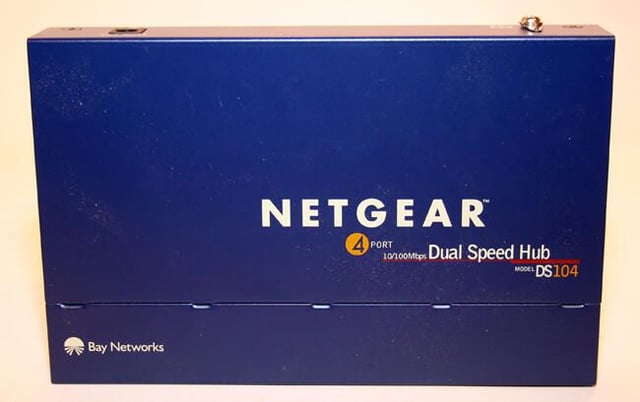
Here’s a look at the top of the Netgear DS104’s metal case. The device itself measures 6.2 inches wide, 1.1 inches tall and four inches deep. The DS104 is quite lightweight, weighing just 0.87 pounds.
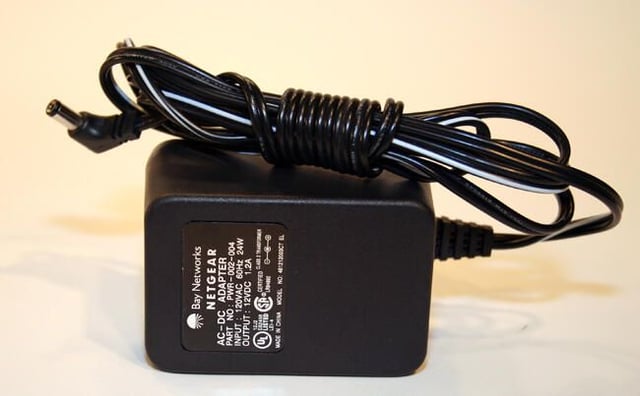
Here is the unit’s power supply, which carries the Bay Networks brand and logo. This model (producing 12 volts DC and 1.2 amps) was produced for Netgear when the company was owned by Bay Networks. Bay Networks was acquired by Nortel in 1998. Netgear gained independence as its own company in 2000.
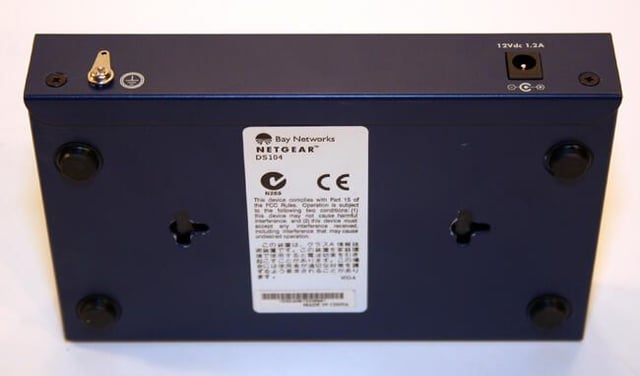
Here’s another look at the Netgear DS104’s rear side.
In this image you can see how the unit’s topside metal casing wraps around the device’s bottom plate (where it is secured by the two black Philips head screws visible toward the top corners of this picture). This seemingly simple design provides for easy access, yet enables a tight, clean and secure fit.
To open the Netgear DS104, the two Philips head screws must be removed that secure the top metal case to the main bottom shell. Here’s a close up of the Philips head screw on the unit’s right rear corner.
With the two Philips head screws (that secure the unit’s two metal halves) removed, the hub can be opened. To separate the two metal casings, it helps to press the top cover down near the line of four tabs (shown here) that slip beneath the main bottom casing.
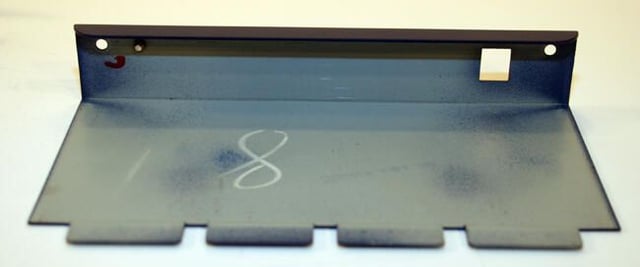
Here’s a look at the inside of the Netgear DS104’s top metal casing, once it’s been removed from the hub’s main bottom plate.
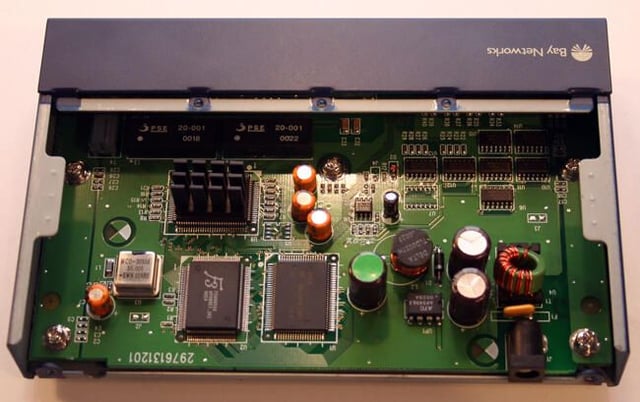
With the top casing removed, the DS104’s circuit board is clearly visible. The circuit board itself is secured to the metal bottom shell by five Philips head screws.
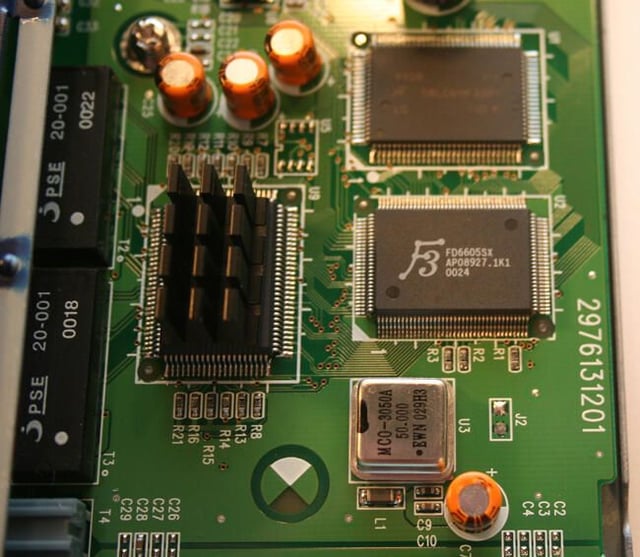
The circuit’s board’s F3 chip, which helps power the hub’s operation, is clearly visible in this image. The chip is mounted on a small printed circuit board labeled BTI DS-1 94V-0.
While my research doesn’t yield much information about this (apparently) obsolete board, a close inspection of the PCB shows chips and electronics from a wide variety of manufacturers.
Unlike a more intelligent switch, which routes traffic only between necessary ports, this hub’s electronics route incoming traffic to all ports. For this reason, hubs quickly fell out of favor and have been largely replaced by better performing switches.
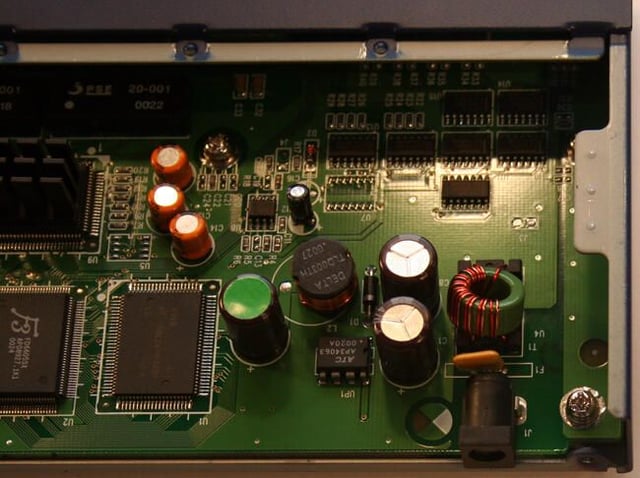
Here’s a close-up view of several of the Netgear hub’s capacitors. The circular, silver-topped capacitors (two of which can be seen just to the top left of the DC input on the bottom right) store electrical energy for use by the device’s electronic chips.
Also, in the bottom right corner, you can see one of the five Philips head fasteners that must be unscrewed to enable removing the circuit board from the bottom metal shell.
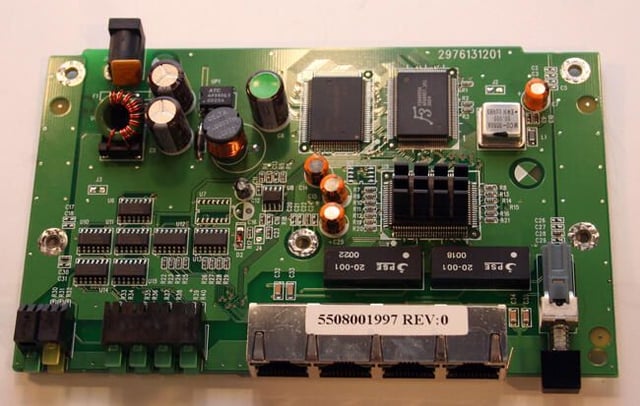
Here’s a look at the DS104 circuit board once it’s been removed from the Netgear hub’s metal shell.
At the bottom left are the hub’s LED indicators. The four Ethernet ports appear bottom center, while the Uplink/Normal button can be seen at the bottom right.
Here’s a close-up view of the unit’s Power and Collision status LEDs. They appear in the two LED banks to the left.
The top yellow Collision LED lights whenever data collisions occur within the 100 Mbps network segment. The bottom Collision LED, meanwhile, lights whenever a collision occurs within the 10 Mbps segment.
To the right, the Utilization LEDs are also clearly visible.
Here’s a close look at the Netgear DS104’s Utilization LEDs. The Utilization LEDs display the traffic level on both 10 Mbps and 100 Mbps segments.

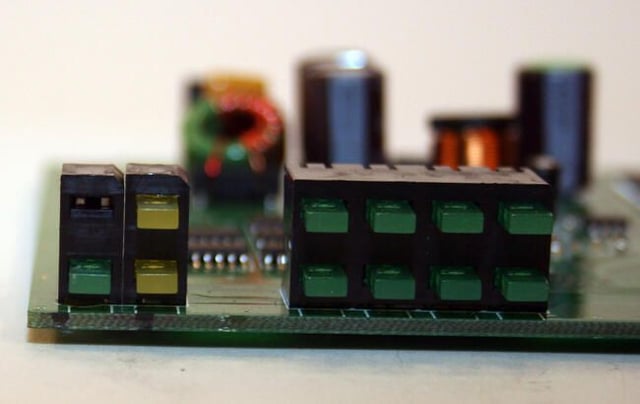
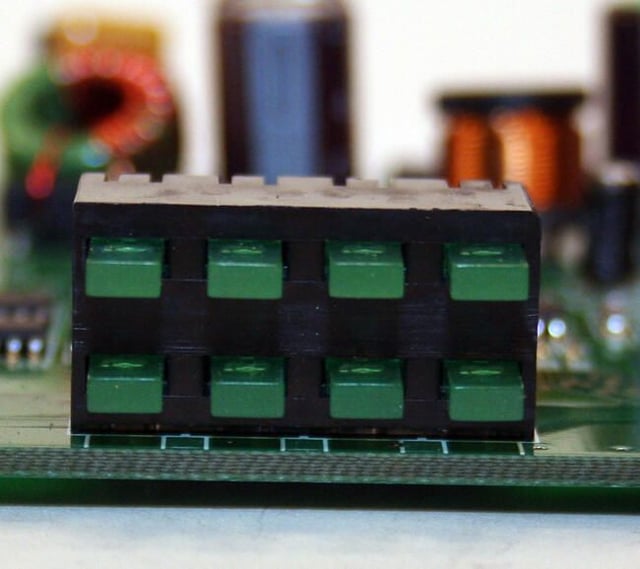
Here are the DS104’s four auto-sensing Ethernet ports. Up to four network devices are connected here (using industry-standard RJ-45 connectors).
When connected (and powered on), the green LED at the port’s top left or right corner lights (and blinks when the port is receiving data). The green LED to the port’s top left side lights when the node is connected at 100 Mbps. The top right-side LED lights when the device is connected at 10 Mbps.
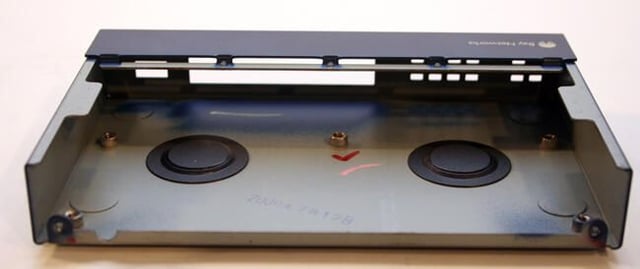
Here’s what the inside of the DS104’s bottom metal shell looks like with the top cover and printed circuit board removed.
Here’s a look at the Netgear DS104’s main metal casing (which forms the bottom of the hub itself).
Note the black circular plug that can just be made out in this image beneath the front panel’s “On=Link Blinking=Receive” notation. These plugs (there are two within the unit) accommodate screws or anchors used to mount the hub to a wall and prevent debris from entering the hub itself.
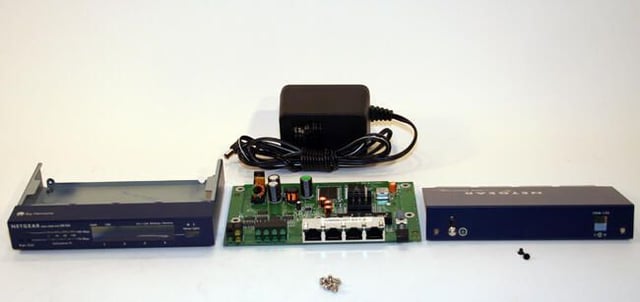
These are all the components that form the Netgear DS104 hub. In addition to the power supply (top) and screws (foreground), the bottom metal casing appears on the left, while the top metal shell sits to the right. The DS104’s circuit board, meanwhile, appears in the center.

Erik Eckel is a managing partner at Louisville Geek and president of Eckel Media Corp. He previously served as Executive Editor at TechRepublic. He received Microsoft Engineer accreditation from Sullivan University and earned his Bachelor's Degree in English from the University of Louisville. He's earned Network+, Windows NT 4.0 MCP+I and MCSE, and Windows 2000 Professional MCP accreditations.


