TechRepublic’s Bill Detwiler cracked open the Apple iPad for a look at the hardware inside the Apple tablet. You can also watch a video of the process in the TR Dojo blog.
In addition to photos from Bill’s experience, we’ve included a few photos from iFixit and Rapid Repair.
I strongly encourage you to check out the iPad teardown galleries on their sites for more photos.
Click to enlarge the image.
(Photo Credit: Rapid Repair)
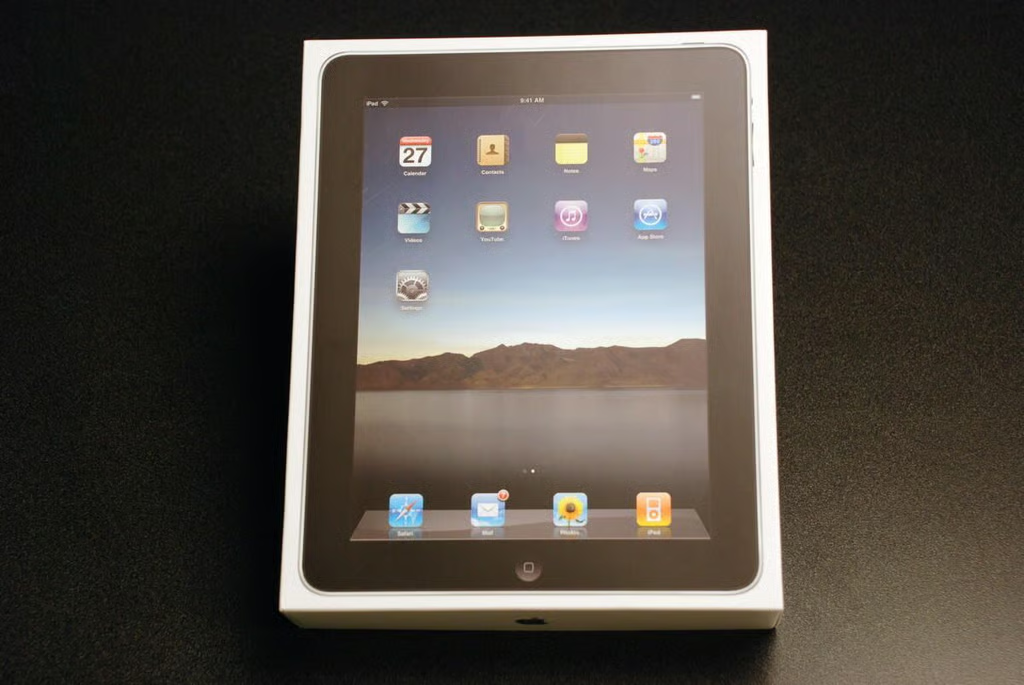
The Apple iPad’s box is surprisingly think for such a thin device.
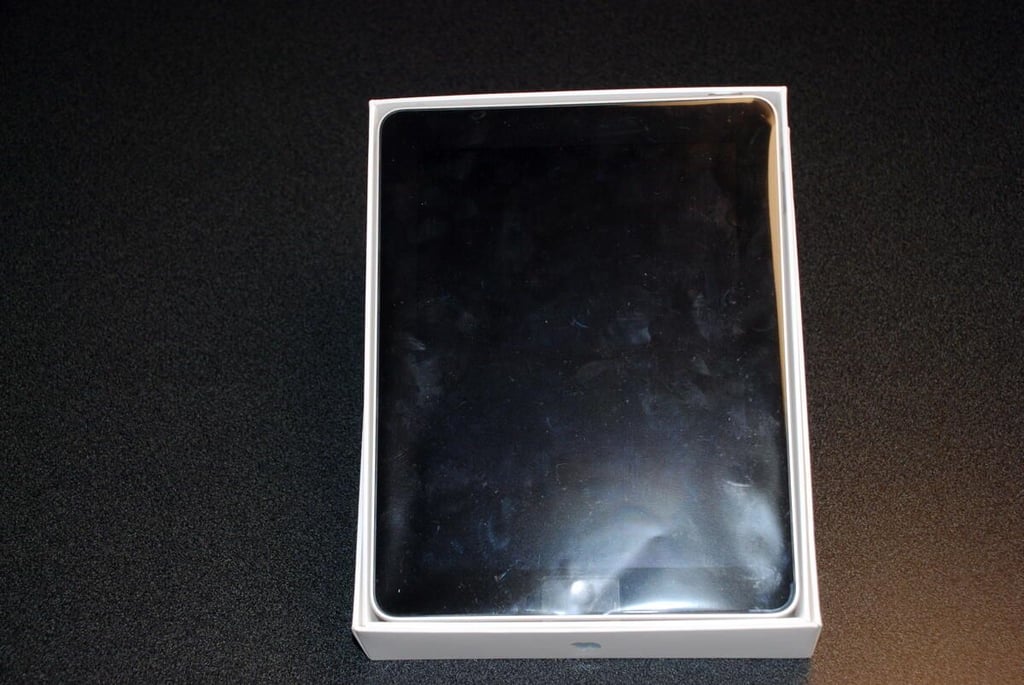
Removing the box top, give us our first look at the Apple iPad.
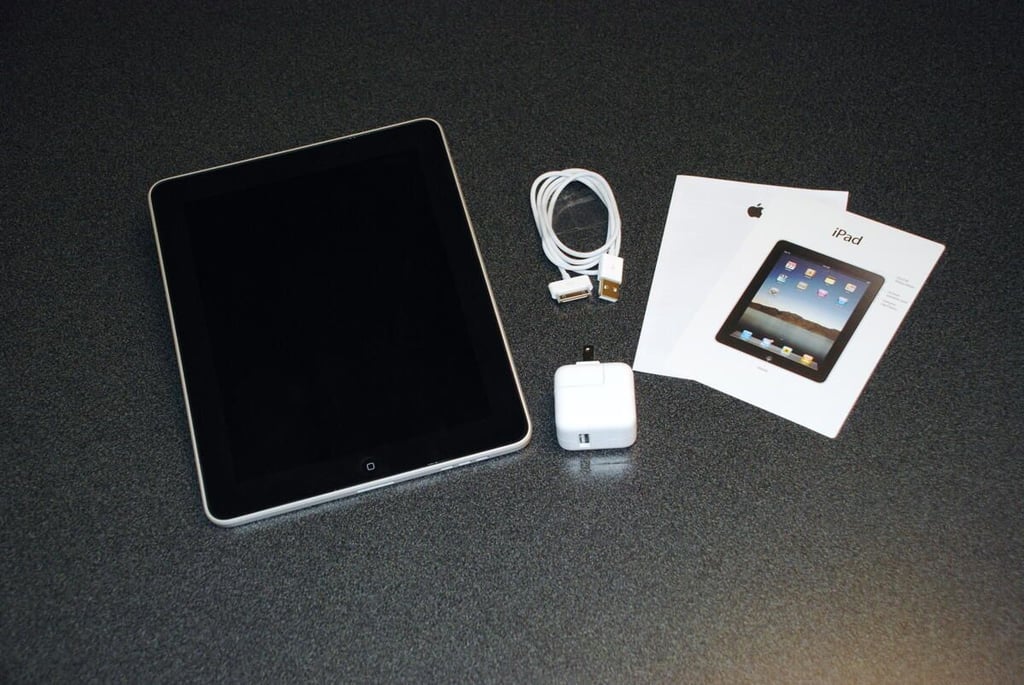
Within the box, we found the Apple iPad itself, a USB wall power adapter, standard Apple docking cable, a bit of documentation, and a few Apple logo stickers.
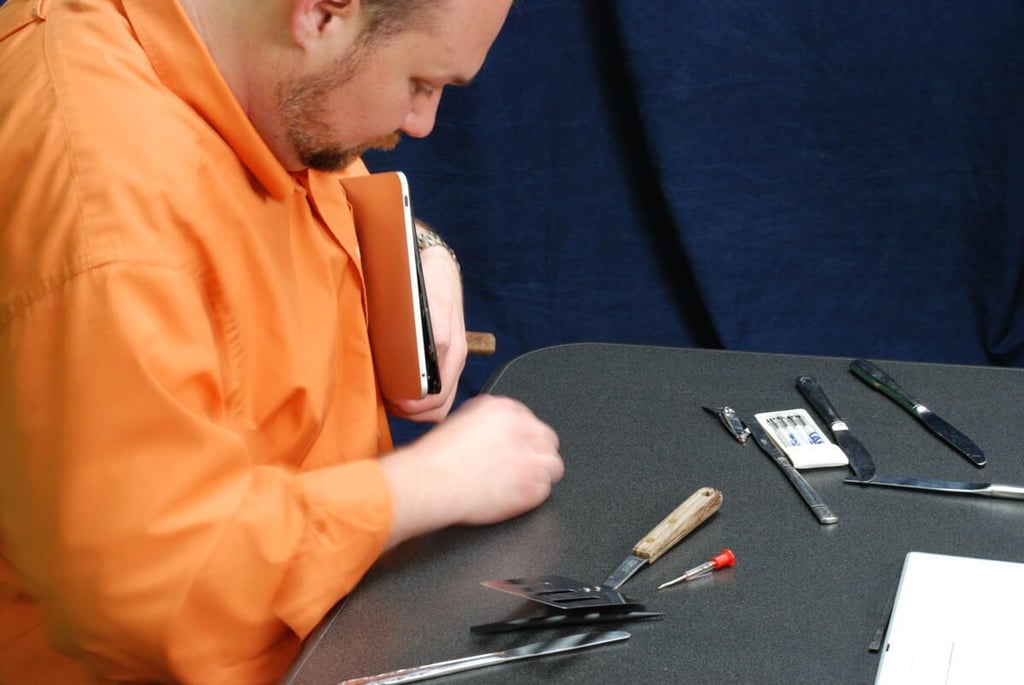
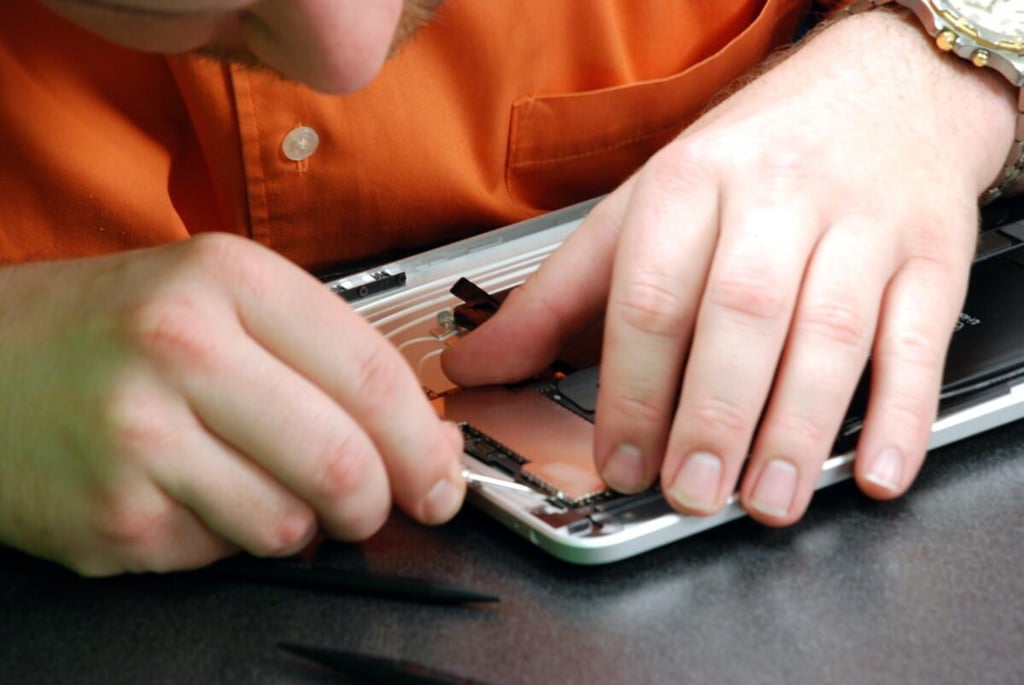
As with the iPod Touch and iPhone, cracking open the Apple iPad began with me sliding a thin metal blade between the glass front panel and the metal case. The front panel is secured with small metal clips that are screwed to the underside of the front panel. You’ll find these clips along the top, bottom, and left side of the front panel. The right side has hard plastic tabs that fit into slots on the metal case.
Yes. That is a spatula you see on the table. Its extremely thin, flexible metal blade was perfect for slipping between the iPad’s metal case and front panel.
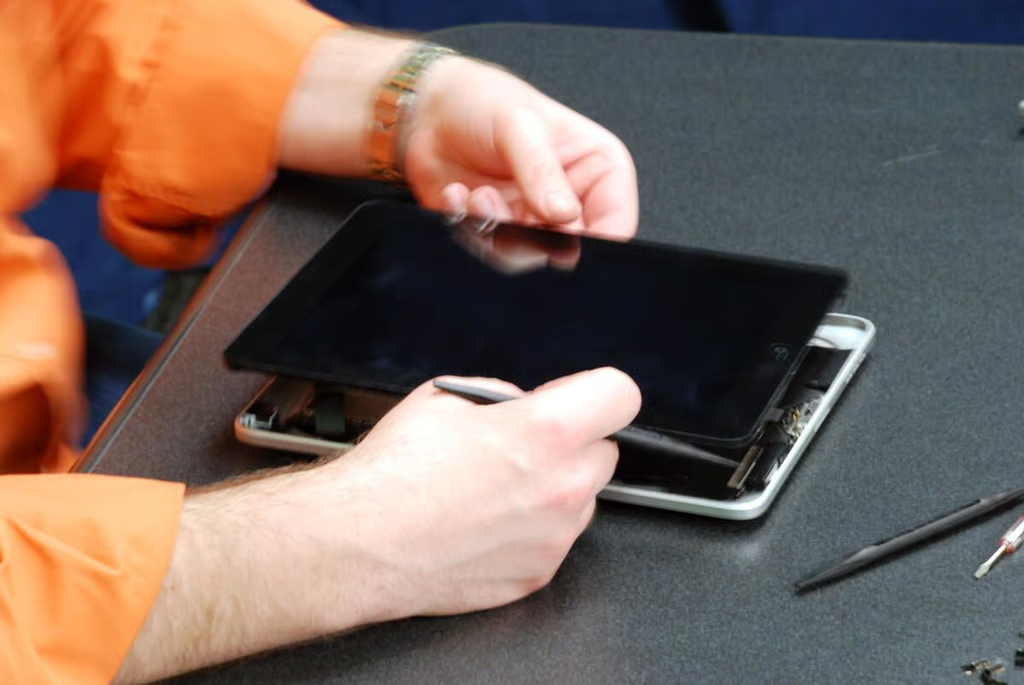
With the tabs popped loose, we can gently separate the front panel from the case, but not completely.
There are three cables that connect the front panel to components within the metal case.
One short ribbon cable, connects the ambient light sensor to the main logic board. A second, thinner ribbon cable connects the digitizer to the main board. And a third thicker cable connects the display and LED back light to the main board.
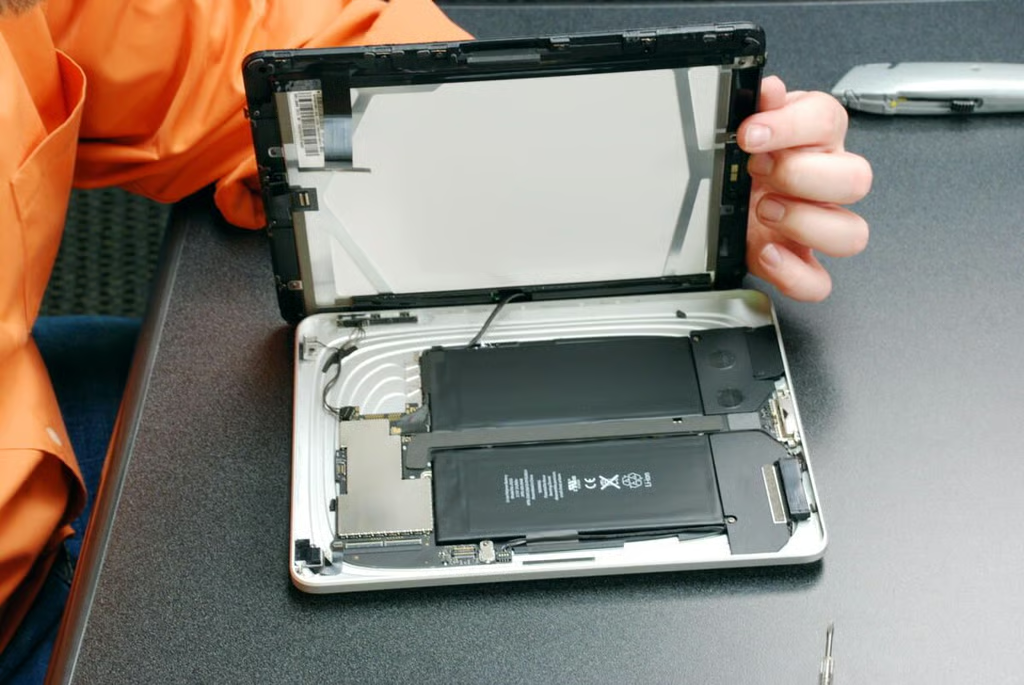
With the two ribbon cables removed, we get our first look inside the Apple iPad. Wow! Look at those batteries.
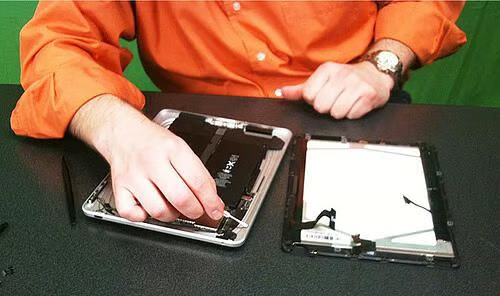
Separating the two halves of the Apple iPad.

Bill Detwiler taking apart the Apple iPad in the TechRepublic video studio.
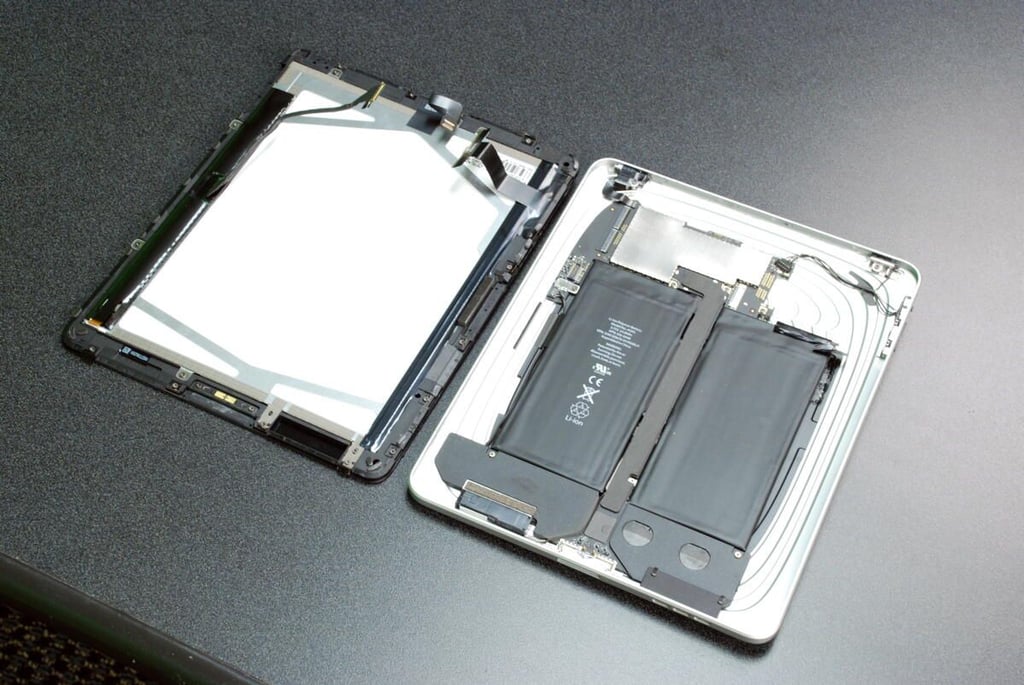
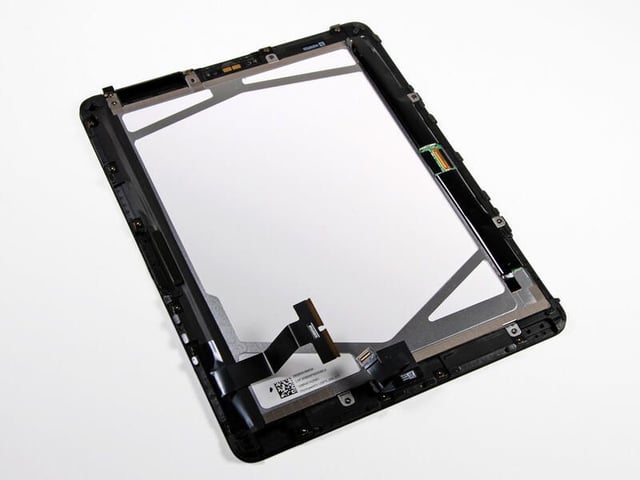
The front panel contains the 9.7-inch (diagonal) display, LED back light, digitizer, ambient light sensor, and Home button.
Photo by iFixit, used by permission
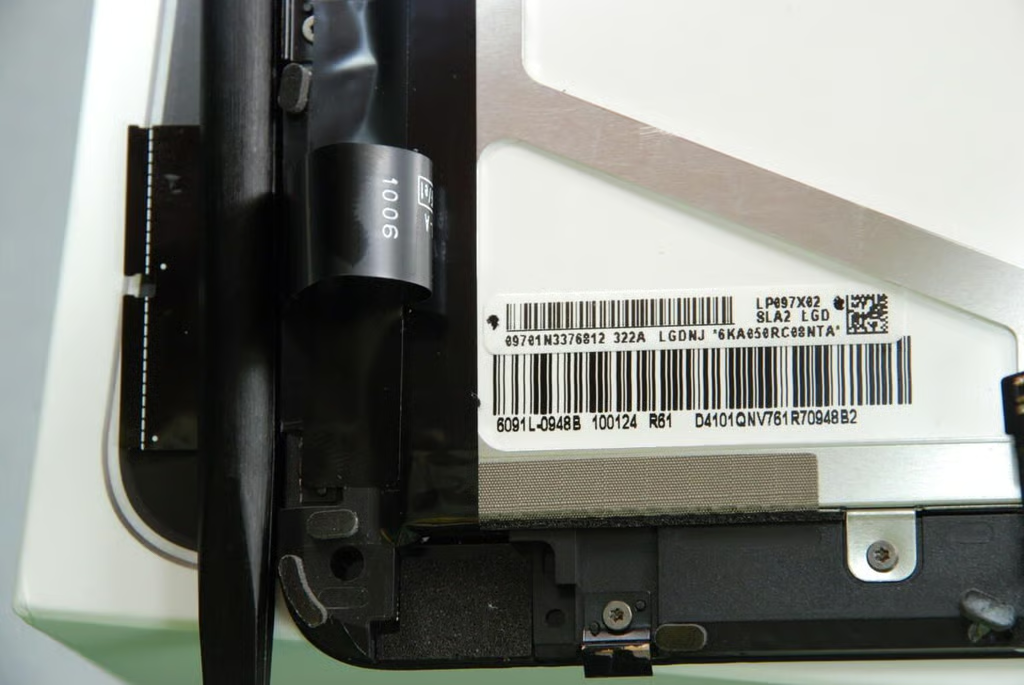
Here you can see the markings on the Apple iPad’s (1024×786) LCD display.
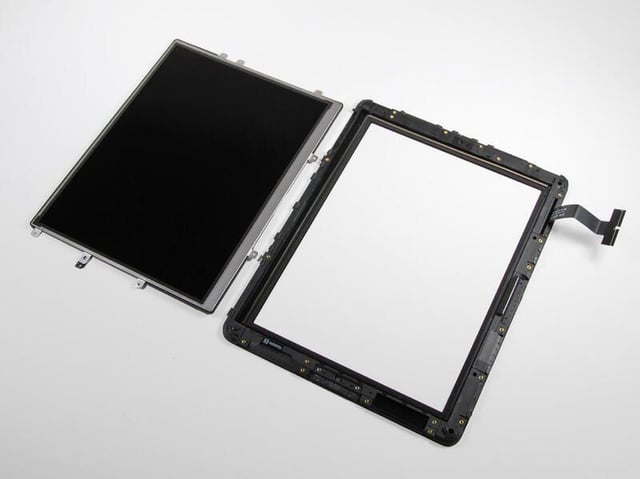
On the left is the LCD display and the right is the digitizer, which records your finger strokes and taps.
Photo by iFixit, used by permission
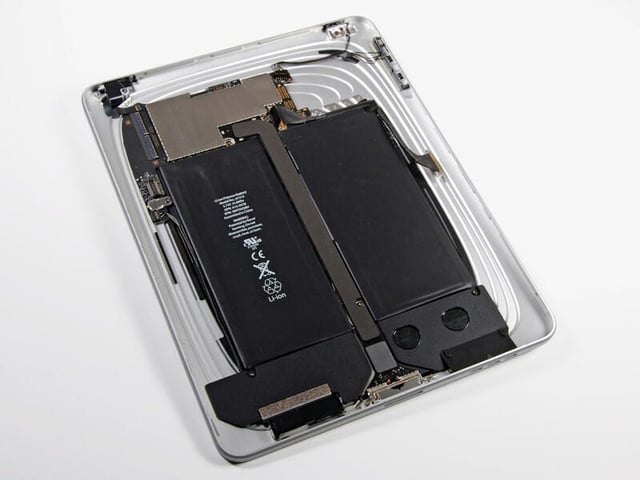
Within the Apple iPad’s metal shell, are the main logic board (mostly covered by a metal EMI shield), the batteries, Wi-Fi and Bluetooh card, antennas, headphone jack, microphone, speakers, On/Off button, volume up/down button, and screen rotation lock switch. On 3G model (to be released in late April), you’ll undoubtedly find additional cellular components.
Photo by iFixit, used by permission
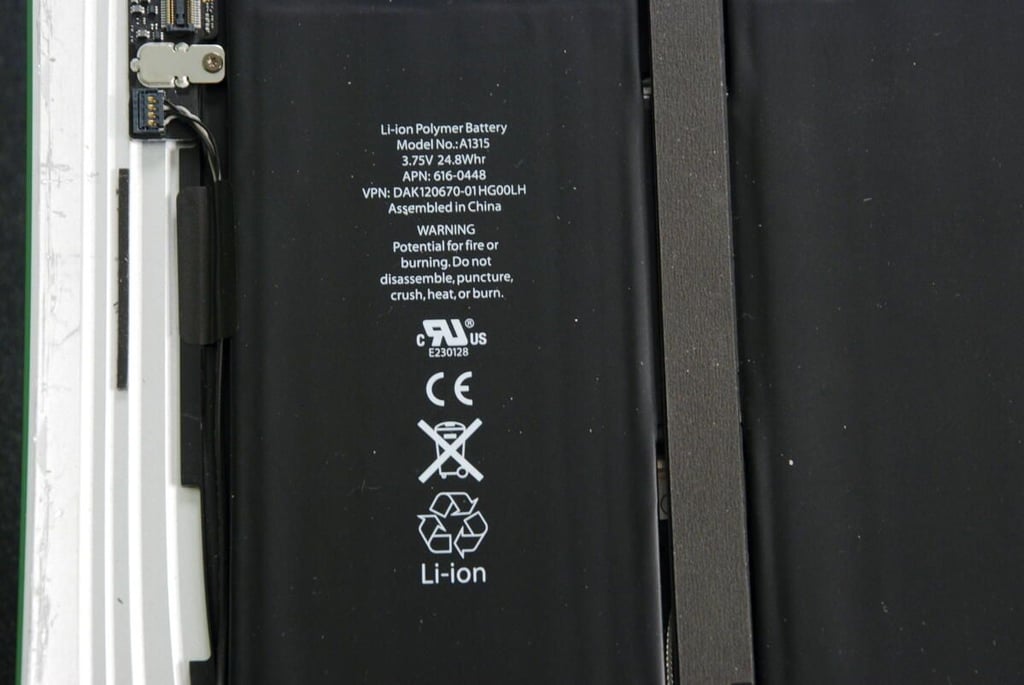
The Apple iPad’s 3.75V, 24.8 watt-hour battery provides the power for an advertised 10 hours of average use.

In the top, right-hand corner of the metal case you’ll find the on/off or sleep/wake button, the screen rotation lock switch, and the volume up/down button.
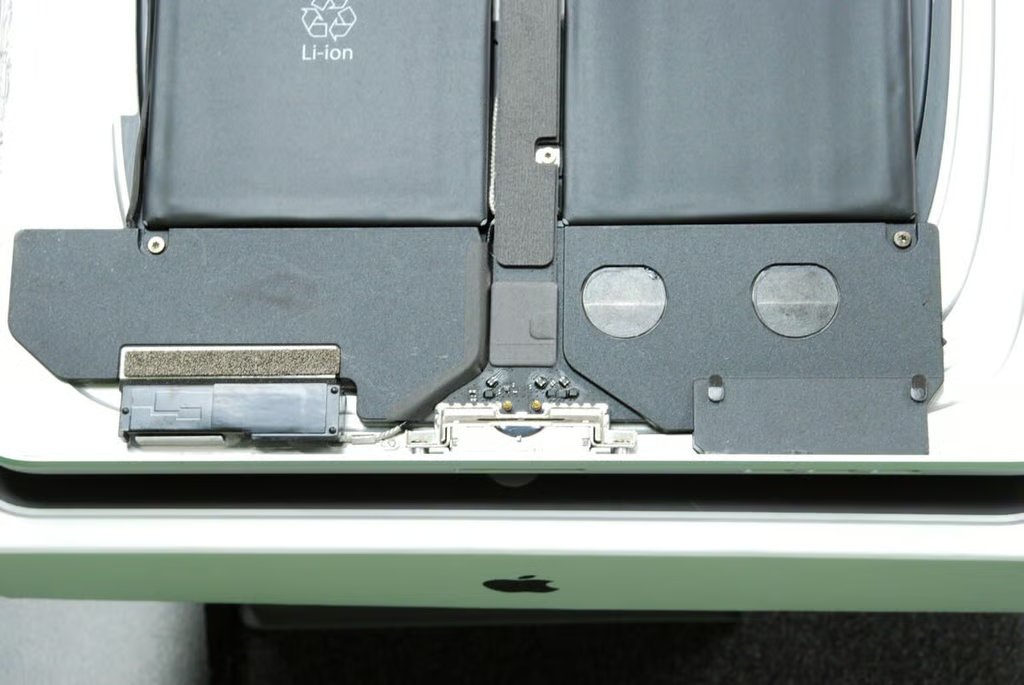
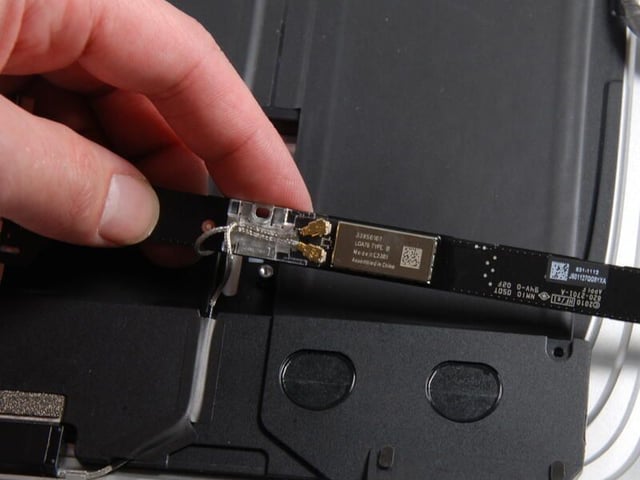
At the bottom of the metal case, you’ll find the speaker assembly, two speakers, data port, connector pins for the Home button, and one of the antennas.
The large connector that runs down the center of the battery assembly, attaches the components at the bottom of the iPad to the main logic board at the top.
Photo by iFixit, used by permission
Under the center connector, you find the Broadcom Wi-Fi and Bluetooth card.
Photo by iFixit, used by permission
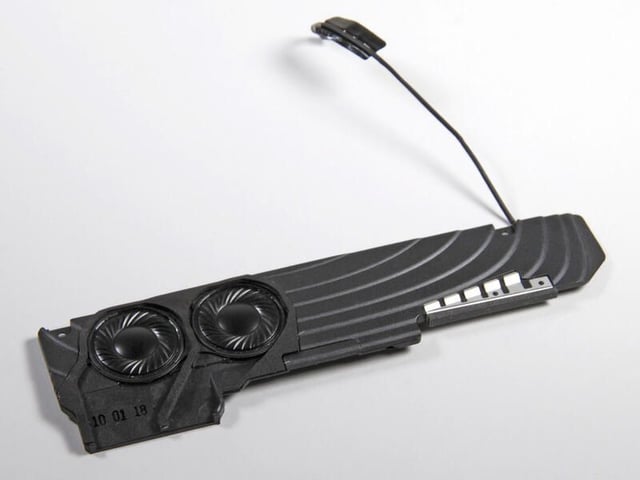
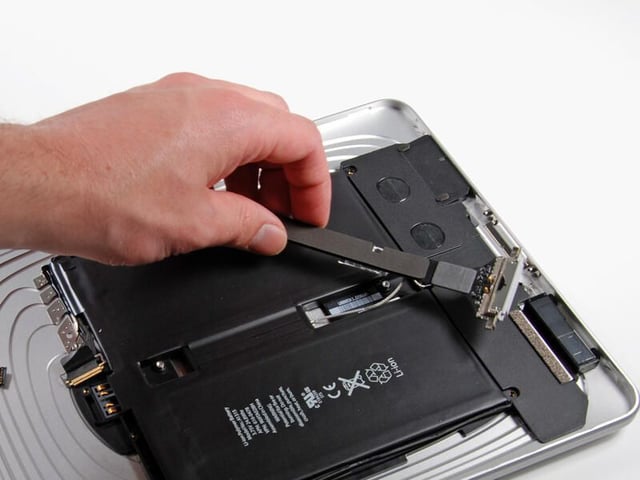
With the iPad’s speaker assembly removed, you can see the two speakers, which face toward the metal case.
Photo by iFixit, used by permission
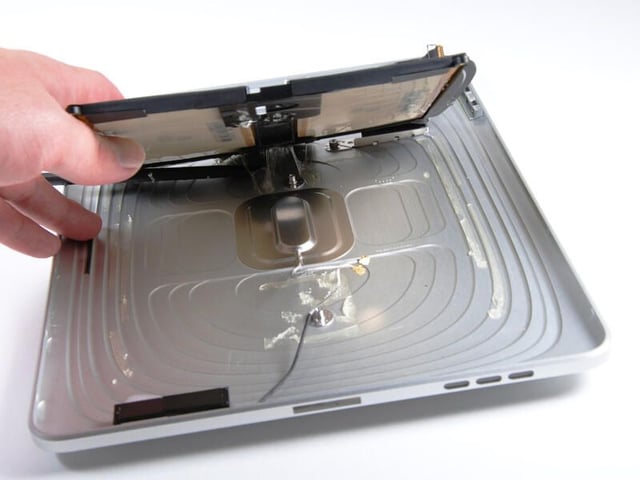
The battery assembly is glued to the metal case. Underneath, you’ll find a second wireless antenna.
Photo by iFixit, used by permission
You must remove the thin metal shield from the main logic board to see the Apple iPad’s processor and memory chips.
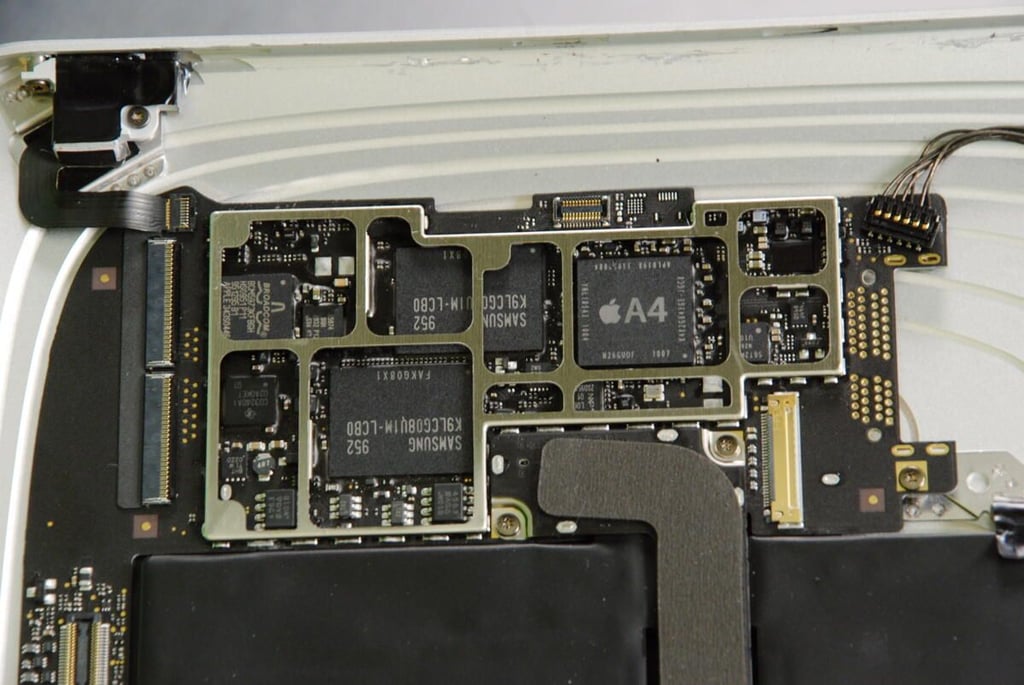
With the metal shield removed, you can see the Apple iPad’s A4 processor, two large Samsung NAND Flash memory chips, a Broadcom I/O controller, and chips from Texas Instruments and NXP.
The markings on the A4 processor are:
N26GUOF 1007
K4X2G643GE JGC8
APL0398 33950084
YNL185A3 1004
The markings on the Samsung chips are:
952 K9LCG08U1M-LCB0
FAKG08X1
The markings on the Texas Instruments chip is:
CD3240A1
02A0KET?C1
The markings on the Broadcom I/O controller are:
BCM5973KFBGH
HS0951 P11
951295 B1
APPLE 343S0446
The markings (at least those I can see) on the NXP chip are:
L06
01
ZSD951
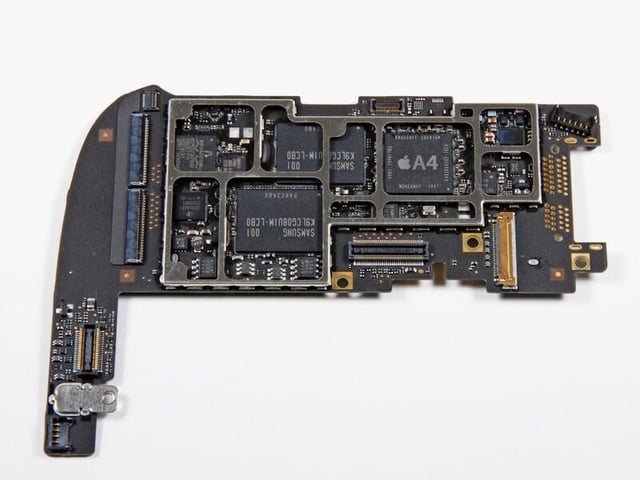
Here the main logic board has been removed from the metal case.
Photo by iFixit, used by permission
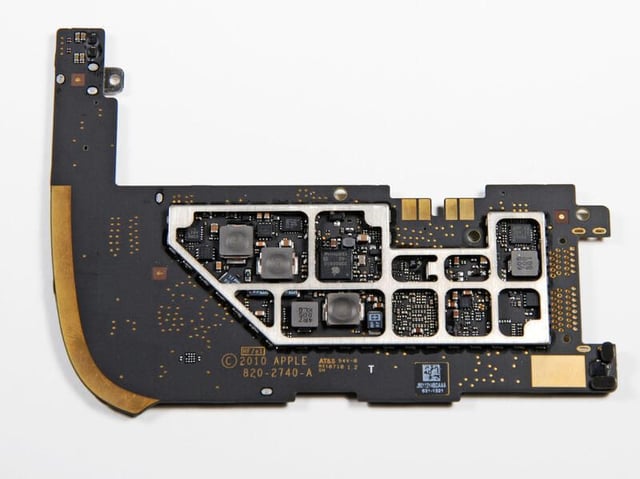
The back of the main logic board.
Photo by iFixit, used by permission
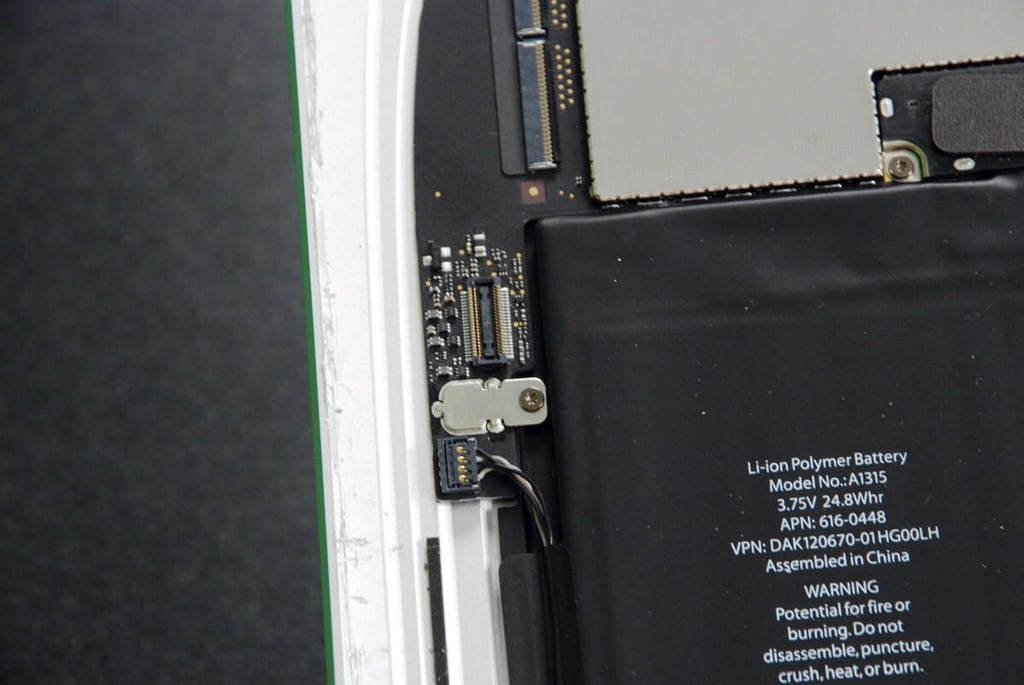
This connector did not have a cable attached to it on our iPad. Perhaps it will in the 3G version released in late April.
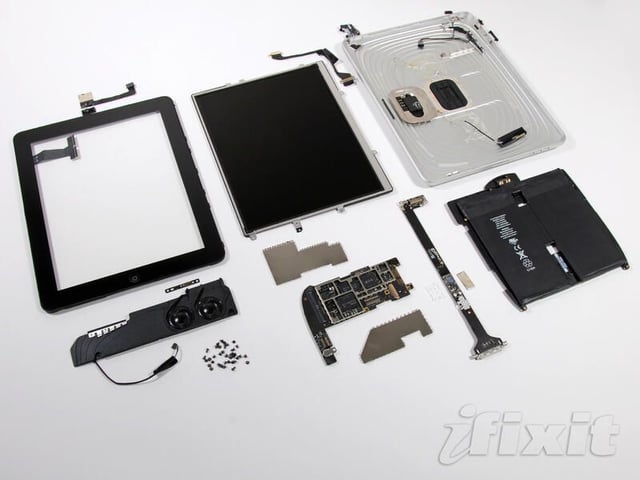
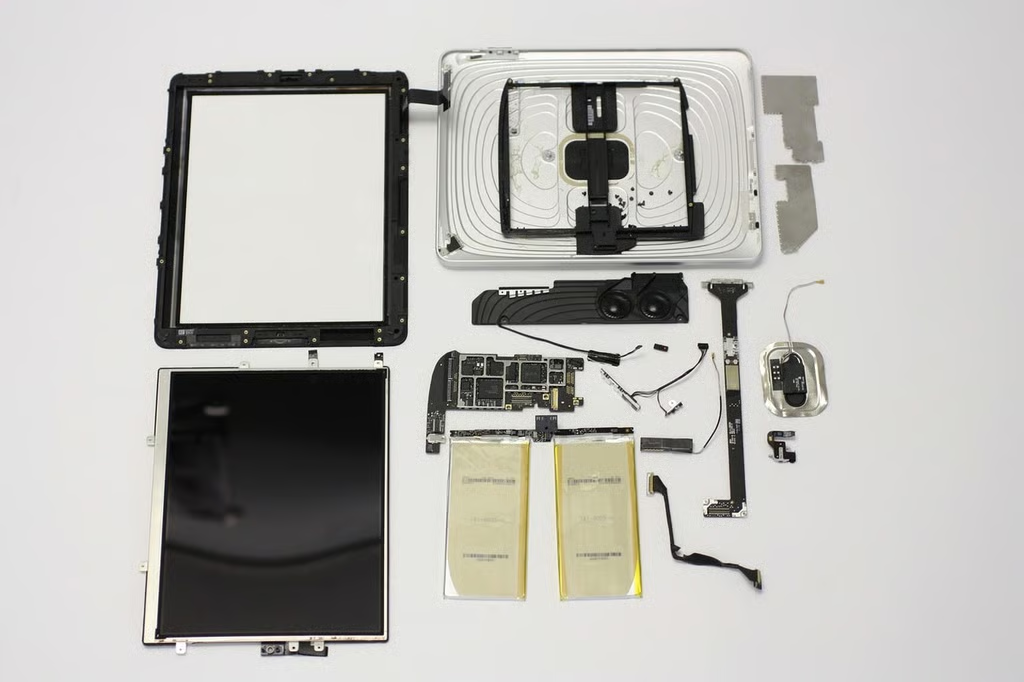
The Apple iPad completely disassembled
Photo by iFixit, used by permission
Bill Detwiler is the Editor for Technical Content and Ecosystem at Celonis. He is the former Editor in Chief of TechRepublic and previous host of TechRepublic's Dynamic Developer podcast and Cracking Open, CNET and TechRepublic's popular online show. Previously, Bill was an IT manager in the social research and energy industries. He has bachelor's and master's degrees from the University of Louisville, where he has also lectured on computer crime and crime prevention.


