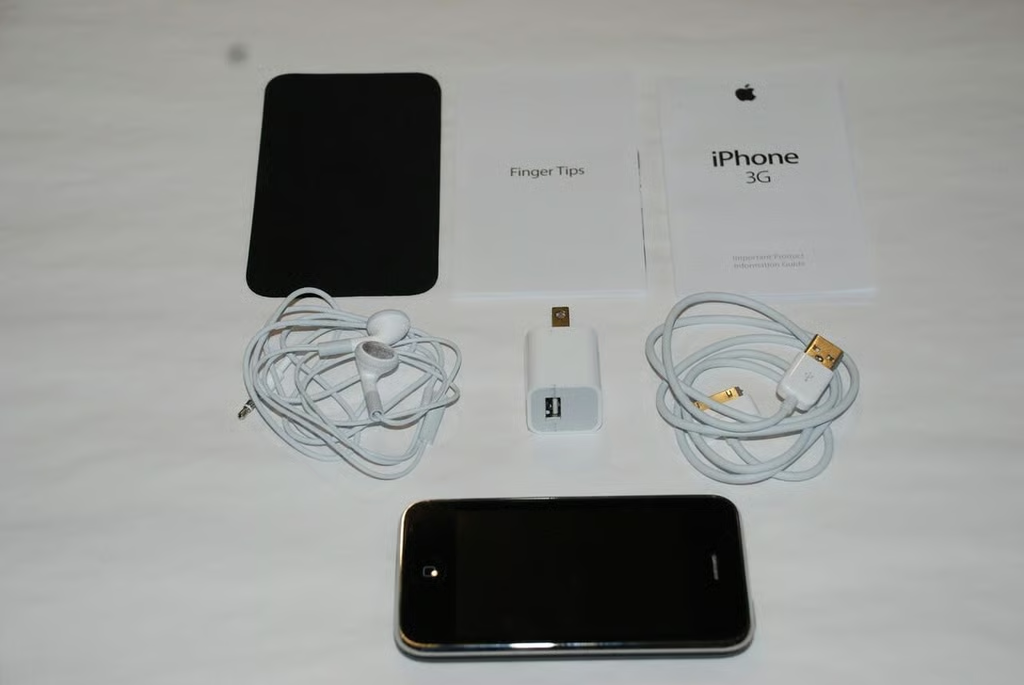
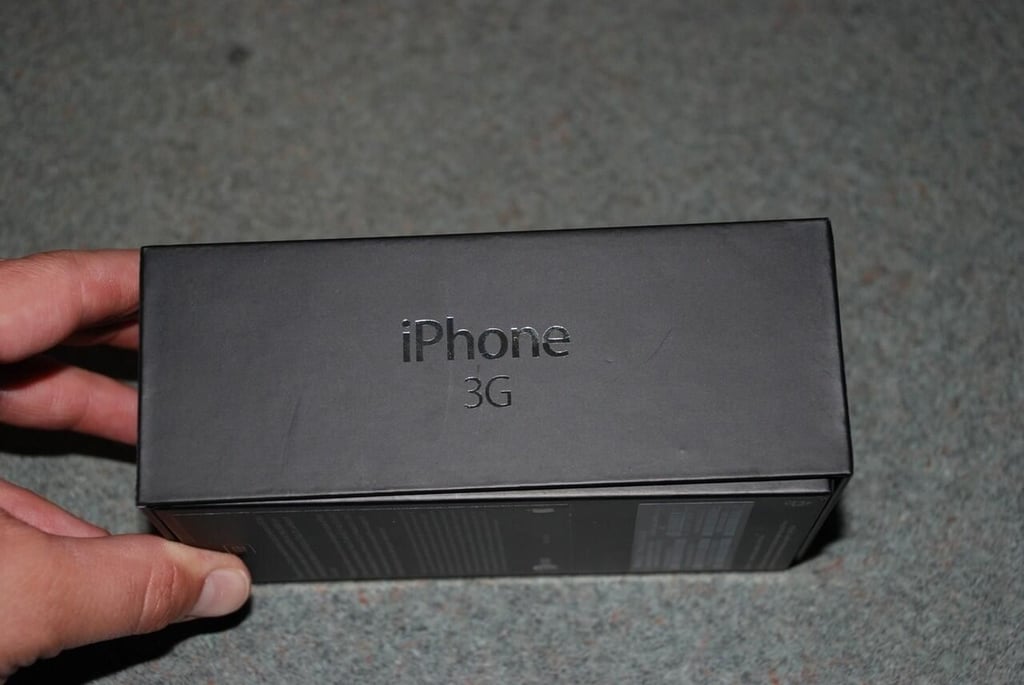
Inside the iPhone 3G box, you’ll find the iPhone 3G, USB docking cable, USB power adapter and cord, earphones (with mic), SIM card extractor, cleaning cloth, and product documentation. The 8GB iPhone 3G is available in black, while the 16GB phones come in black or white.

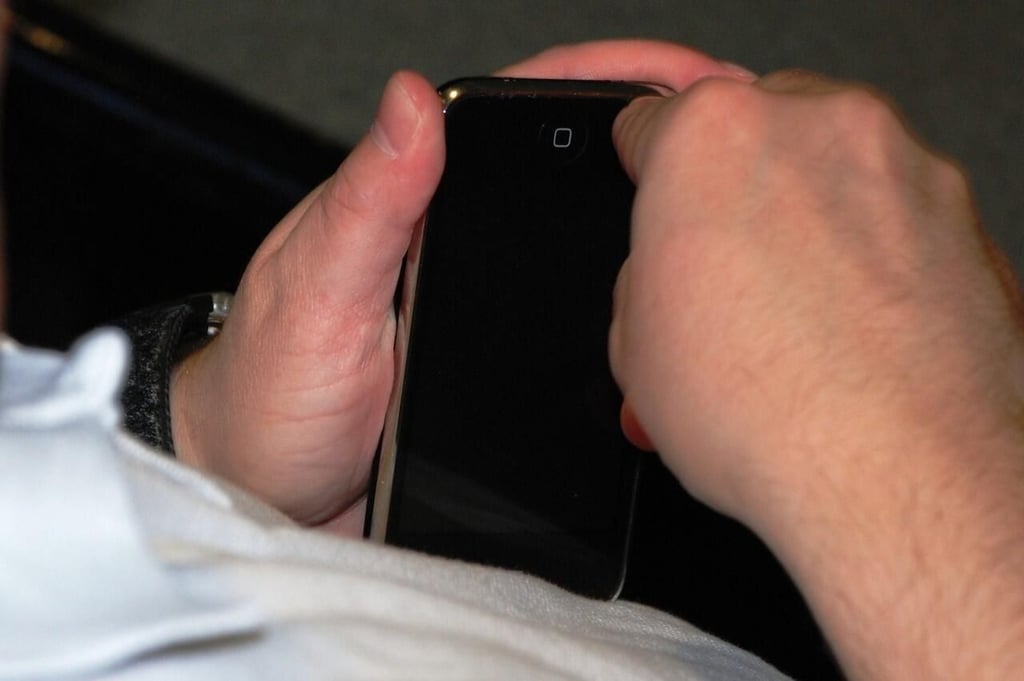
From the front, the iPhone 3G looks nearly identical to the original iPhone, which we cracked open in 2007. You’ll find the screen, speaker, and Home button.
According to Apple’s iPhone 3G technical specifications, the iPhone 3G is 4.5 inches high, 2.4 inches wide, 0.48 inches deep, and weighs 4.7 ounces. The phone’s Multi-Touch display offers 480-by-320-pixel resolution at 163 ppi. The iPhone 3G is almost identical to the original iPhone in size and weight.
The iPhone 3G has an accelerometer, proximity sensor, and ambient light sensor.
Unlike the original iPhone, the iPhone 3G’s back is a solid piece. Like the original, the iPhone 3G has a 2-megapixel camera.
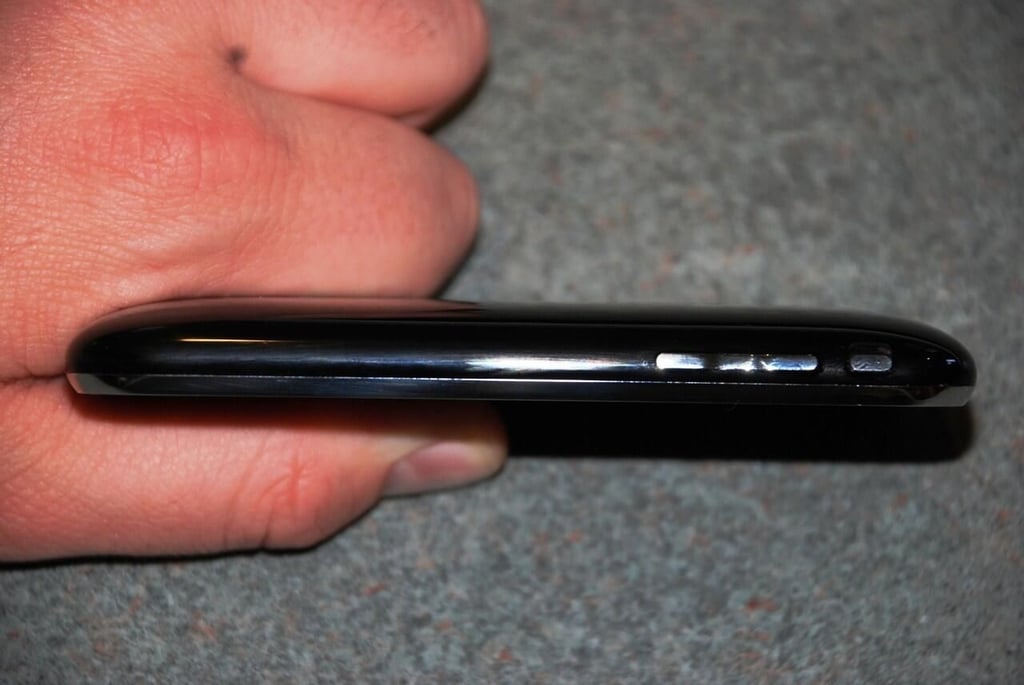
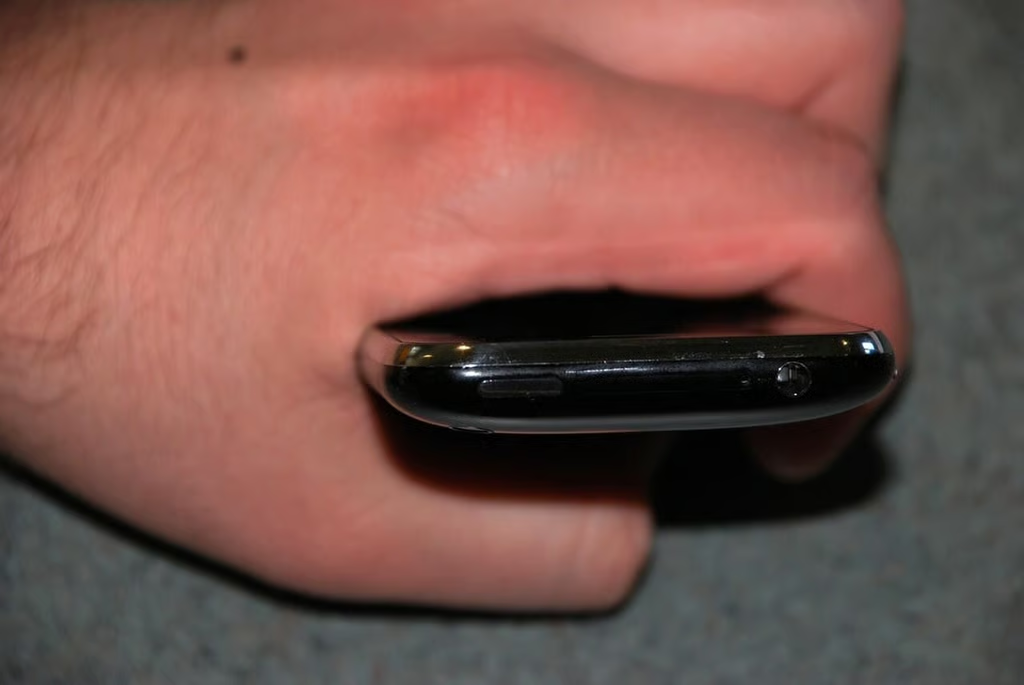
Along the iPhone 3G’s right side, you’ll find the ring/silent switch and volume up/down buttons.
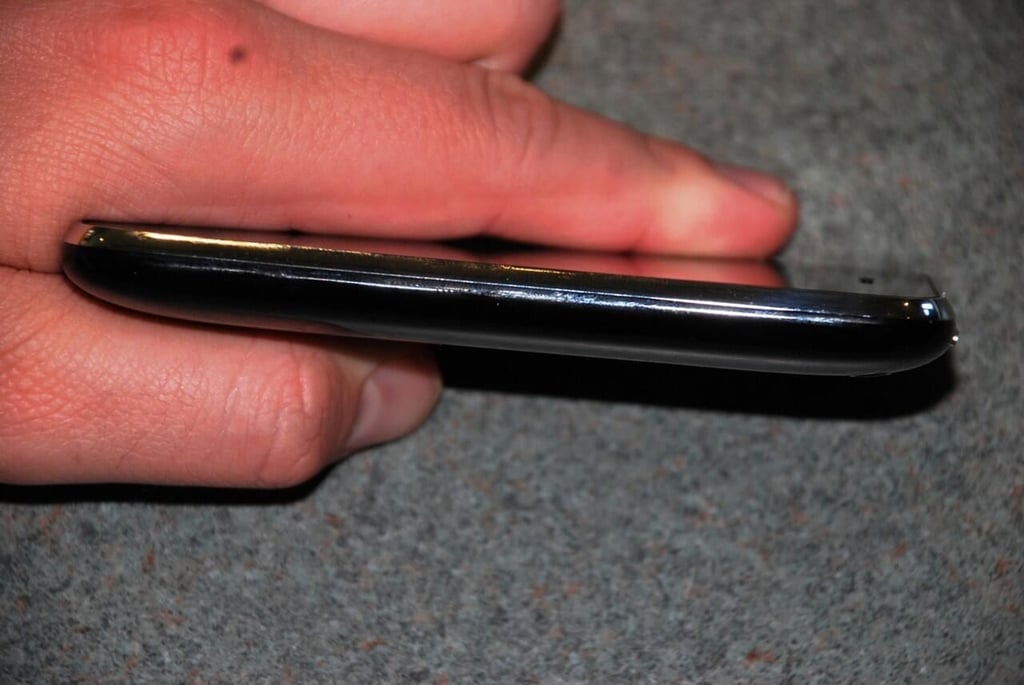
Nothing much to see on the left side.
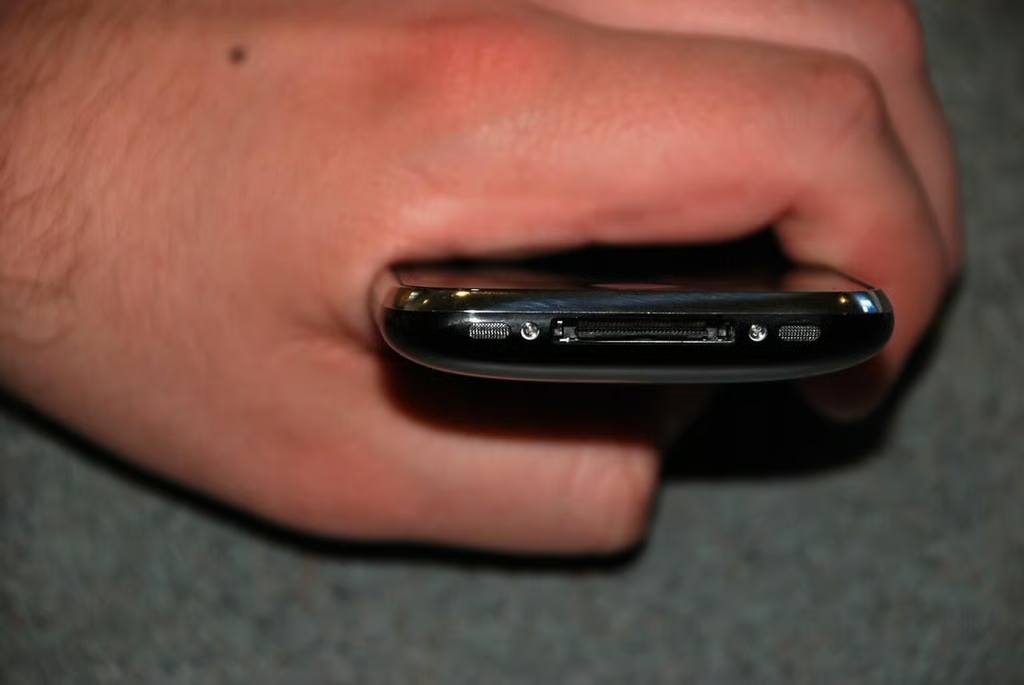
The 30-pin docking connector, a built-in speaker, and microphone are located on the iPhone 3G’s bottom.
On top of the iPhone 3G you’ll find the SIM card slot, 3.5mm stereo headphone jack, and Sleep/wake button.
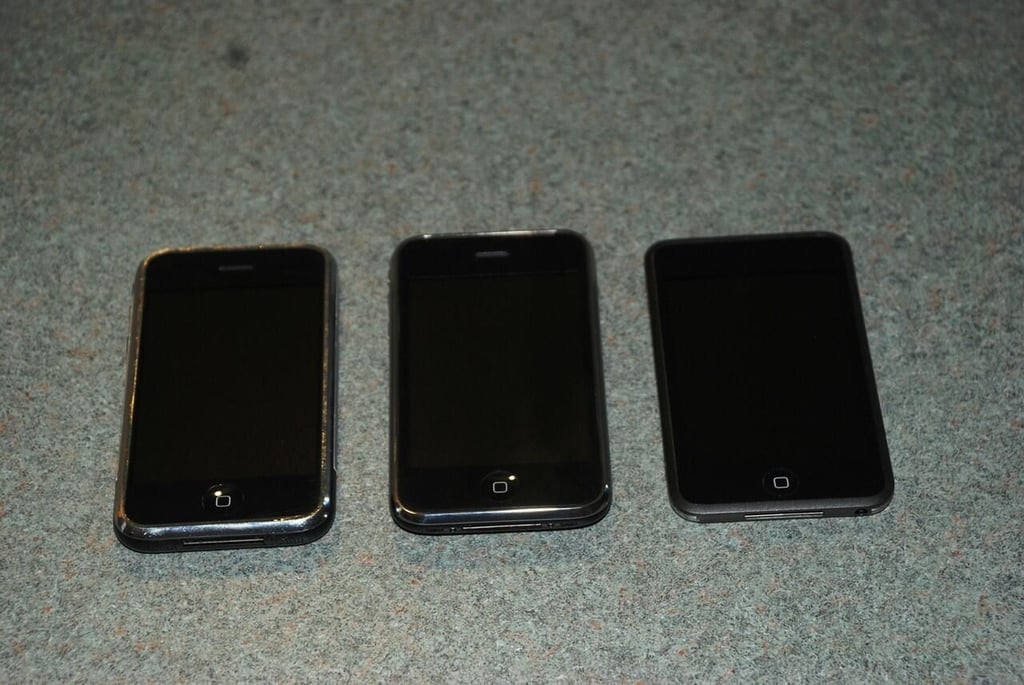
From left to right, the original iPhone, iPhone 3G, and iPod Touch.
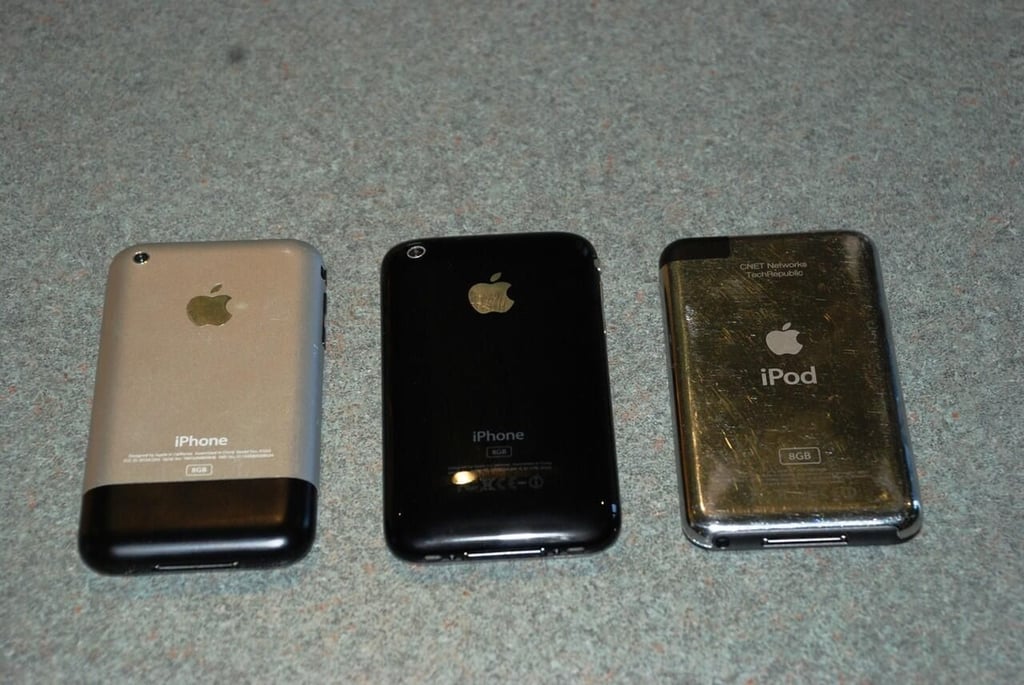
From left to right, the original iPhone, iPhone 3G, and iPod Touch.
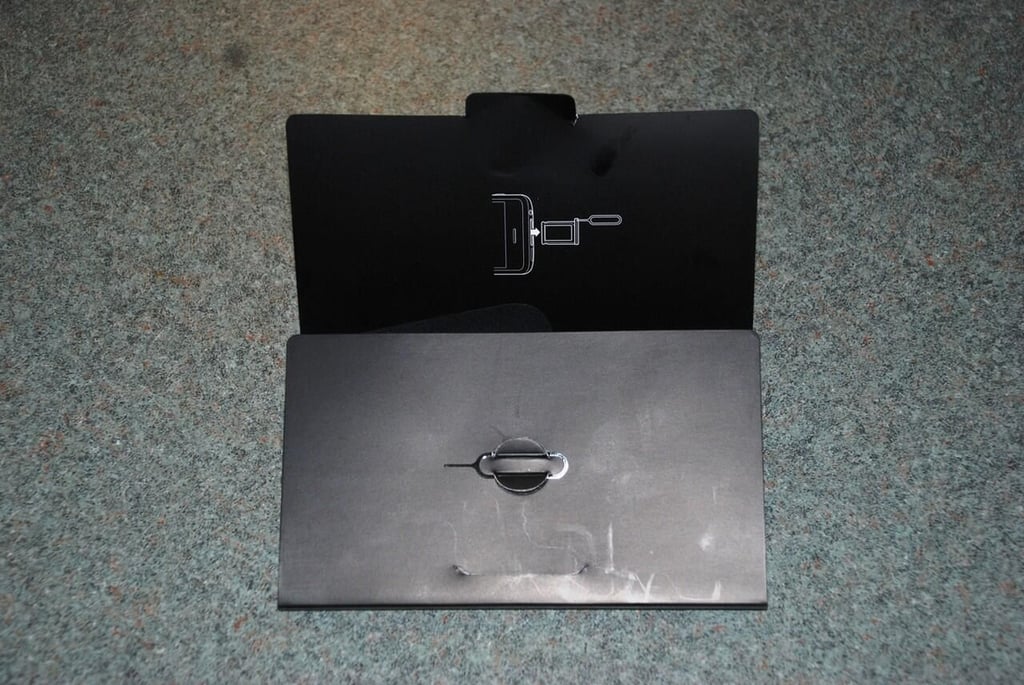
Unlike the original iPhone, the iPhone 3G came with a small tool for removing the SIM card. No more bending paper clips.
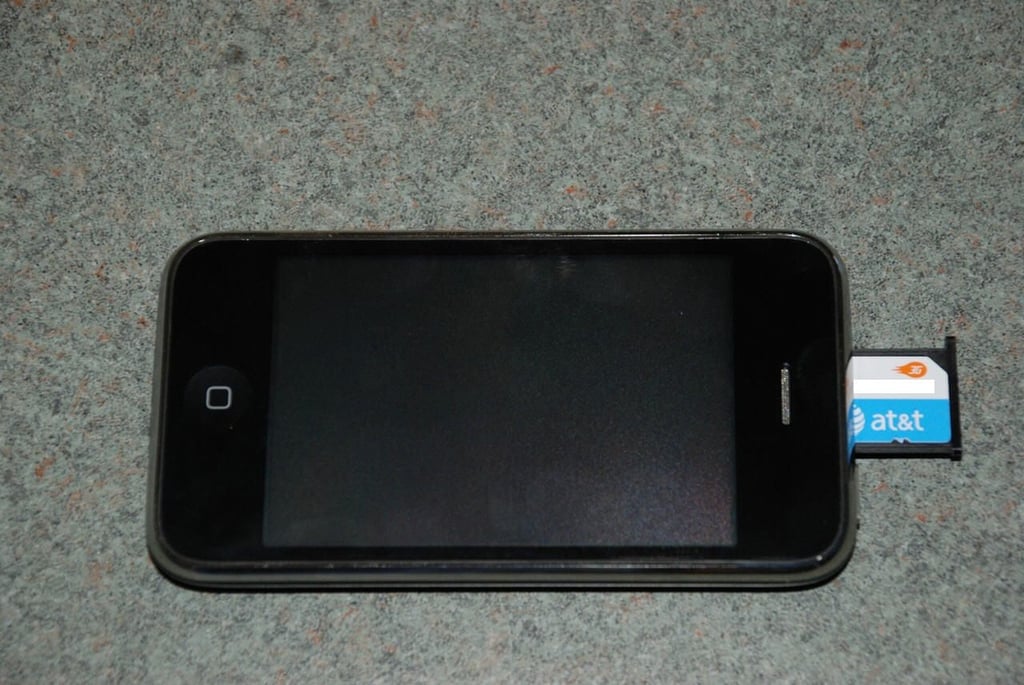
Like the original iPhone, the iPhone 3G’s SIM card is held in place on a small, plastic tray.
Our first effort to remove the the front cover was unproductive. We knew the front cover would come away from the chassis, but it was putting up more resistance than we expected. Could there be screws holding the cover on?
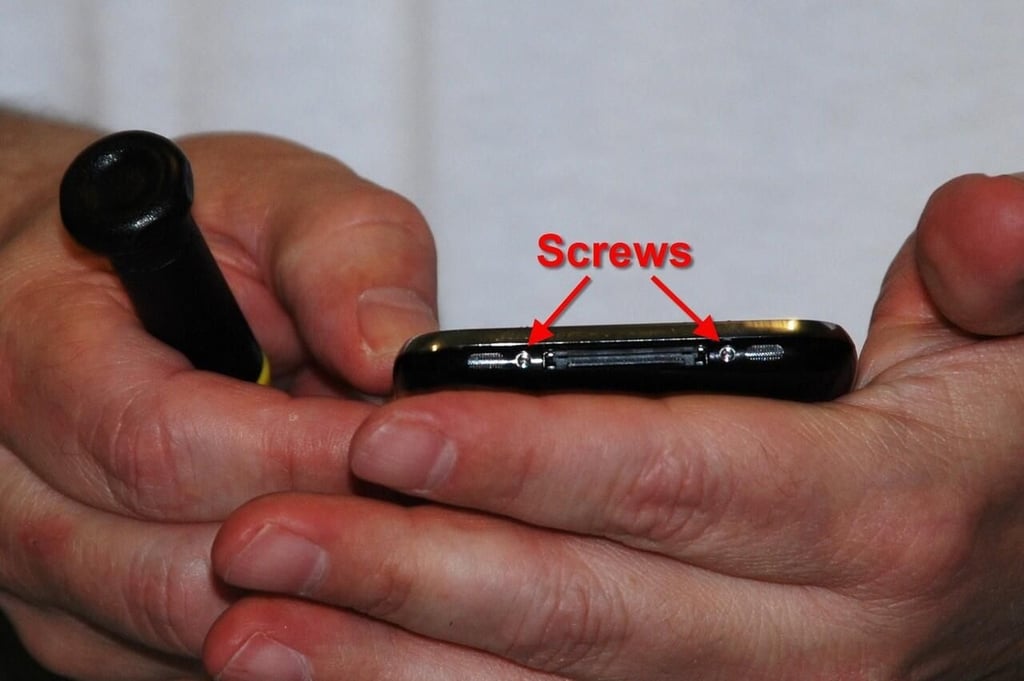
Yes! Two Phillips 00 screws are accessible from the iPhone 3G’s bottom. You must remove these screws before removing the front cover.
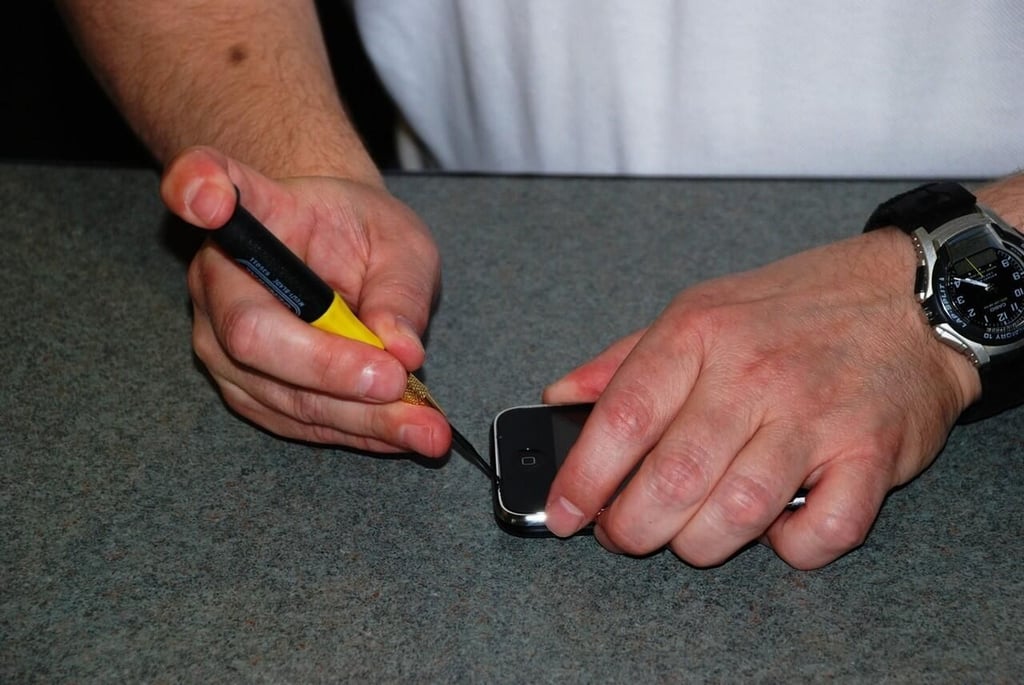
With the external screws removed, we were able to gently pry open the cover.
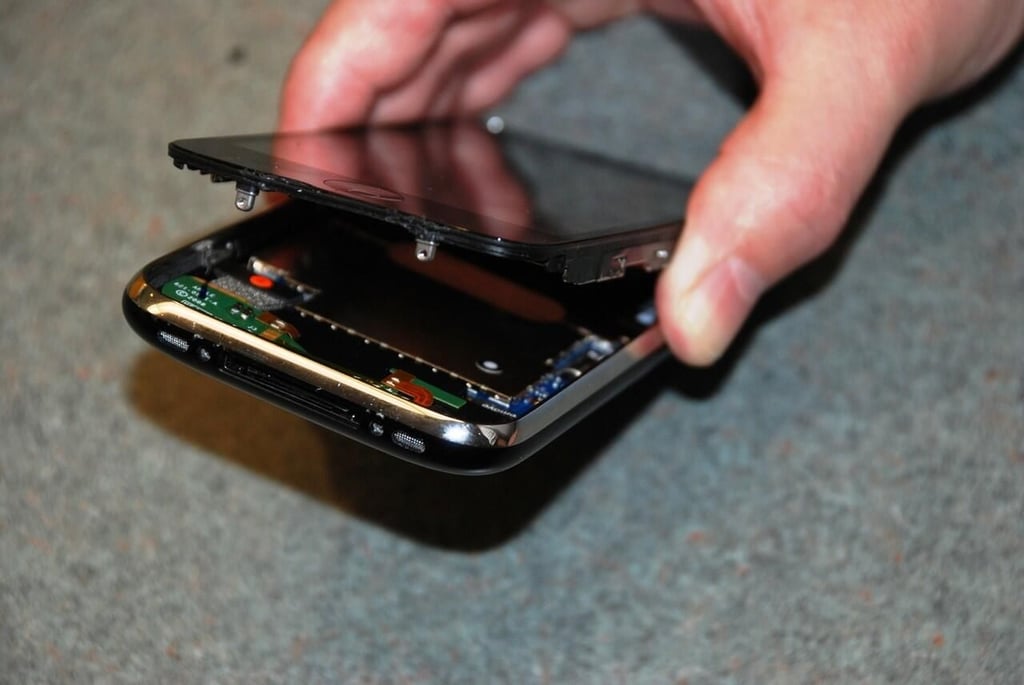
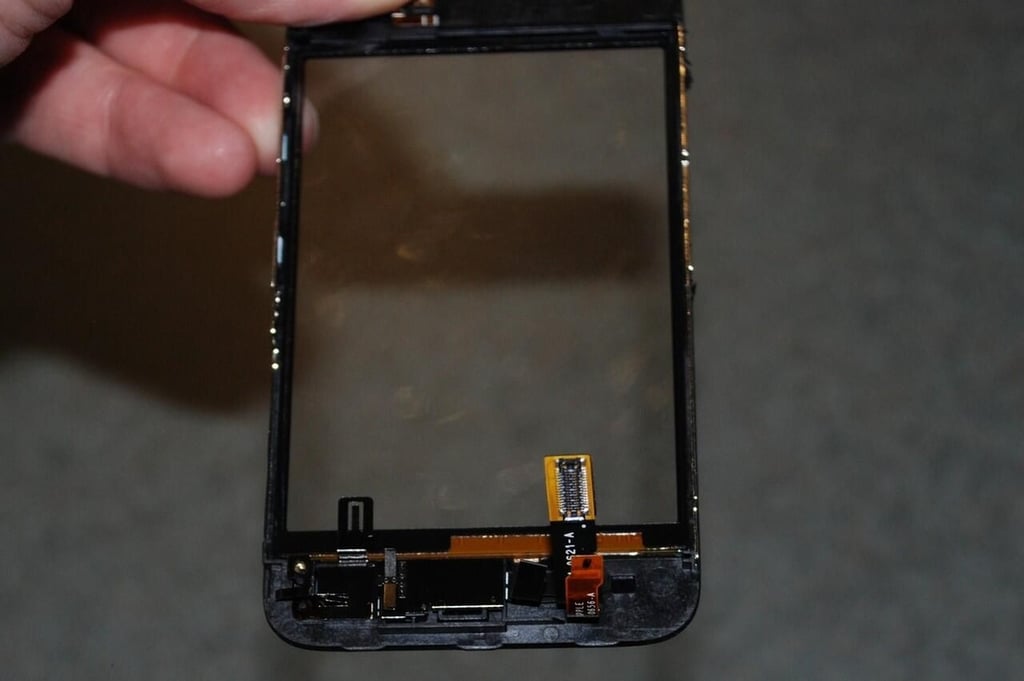
Lifting up the display, we get our first look inside the iPhone 3G.
Small, orange stickers were used to number the connection to the main PCB board.
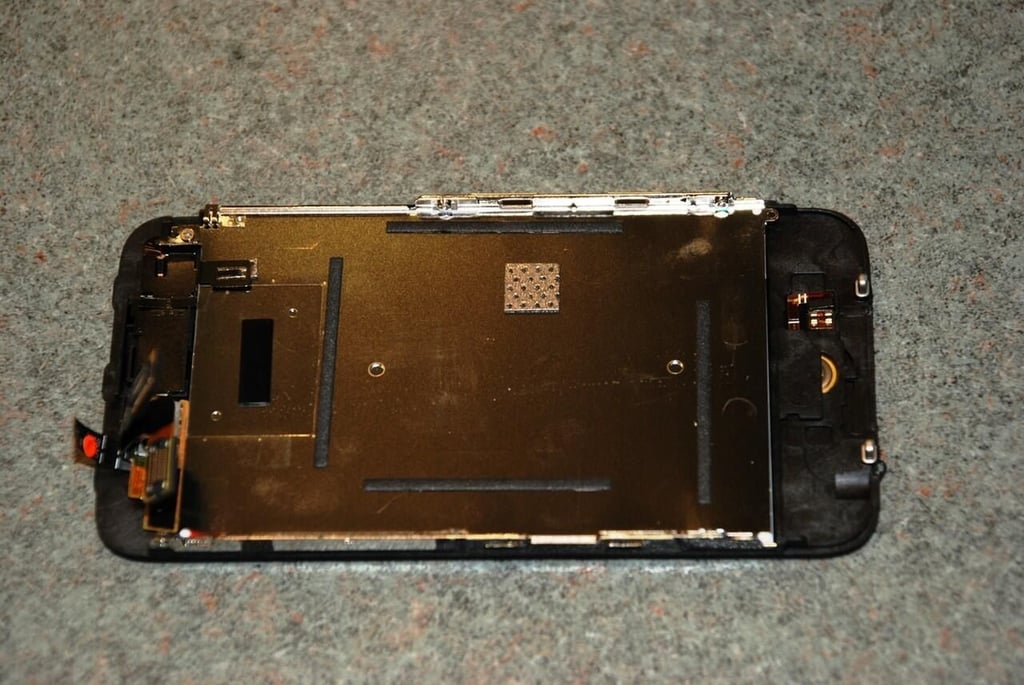
Unlike the first iPhone, the iPhone 3G’s LCD display and front cover are separate pieces–like the iPod touch.
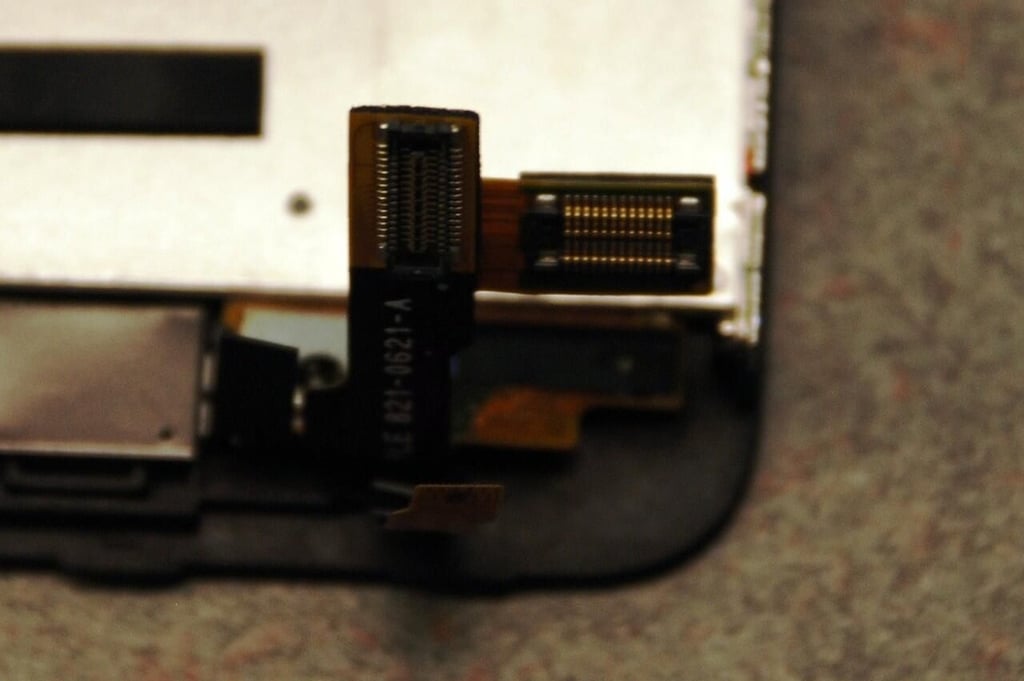
These connectors attached the LCD display, touch sensors, and ear speaker to the main PCB.
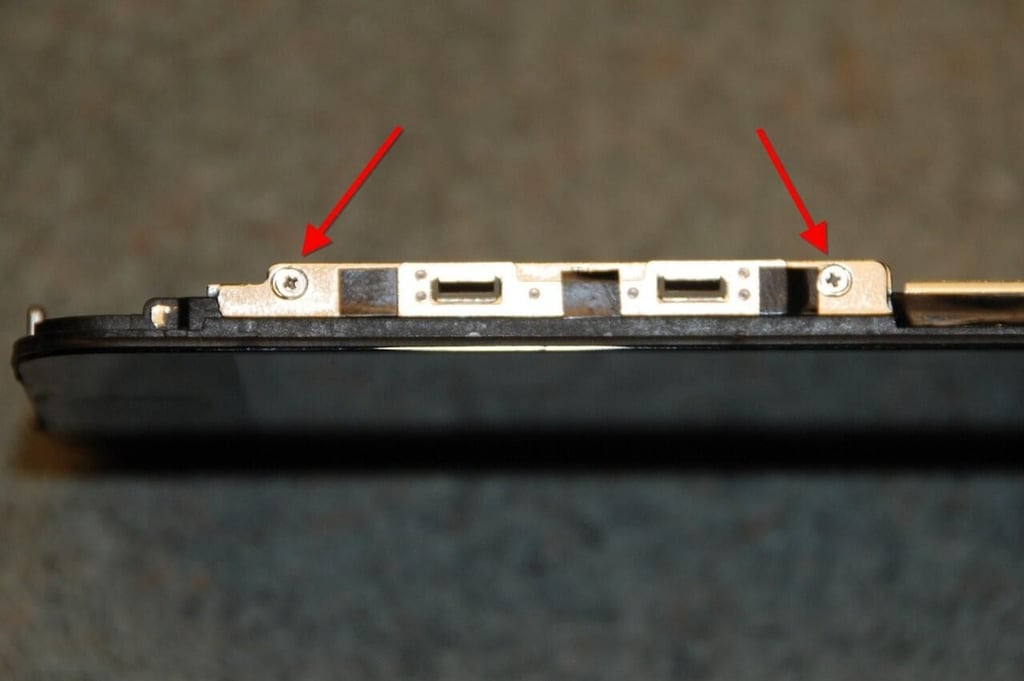
Six screws hold the LCD display to the front cover. Two shown in this photo. There are three screws on the other edge of the cover (hidden by black tape) and one screw on the back of the display.
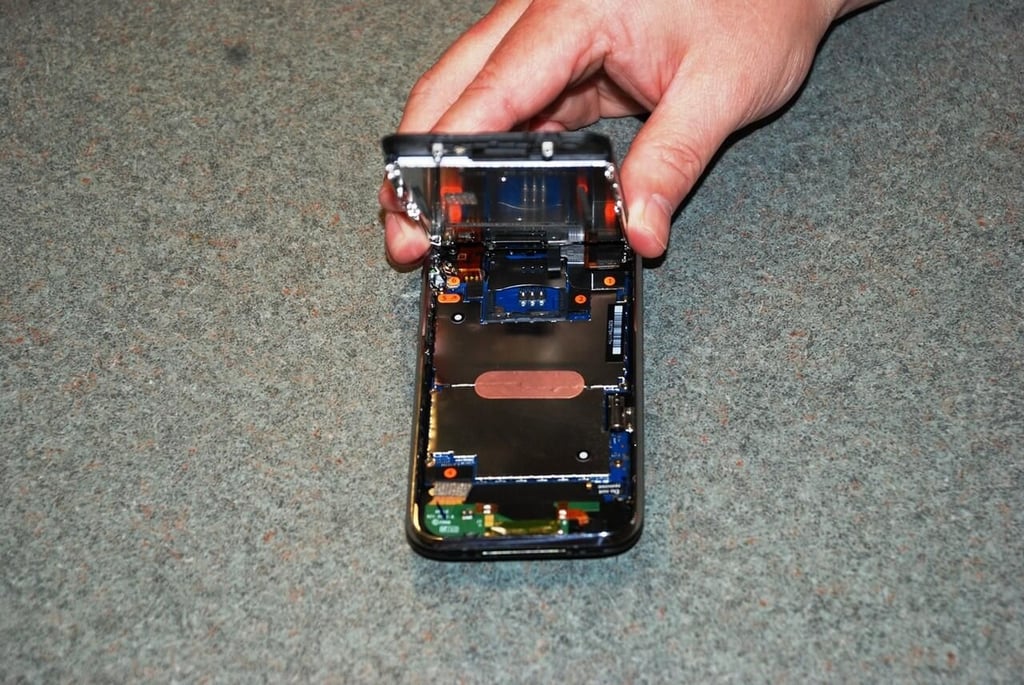
After removing six Phillips 00 screws, we could lift the LCD assembly away from the iPhone 3G’s front cover.
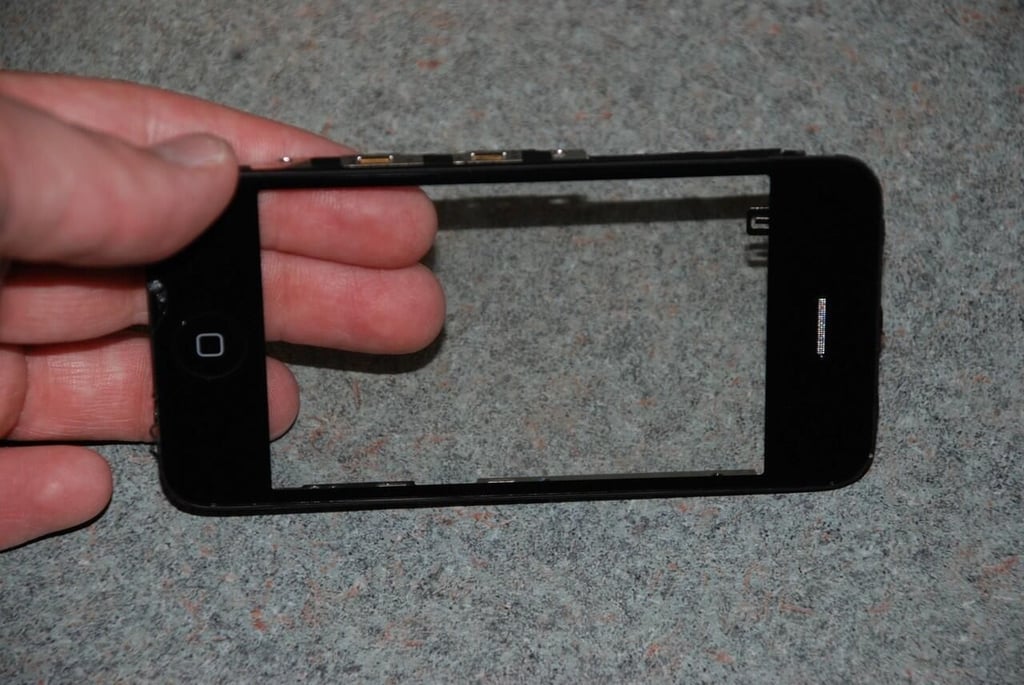
Looking through the clear front cover, you can see just how easily you can smudge the iPhone 3G’s front cover.
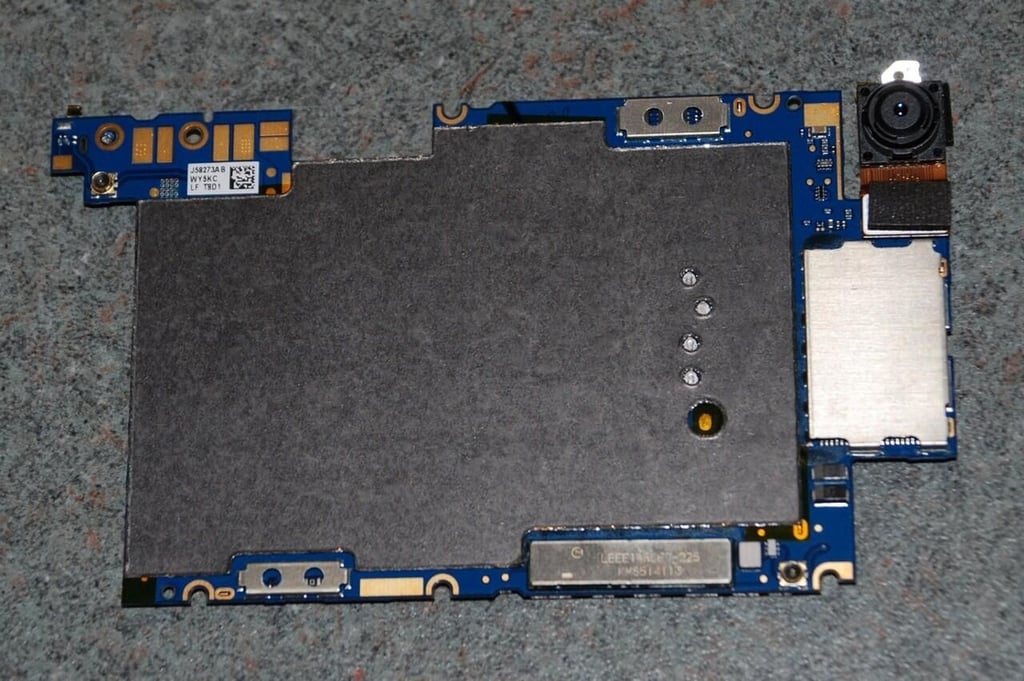
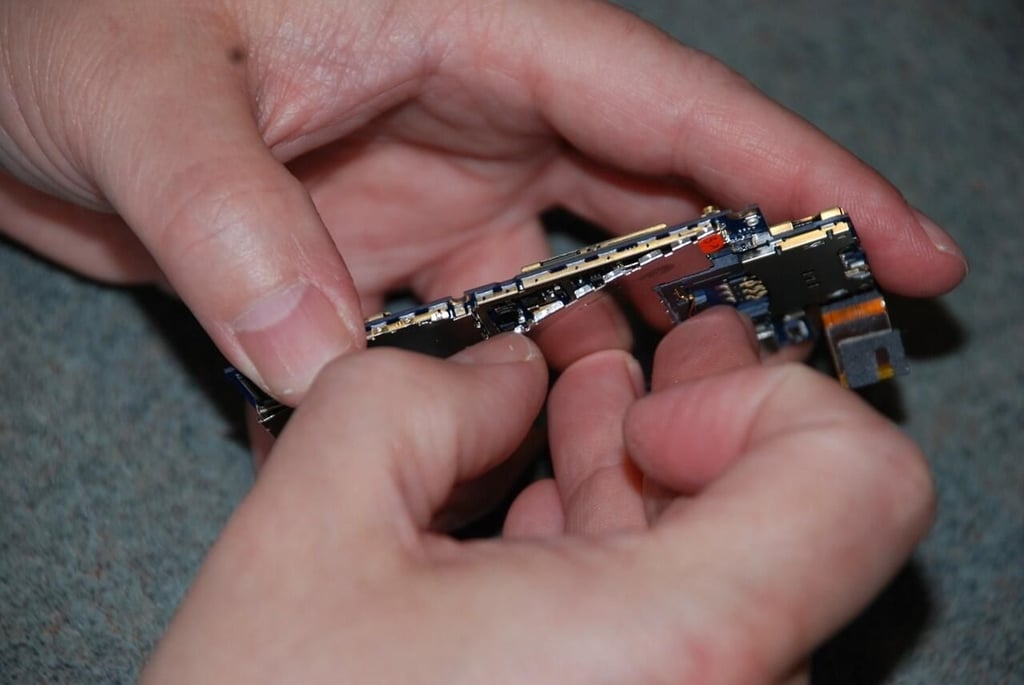
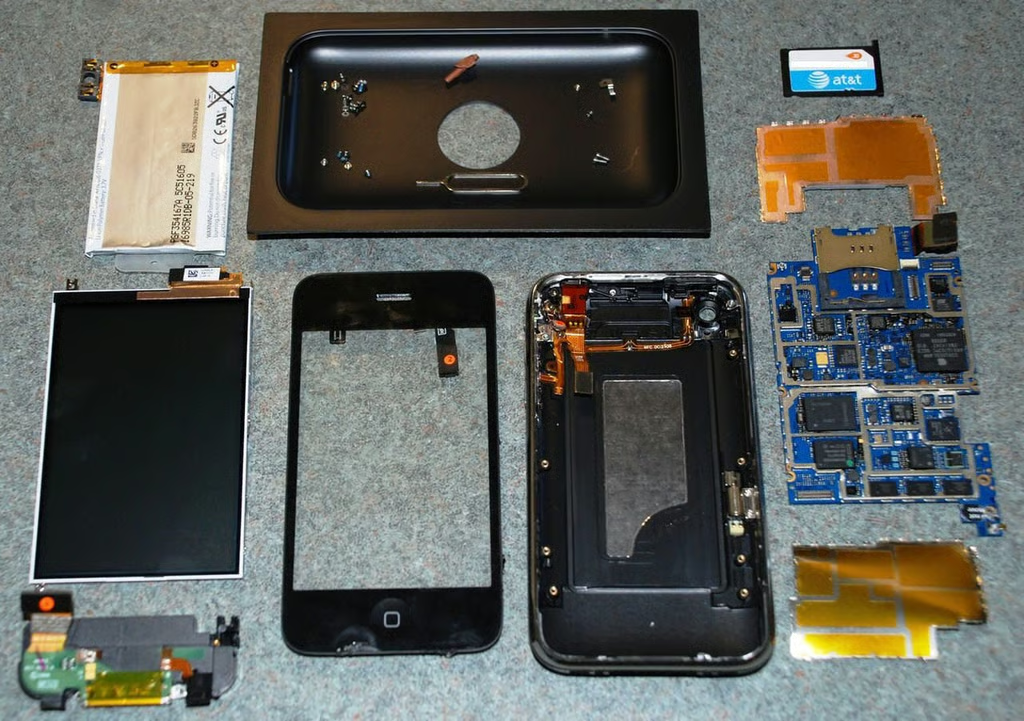
With the display and front cover completely removed, we get our first good look at the iPhone 3G’s internal components. Unlike the first iPhone, the iPhone 3G’s main PCB handles both logic and communication. The first iPhone contained separate logic and communication boards that were stacked inside the case.
As I mentioned earlier, the iPhone 3G has a single PCB which handles logic and communication. The board has two sections, each covered by a separate electromagnetic interference (EMI) shield. The camera is attached to the top of board.
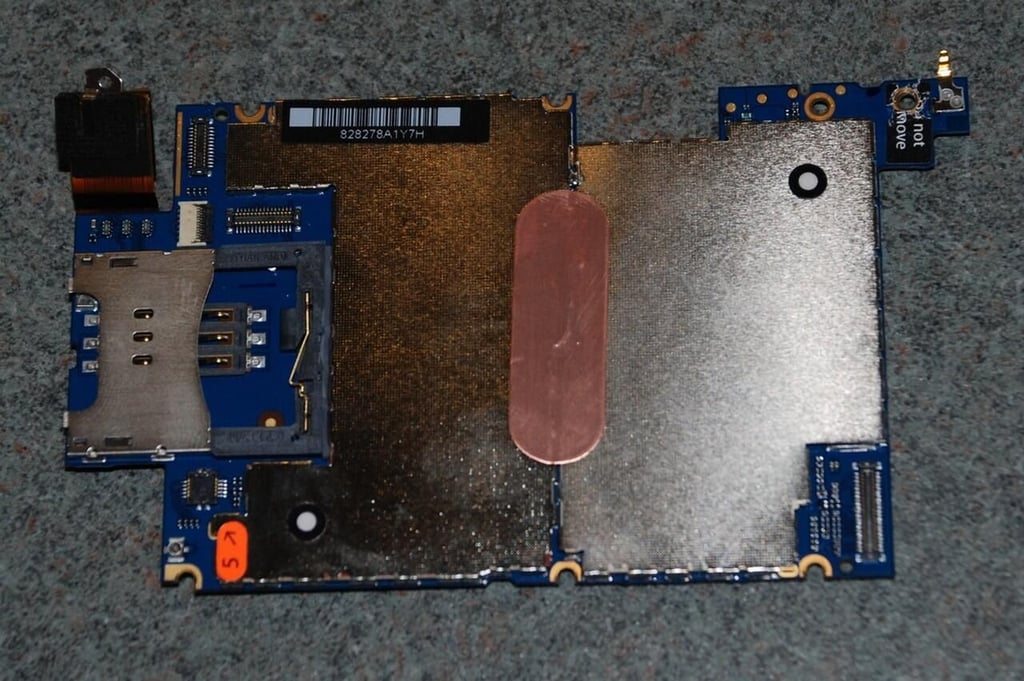
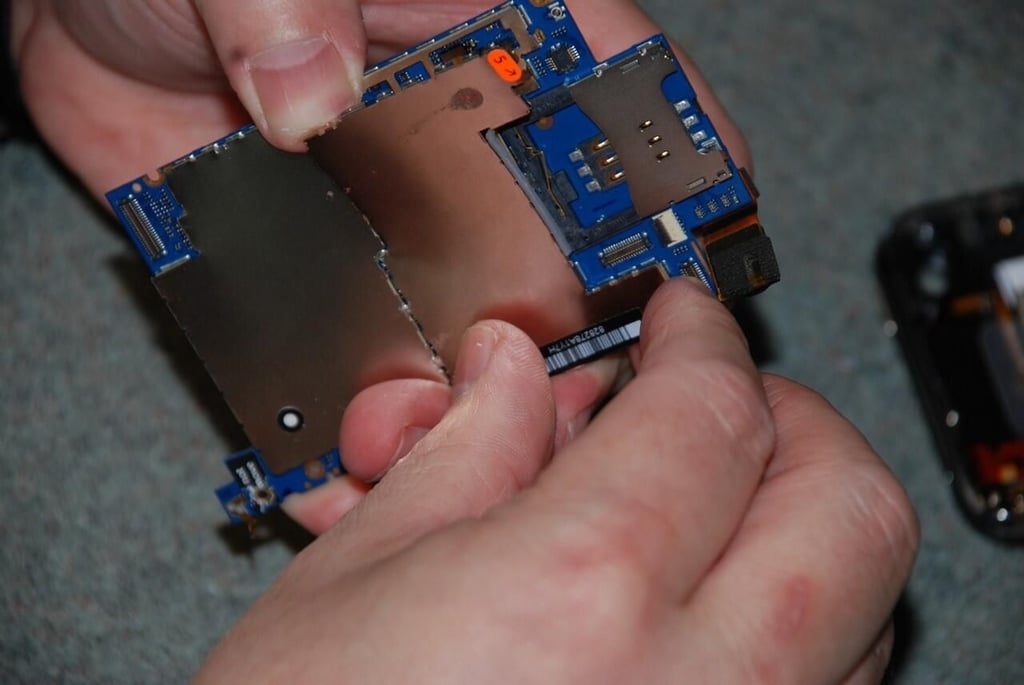
There isn’t much to see along the bottom of the iPhone 3G’s main PCB–lots of contacts (covered by a sticky gray film) and the 2-megapixel camera’s lens. As we wanted to reassemble our iPhone 3G, we decided not to scrape off the film.
Like the original, the iPhone 3G has a 2-megapixel camera.
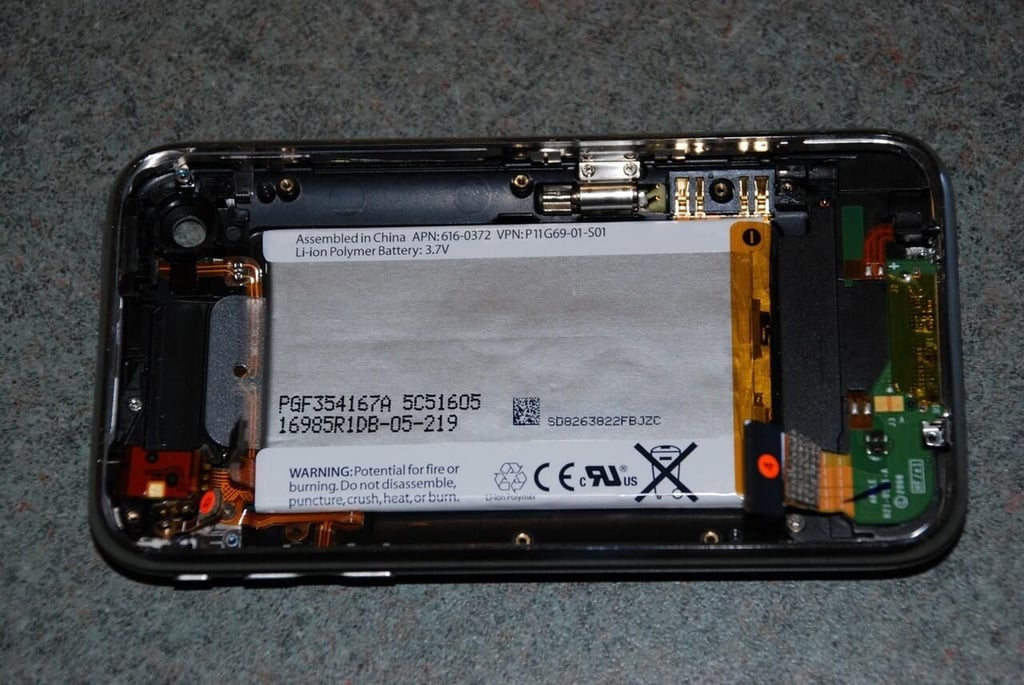
With the main PCB removed, we can see the iPhone 3G’s battery (center) and the small PCB, which contains the docking connector and headphone jack (right side).
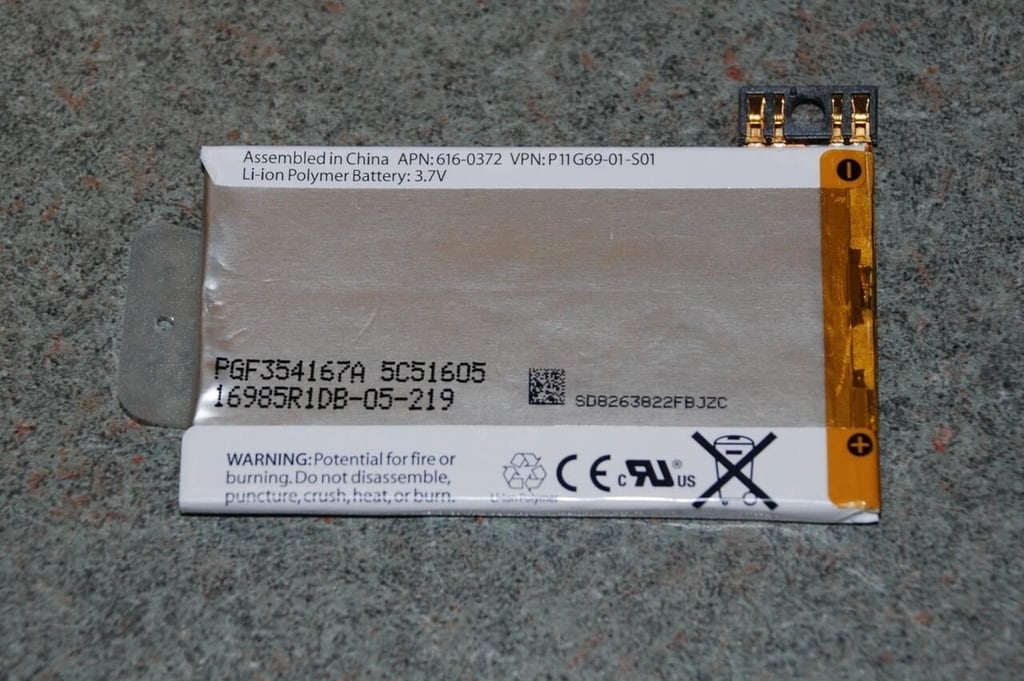
The original iPhone’s battery was soldered to the main PCB (via a wire). Thankfully, Apple abandoned this concept with the iPhone 3G. The battery’s Apple part number is 616-0372.
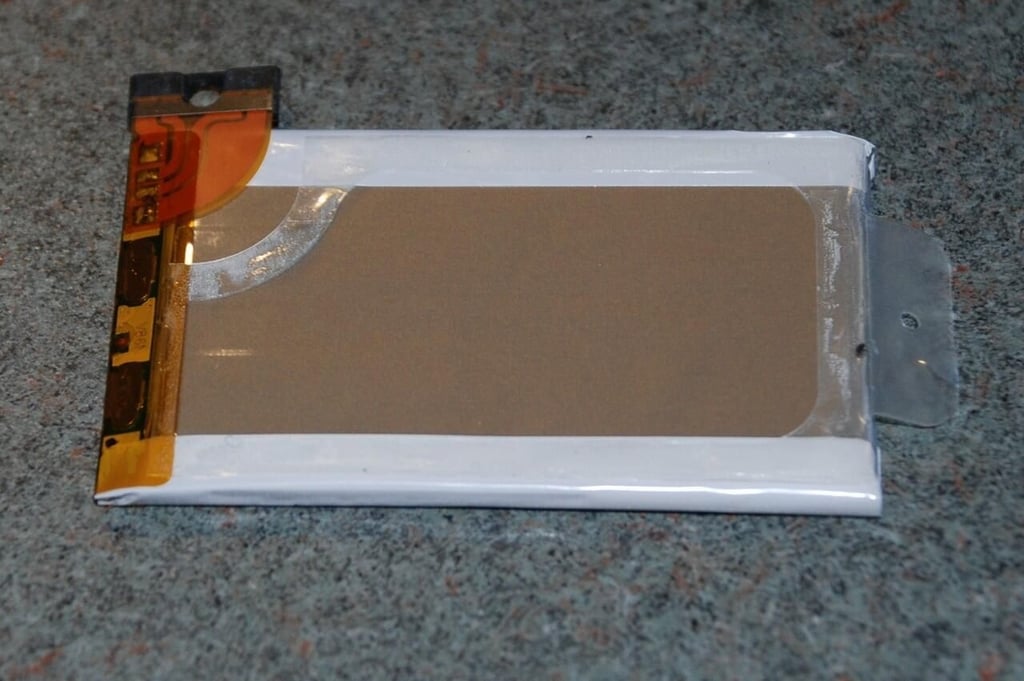
The iPhone 3G’s battery connects to the main PCB via these four contact points.
The EMI shields are easily bent. We carefully pried the edges away from the main PCB and lifted away each shield.
The EMI shields are held in place with small tabs and notches on the main PCB. There is also a sticky substance holding them to the chips. Furthermore, the two shields are held together by a perforated metal connection, we had to snap the connection to separate the two halves.
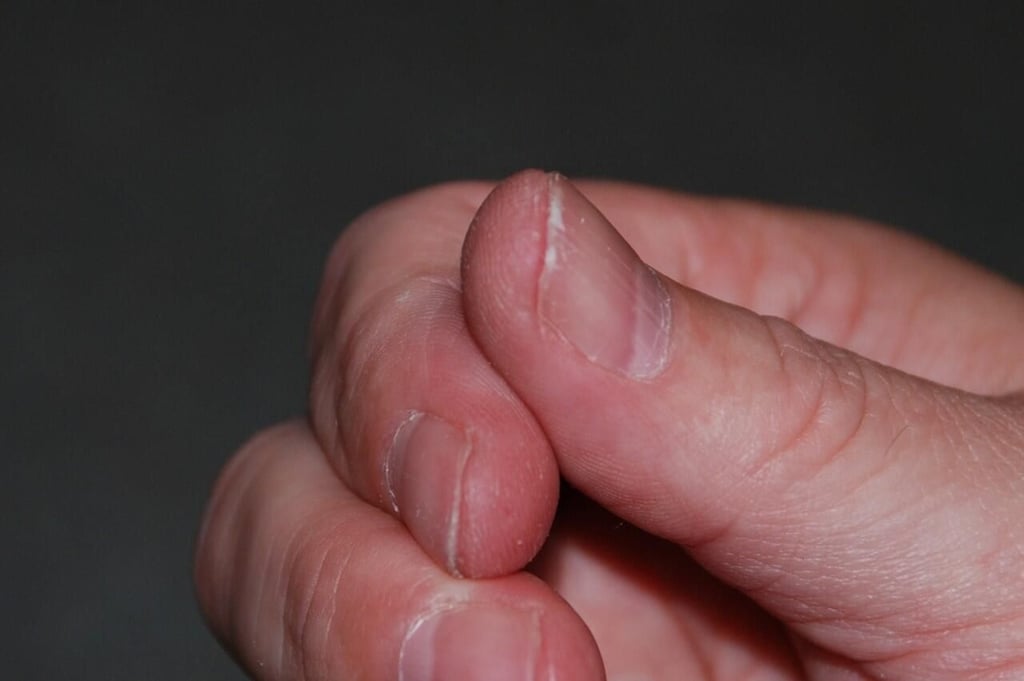
Mark Kaelin, Senior Editor, chipped his fingernail while removing the iPhone 3G’s EMI shields.
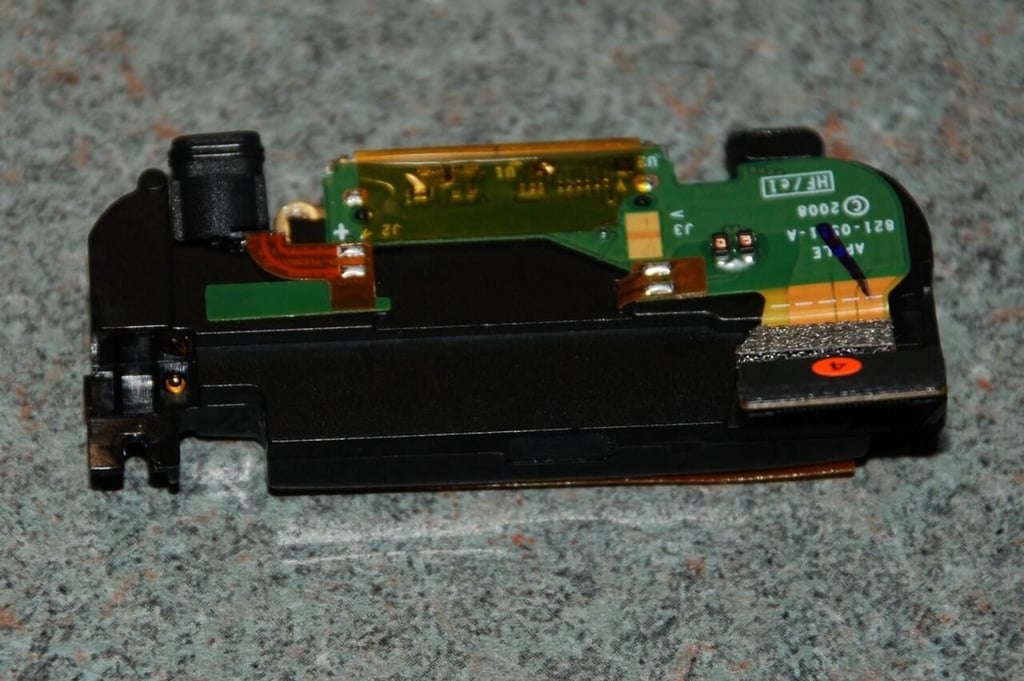
The docking port and headphone jack are removed as a single piece.
With both EMI shield removed, we can see the chips used in the iPhone 3G. Apple used components from Intel, Samsung, ARM, SST, Skyworks, TriQuint Semiconductor, and Infineon for the iPhone 3G.
Here we have a great view of the iPhone 3G’s chips.
On the left, we have the Infineon WEDGE baseband 337S3394 chip. According to Vijay Nagarajan’s post on the Wireless Industry Analyst blog, this Infineon SMP 3i chip “is very likely the PMB8878, or XGOLD 608. This is further corroborated by the 608xx labeling on that chip and also a similar part from the last iPhone that was identified as the S-GOLD2 baseband processor.”
The Intel NOR flash 3050M0Y0CE 5818A456 chip is on the right.
The Skyworks power amplifier module SKY77340 are located on the top right of this photo. Skyworks offers more details about the SKY77340 Power Amplifier Module on their company Web site. According to the Skyworks Preliminary Product Summary for the SKY77340 PA Module for Quad-Band GSM / EDGE:
” The SKY77340 Power Amplifier Module (PAM) is designed in a compact form factor for quad-band cellular handsets comprising GSM850/900, DCS1800, PCS1900, supporting GMSK and linear EDGE modulation. Class 12 General Packet Radio Service (GPRS) multi-slot operation is also supported.”
The Tritium PA-duplexers numbered TQM616035, TQM676031, and TQM666032 are located on the bottom next to the “Do Not Remove” sticker.
We haven’t been able to dig up any information on these two chips: Apple chips 338S0512 and 338S0506.
Samsung appears to have produced the memory for the ARM processor. Markings on the chip include:
339S0036 ARM
K4X1G163PC-DGC3 (Samsung memory)
EMB142A2 816
8900B
N15TY0A1 0822
iPhone 3G SIM slot (left) and SST SST25VF040B 4 Mbit SPI Serial Flash (right)
It took us about four hours to completely disassemble the iPhone 3G and shoot all the photographs. Compared to our experience cracking open the original iPhone, the iPhone 3G was much easier to take apart.
As always, we disassembled the iPhone 3G with the intent to reassemble it in working order. And, once again, it worked when we put it back together.
Regardless, the average user should probably avoid cracking it open.
Bill Detwiler is the Editor for Technical Content and Ecosystem at Celonis. He is the former Editor in Chief of TechRepublic and previous host of TechRepublic's Dynamic Developer podcast and Cracking Open, CNET and TechRepublic's popular online show. Previously, Bill was an IT manager in the social research and energy industries. He has bachelor's and master's degrees from the University of Louisville, where he has also lectured on computer crime and crime prevention.


