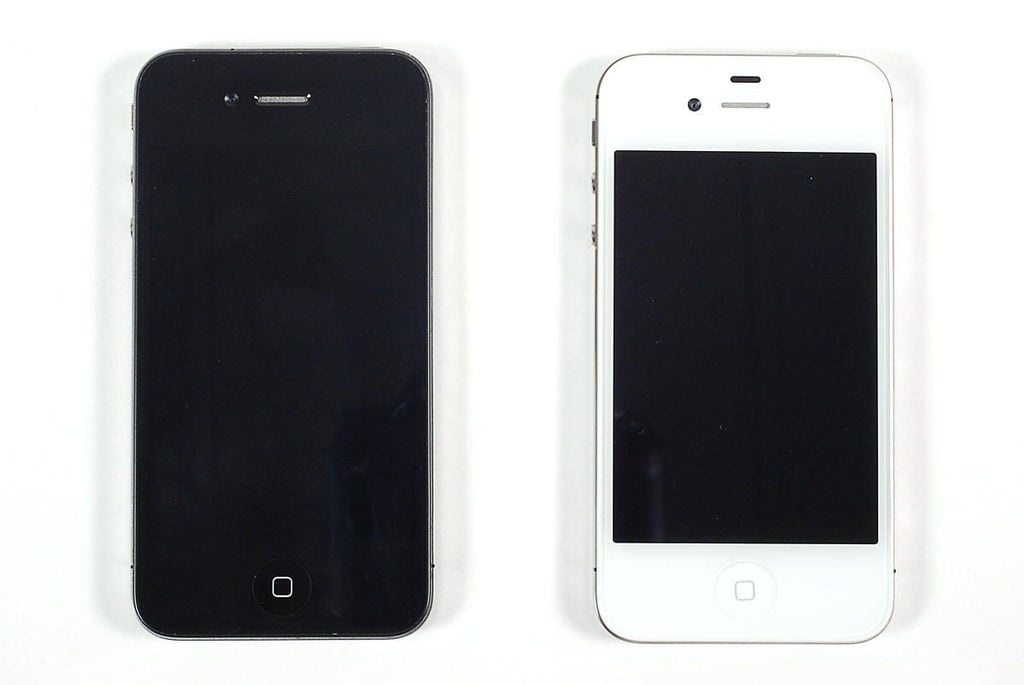
\n\tIn October 2011, Apple released the iPhone 4S. Although its exterior is nearly identical to the iPhone 4 (released in June 2010), the iPhone 4S pack a lot of new hardware.
\n\t
\n\tWe’ve published teardown galleries of the iPhone 4, iPhone 3G S, iPhone 3G, and original iPhone. I couldn’t wait to get my hands on the 2011 model. Follow along as I crack open the Apple iPhone 4S.
\n
\n\tFor a more in-depth review of the iPhone 4S’ internal hardware, check out my article, “Apple iPhone 4S Teardown: Old design, new hardware.”
\n\t
\n\tPhoto by: Bill Detwiler / TechRepublic
\n\tCaption by: Bill Detwiler
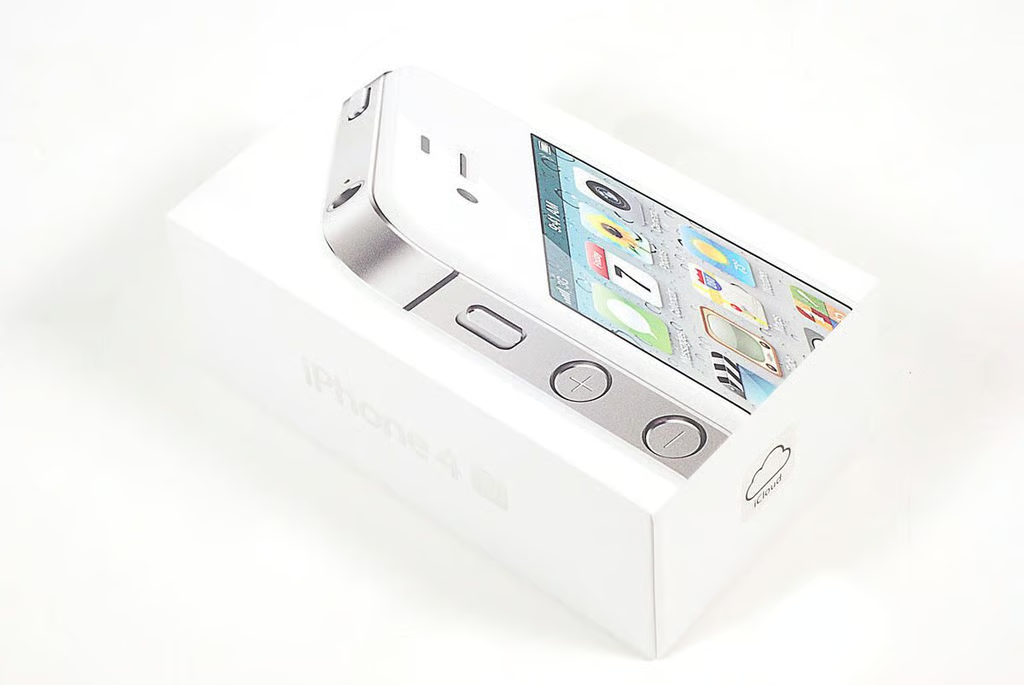
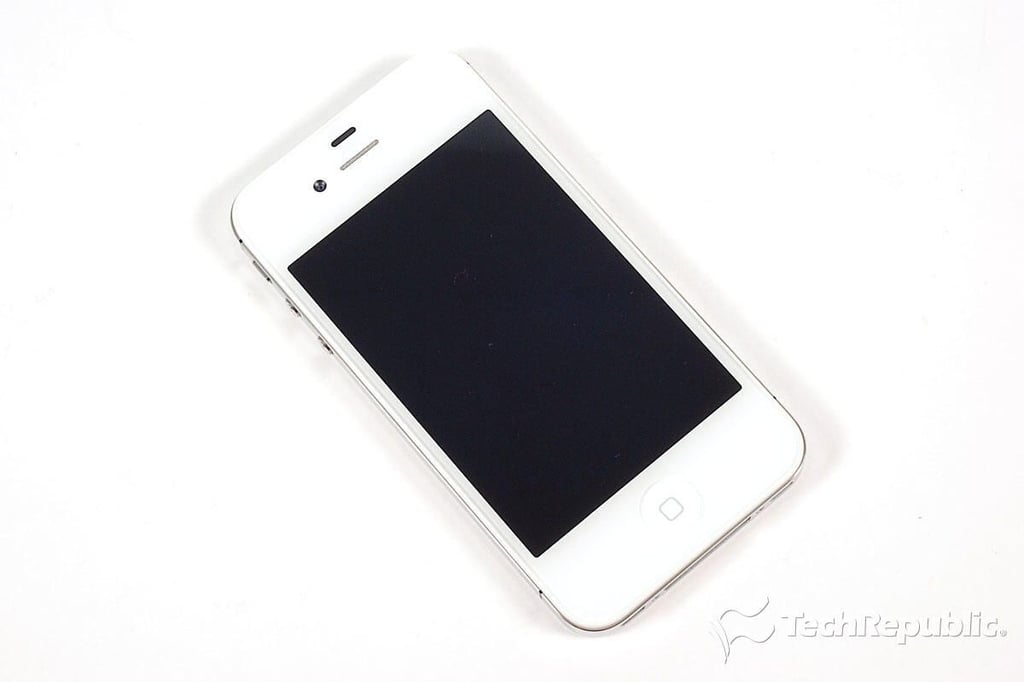
\n\tThe iPhone 4S is available in 16GB, 32GB, and 64GB models. It comes in black or white.
\n
\n\tIn the U.S., the iPhone 4S is available from AT&T, Sprint, and Verizon. When purchased with a two-year contract, the 16GB model costs $199, the 32GB model costs $299, and the 64GB model costs $399.
\n
\n\tI bought AT&T’s version of the white, 16GB iPhone 4S (sans contract) from a local Best Buy Mobile location for $699.99 (plus tax).
\n\t
\n\tPhoto by: Bill Detwiler / TechRepublic
\n\tCaption by: Bill Detwiler
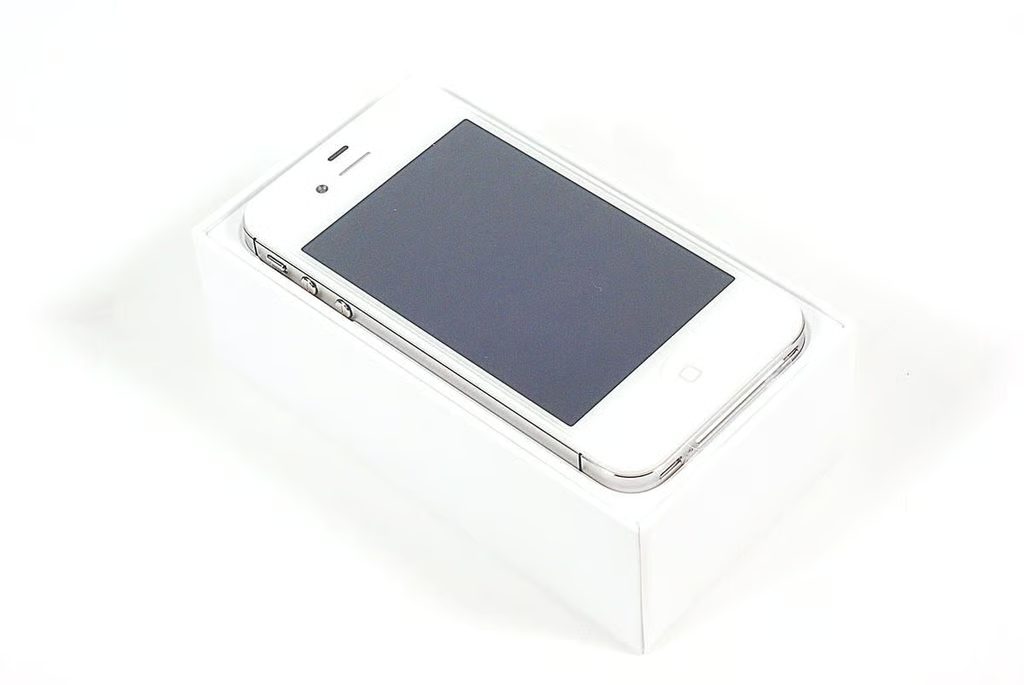
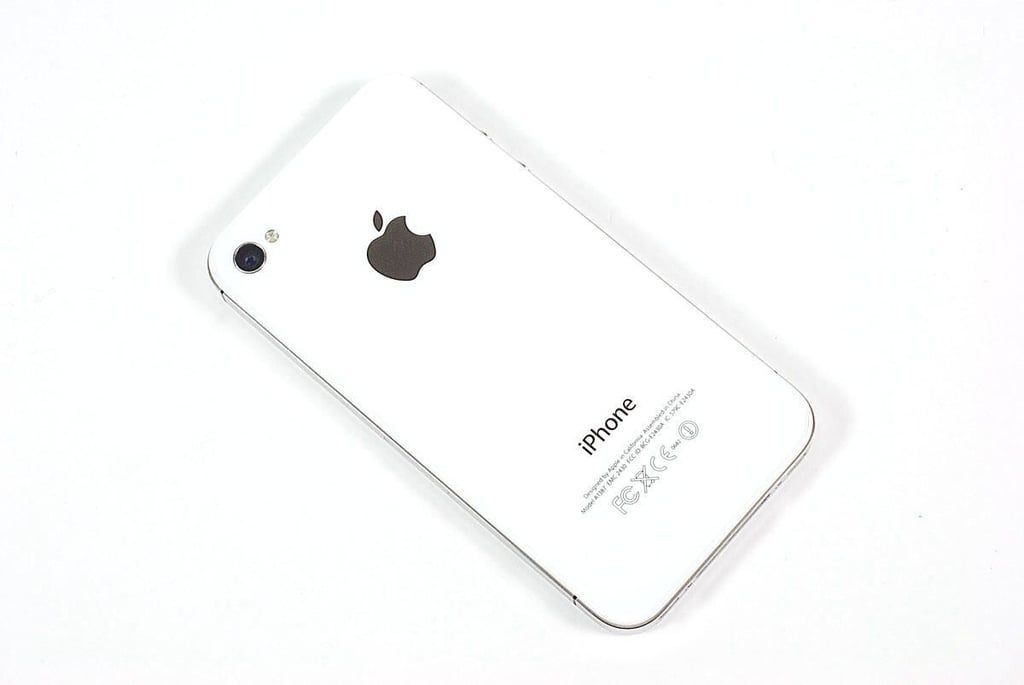
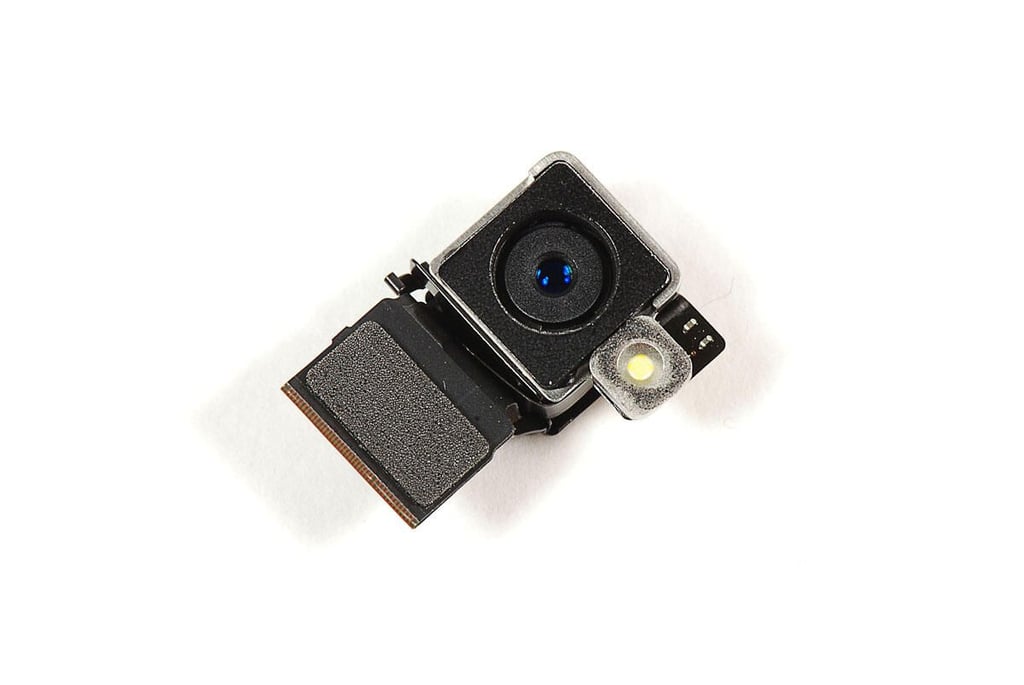
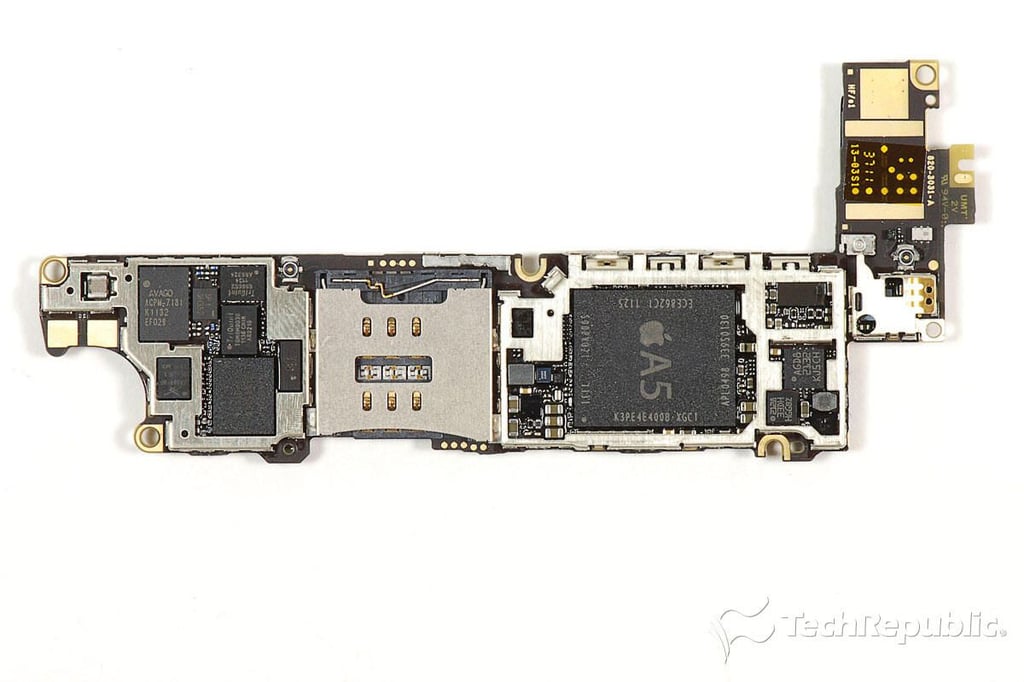
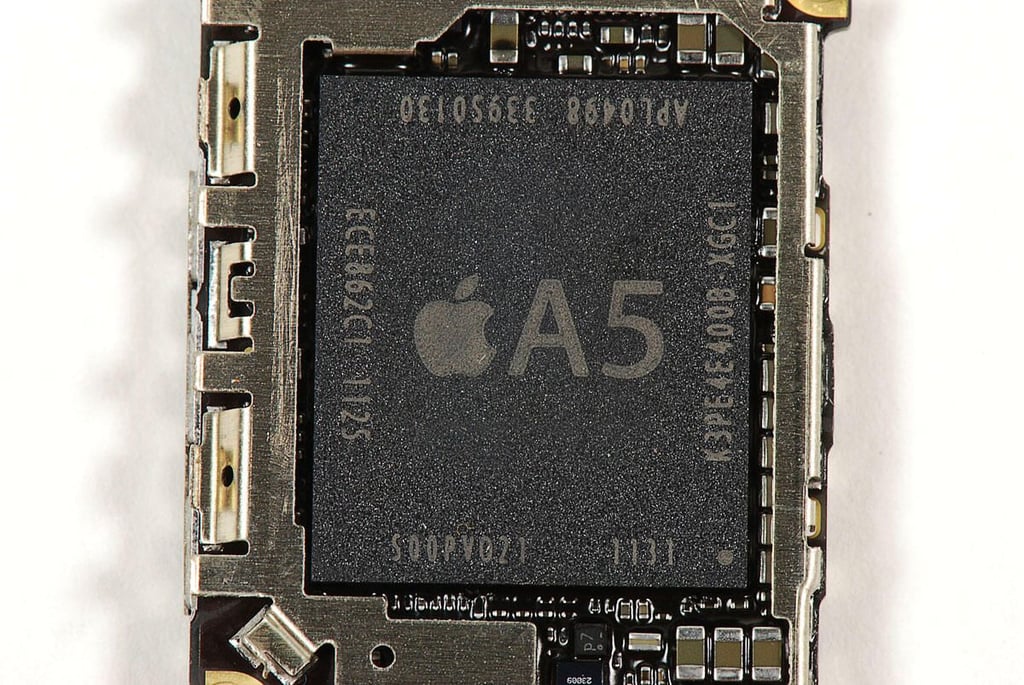
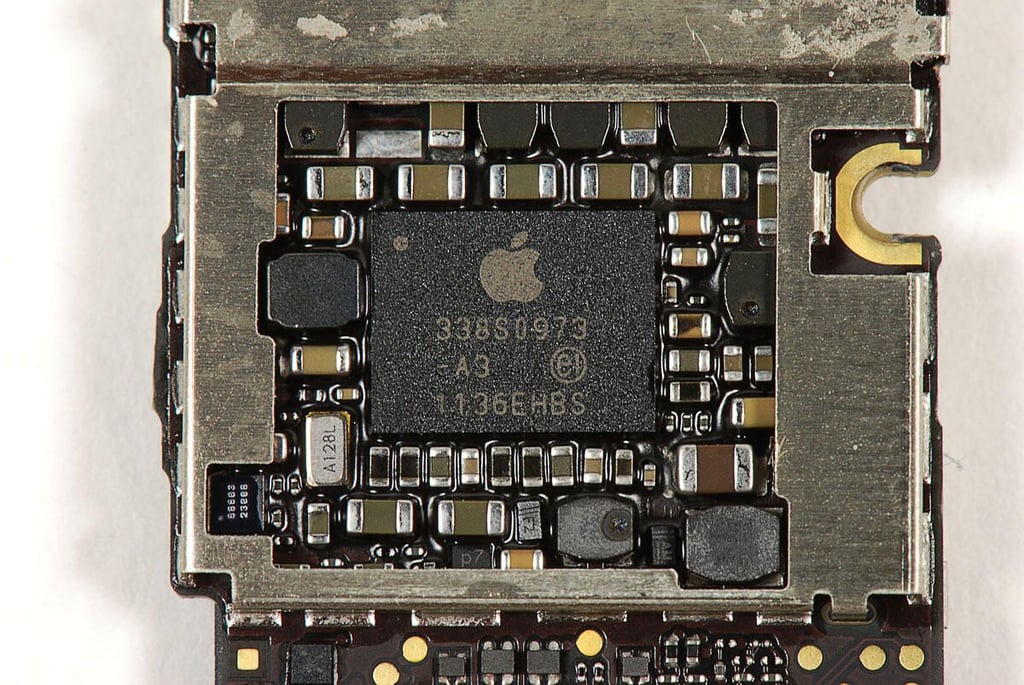
Our the Apple iPhone 4S has an Apple A5 1GHz dual-core processor with 512MB of DDR2 RAM, 16GB of storage, 8MP rear-facing camera, VGA-quality front-facing camera, and 3.5″ Retina display (960×640-pixel resolution at 326 ppi).
Photo by: Bill Detwiler / TechRepublic
Caption by: Bill Detwiler
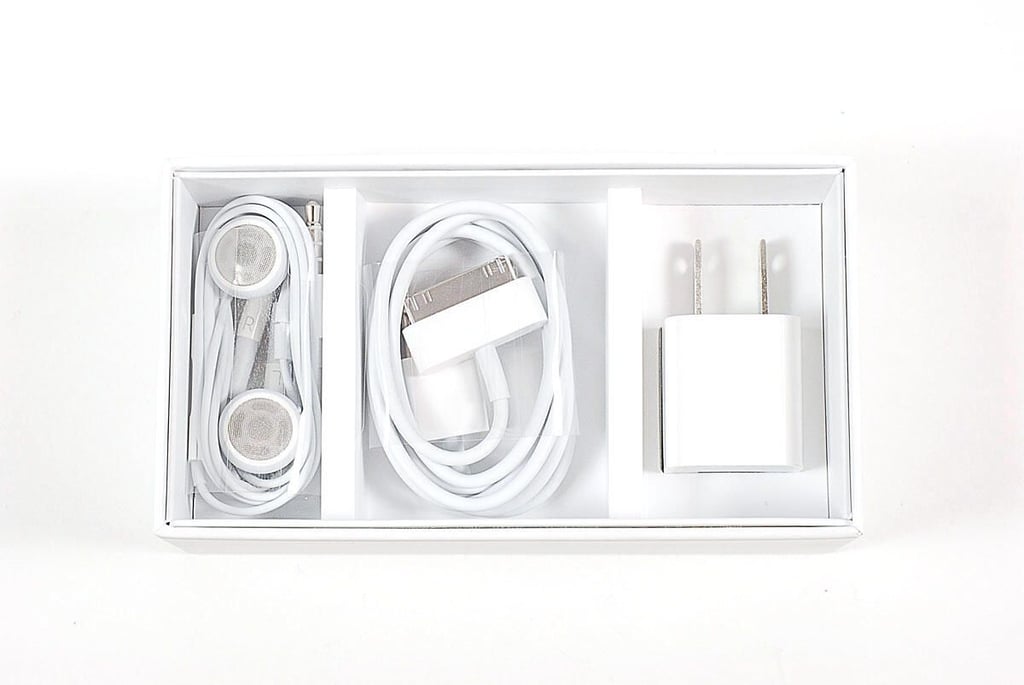
Included with the iPhone 4S are a USB power adapter, 30-pin dock connector to USB cable, earphones (with remote and mic), and product documentation (not shown).
Photo by: Bill Detwiler / TechRepublic
Caption by: Bill Detwiler
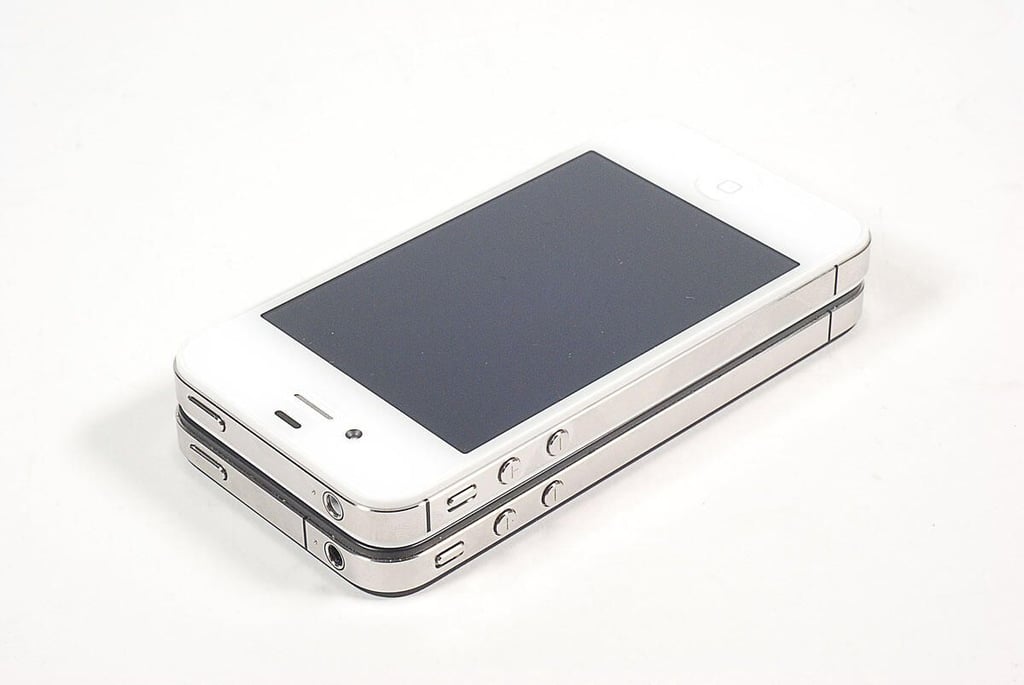
\n\tThe iPhone 4S has the same dimensions as the iPhone 4. It measures 4.5″ (H) x 2.31″ (W) x 0.37″ (D). At 4.9 ounces, the iPhone 4S weighs 0.1 ounces more than the iPhone 4.
\n\t
\n\tPhoto by: Bill Detwiler / TechRepublic
\n\tCaption by: Bill Detwiler
\n\tPhoto by: Bill Detwiler / TechRepublic
\n\tCaption by: Bill Detwiler
\n\tPhoto by: Bill Detwiler / TechRepublic
\n\tCaption by: Bill Detwiler
\n\tWhen the iPhone 4S (AT&T) and iPhone 4 (AT&T) are placed on top of each other, you can seen the differences in the antennas (indicated by the black lines along the phones’ metal edges). According to Apple, the iPhone 4S has two different antennas, which the phone can choose between to find the best cellular signal.
\n
\n\tDepending on which carrier you choose, the iPhone 4S can support the following cellular bands:
\n
\n\t
\n\t
\n
\n
\n\tPhoto by: Bill Detwiler / TechRepublic
\n\tCaption by: Bill Detwiler

\n\tThe iPhone 4S has two tamper-resistant pentalobe screws along the bottom edge. I used a special screwdrive to remove them.
\n
\n\tPhoto by: Bill Detwiler / TechRepublic
\n\tCaption by: Bill Detwiler

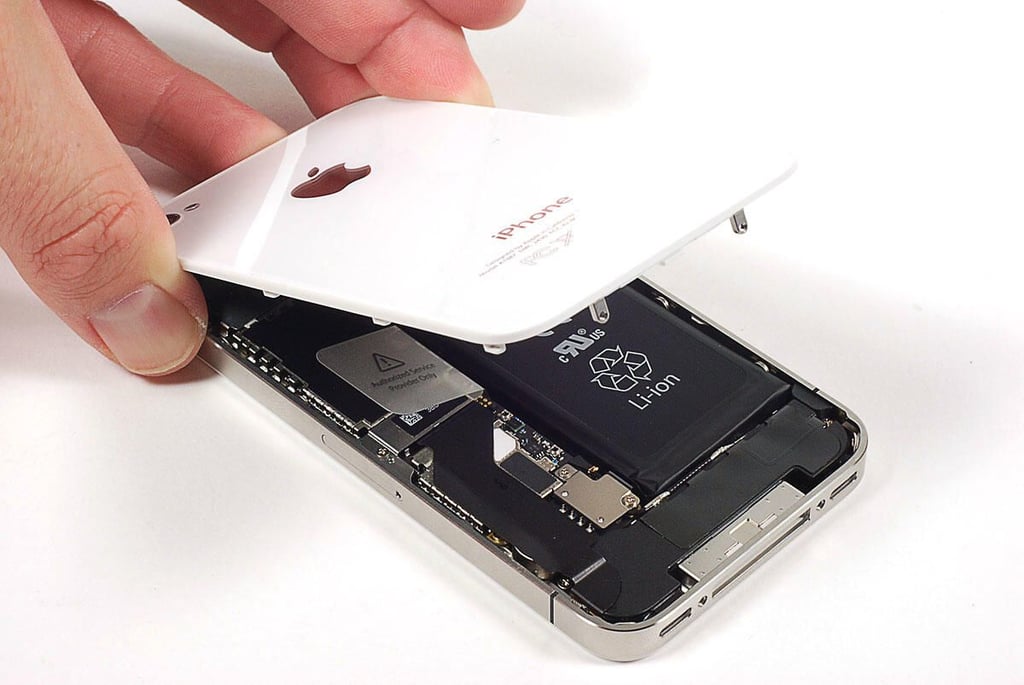
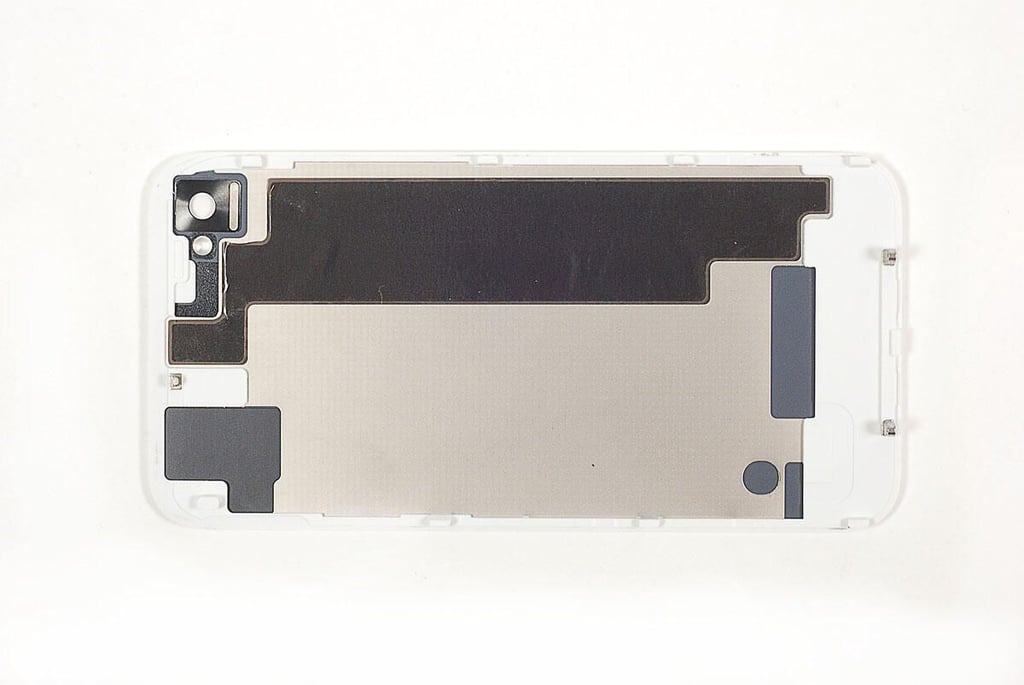
\n\tWith the screws removed, you can slide the back cover up.
\n
\n\tPhoto by: Bill Detwiler / TechRepublic
\n\tCaption by: Bill Detwiler
\n\tPhoto by: Bill Detwiler / TechRepublic
\n\tCaption by: Bill Detwiler
\n\tPhoto by: Bill Detwiler / TechRepublic
\n\tCaption by: Bill Detwiler
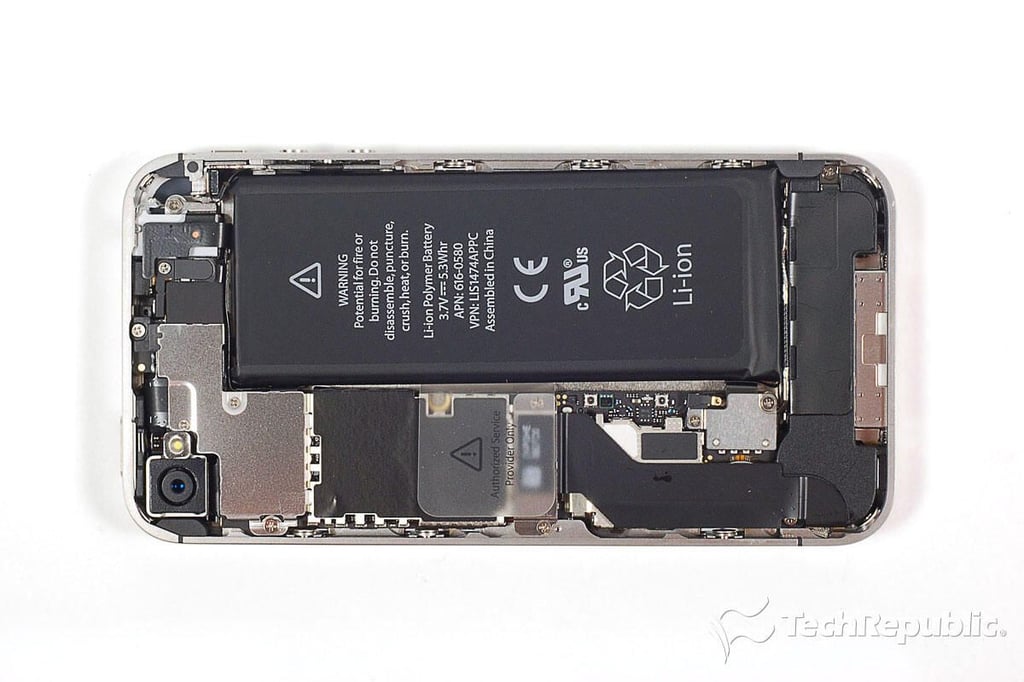
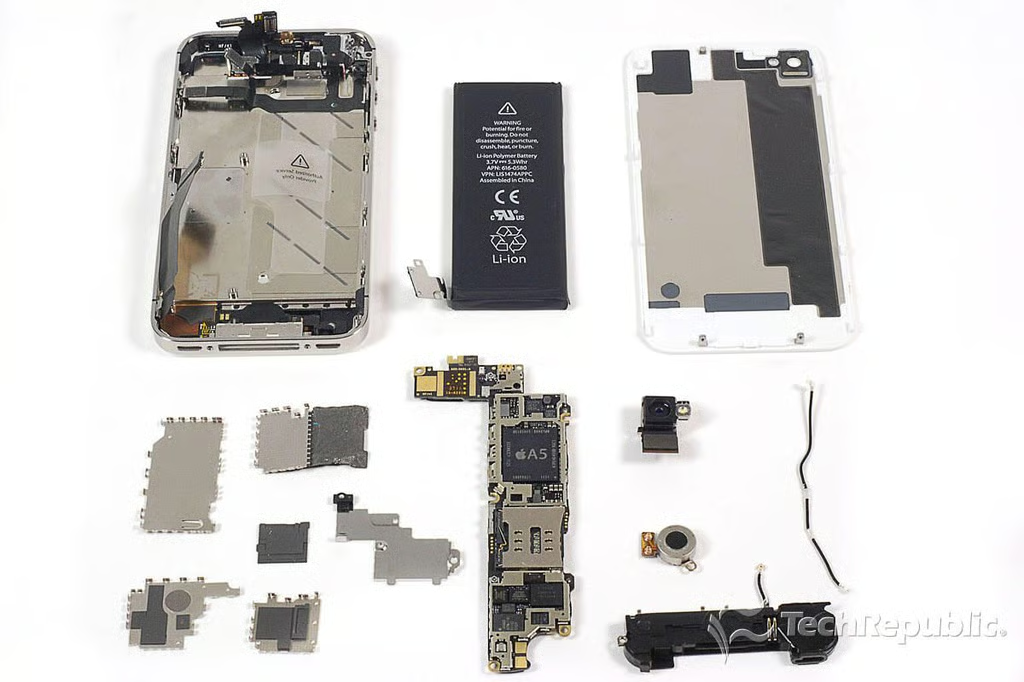
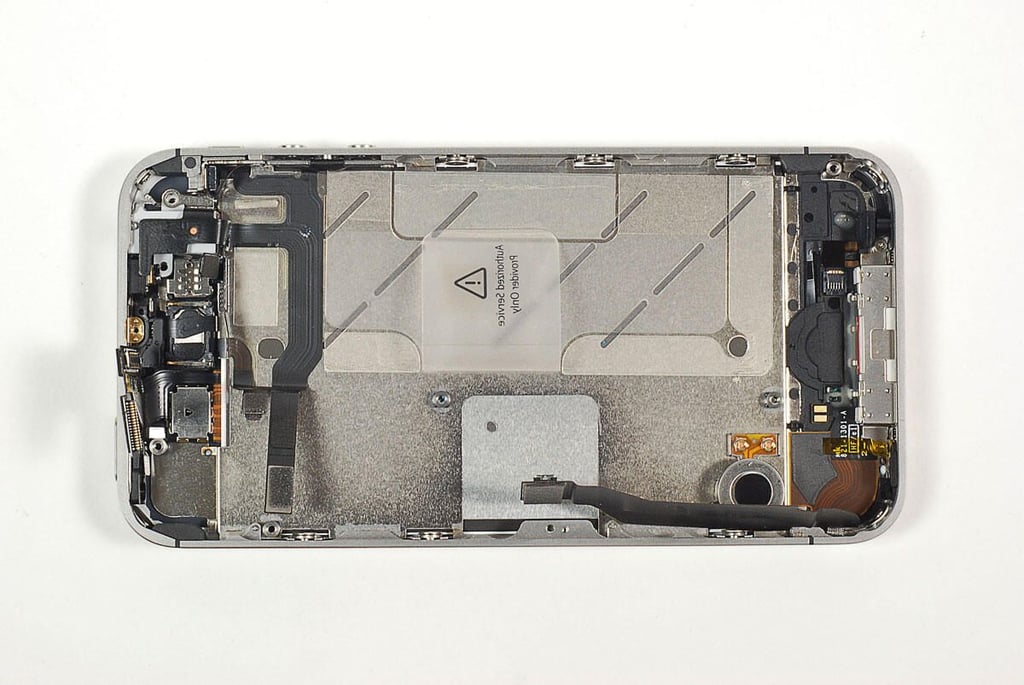
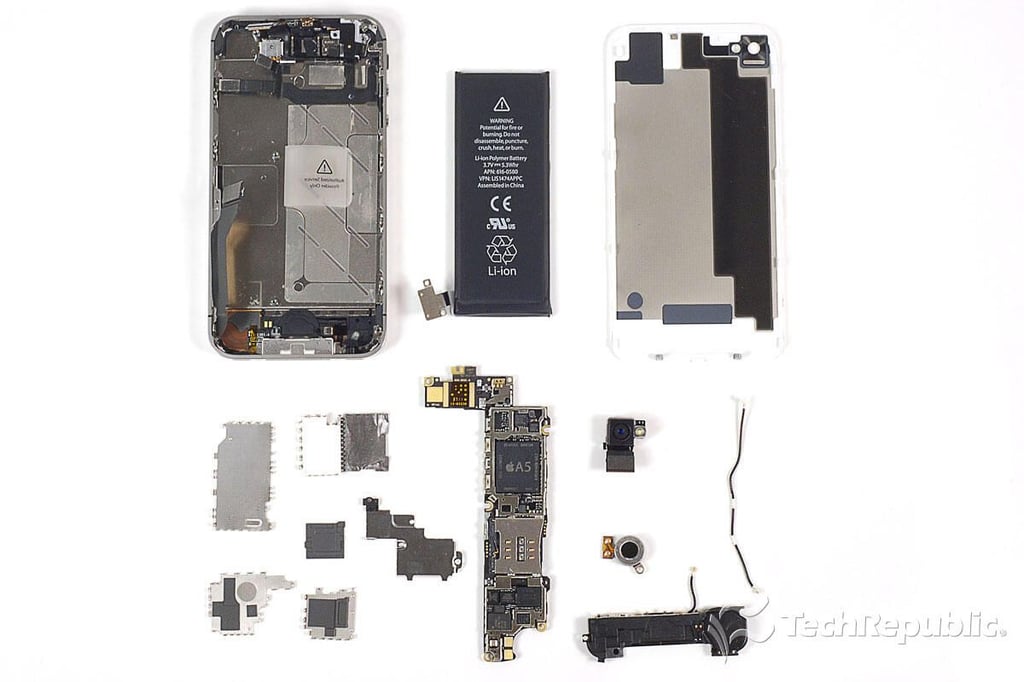
\n\tLike its exterior, the iPhone 4S’ internal hardware layout is nearly identical to that of the iPhone 4.
\n
\n\tPhoto by: Bill Detwiler / TechRepublic
\n\tCaption by: Bill Detwiler
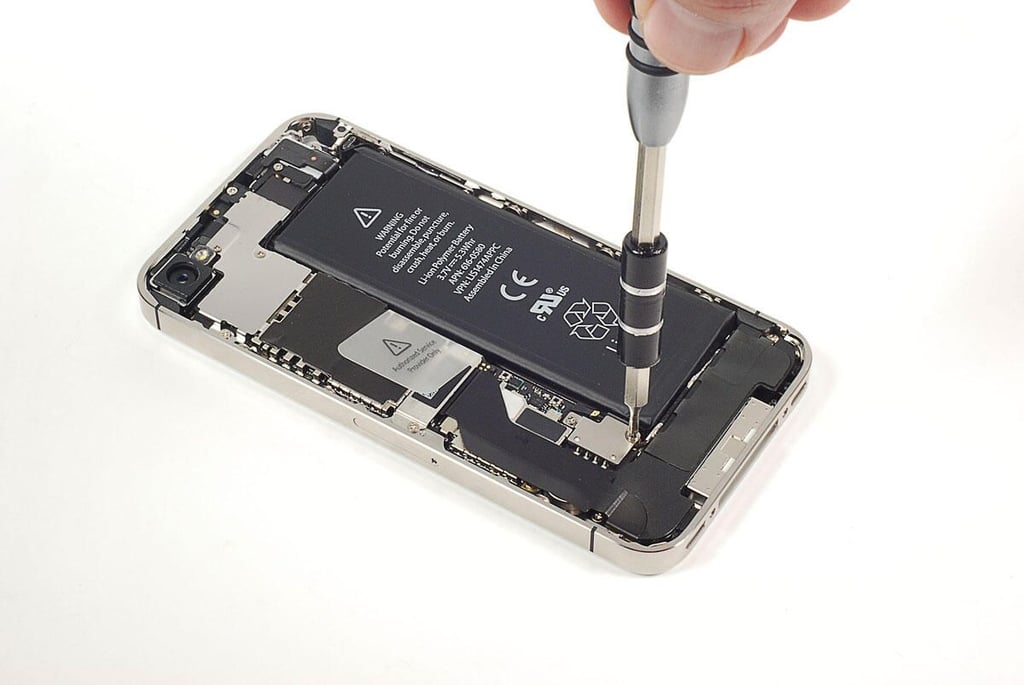
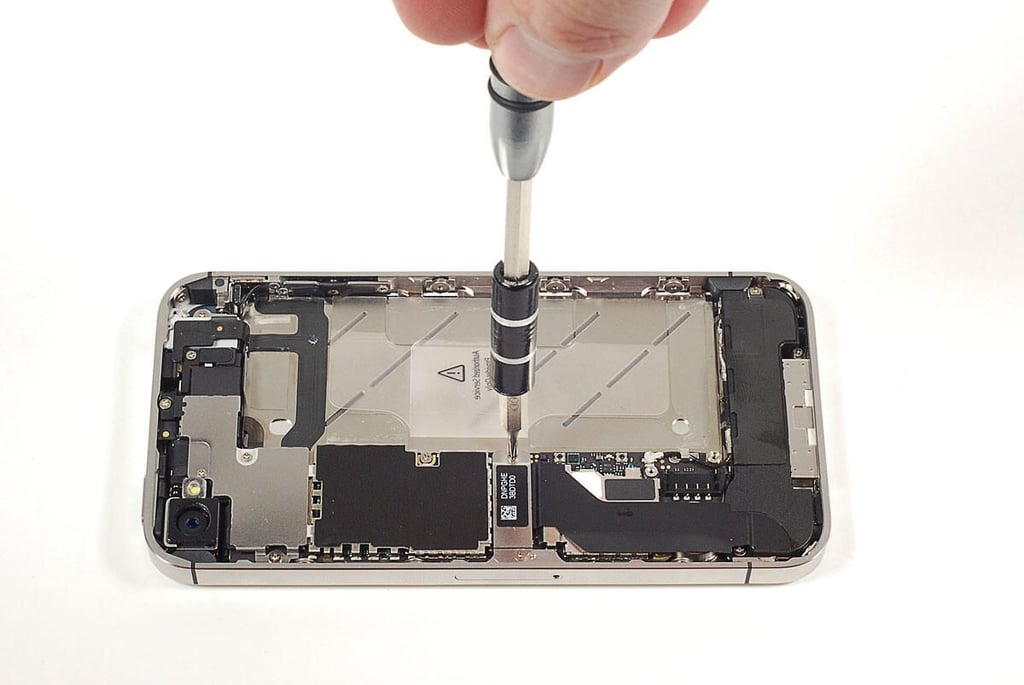
\n\tInside the iPhone 4S, Apple used a lot of tiny screws. I used a Phillips #000 screwdirver to remove them.
\n
\n\tPhoto by: Bill Detwiler / TechRepublic
\n\tCaption by: Bill Detwiler
\n\tPhoto by: Bill Detwiler / TechRepublic
\n\tCaption by: Bill Detwiler

\n\tPhoto by: Bill Detwiler / TechRepublic
\n\tCaption by: Bill Detwiler
\n\tPhoto by: Bill Detwiler / TechRepublic
\n\tCaption by: Bill Detwiler
\n\tPhoto by: Bill Detwiler / TechRepublic
\n\tCaption by: Bill Detwiler
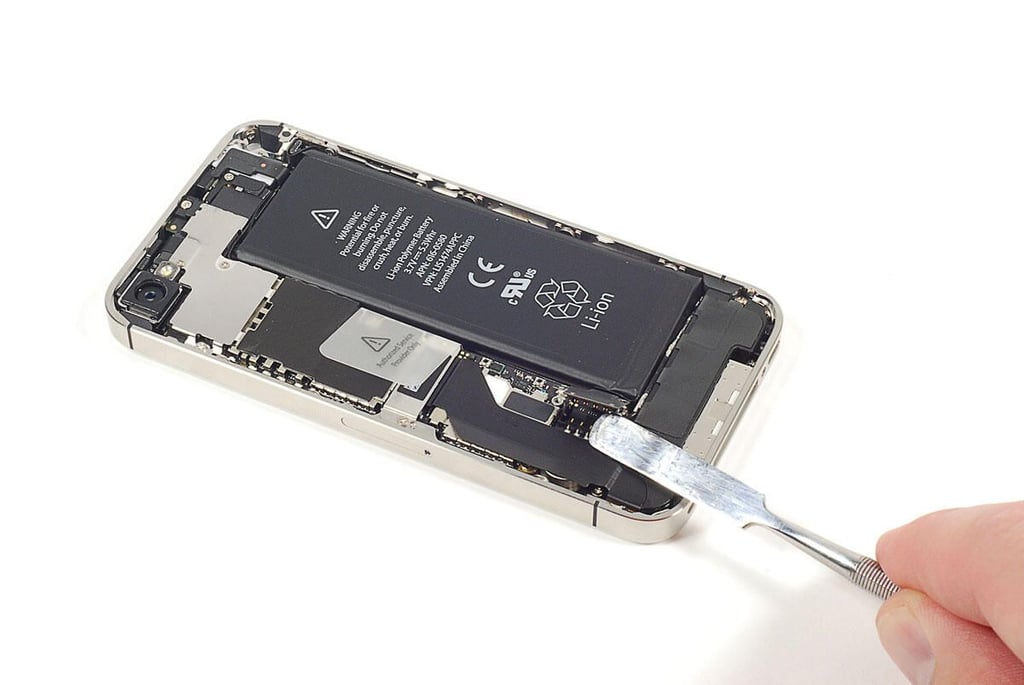
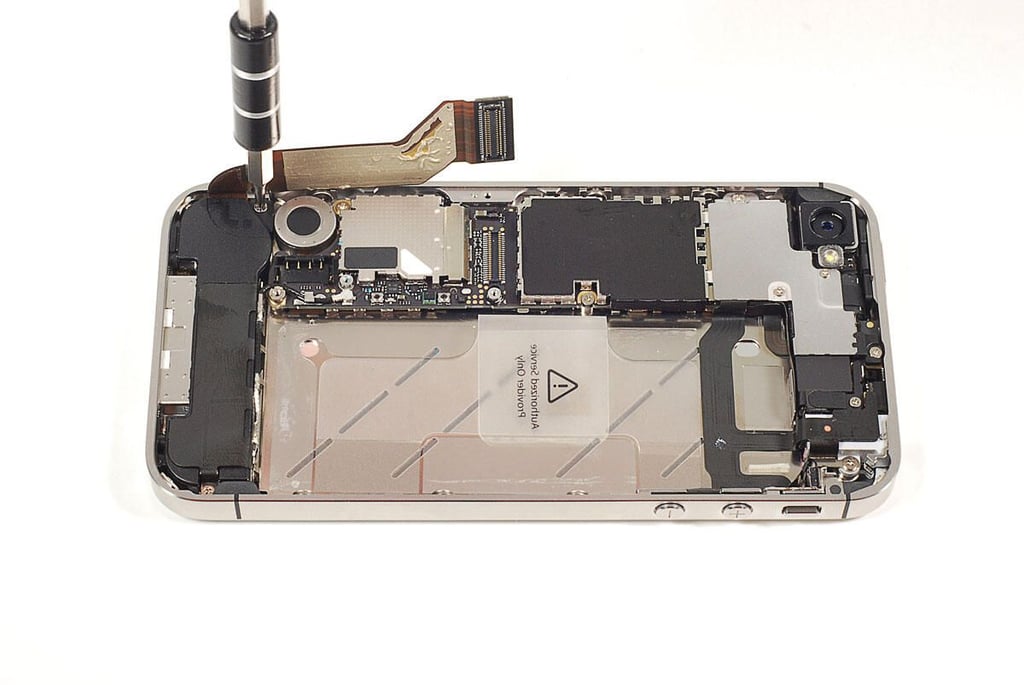
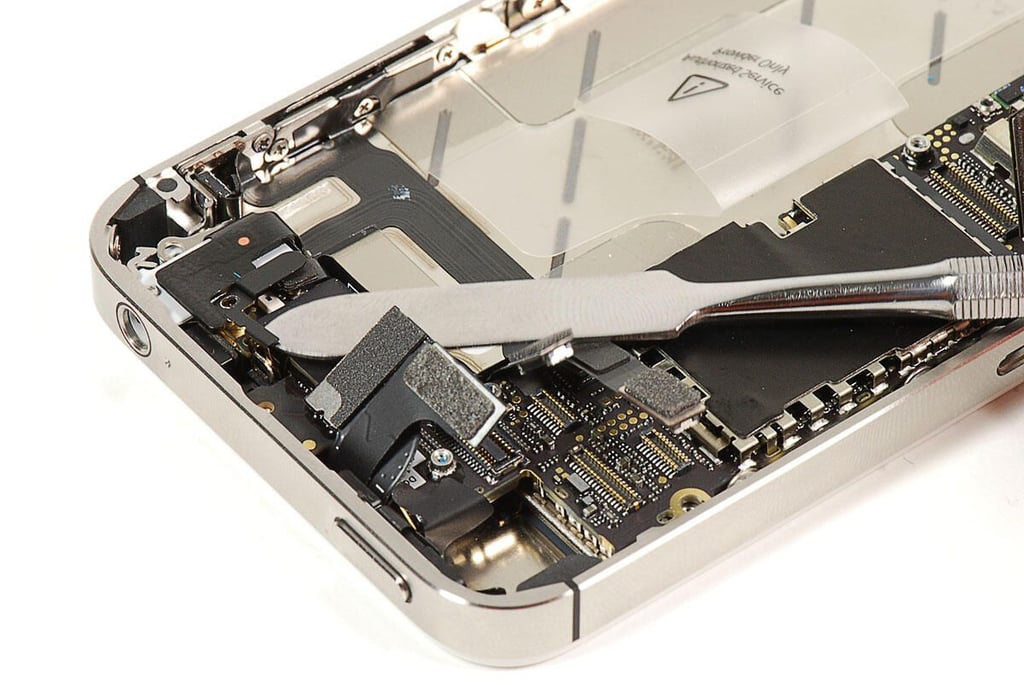
\n\tA large ribbon cable connected the Home button and other components along the bottom of the iPhone to the main PCB.
\n
\n\tPhoto by: Bill Detwiler / TechRepublic
\n\tCaption by: Bill Detwiler
\n\tPhoto by: Bill Detwiler / TechRepublic
\n\tCaption by: Bill Detwiler
\n\tPhoto by: Bill Detwiler / TechRepublic
\n\tCaption by: Bill Detwiler
\n\tPhoto by: Bill Detwiler / TechRepublic
\n\tCaption by: Bill Detwiler

\n\tPhoto by: Bill Detwiler / TechRepublic
\n\tCaption by: Bill Detwiler
\n\tThere are sevaral connectors and cover plates located at the top of the iPhone 4S. I removed all the screws holding them in place.
\n
\n\tPhoto by: Bill Detwiler / TechRepublic
\n\tCaption by: Bill Detwiler
\n\tPhoto by: Bill Detwiler / TechRepublic
\n\tCaption by: Bill Detwiler
\n\tPhoto by: Bill Detwiler / TechRepublic
\n\tCaption by: Bill Detwiler
\n\tPhoto by: Bill Detwiler / TechRepublic
\n\tCaption by: Bill Detwiler
\n\tPhoto by: Bill Detwiler / TechRepublic
\n\tCaption by: Bill Detwiler
\n\tPhoto by: Bill Detwiler / TechRepublic
\n\tCaption by: Bill Detwiler
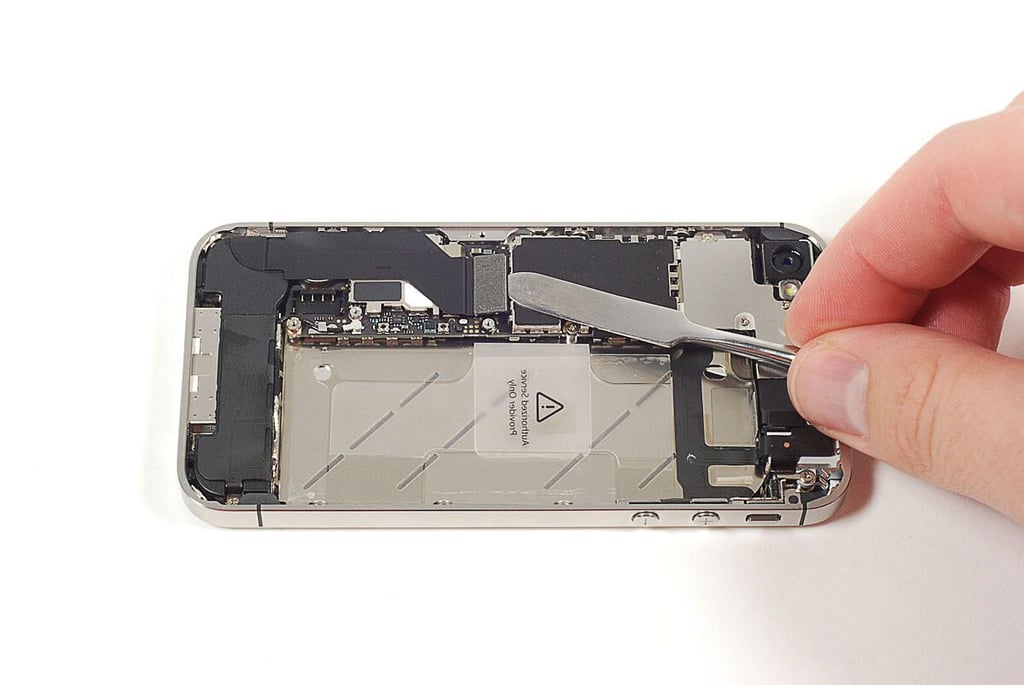
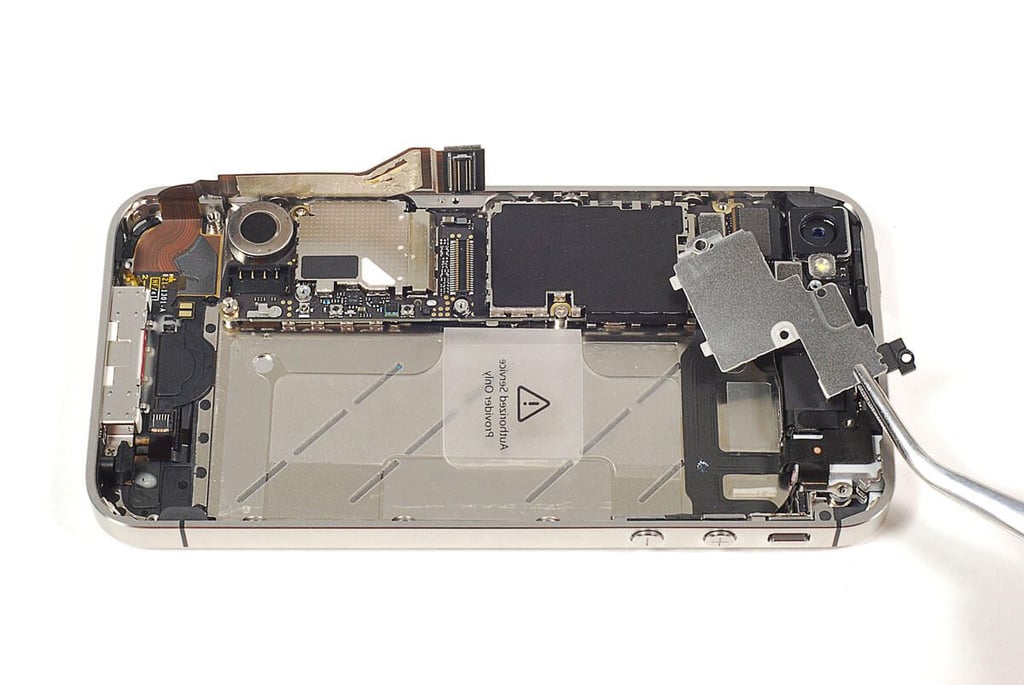
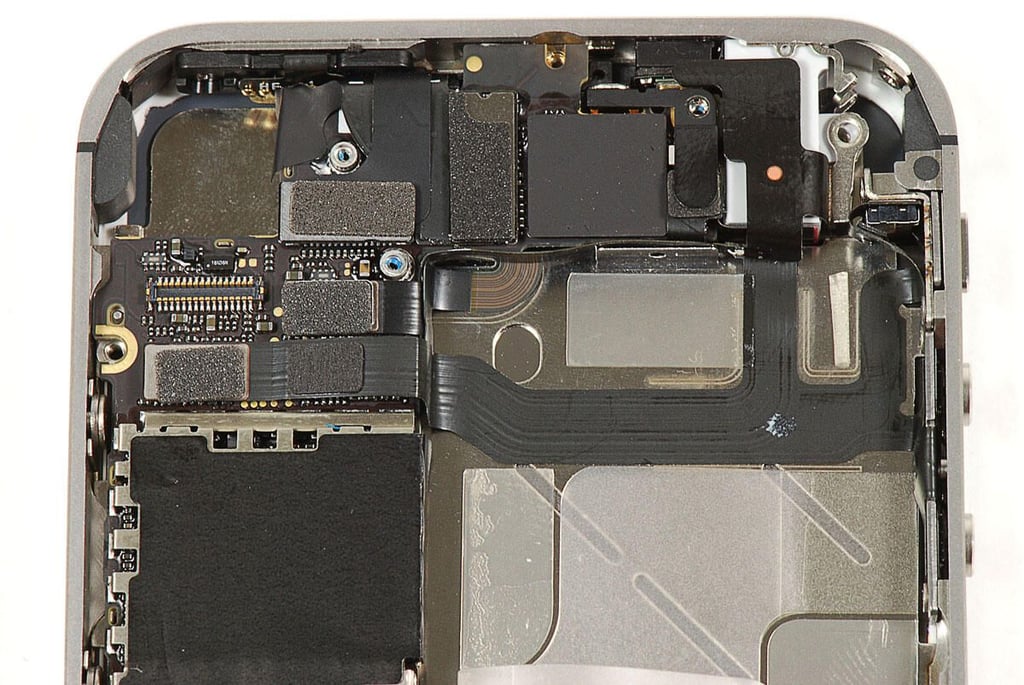
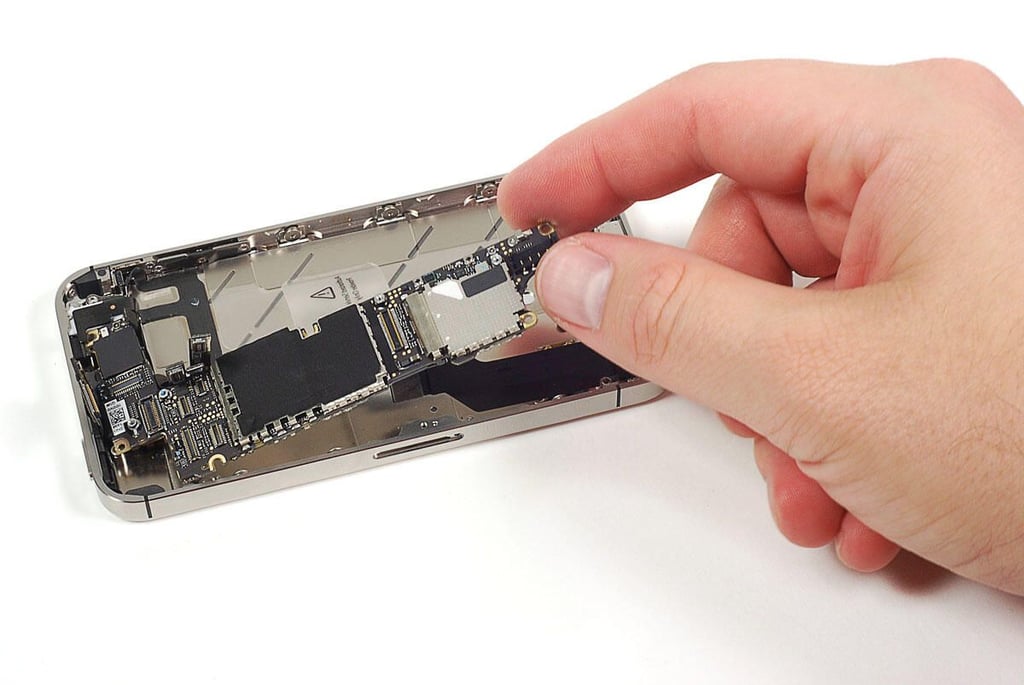
\n\tThe upper portion of the iPhone 4S’ main PCB is covered with cable connectors. I disconnected all of them with a thin metal blade.
\n
\n\tPhoto by: Bill Detwiler / TechRepublic
\n\tCaption by: Bill Detwiler
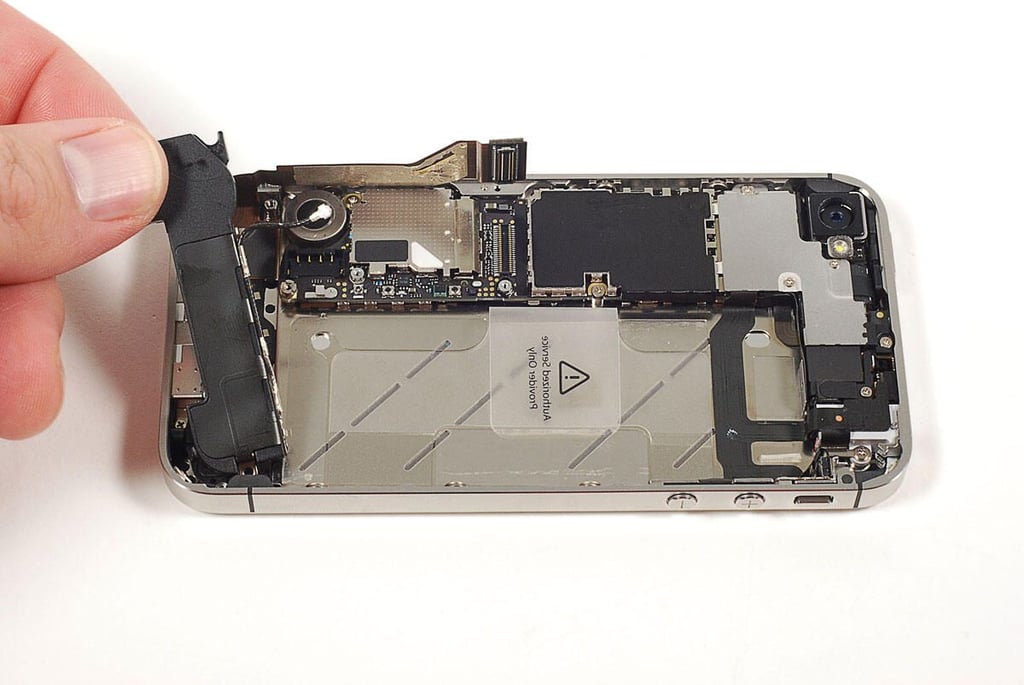
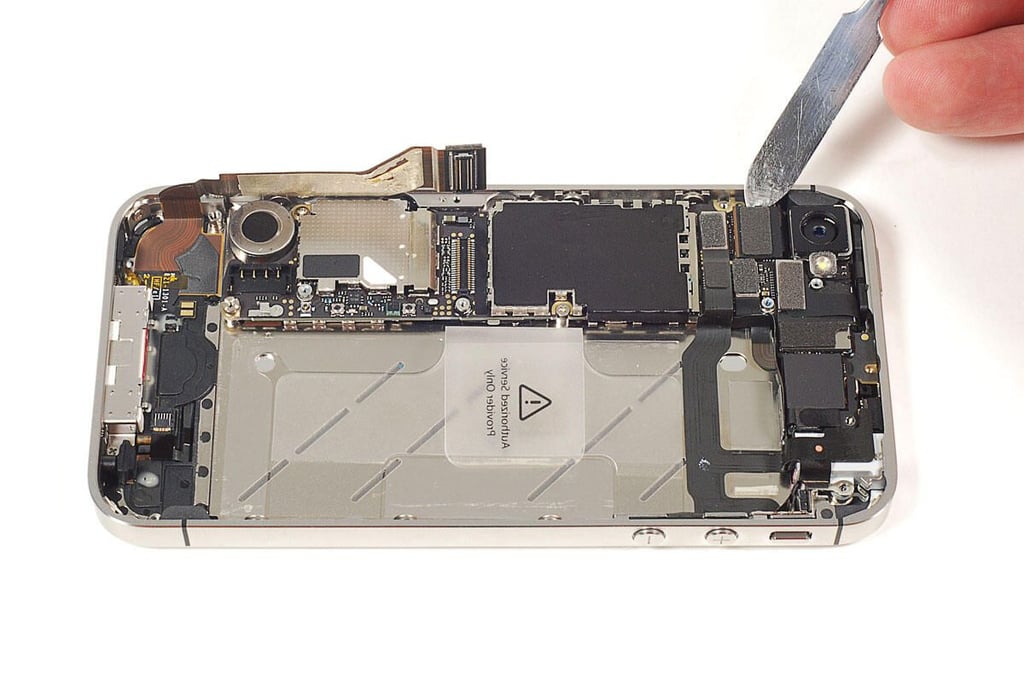
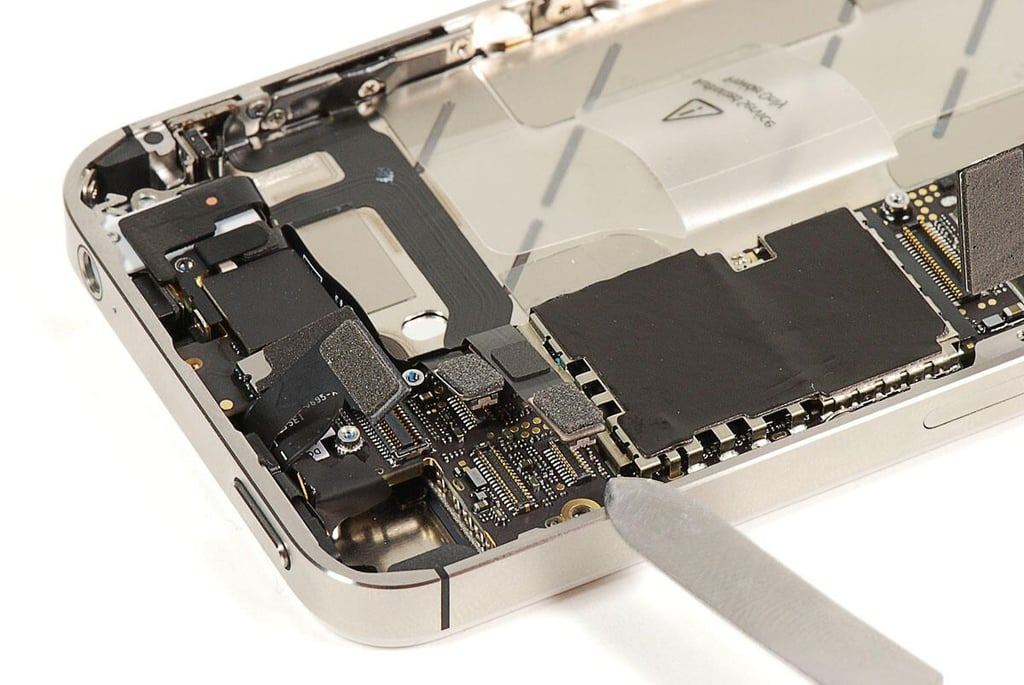
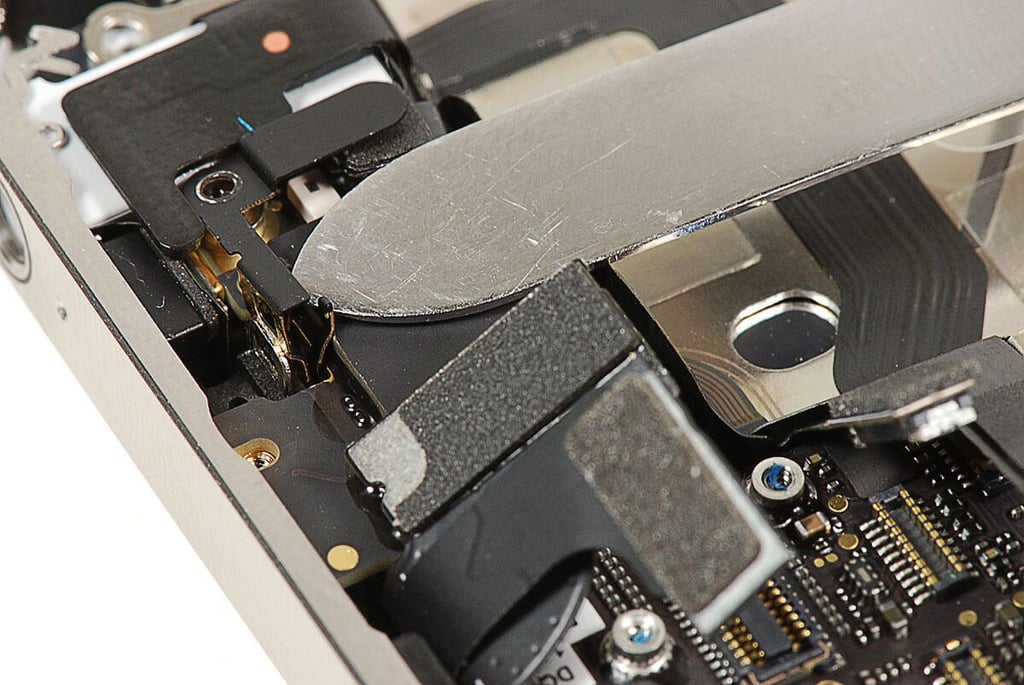
\n\tOne of the most frustrating aspects of the iPhone 4S teardown was removing the tiny clips, spacers, and cushions located inside the phone.
\n
\n\tPhoto by: Bill Detwiler / TechRepublic
\n\tCaption by: Bill Detwiler
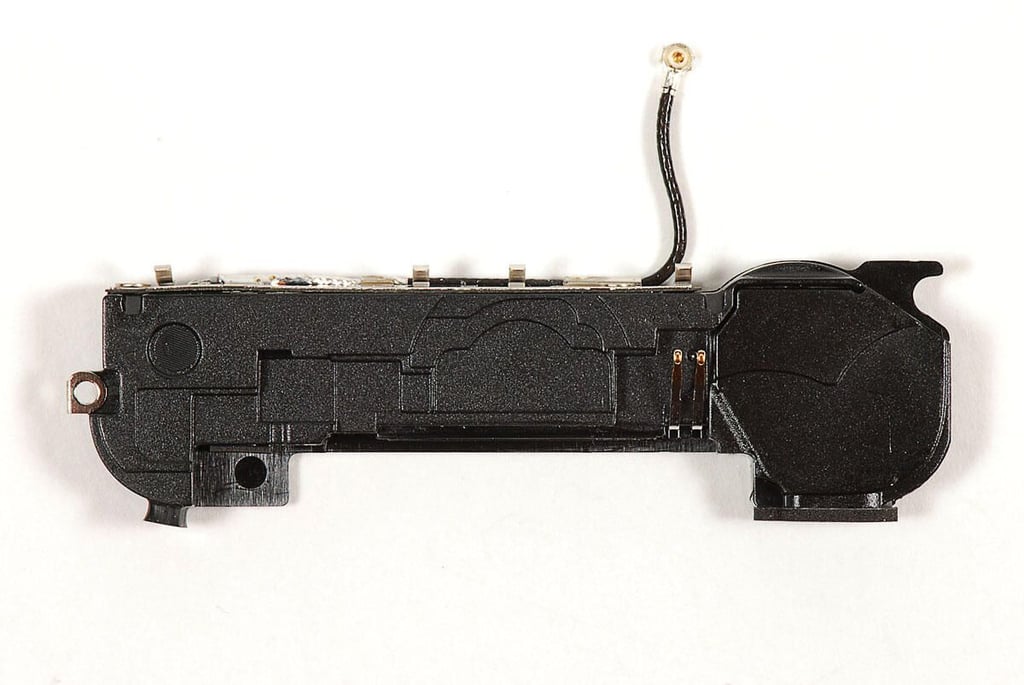
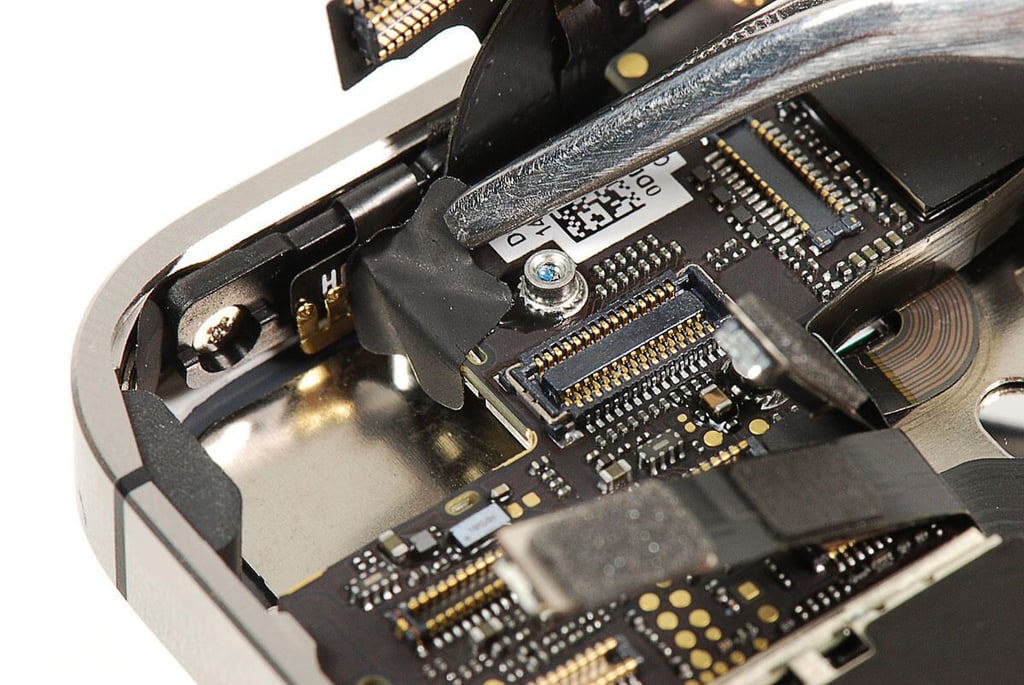
\n\tHere’s a closeup of the clip shown in the previous iPhone 4S photo.
\n
\n\tPhoto by: Bill Detwiler / TechRepublic
\n\tCaption by: Bill Detwiler
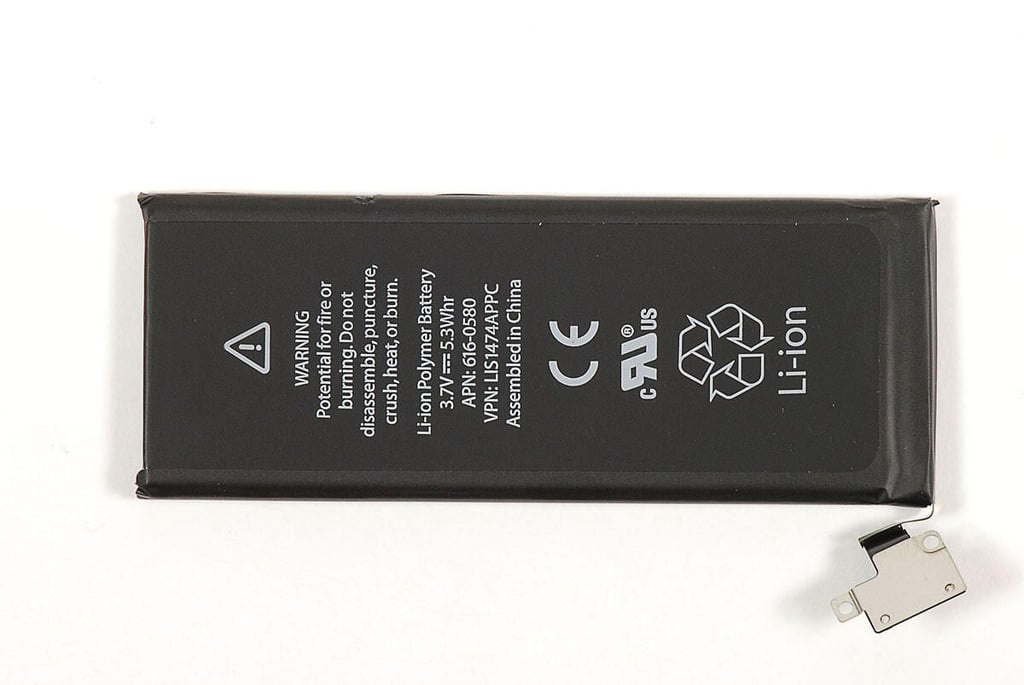
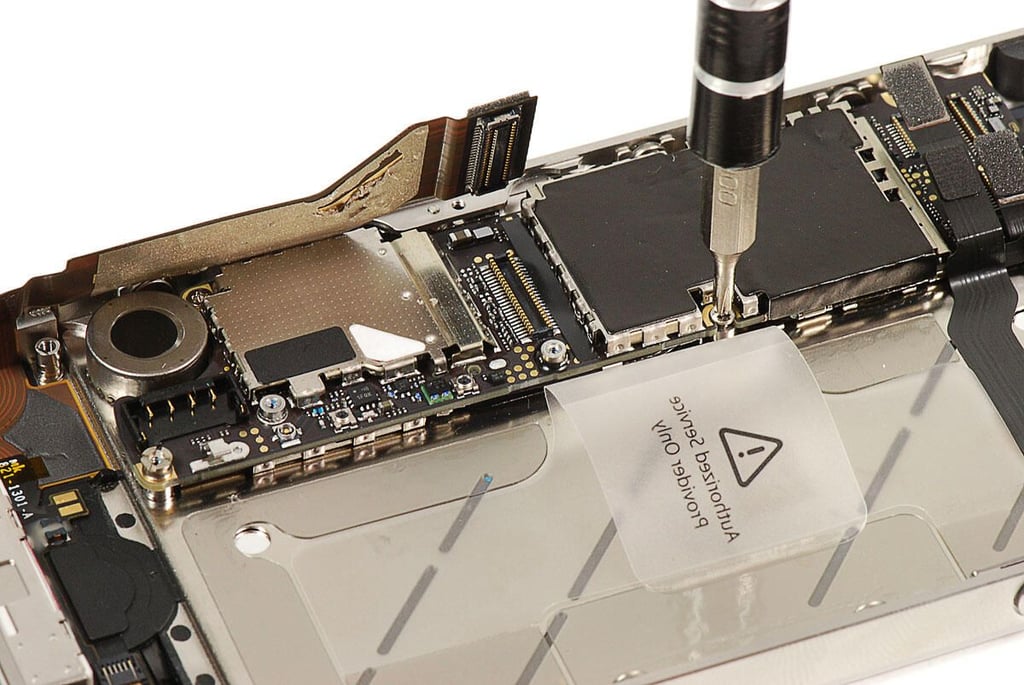
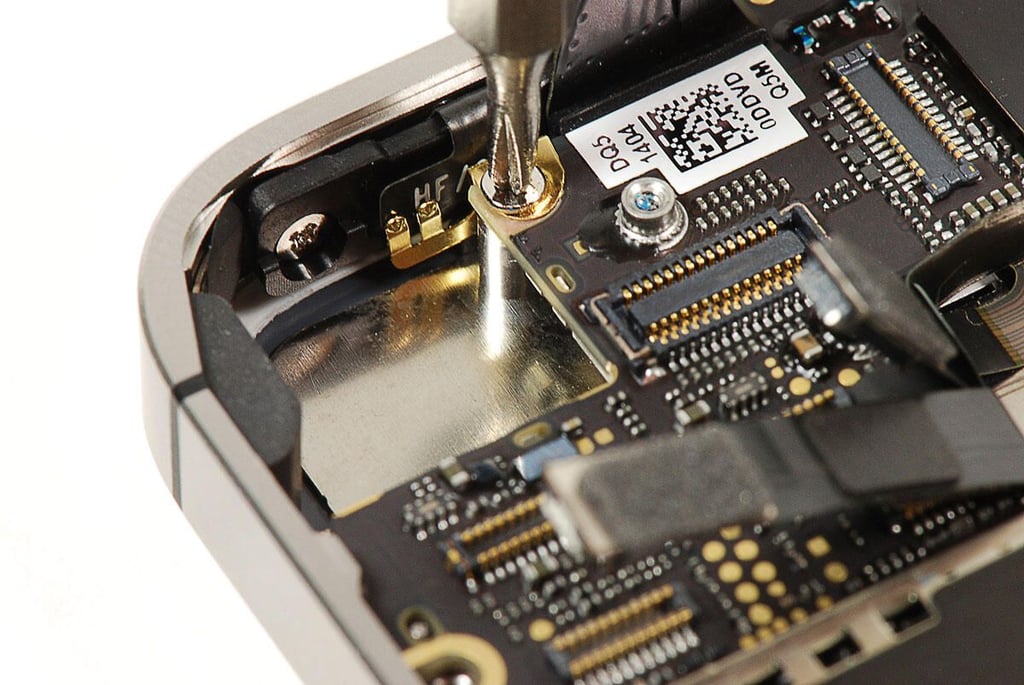
\n\tA tiny black sticker covers one of the screws that hold the main PCB in place.
\n
\n\tPhoto by: Bill Detwiler / TechRepublic
\n\tCaption by: Bill Detwiler
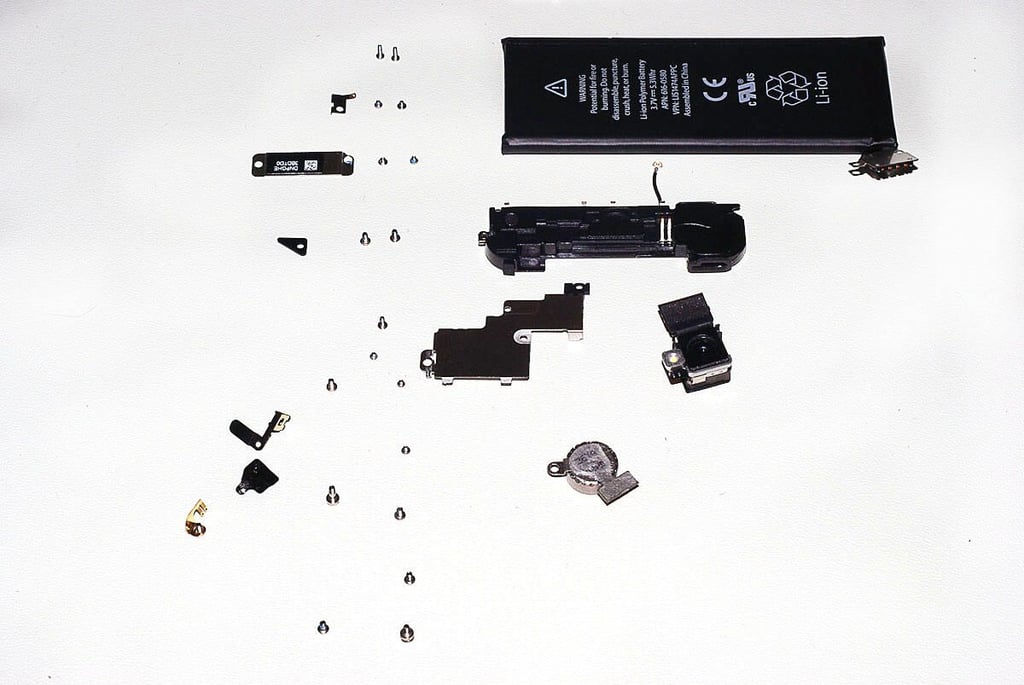
\n\tWith the main PCB removed, we get a clearer look at the iPhone 4S’ other internal components. Unfortunatley, most of them are glued to the metal frame. To avoid damaging them, I left them in place.
\n
\n\tI also chose to leave the Retina display and touchscreen (front panel) attached to the metal frame. I actually removed all the display assembly screws, but it did not want to come loose. As with the other internal components, I left it in place to avoid potentially damaging it.
\n
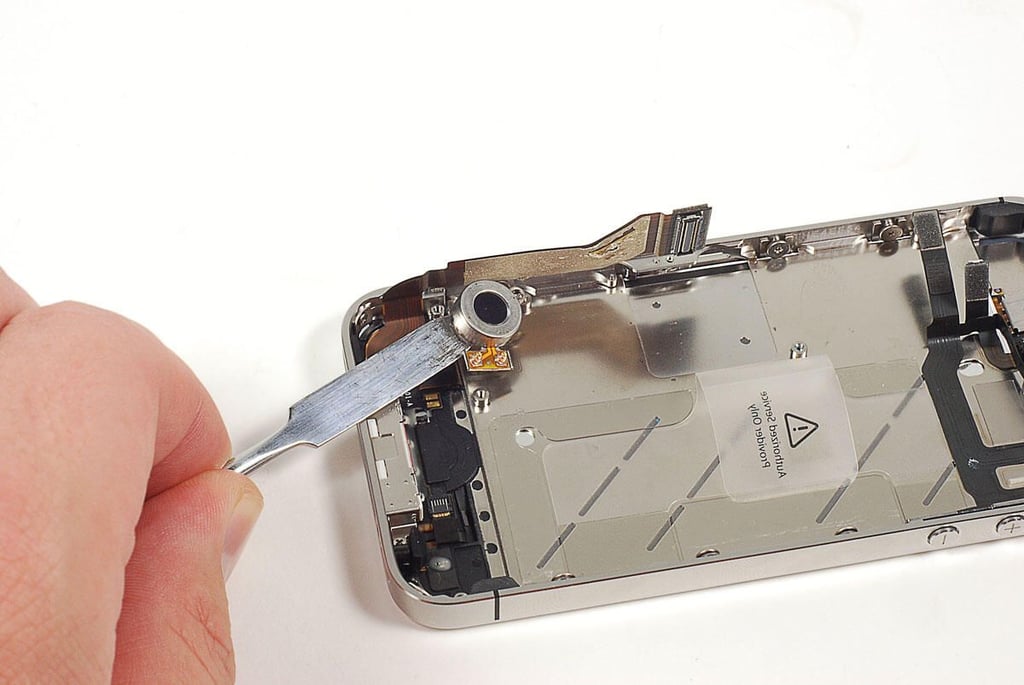
\n\tI did however, remove the vibration motor.
\n
\n\tPhoto by: Bill Detwiler / TechRepublic
\n\tCaption by: Bill Detwiler
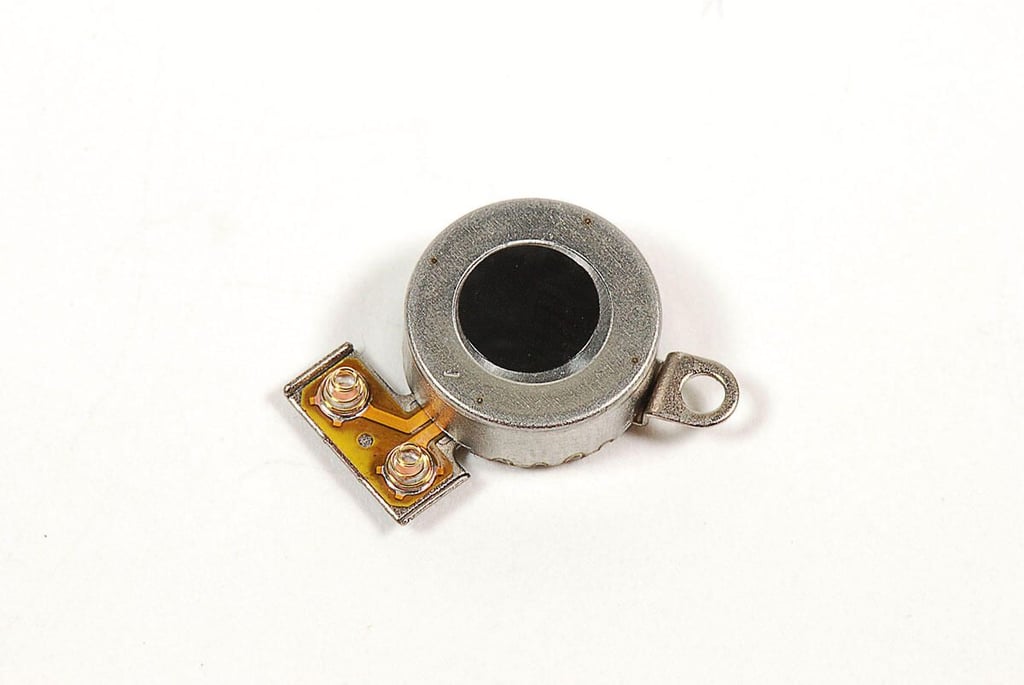
\n\tThe AT&T version of the iPhone 4 used a rotating vibration motor. The iPhone 4S uses the same linear oscillating vibrator found on the Verizon version of the iPhone 4.
\n
\n\tPhoto by: Bill Detwiler / TechRepublic
\n\tCaption by: Bill Detwiler
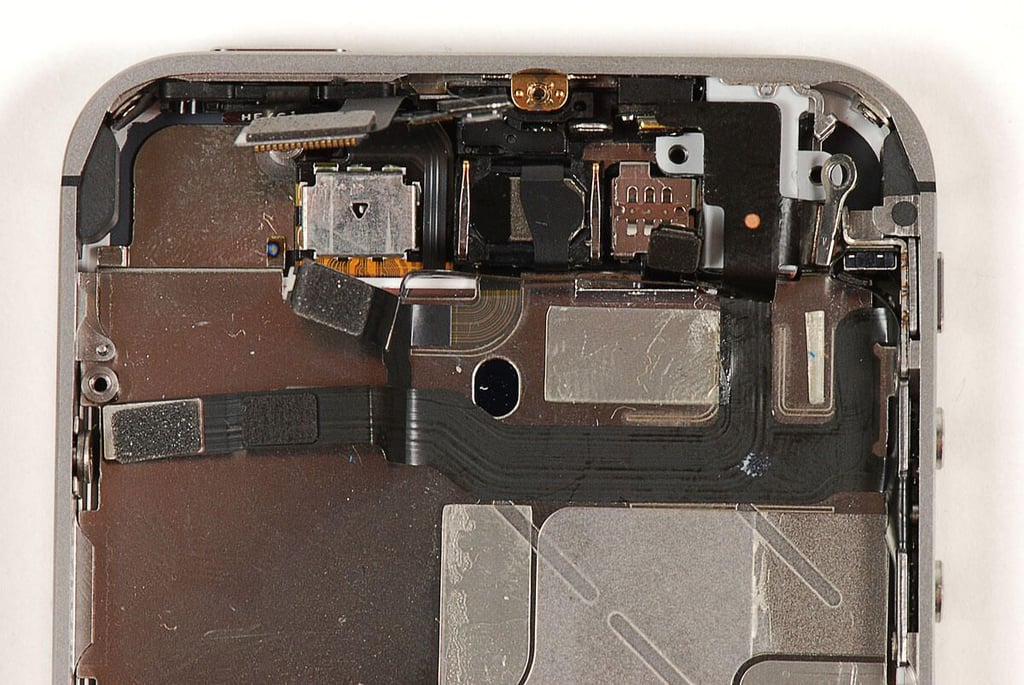
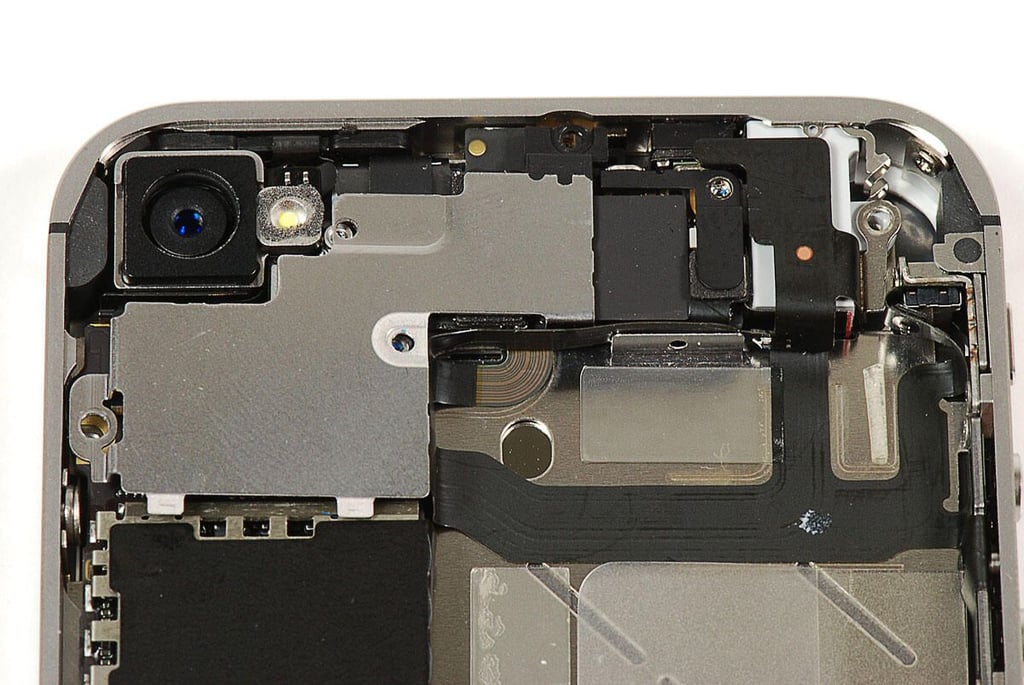
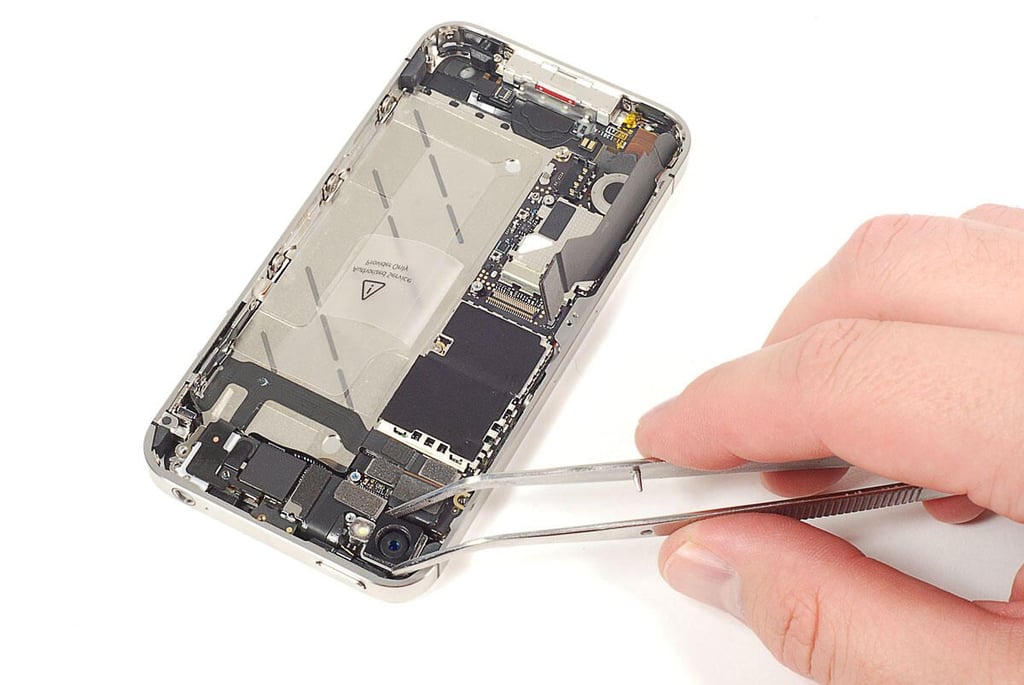
\n\tThe upper section of the iPhone 4S houses the ambient light sensor, front-facing camera, speaker, 3.5mm headphone jack, on/off button, ring/silent button, and volume up/down buttons.
\n
\n\tPhoto by: Bill Detwiler / TechRepublic
\n\tCaption by: Bill Detwiler
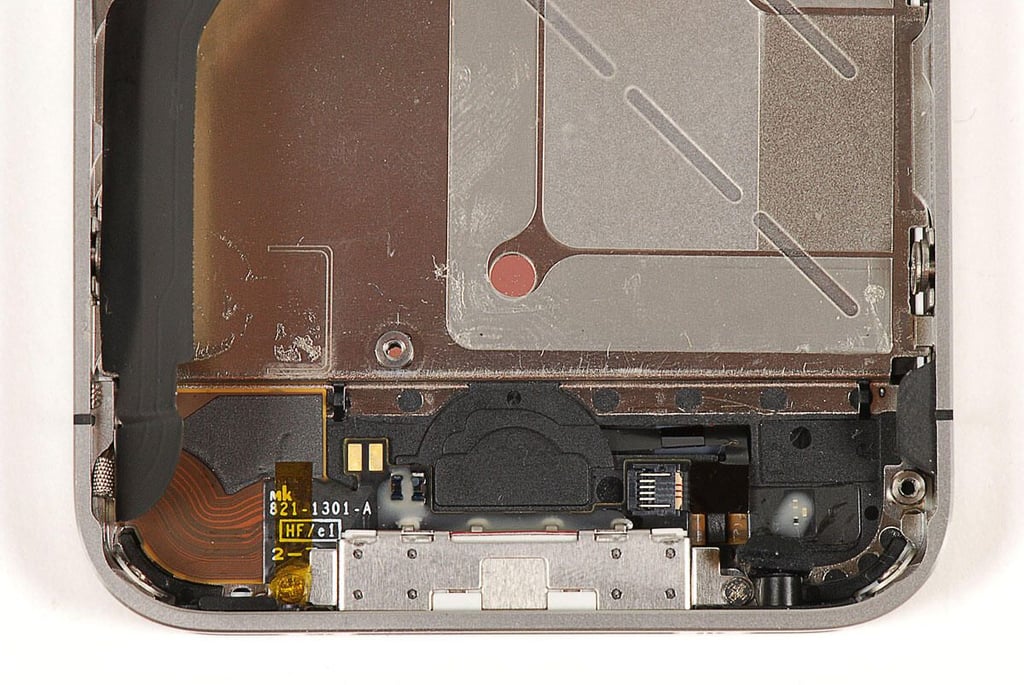
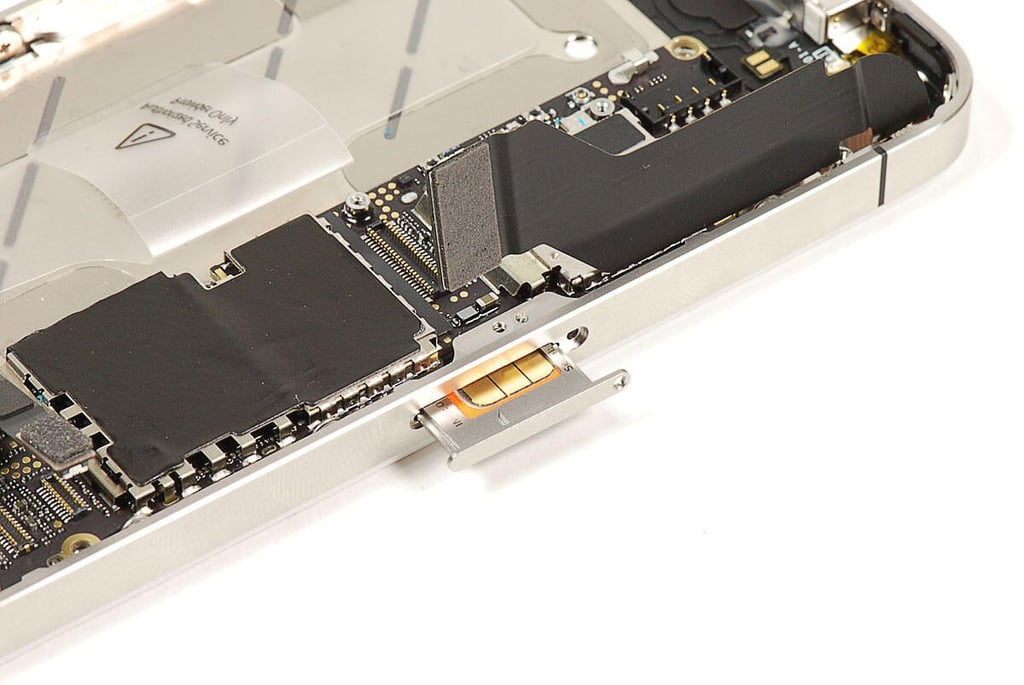
\n\tThe lower section of the iPhone 4S contains the Home button, 30-pin connector port, and microphone.
\n
\n\tPhoto by: Bill Detwiler / TechRepublic
\n\tCaption by: Bill Detwiler
\n\tPhoto by: Bill Detwiler / TechRepublic
\n\tCaption by: Bill Detwiler
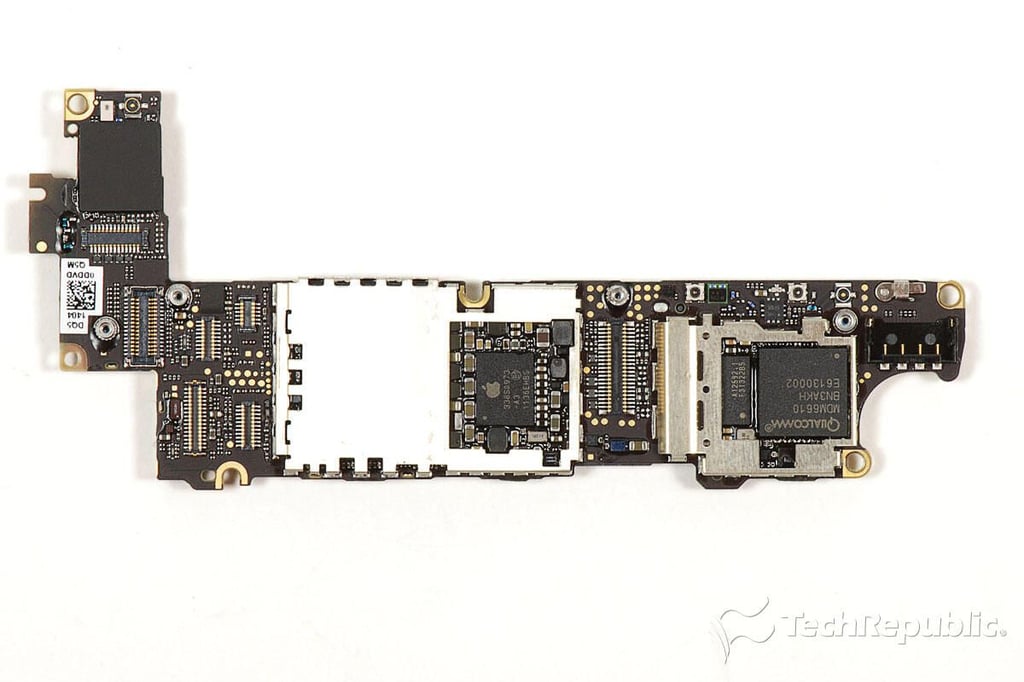
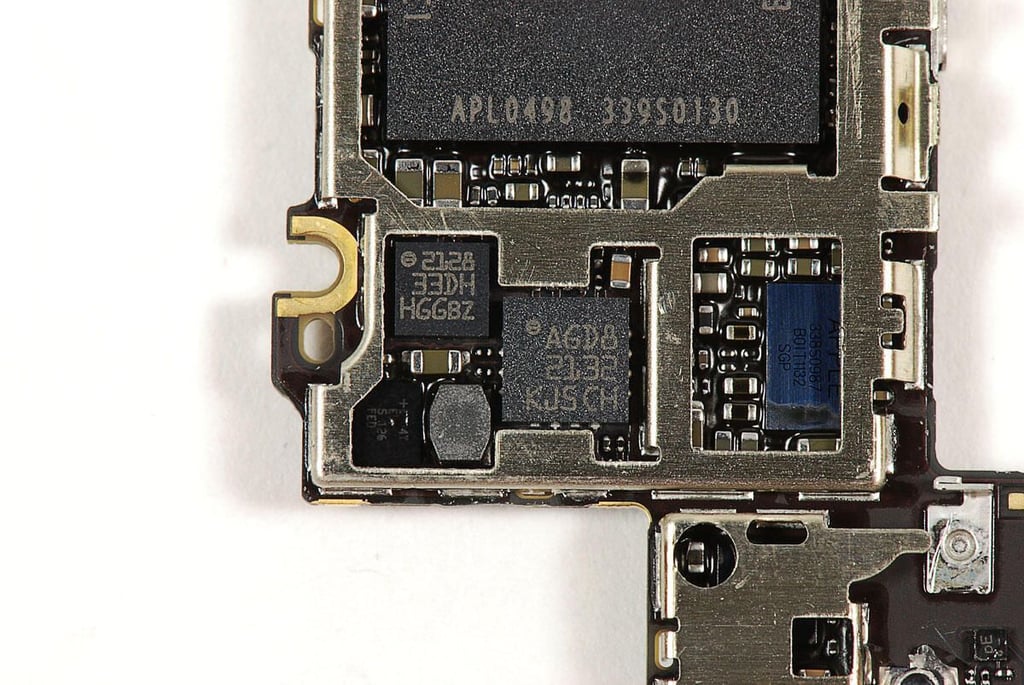
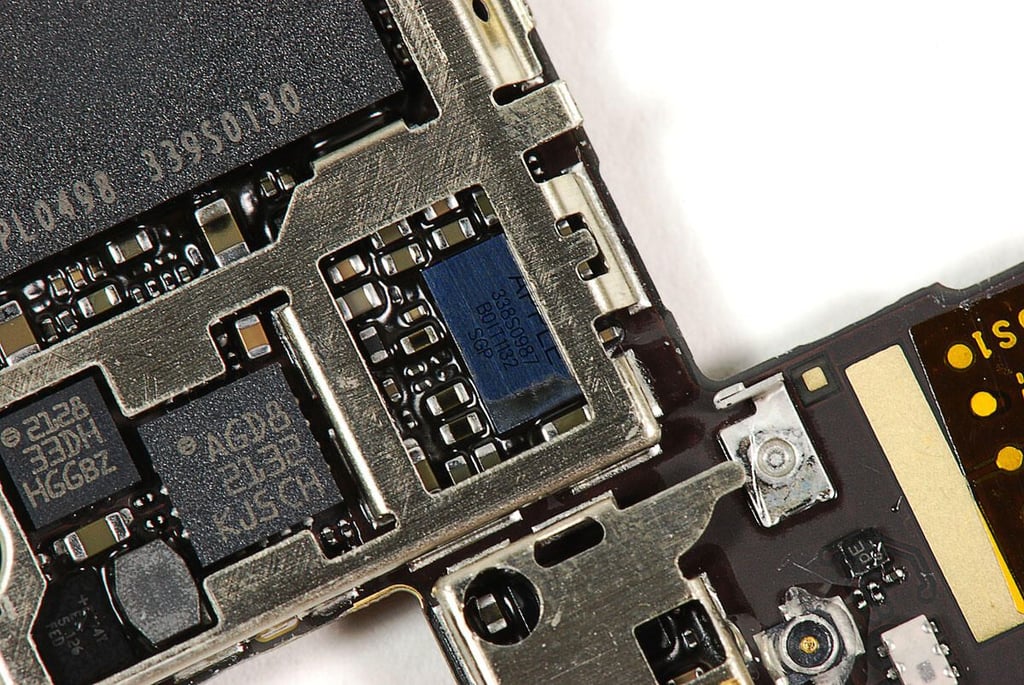
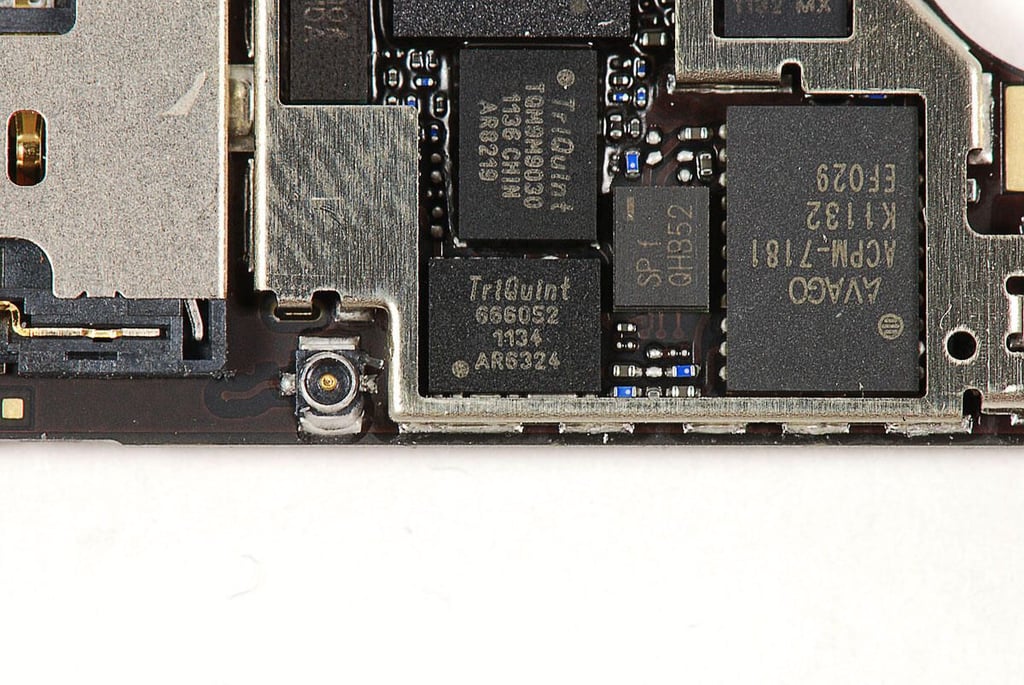
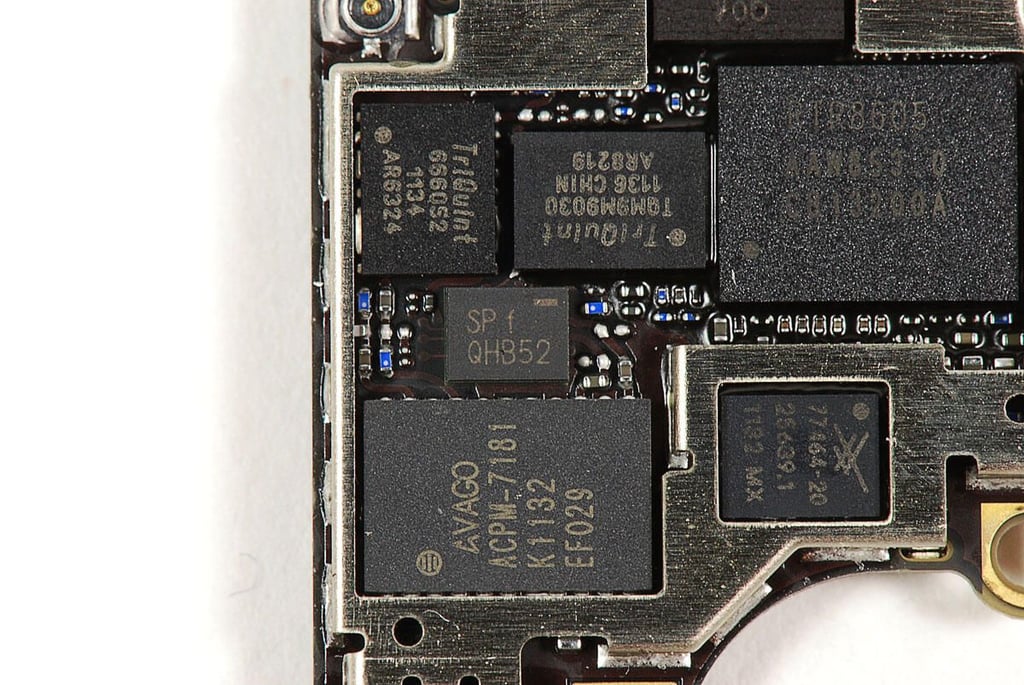
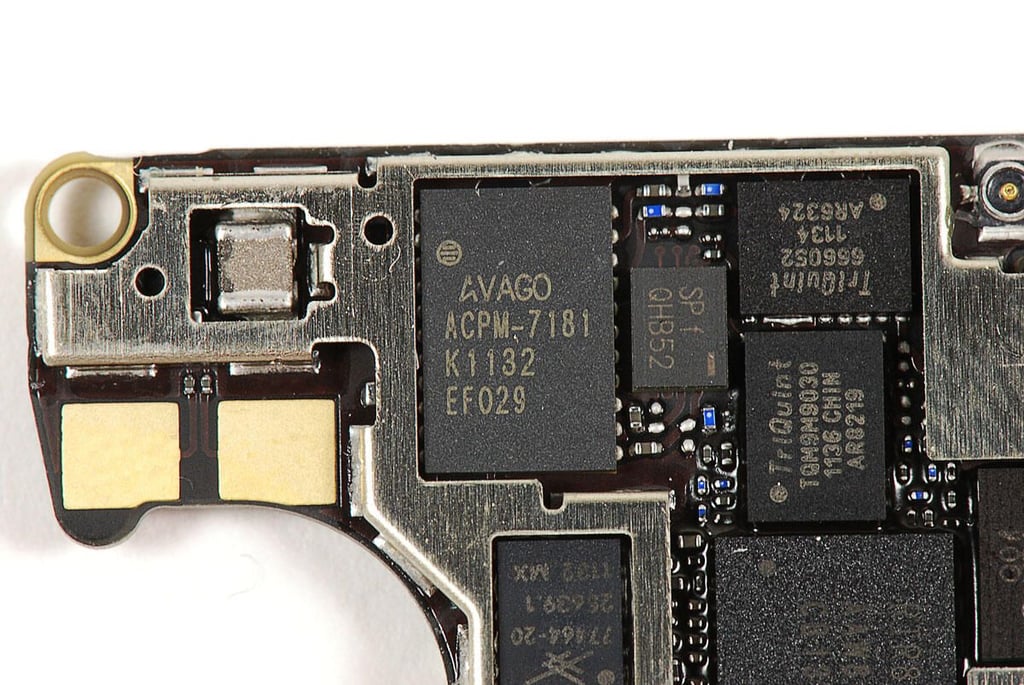
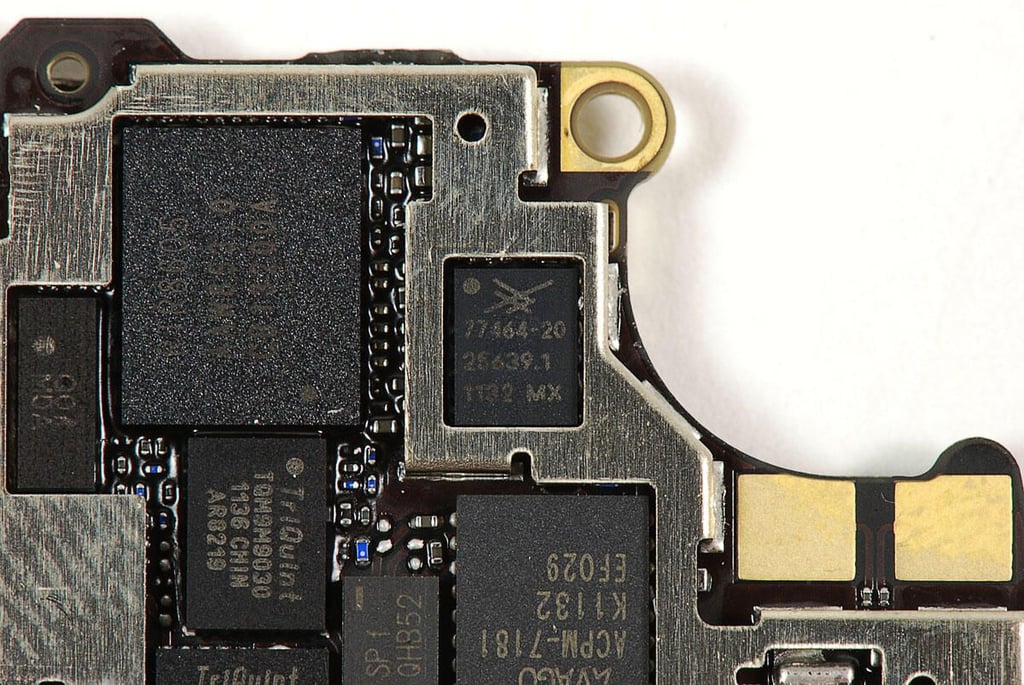
\n\tAlthough most of the iPhone 4S’ chips are visible with the removable EMI shields detached, several chips, such as the Toshiba NAND Flash memory module, remain hidden.
\n
\n\tPhoto by: Bill Detwiler / TechRepublic
\n\tCaption by: Bill Detwiler
\n\tPhoto by: Bill Detwiler / TechRepublic
\n\tCaption by: Bill Detwiler
\n\tSTMicro chips with markings:
\n
\n\t
\n
\n
\n\tThese are likely the gyroscope and three-axis accelereometer.
\n
\n\tPhoto by: Bill Detwiler / TechRepublic
\n\tCaption by: Bill Detwiler
\n\tPhoto by: Bill Detwiler / TechRepublic
\n\tCaption by: Bill Detwiler
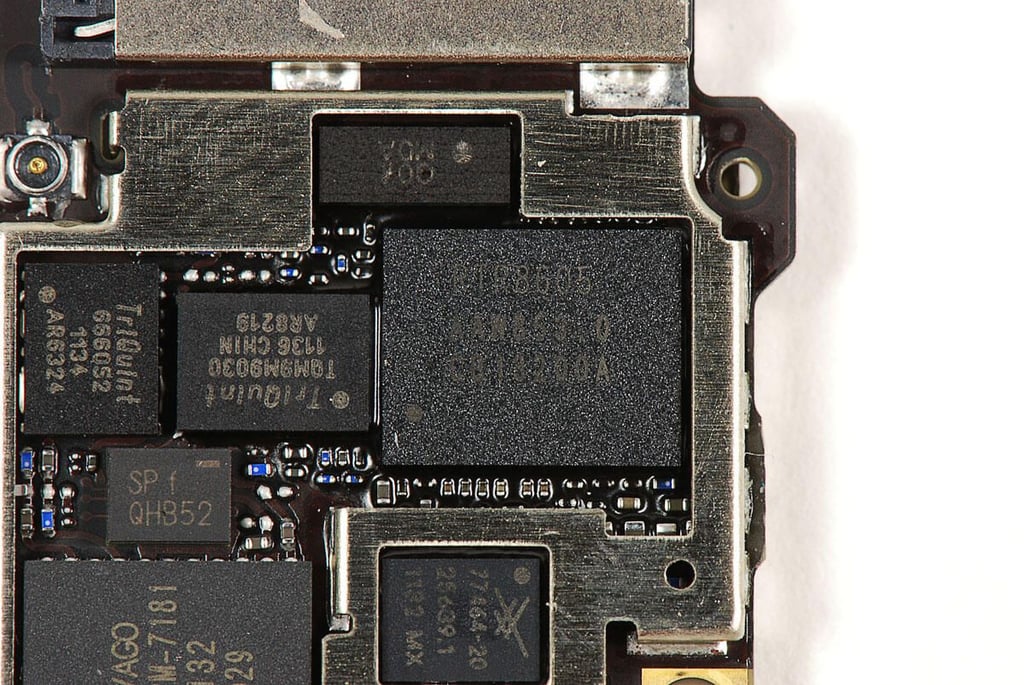
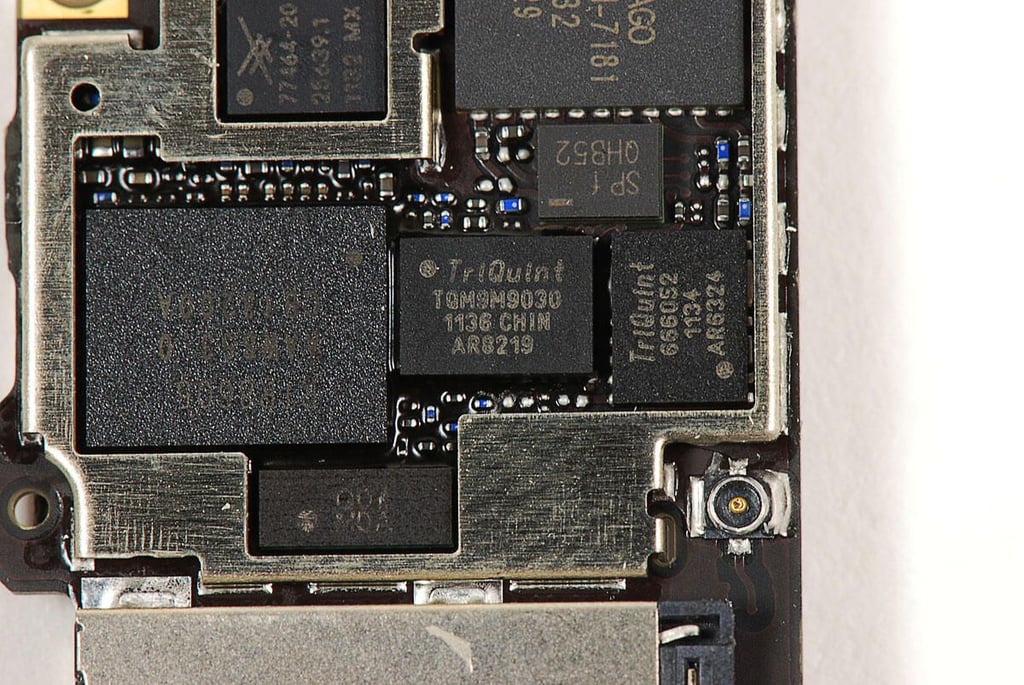
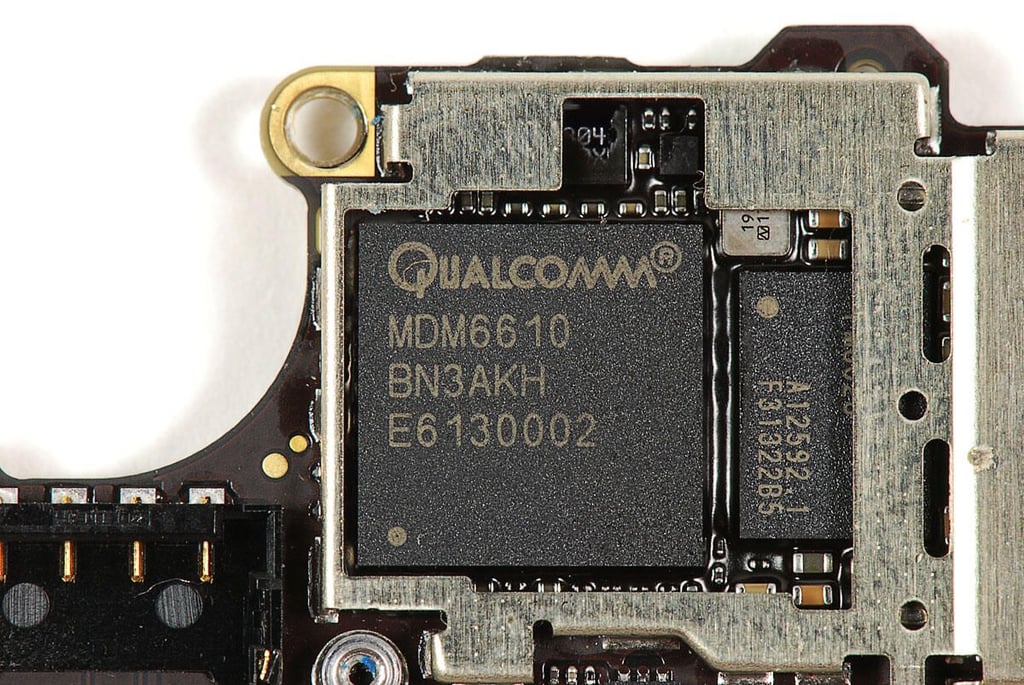
\n\tThe iPhone 4S’ Qualcomm RTR8605 Multi-band RF Transceiver was also used in the HTC Thunderbolt.
\n
\n\tPhoto by: Bill Detwiler / TechRepublic
\n\tCaption by: Bill Detwiler
\n\tPhoto by: Bill Detwiler / TechRepublic
\n\tCaption by: Bill Detwiler
\n\tPhoto by: Bill Detwiler / TechRepublic
\n\tCaption by: Bill Detwiler
\n\tPhoto by: Bill Detwiler / TechRepublic
\n\tCaption by: Bill Detwiler
\n\tPhoto by: Bill Detwiler / TechRepublic
\n\tCaption by: Bill Detwiler
\n\tPhoto by: Bill Detwiler / TechRepublic
\n\tCaption by: Bill Detwiler
\n\tPhoto by: Bill Detwiler / TechRepublic
\n\tCaption by: Bill Detwiler
\n\tPhoto by: Bill Detwiler / TechRepublic
\n\tCaption by: Bill Detwiler
\n\tPhoto by: Bill Detwiler / TechRepublic
\n\tCaption by: Bill Detwiler
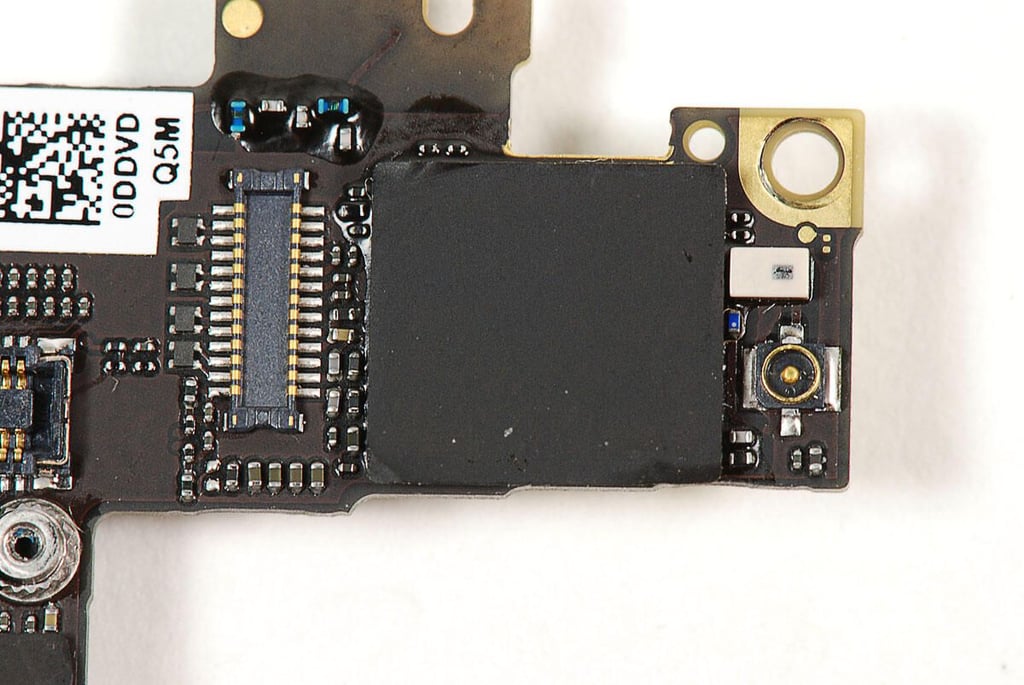
\n\tUnder this black sticker is a Murata SW SS1830010, which likely provides the iPhone 4S’ Wi-Fi and Bluetooth connectivity.
\n
\n\tPhoto by: Bill Detwiler / TechRepublic
\n\tCaption by: Bill Detwiler
\n\tThis photo shows the many tiny screws found inside the iPhone 4S. Although I was able to remove them all with a Phillips #000 screwdriver, they come in a variety of sizes. This makes reassembling the iPhone 4S a timeconsuming process. I wish Apple would settle on a single size for the iPhone’s internal screws–as other smartphone manufacturers have.
\n
\n\tPhoto by: Bill Detwiler / TechRepublic
\n\tCaption by: Bill Detwiler
\n\tAlthough their internal design is almost identical, the Apple iPhone 4S was a bit more difficult to dissect than the iPhone 4–mainly because the display/front panel assembly didn’t want to come off.
\n
\n\tFor a more in-depth review of the iPhone 4S’ internal hardware, check out my article, “Apple iPhone 4S Teardown: Old design, new hardware.”
Bill Detwiler is the Editor for Technical Content and Ecosystem at Celonis. He is the former Editor in Chief of TechRepublic and previous host of TechRepublic's Dynamic Developer podcast and Cracking Open, CNET and TechRepublic's popular online show. Previously, Bill was an IT manager in the social research and energy industries. He has bachelor's and master's degrees from the University of Louisville, where he has also lectured on computer crime and crime prevention.


