
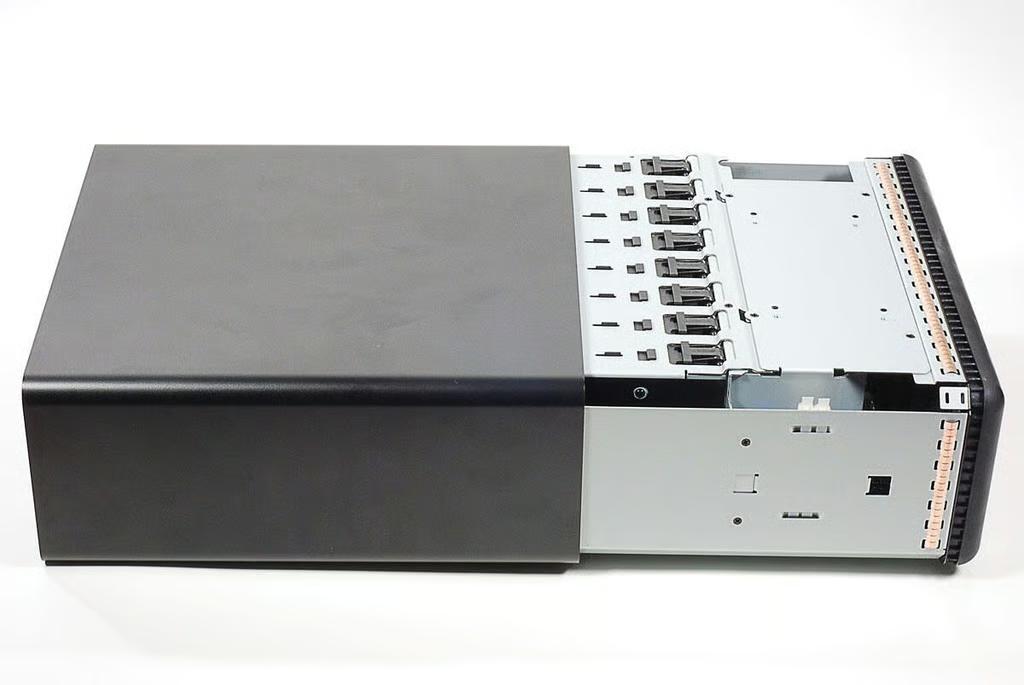
\n\tThe Data Robotics Drobo B800i is an 8-bay, iSCSI SAN storage device that’s designed for small and medium business environments. It can handle up to eight, 3TB drives for “up to 24TB of raw storage.”
\n
\n\tTechRepublic’s Mark Kaelin reviewed the Drobo B800i back in June, and I couldn’t wait to crack it open.
\n
\n\tFor an in-depth analysis of the Drobo B800i’s internal hardware, check out my post, “Drobo B800i SAN storage device teardown: Proprietary motherboard with Marvell processor”.
\n
\n\tPhoto by: Bill Detwiler / TechRepublic
\n\tCaption by: Bill Detwiler
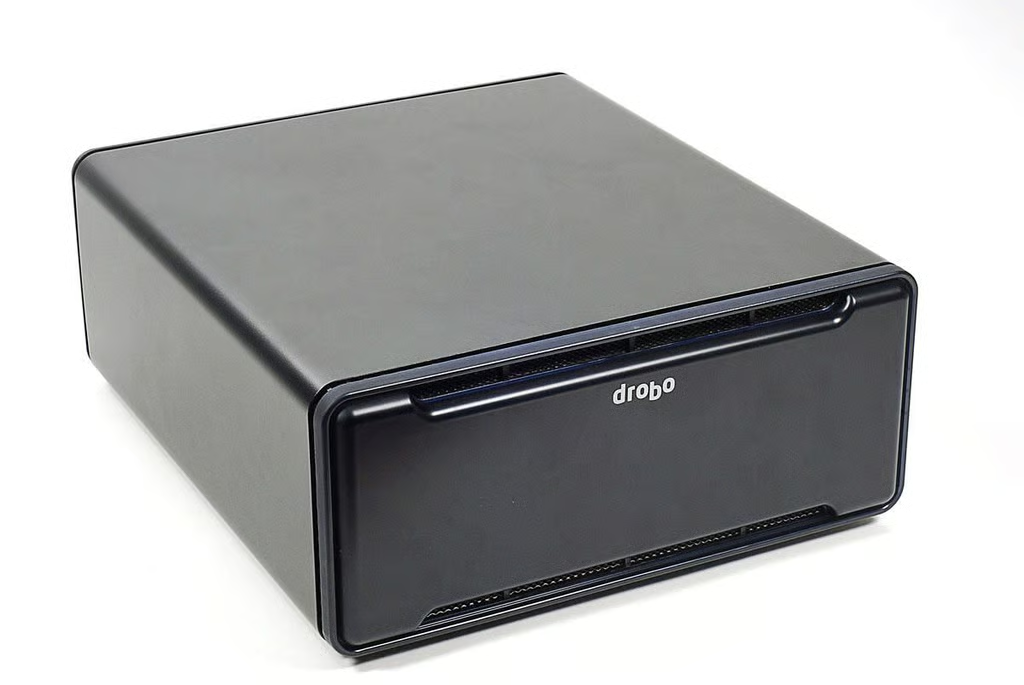
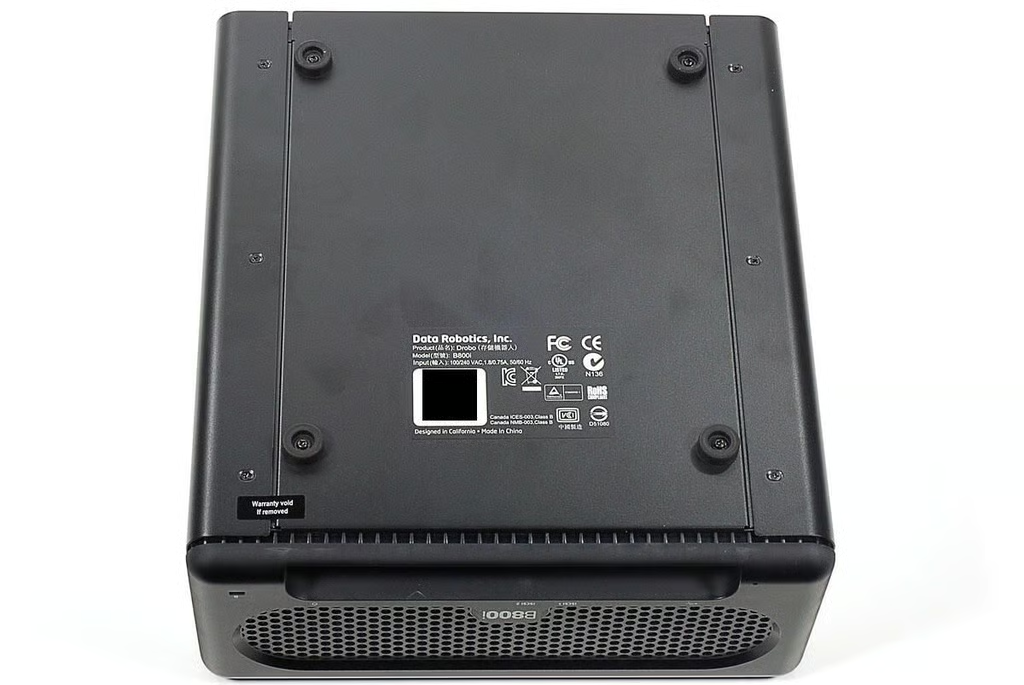
\n\tAs of this writing, the Data Robotics, Drobo B800i SAN storage device costs $3,500 (US) without drives. The box weighs just over 16 lbs. (without drives) and measures 12.17″ (W) x 5.46″ (H) x 14.10″ (D).
\n\t
\n\tPhoto by: Bill Detwiler / TechRepublic
\n\tCaption by: Bill Detwiler
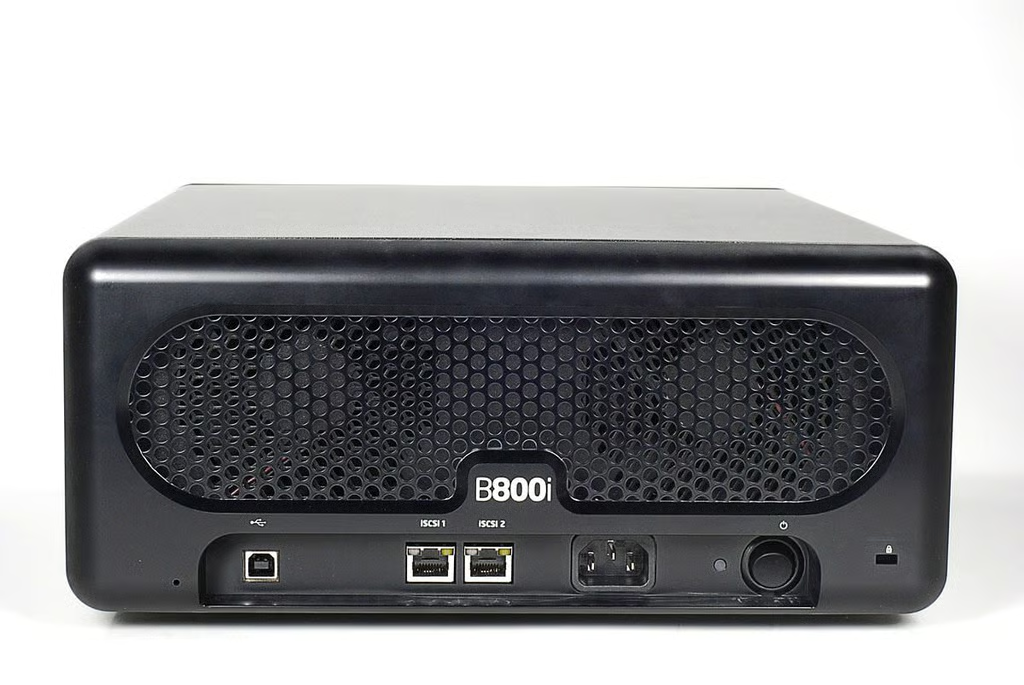
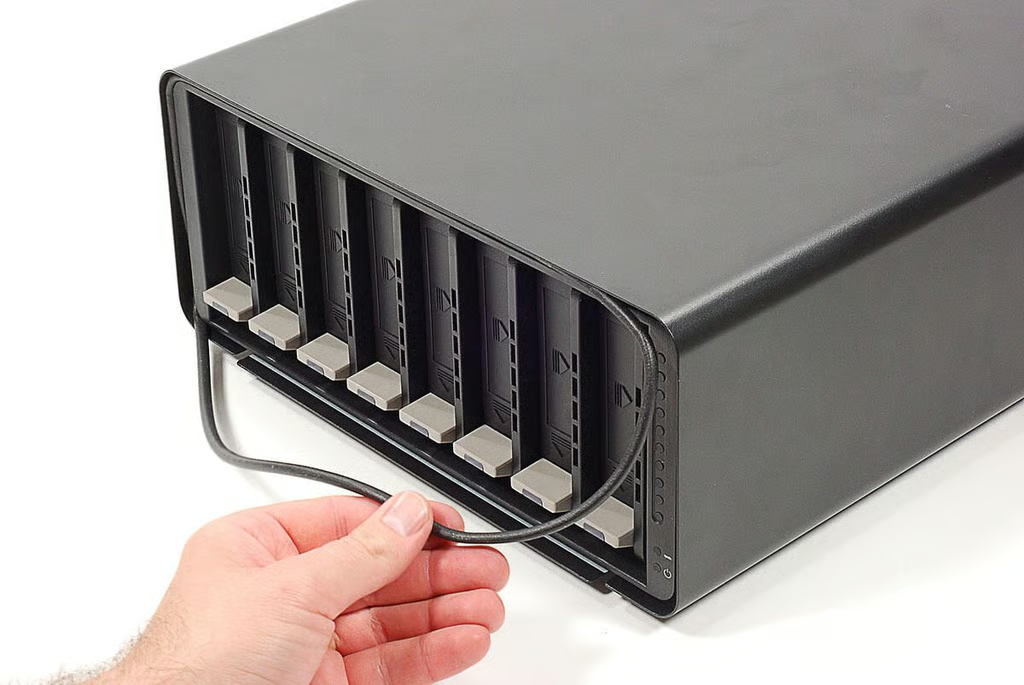
The Drobo B800i has two 10/100/1000 Mbps Ethernet ports and a USB 2.0 port for management.
Photo by: Bill Detwiler / TechRepublic
Caption by: Bill Detwiler
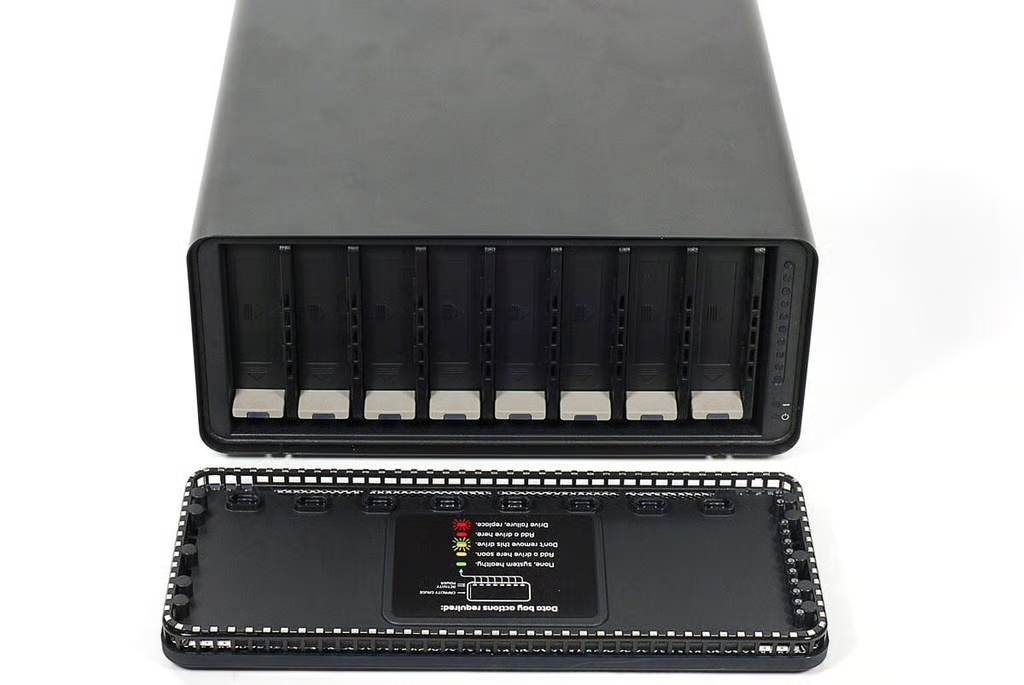
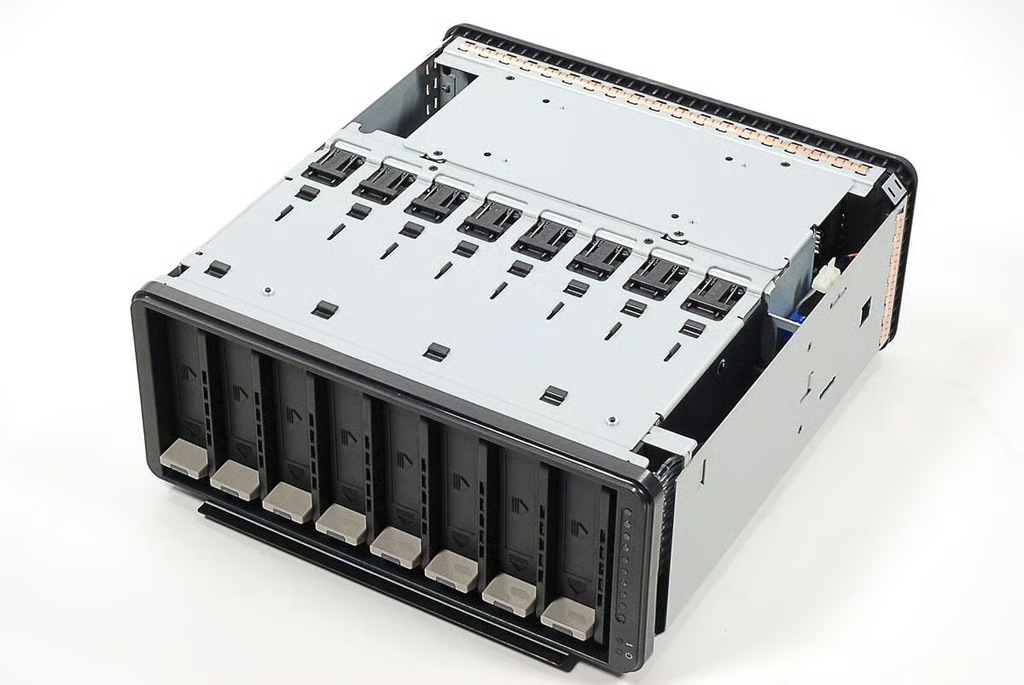
\n\tThe Drobo B800i has eight bays, which support 3.5″ SATA I / SATA II drives. It can handle up to 24TB of raw storage, and Drobo’s BeyondRAID technology lets you combine drives of different capacities.
\n\t
\n\tPhoto by: Bill Detwiler / TechRepublic
\n\tCaption by: Bill Detwiler
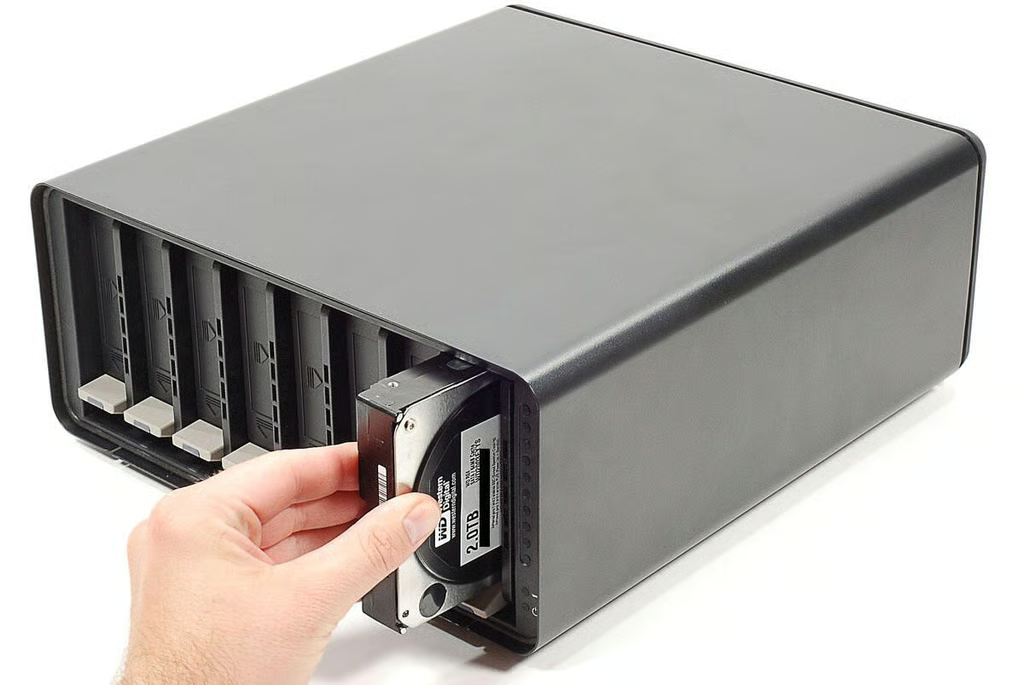

\n\tOur Drobo B800i test unit came with six 2.0TB Western Digital WD2033FYYS SATA hard drives.
\n
\n\tPhoto by: Bill Detwiler / TechRepublic
\n\tCaption by: Bill Detwiler
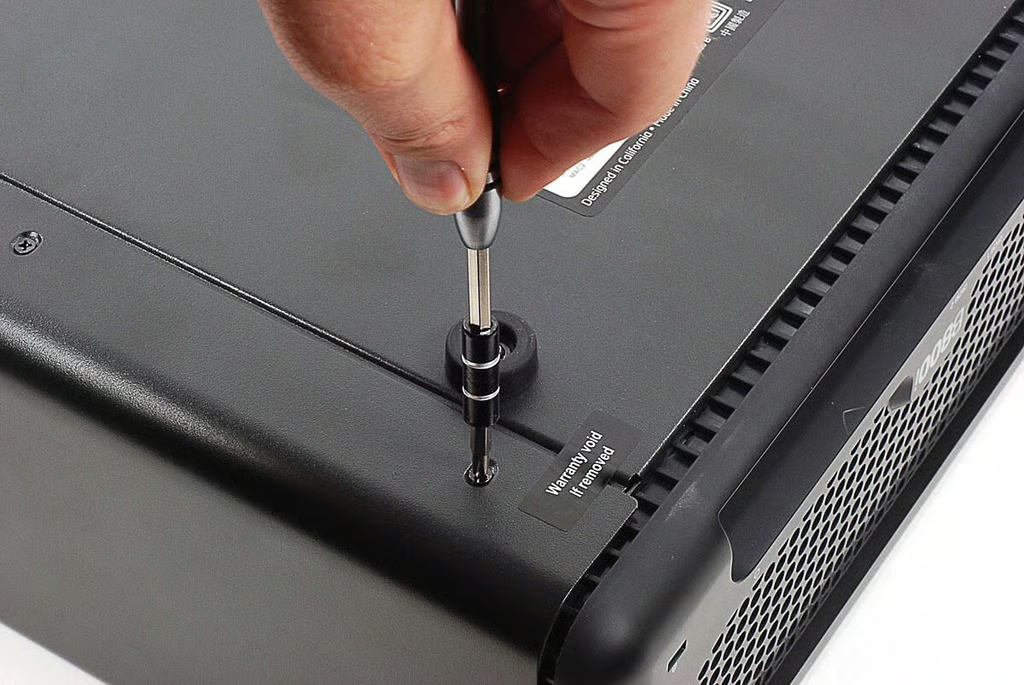
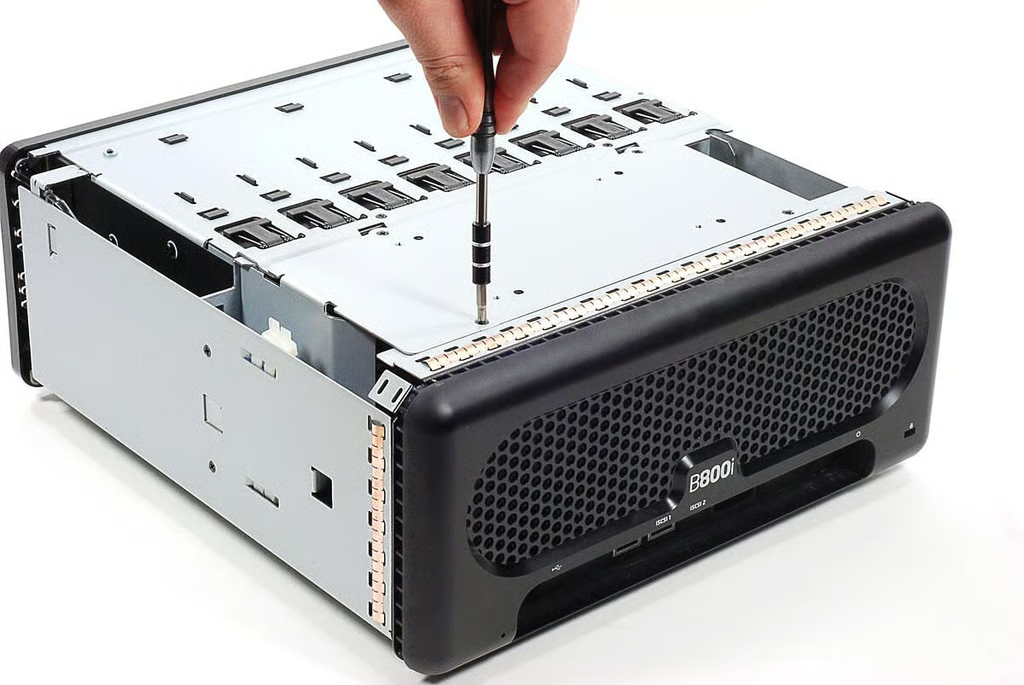
\n\tSix Phillips screws hold the outer shell in place.
\n
\n\tPhoto by: Bill Detwiler / TechRepublic
\n\tCaption by: Bill Detwiler
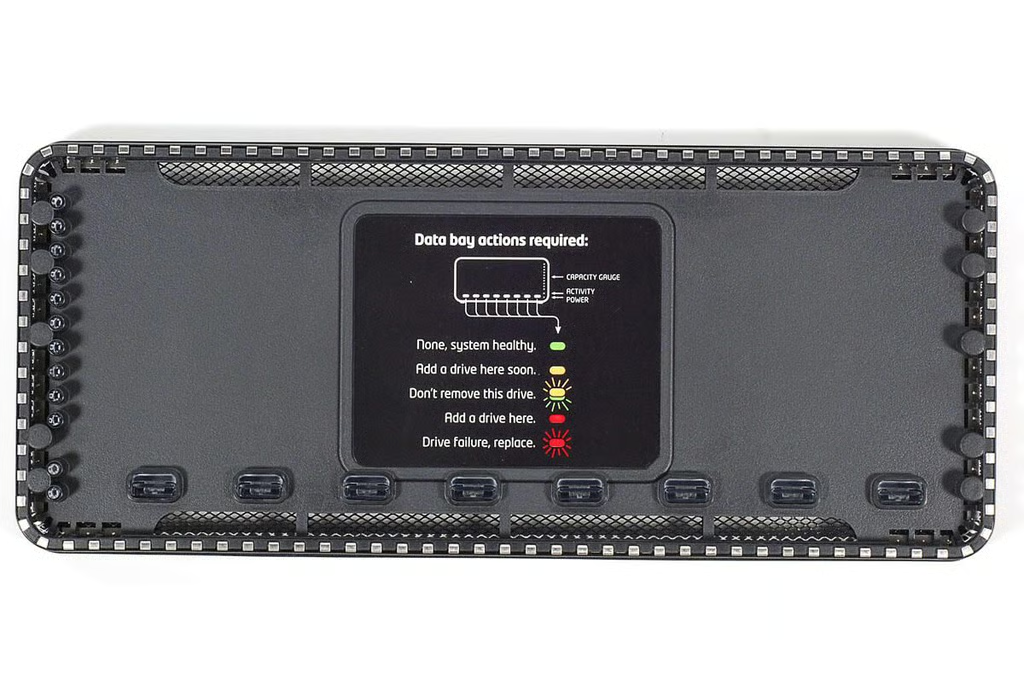
\n\tA rubber gasket surrounds the drive bays. It will come loose when you remove the outer shell.
\n
\n\tPhoto by: Bill Detwiler / TechRepublic
\n\tCaption by: Bill Detwiler
\n\tWith the screws removed, you can slide the outer shell off the Drobo B800i.
\n\tWith the outer shell removed, we get our first look inside the Drobo B800i. Unfortunately, there’s not much to see yet. We’ll need to remove a few more components to view the motherboard and drive interface card.
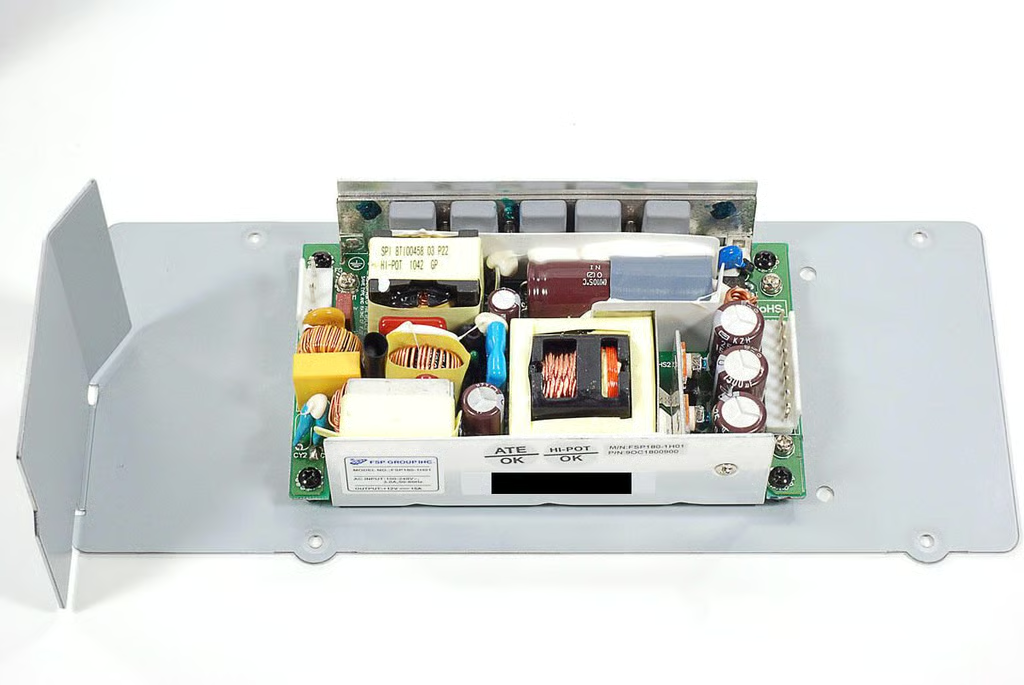
\n\tFirst to go is the power supply. Four Phillips screws hold it in place.
\n
\n\tPhoto by: Bill Detwiler / TechRepublic
\n\tCaption by: Bill Detwiler
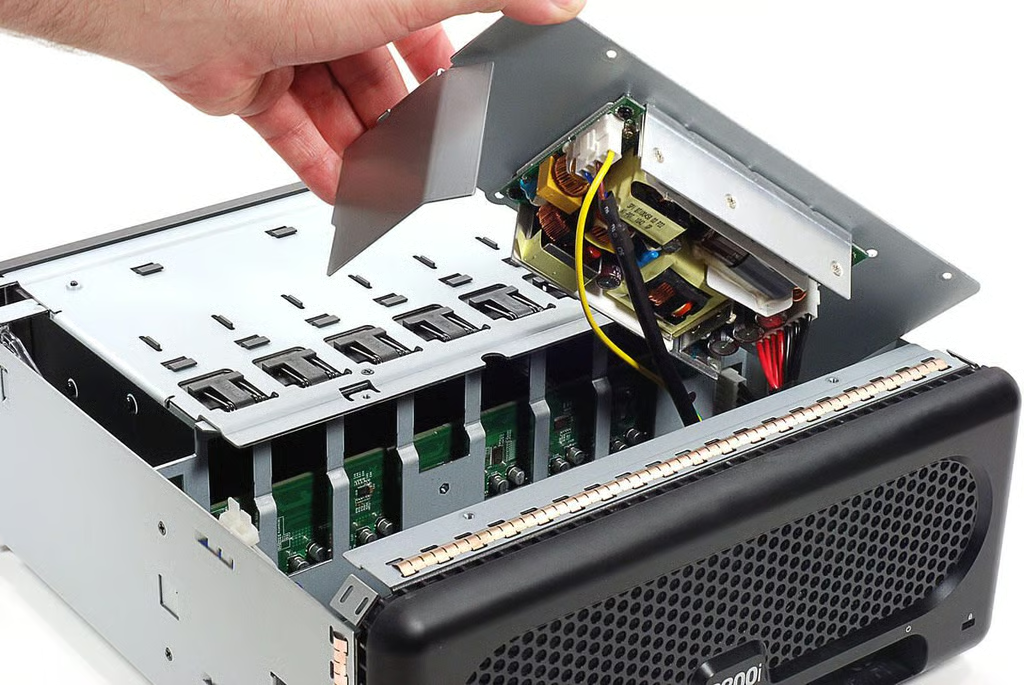
\n\tWith its screws removed, you can lift the power supply away from the Drobo B800i’s case. Be extremely careful when doing this. Power supply components (specifically the capacitors) can store enough charge to injure and even kill you.
\n
\n\tPhoto by: Bill Detwiler / TechRepublic
\n\tCaption by: Bill Detwiler
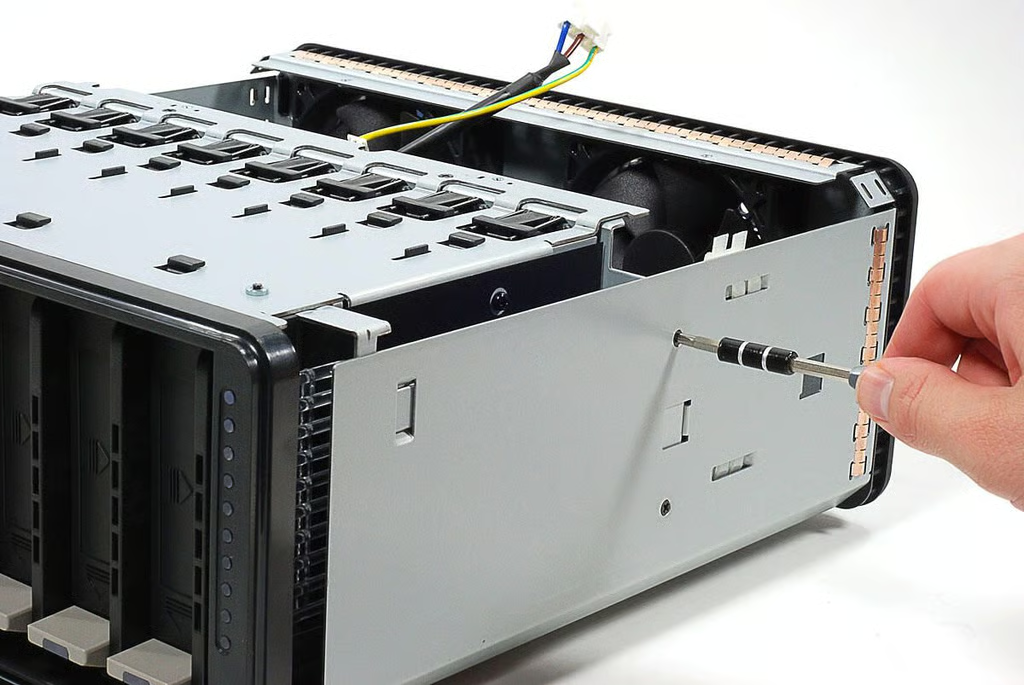
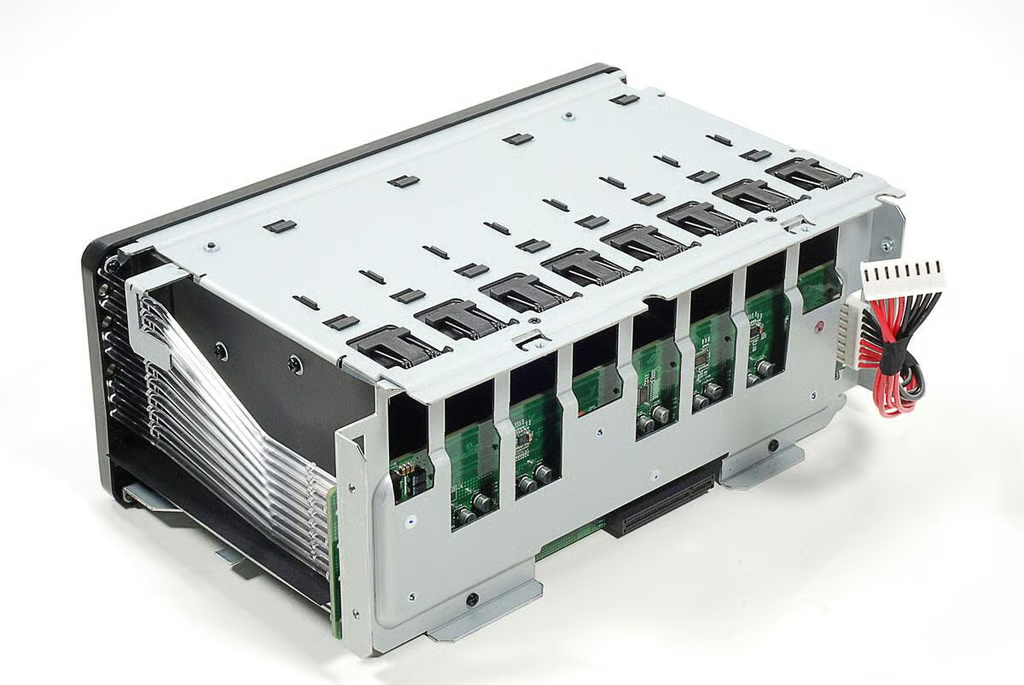
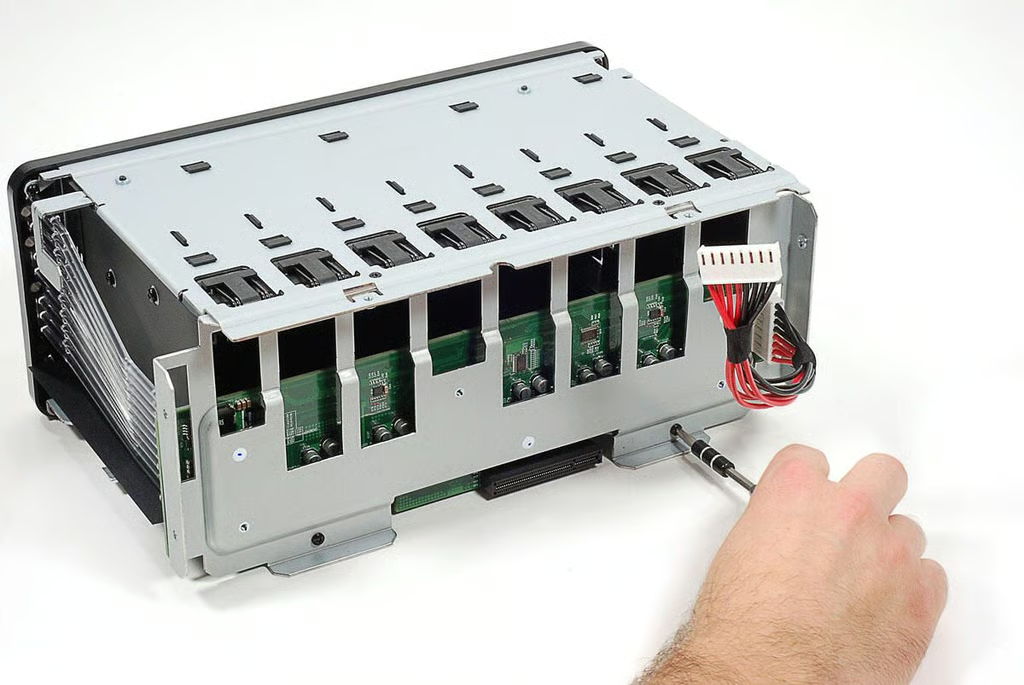
\n\tWith the power supply removed, I turned my attention to the drive bay assembly. Several Phillips screws hold it in place.
\n
\n\tPhoto by: Bill Detwiler / TechRepublic
\n\tCaption by: Bill Detwiler
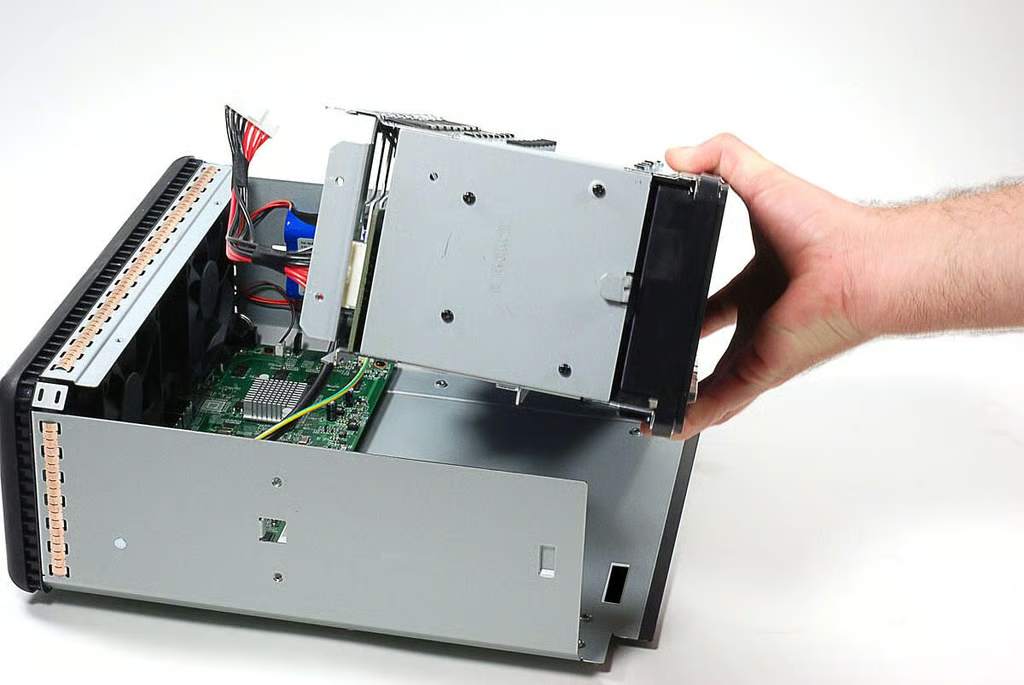
\n\tWith its screws removed, you can lift the drive bay assembly away from the Drobo B800i.
\n
\n\tPhoto by: Bill Detwiler / TechRepublic
\n\tCaption by: Bill Detwiler
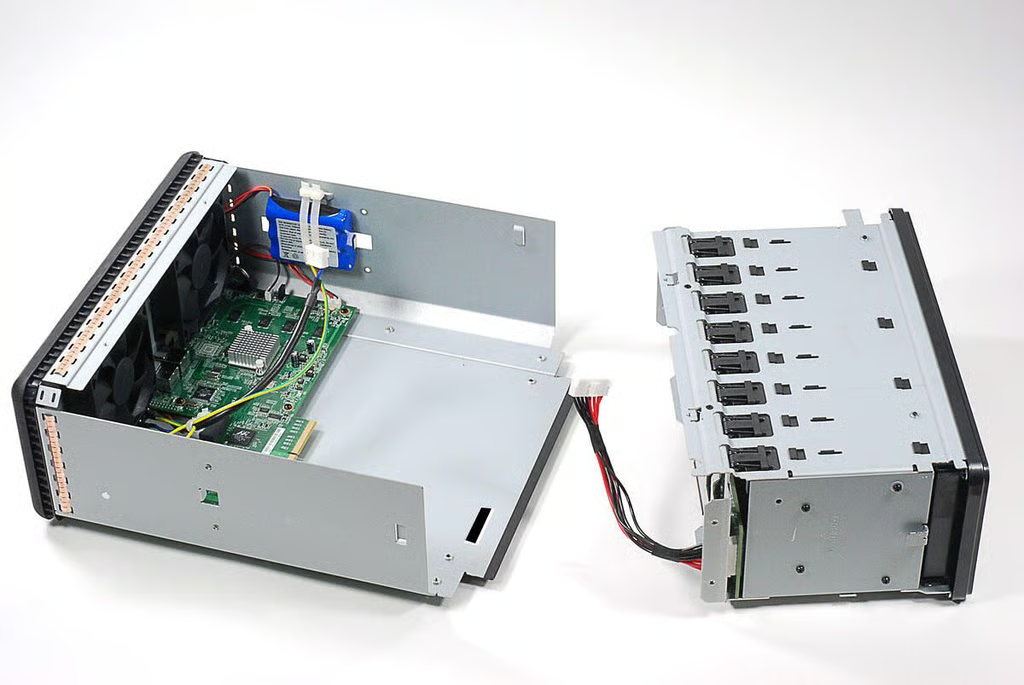
\n\tThe drive interface board is mounted to a metal bracket at the back of the drive bay assembly. The bracket is held to the assembly with Phillips screws.
\n
\n\tPhoto by: Bill Detwiler / TechRepublic
\n\tCaption by: Bill Detwiler
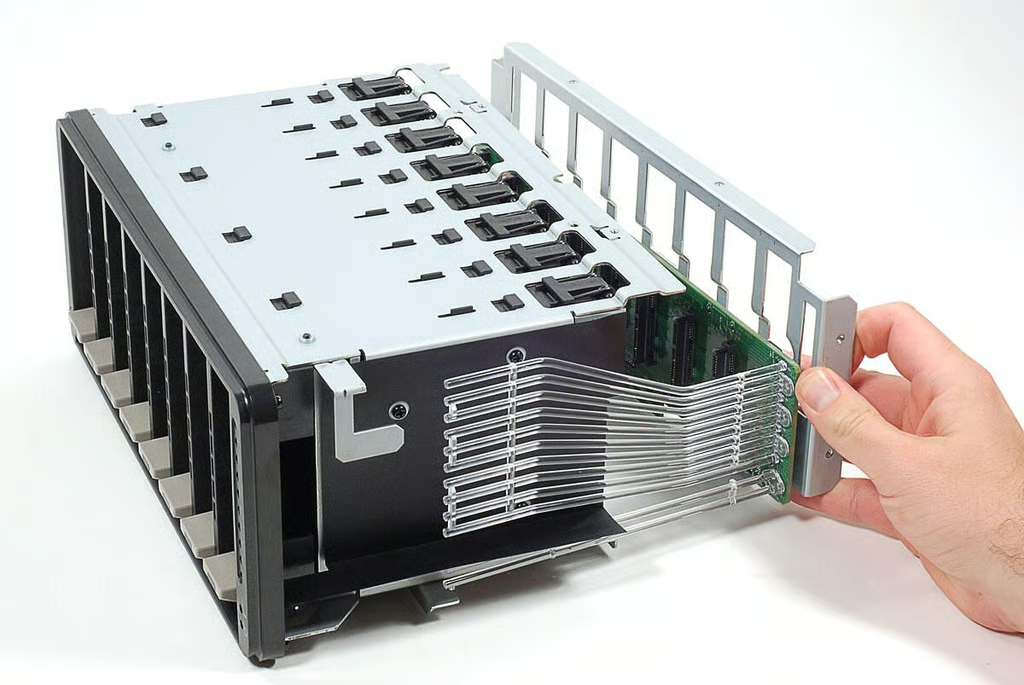
\n\tOnce the bracket’s screws are removed, you can separate it and the attached drive interface board from the drive bay assembly.
\n
\n\tPhoto by: Bill Detwiler / TechRepublic
\n\tCaption by: Bill Detwiler
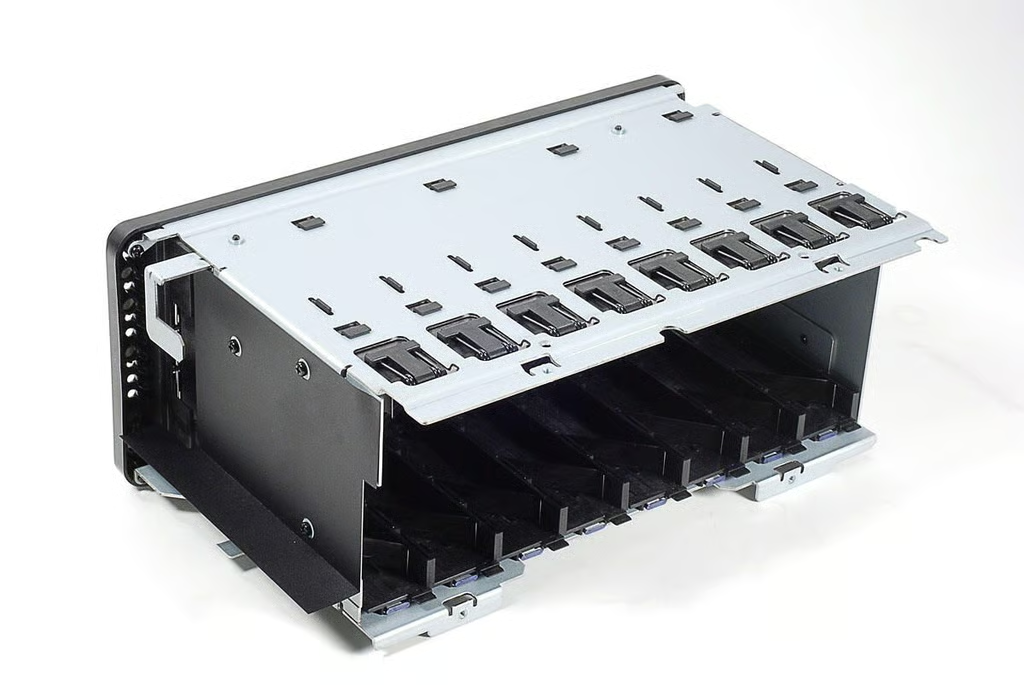
\n\tWithout the interface board, there’s not much to the Drobo B800i’s drive bay assembly.
\n
\n\tPhoto by: Bill Detwiler / TechRepublic
\n\tCaption by: Bill Detwiler
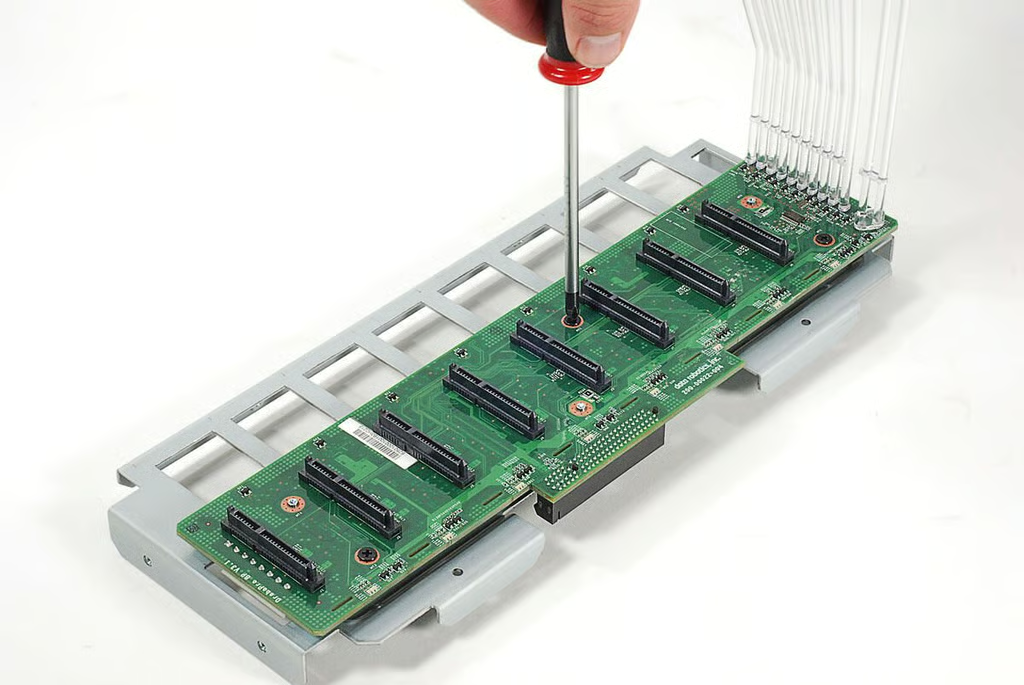
\n\tThe drive interface board is held to its mounting bracket with three Phillips screws and three metal fasteners.
\n
\n\tPhoto by: Bill Detwiler / TechRepublic
\n\tCaption by: Bill Detwiler
\n
\n\t
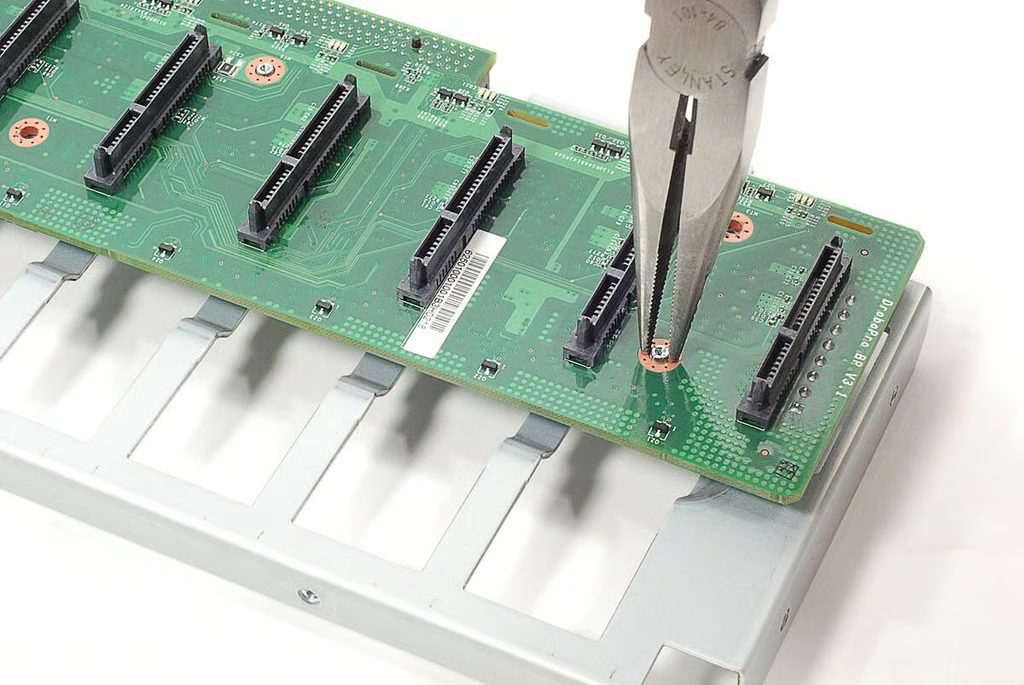
\n\tUsing a pair of needle-nose pliers, I compressed the mounting bracket’s fasteners enough to remove the drive interface board.
\n
\n\tPhoto by: Bill Detwiler / TechRepublic
\n\tCaption by: Bill Detwiler
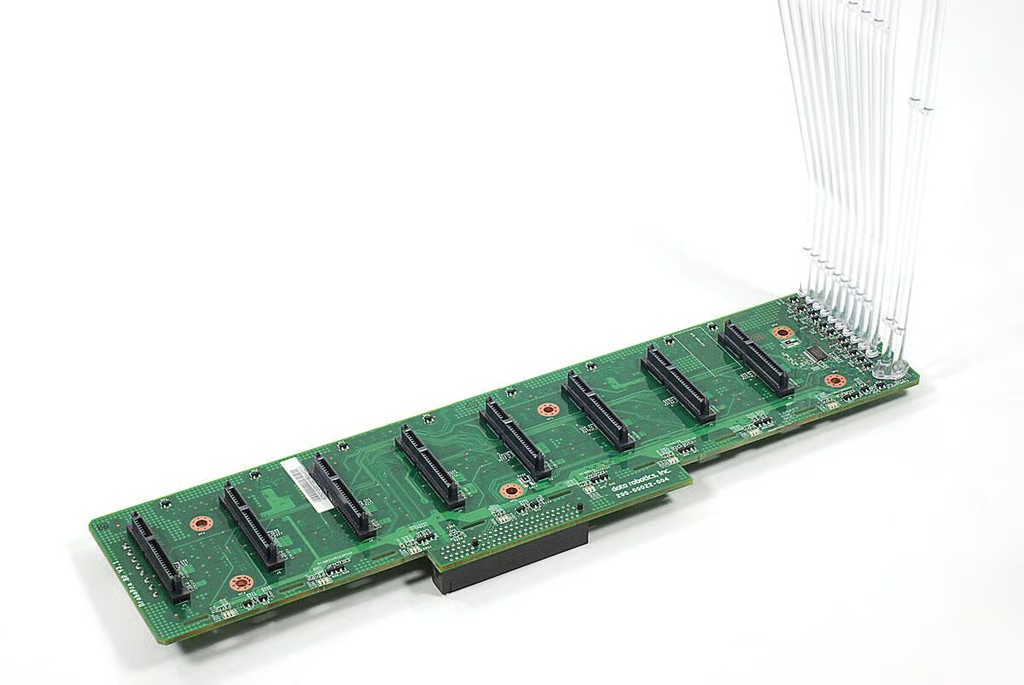
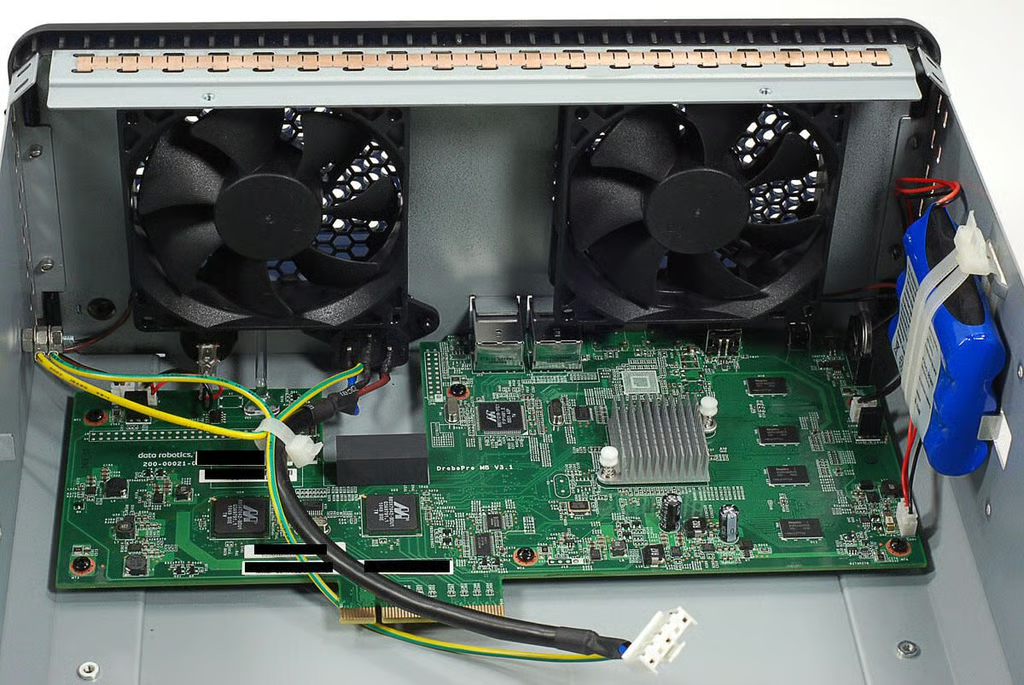
\n\tThe Drobo B800i drive interface board has eight SATA connectors. The clear plastic tubes mounted to the board transfer light from the drive activity/status LEDs to the front panel.
\n
\n\tPhoto by: Bill Detwiler / TechRepublic
\n\tCaption by: Bill Detwiler
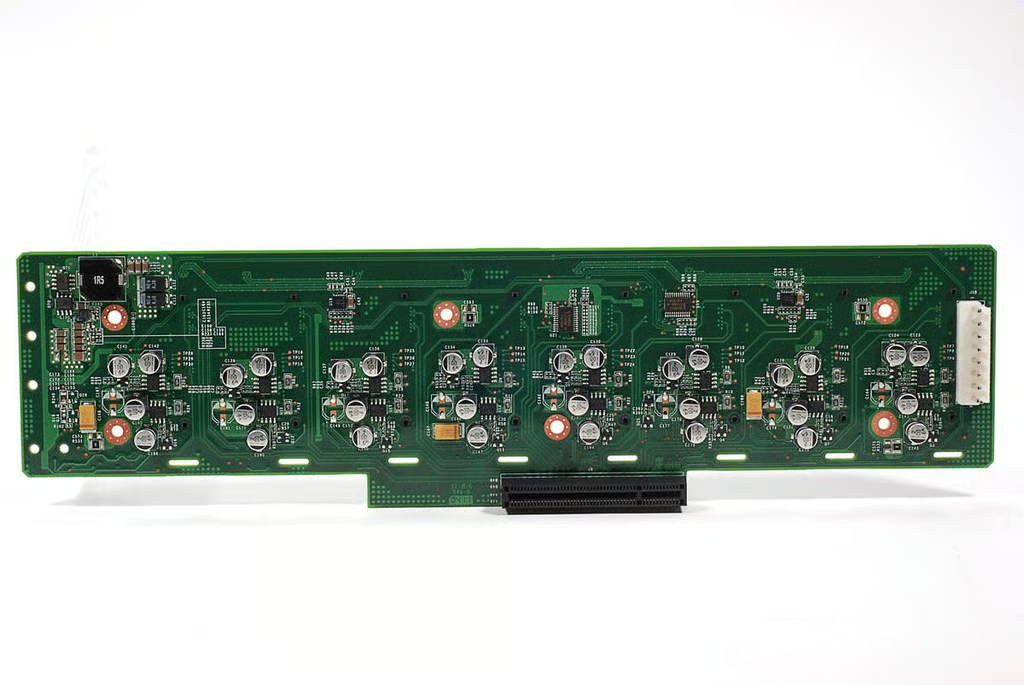
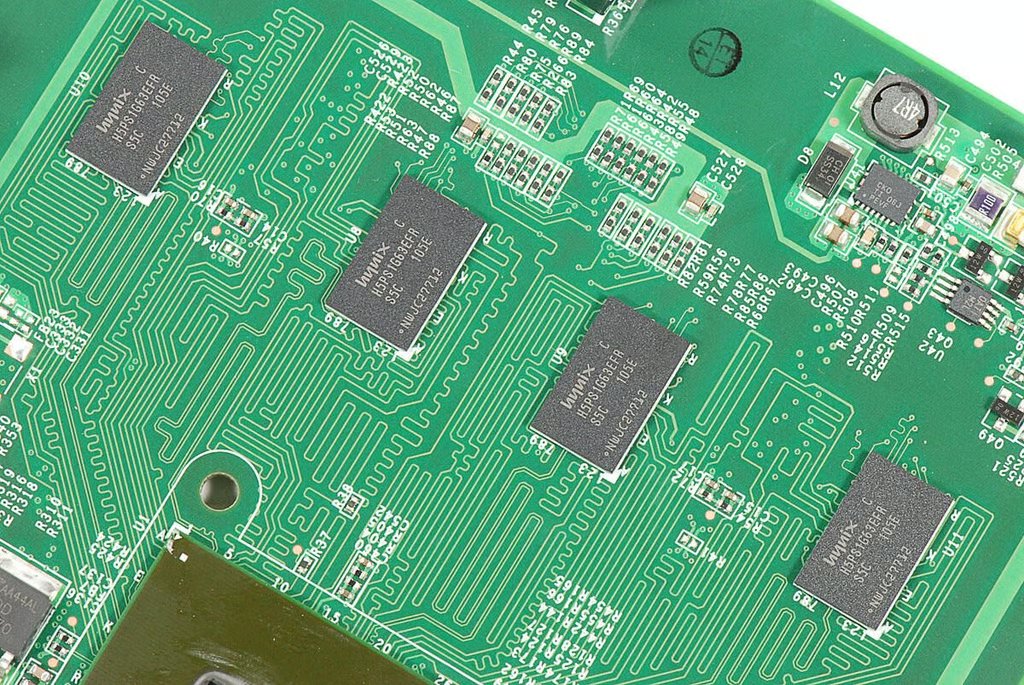
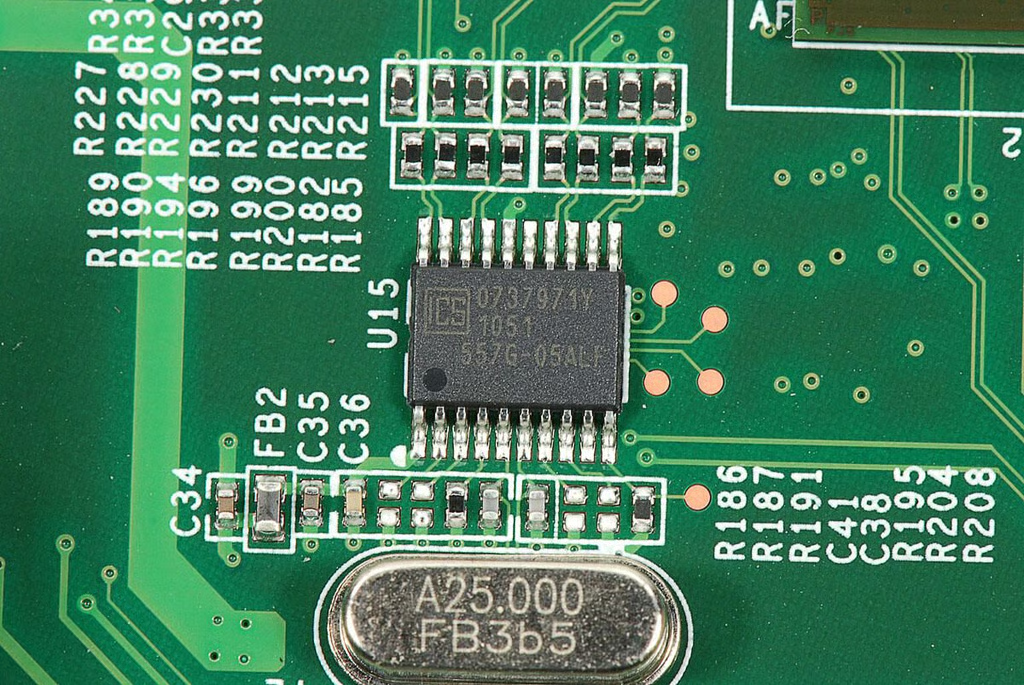
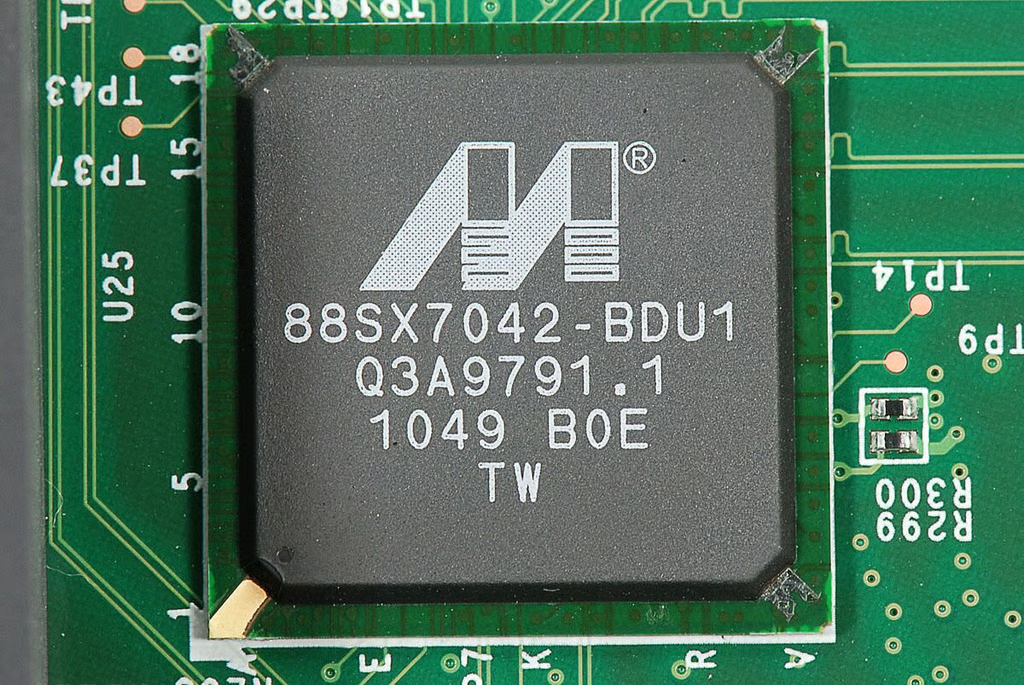
\n\tOn the back of the drive interface board are several chips.
\n
\n\tPhoto by: Bill Detwiler / TechRepublic
\n\tCaption by: Bill Detwiler
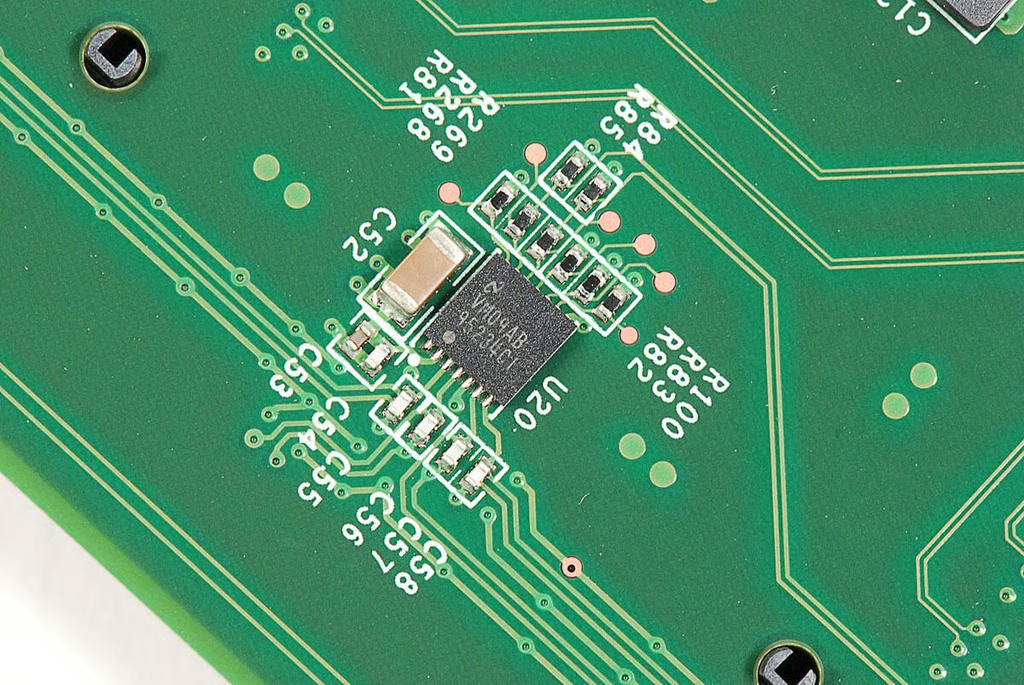
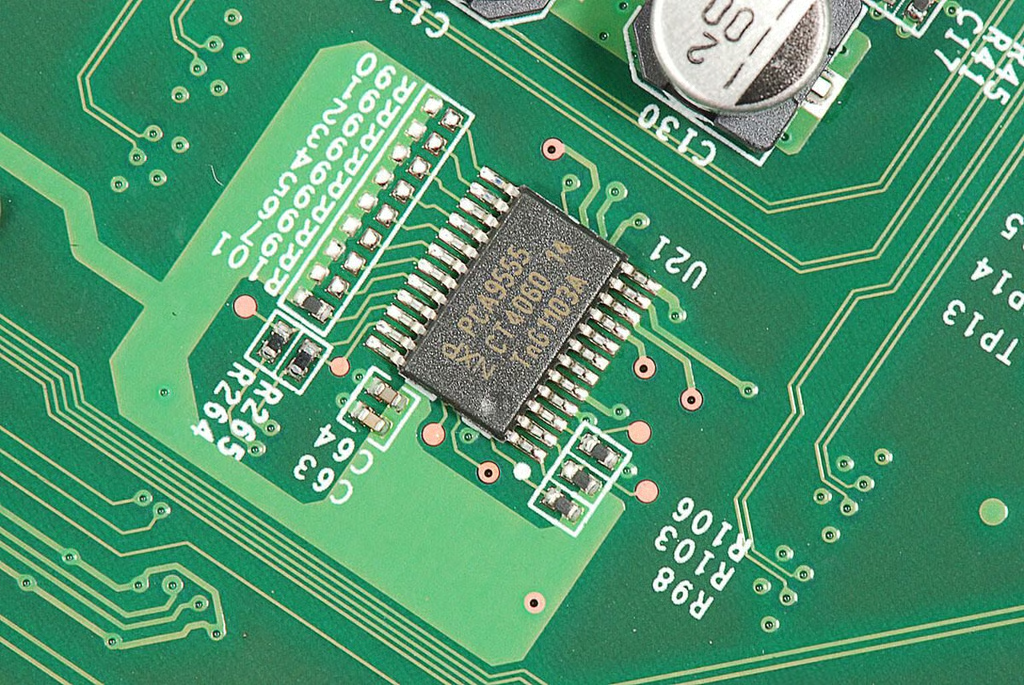
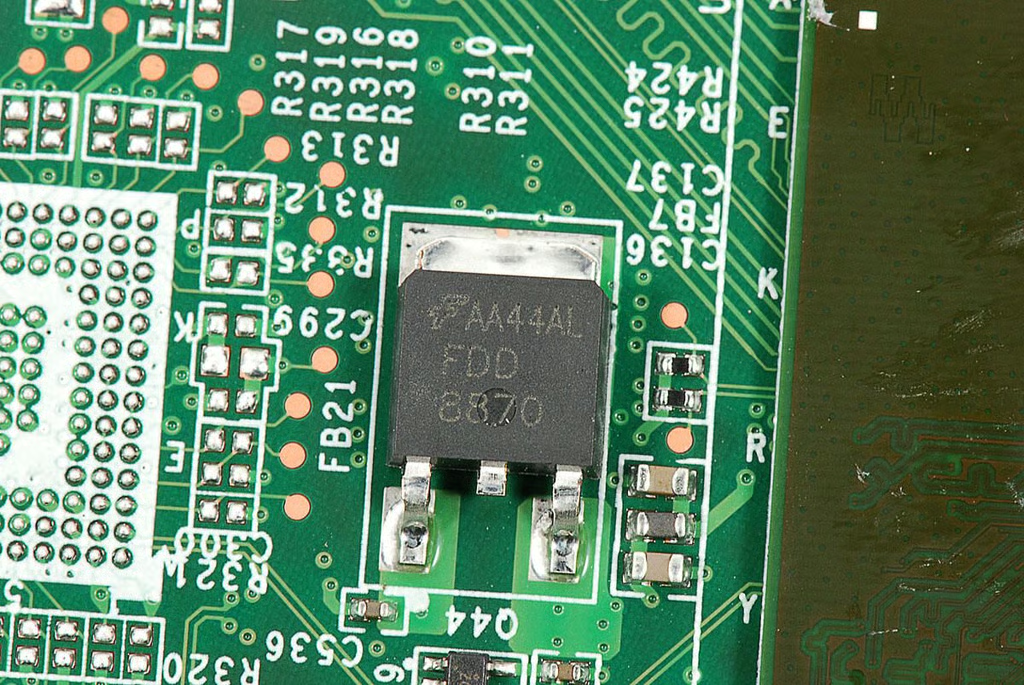
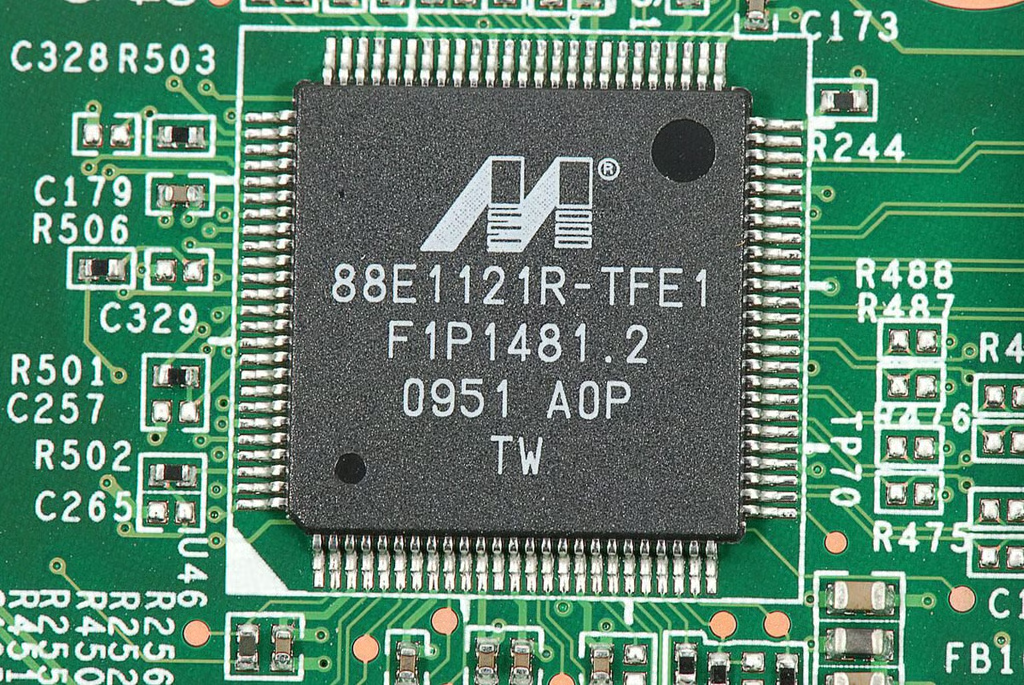
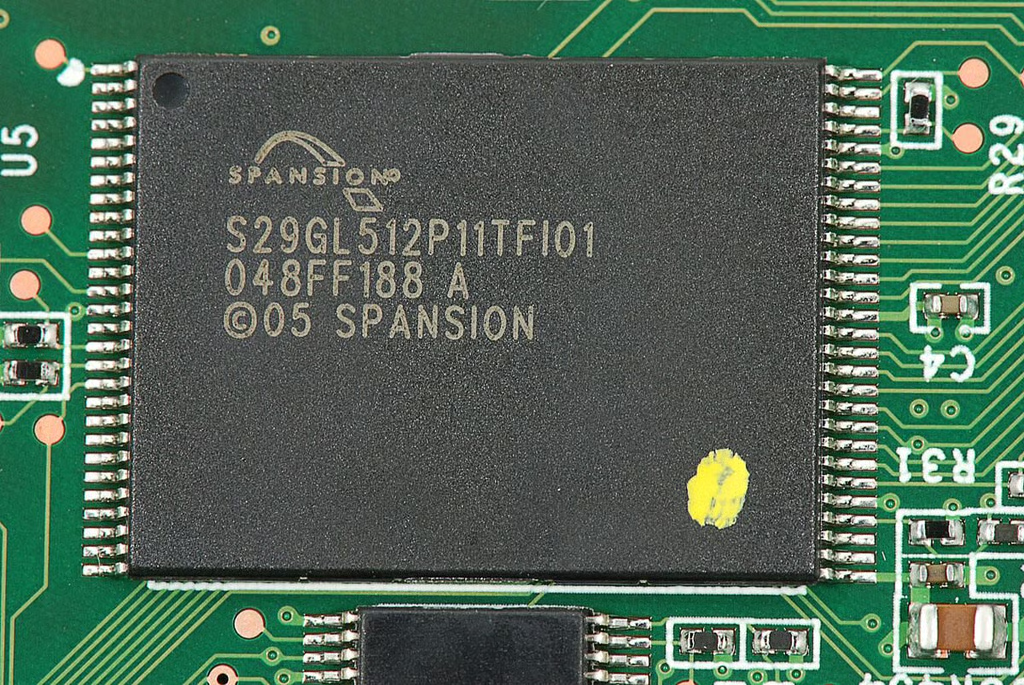
\n\tBehind each of the board eight SATA connectors is a collection of components.
\n
\n\tPhoto by: Bill Detwiler / TechRepublic
\n\tCaption by: Bill Detwiler
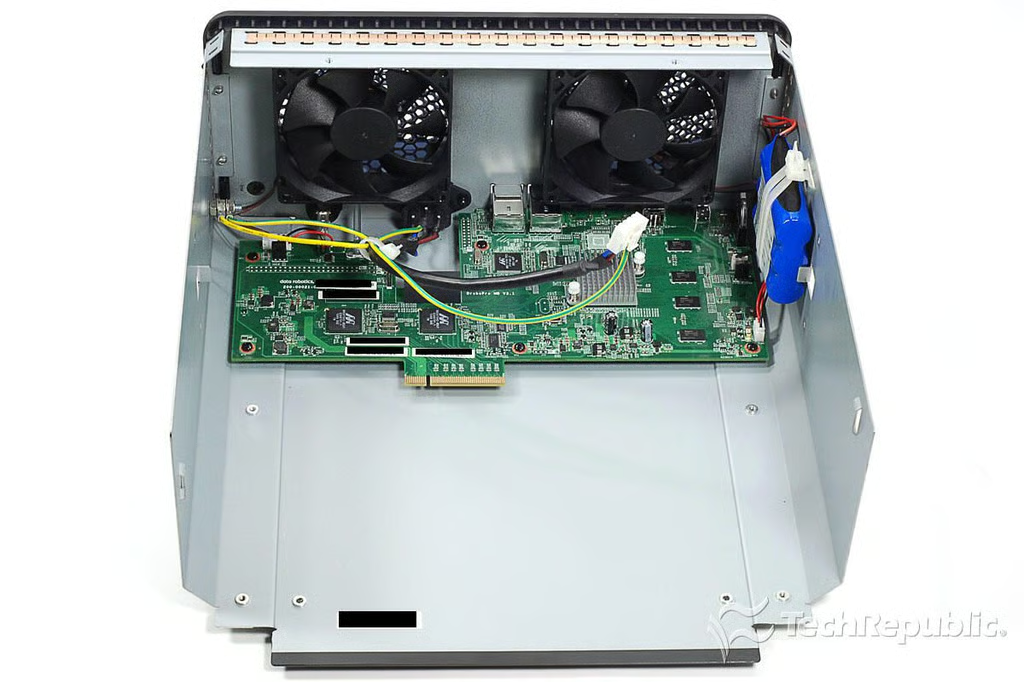
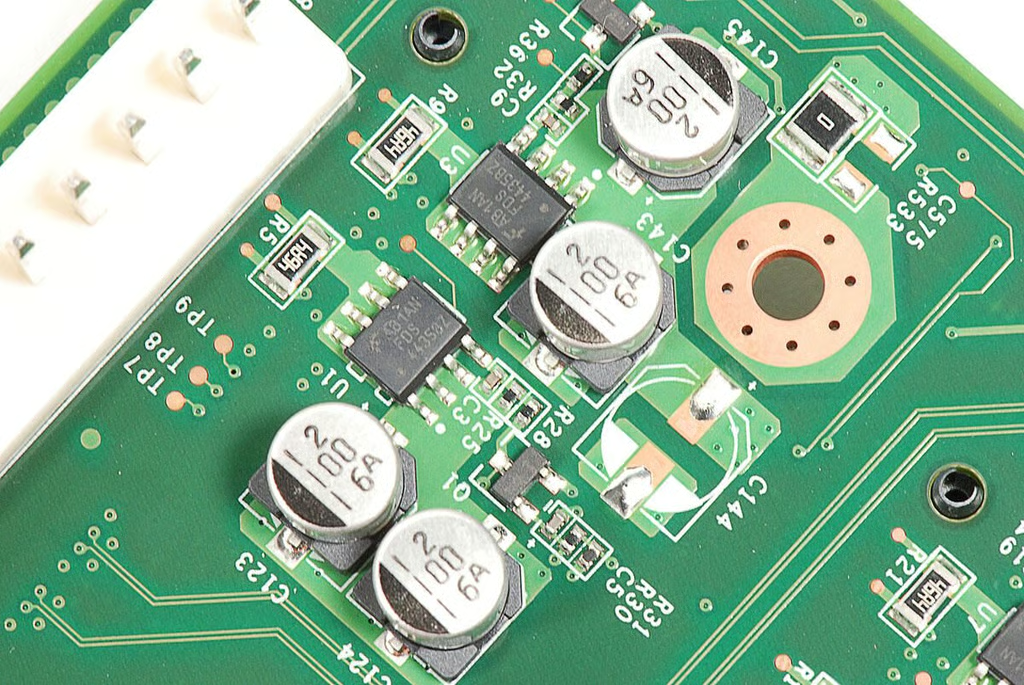
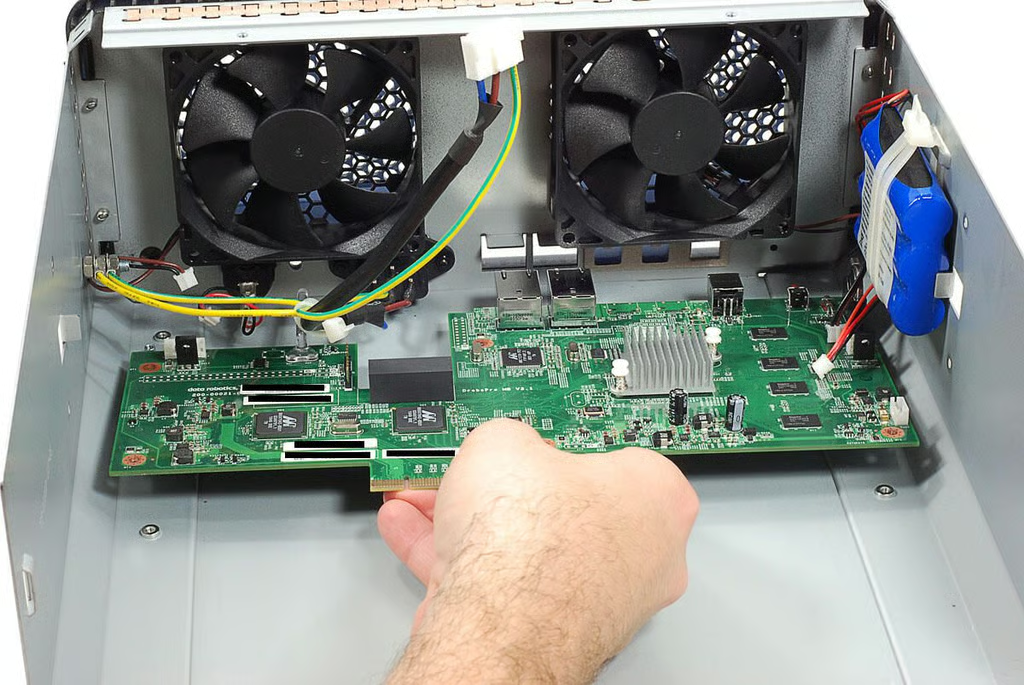
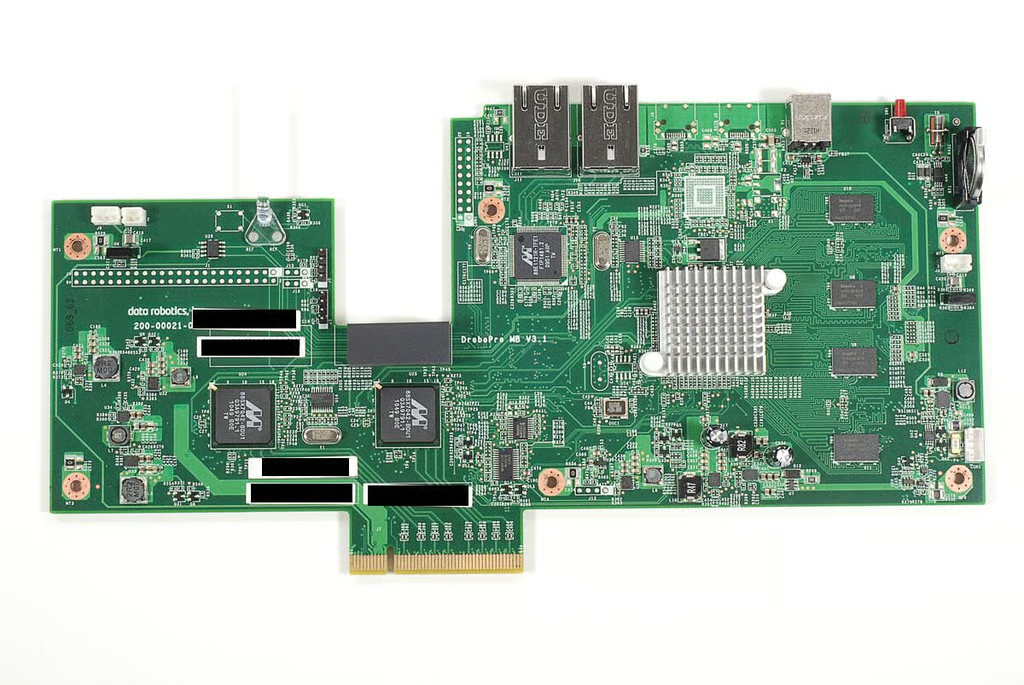
\n\tBefore removing the Drobo B800i’s motherboard, I disconnected all the cables attached to it.
\n
\n\tPhoto by: Bill Detwiler / TechRepublic
\n\tCaption by: Bill Detwiler
\n\tThe motherboard is held to the Drobo B800i’s case with several Phillips screws.
\n
\n\tPhoto by: Bill Detwiler / TechRepublic
\n\tCaption by: Bill Detwiler
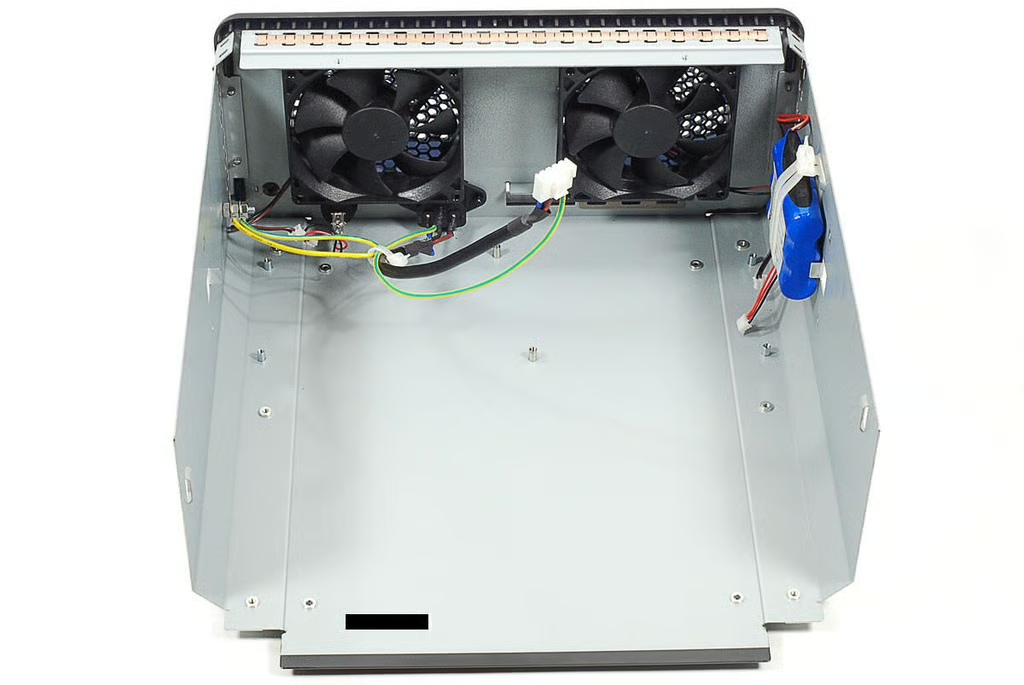
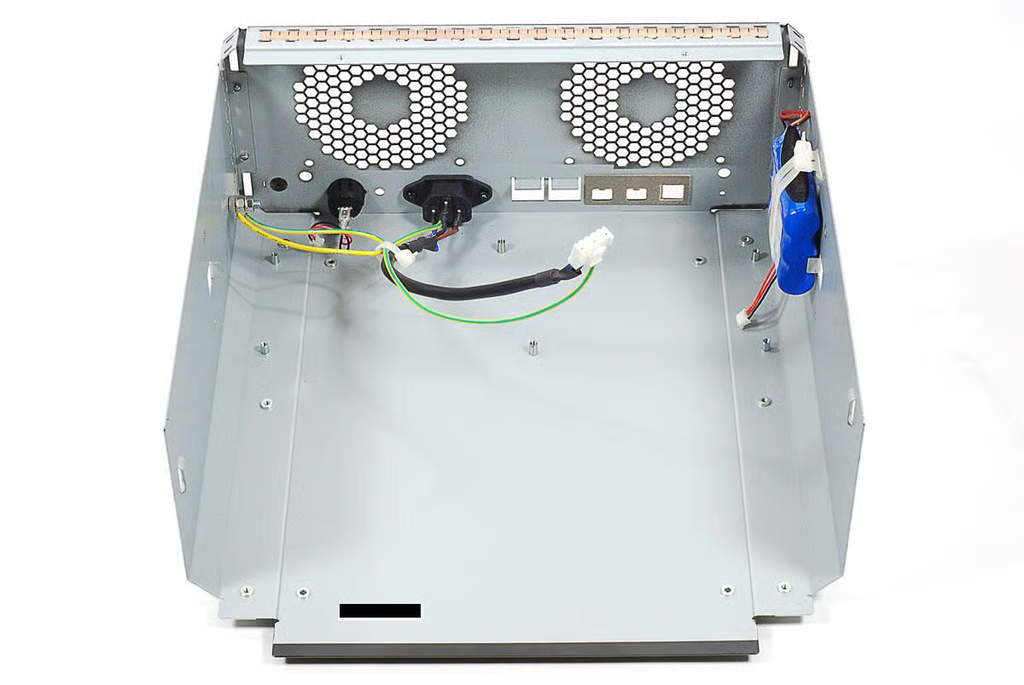
\n\tThe Drobo B800i’s back cover is held in place with plastic tabs. Using a flathead screwdriver, I popped the tab loose from the case’s metal frame.
\n
\n\tPhoto by: Bill Detwiler / TechRepublic
\n\tCaption by: Bill Detwiler
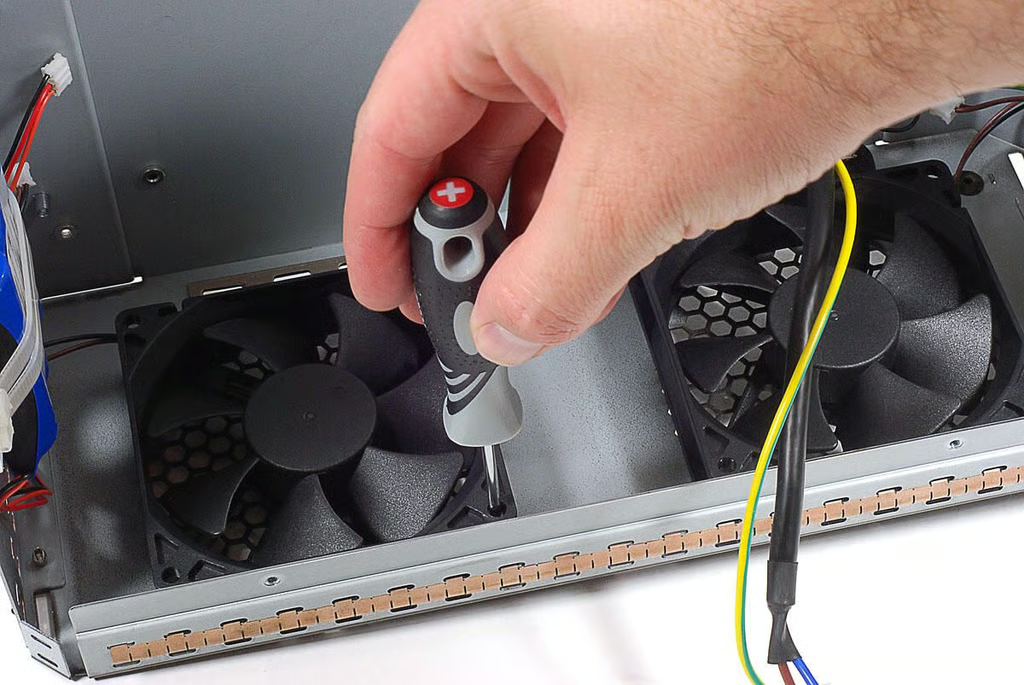
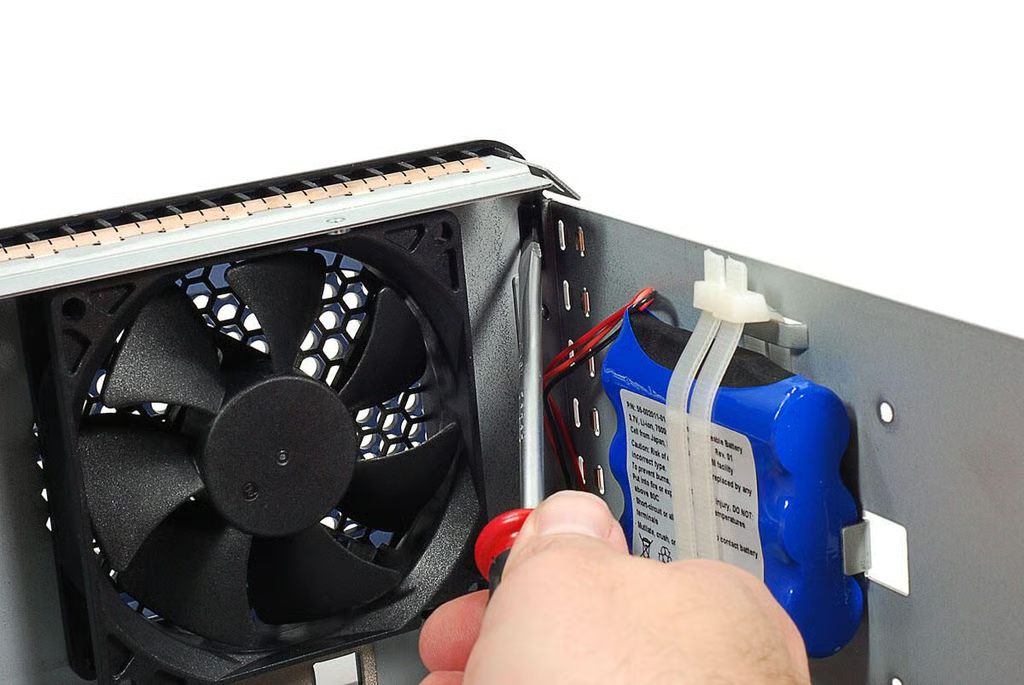
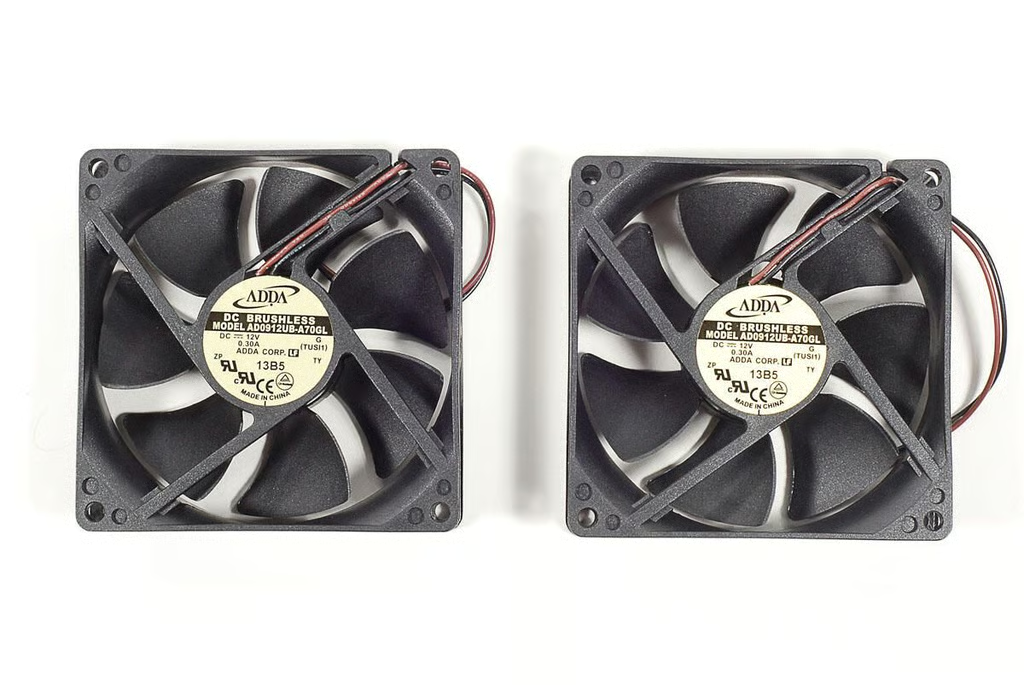
\n\tThe Drobo B800i’s two cooling fans are secured to the case’s metal frame with reusable pop rivets. Using a thin scriwdriver, I removed the rivets.
\n
\n\tPhoto by: Bill Detwiler / TechRepublic
\n\tCaption by: Bill Detwiler
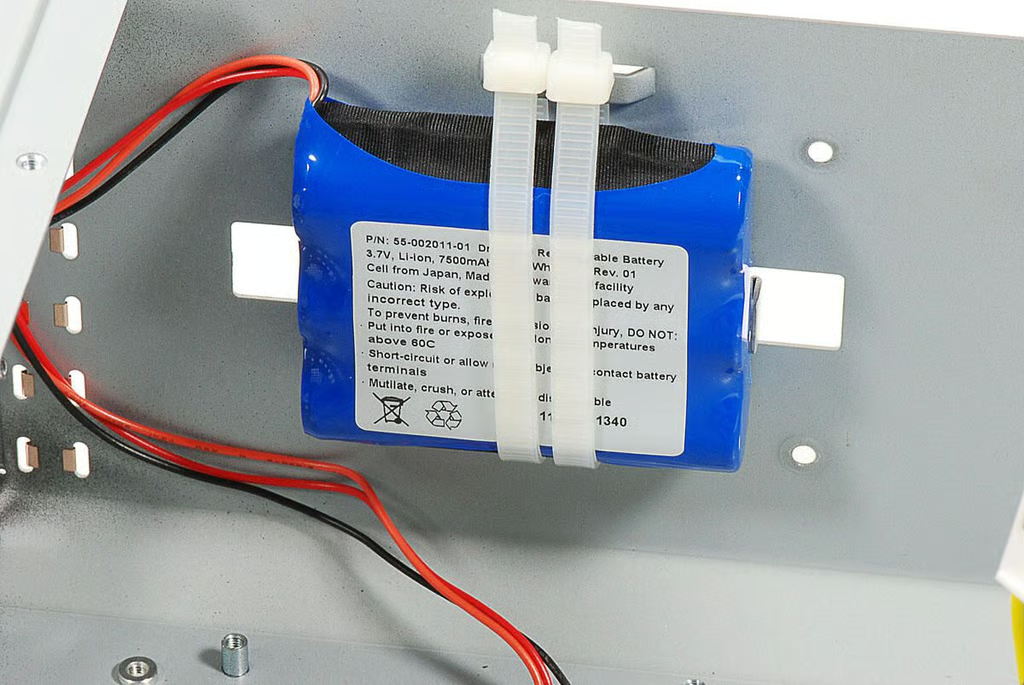
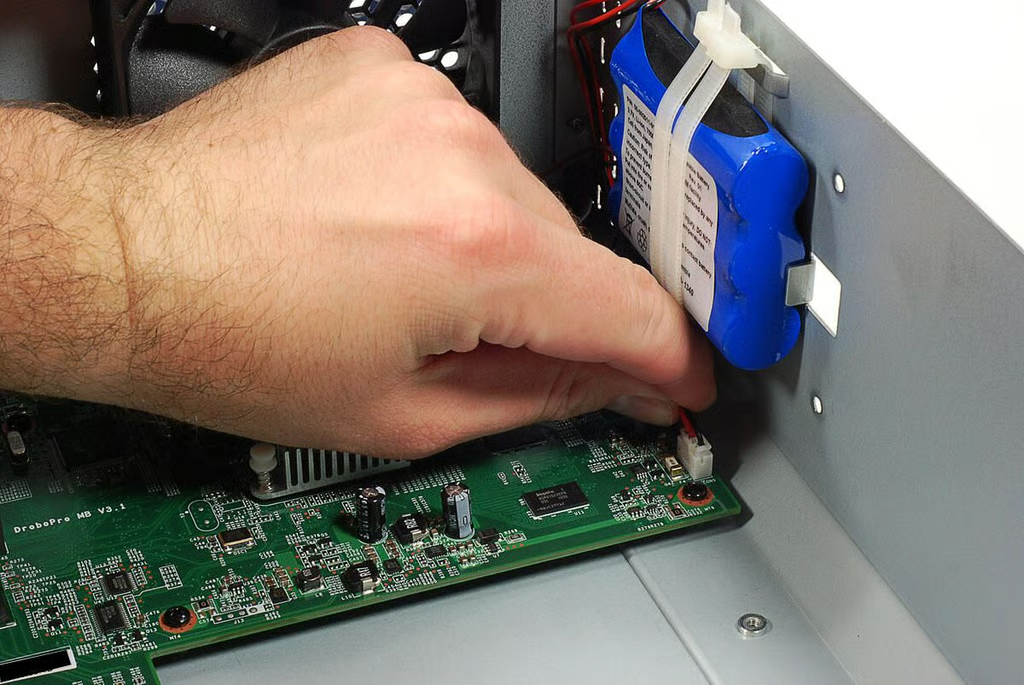
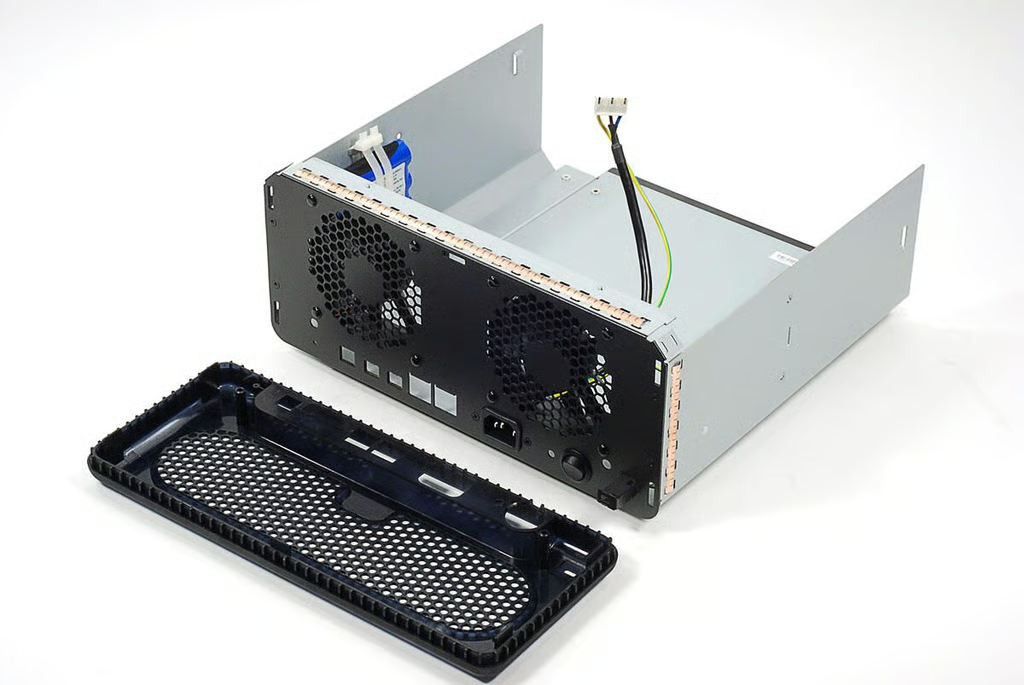
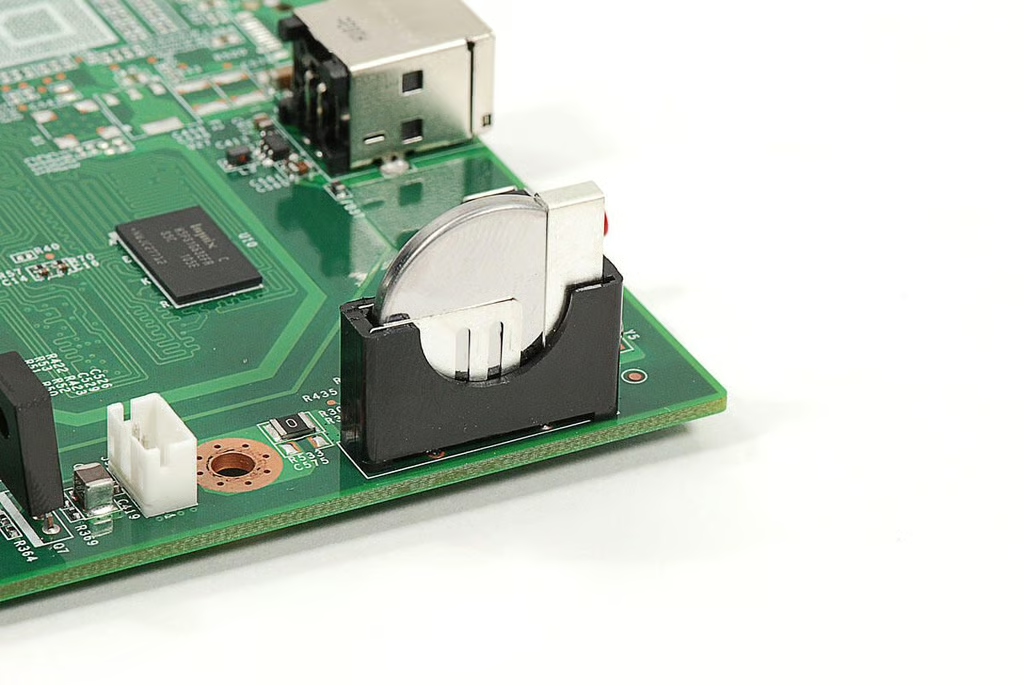
\n\tMounted to the side of the Drobo B800i’s metal case is a 3.7V, 7500mAh Li-ion battery pack.
\n
\n\tPhoto by: Bill Detwiler / TechRepublic
\n\tCaption by: Bill Detwiler
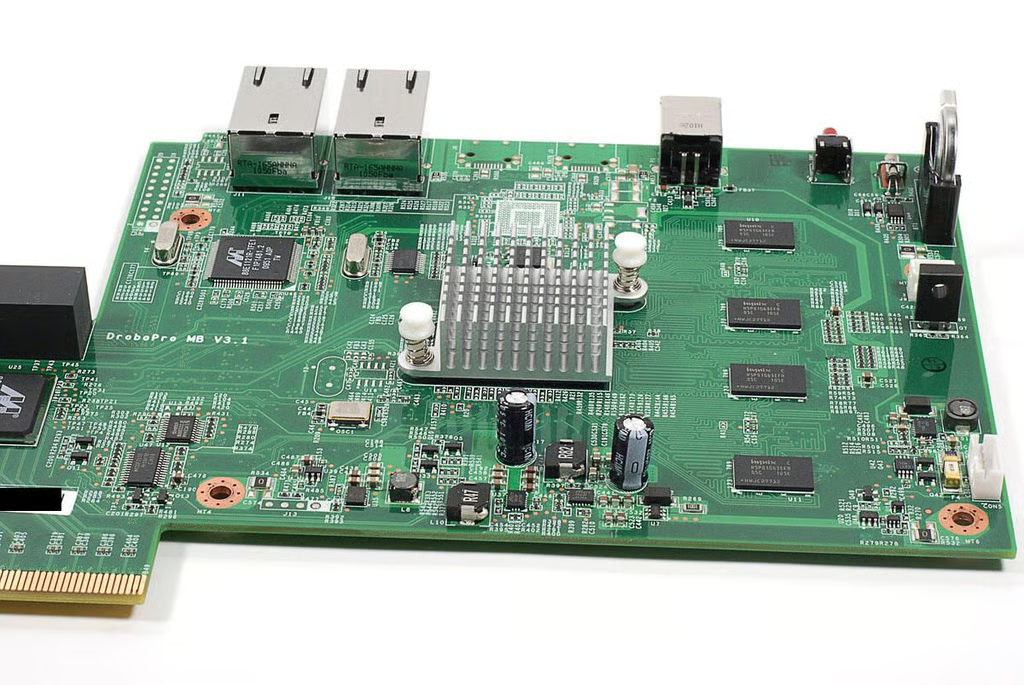
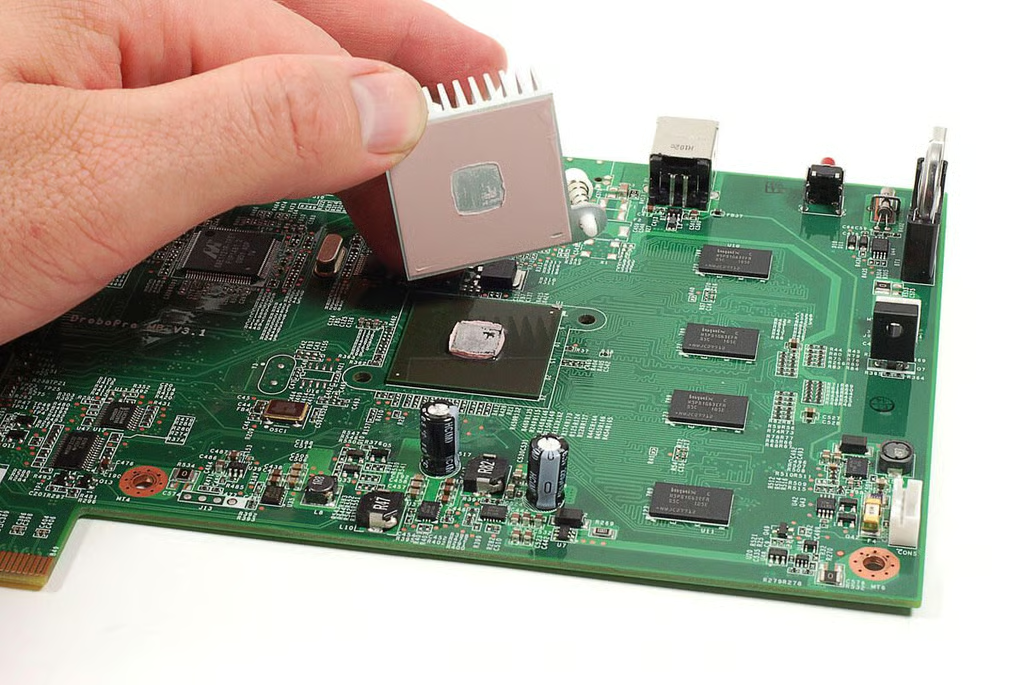
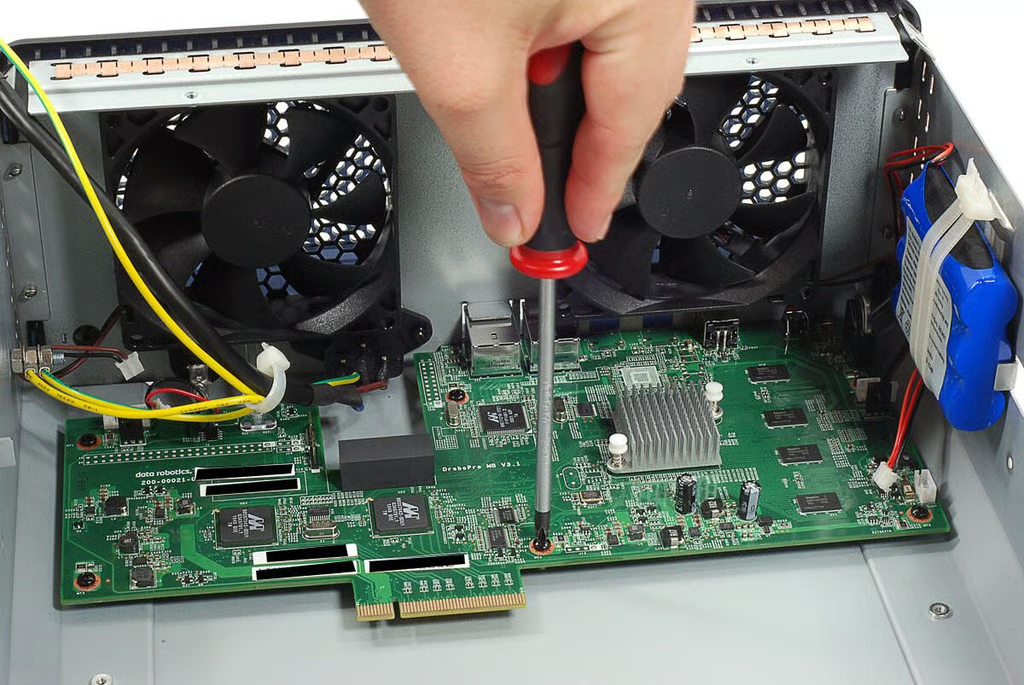
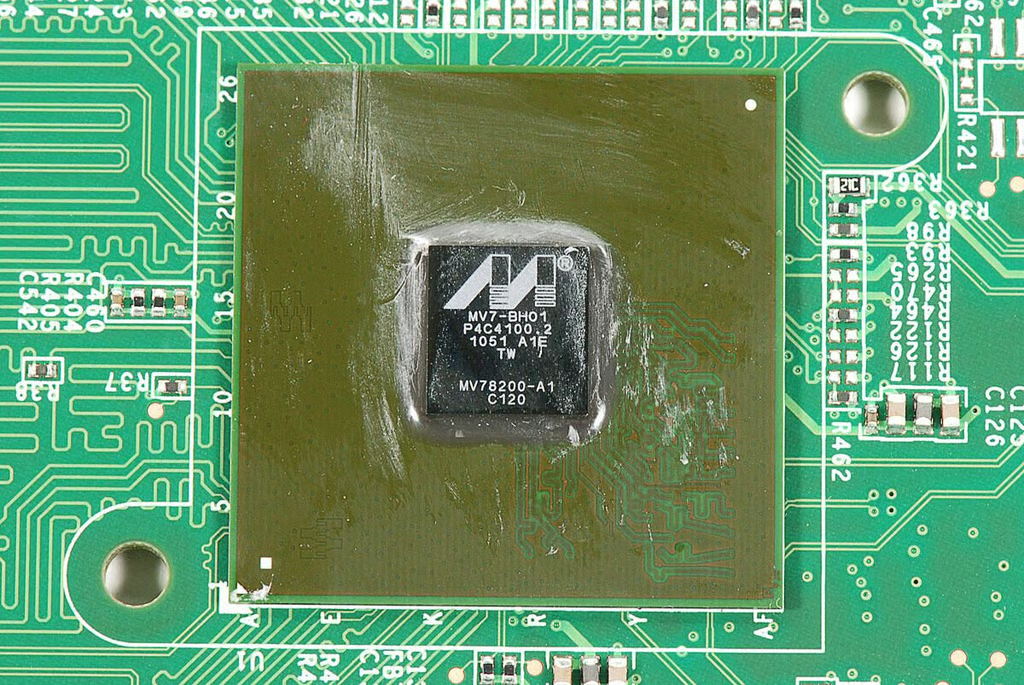
\n\tA small heatsink is attached to the Drobo B800i’s processor. The heatsink is held to the motherboard by two plastic fasteners. Using a pair of needle-nose pliers, I compressed the fasteners enough to remove the heatsink.
\n
\n\tPhoto by: Bill Detwiler / TechRepublic
\n\tCaption by: Bill Detwiler
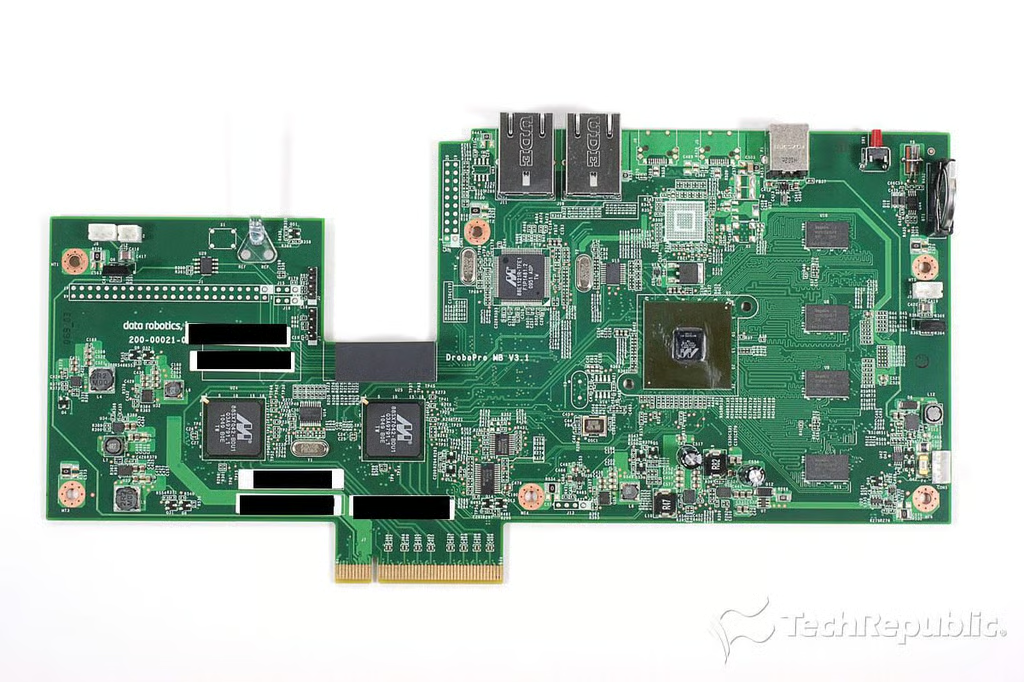


\n\tThe Data Robotics Drobo B800i was a snap to crack open. Working on it was like working on a standard desktop or tower computer.
\n
\n\tThe unit uses standard Phillips screws, the case is easy to remove, and the internal components are simple to detach.
\n
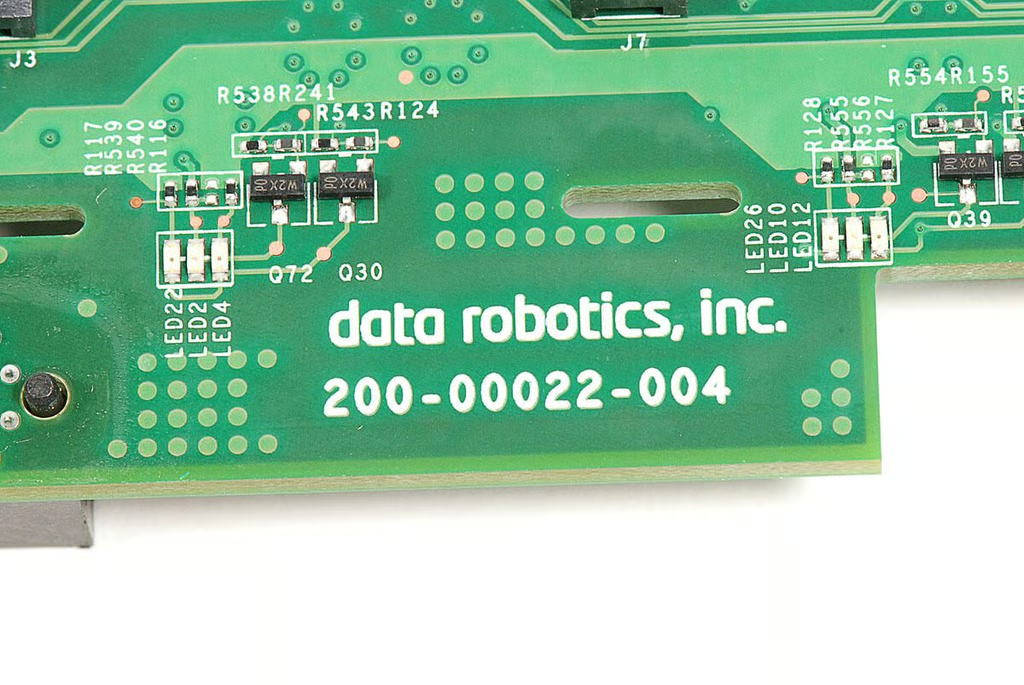
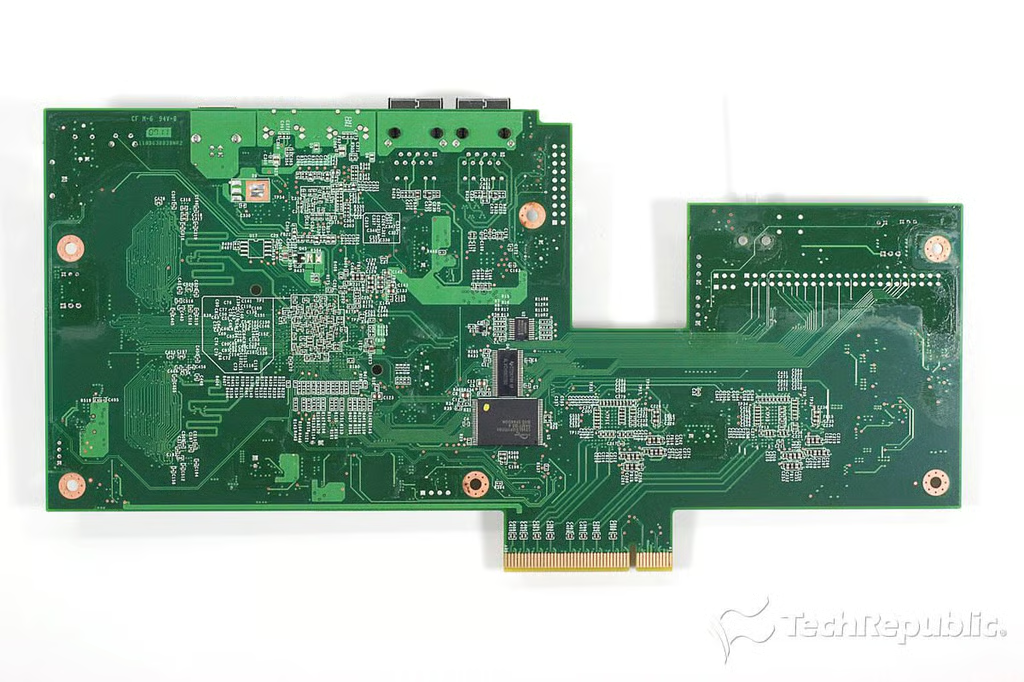
\n\tUnfortunately, the motherboard and drive controller boards are proprietary–making Data Robotics the only source for replacement parts. Provided you can get the hardware however, most IT pros with previous hardware repair experience should be able to work on the Drobo B800i.
\n
\n\tPhoto by: Bill Detwiler / TechRepublic
\n\tCaption by: Bill Detwiler
Bill Detwiler is the Editor for Technical Content and Ecosystem at Celonis. He is the former Editor in Chief of TechRepublic and previous host of TechRepublic's Dynamic Developer podcast and Cracking Open, CNET and TechRepublic's popular online show. Previously, Bill was an IT manager in the social research and energy industries. He has bachelor's and master's degrees from the University of Louisville, where he has also lectured on computer crime and crime prevention.


