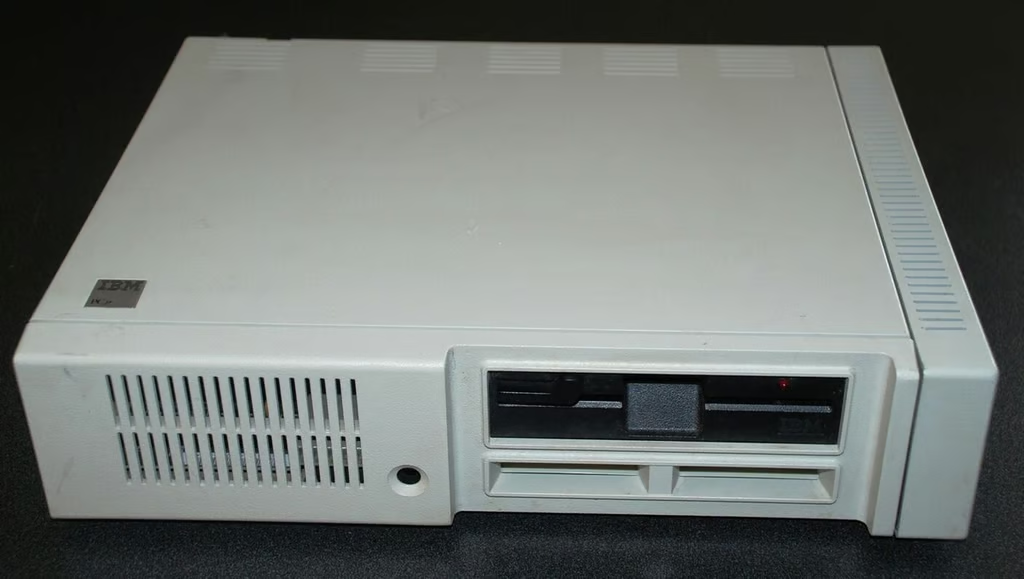
The PC Jr. was IBM’s attempt to tap into the budding home personal computer market of 1983. While the IBM PC Jr. had many positives with regard to the general home user, it also had several limitations that doomed it in the marketplace. I bought my PC Jr. in 1985 from my older brother who never quite figured out what to do with it. Feeling nostalgic, I decided to Crack Open the IBM PC Jr. to see what was actually in the case.
One of the first things you notice about the PC Jr. when you go to crack it open is that there are no screws on the outside of the case.
I wonder why all the manufacturers decided to go with cases shut tight with screws in the 20 years or so after this PC was on the market.
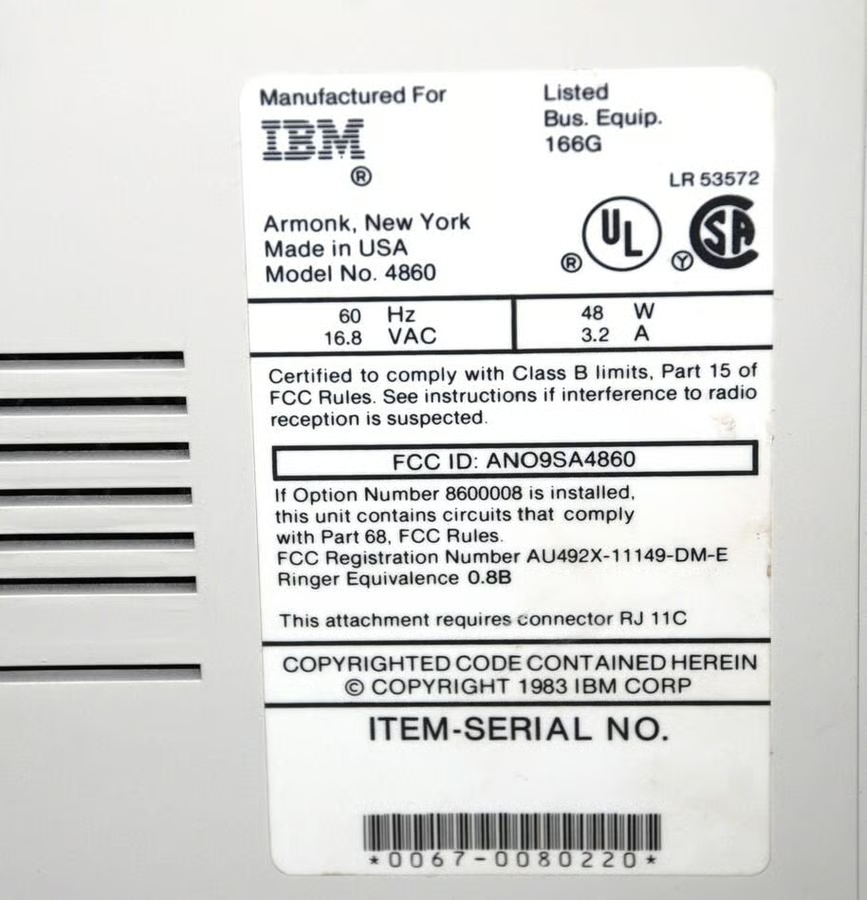
The Serial Number and pertinent FCC Regulation information for our particular IBM PC Jr. We don’t have a modem in ours so the second regulation does not apply.
One of the interesting and unique features of the PC Jr. was the side panel expansion system.
Here we are looking at the expansion panel for a parallel printer port. My personal PC Jr., all those years ago, had a 128KB RAM expansion board. (That’s right, a whopping 256KB of RAM total)
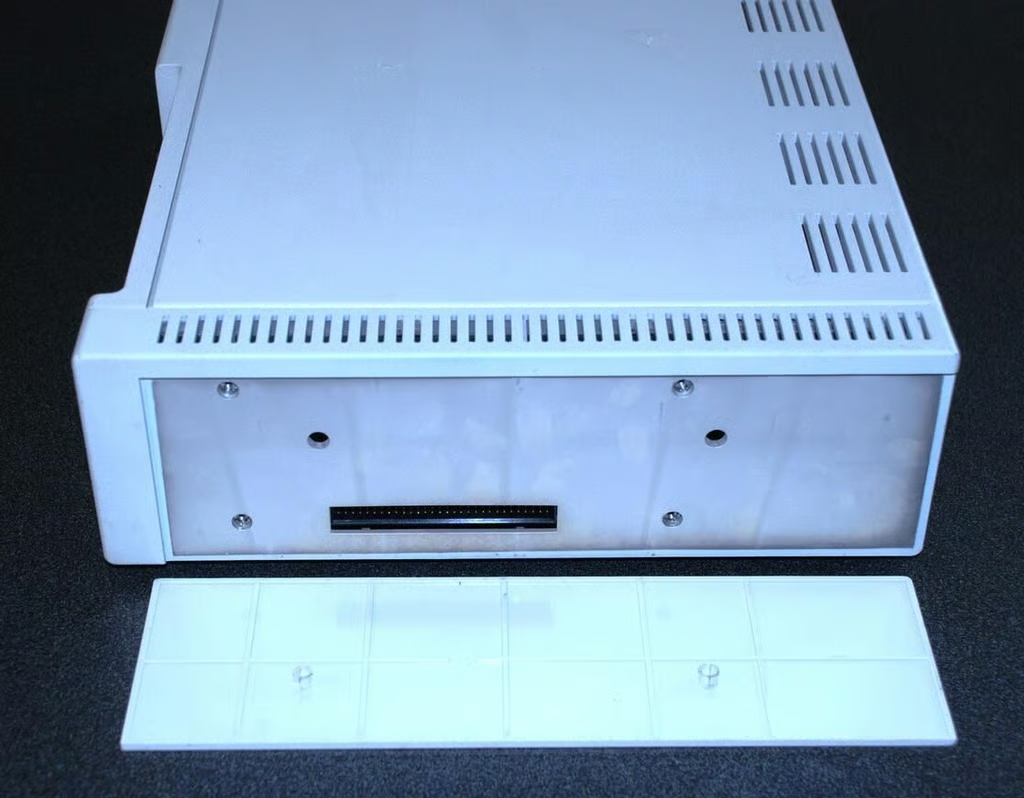
The plastic door of the expansion pops right off to reveal several screws and another port of an additional expansion if you so wished.
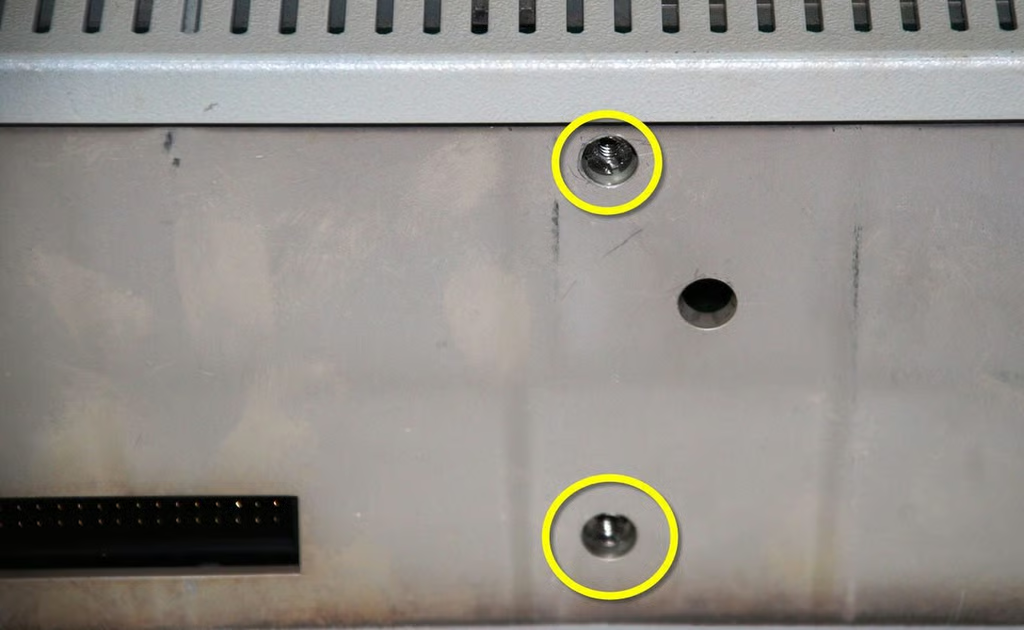
These screws are a bit of a wild goose hunt. They only apply to the expansion card and they are double set screws. By that I mean, the first part of the holds the expansion card to the case and the second part holds the expansion card together. But we’ll get to that later.
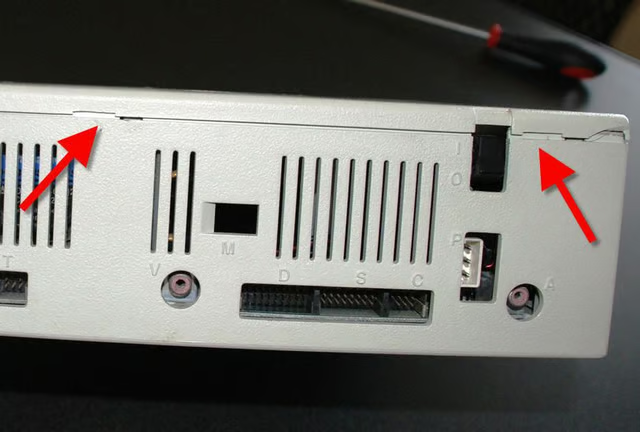
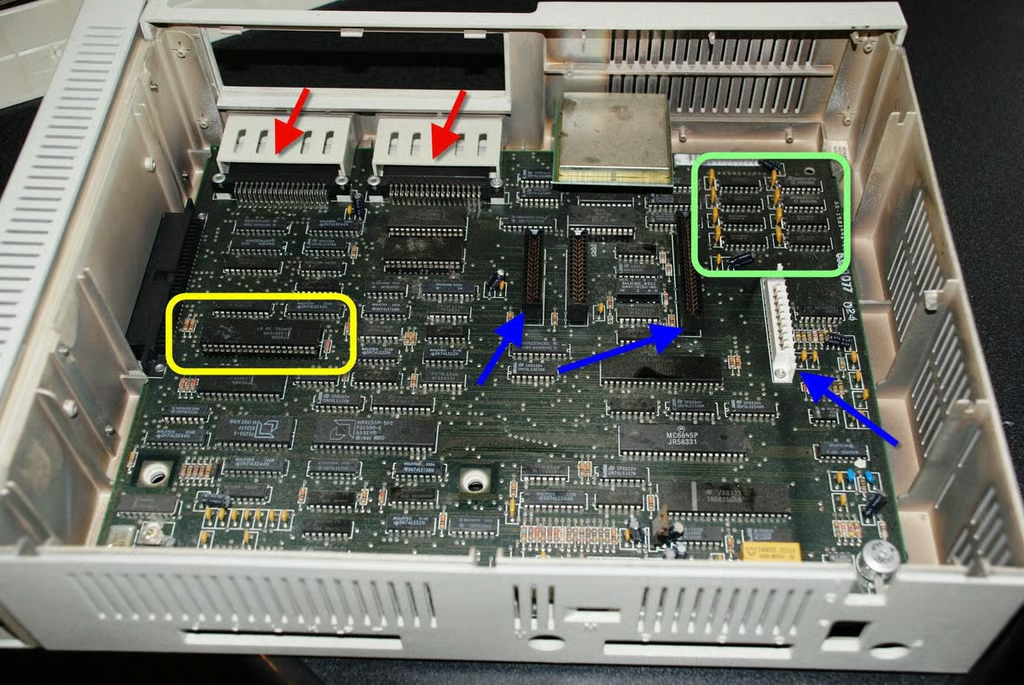
The top of the main case is held in place by tabs. These tabs (red arrows) are released with a gentle twist of a flat-head screwdriver.
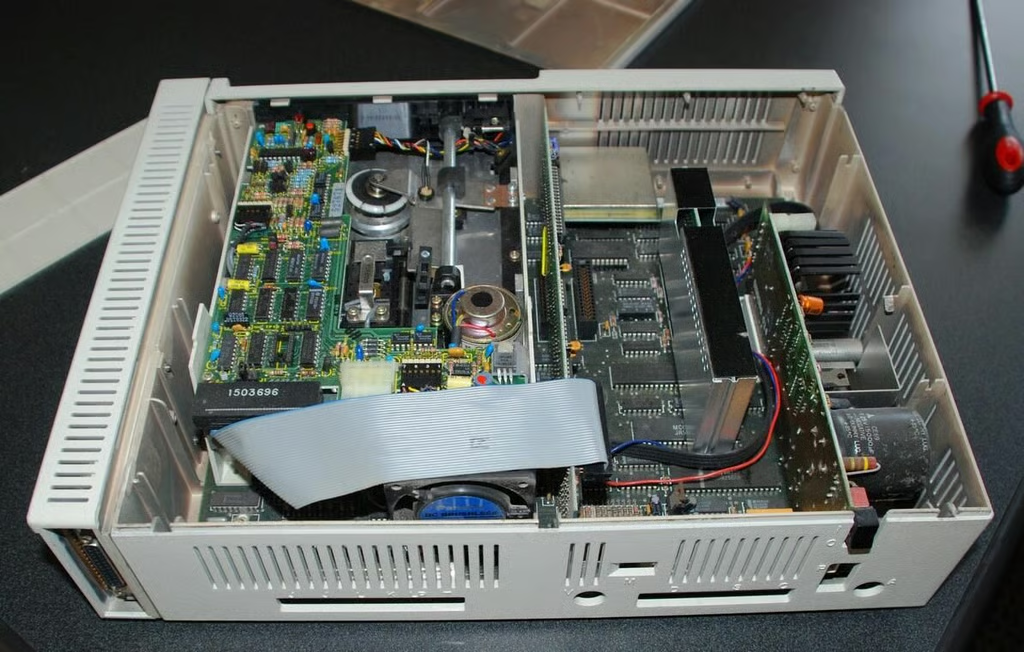
The layout is very utilitarian – making judicious use of expansion slots.
It is also very dusty – our poor PC Jr. has obviously been neglected. But it still works – they don’t make’em like they used to I suppose.

The 5 1/4 floppy drive in the IBM PC Jr. is remarkable for its size — it is huge and takes up one whole side of the case.
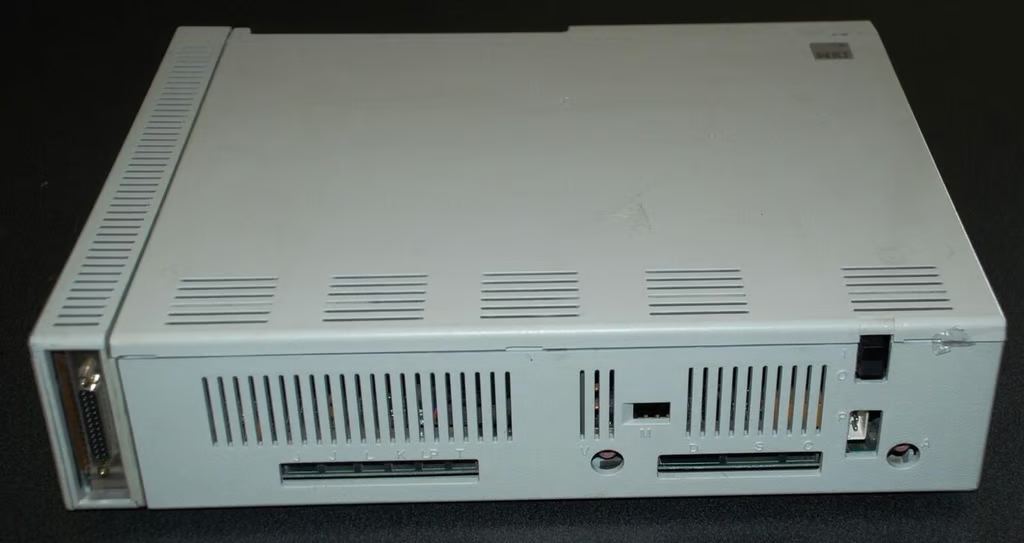
The other side of the case is more open and includes an open expansion slot for an internal modem.
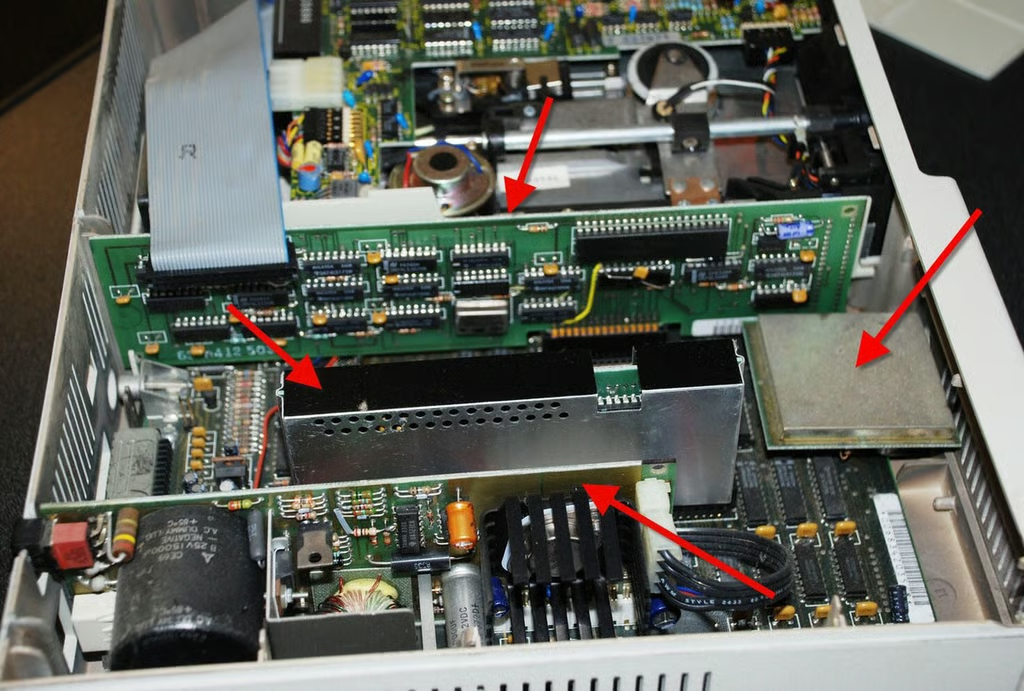
There are four pieces of equipment highlighted (red arrows):
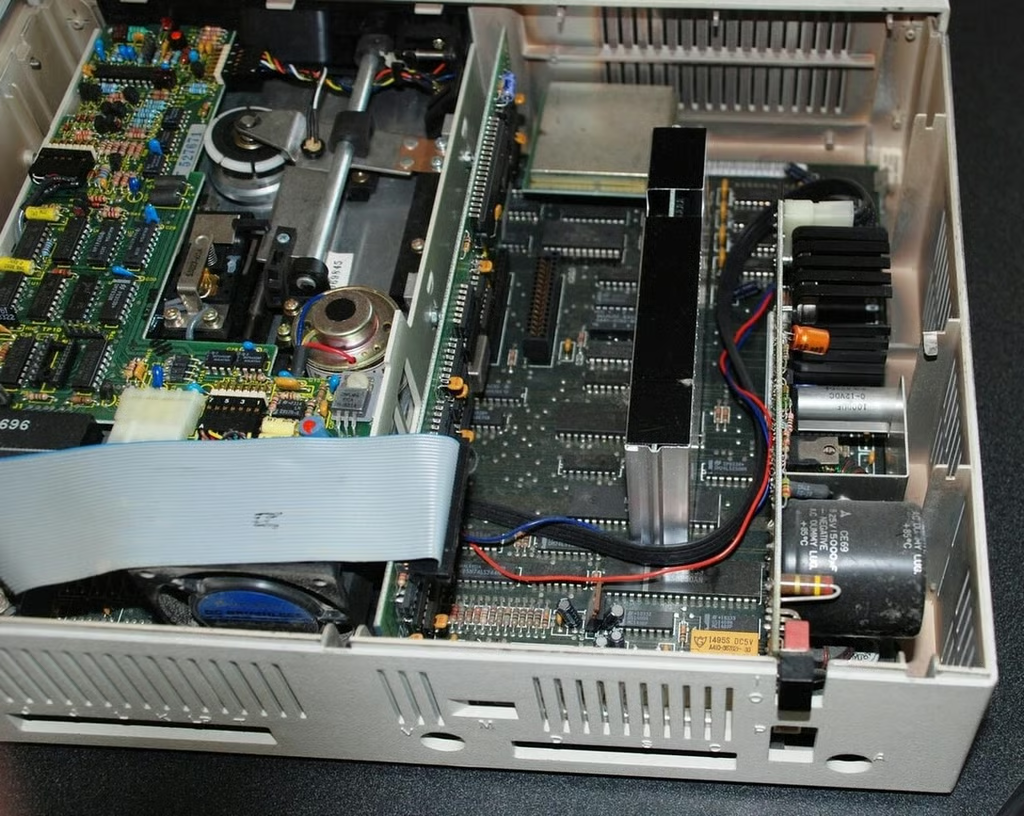
The expansion cards are removed easily and the motherboard begins to be revealed.
The red arrows mark where the floppy controller, RAM expansion, and power controller were connected to the motherboard. The IR sensor is still installed, but will be removed before long.
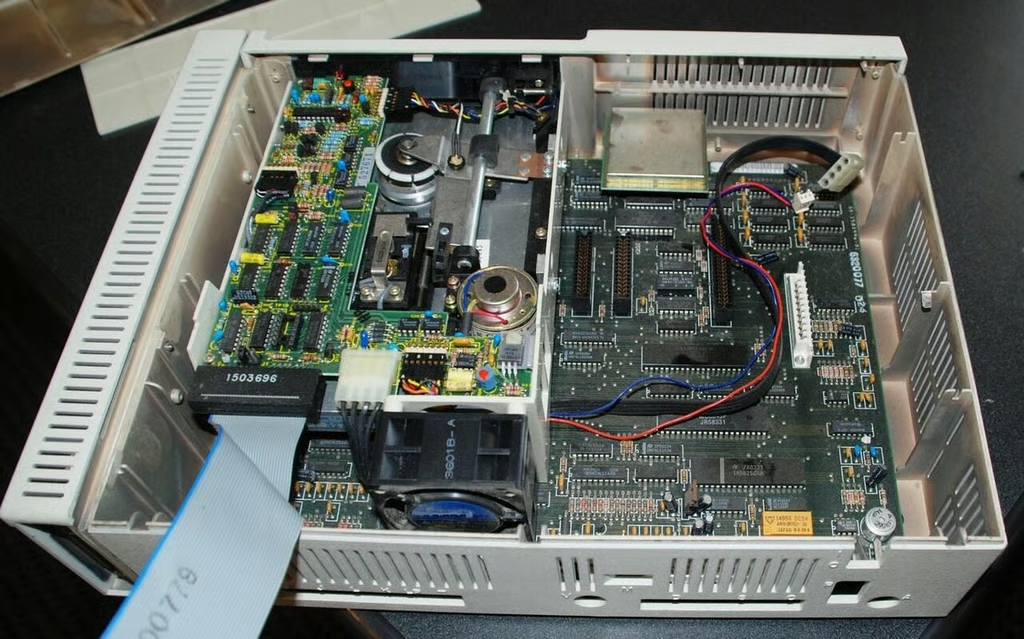
Oddly enough, that huge floppy drive is not bolted to the motherboard and it lifts right out revealing the entire motherboard underneath.
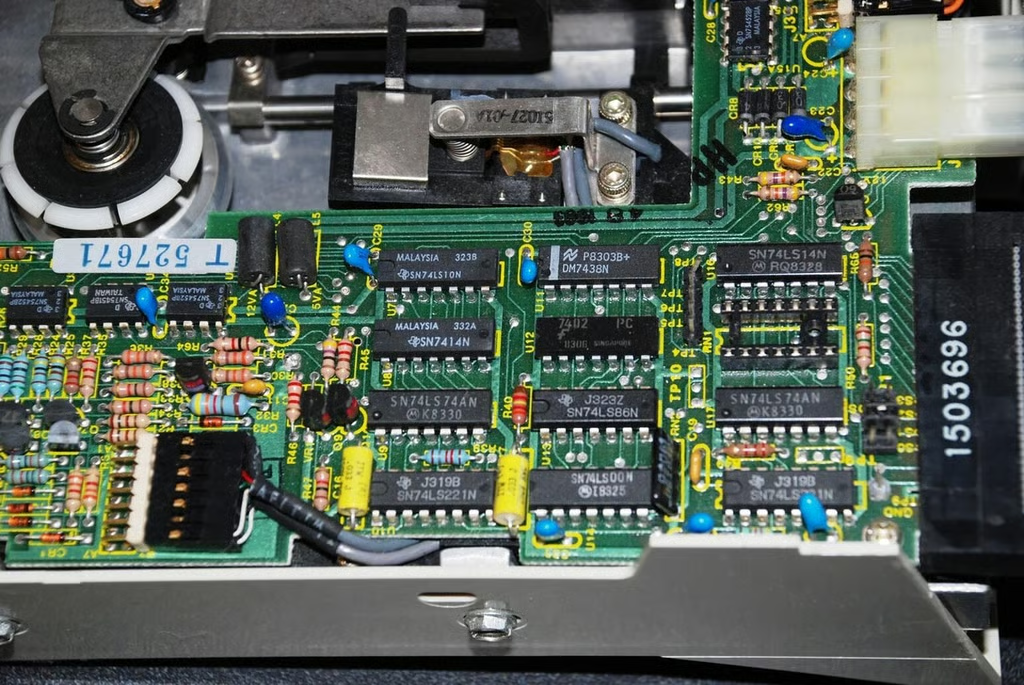
The floppy controller matches the floppy drive itself in terms of huge size. All of this fits onto a small chip these days.
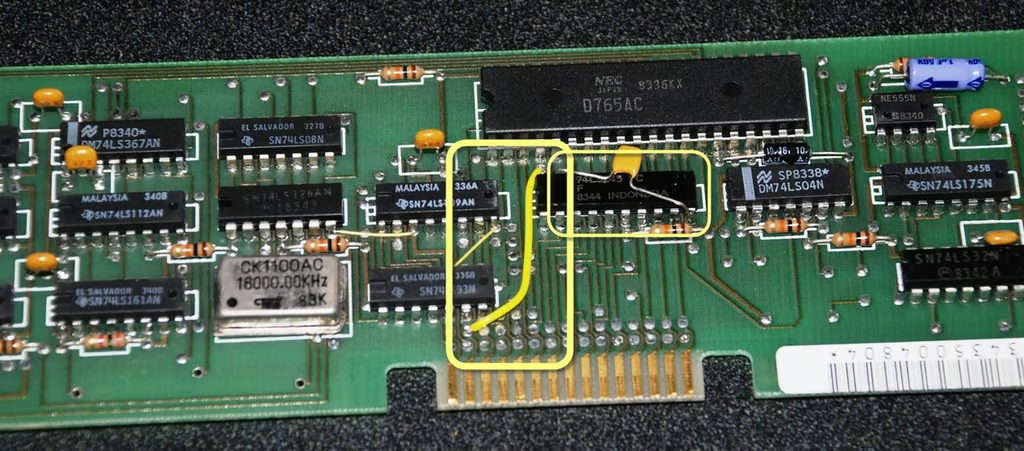
This is interesting – for some reason IBM used an external wire soldered between contact points. There are actually two here.
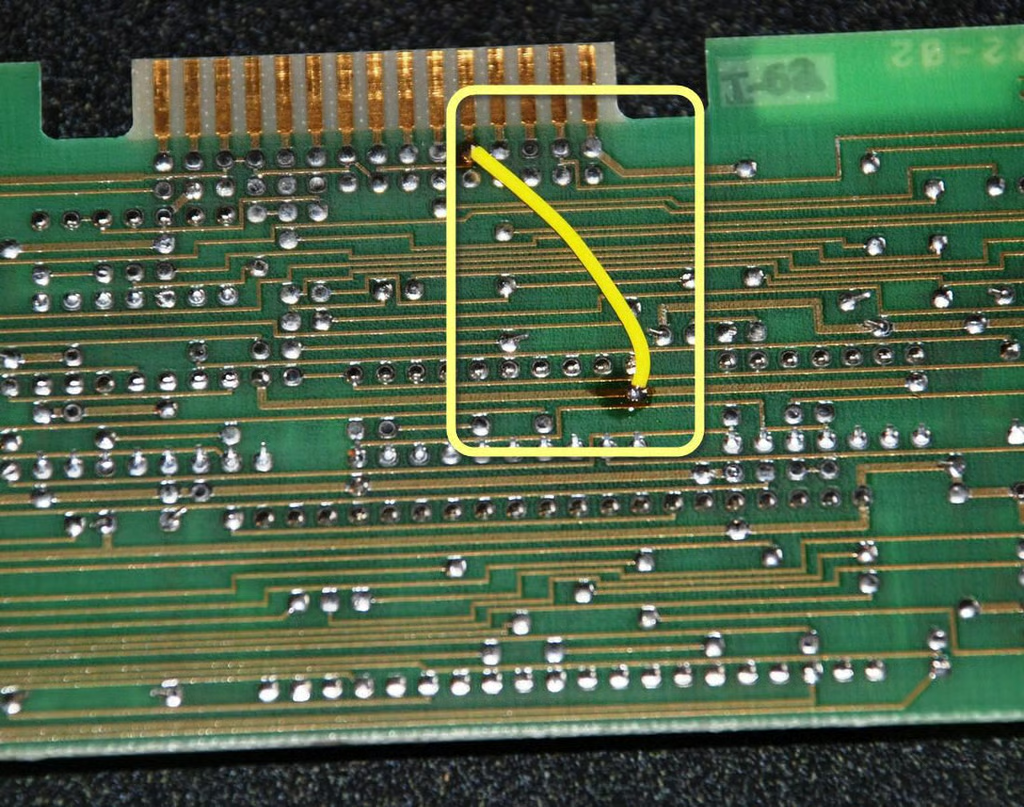
A connection is also jumped with a soldered external wire on the back side of the board.
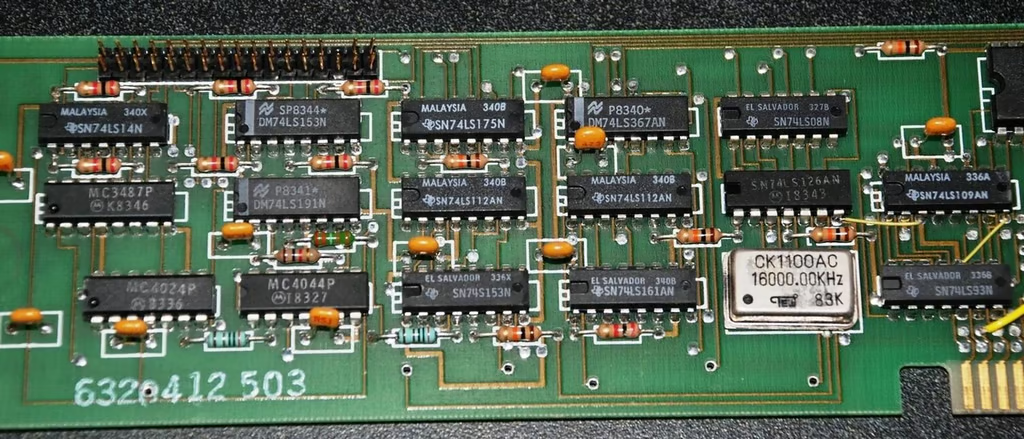
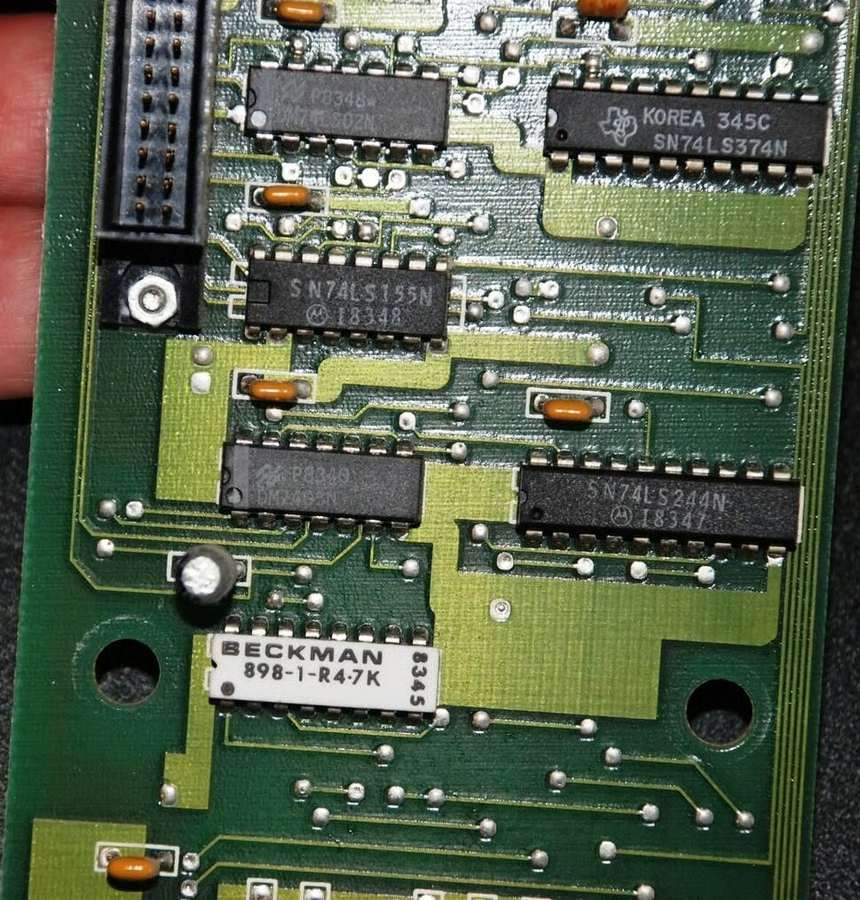
The floppy controller has chips from all over the world. Some of the manufacturers represented in this chip layout include Texas Instruments, Motorola, and National Semiconductor.
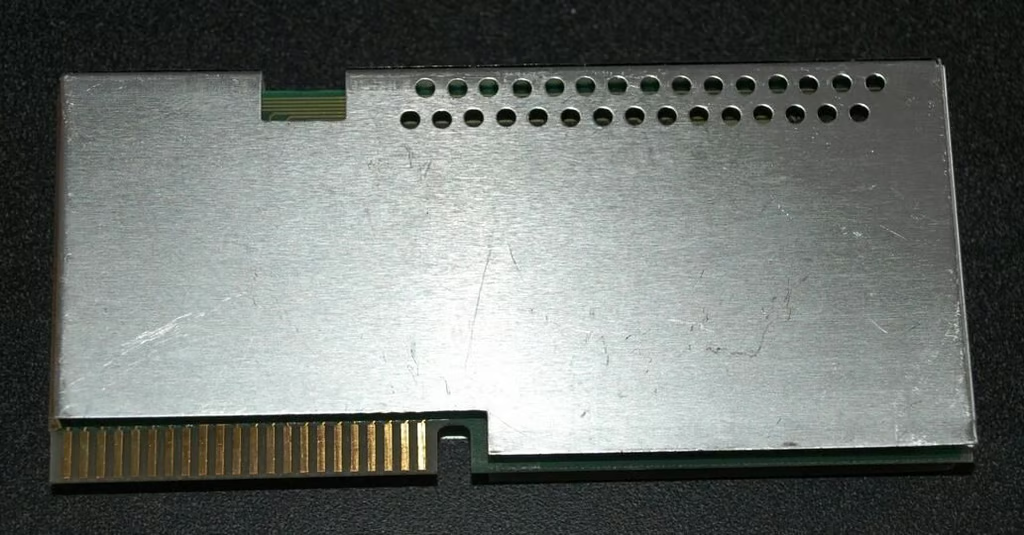
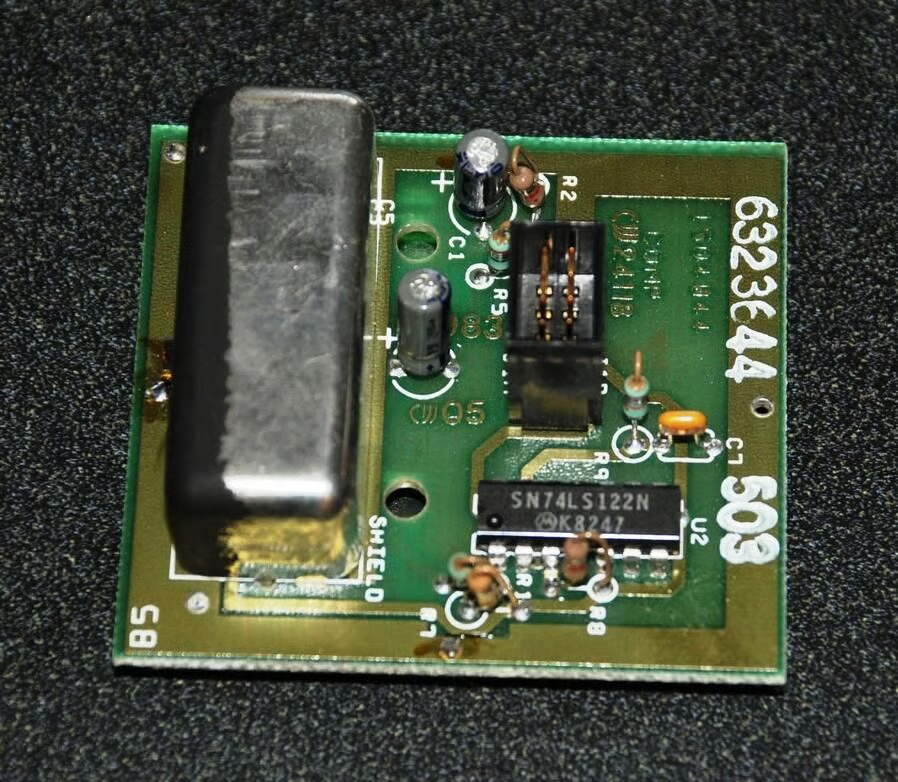
The RAM expansion card is shielded with a metal casing.
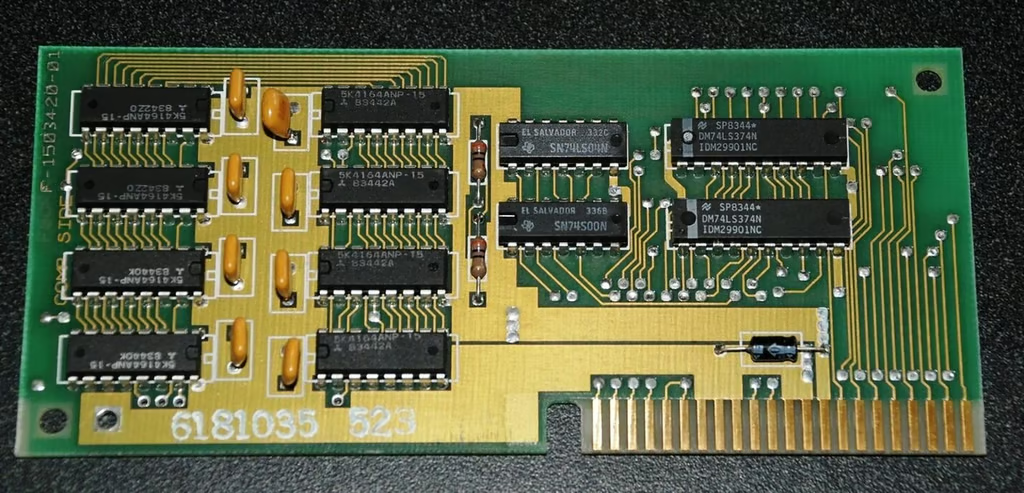
After removing the shielding we can see a fairly standard set of RAM chips and a few controllers.
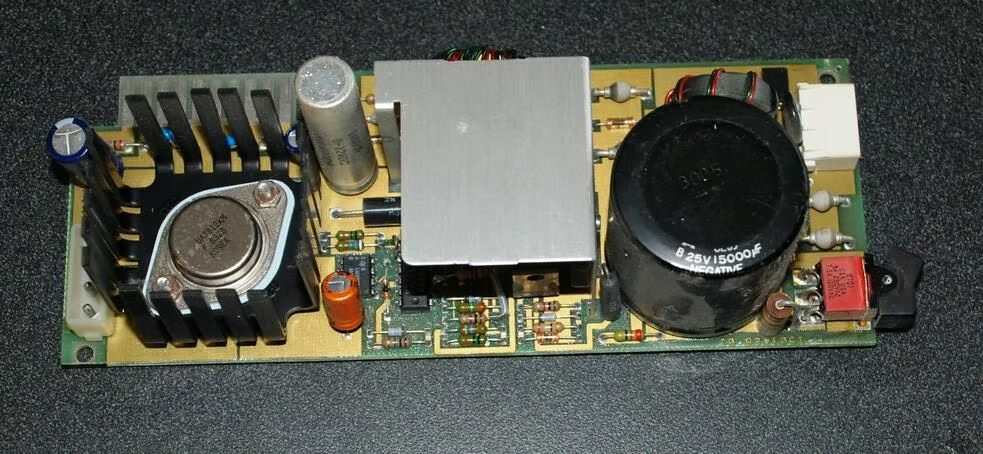
The power controller is compactly designed but looks ominous and should be handled with care.

The black large capacitor near the on / off switch is very prominent. It is also very dusty.
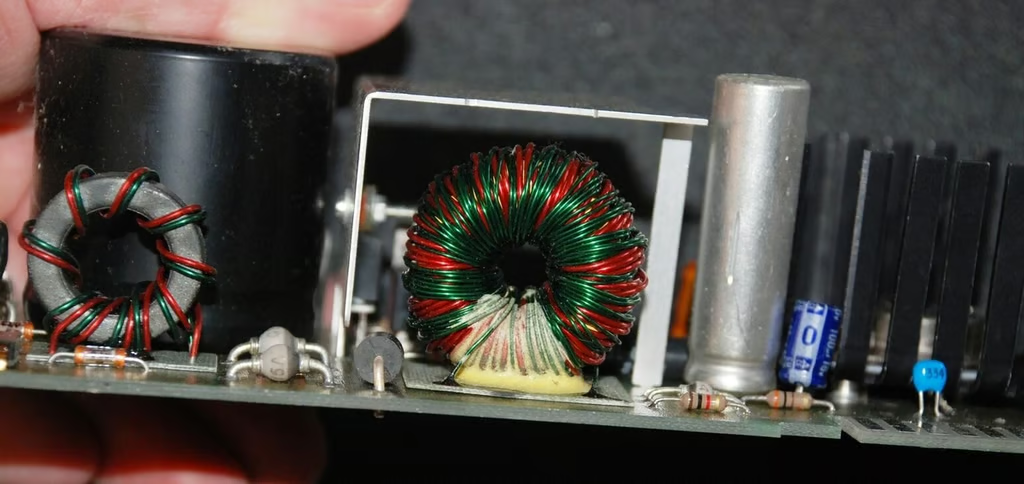
From the opposite angle you can see a couple of wire coils, one of which is inside a metal shield.
The power supply controller board also has a externally jumped connection.
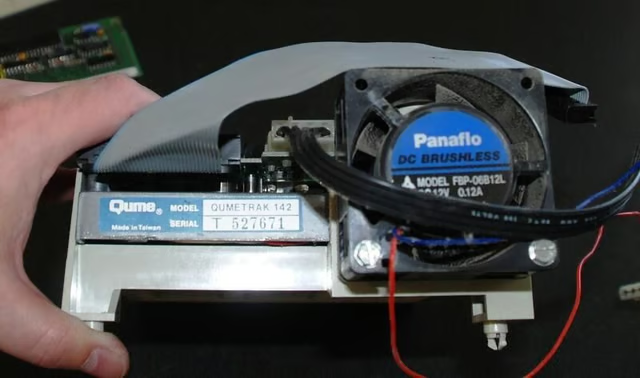
The floppy drive maker is Qume, which is not familiar to me.
The chips on the floppy drive mirror the chips we saw on the controller from Texas Instruments, Motorola, and National Semiconductor.
The infrared sensor for the wireless keyboard is not very big, breaking the trend set by the floppy drive.
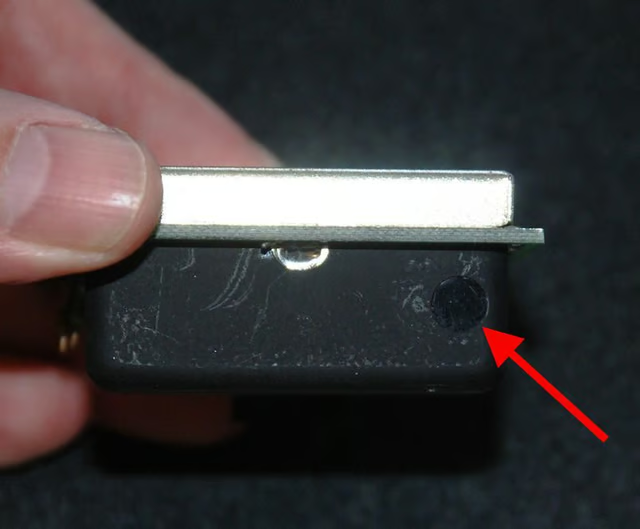
The red arrow marks the eye of the infrared sensor.
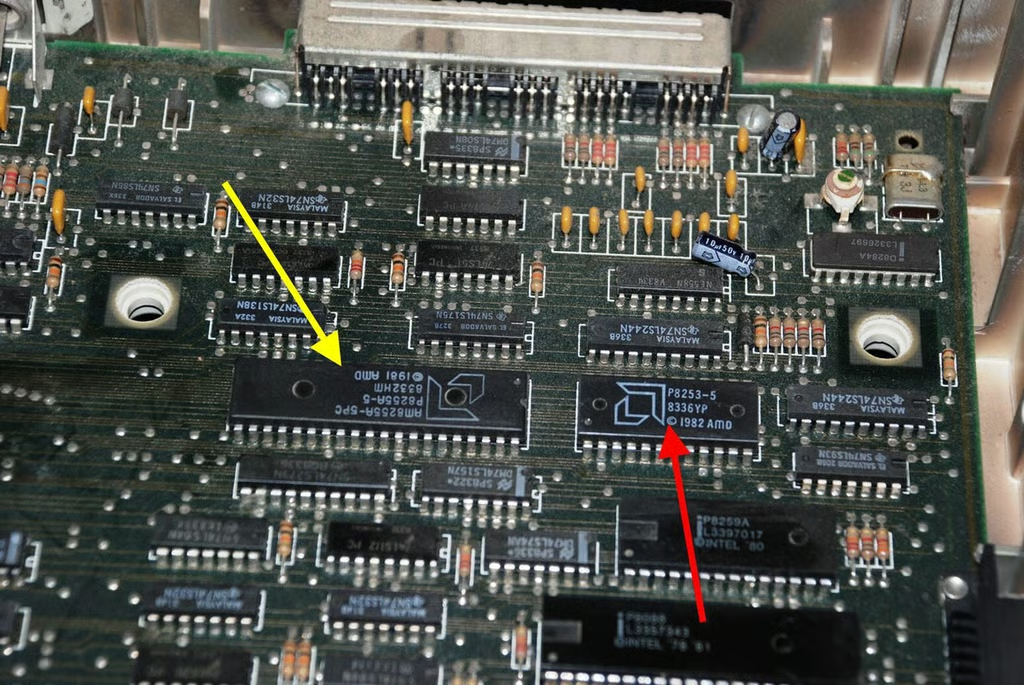
Before they went into the CPU cloning business, AMD made chips that supplemented the activity of the Intel 8088. The P8253-5 is a Programmable Interval Timer and the P255A is a Programmable Peripheral Interface.
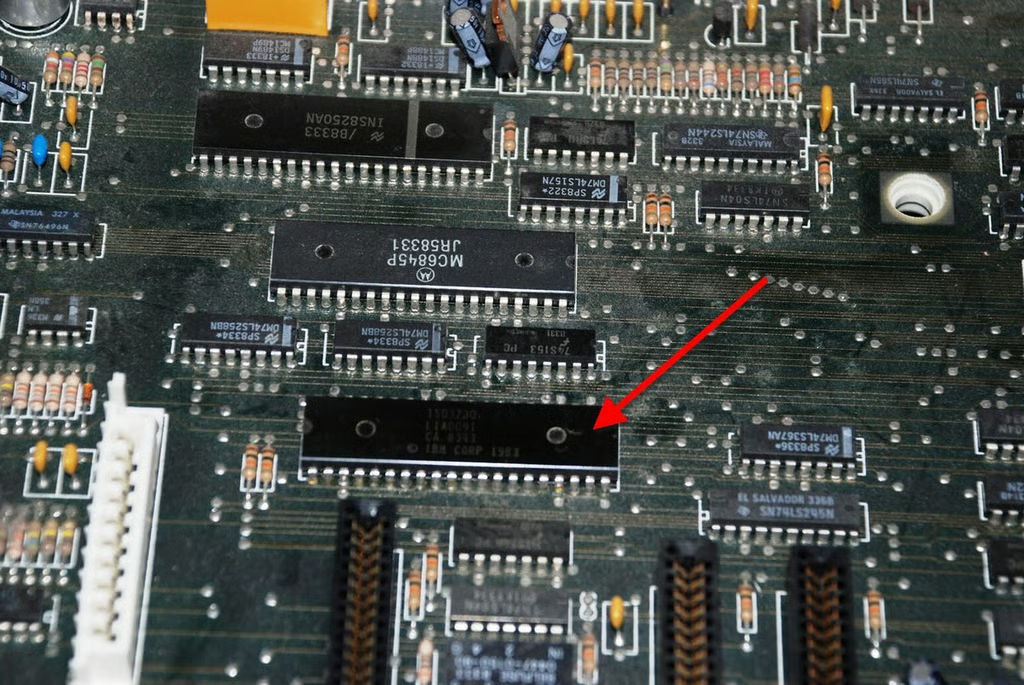
This large chip is a Linear Encoder with IBM’s name on it.
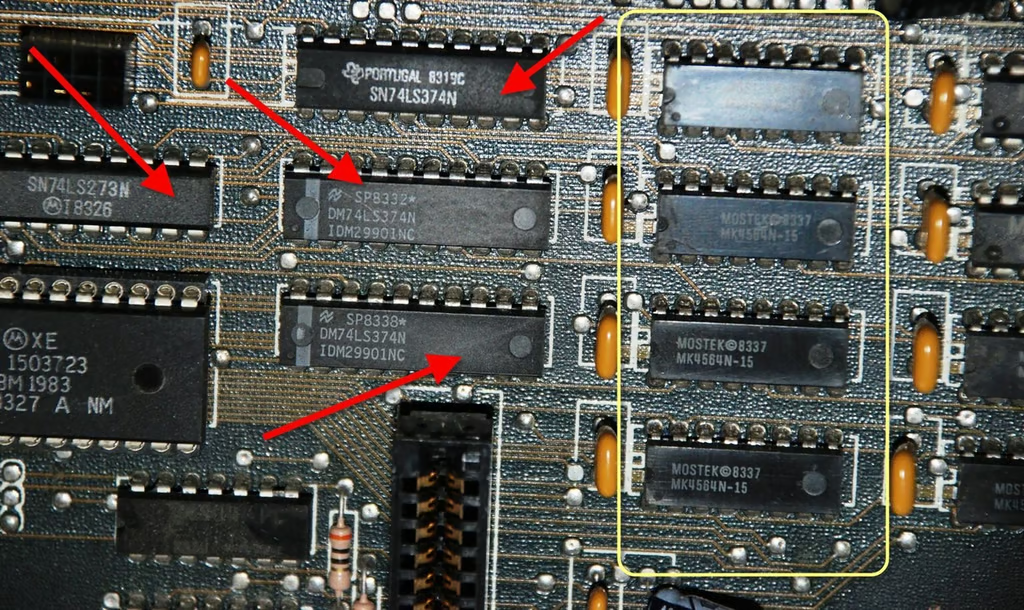
The red arrows mark the bus chips from our triumvirate of chip manufacturers, Motorola, National Semiconductor, and Texas Instruments.
The yellow box indicates one bank of the RAM chips from Mostek. Each chip is 8KB, making for a total of 64KB when you account for all eight chips.
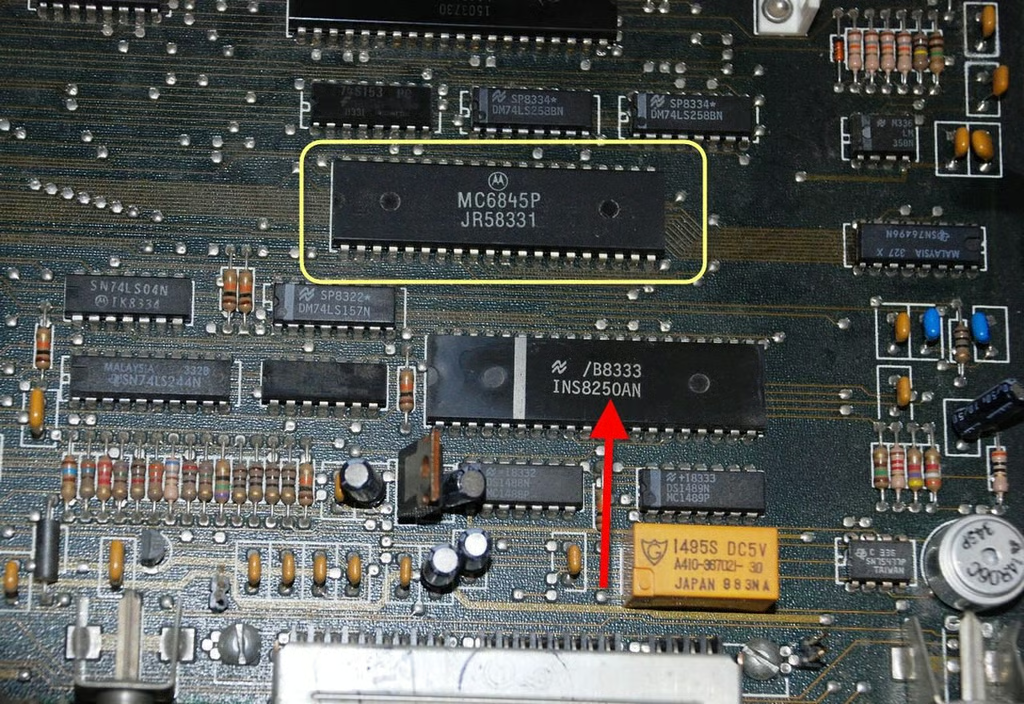
The IBM PC Jr. does not have what we would consider a dedicated GPU. Instead it has the Motorola CRT controller marked in yellow.
Marked with a red arrow below that is a technical name Asynchronous Communication Interface Adapter. To me, that means modem – this chip would help process incoming information from an external modem.
Just to the right of the CRT controller is a chip, upside down in this photo, with the number SN76496N. That is the Texas Instrument sound chip.
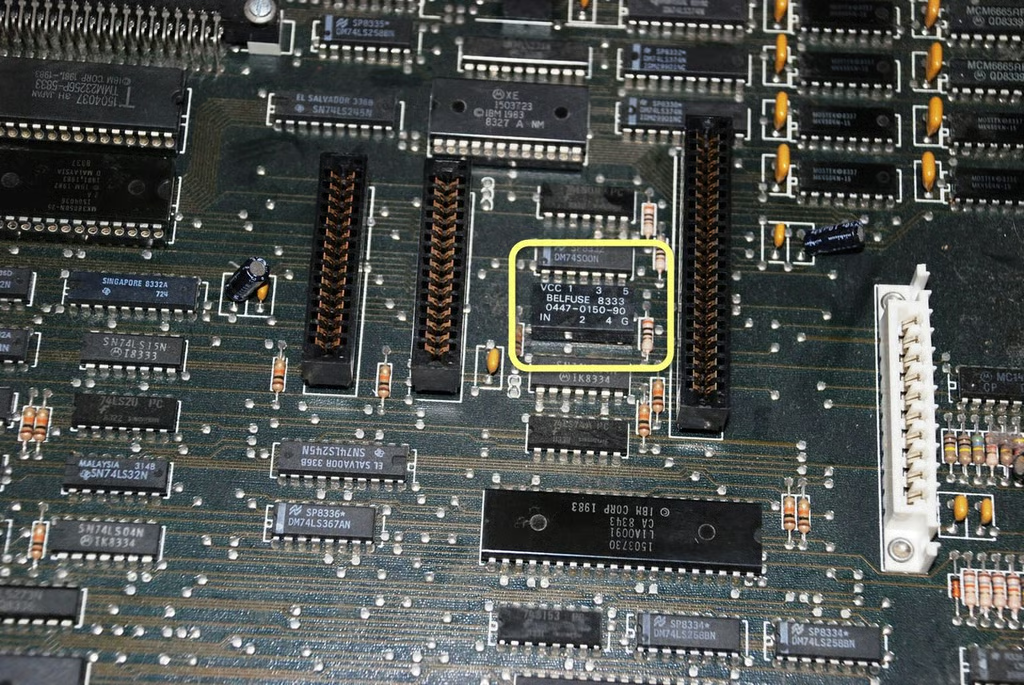
The chip marked in yellow may be important, but I found it curious. I also found that I could not find information explaining what its function was. I would guess it has something to do with either the RAM expansion or the Internal modem.
Perhaps someone out there can share some insight concerning the chip in question?
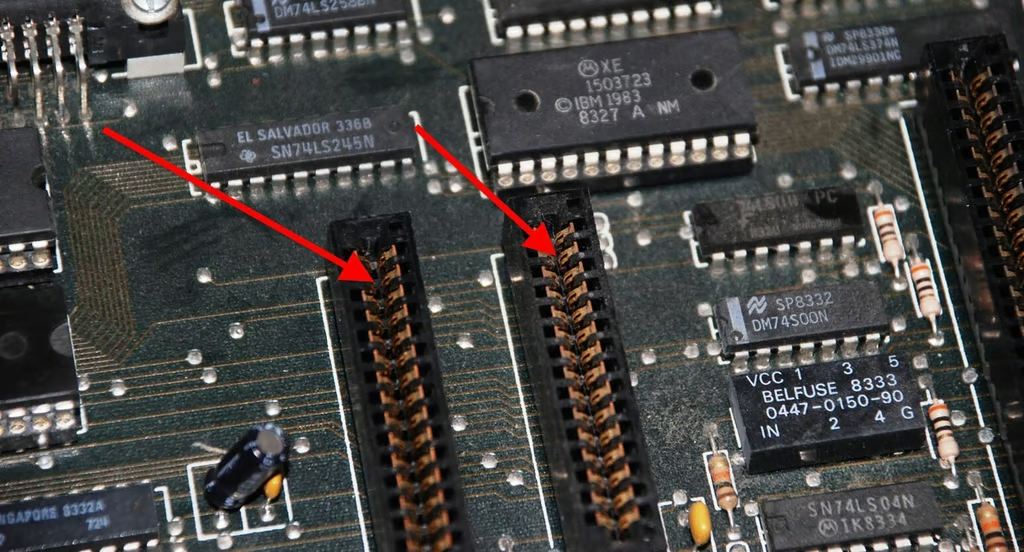
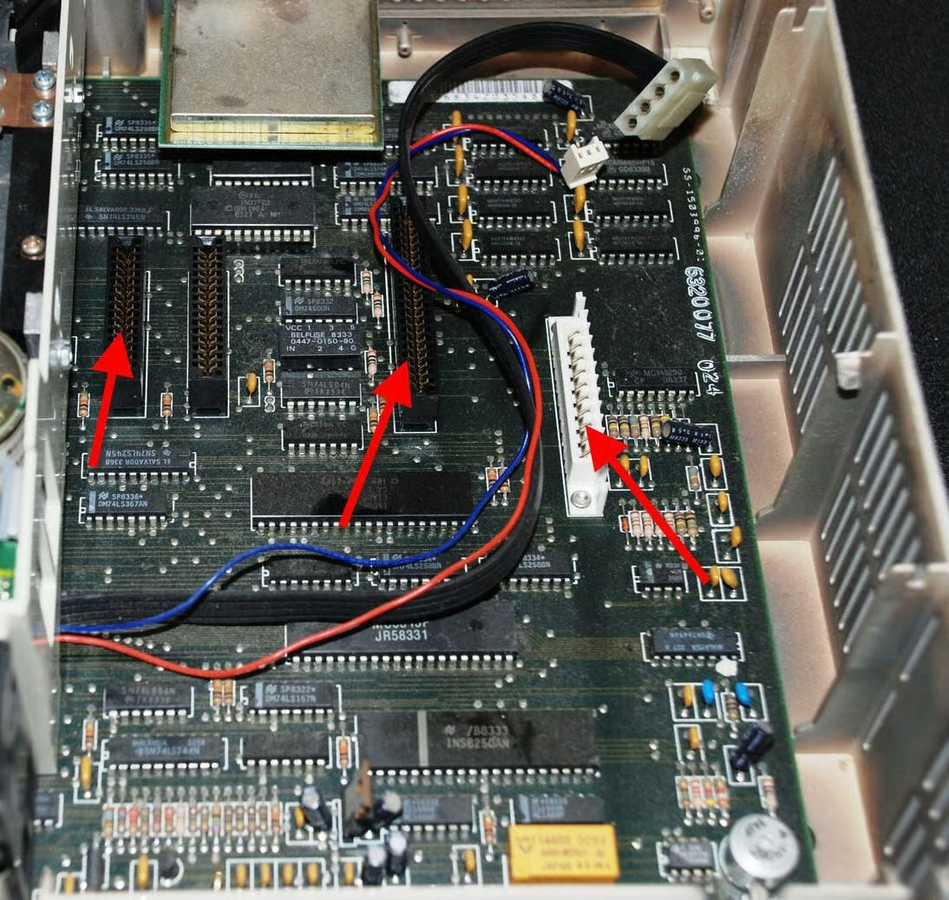
The red arrows point to the expansion slots and expose the fact that our PC Jr. is old. The connections, once bright and shiny, show definite signs of oxidation.
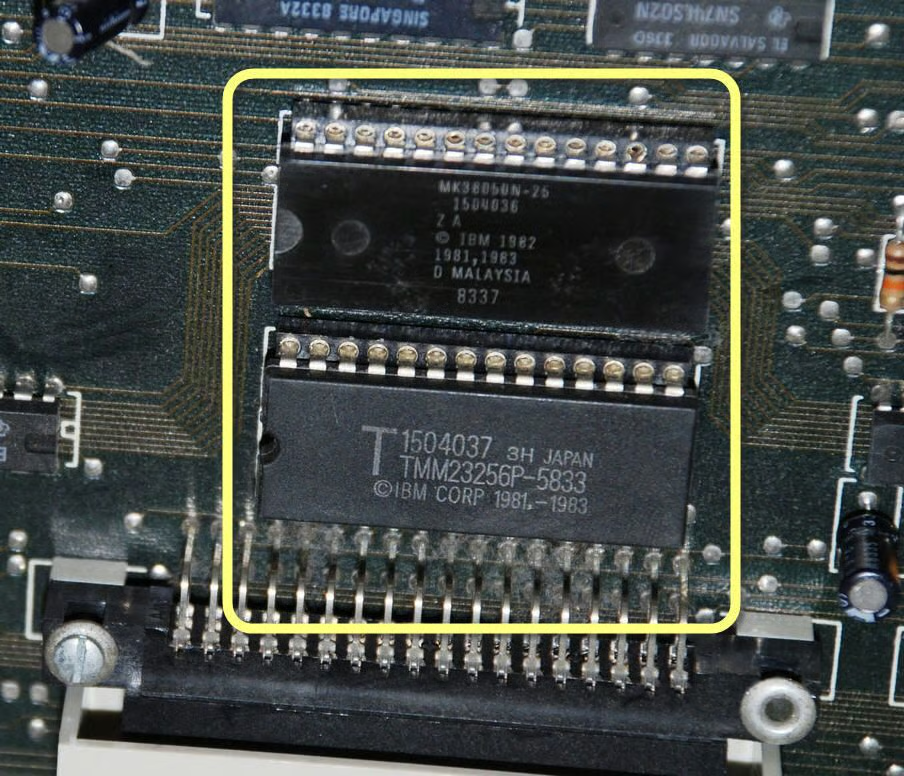
These two IBM chips marked in yellow provide the PC Jr. with BASIC. BASIC is sort of the default operating system in the PC Jr.
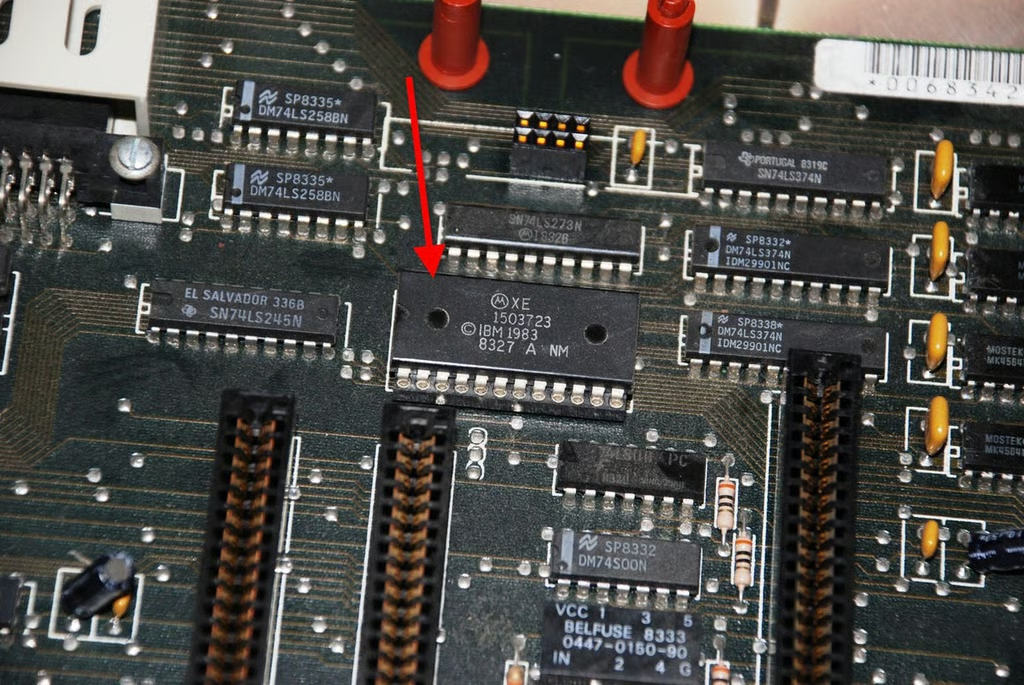
The XE 1503723 chip is a Analog Multiplexer / Demultiplxer – a sophisticated switch.
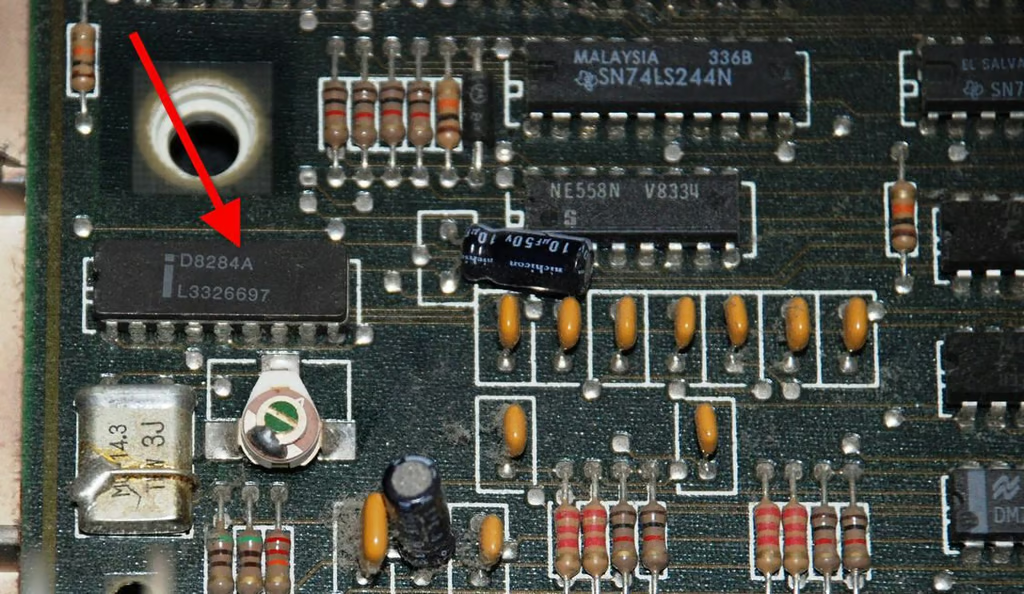
The red arrow in this photo marks the clock generator for the system.
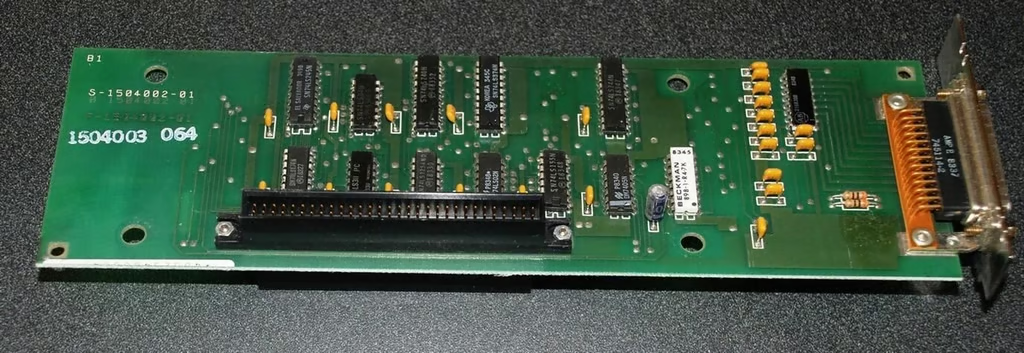
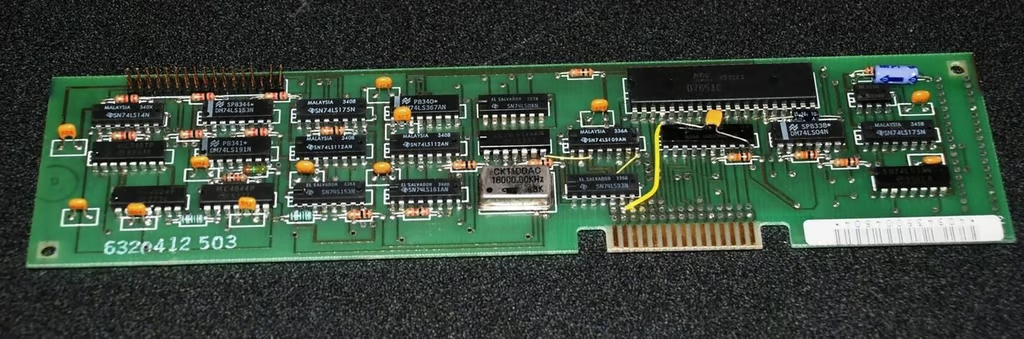
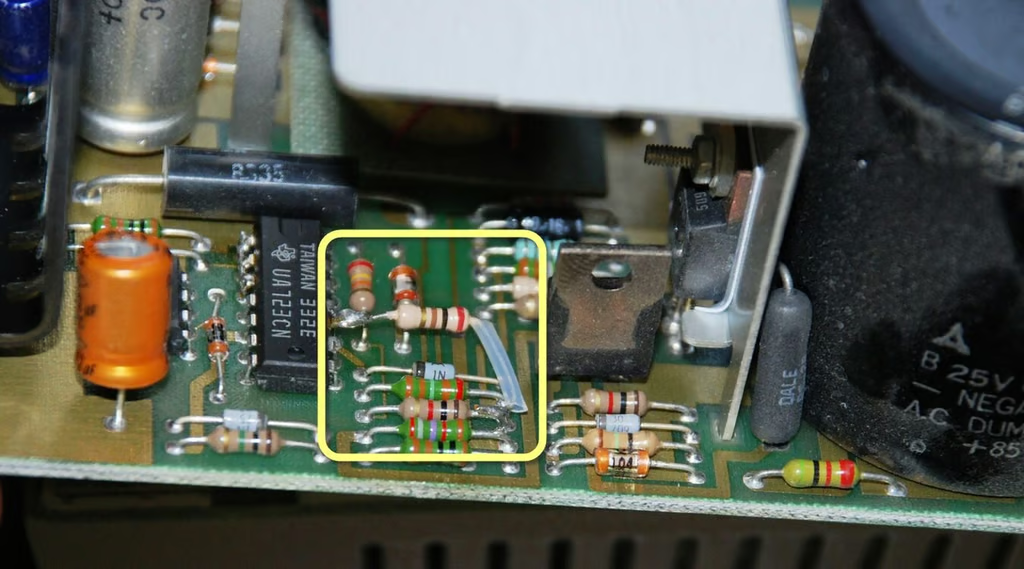
The circuit board in the parallel port expansion module is fairly standard.
Although there is a strange white chop on board. Anyone care to take a guess on that?
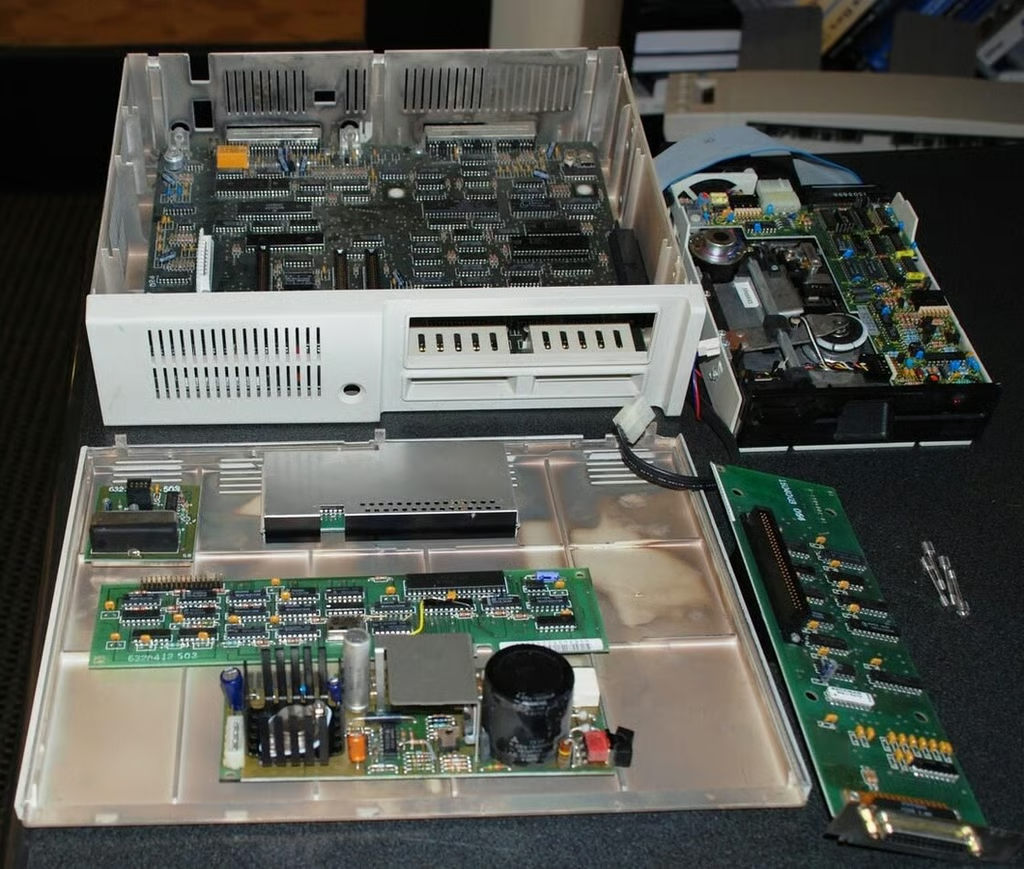
Here is the IBM PC Jr. all cracked open.
The PC Jr. holds a special place in my heart as my first IBM-based PC. Although I quickly out grew it, this version of the IBM personal computer served me well that last semester of business school where I had to produce several term papers. There is nothing like being able to pull an all-nighter from the comfort of you own living room rather than the school computer lab.

Mark W. Kaelin has been writing and editing stories about the information technology industry, software, hardware, gaming, finance, accounting, and technology geekdom for more than 30 years.


