\n\tThe Lenovo IdeaPad K1 is the company’s consumer-focused tablet. The 10.1″ Android tablet has a dual-core processor, two cameras, and comes in 16GB, 32GB, and 64GB versions. Follow along as I crack open the IdeaPad K1 for a look at the hardware inside.
\n
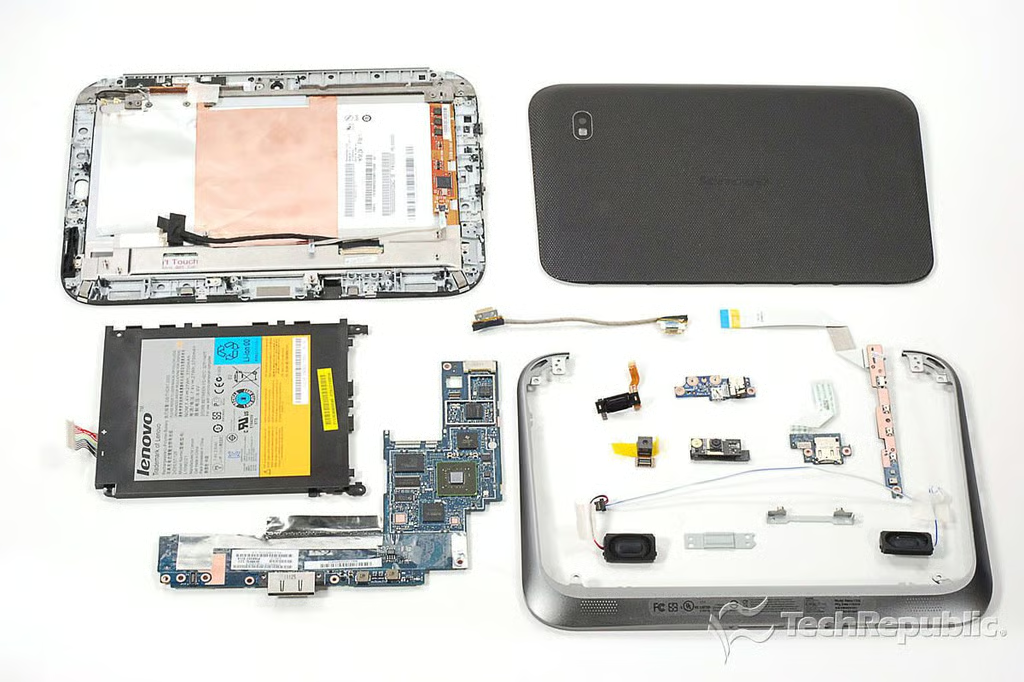
\n\tFor an in-depth analysis of the Lenovo IdeaPad K1’s internal hardware, check out my post, “Lenovo IdeaPad K1 teardown: Easy to open, not so easy to service”.
\n\t
\n\tPhoto by: Bill Detwiler / TechRepublic
\n\tCaption by: Bill Detwiler
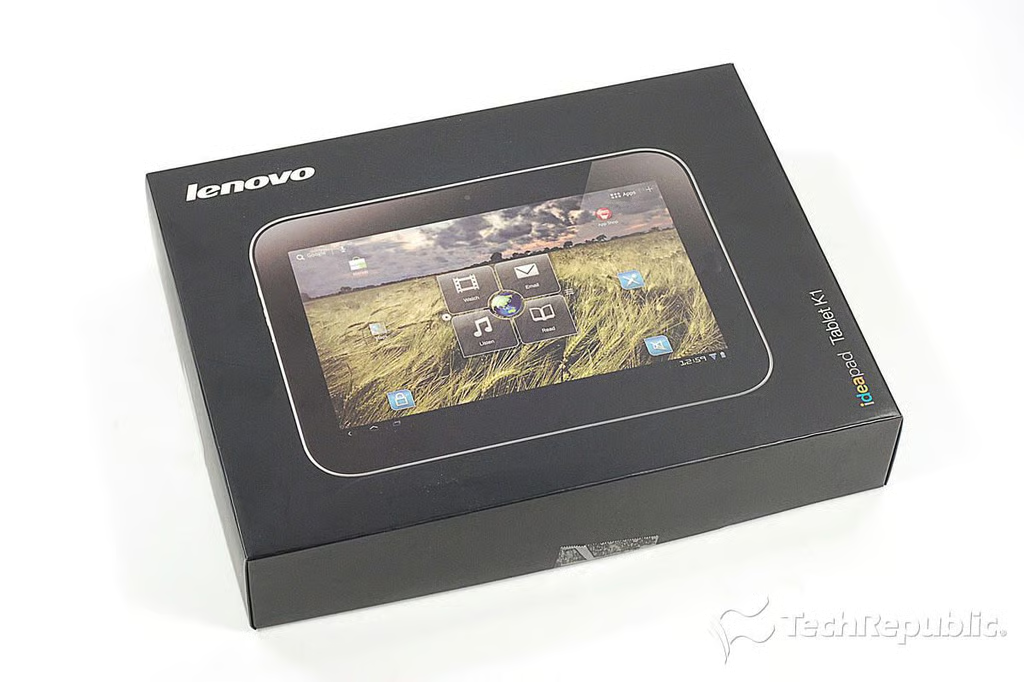
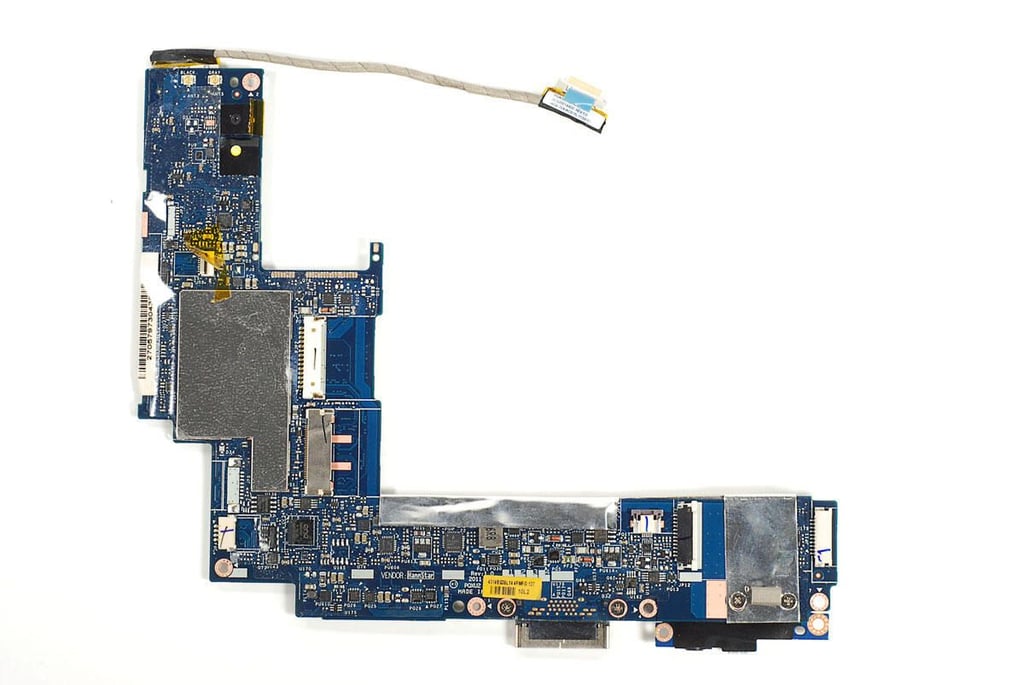
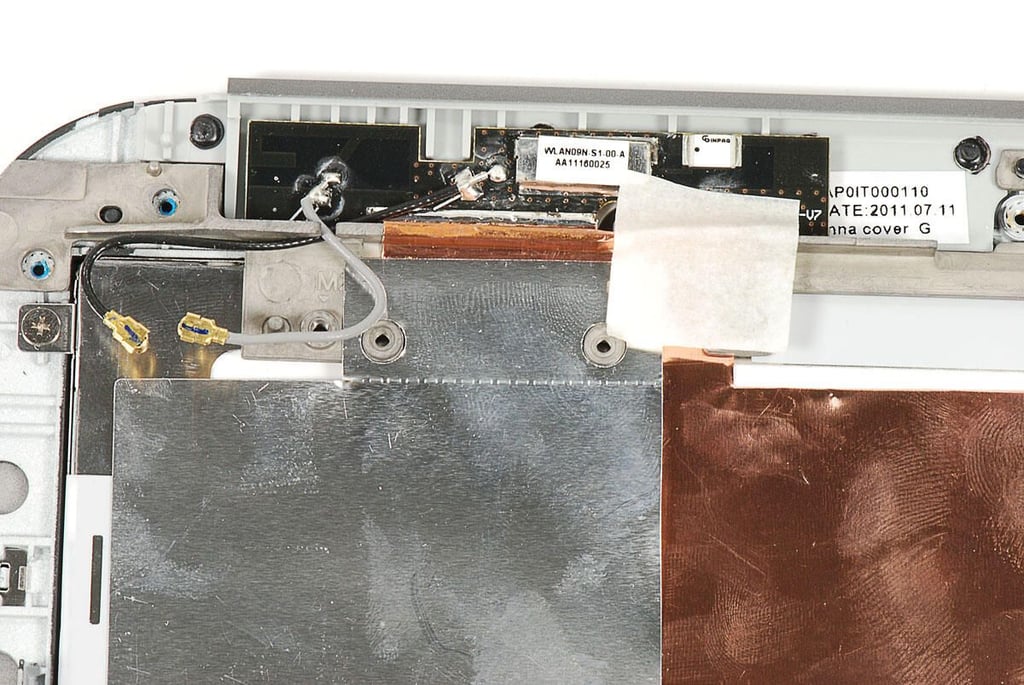
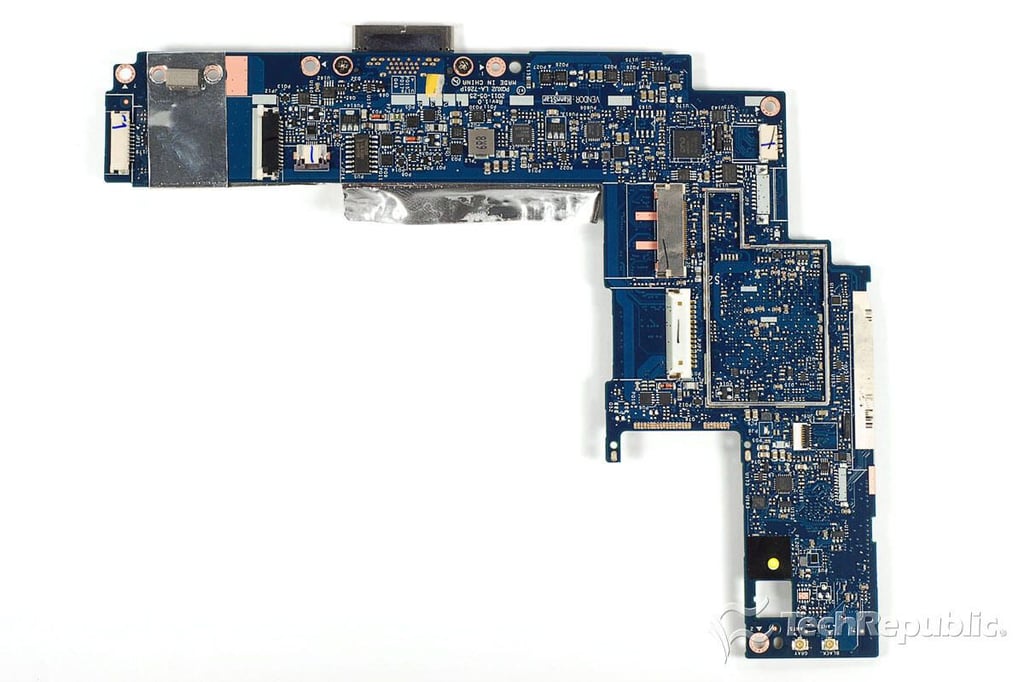
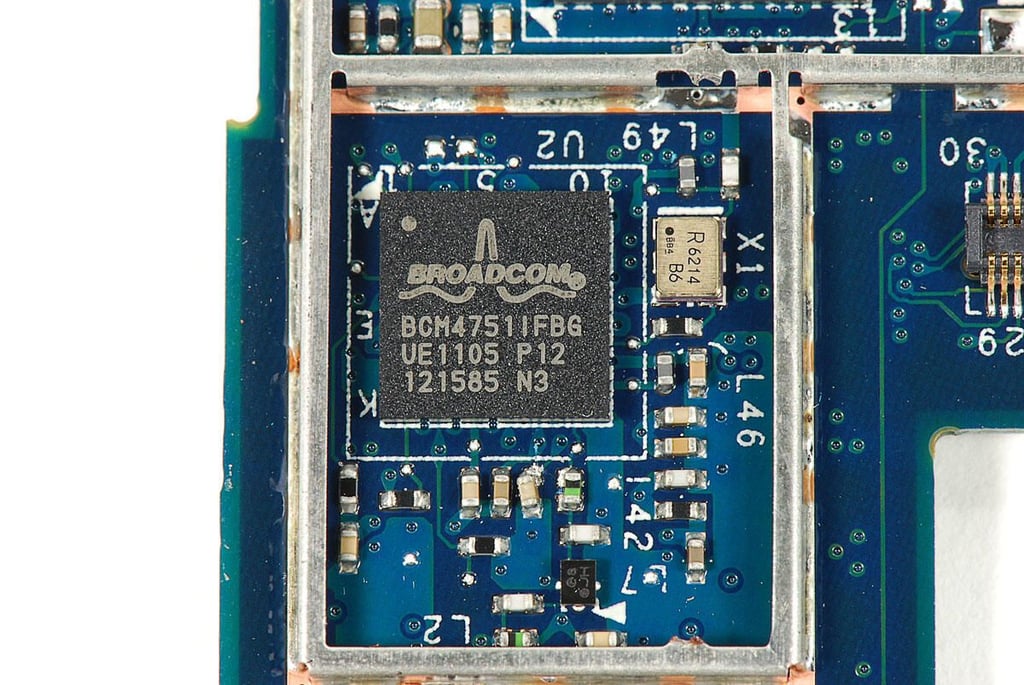
\n\tAccording to Lenovo’s documentation, the IdeaPad K1 is available in 16GB, 32GB, and 64GB versions. But as of this writing, only the 32GB model ($499.99 US) is available for purchase on Lenevo’s site. The current versions support Wi-Fi, but there’s room in the case and on the motherboard for a 3G card.
\n\t
\n\tPhoto by: Bill Detwiler / TechRepublic
\n\tCaption by: Bill Detwiler
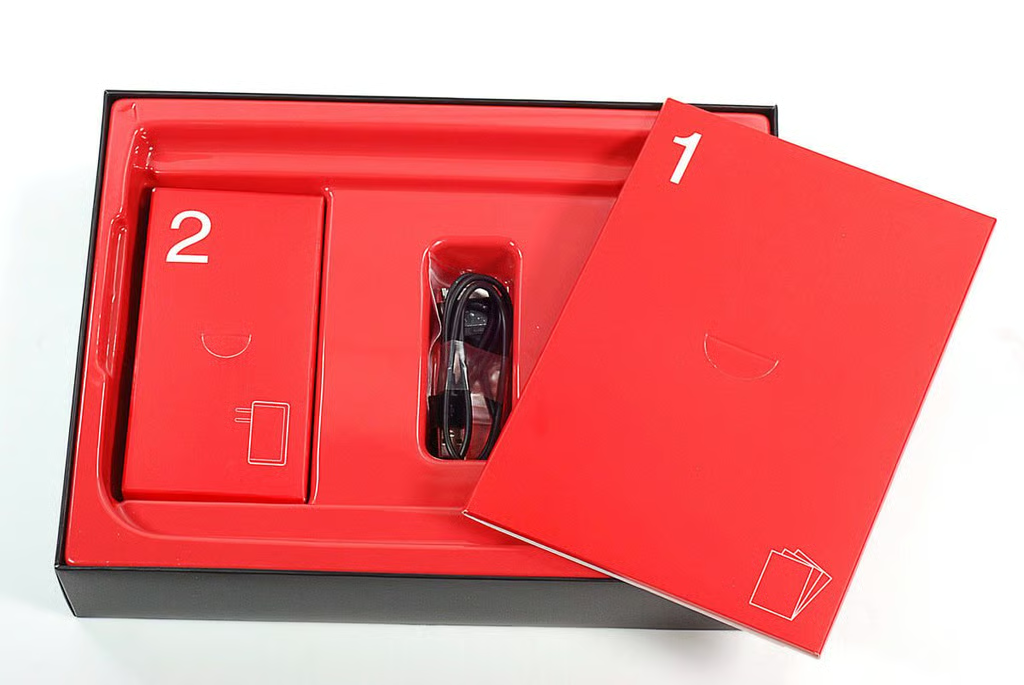
\n\tA power adapter, USB connector cable, and product documentation are included with the IdeaPad K1.
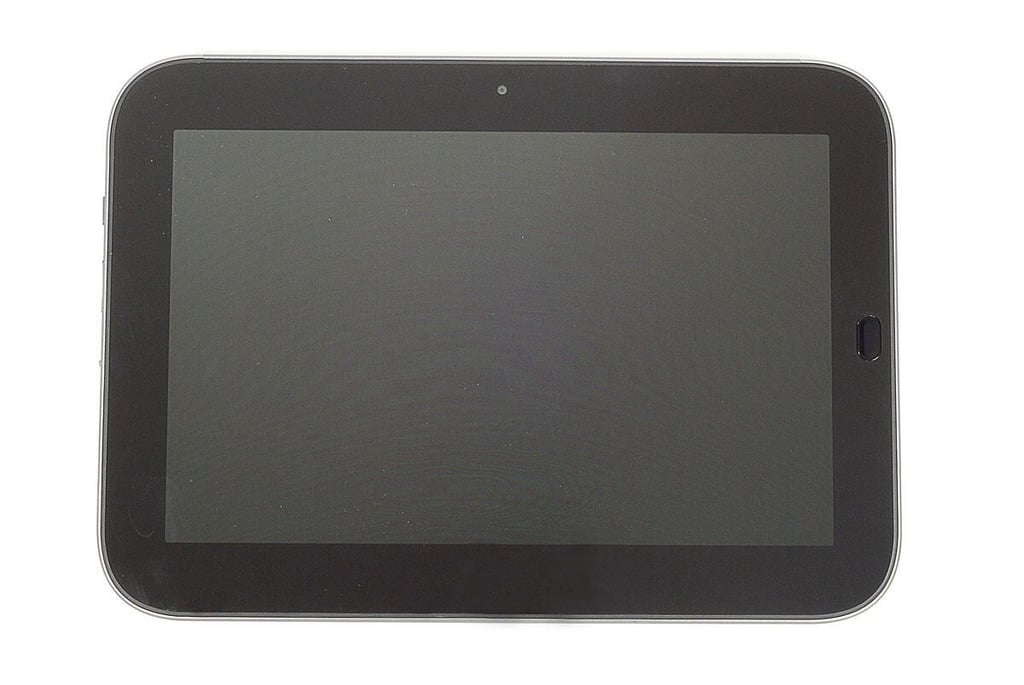
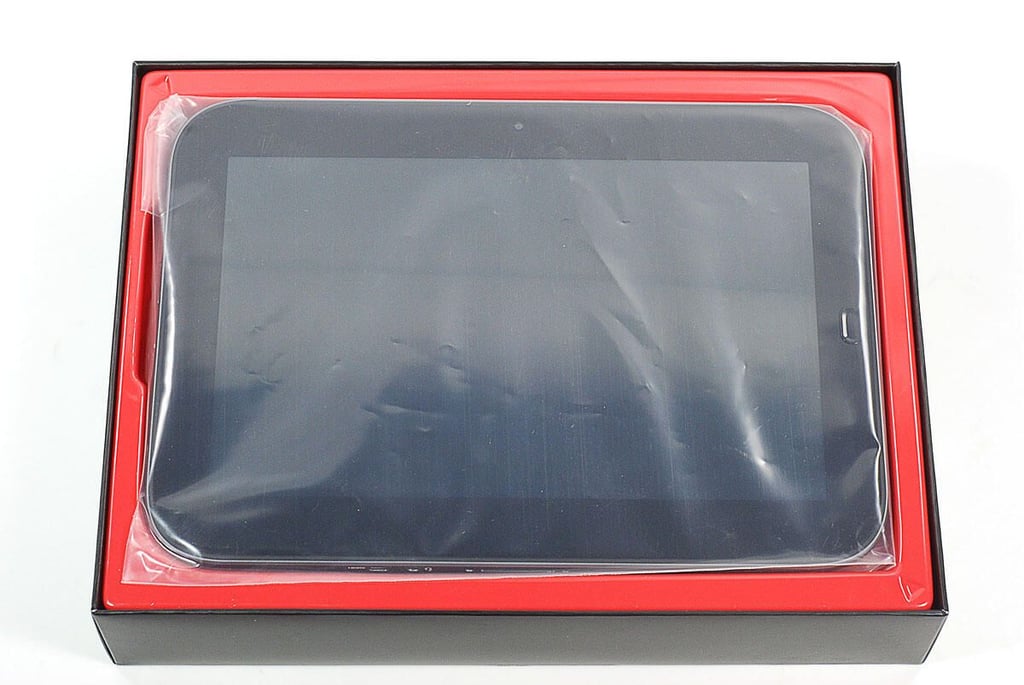
\n\tThe Lenovo IdeaPad K1 weighs 1.65 lbs. and measures 10.4″ (W) x 7.4″ (H) x 0.5″ (D). Unlike some Android tablets, the IdeaPad K1 has a physical Home button.
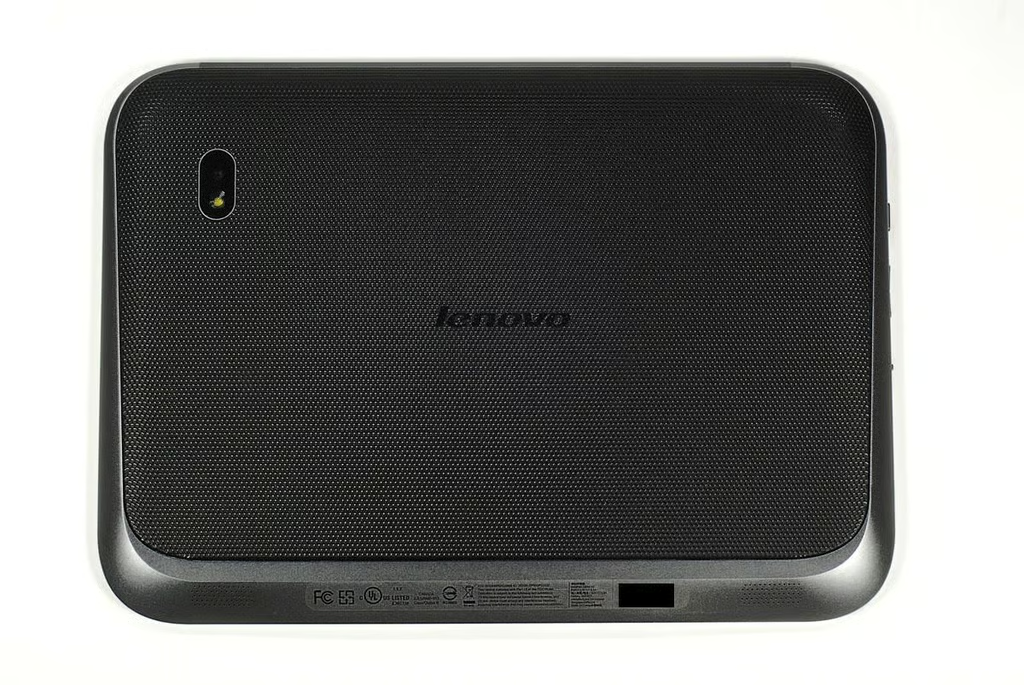
\n\tThe removalable back cover has a textured surface. This makes the IdeaPad K1 less likely to slip out of your hands than a device with a slick back.

\n\tAlong the IdeaPad K1’s left edge are the built-in microphone, power button, volume controls, screen rotation lock switch, and microSD card slot.
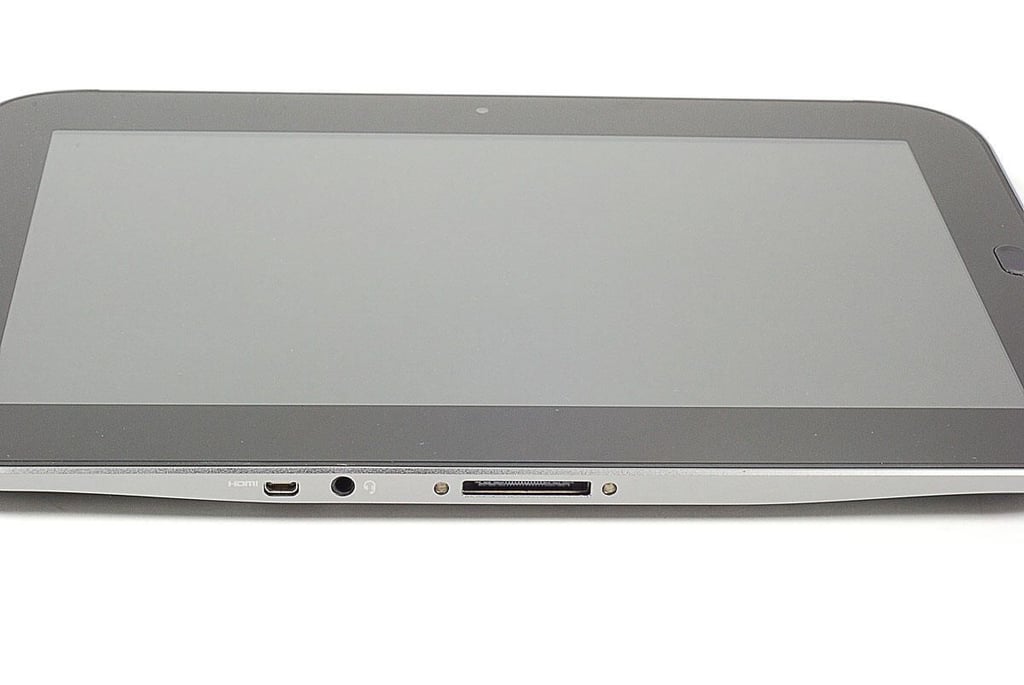
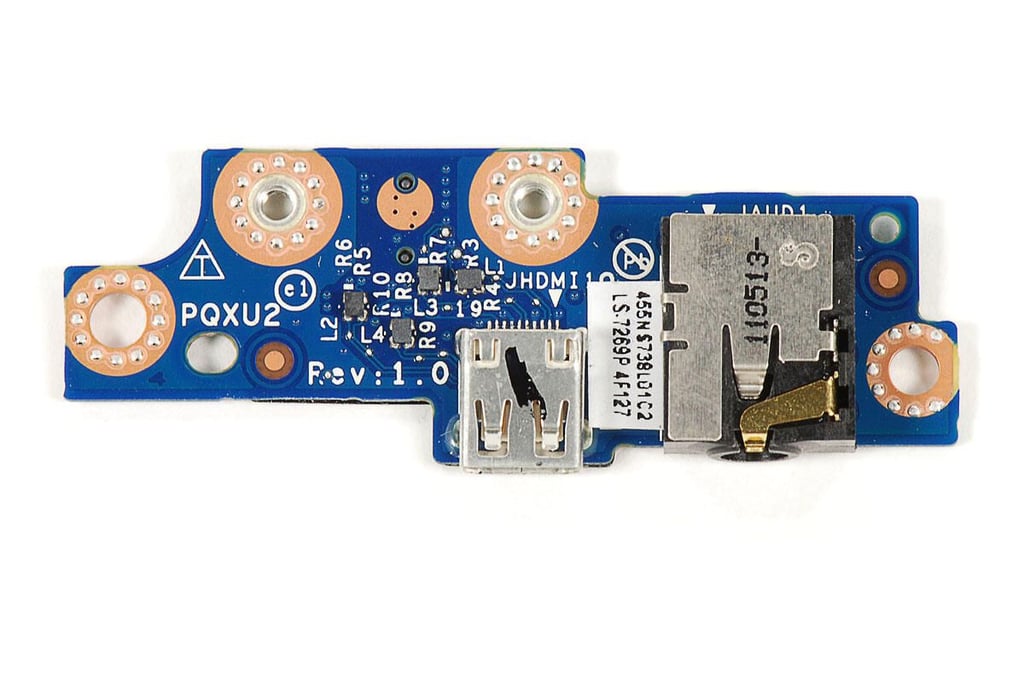
\n\tAlong the IdeaPad K1’s bottom edge are the Mini HDMI port, 3.5mm audio jack, and connector port.
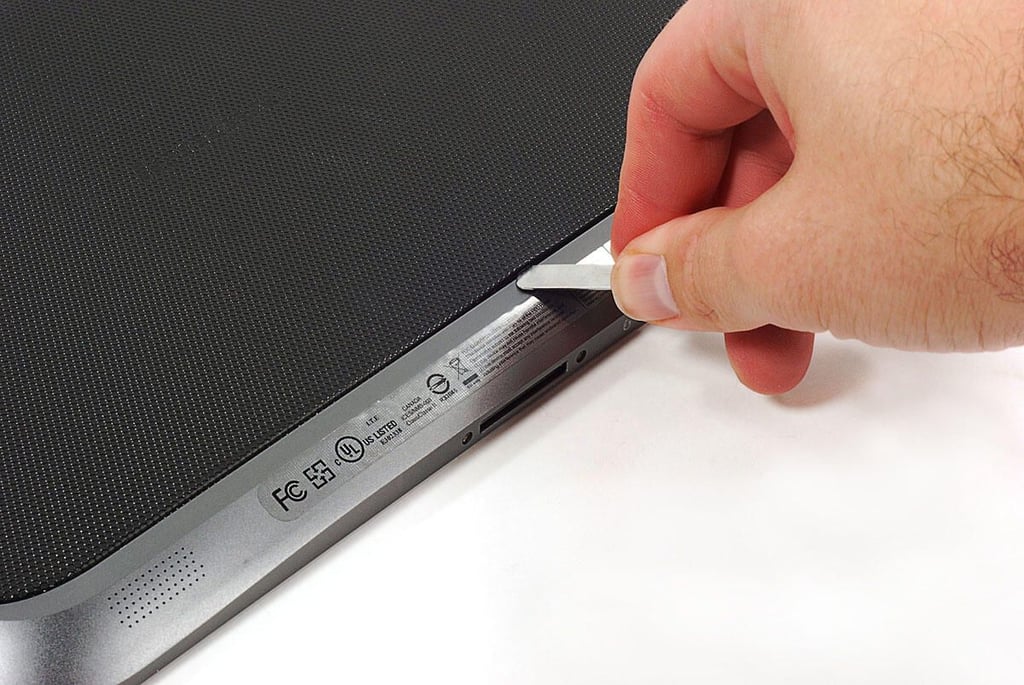
\n\tUsing a thin metal blade, I popped loose the IdeaPad K1’s plastic back cover.
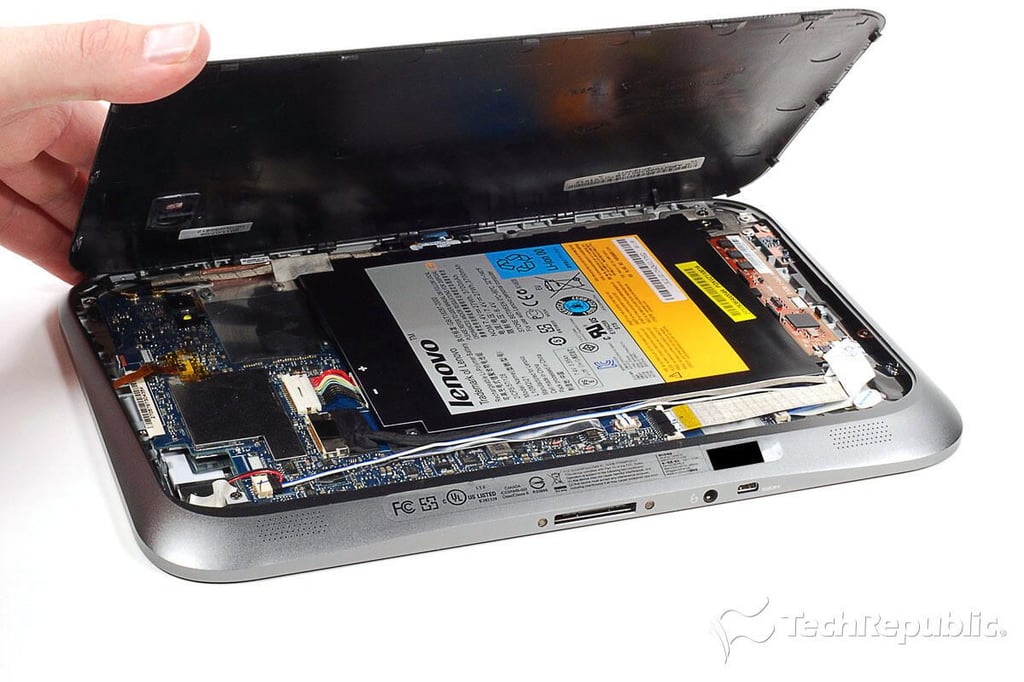

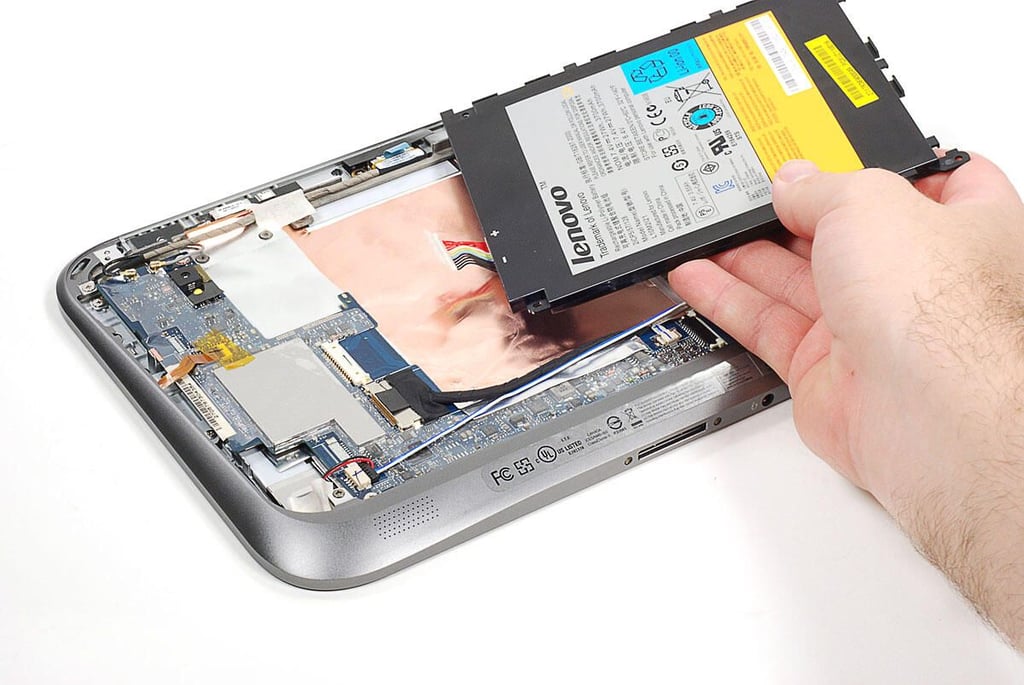
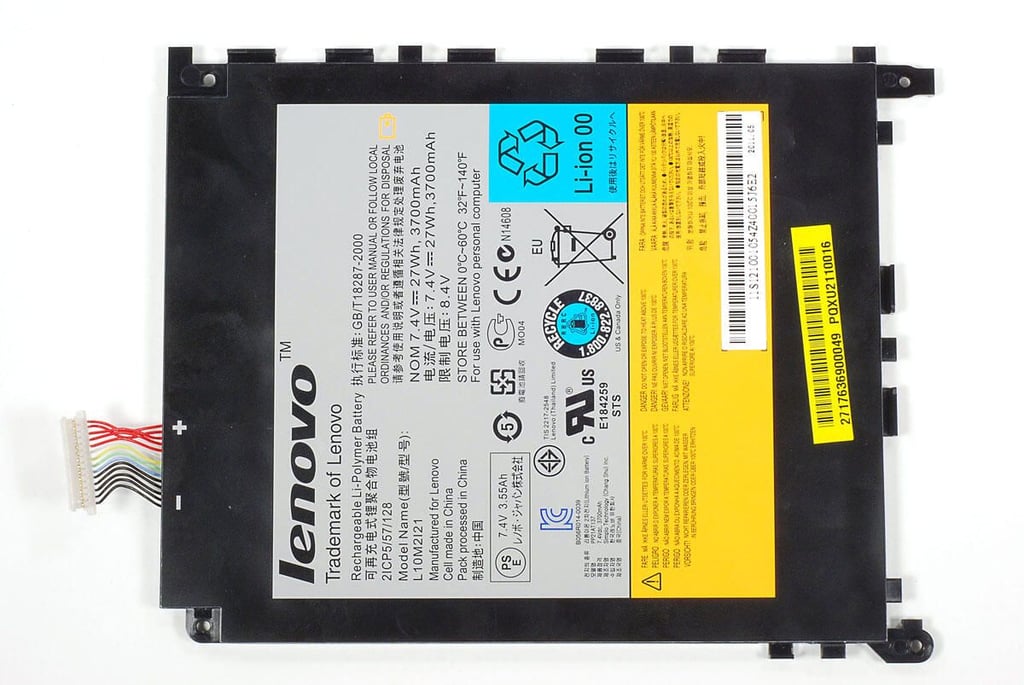
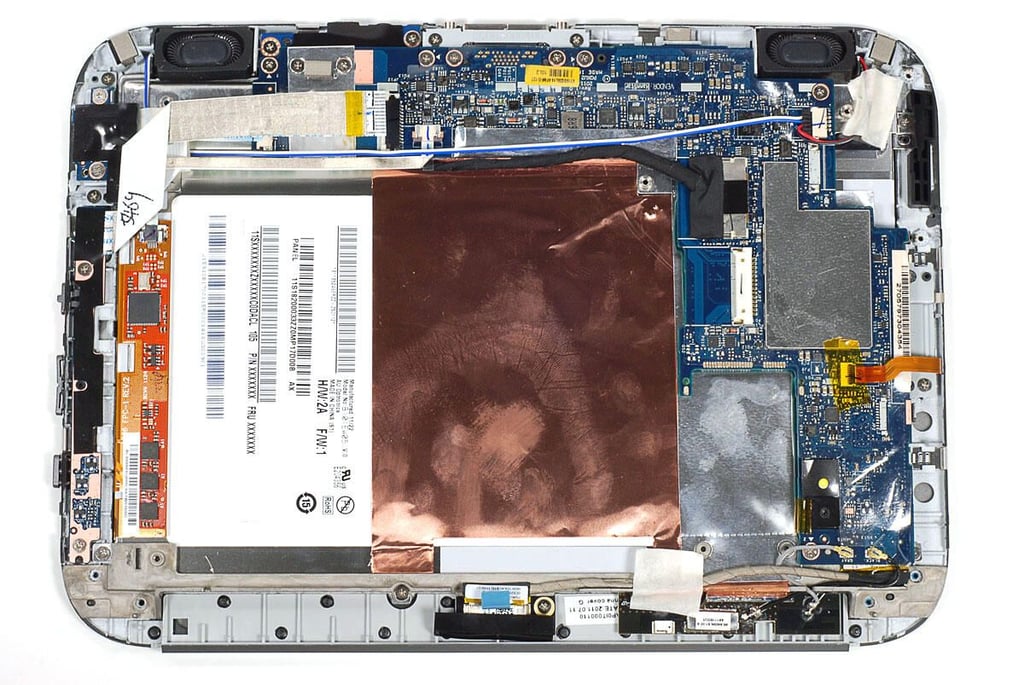
\n\tWith the back cover removed, we get our first look at the internal hardware the powers the Lenovo IdeaPad K1. As with most of the tablets I’ve disassembled, the battery occupies much of the space inside the K1’s case.
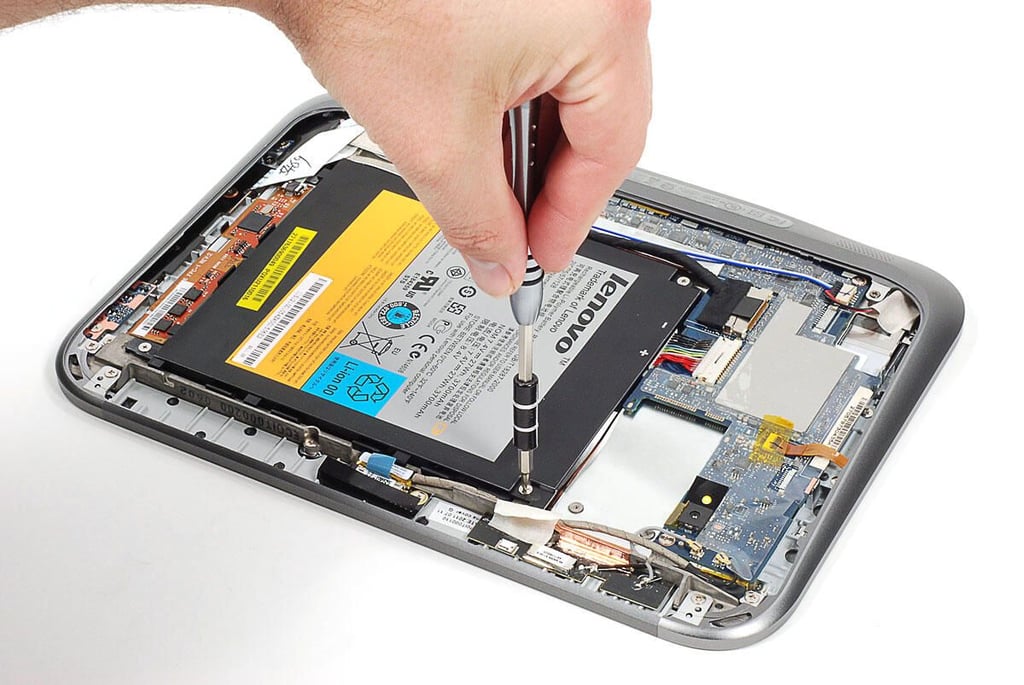
\n\tThe replaceable battery is held in place with four Phillips screws.
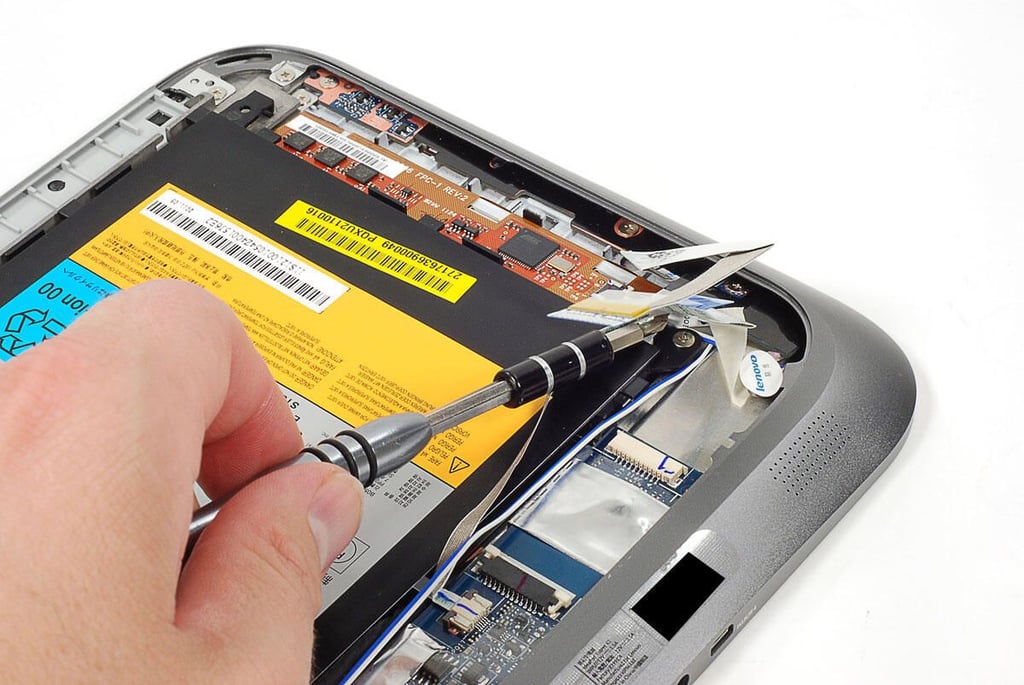
\n\tOne of the battery screws is hidden under a pair of ribbon cables and a piece of tape.
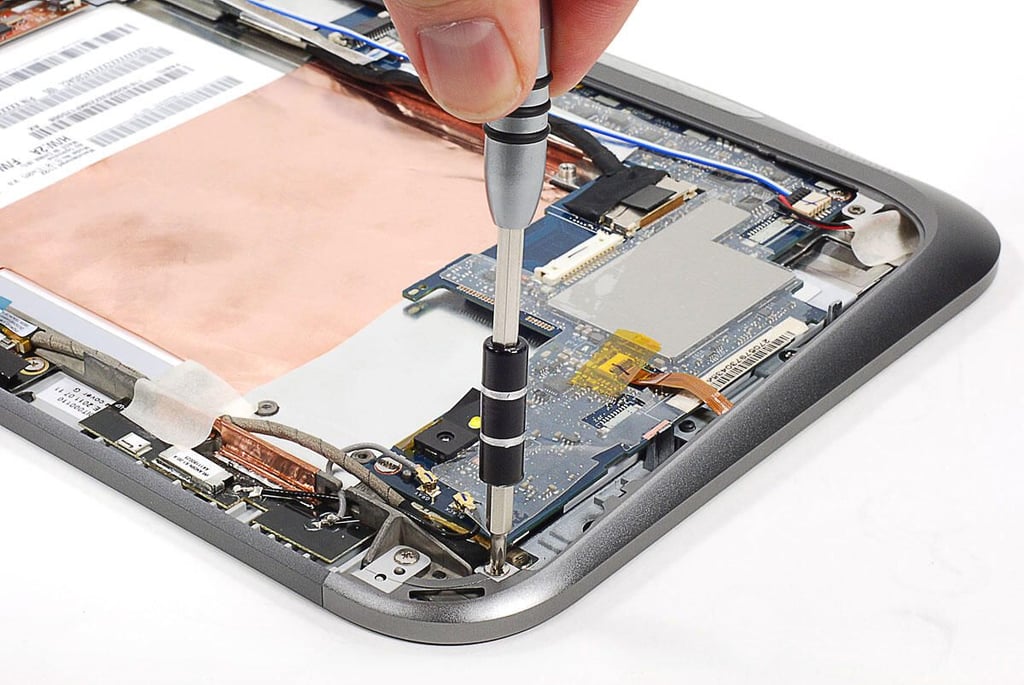
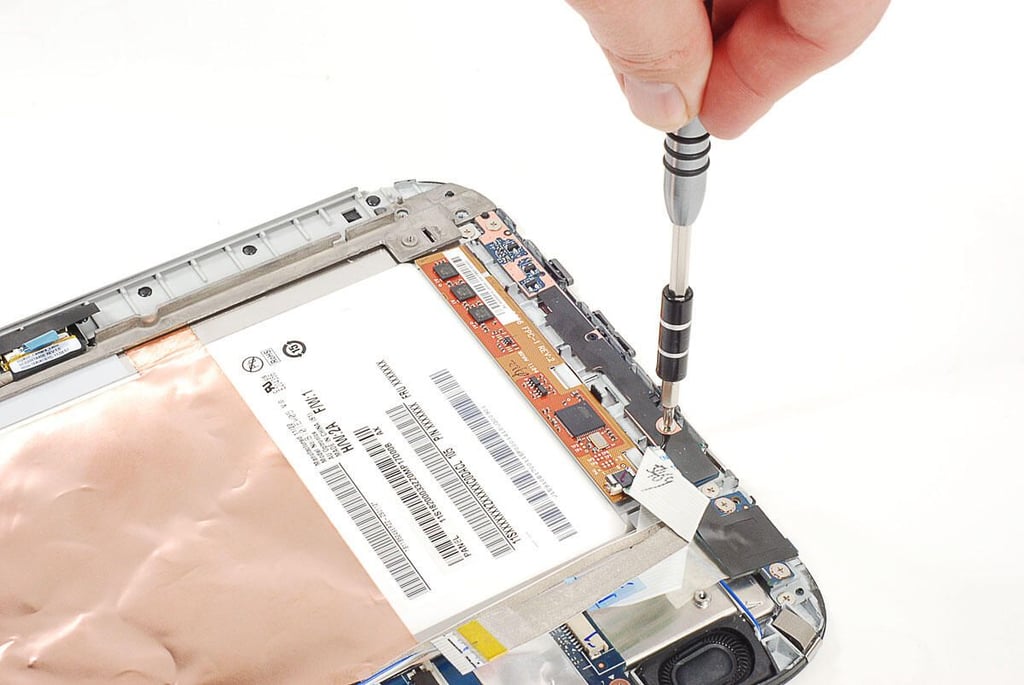
\n\tBefore removing any other internal components, I wanted to remove the metal rim that surround most of the IdeaPad K1’s outer edge. The rim is held to the front panel assembly with several Phillips screws.
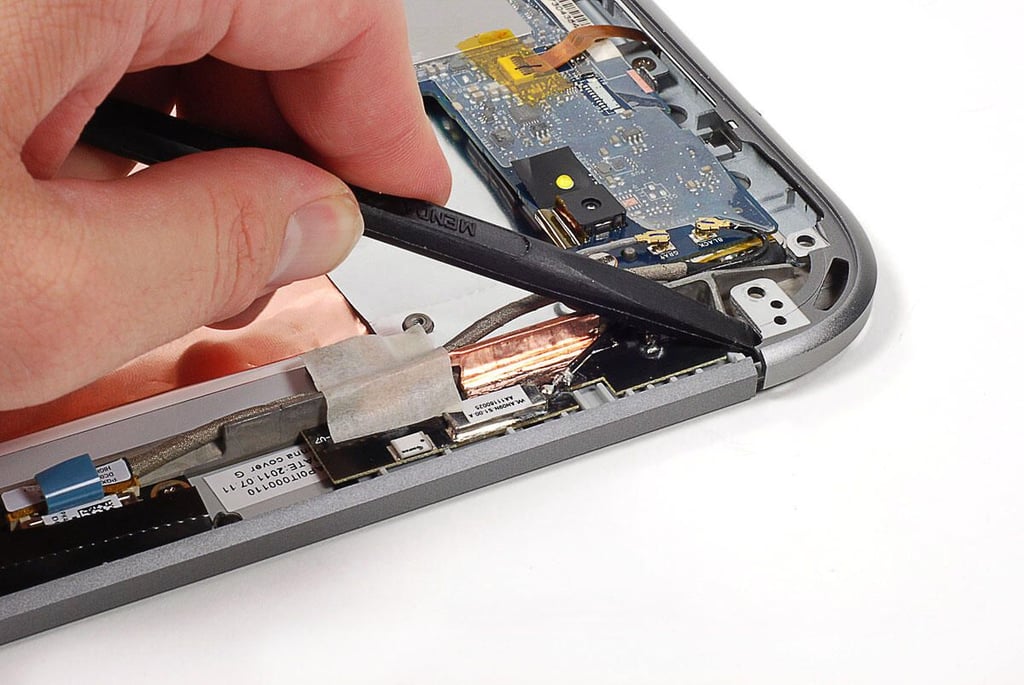
\n\tWith the screws removed, I used a plastic spudger to pop the rim loose from the front panel assembly. I was very careful not to damage the assembly, LCD, or any other components when doing this.
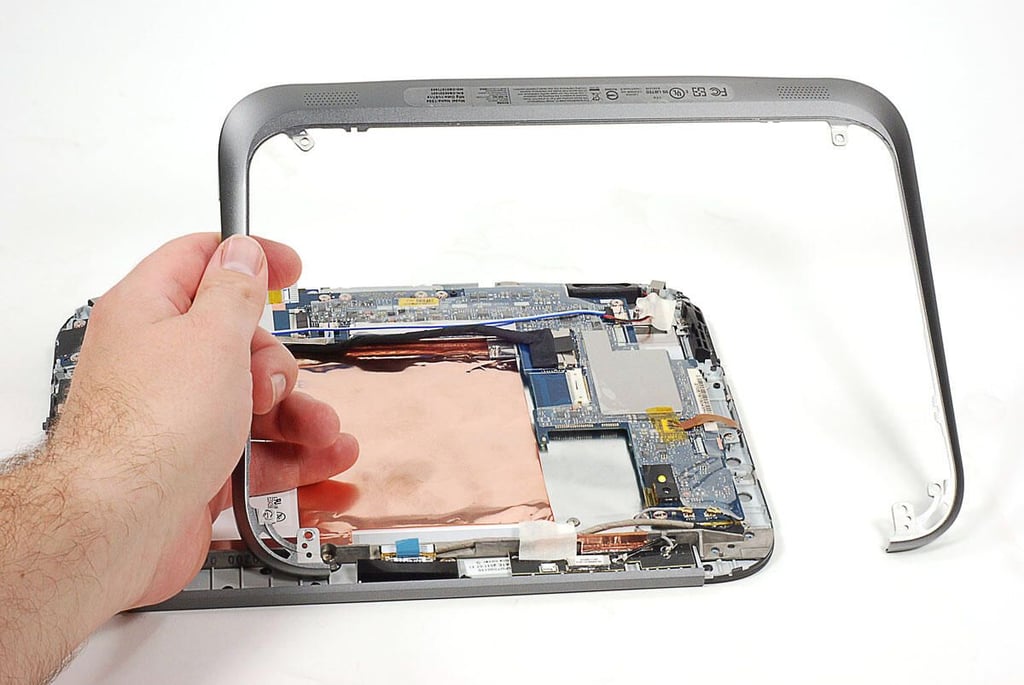
\n\tA metal rim surrounds most of the IdeaPad K1’s back edge. Once I removed the screws that held it in place, I was able to gently pry it loose from the front panel assembly.
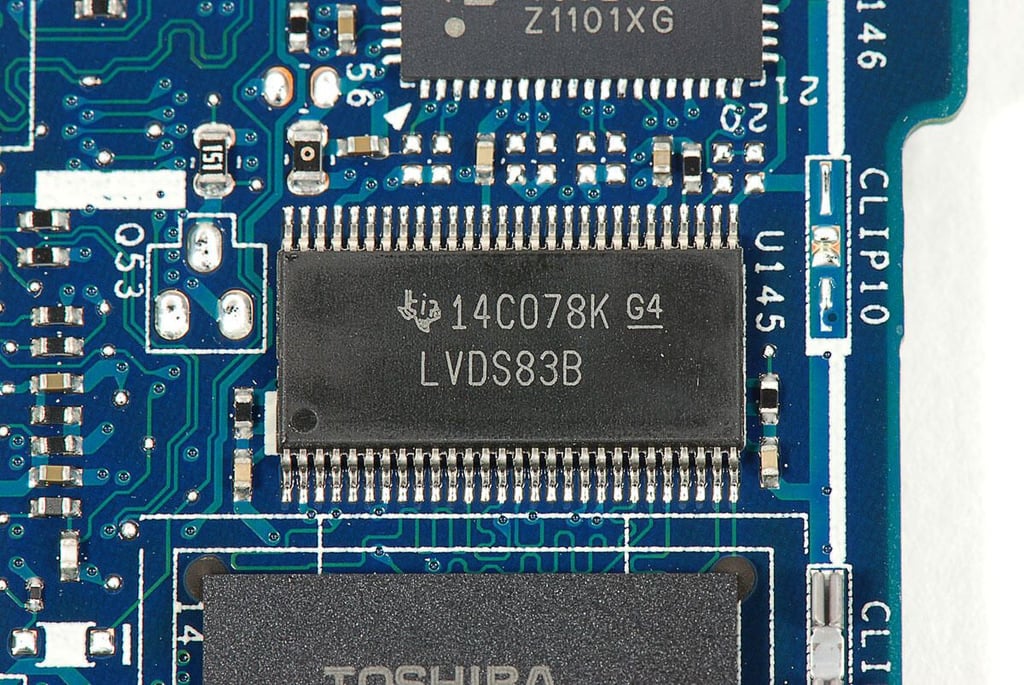
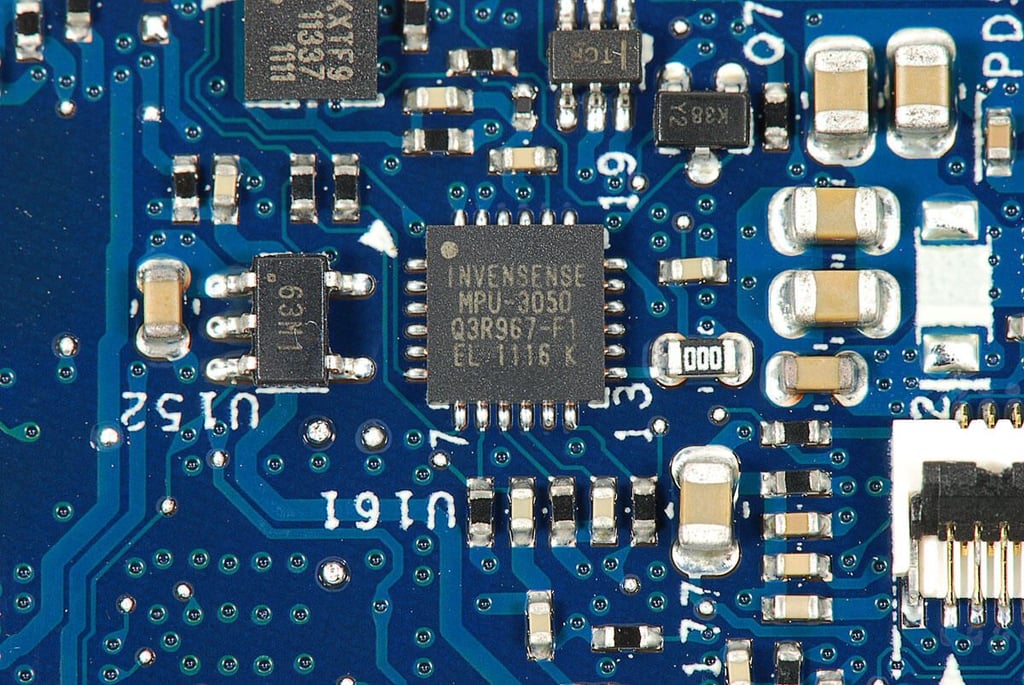
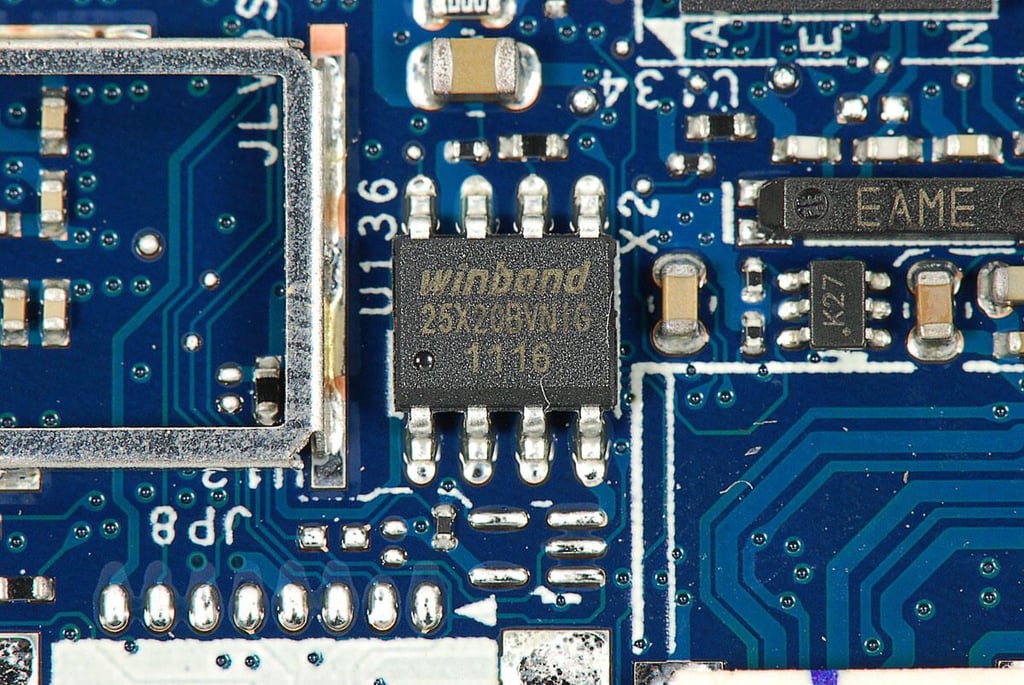
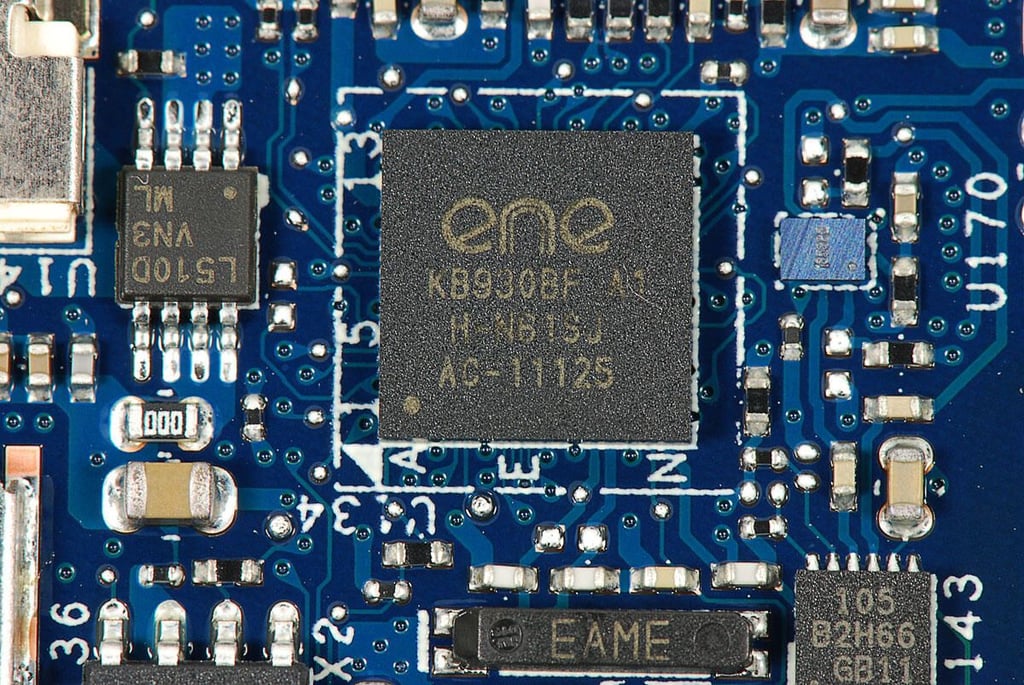
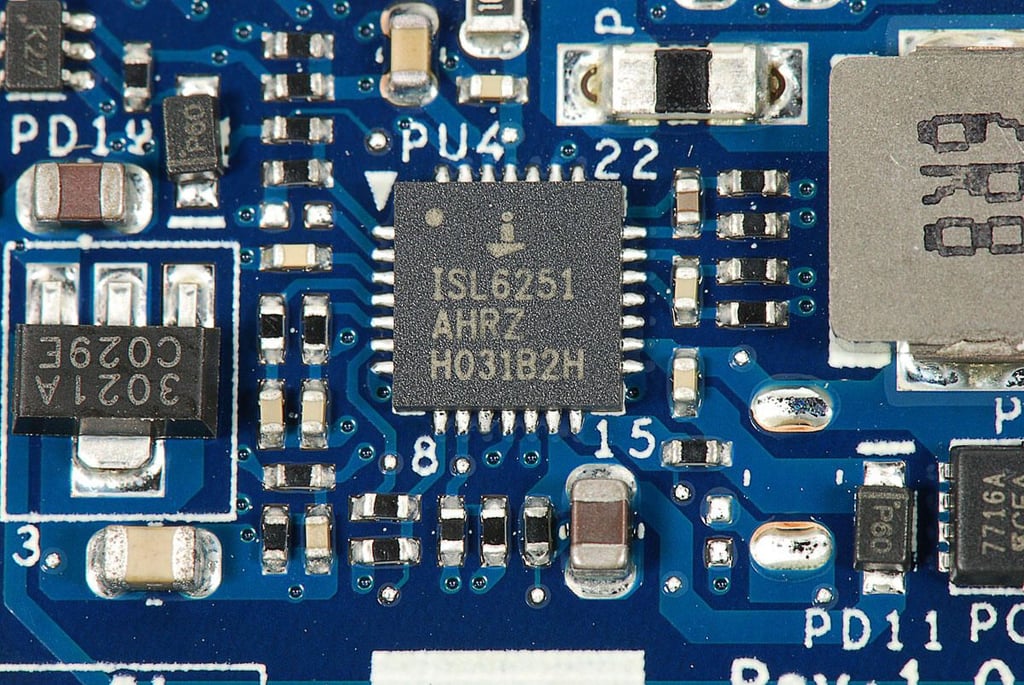
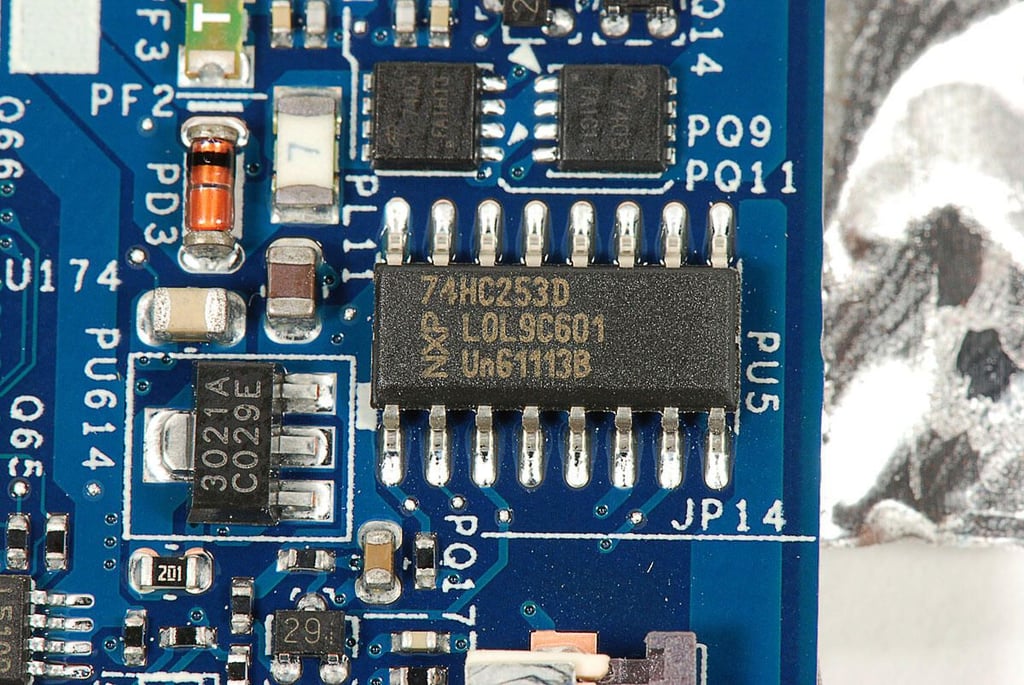
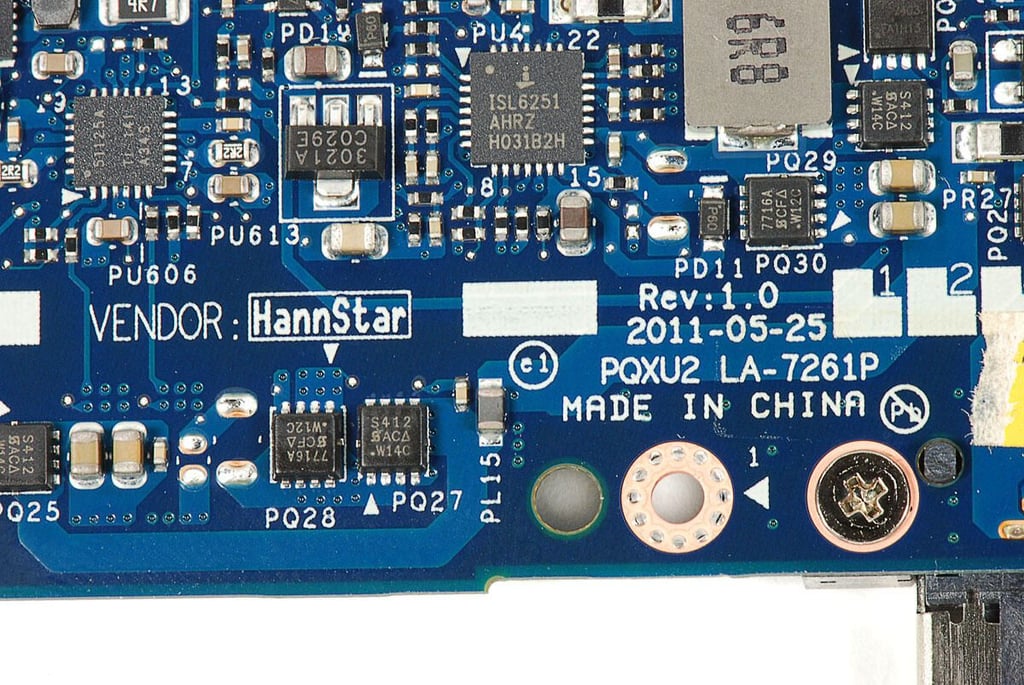
\n\tAfter removing the metal rim, I turned by attention to the many printed circuit boards (PCBs) inside the IdeaPad K1. This PCB contains the device’s left-side controls and internal microphone.
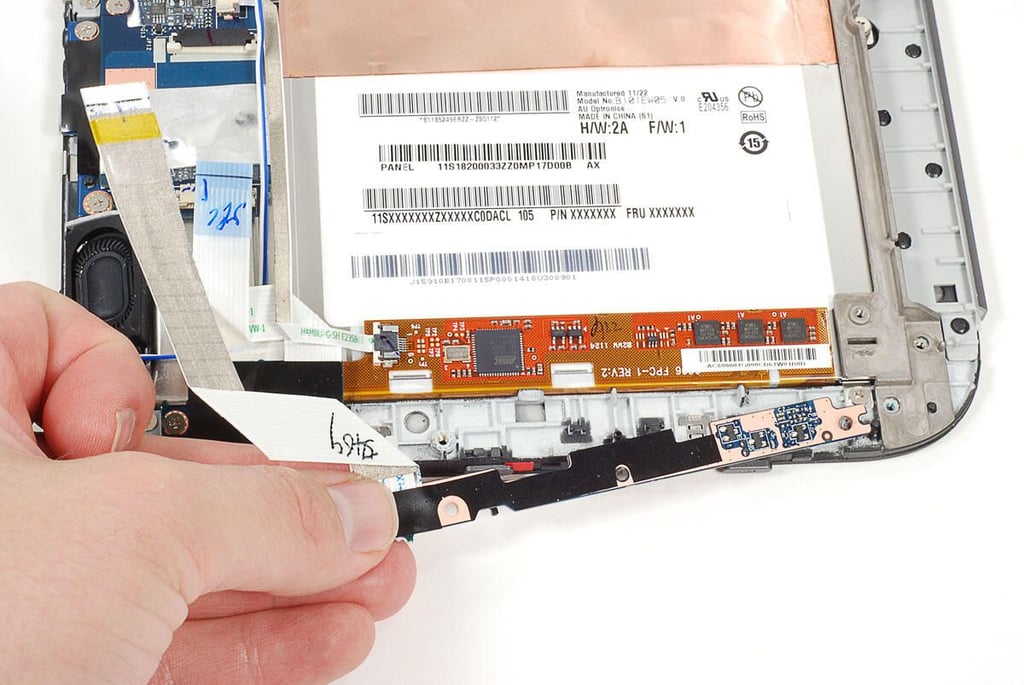

\n\tThe internal microphone, power button, volume up/down buttons, and screen rotation lock switch are all located on this small circuit board.
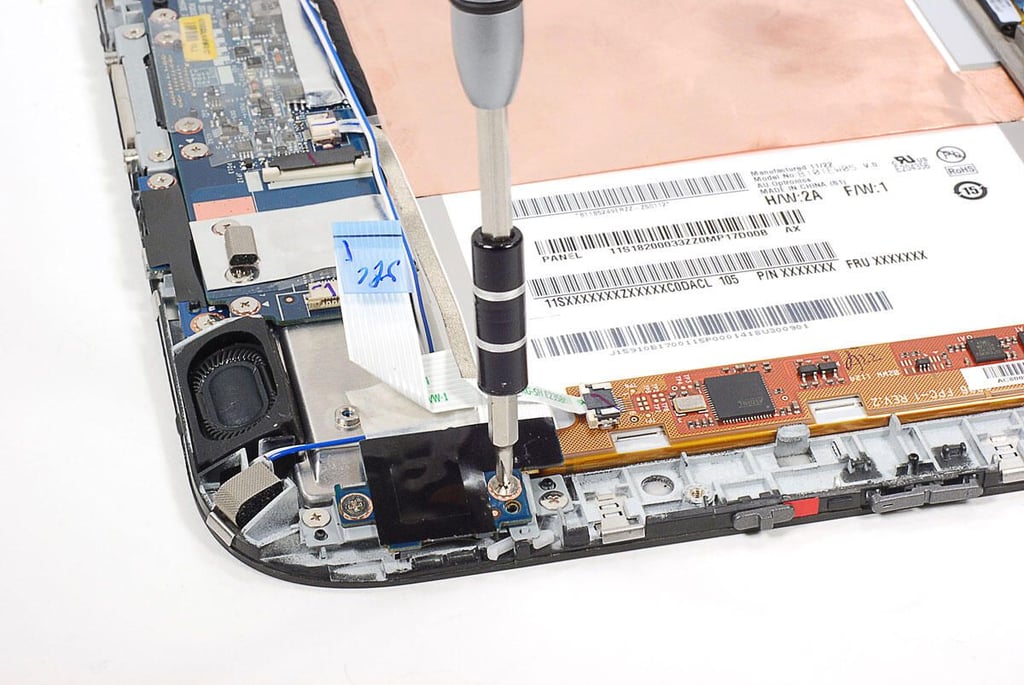
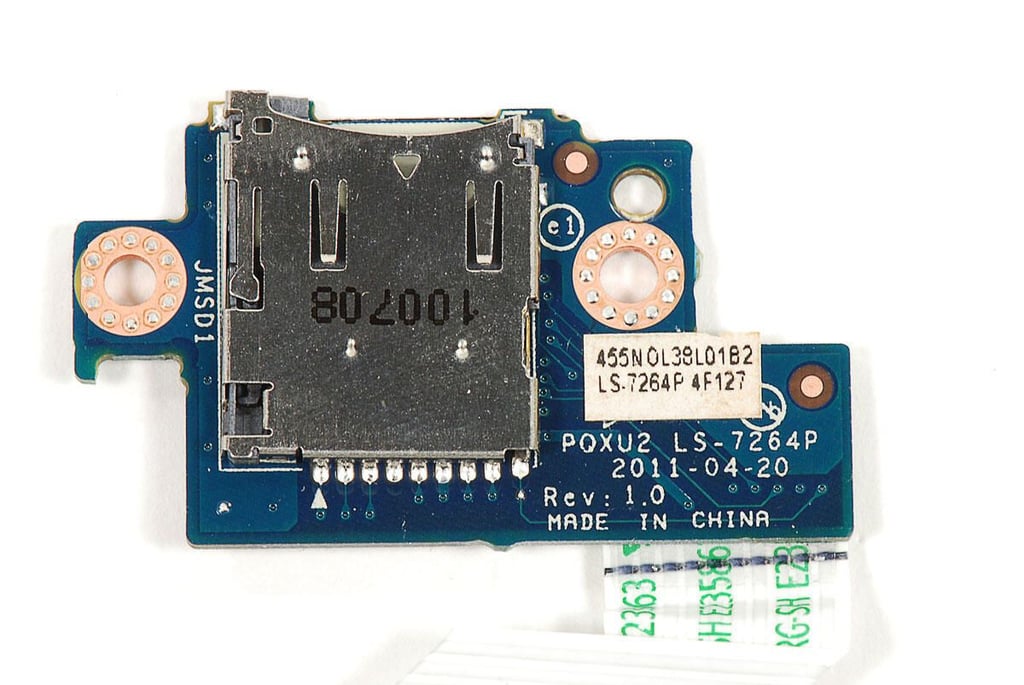
\n\tAs with the IdeaPad K1’s left-side controller circuit board, the microSD card reader is mounted to a separate PCB.
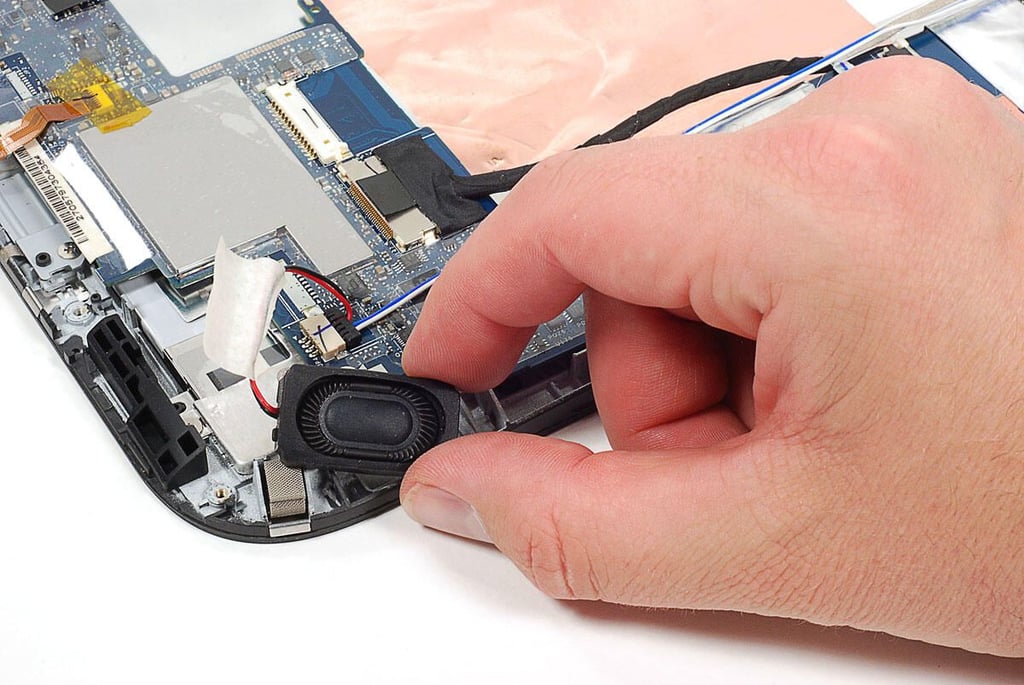
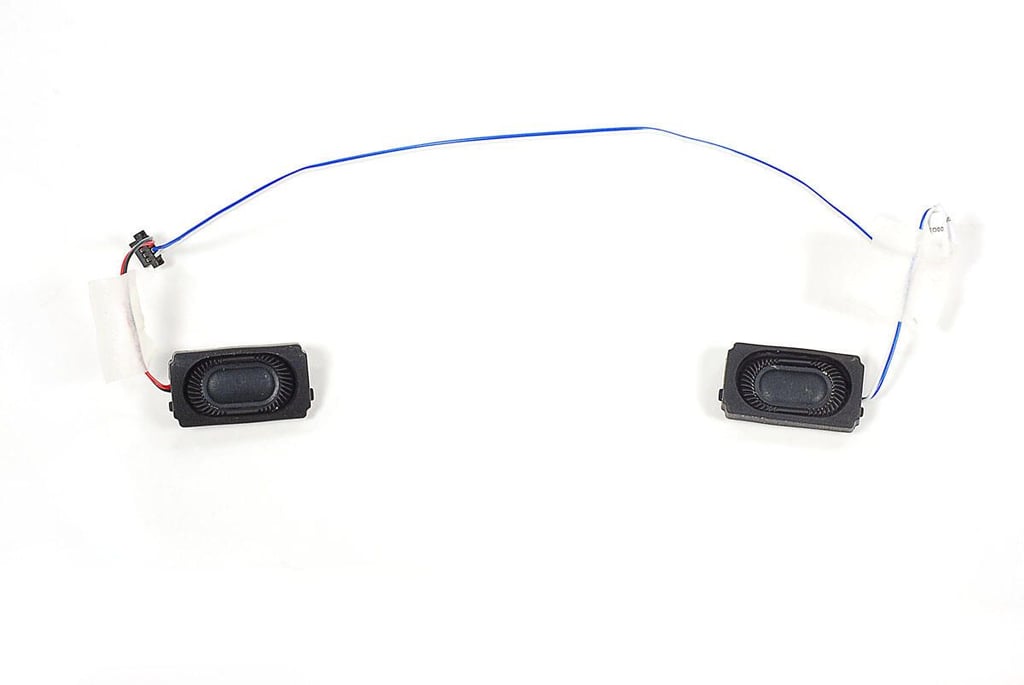
\n\tThe speakers are held in place by the rubber cushions that surround them.
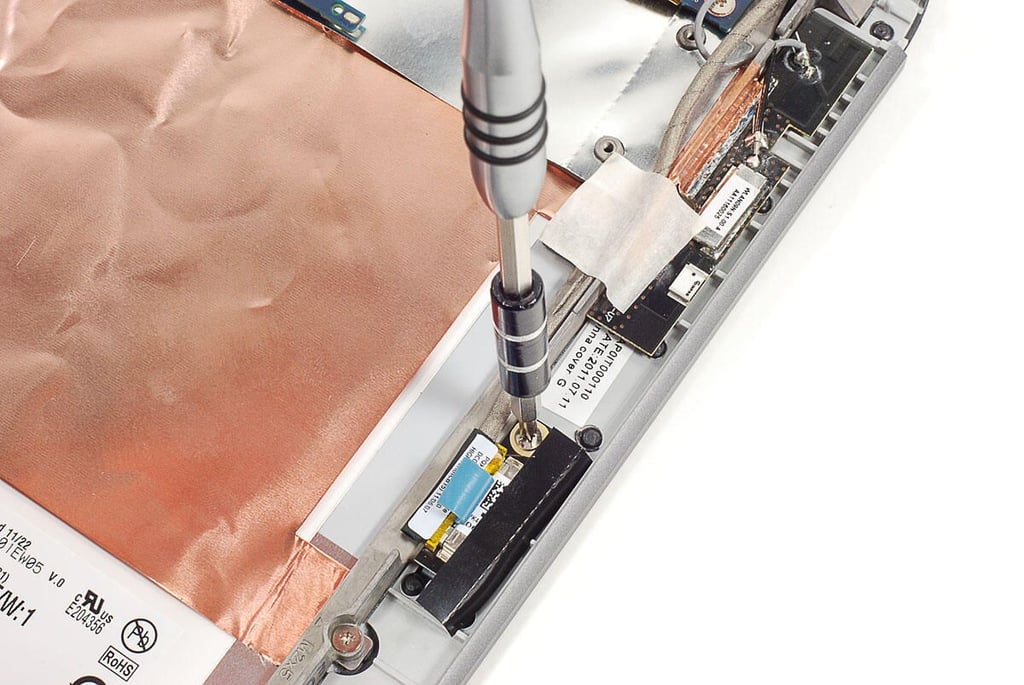
\n\tThe IdeaPad K’s 2MP front-facing camera is held to the front-panel assembly with a single Phillips screw.
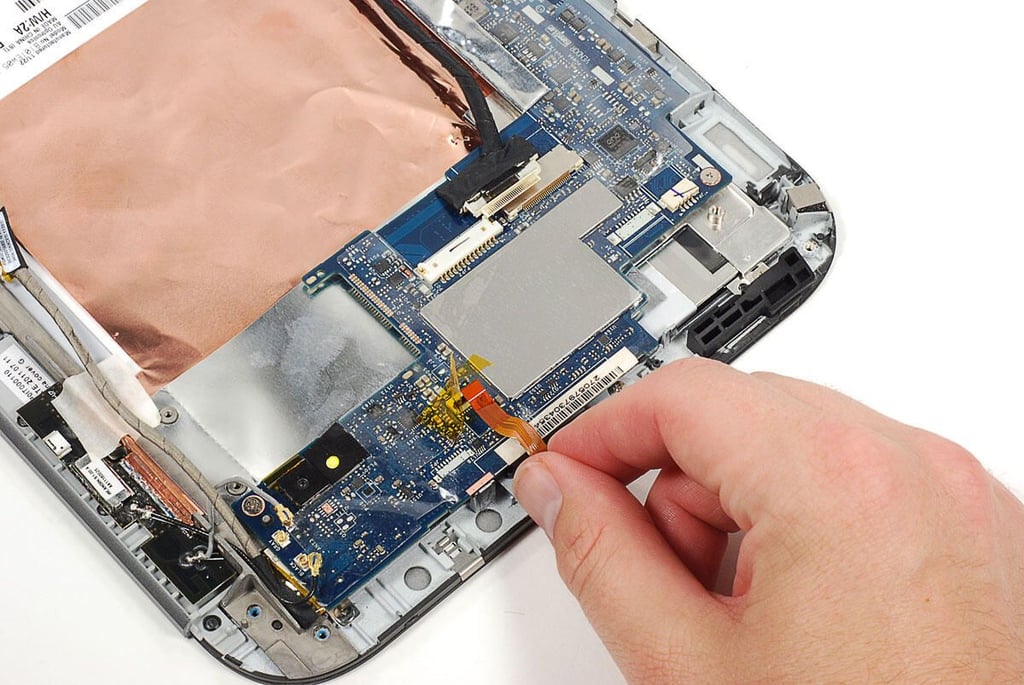
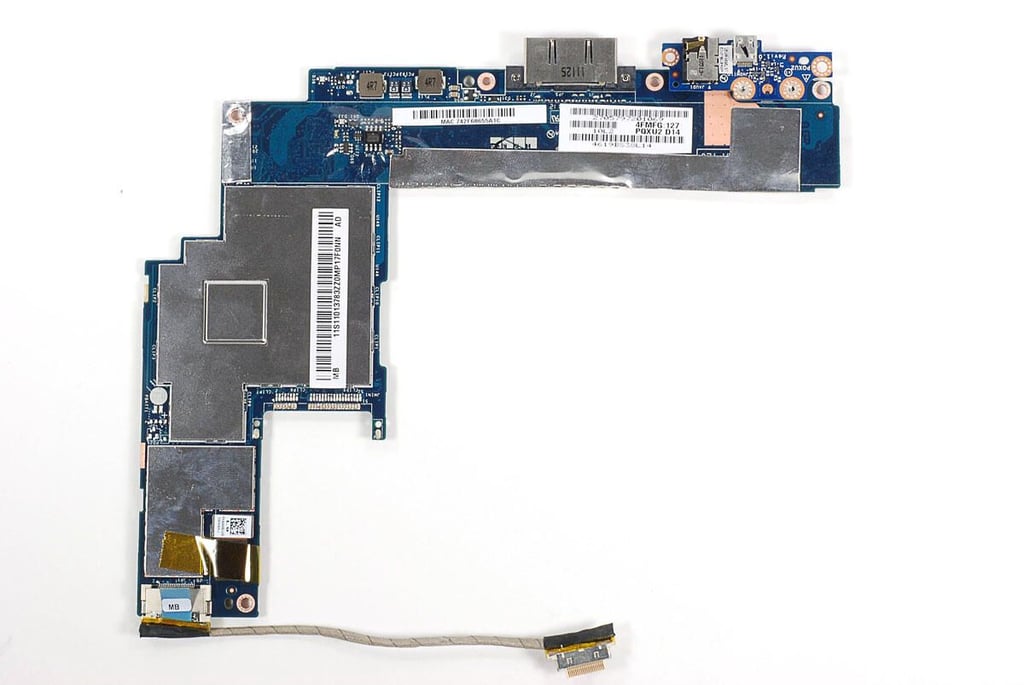
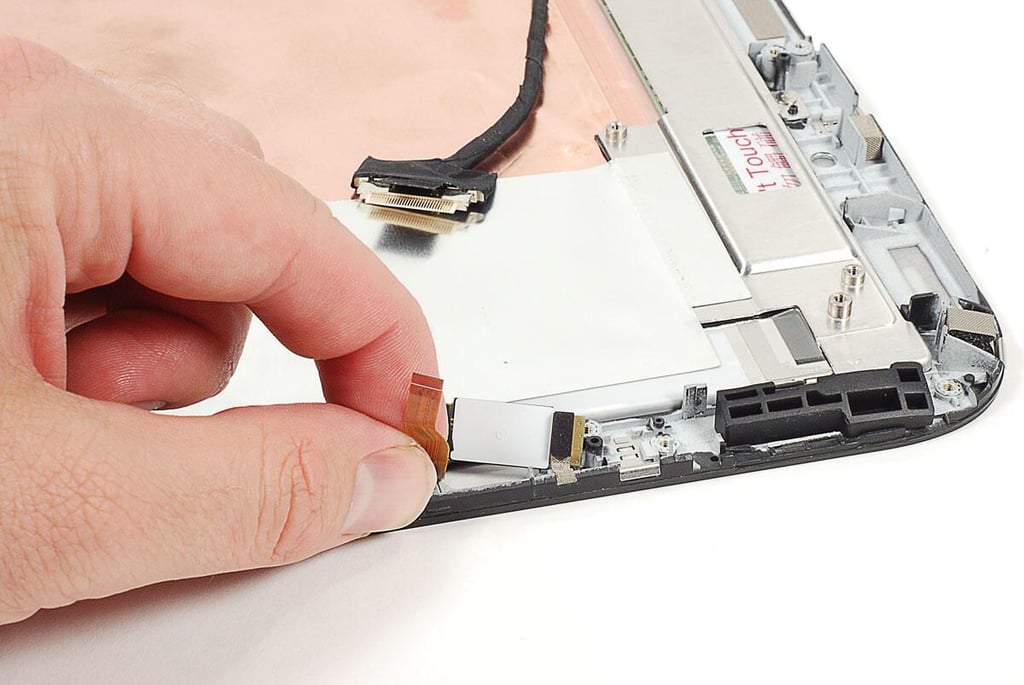
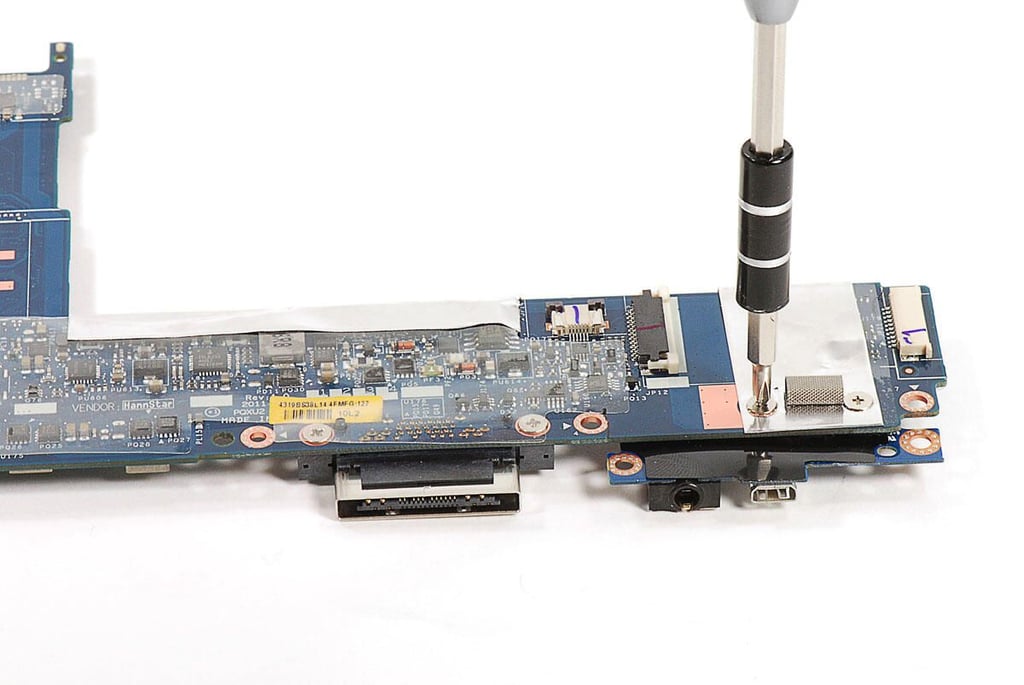
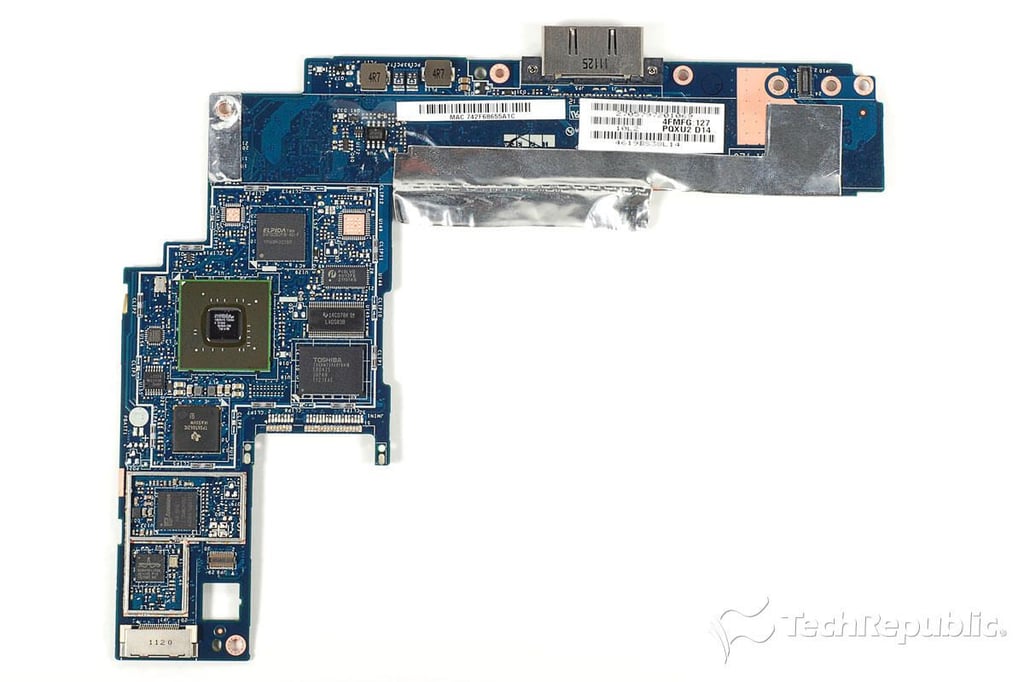
\n\tBefore removing the IdeaPad K1’s motherboard, I detached all the remaining ribbon cables and connectors.
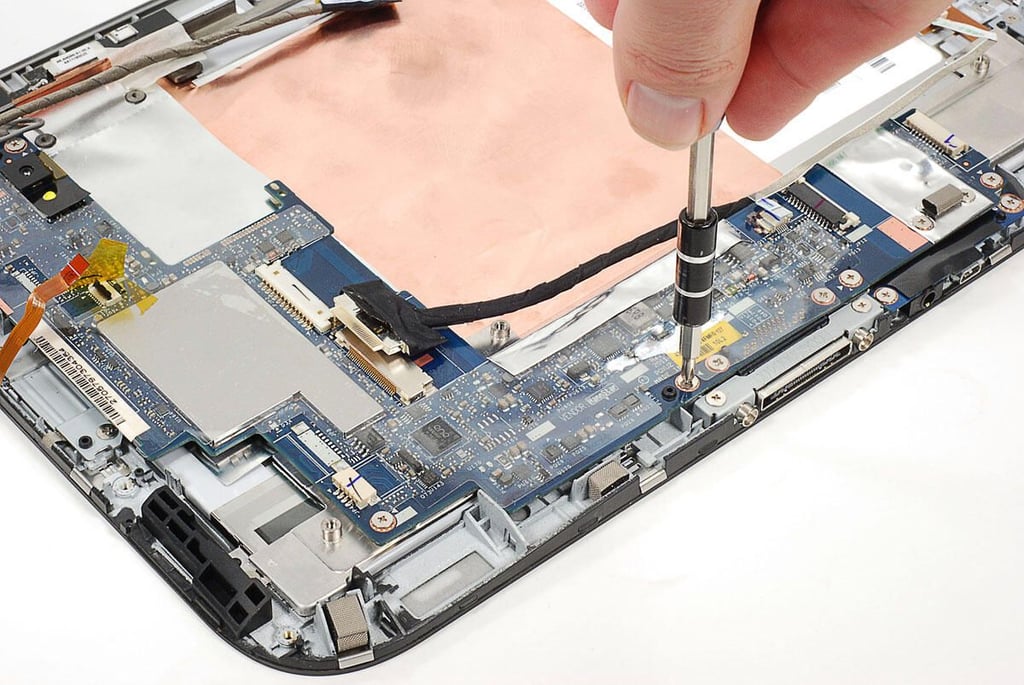
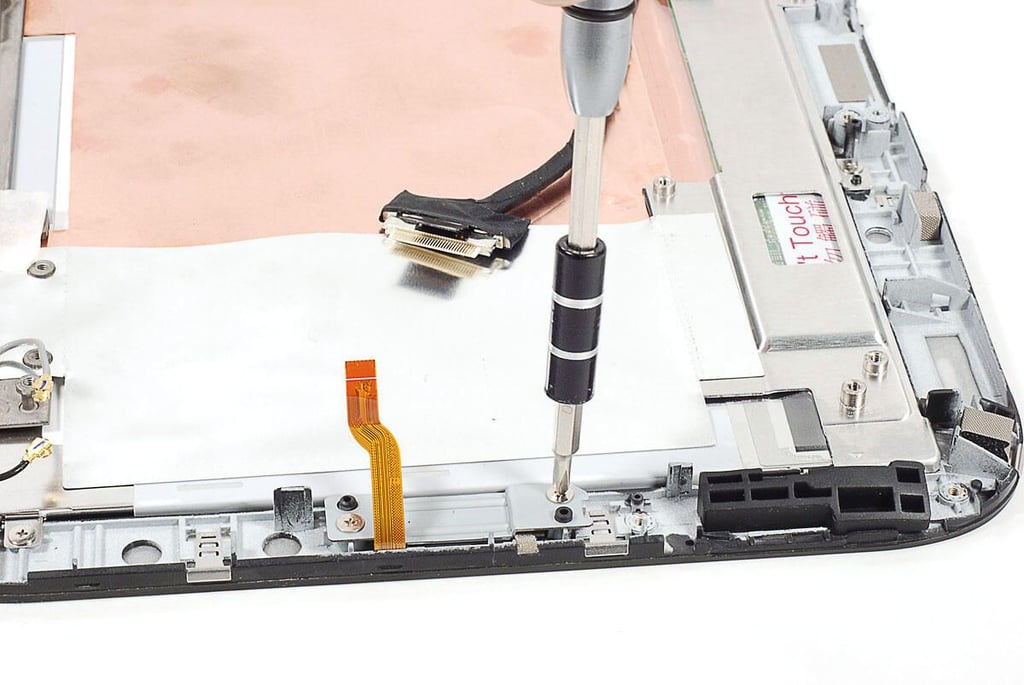
\n\tThe IdeaPad K1’s motherboard is held to the front-panel assembly with several Phillips screws.


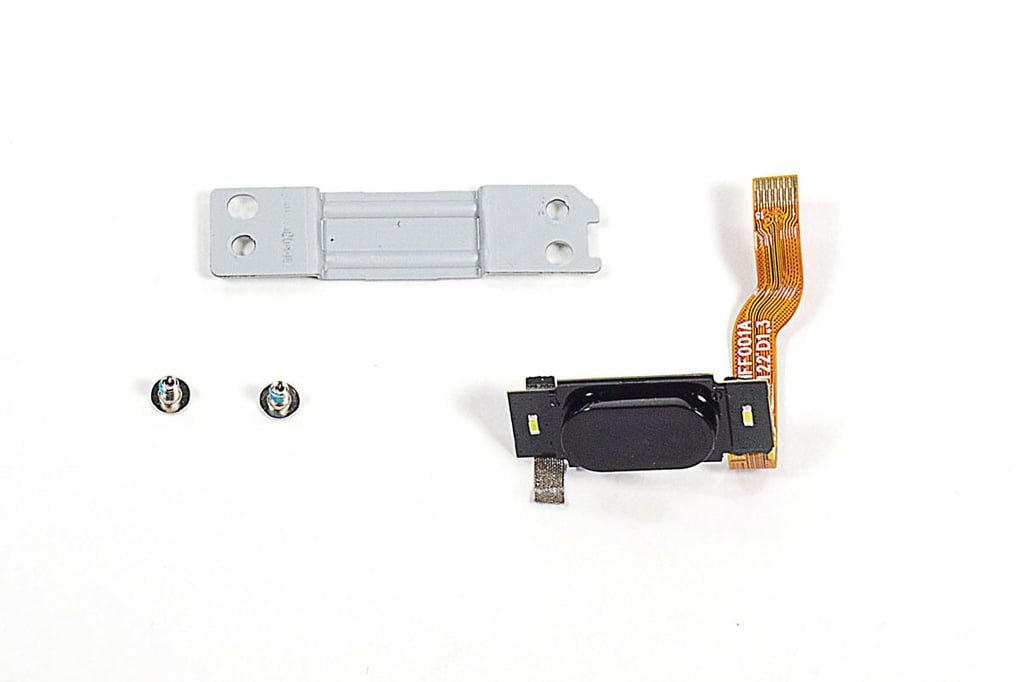
\n\tThe IdeaPad K1’s physical Home button is also a separate component.
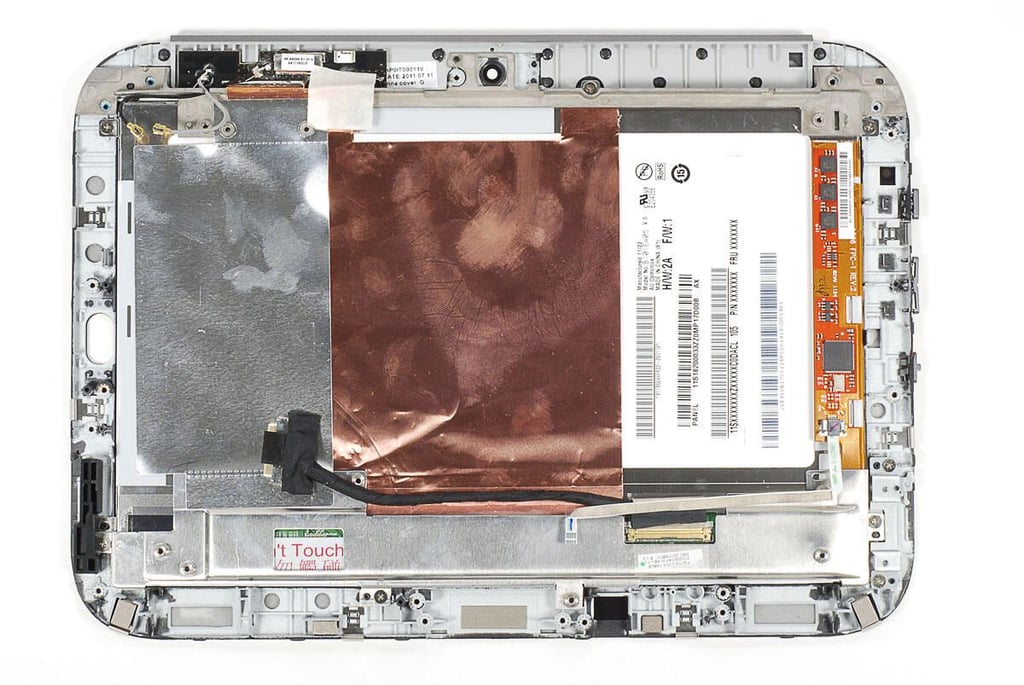
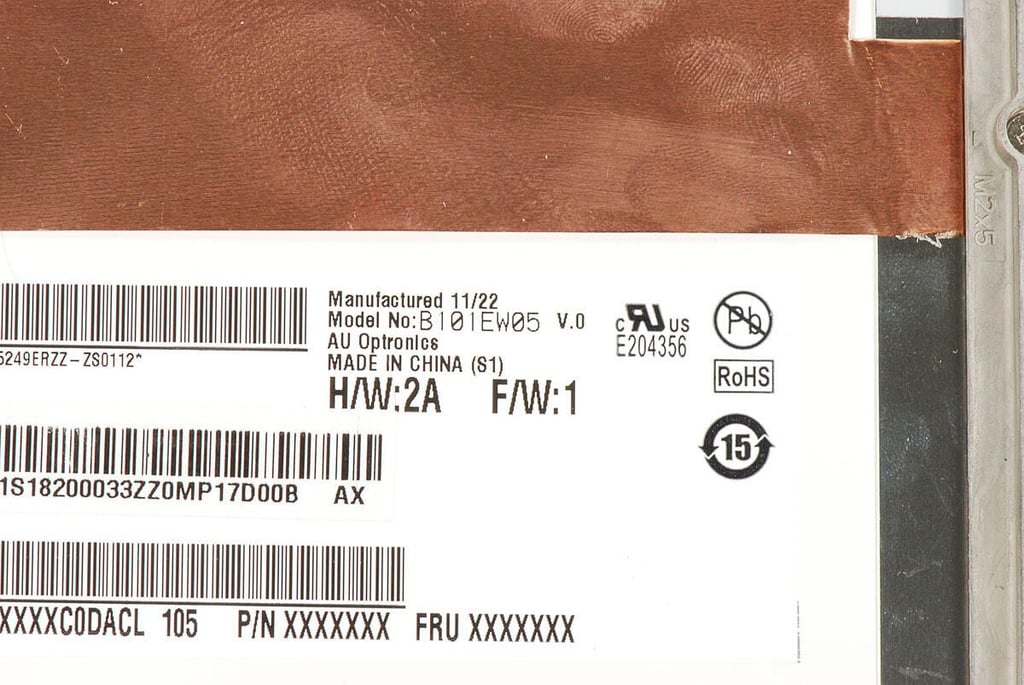
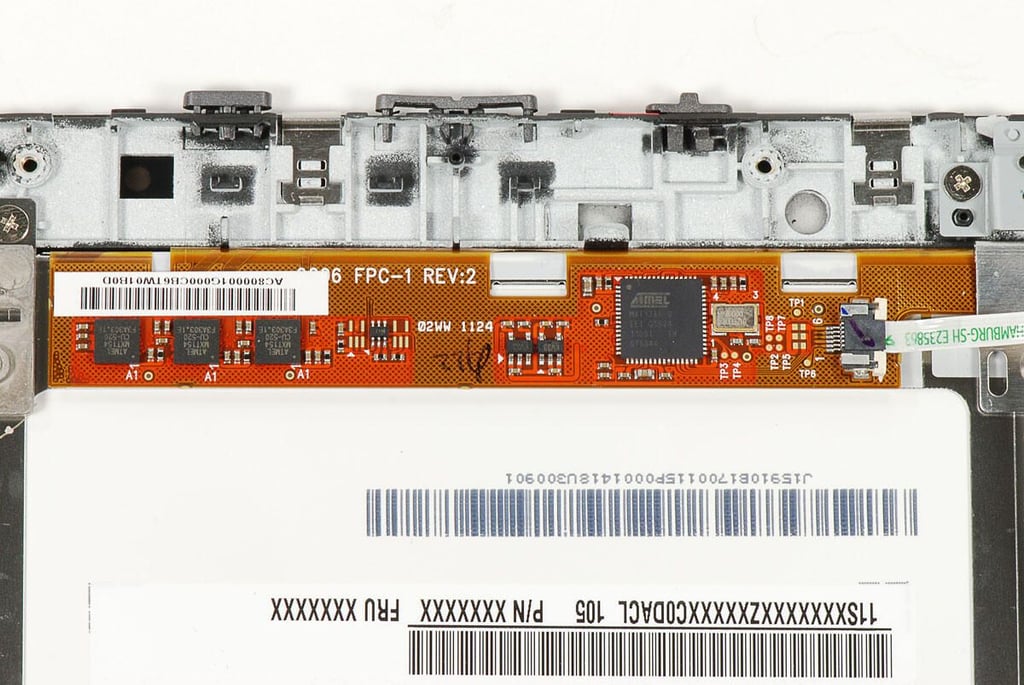
\n\tAfter removing the motherboard and most other internal components, I stopped dissecting the front panel assembly. The IdeaPad K1’s is held to the front panel (digitizer) with several screws and likely adhesive. There are also several pieces of thin metal foil that are glued to the back of the LCD and assembly. Removing the LCD from the assembly would likely require me to remove and damage these piece of foil.
\n\tThe Mini HDMI port and 3.5mm audio jack are mounted on their own circuit board, which is held to the motherboar with Phillips screws.
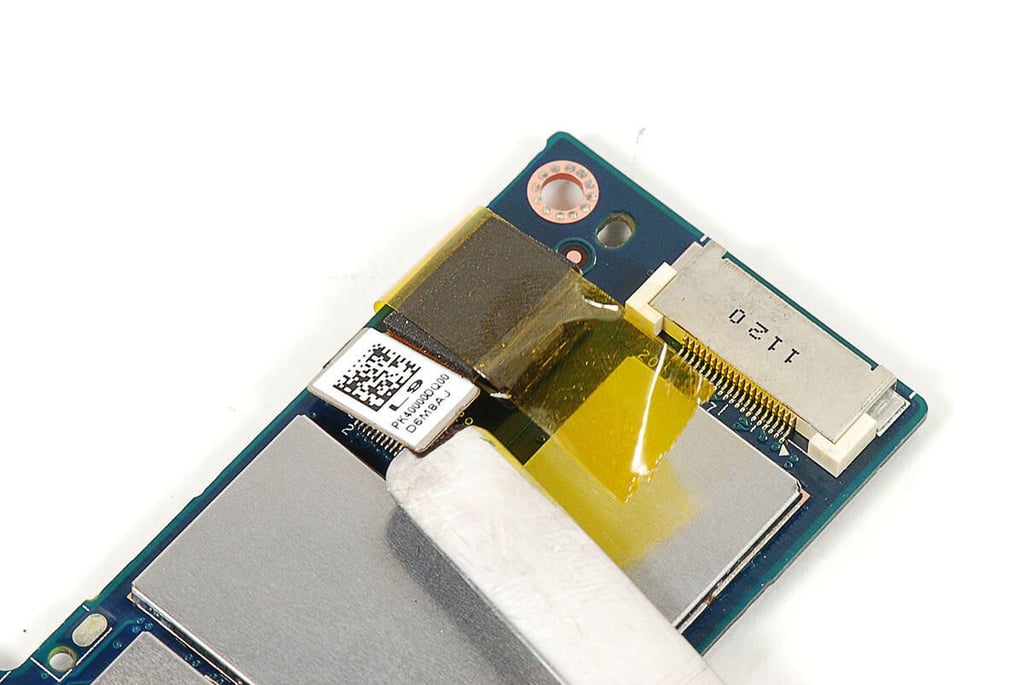
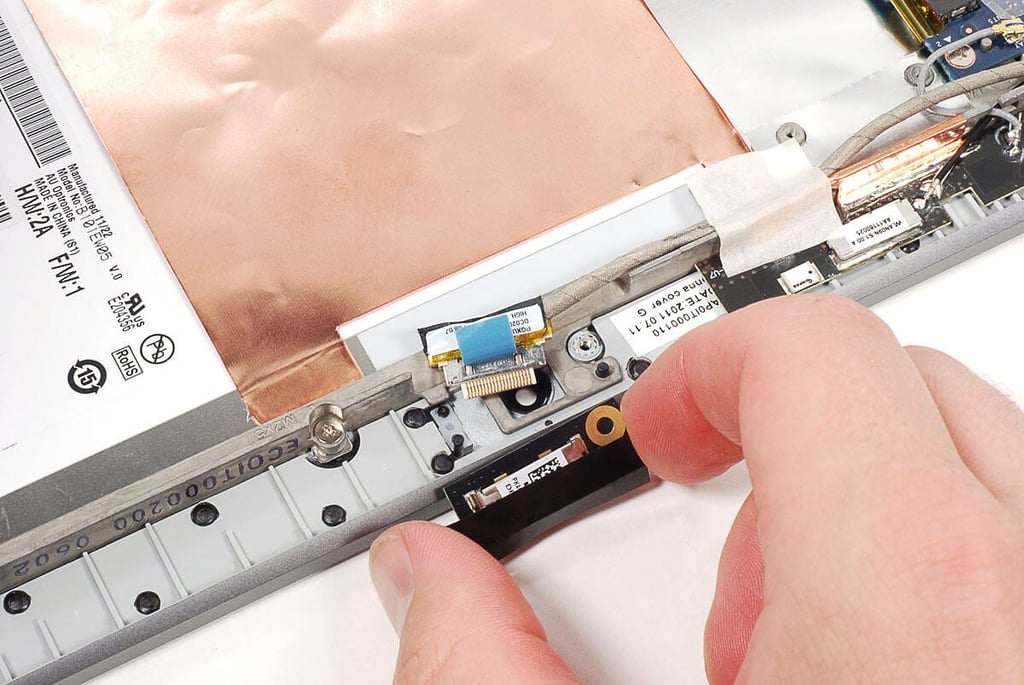
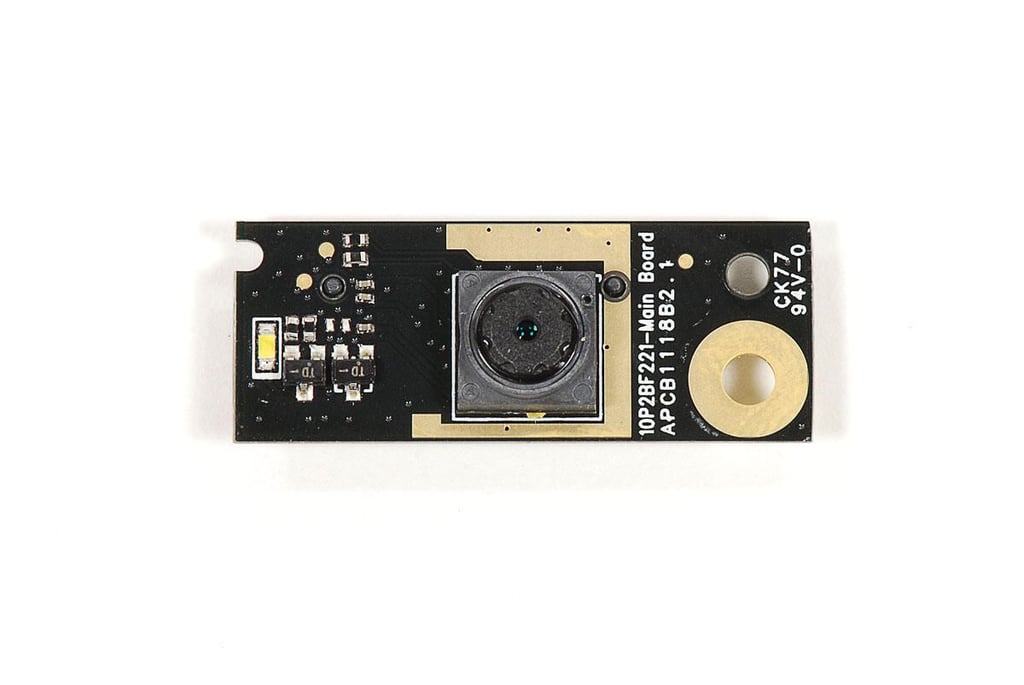
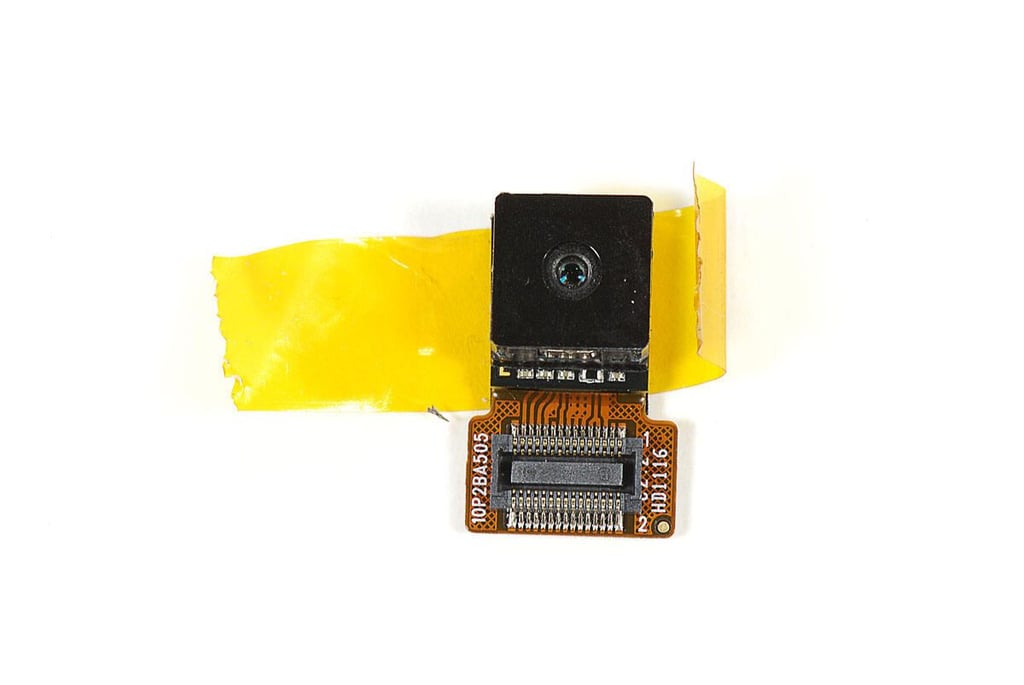
\n\tThe IdeaPad K1’s 5MP rear-facing camera is held to the motherboard by its connector and a piece of tape.
\n\tThe Lenovo IdeaPad K1 wasn’t difficult to disassemble, but would-be K1 service people should know the following:
\n
\n\t
\n\t
\n\t
\n
Bill Detwiler is the Editor for Technical Content and Ecosystem at Celonis. He is the former Editor in Chief of TechRepublic and previous host of TechRepublic's Dynamic Developer podcast and Cracking Open, CNET and TechRepublic's popular online show. Previously, Bill was an IT manager in the social research and energy industries. He has bachelor's and master's degrees from the University of Louisville, where he has also lectured on computer crime and crime prevention.


