Portable media players are all the rage. View this gallery for an inside look at Microsoft’s new Zune. From the device’s packaging to its software and the device itself, here’s what you get (and how it works) when you buy a Zune.
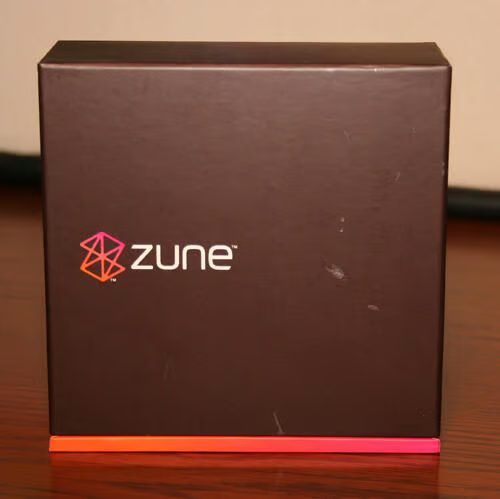
The Zune comes in a box resembling Apple’s iPod, in that it’s square and features separate compartments holding various components.
The Zune’s packaging boasts contemporary styling.

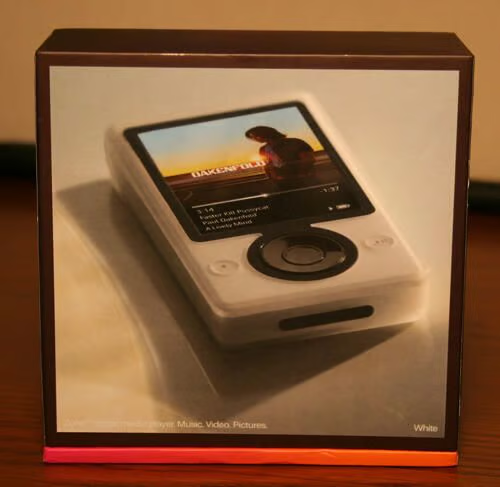
The Zune packaging boasts the device’s social networking capacity.
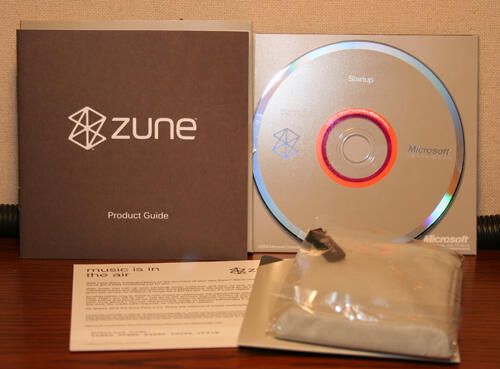
The Zune includes a soft carrying case, instructions and guide book, and software on CD-ROM.
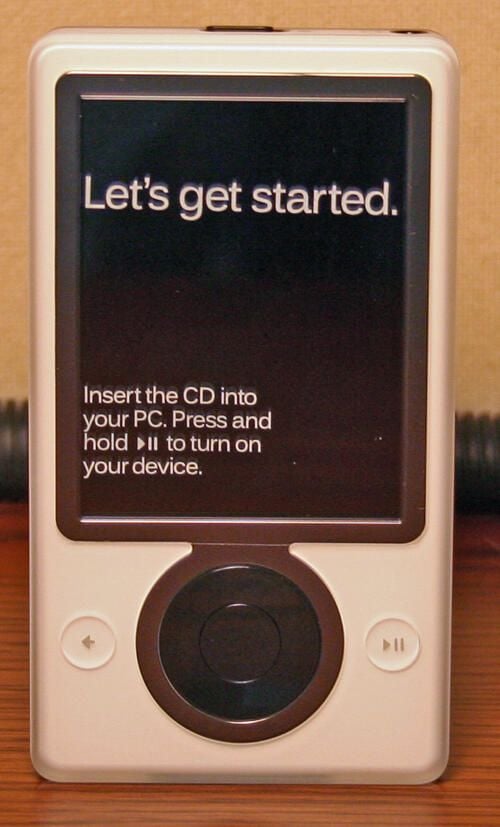
A protective overlay on the Zune’s LCD screen instructs users to insert the CD in their systems and press the play button to enable the device.
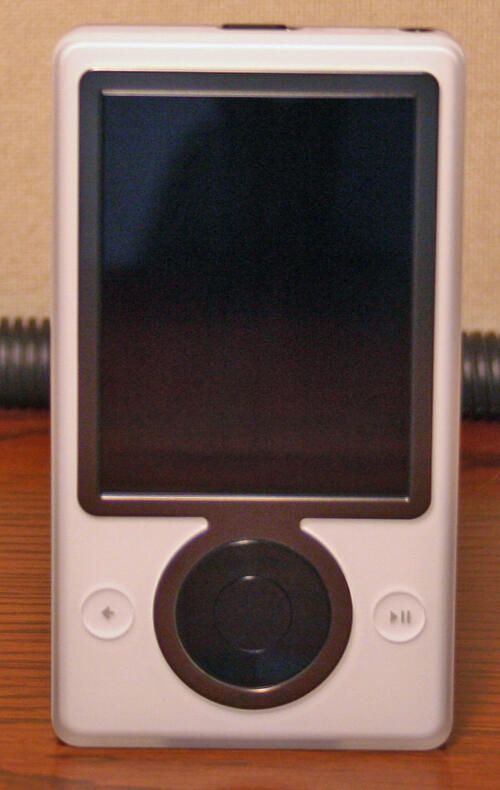
The Zune without the protective screen overlay.
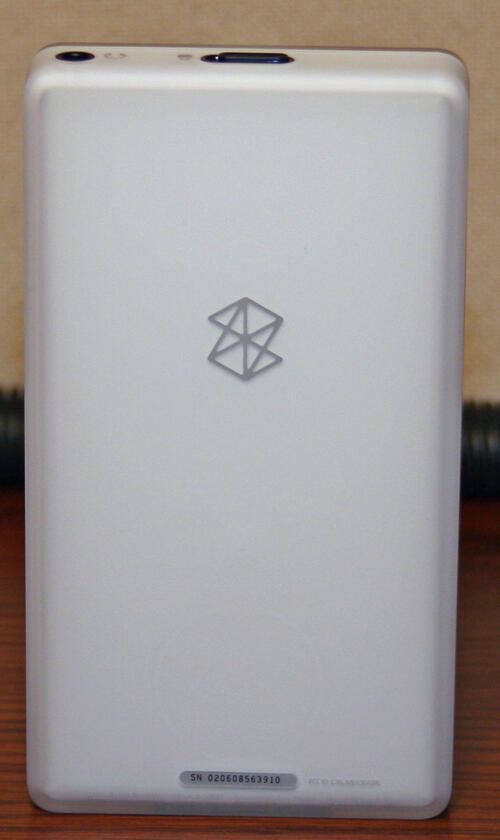
The Zune’s icon appears on its rear cover, along with the unit’s serial number.
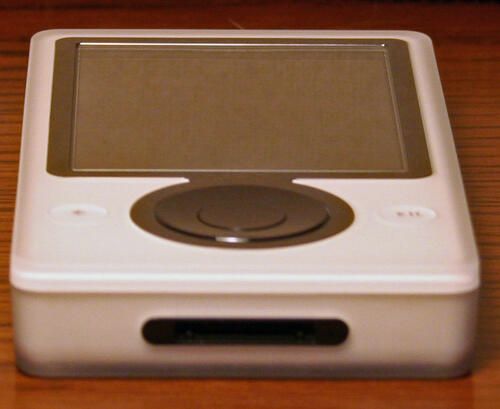
The Zune ships with a USB cable that connects to the data port, shown here, on the bottom of the Zune.
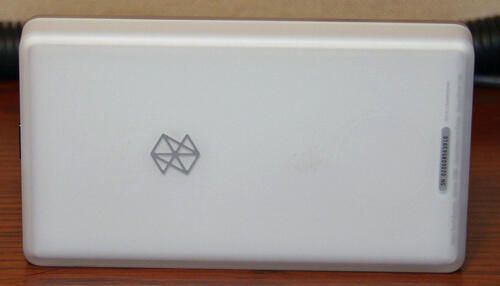
Here’s another view of the Zune’s rear panel. It’s style is clean with unbroken lines. Altogether, it’s a little larger than a video iPod, but still fairly compact.
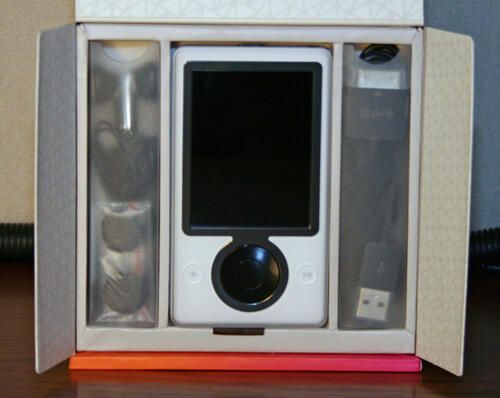
Zune accessories (including the data cable and headphones) are included alongside the device in separate compartments.
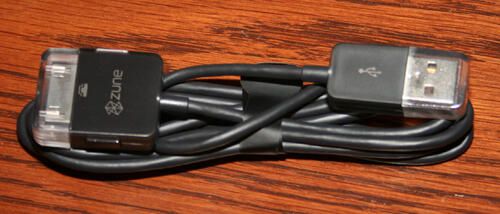
The Zune data cable features a USB connector on one end and a proprietary connector on the other.
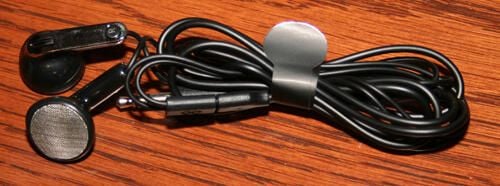
The Zune headphones feature a standard audio plug and in-the-ear buds.
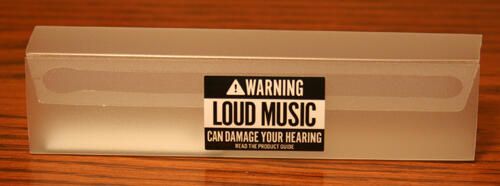
The Zune features the (now ubiquitous) warning message that seems to accompany every portable media player: Warning, Loud Music Can Damage Your Hearing.
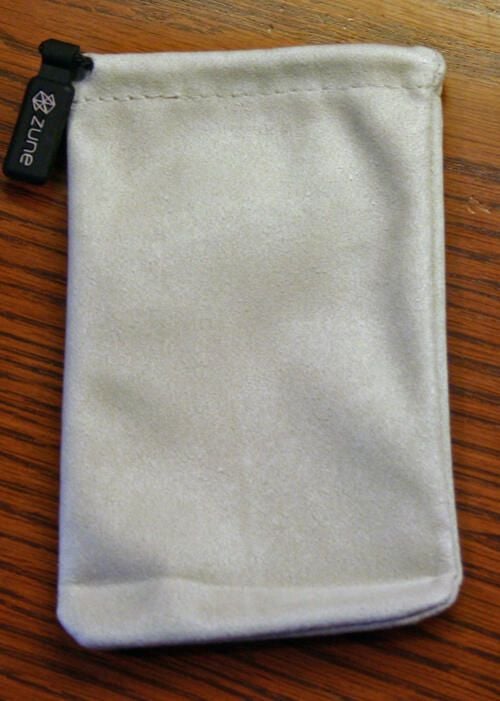
The Zune features a soft-sided carrying case, shown here.
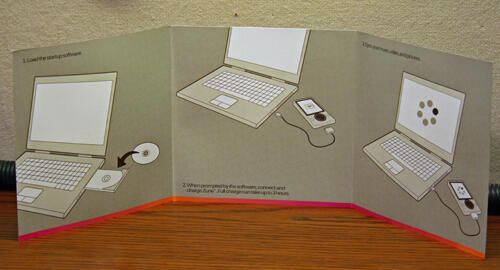
The Zune includes several guides and instruction booklets. Here is the pamphlet that uses pictures to walk users through connecting the new media player.
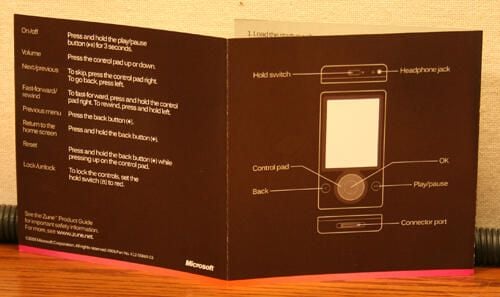
More Zune instructions describing the device’s buttons and features.
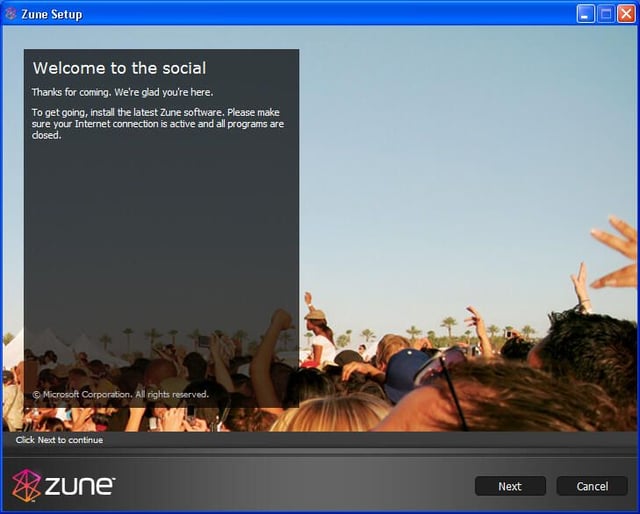
Upon installing the Zune CD, users see this screen.
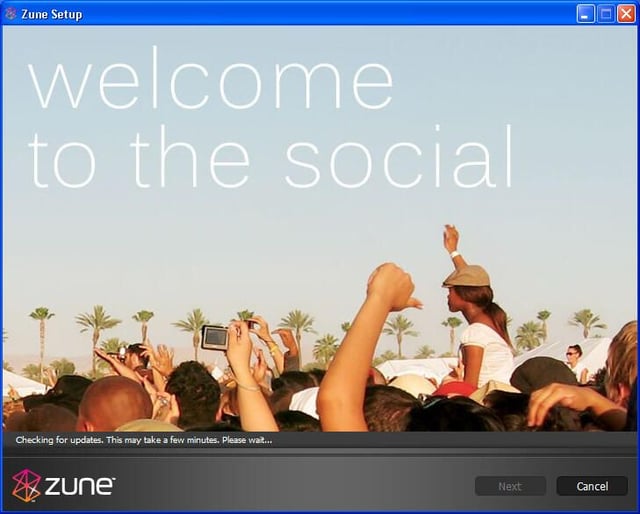
The Zune takes several minutes, upon the first installation, to check for updates. During the update process, the software touts the media player’s many different features, including the ability to share music, view videos listen to broadcasts and more.
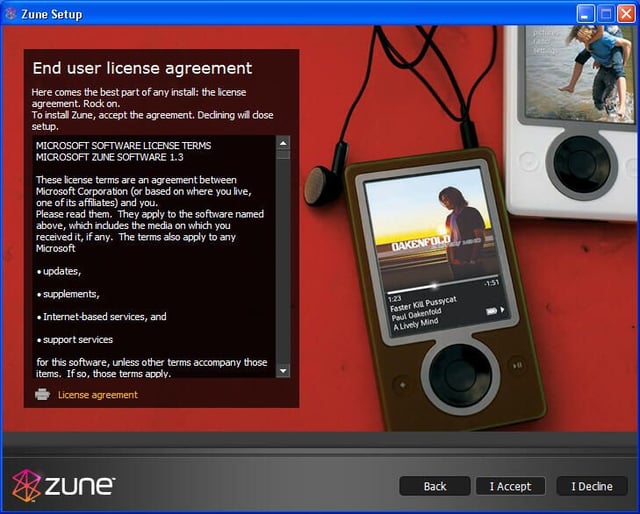
Users must accept the Zune License Agreement to proceed with the installation.

The Zune Setup program continues chugging through downloading updates. Here the Setup application demonstrates how widescreen videos appear on the device.
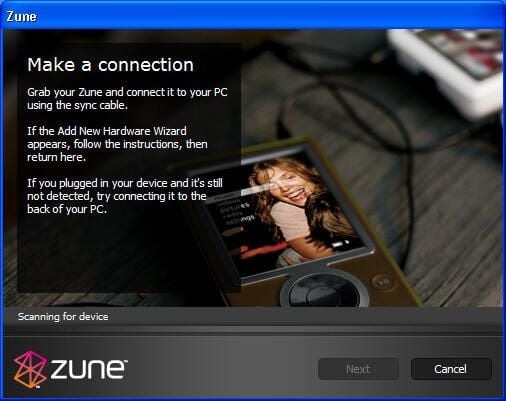
Upon applying updates, the Zune Setup program instructs users to connect their device to their PC.
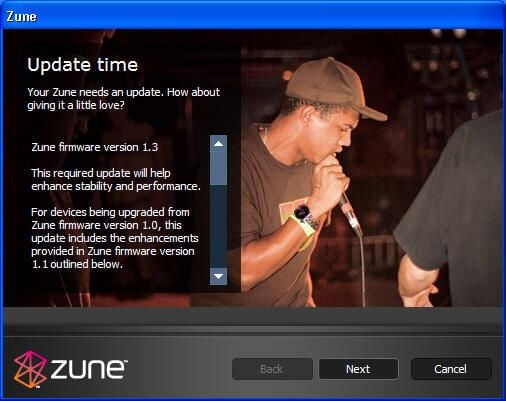
Despite having just completed software updates, the Zune needs to also download firmware updates (upon first installation).
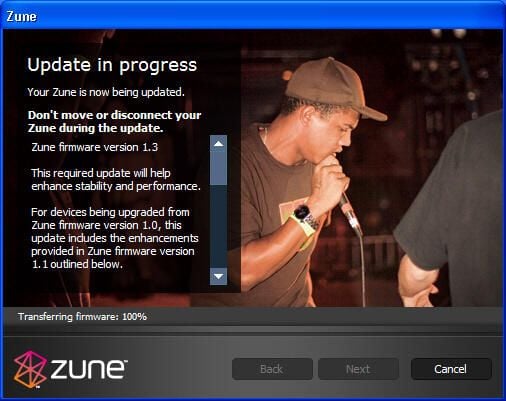
The Zune software warns users not to move or disconnect the Zune during the firmware update.
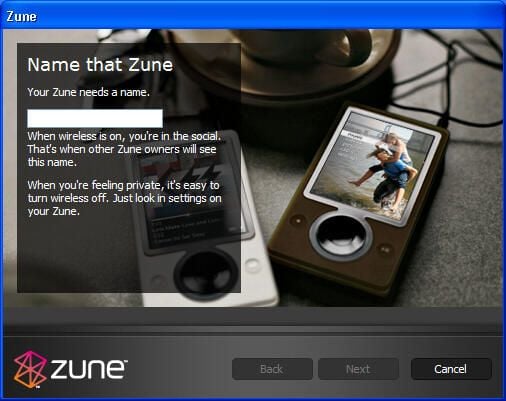
Users must name their Zune.
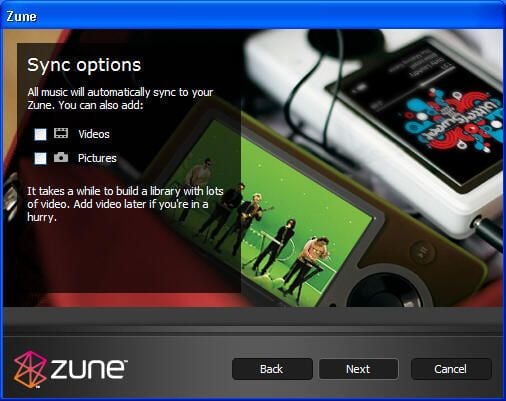
Users must specify sync options when installing the Zune.
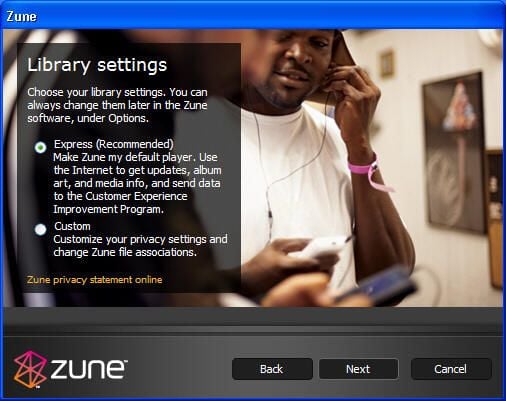
During Setup, the Zune prompts users to specify library settings, which among other things set the Zune as a user’s default media player.
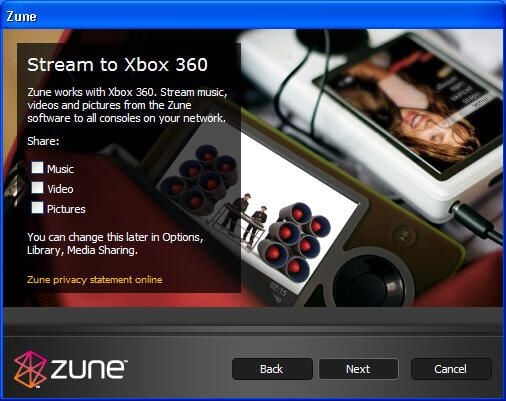
The Zune supports streaming media to Xbox 360 consoles. To enable such sharing, users need to check the appropriate boxes here during Zune Setup.
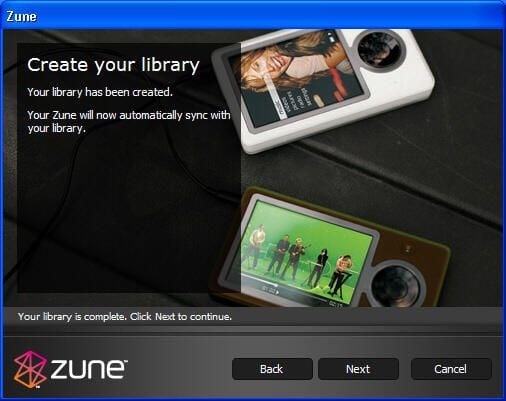
Upon connecting to the PC, the Zune automatically syncs with the PC.
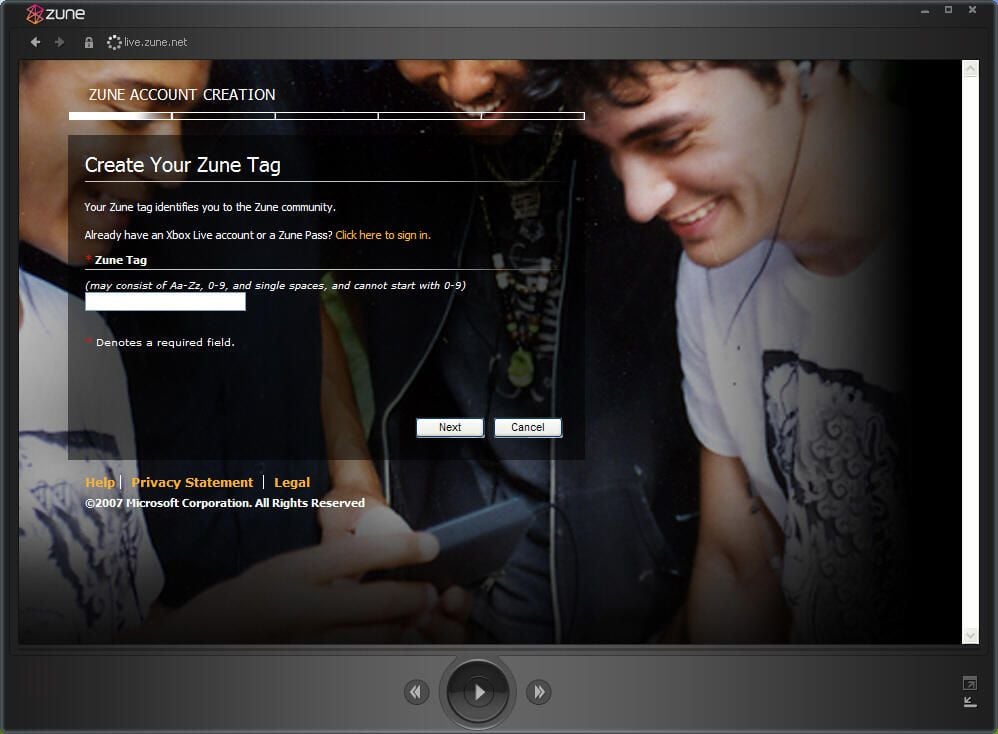
Users must specify a Zune Tag to identify themselves within the Zune community.
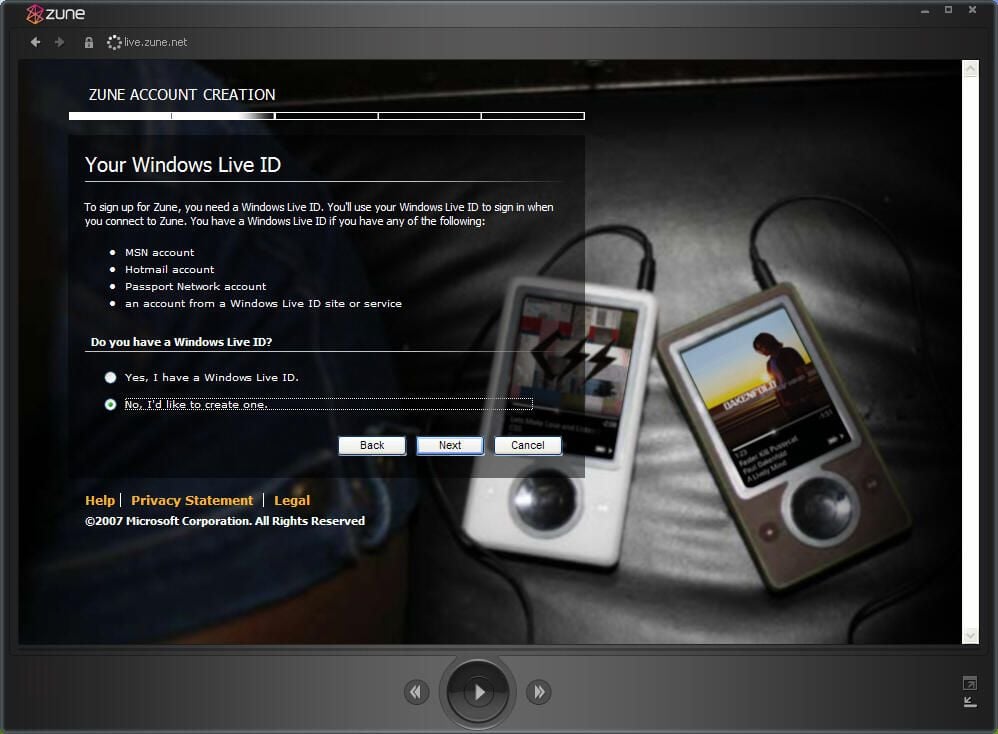
A Windows Live ID is required to sign up for Zune. MSN, Hotmail, Passport Network and other Windows Live ID holders can use their existing accounts to sign up.
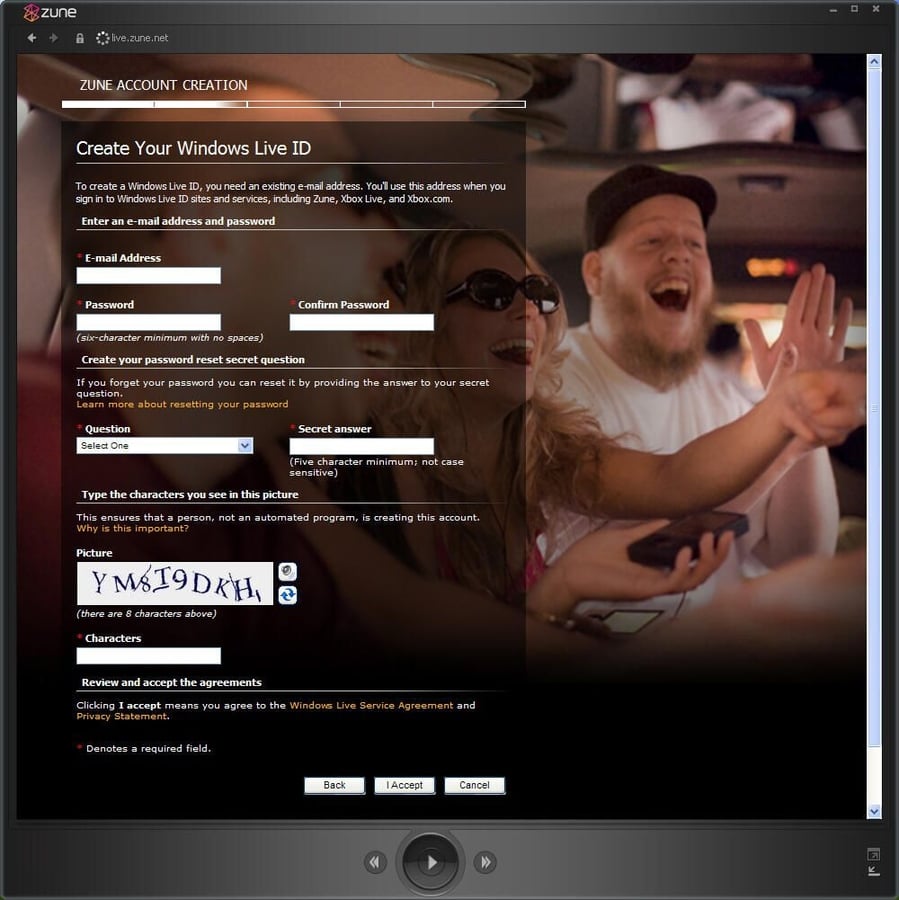
If a user doesn’t possess a Windows Live ID, the Zune software walks them through creating a new account.
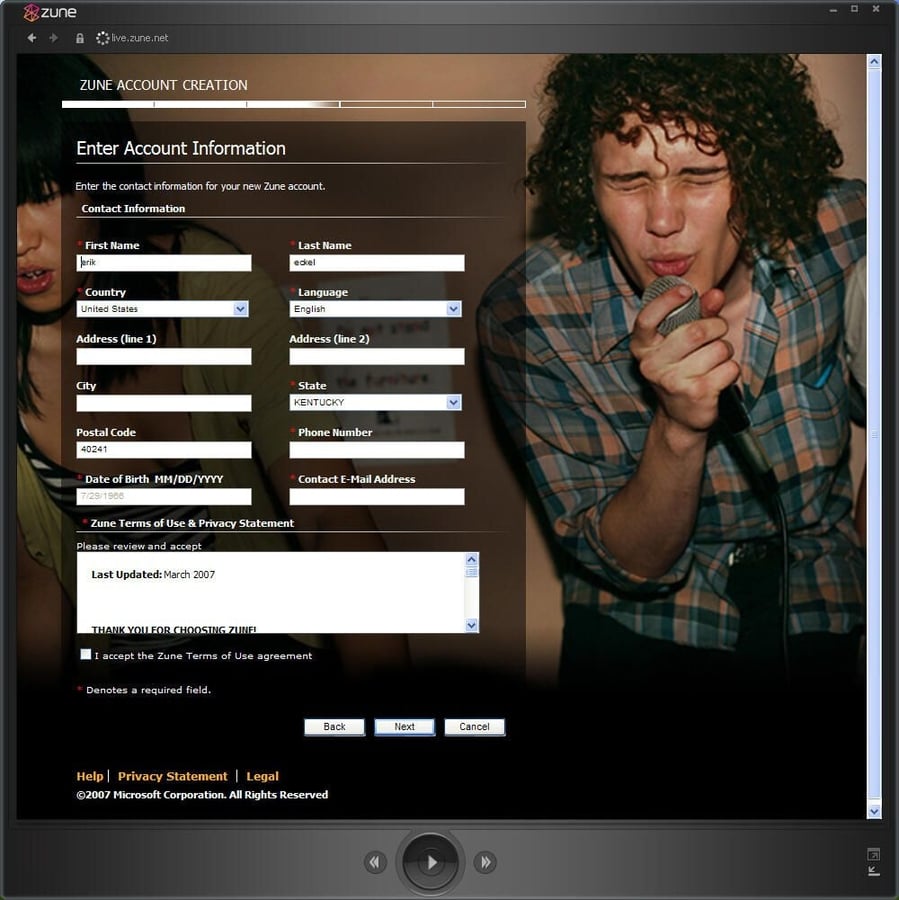
Among the information that must be provided when creating a Zune account is the user’s name, address, e-mail address and telephone number.

Upon completing Zune Account setup properly, the software displays this confirmation screen.
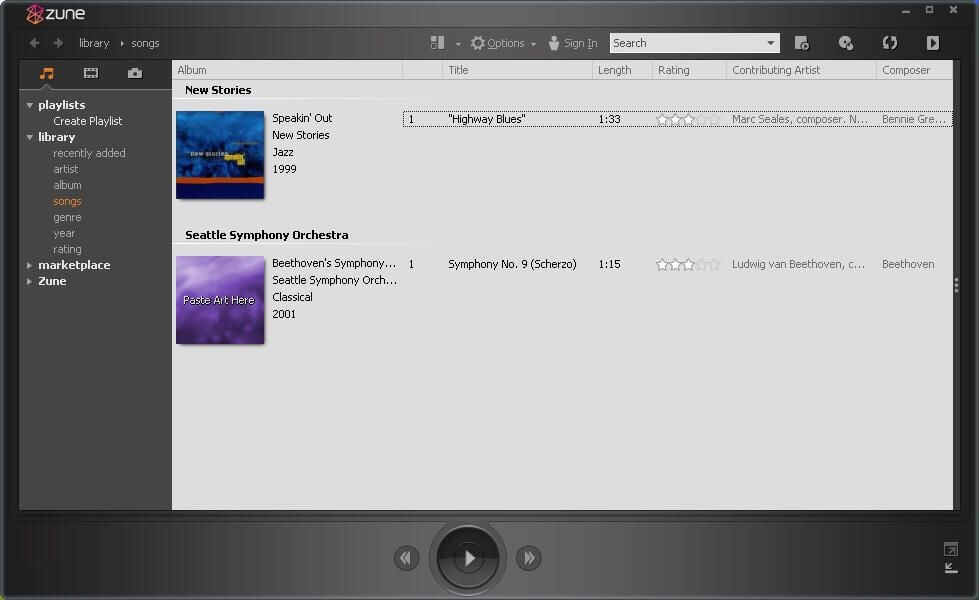
Zune features its own media player interface on the desktop, shown here.
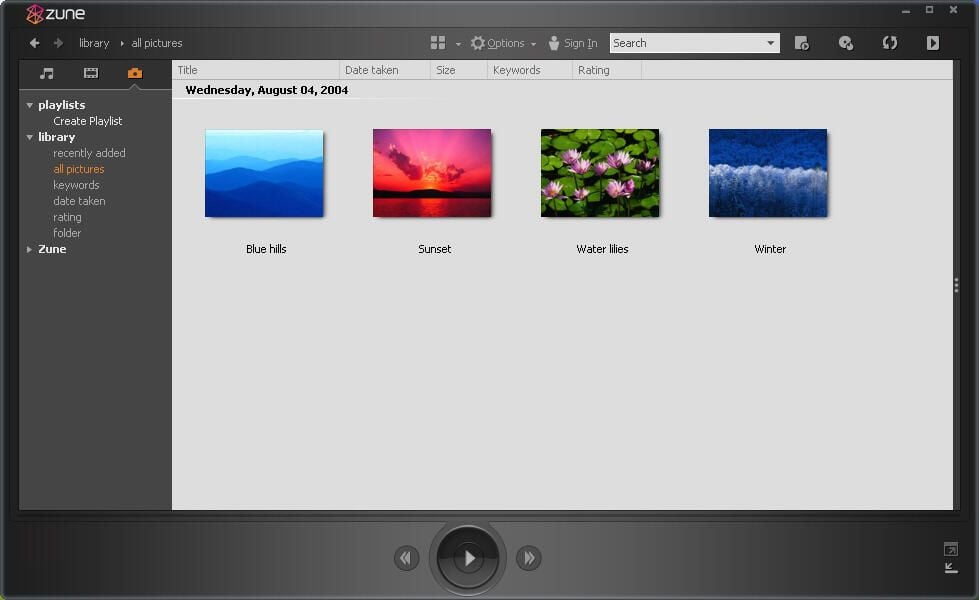
Music, photos (shown here) and videos are among the items that can be played back using the Zune desktop software.
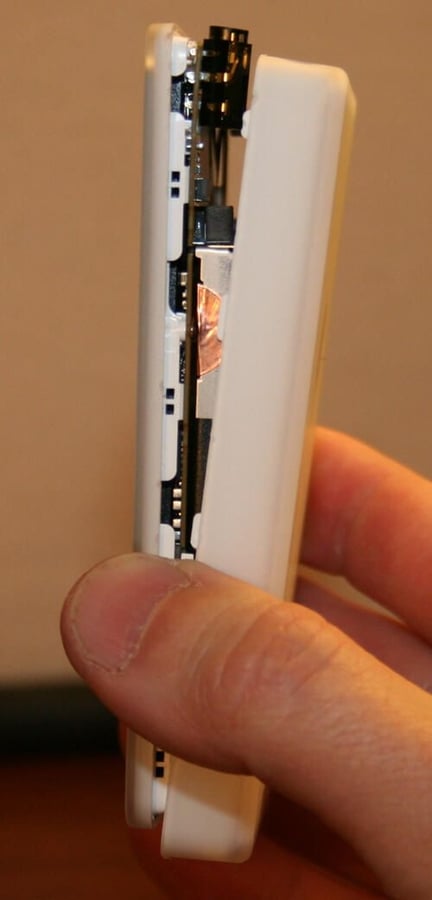
The Zune is built to tight tolerances. Opening the device requires precision care (and voids the warranty). The device’s front and back covers can be separated using a precision screwdriver.
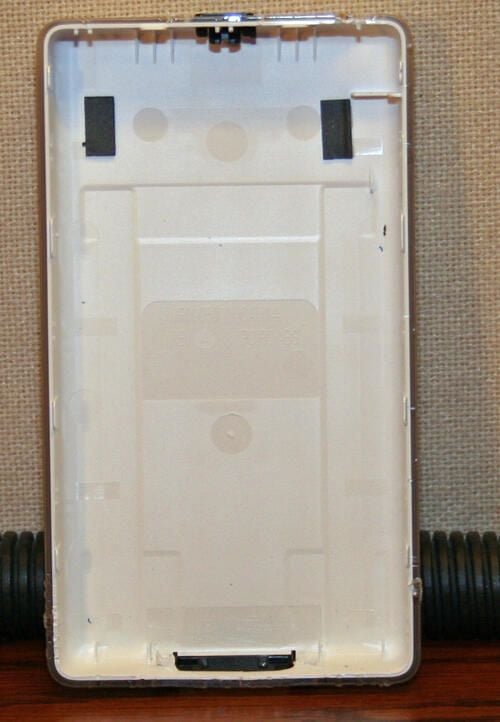
Here’s a view looking inside the Zune’s back cover. Note the lock switch (at top center) and the data port (bottom center).

Once the rear cover is removed, the Zune’s inside’s are revealed. At the top is the battery; a Toshiba hard drive sits beneath it.
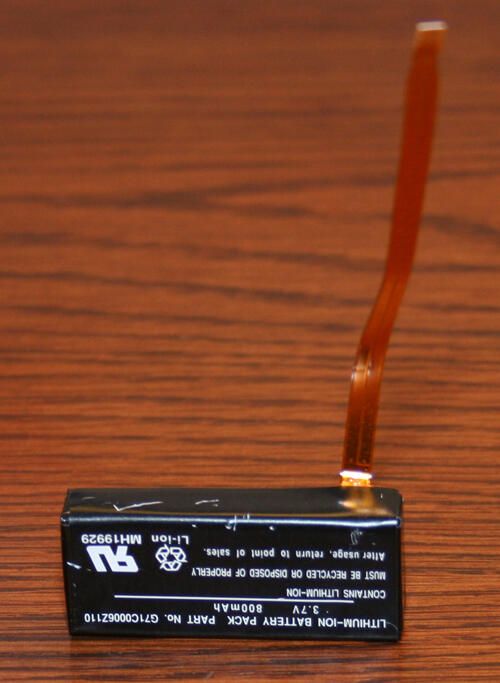
The Zune’s Lithium Ion battery.
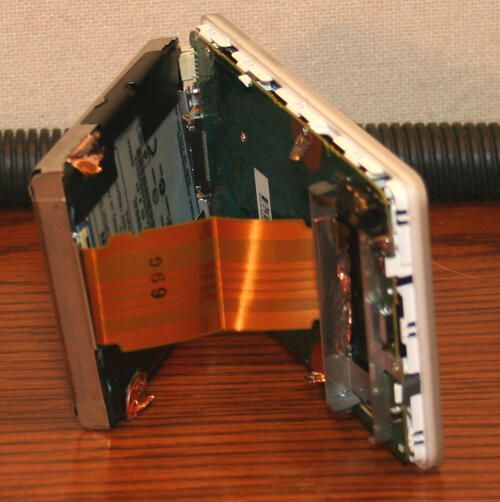
The Zune’s hard drive is connected to the main board via this copper-colored ribbon cable.
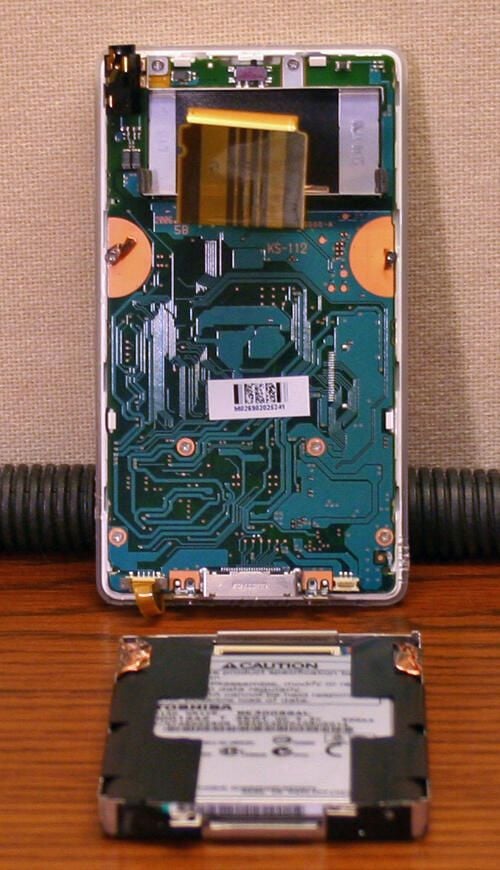
Here’s the Zune’s main circuit board with the hard drive removed (and laying flat on the desk in front).
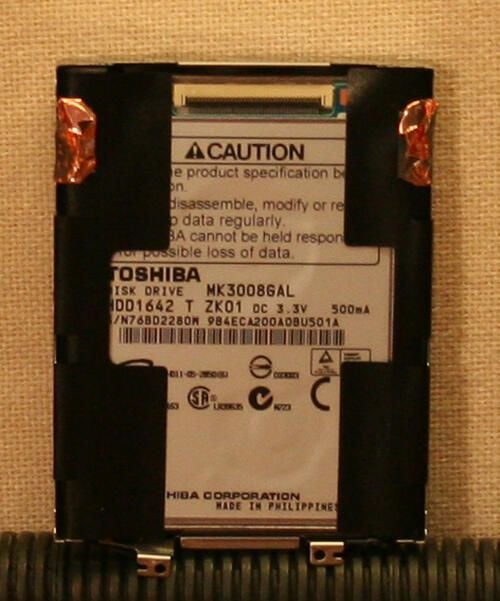
The Zune features a Toshiba hard disk.
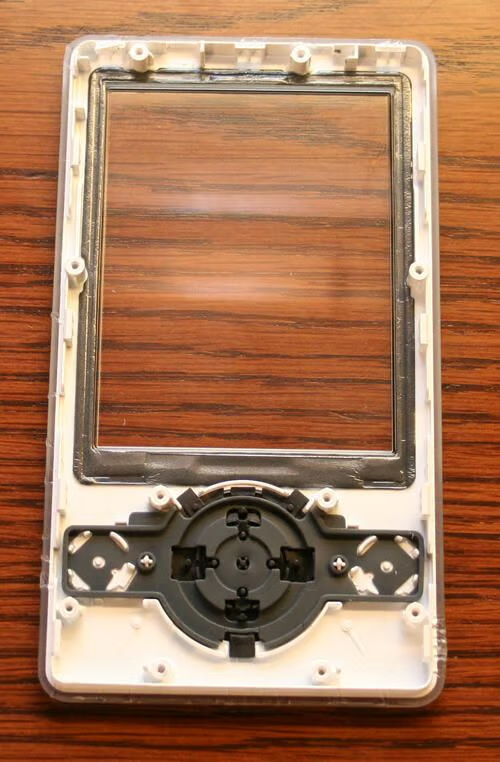
The Zune’s front panel includes a protective screen and keypad controls.

Here’s the Zune’s LCD and main circuit board. Carefully constructed and compact, the media player features numerous integrated circuits.

Erik Eckel is a managing partner at Louisville Geek and president of Eckel Media Corp. He previously served as Executive Editor at TechRepublic. He received Microsoft Engineer accreditation from Sullivan University and earned his Bachelor's Degree in English from the University of Louisville. He's earned Network+, Windows NT 4.0 MCP+I and MCSE, and Windows 2000 Professional MCP accreditations.


