\n\tIn September 2011, Verizon added a fourth device to its growing lineup of 4G LTE smartphones–the Motorola Droid Bionic. Like Verizon’s other 4G phones (the HTC ThunderBolt, LG Revolution, and Samsung Droid Charge), the Bionic runs Google’s Android operating system.
\n\t
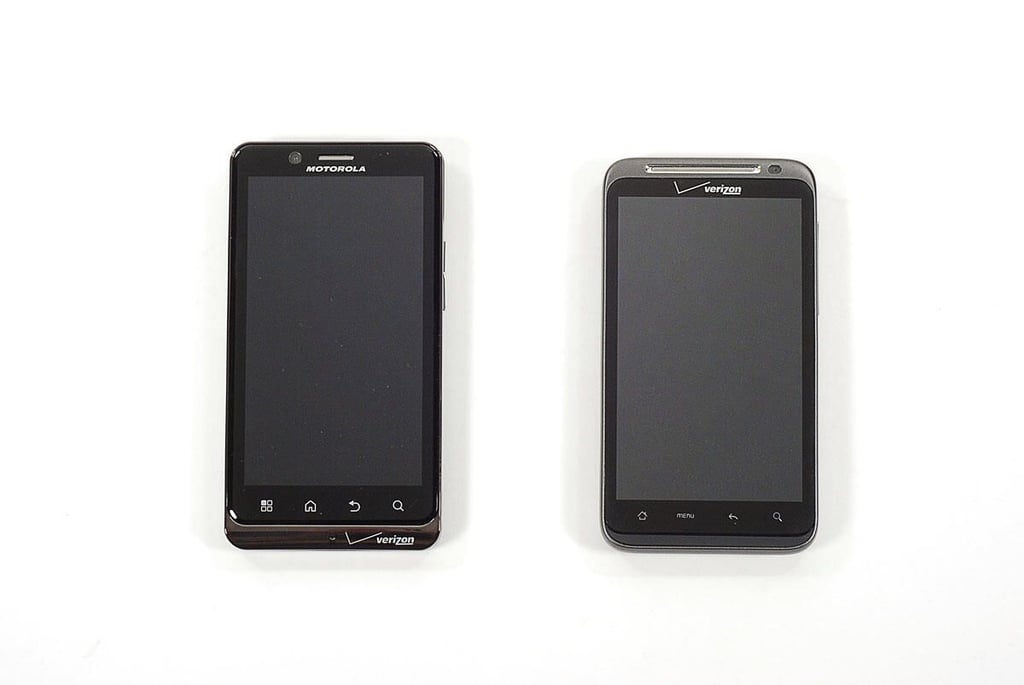
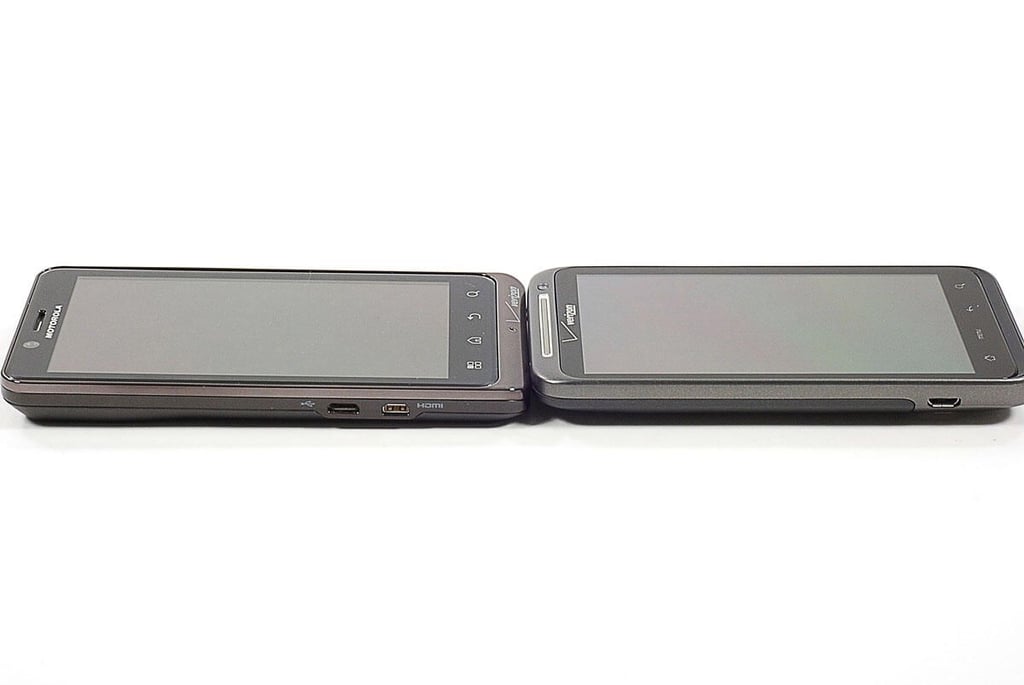
\n\tIn May, I cracked open the HTC ThunderBolt, and was excited to get my hands on another 4G device. Follow along as I go inside the Motorola Droid Bionic.
\n
\n\tFor a more in-depth review of the Bionic’s internal hardware, check out my article, “Droid Bionic Teardown: Motorola switches processors, upgrades RAM in final version.”
\n
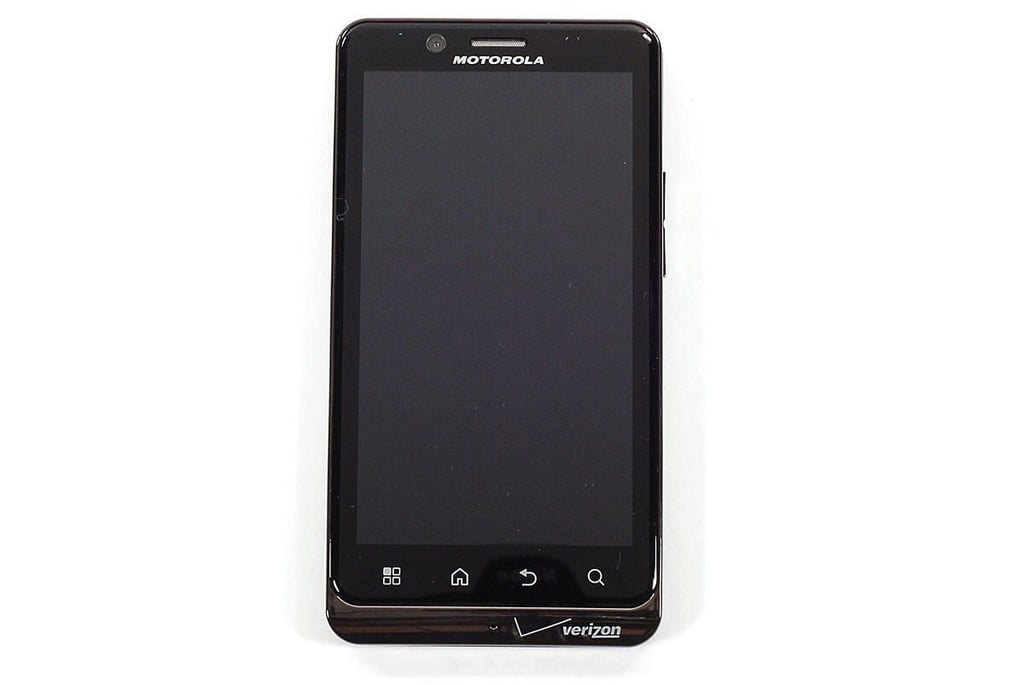
\n\tPhoto by: Bill Detwiler / TechRepublic
\n\tCaption by: Bill Detwiler
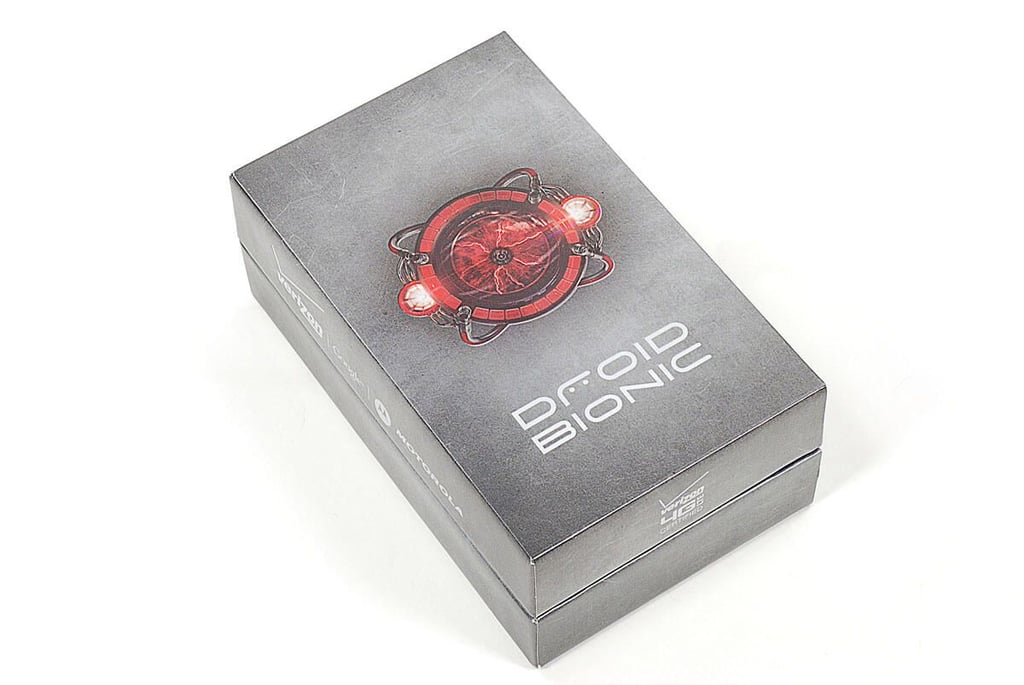
\n\tThe Motorola Droid Bionic is available from Verizon for $299.99 (US) with a two-year contract. I bought our Bionic test device (sans contract) from a local Best Buy Mobile location for $699.99 (plus tax). Interestingly, Verizon’s Web site lists the full retail price as $589.99.
\n\t
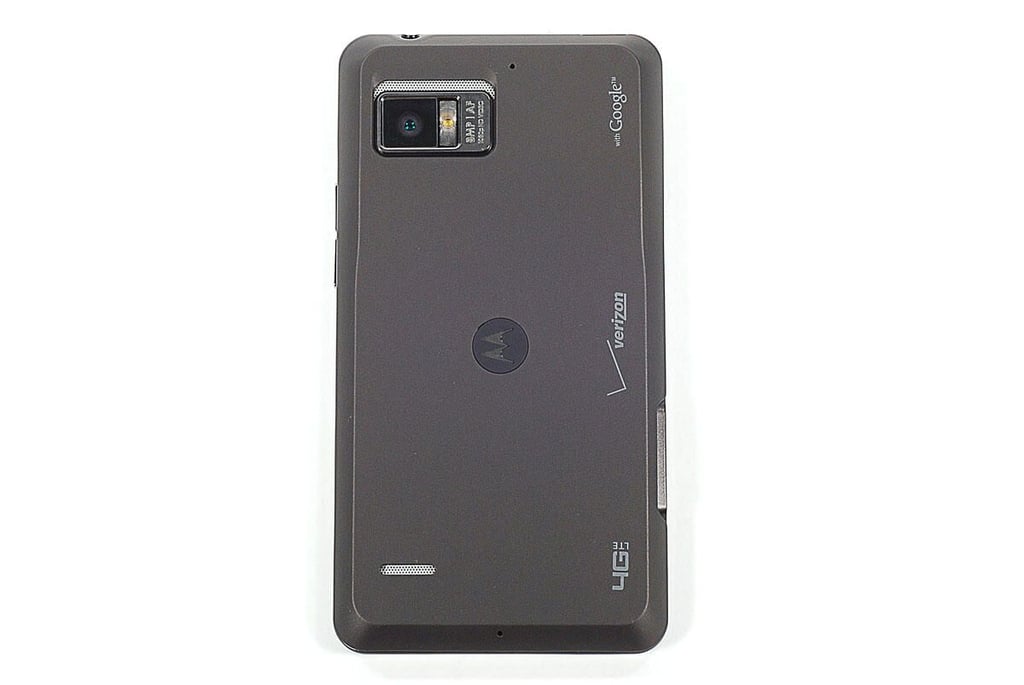
\n\tPhoto by: Bill Detwiler / TechRepublic
\n\tCaption by: Bill Detwiler
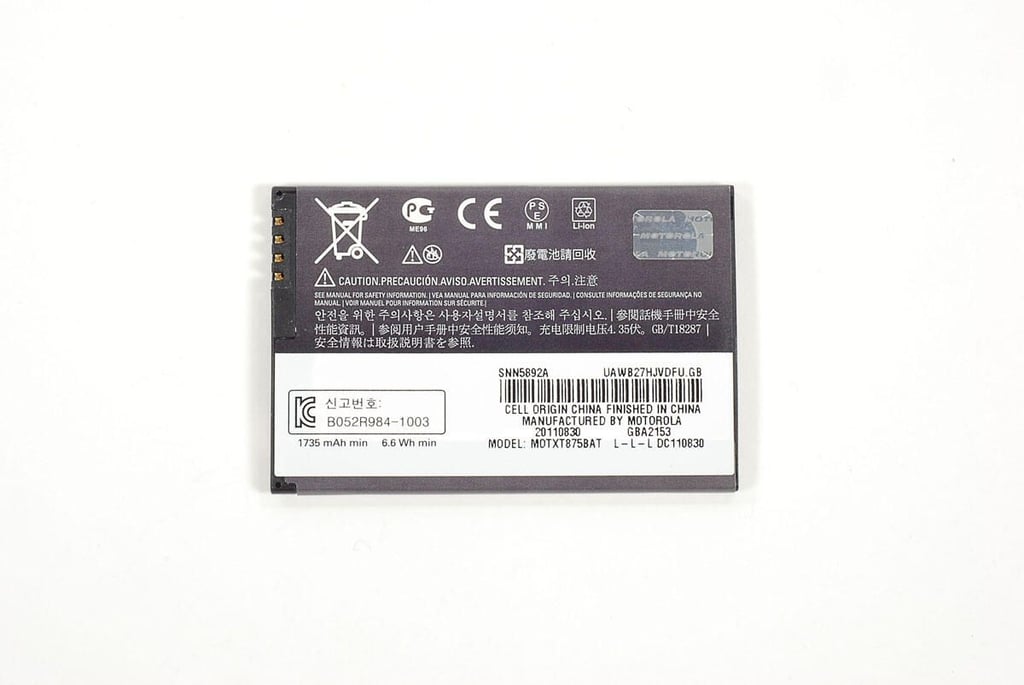
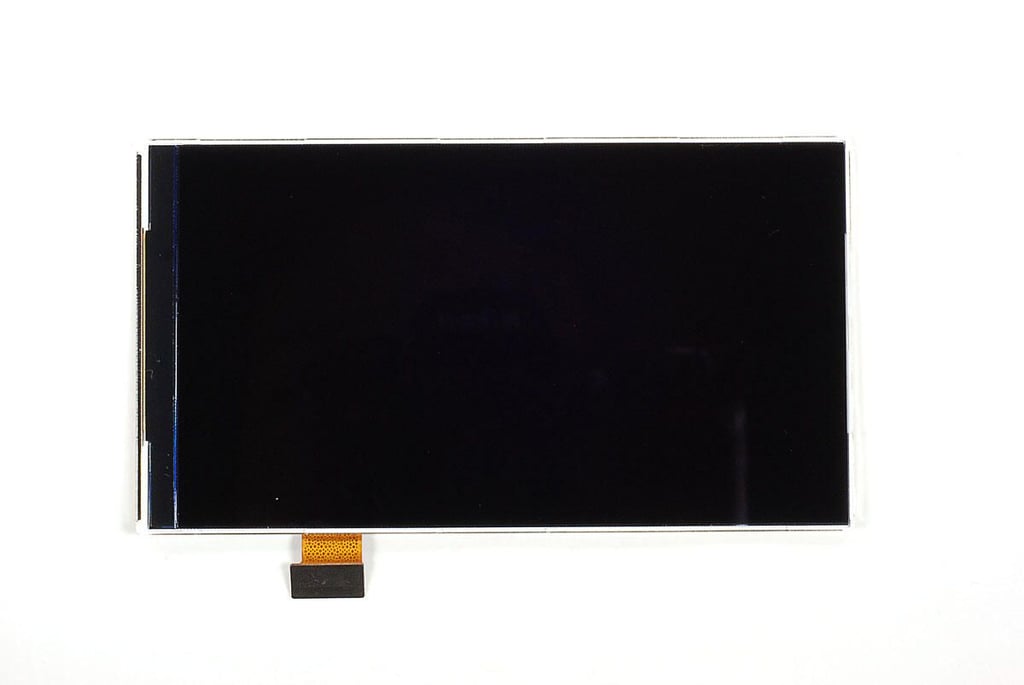
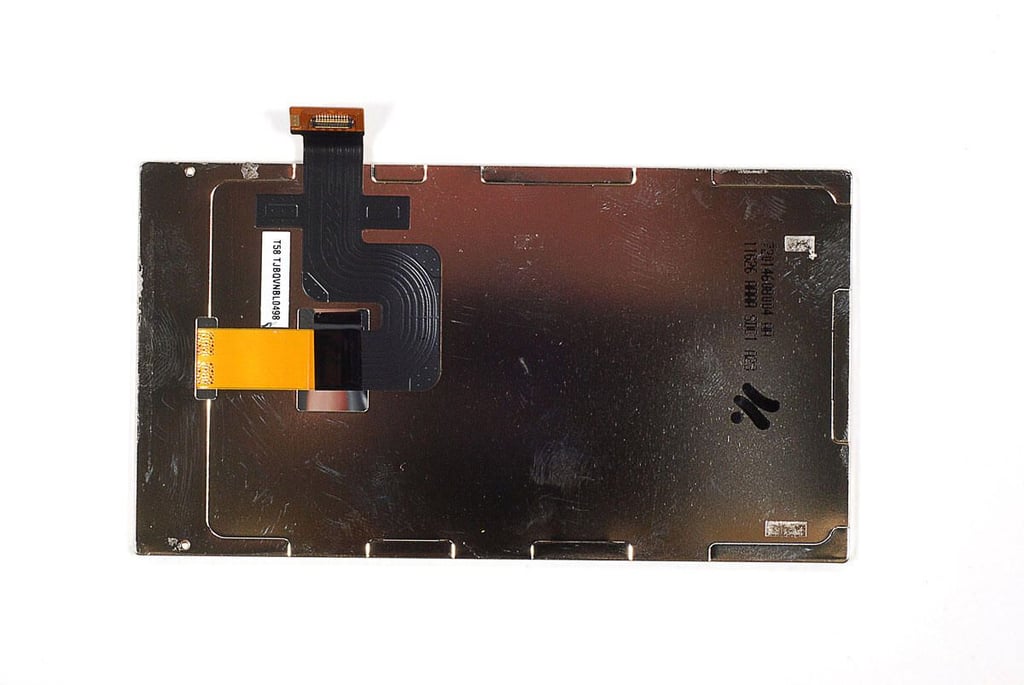
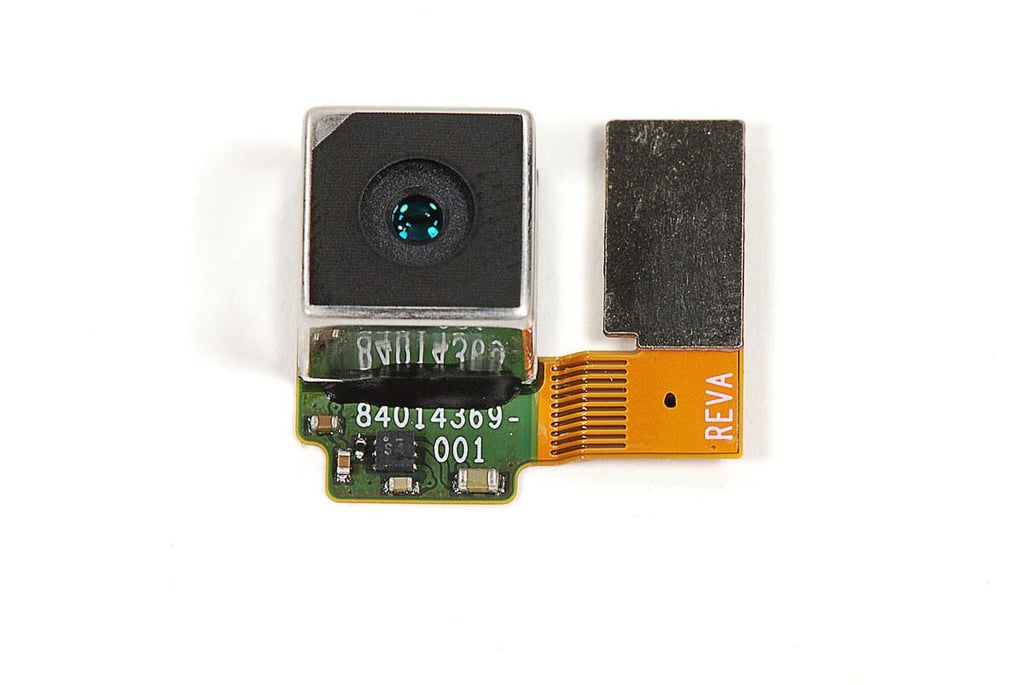
\n\tOur the Droid Bionic has a 1GHz dual-core processor, 1GB of DDR2 RAM, 16GB of storage, 8MP rear-facing camera, VGA-quality front-facing camera, and 4.3″ display (960×540 pixels).
\n\t
\n\tPhoto by: Bill Detwiler / TechRepublic
\n\tCaption by: Bill Detwiler
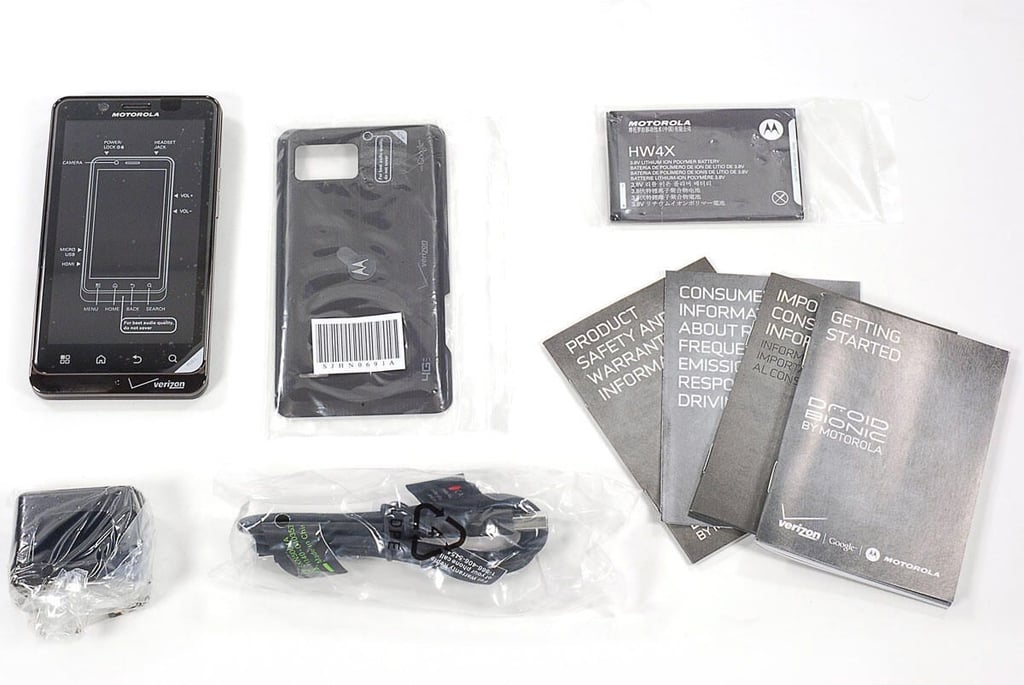
\n\tInside the Droid Bionic’s box, you’ll find the device itself (includes removable back panel, battery, and microSD card), USB cable, power adapter, and product documentation.
\n\t
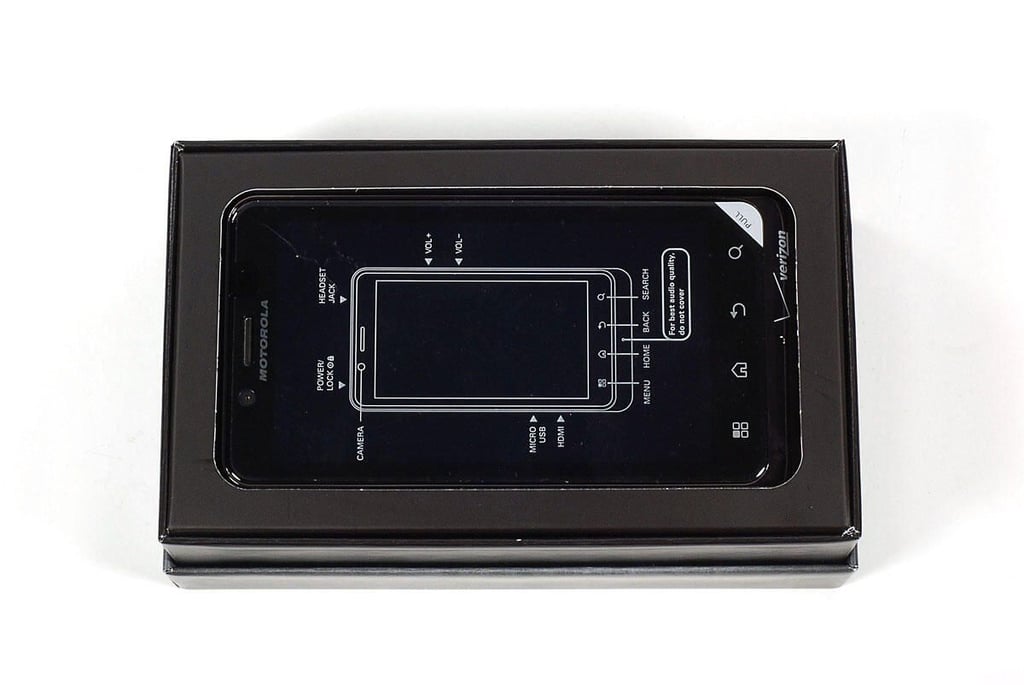
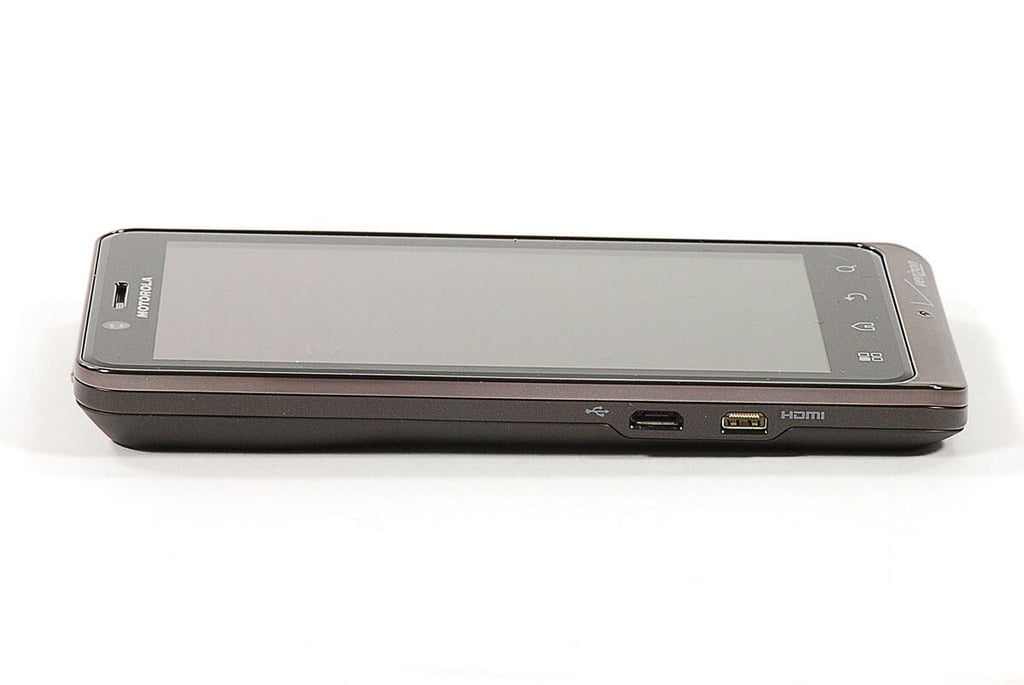
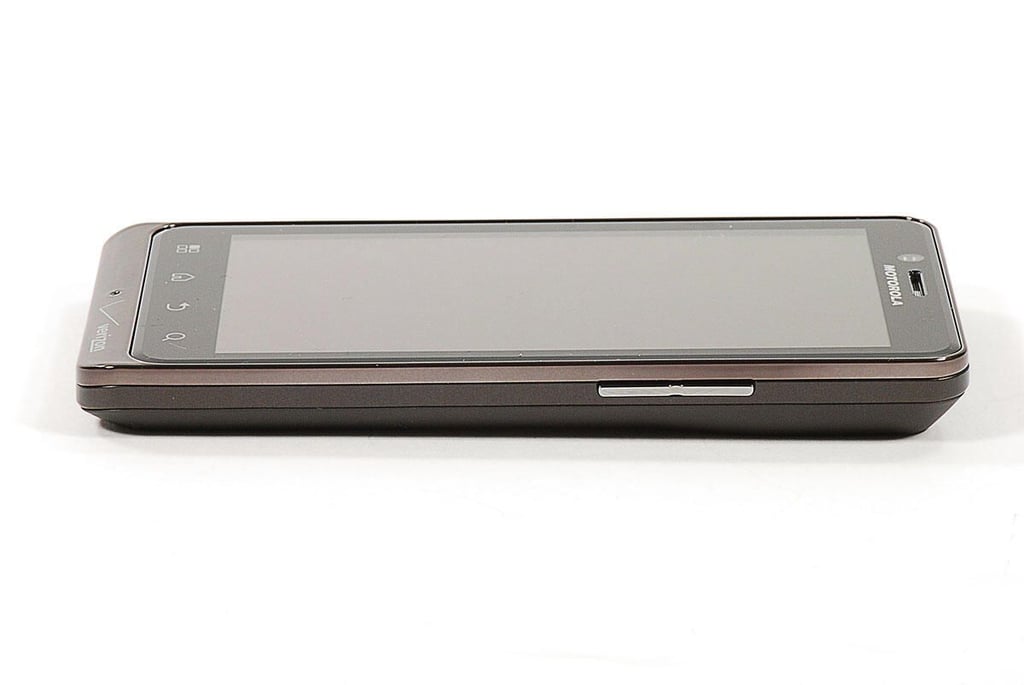
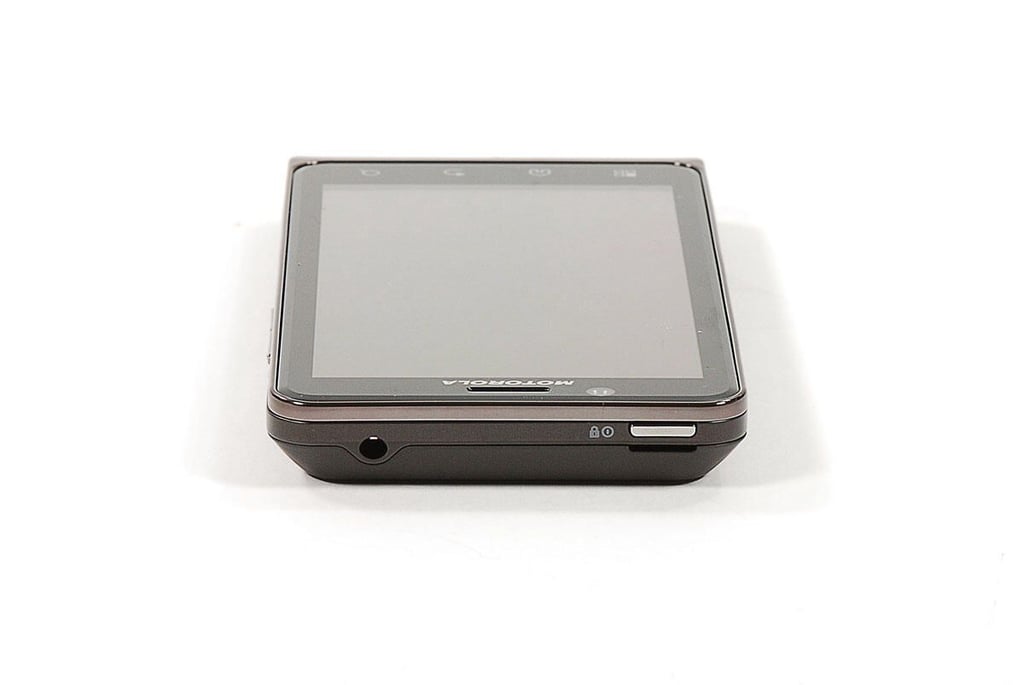
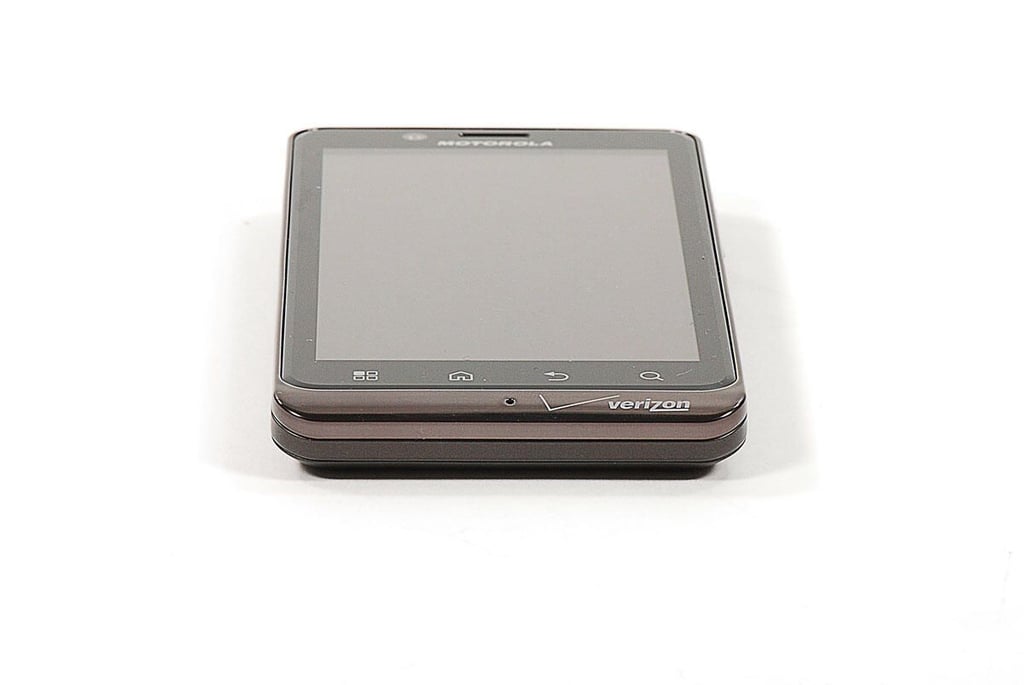
\n\tPhoto by: Bill Detwiler / TechRepublic
\n\tCaption by: Bill Detwiler
\n\tThe Droid Bionic measures 5″ (H) x 2.6″ (W) x 0.5″ (D). It weighs 5.6 ounces.
\n\t
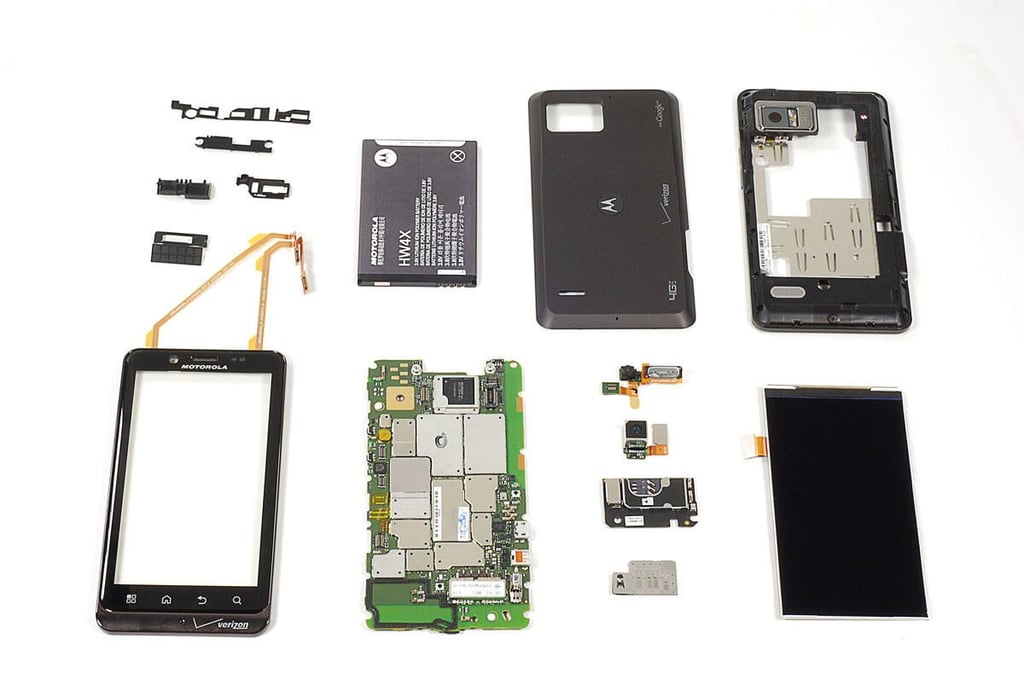
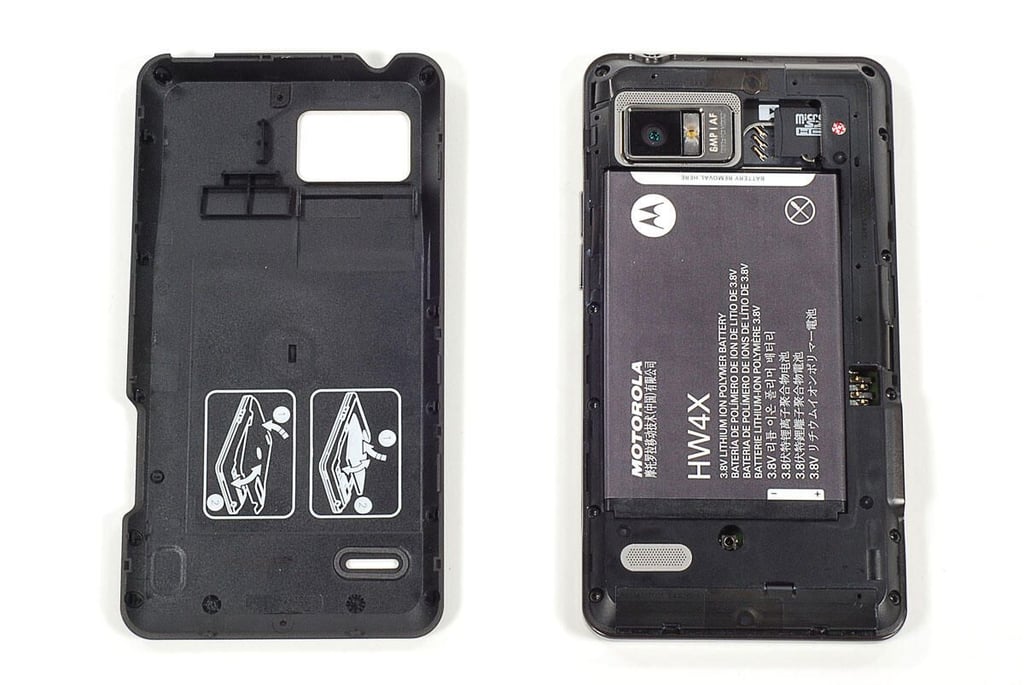
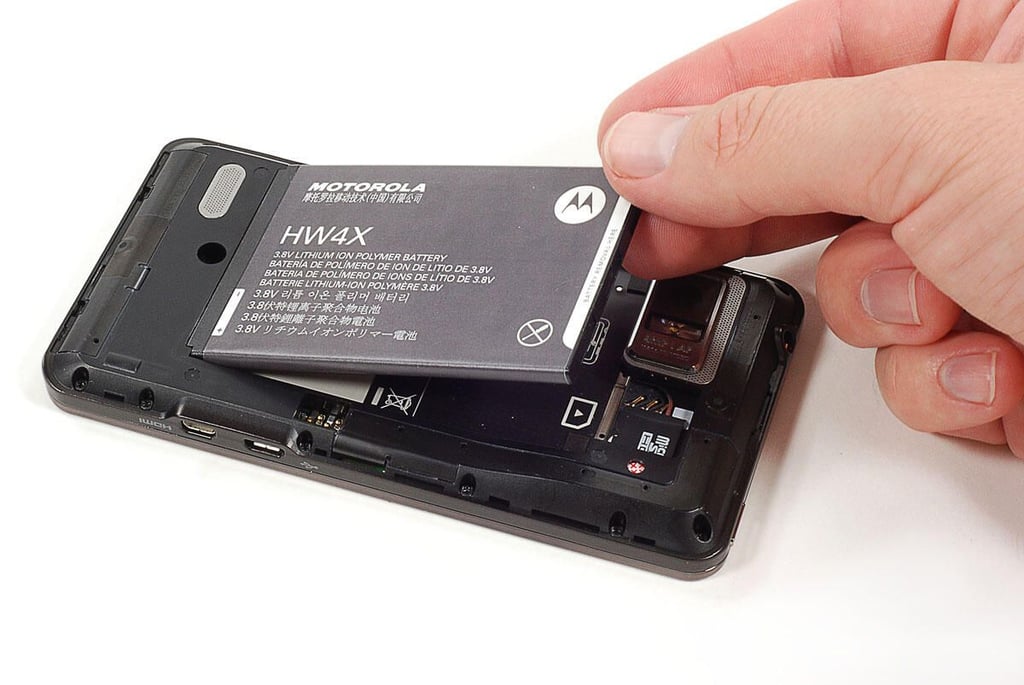
\n\tPhoto by: Bill Detwiler / TechRepublic
\n\tCaption by: Bill Detwiler
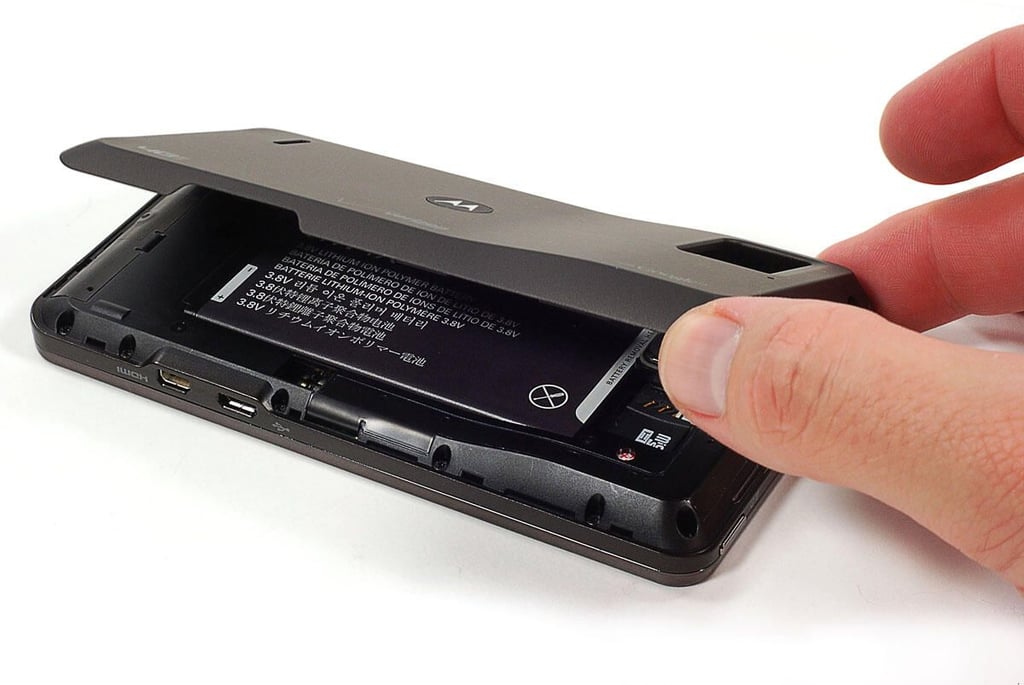
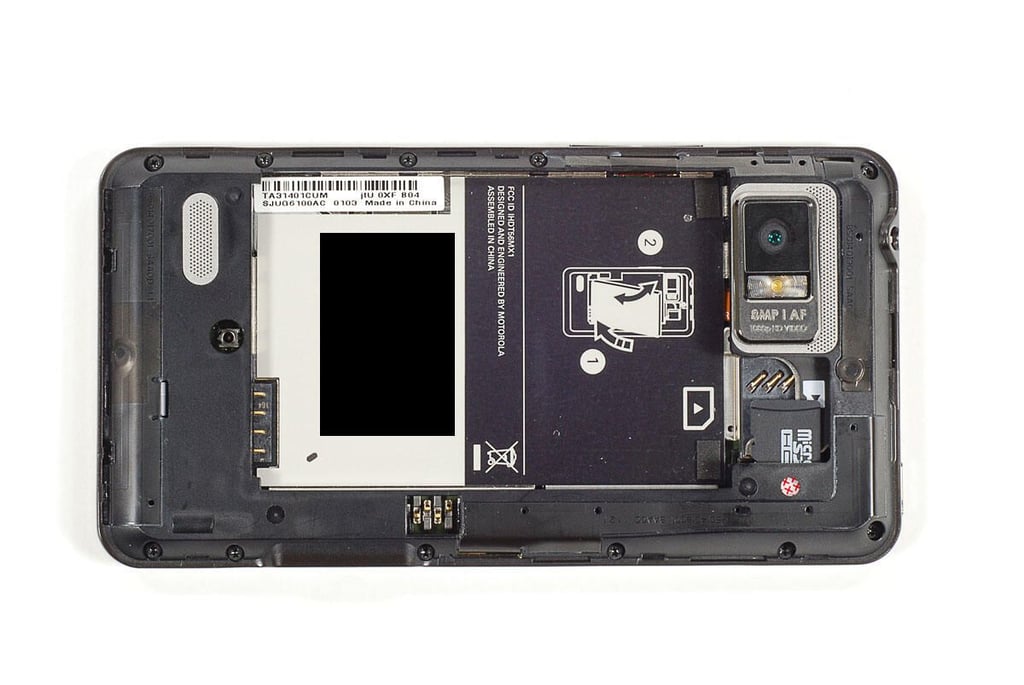
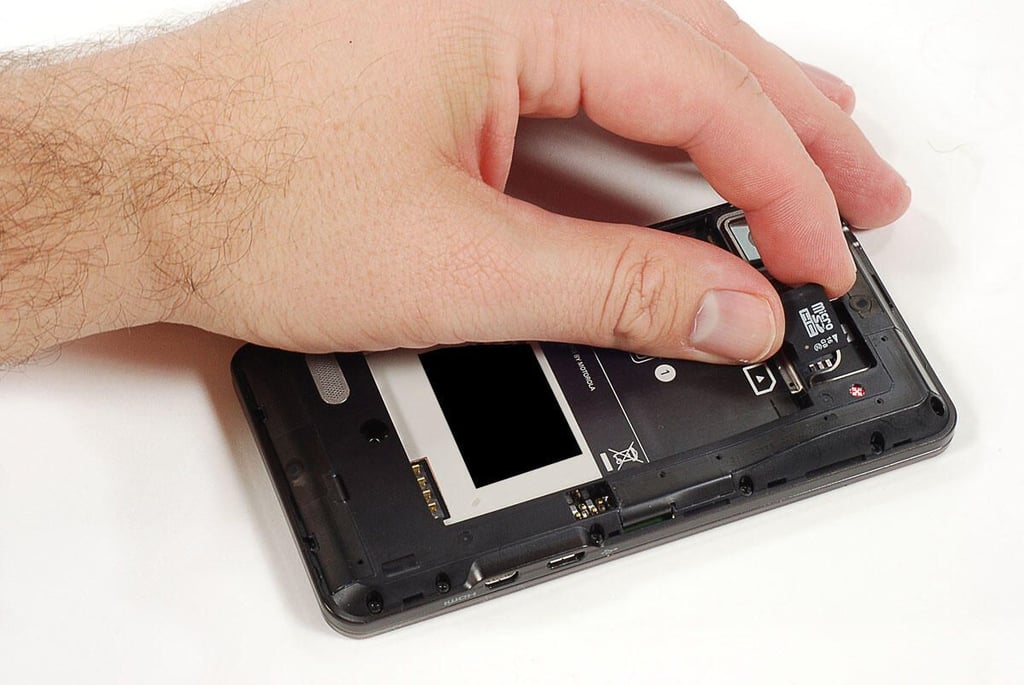
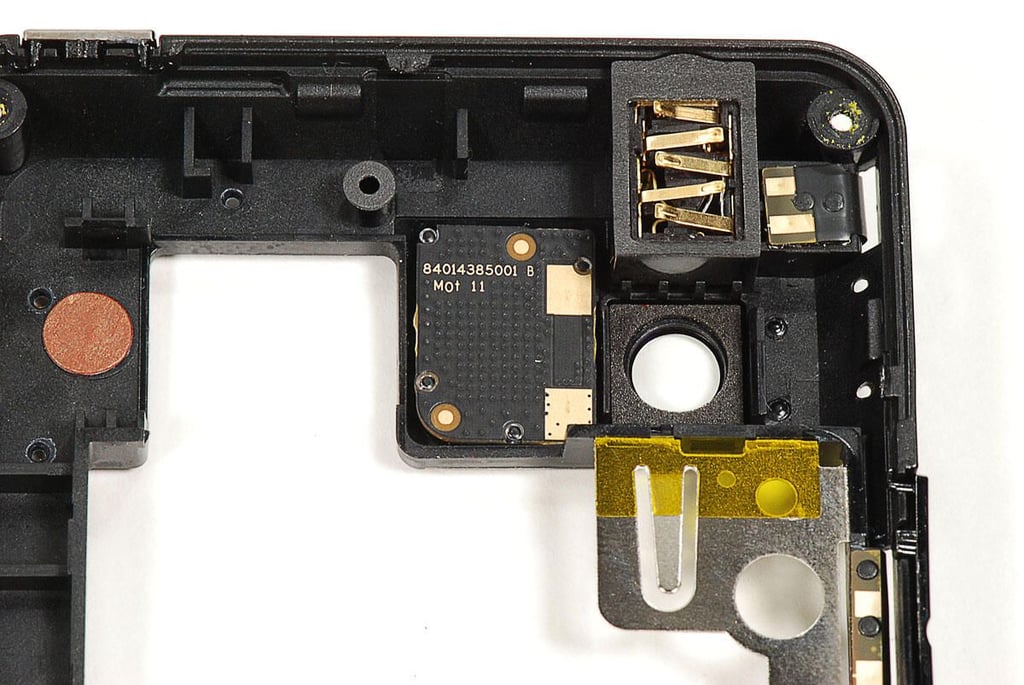
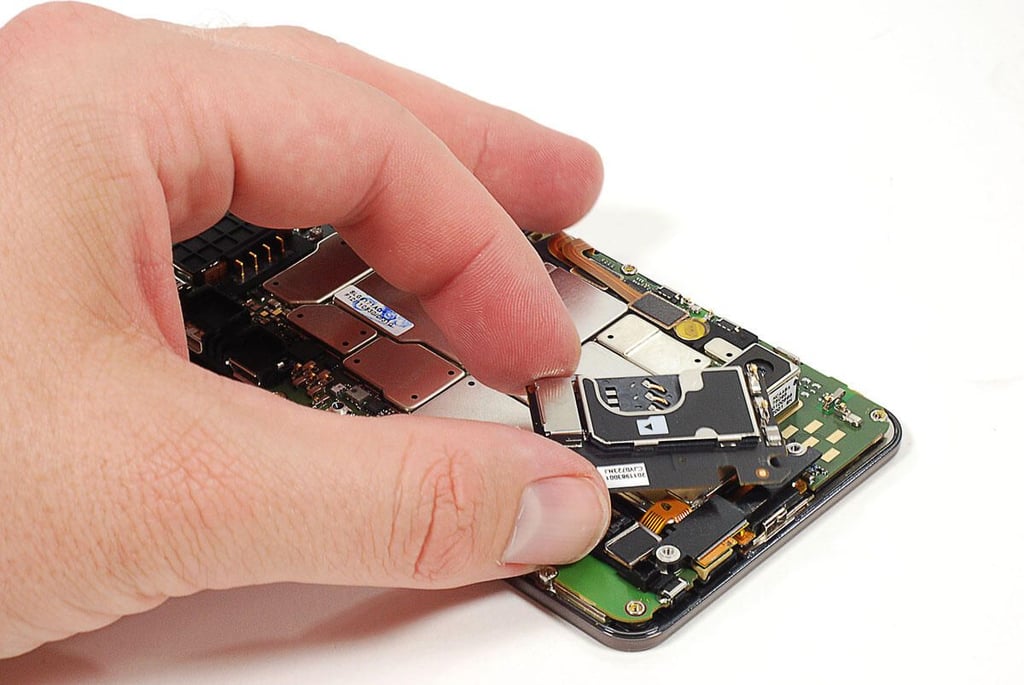
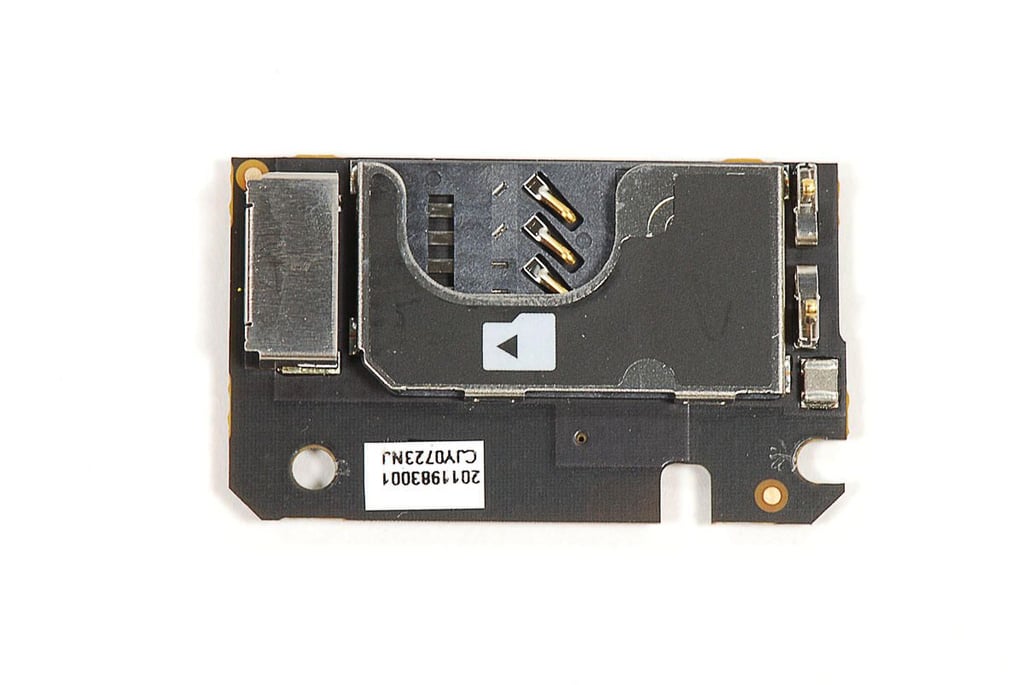
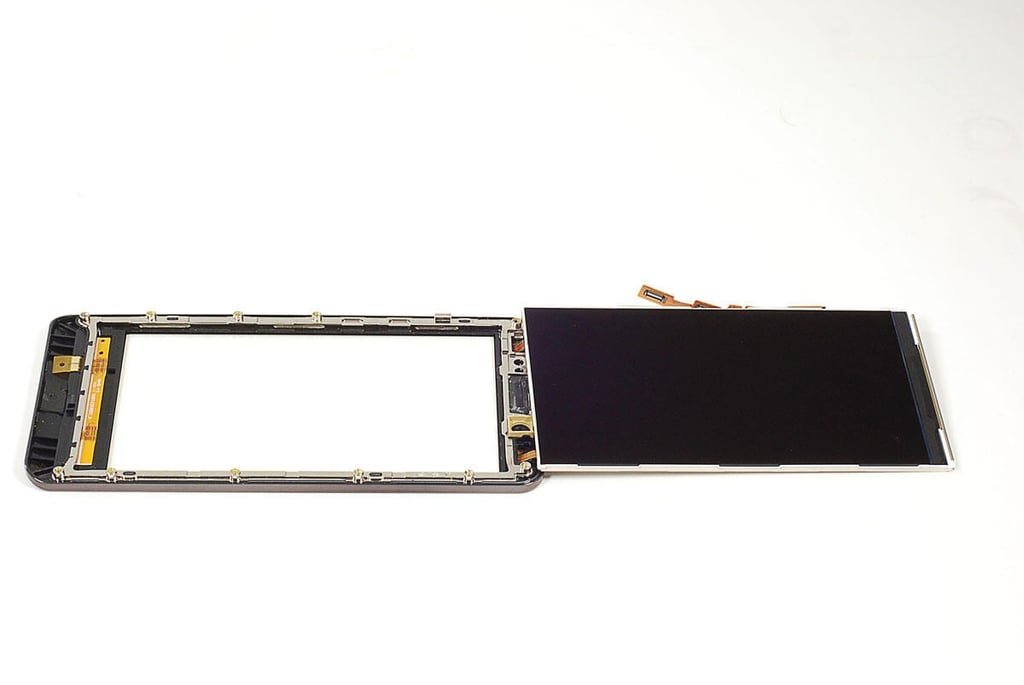
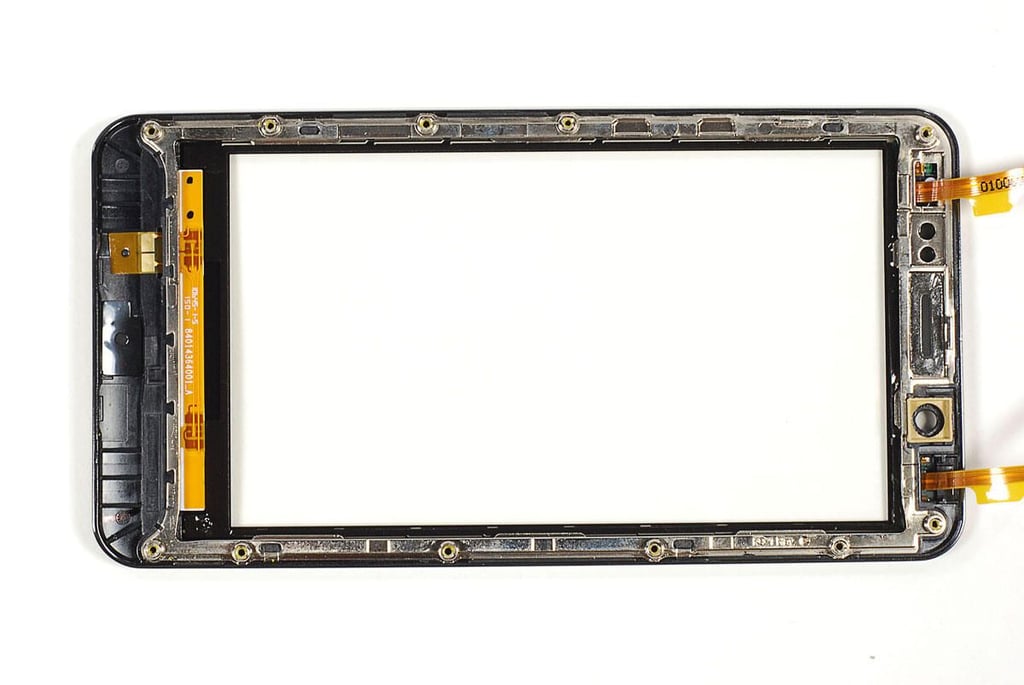
\n\tRemoving the Droid Bionic’s back cover grants you access to the user-replaceable battery, microSD card slot, and SIM card slot.
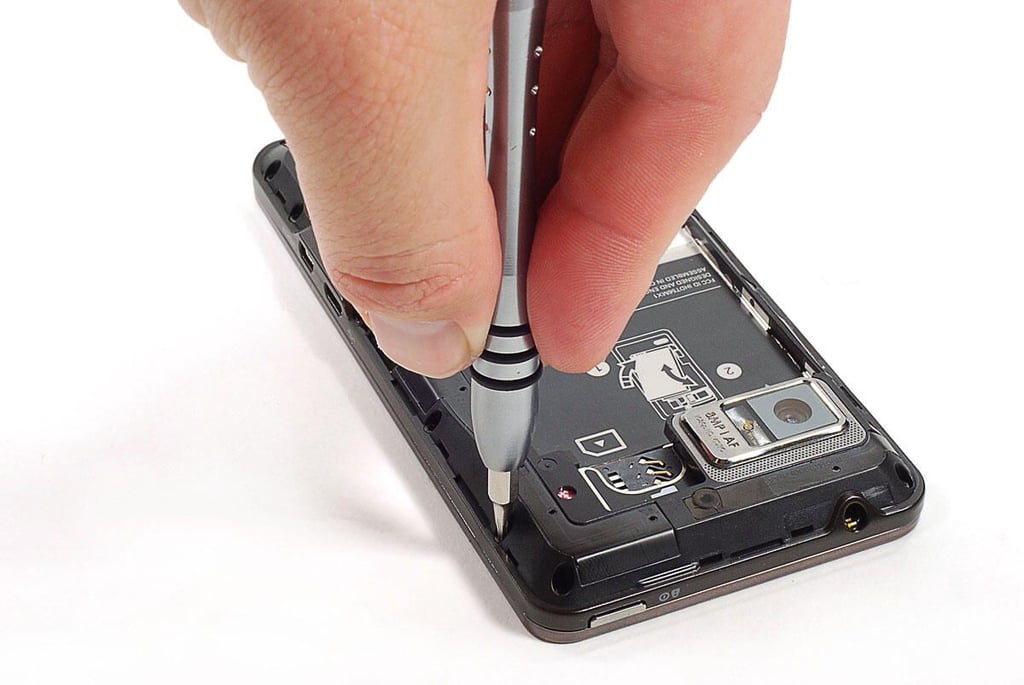
\n\tThe Droid Bionic’s rear case is held in place with 11 Torx T5 screws.
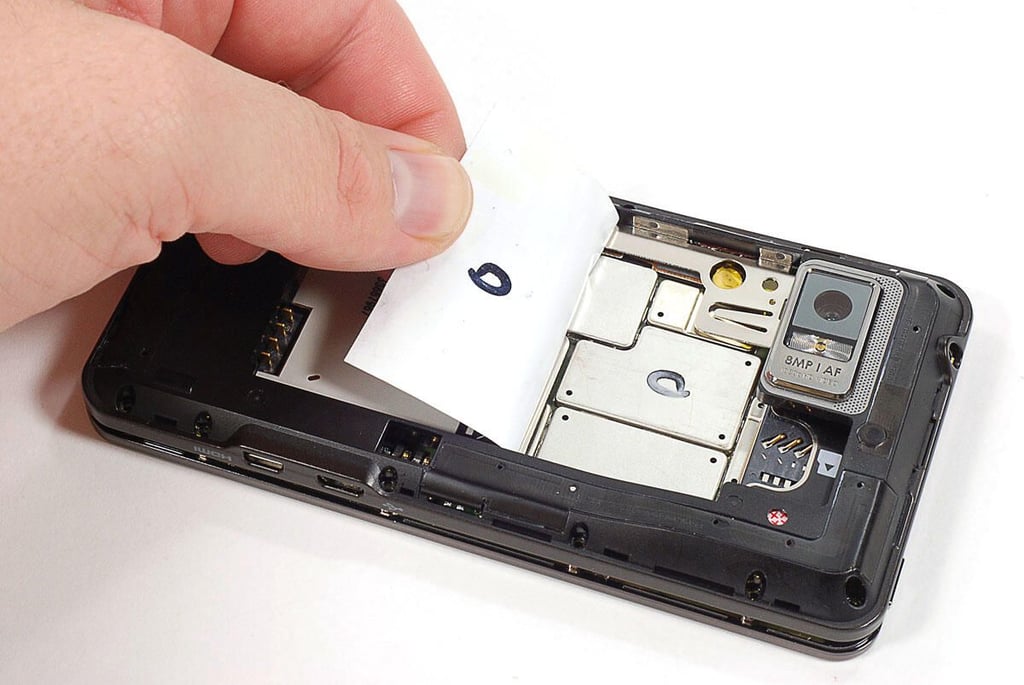
\n\tBefore removing the rear case, I had to peel off a sticker that lined the back of the battery compartment.
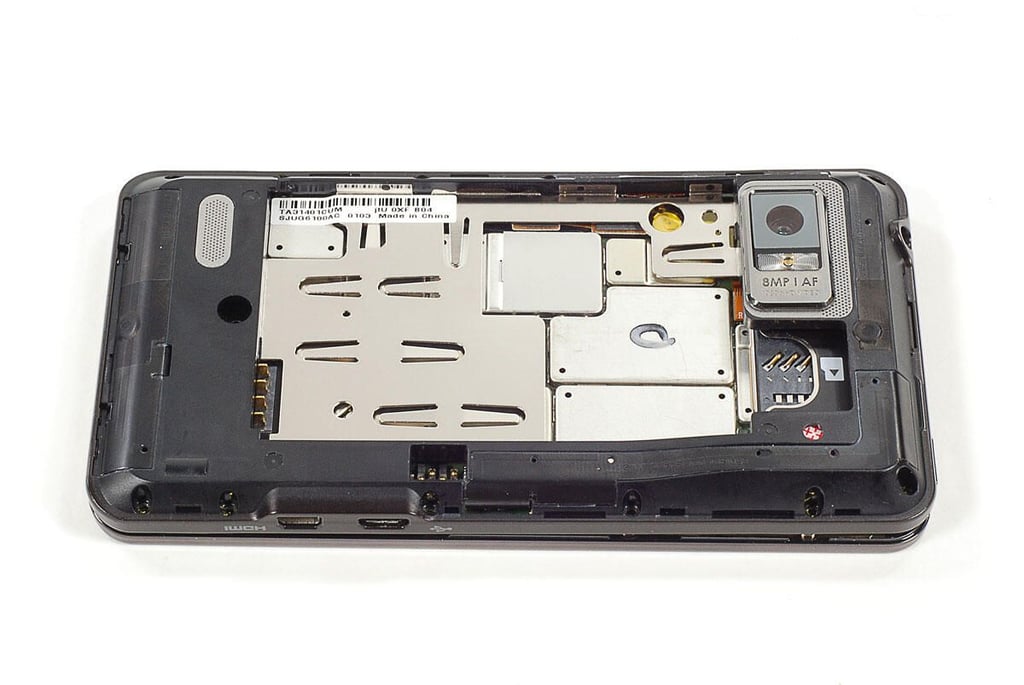
\n\tWith the rear case screws and battery compartment sticker removed, you can remove the rear case.
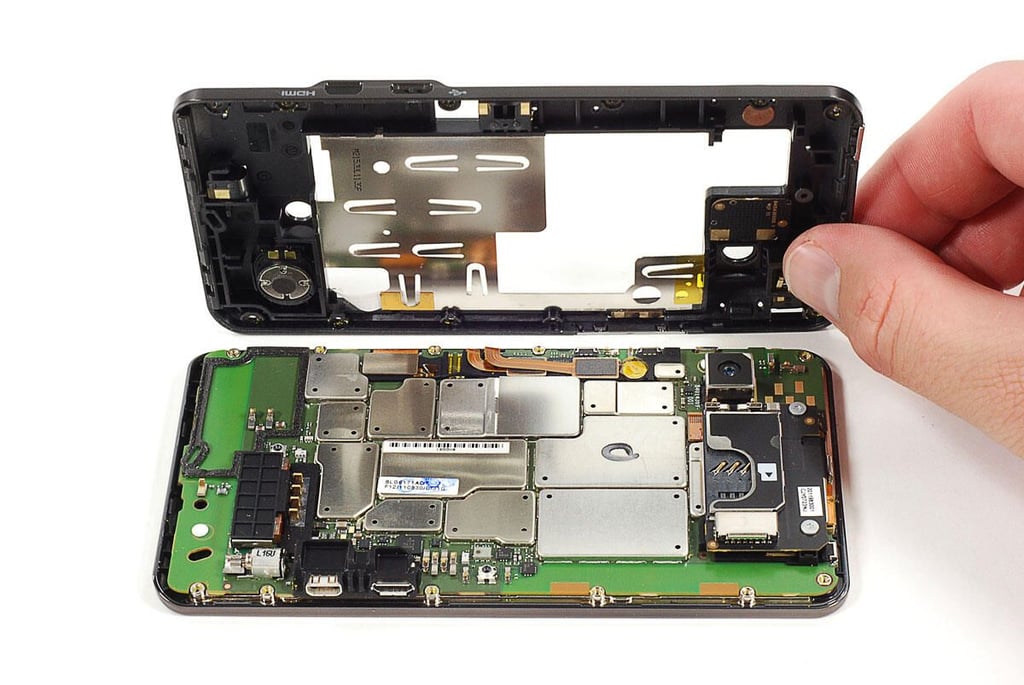
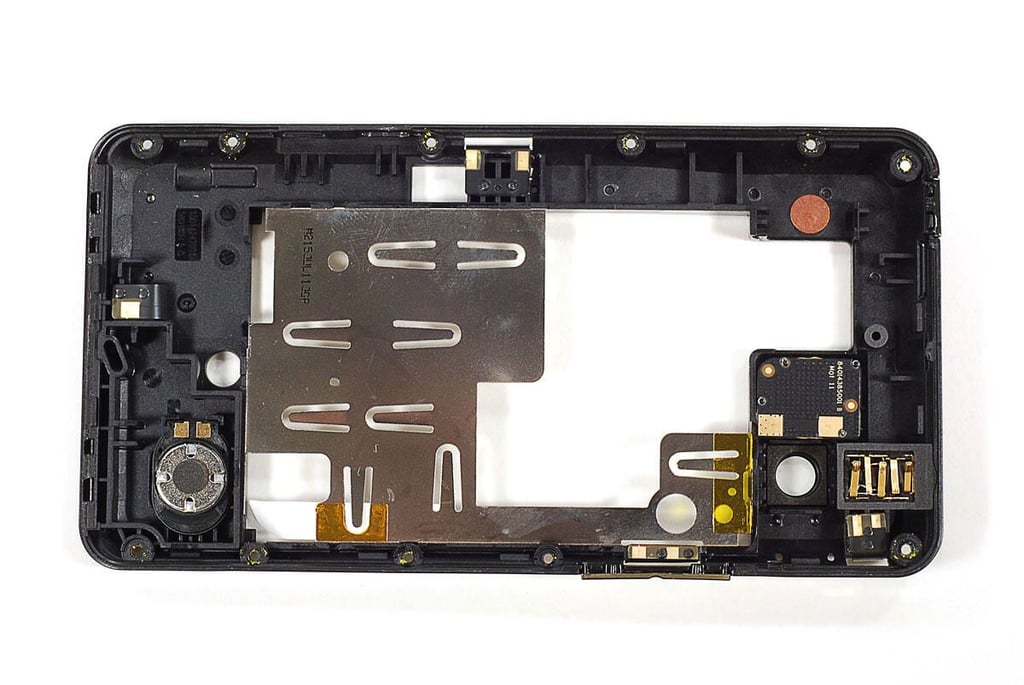
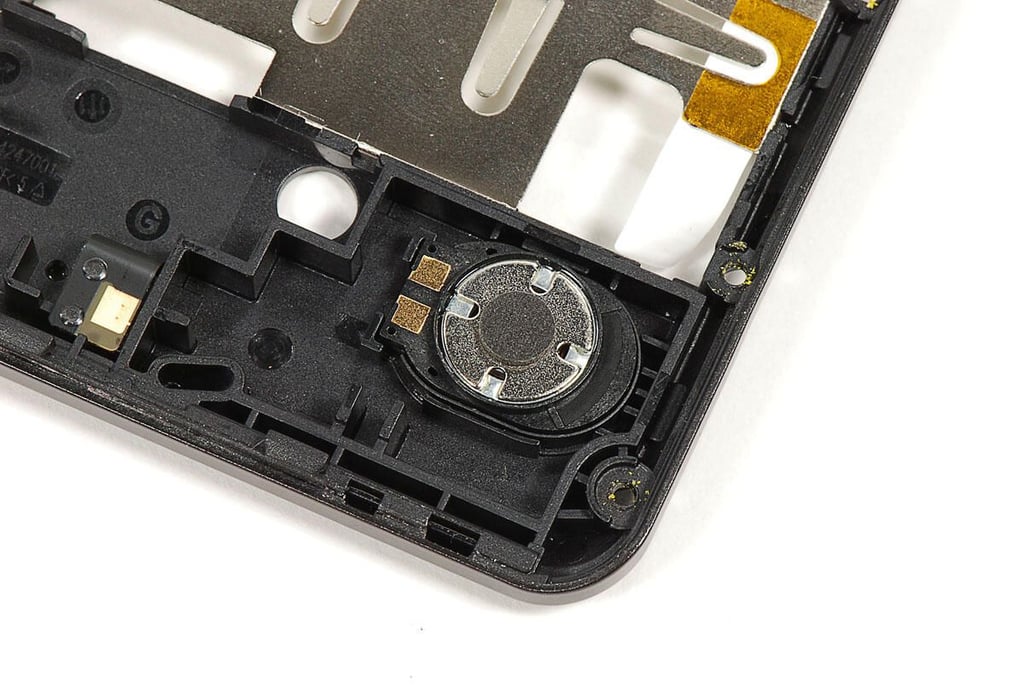
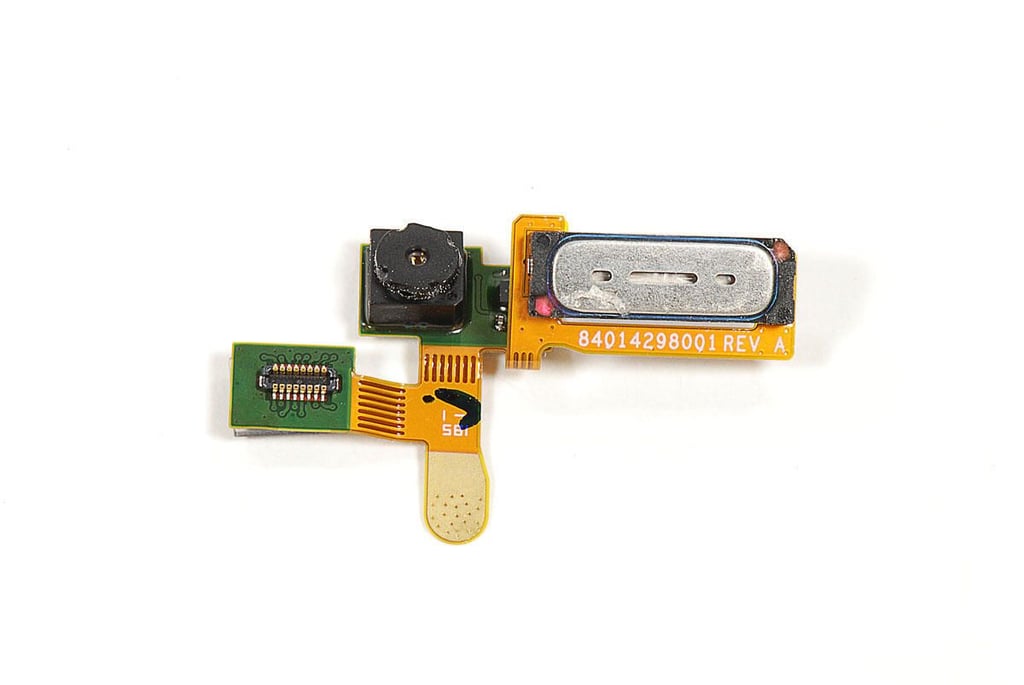
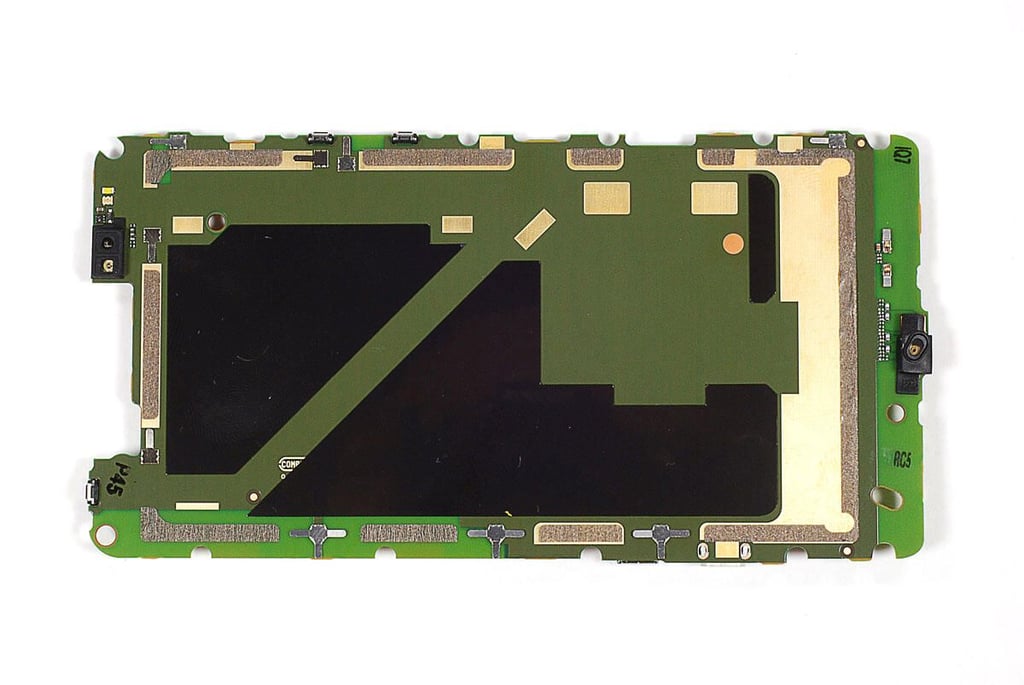
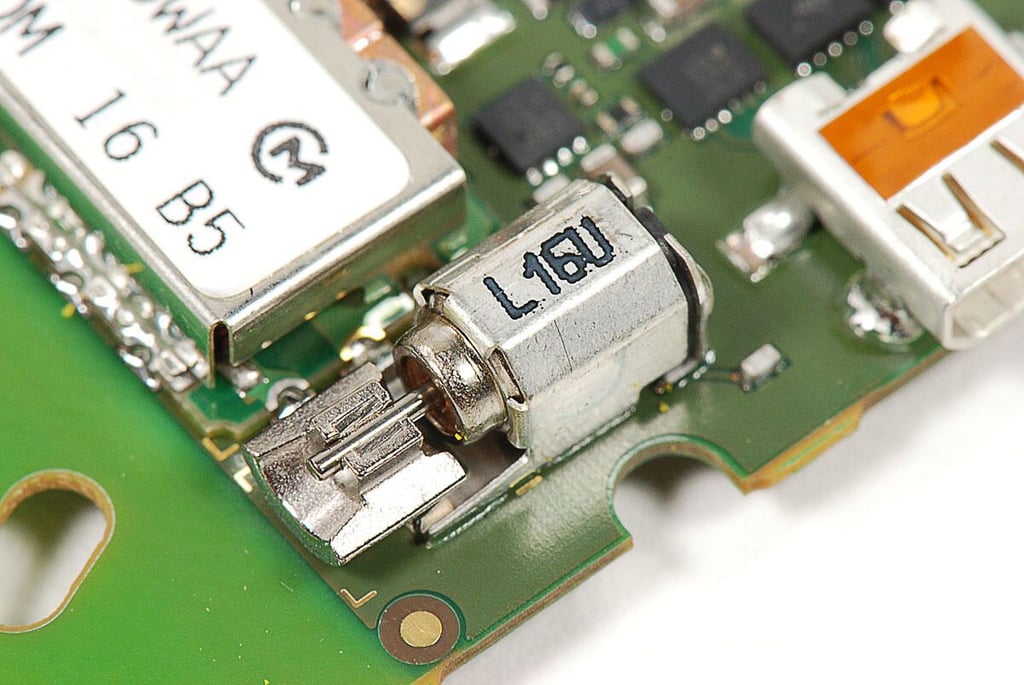
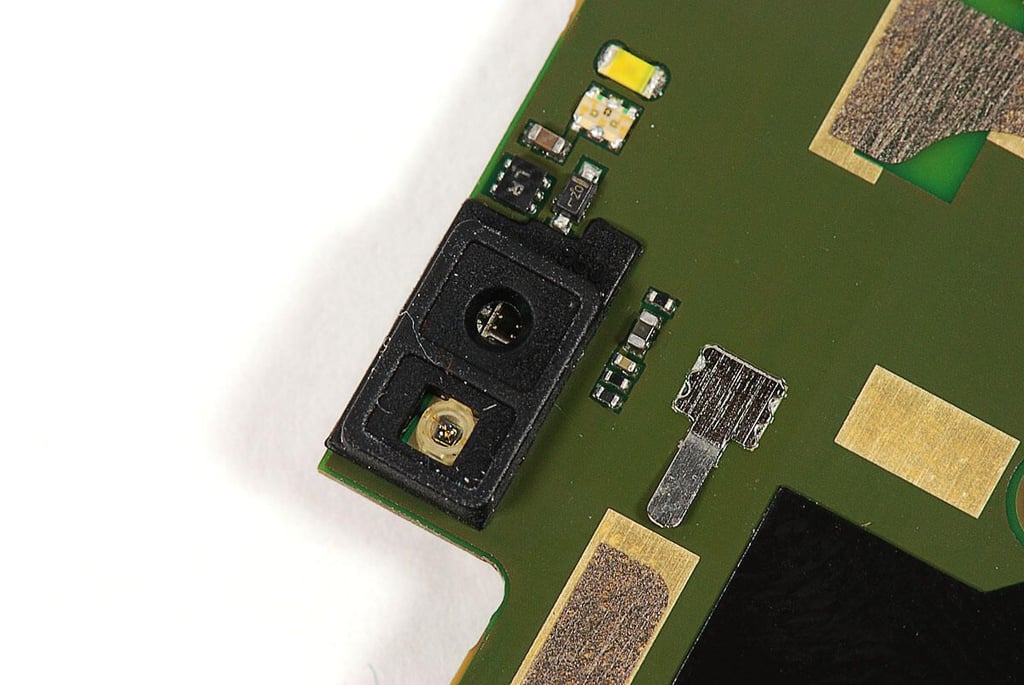
\n\tThe internal loudspeaker, headphone jack, and LED flash are mounted to the rear case.
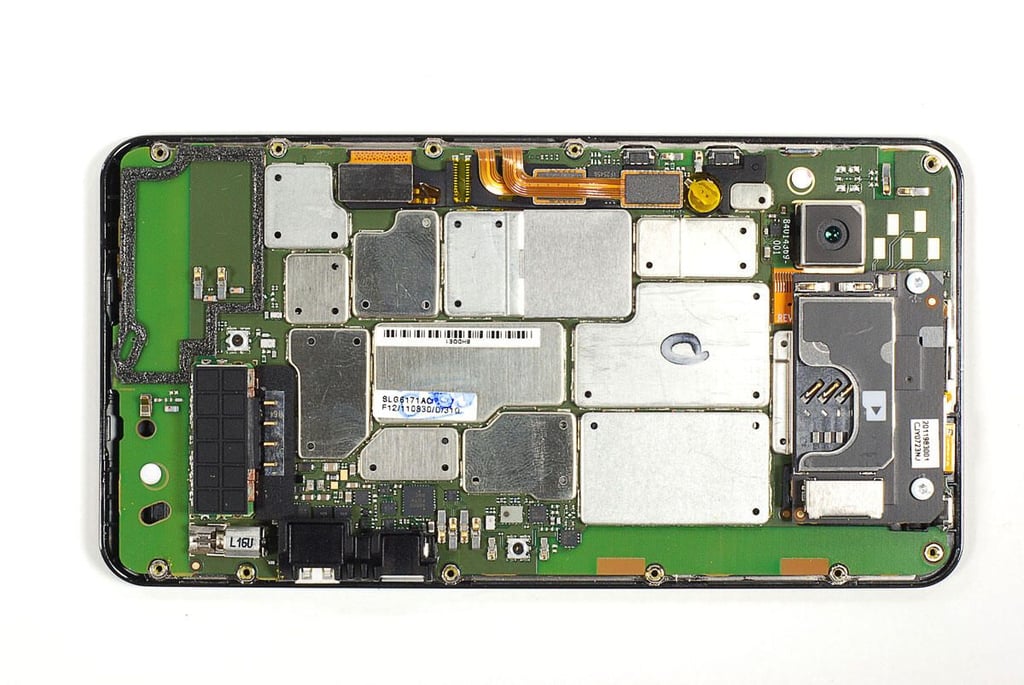
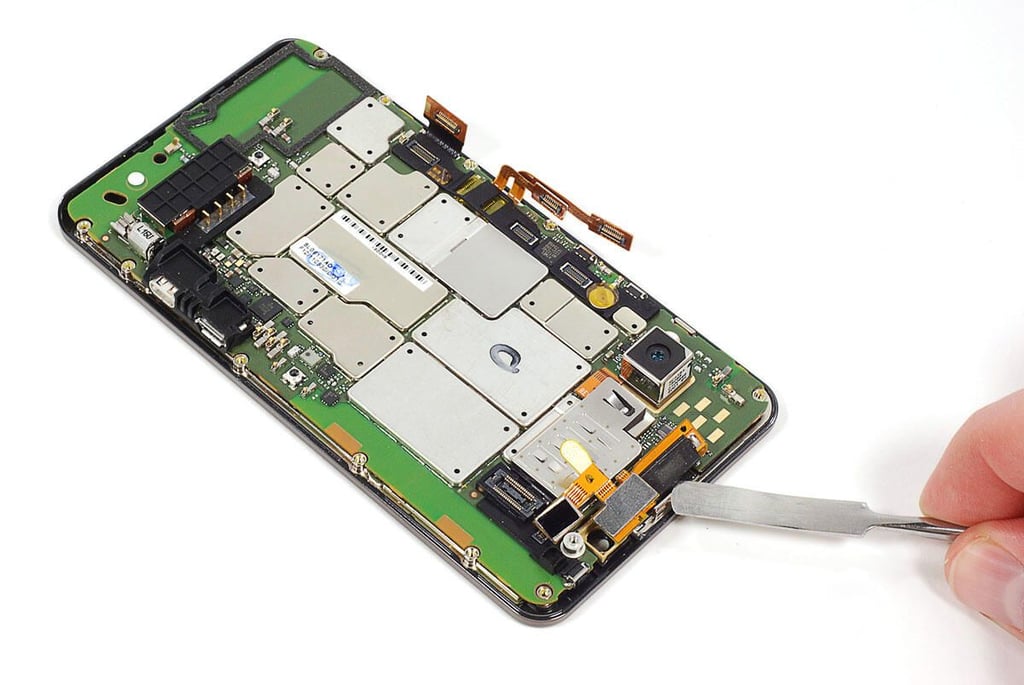
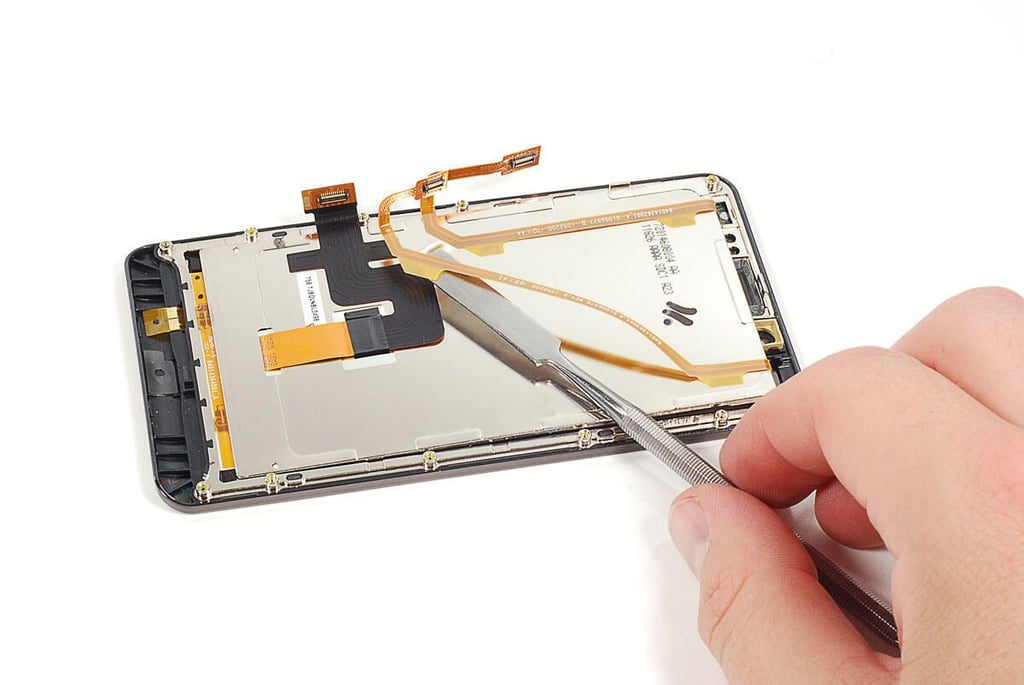
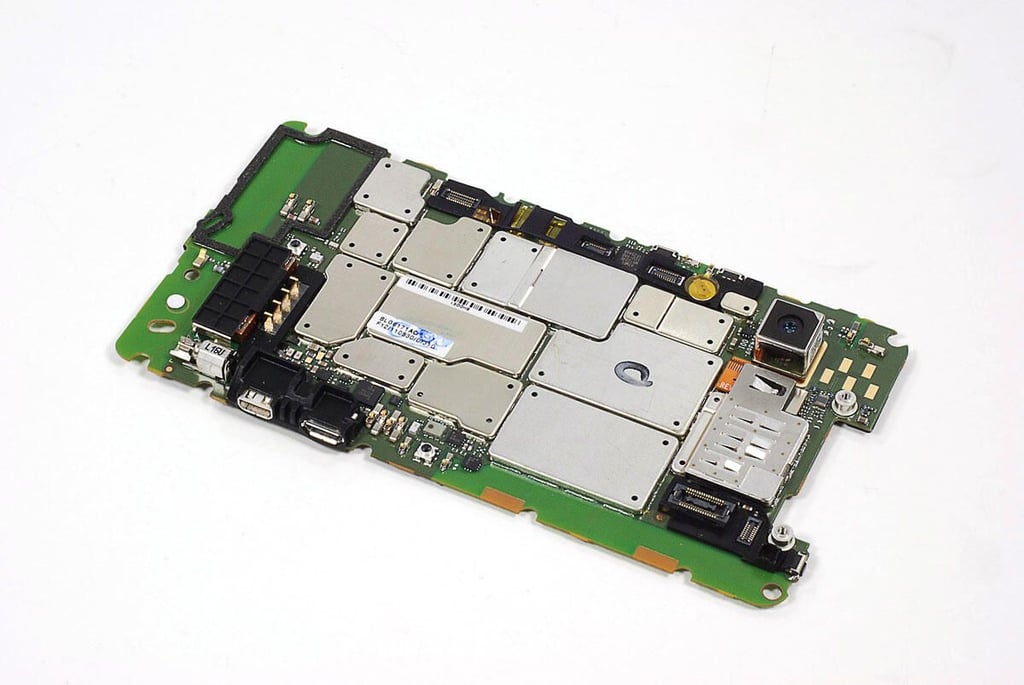
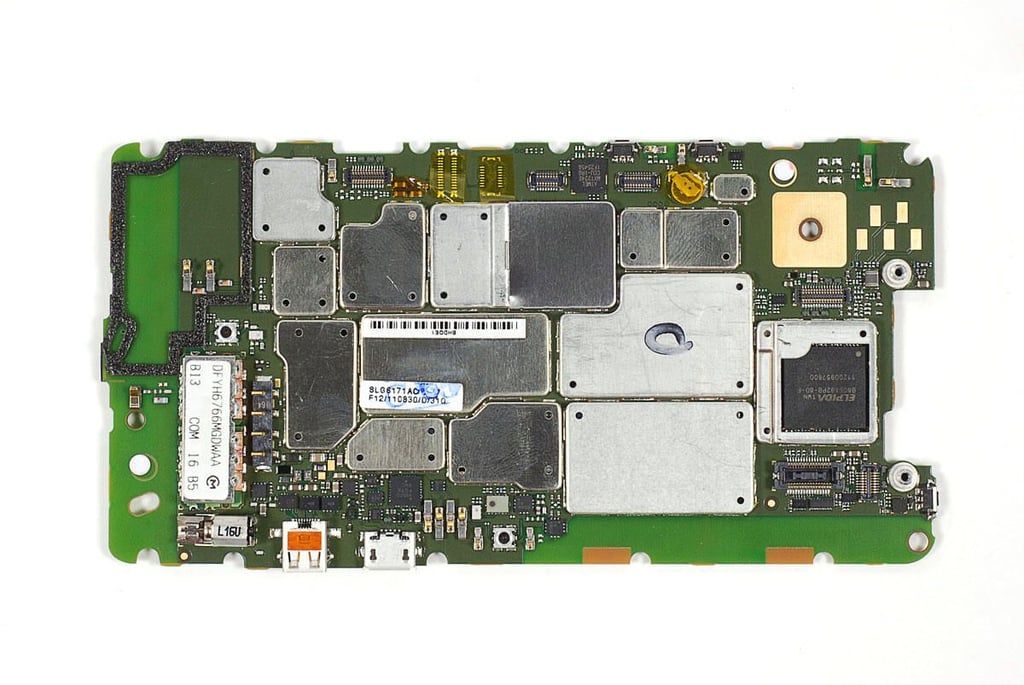
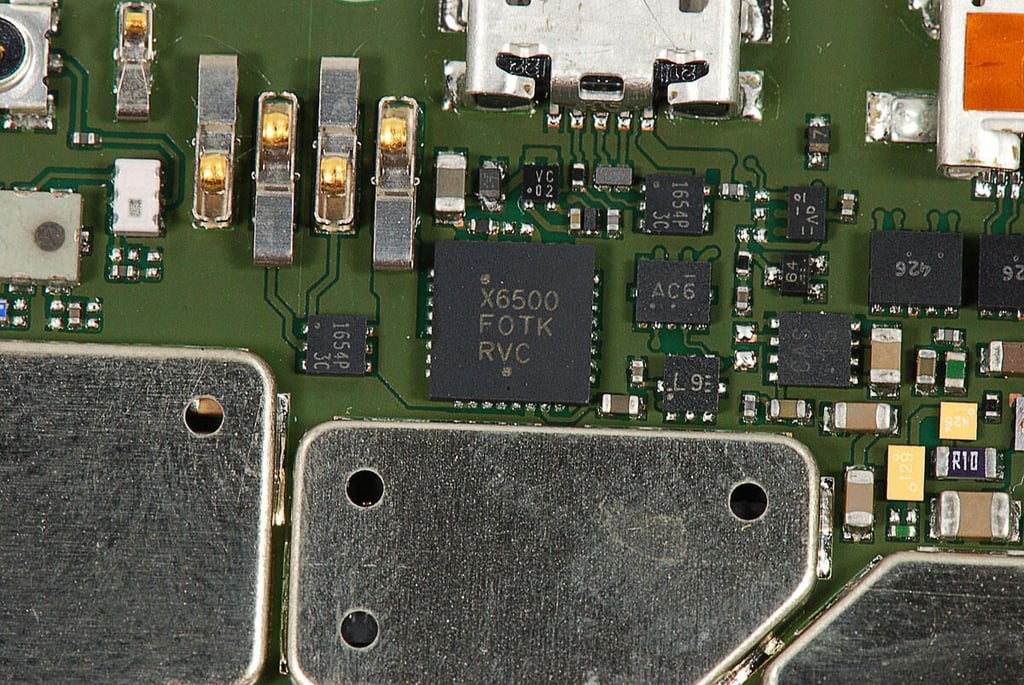
\n\tUnfortunately, the EMI shields on the Motorola Droid Bionic’s main PCB are soldered in place. To avoid damaging the components on the PCB, I decided to leave the shields in place. There are still a few components we can remove from the main PCB.

\n\tOne of the only removable shields on the Droid Bionic’s main PCB is the one covering the processor. It also covers the rear-facing camera’s connector.
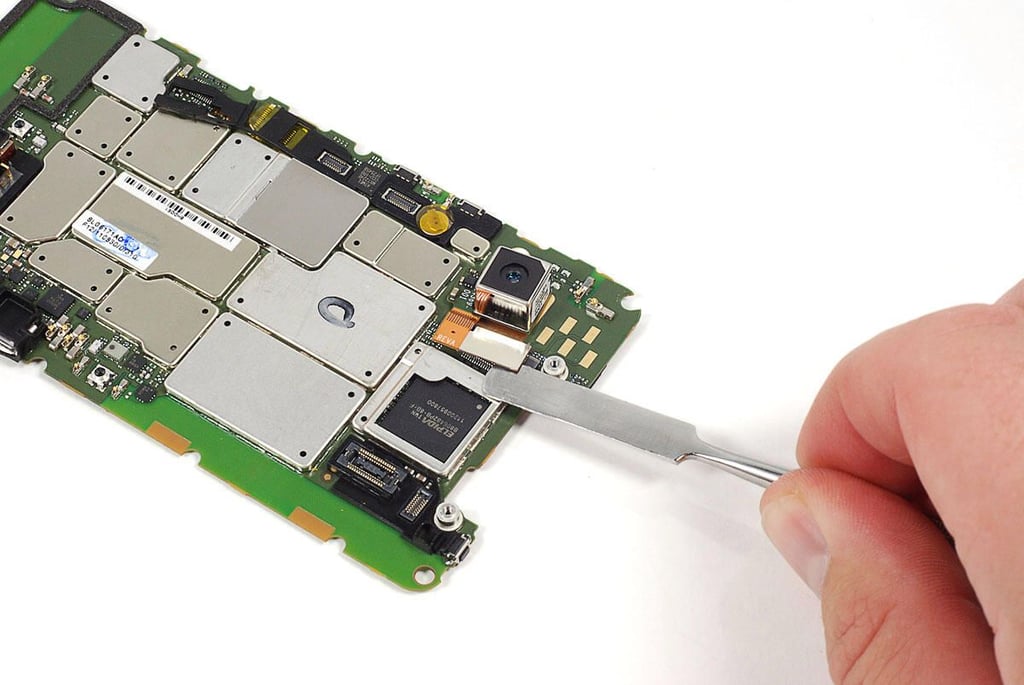
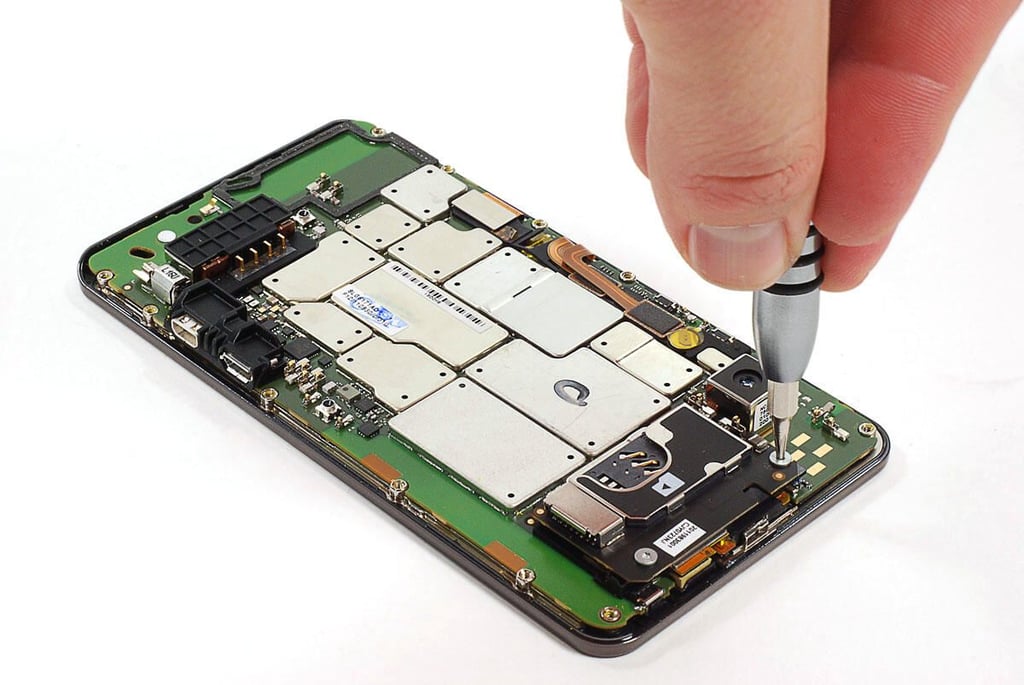
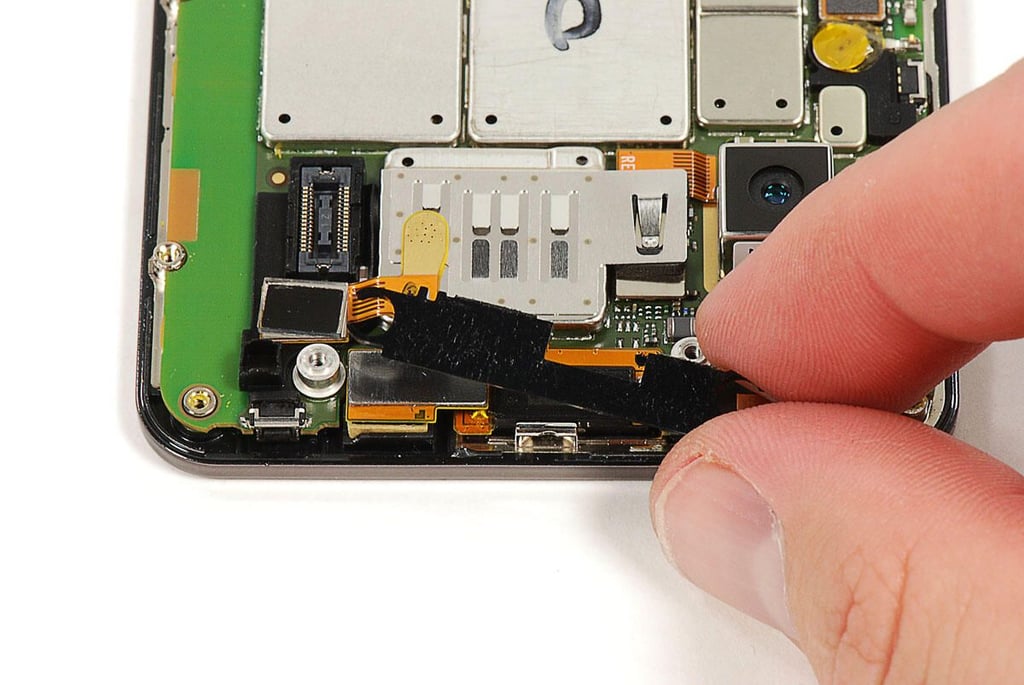
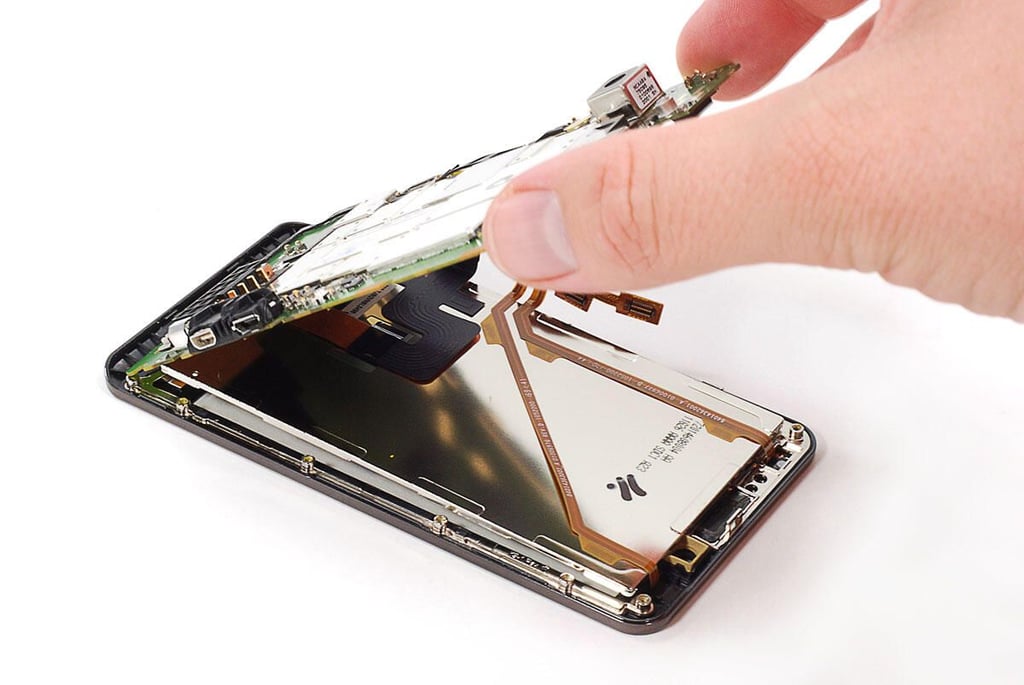
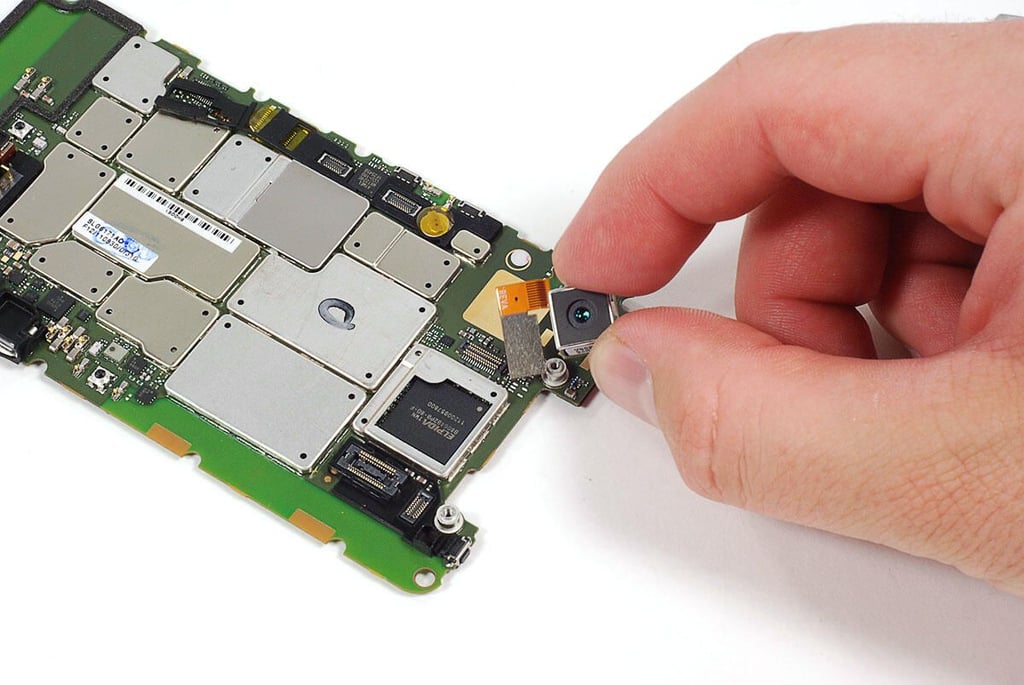
\n\tUsing a thin metal blade, I detached the 8MP rear-facing camera’s connector from the main PCB.
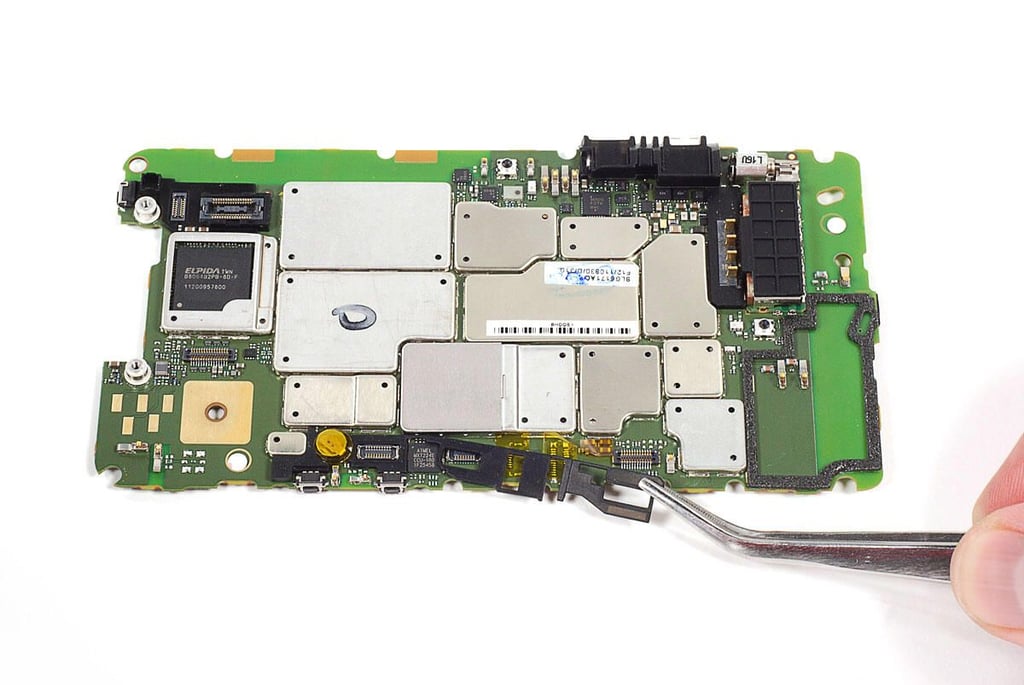
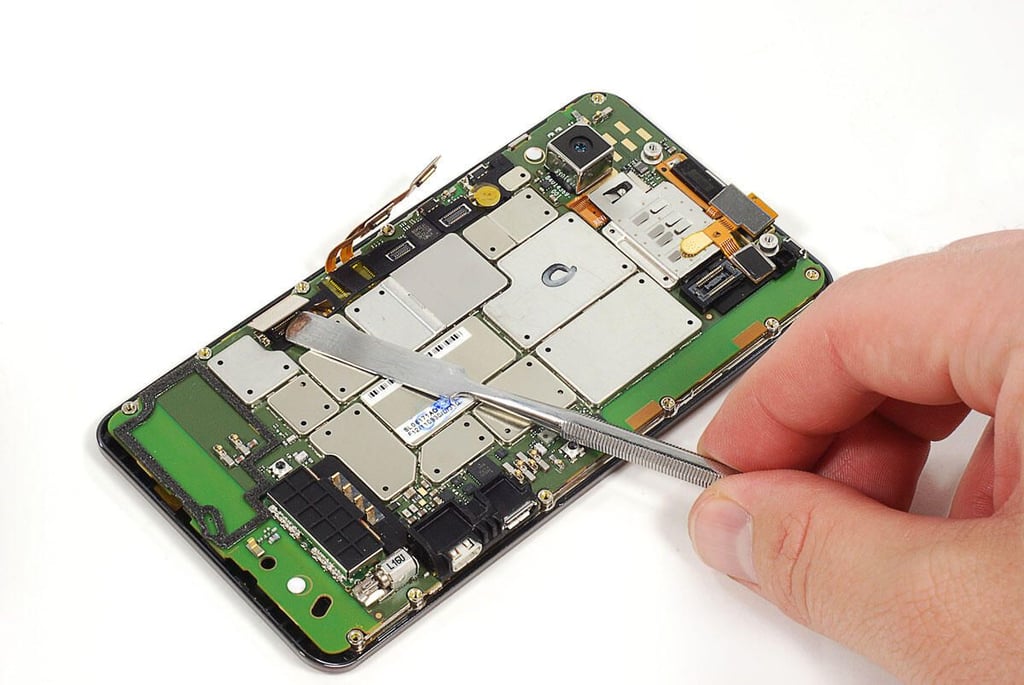
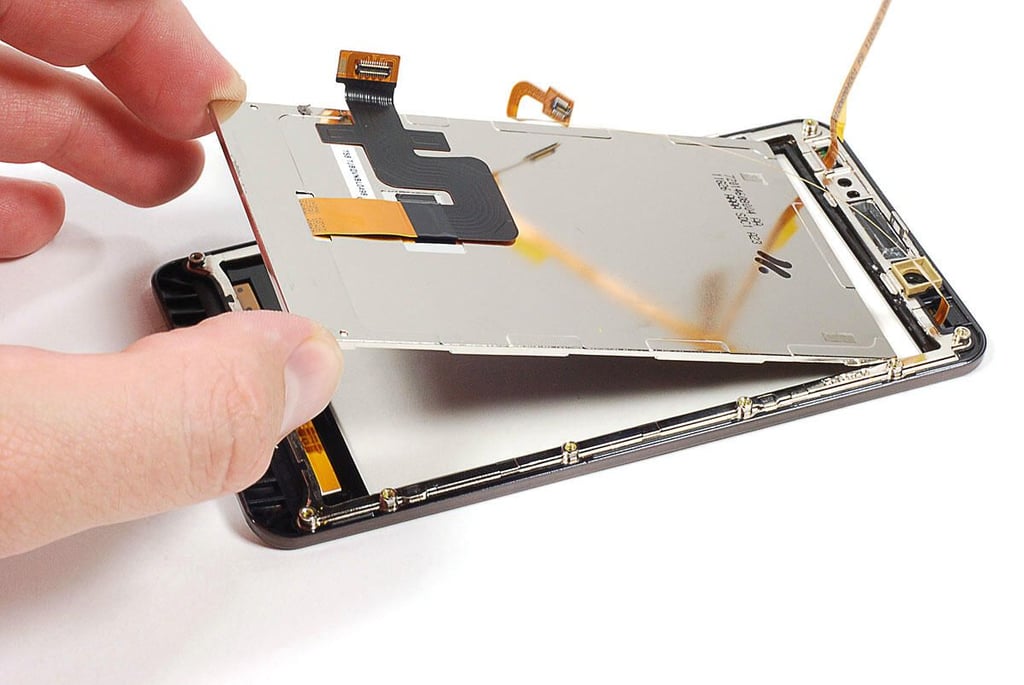
\n\tSeveral rubber “cushions” surround various components on the main PCB. I removed them using a pair of tweezers.
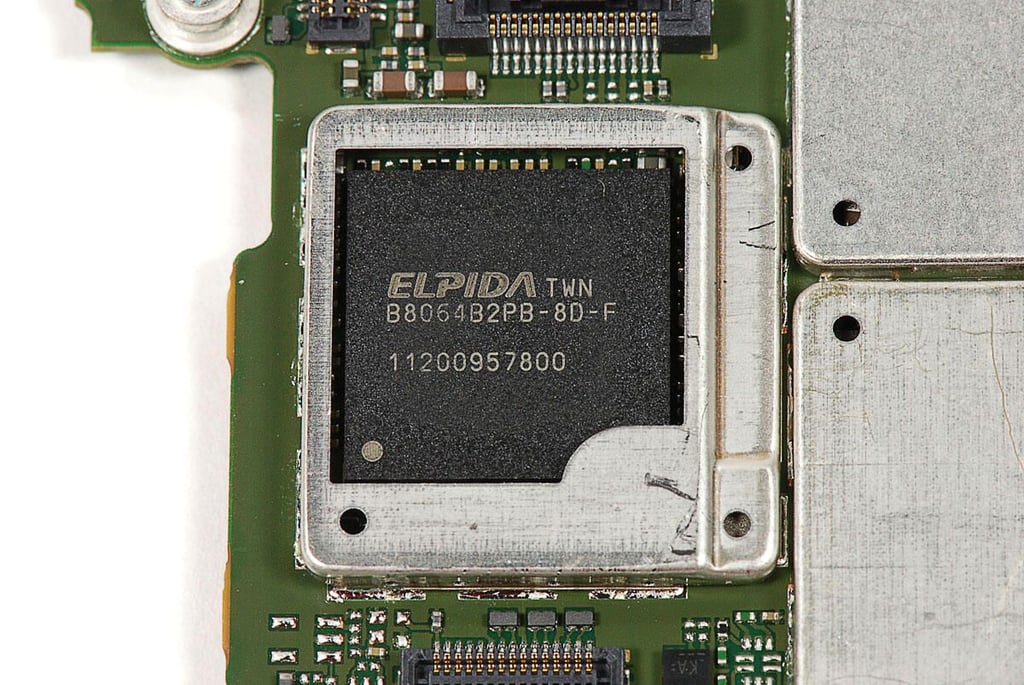
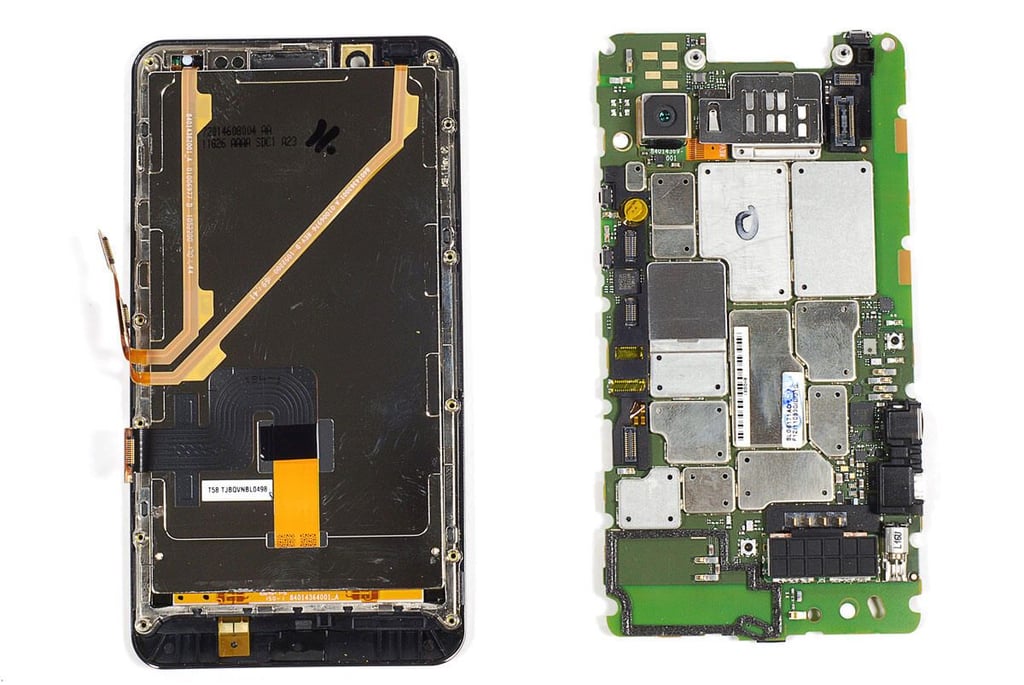
When announced at CES 2011, Motorola indcated that the Droid Bionic would use a dual-core Nvidia TEgra 2 processor. But the final version of the phone uses this Elpida B8064B2PB-8D-F chip, which contains 8 Gb DRAM and the Texas Instruments OMAP4430 Application Processor.

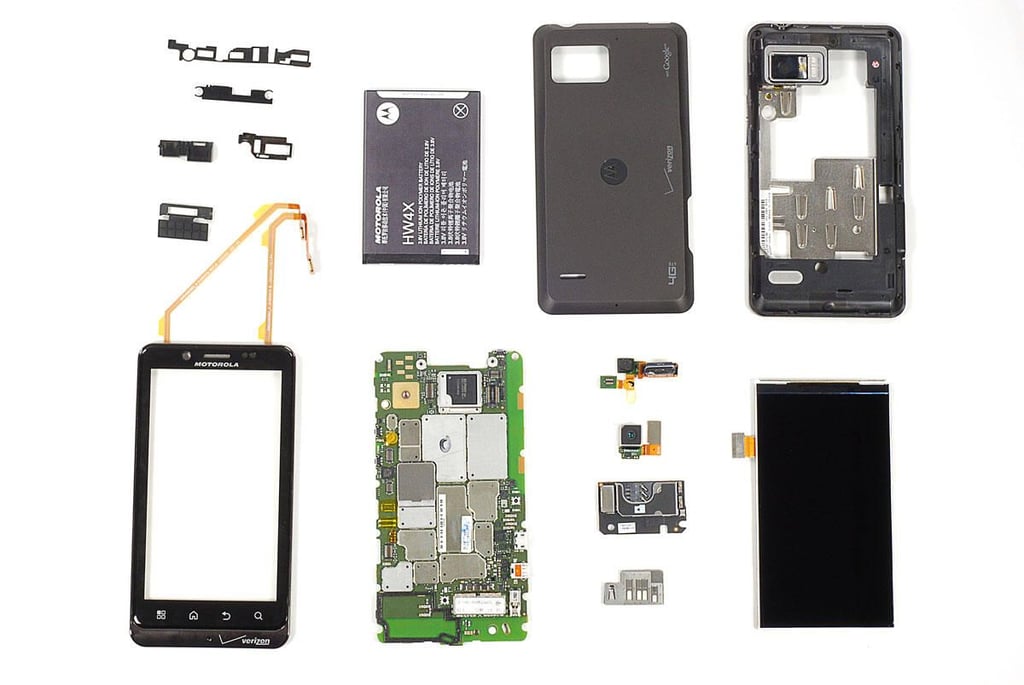
\n\tThe Motorola Droid Bionic was remarkabley easy to disassemble. It uses standard screws, has a user-replaceable battery, and readily-accessible components. Only the rear-facing camera was a pain to remove.
\n
\n\tFor a more in-depth review of the Bionic’s internal hardware, check out my article, “Droid Bionic Teardown: Motorola switches processors, upgrades RAM in final version.”
Bill Detwiler is the Editor for Technical Content and Ecosystem at Celonis. He is the former Editor in Chief of TechRepublic and previous host of TechRepublic's Dynamic Developer podcast and Cracking Open, CNET and TechRepublic's popular online show. Previously, Bill was an IT manager in the social research and energy industries. He has bachelor's and master's degrees from the University of Louisville, where he has also lectured on computer crime and crime prevention.


