
\n\tThey’re everywhere. Nintendo’s DS Lites are the favorite of everyone from kids to adults. With a wide range of games, an inviting interface and two screens for double the fun, Nintendo’s portable gaming system is gaining fans worldwide. Just what makes a DS Lite work? Take a look inside one of the hottest gaming platforms in this exclusive photo gallery.
\n\t
\n\tThe Nintendo DS Lite is packaged in a small, well-packed box.
\n
\n\t\n\n
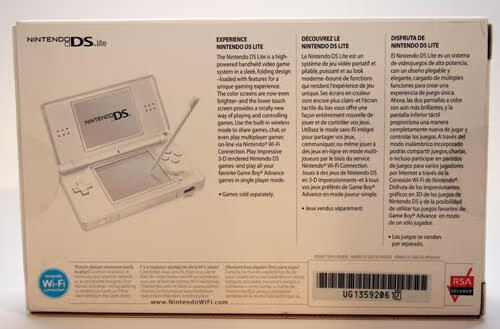
Here a look at the back of the Nintendo DS Lite box.
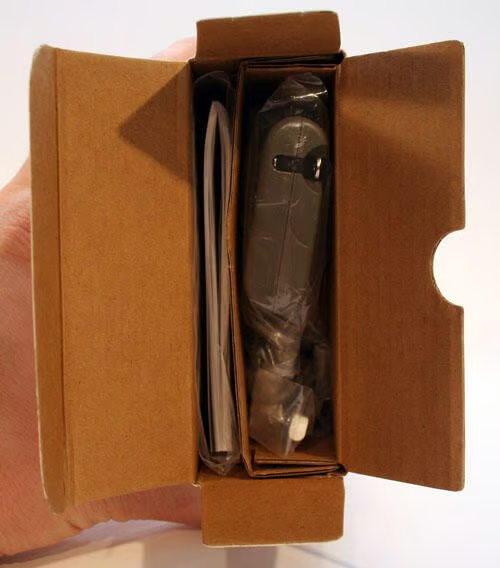
The DS lite gaming system, instructions, power adapter and an extra stylus are all packed tightly within Nintendo’s box.
Here you can make out the side of the power adapter (right) and instruction manual (left).
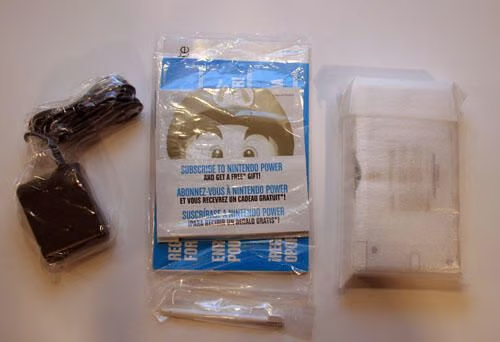
Here’s everything packed inside the Nintendo DS Lite box.
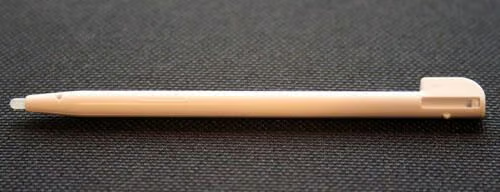
Here’s a close-up of the Nintendo DS Lite stylus.
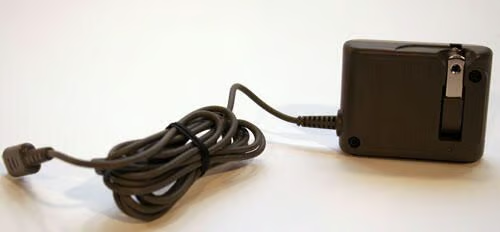
The DS Lite’s power adapter features a rotating plug that can be tucked inside the adapter’s plastic housing to better enable portability.
Or, in other words, you can tuck the adapter’s power plug inside itself to ensure it doesn’t snag other items when traveling.

This is how the DS Lite’s power adapter looks when the power plug is extended.
Here’s a look at the Nintendo DS Lite, as seen from the front with its lid closed.
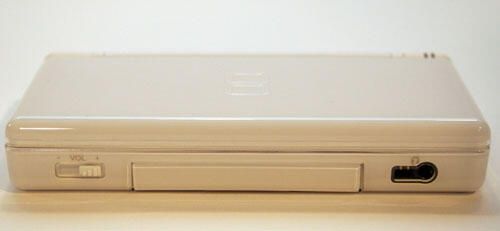
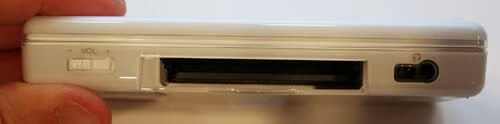
The headphone/microphone port appears to the far right, while the Game Pak Slot Cover hides the port used for connecting Game Boy Advance Game Packs and other accessories. To the far left is the device’s sliding volume switch.
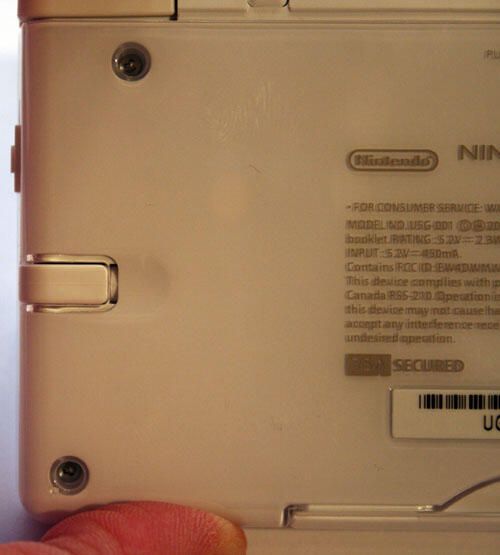
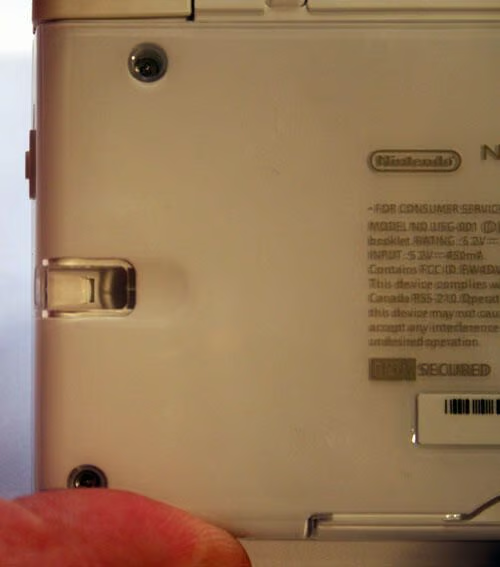
Here’s a view of the Nintendo DS Lite’s backside, again with the lid closed.
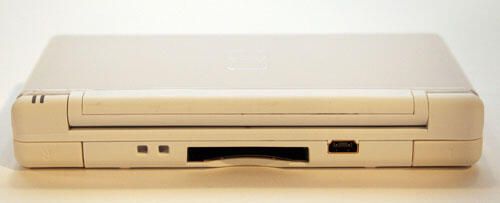
The Left and Right control buttons appear toward the bottom left and right corners, while the unit’s power port sits to the right of the DS Game Card Slot (center).\r\n\r\nThe two square cutouts to the left of the game card slot enable connecting a wrist strap to the handheld device.

The Nintendo DS Lite, as seen from its undercarriage.
At the top corners appear the Left and Right control buttons. The large rectangular compartment to the right side holds the game’s battery.
To the left, you can see the base of the unit’s stylus.
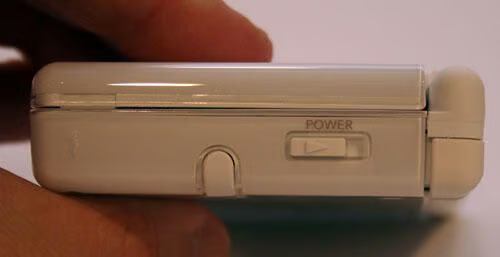
Viewing the DS Lite from the right-side, visible are the stylus and power switch.
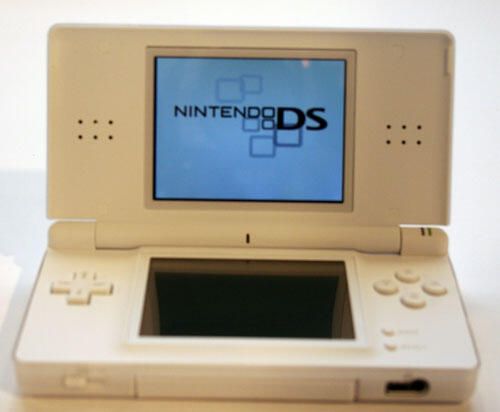
The Nintendo DS Lite revolutionized handheld gaming with the introduction of dual screens.
The top (lit) screen serves strictly as a display, while the second (lower) display is also touch sensitive and doubles as an input device.
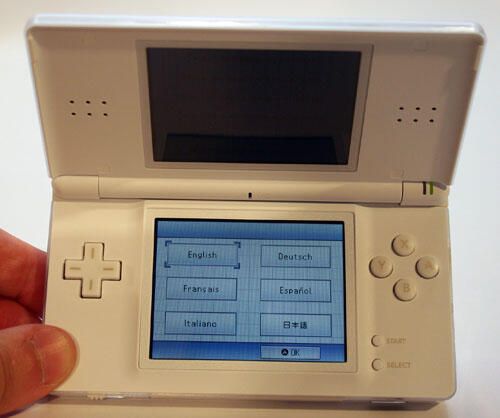
The Nintendo’s second display doubles as a touch-screen.
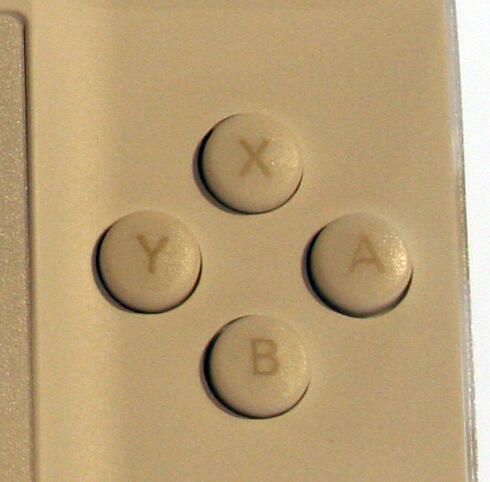
The DS Lite features several control buttons, including this four-button set.
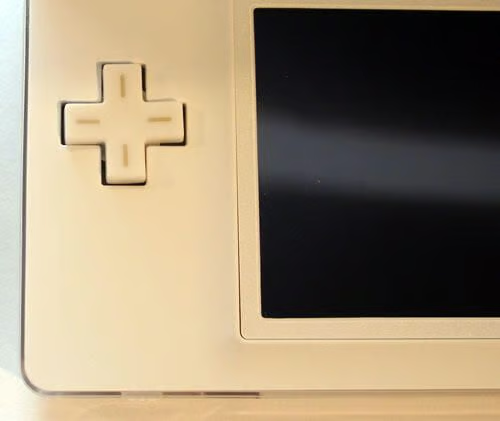
No good gaming system is complete without a joystick controller.
The DS Lite features a pair of stereo speakers embedded within its top lid.
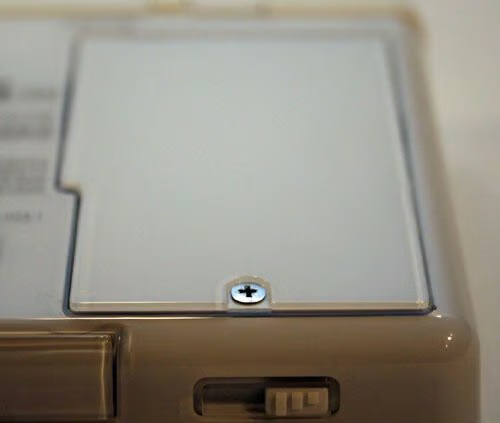
The Nintendo’s battery is housed beneath this cover.
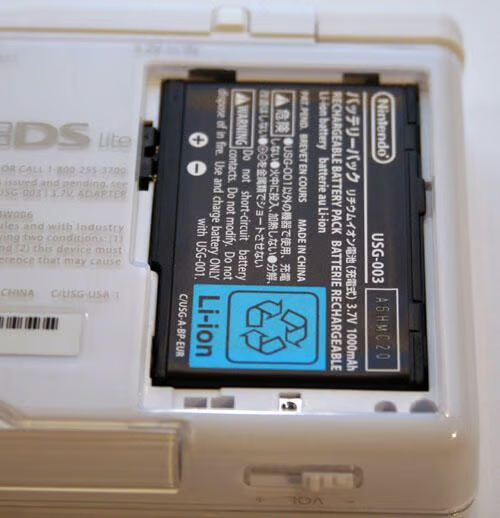
The Nintendo is powered by a 3.7-volt rechargeable Lithium Ion battery. Nintendo warns against using any battery other than model number USG-003.
The Nintendo DS Lite battery compartment, minus the battery.
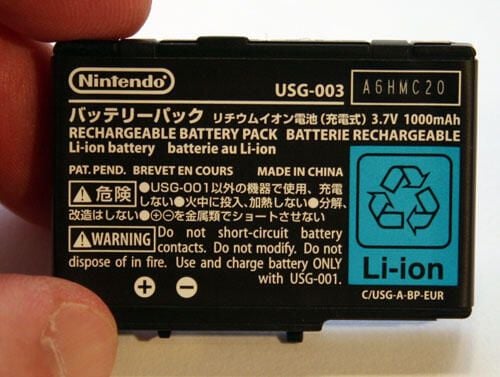
The official Nintendo rechargeable battery boasts model number USG-003. A Lithium Ion power cell, the battery can withstand numerous charging cycles and still provide high performance.
The Nintendo DS Lite features an internal compartment for its companion stylus.
The Nintendo DS Lite stylus compartment.
This protective cover conceals the DS Lite’s Game Pak slot.
Simply pulling the Game Pak Slot Cover reveals this compartment. The slot enables the DS Lite to accept and play Game Boy Advance Game Paks. The port also accepts DS Lite accessories.
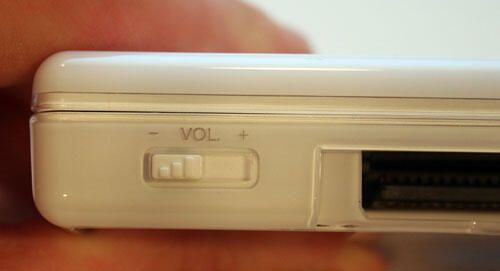
The Nintendo DS Lite sliding volume switch is found on the game’s front left side.
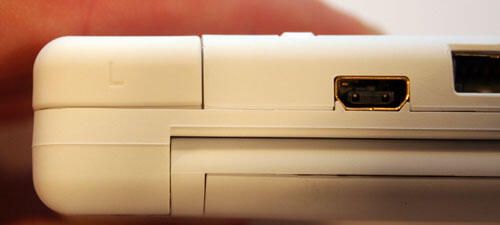
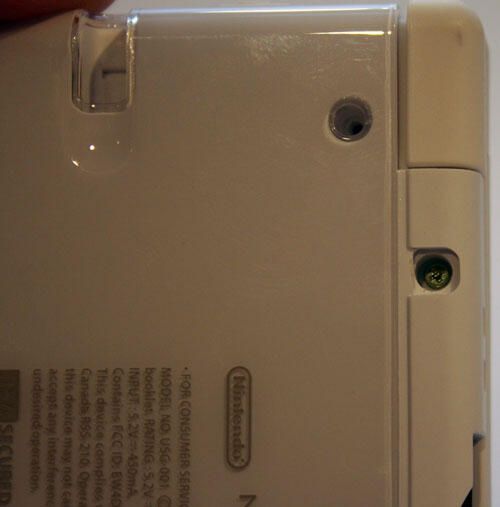
Nintendo’s power adapter plugs into the DS Lite here. In this picture you can also see the Left control button (top left).
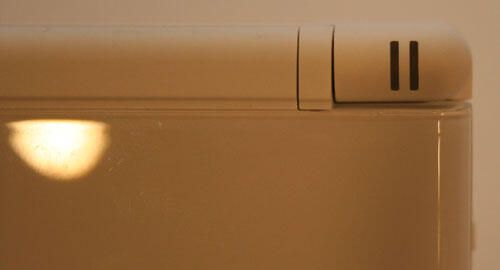
LEDs within these slots indicate when the unit is powered on. They also display battery status (green changes to red when battery power is low).
Rapidly blinking LEDs, meanwhile, indicate a wireless game is being played. Slow blinking, on the other hand, indicates the DS Lite is operating in Sleep mode.

The DS Lite’s microphone is located behind the top center slot shown here.
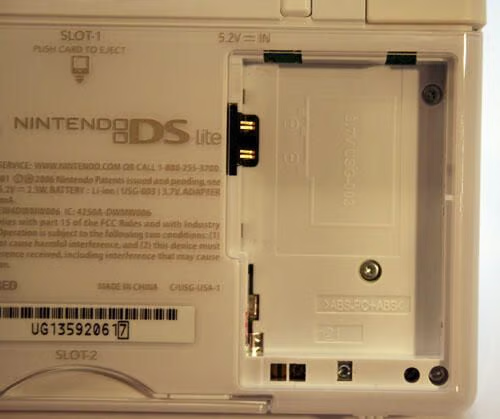
These Philip head screws, found within the battery compartment, must also be removed before the Nintendo can be opened.
Once the screws are removed that secure the DS Lite’s components, disassembly is fairly easy.
Once you loosen screws, remove them completely from the recesses that hold them. Otherwise, a slight margin of thread may contact the receiving side and prevent disassembly.
Once the screws are removed, and the components are gently separated, the DS Lite’s bottom casing (shown here) pulls easily away from the rest of the assembly.
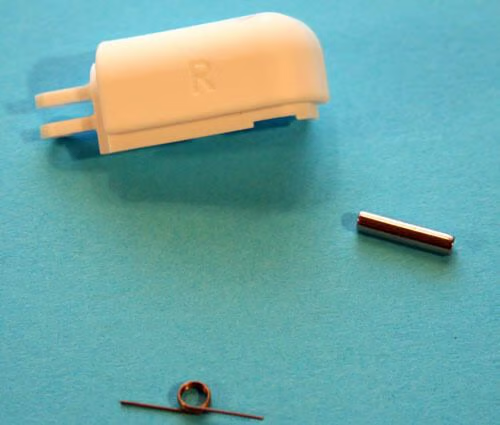
Here’s a closer look at one of the DS Lite’s control buttons (as well as its retaining pin and spring). In case you’re curious, this is the Right control button from the DS Lite.
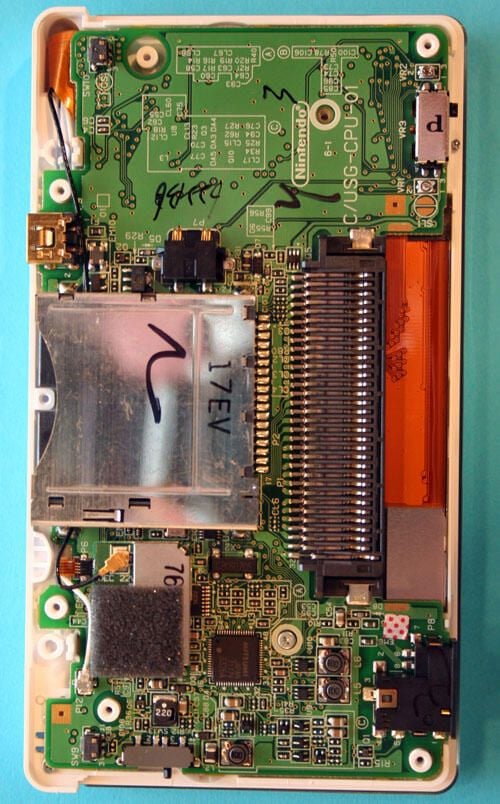
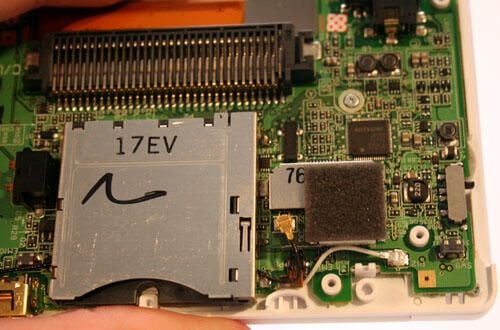
With the bottom plastic casing removed, the DS Lite’s circuit board is clearly visible.
To the center-right is the Game Pak port that accepts accessories and Game Boy Advance Pak games. To the center-left is the compartment that holds DS Lite game chips.
Beneath the DS Lite game chip compartment is the DS Lite’s CPU. However, one must use a soldering iron to disconnect the game port from the circuit board).
Here’s a different look at Nintendo’s DS Lite circuit board.\r\n\r\nToward the bottom right you can see an empty circle where another Philips head screw used to be located. That screw must be removed to enable continued disassembly of the unit.
Also visible to the very bottom right is the switch that powers the DS Lite’s volume control.
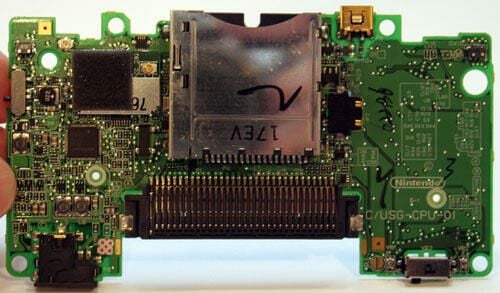
The Nintendo DS Lite circuit board, as viewed from the front.
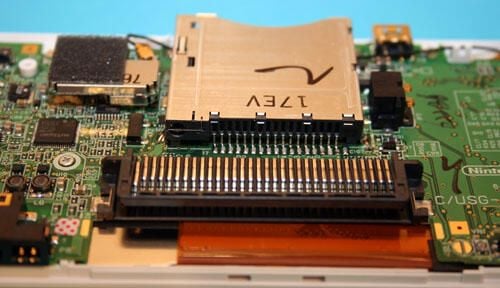
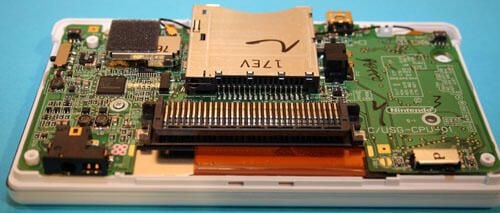
Here’s a closer look at the DS Lite’s Game Pak Slot, as seen when viewing the circuit board.
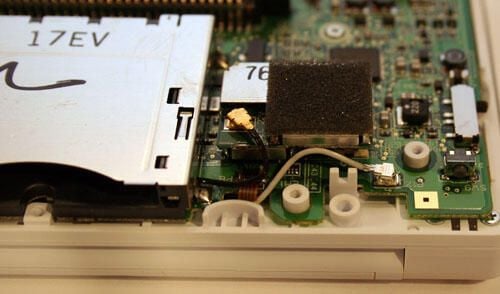
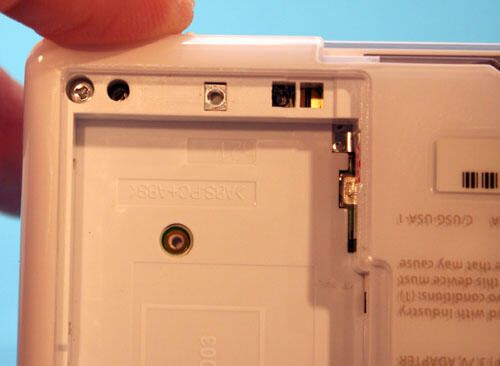
The black cable, seen here almost in the center of the image, connects the DS Lite’s wireless antenna.
The white cable, located toward the bottom right of this image, connects the DS Lite’s microphone to the circuit board.
Further disassembly of the device requires that both these wires be disconnected.
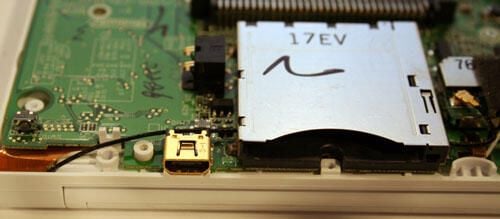
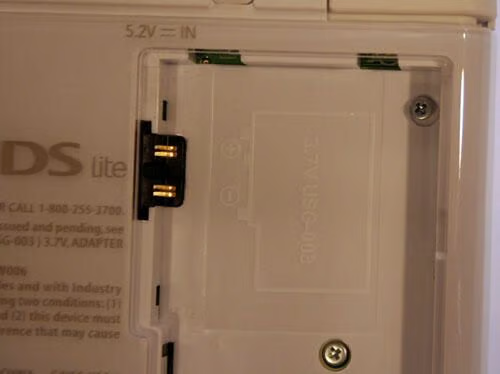
Once the DS Lite’s black wireless antenna cable is removed, it must be un-threaded from beneath the DS Lite game port.
Also visible in this image is the power adapter port (appearing in gold toward the bottom left).
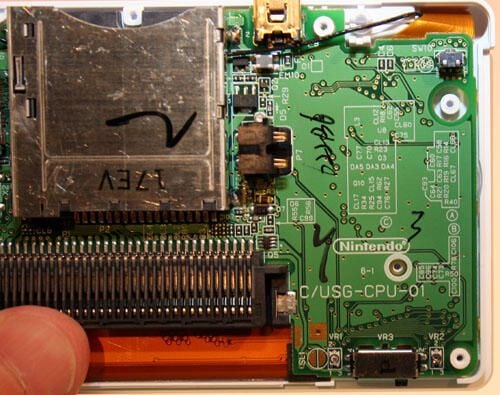
Here’s a closer view of the DS Lite game port (marked with the letters 17EV).
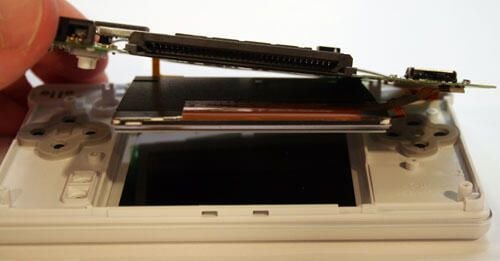
With all retaining screws removed, the DS Lite’s touch-sensitive display screen can begin to be separated from the rest of the DS Lite’s components.
When the Nintendo’s circuit board is separated from the DS Lite’s plastic overlay, the touch-sensitive LCD pulls away with the circuit board.

Two ribbon cables connect the touch-sensitive LCD screen to the Nintendo circuit board.
One of the ribbon cables can be seen in the top left corner. The second is not shown in this image.
Instead, the second ribbon cable (bottom right) shown in this image connects the circuit board to the unit’s second display screen.
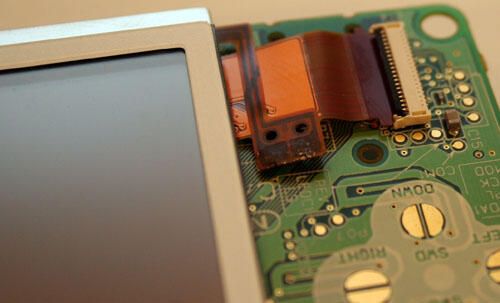
Here’s a closer view of one of the two ribbon cables that connect the touch-sensitive display to the Nintendo circuit board.
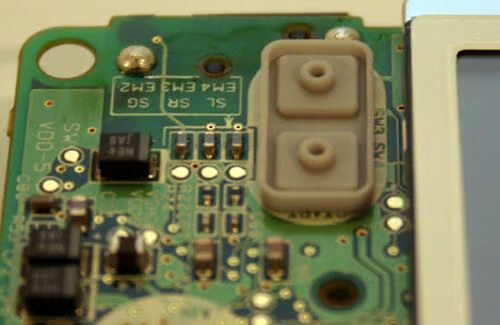
This rubberized pad, which accommodates two separate switches) helps the Start and Select buttons (found on the bottom half of the DS Lite) properly relay activation (when depressed) to the circuit board.
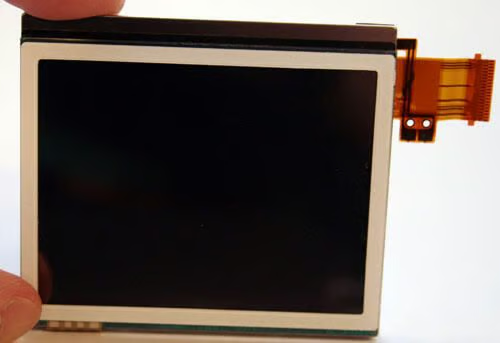
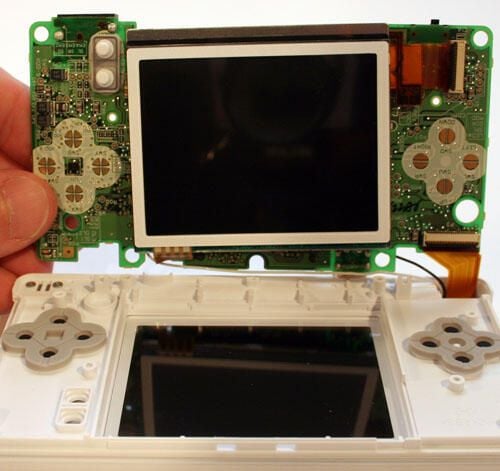
This image shows the Nintendo DS Lite’s touch-sensitive screen, with a ribbon cable outstretched to the right, once it’s been removed from the circuit board.
Here’s the Nintendo DS Lite circuit board by itself (once it’s been disconnected from all cables and removed from the DS Lite.
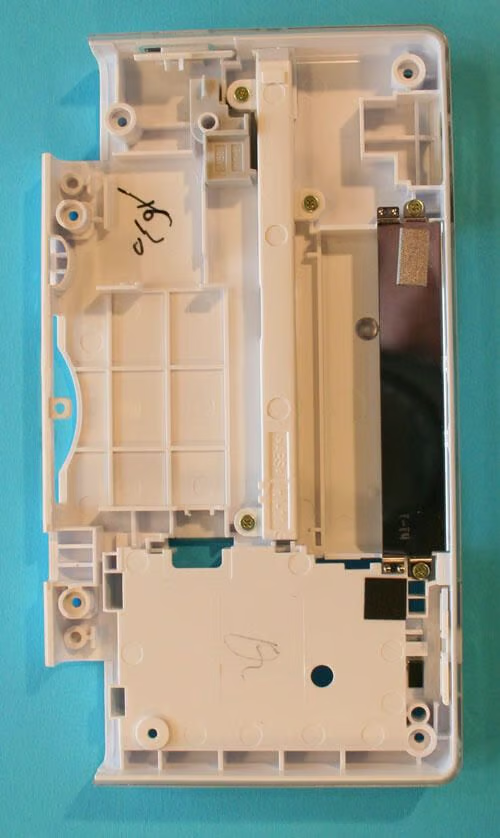
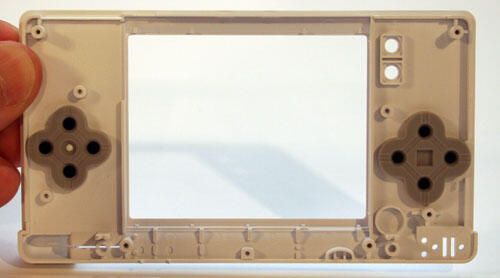
Here’s an internal view of the backside of the DS Lite’s bottom plastic shell.
To the top right you can see two squares (with circles inside) that accommodate the Start and Select buttons. The baseball-diamond shaped rubberized pads below it (on the right side) accommodates the DS Lite’s A, B, X and Y control buttons.
The baseball-diamond-shaped rubberized pad to the left, meanwhile, accommodates the device’s joystick controls.
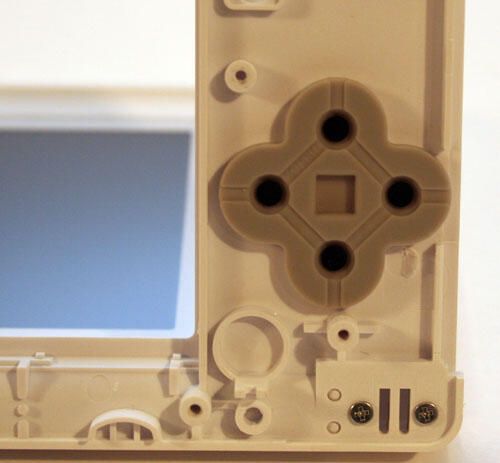
Here’s a closer look at the joystick pad’s backside.
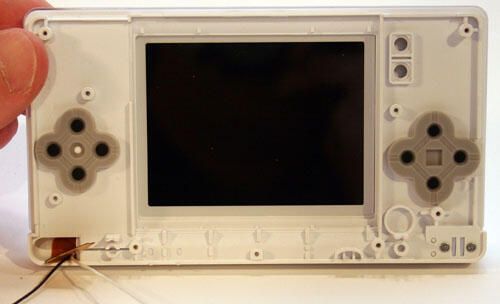
This is how the DS Lite’s mid-level plastic casing looks with the LCD removed. This piece connects snug-like down inside the DS Lite’s bottom plastic shell, thereby holding control buttons and LCD tightly together.
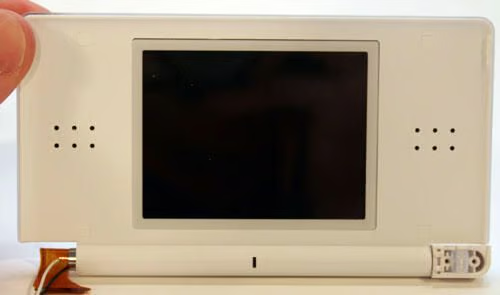
The DS Lite’s top-half shell holds the gaming platform’s stereo speakers, the non-touch-sensitive LCD and a microphone.
Before disassembling the DS Lite’s top-half shell, you must first remove the decorative rubber plugs to reveal Philips head screws. Once those screws are removed, the lid can be gently pried apart.
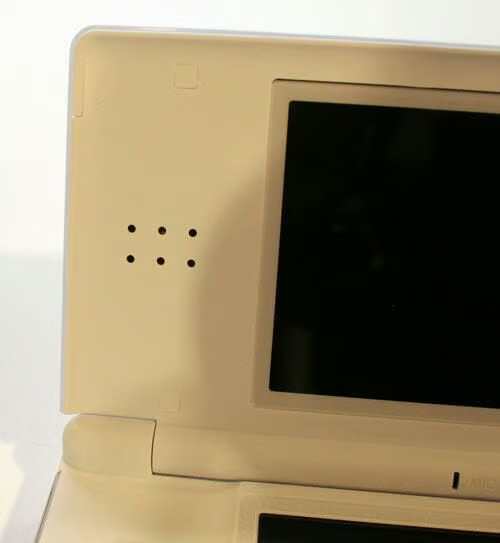
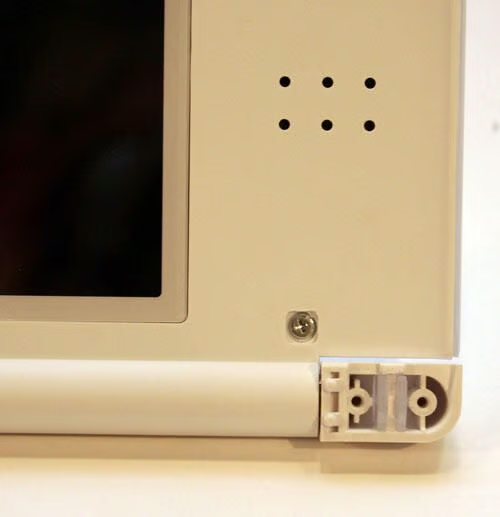
Also, in this image you can clearly see the casing’s stereo speaker perforations. These six holes appear on each side of the LCD, better enabling sound to reach the user.
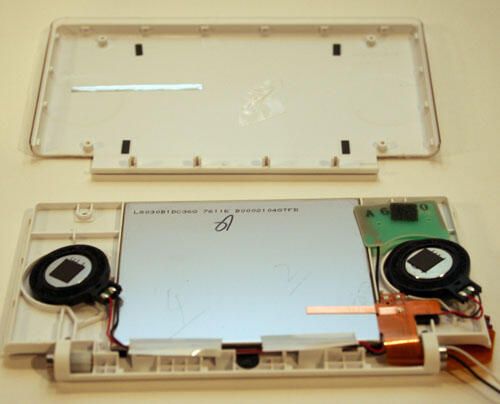
With screws removed, the DS Lite’s lid can be separated. Once its pieces are completely disconnected, you can remove the lid (shown on top). Removing the lid reveals the LCD and speakers, as shown here.

Here’s a closer look at one of the DS Lite’s speakers.
Once the lid is opened, the DS Lite’s second LCD screen falls easily away from the rest of the unit.
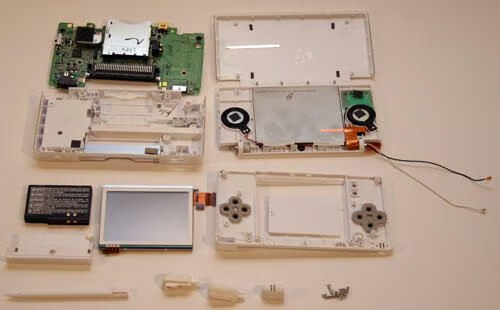
Here are all the components that compose the Nintendo DS Lite, as well as the other items included with each unit.

Erik Eckel is a managing partner at Louisville Geek and president of Eckel Media Corp. He previously served as Executive Editor at TechRepublic. He received Microsoft Engineer accreditation from Sullivan University and earned his Bachelor's Degree in English from the University of Louisville. He's earned Network+, Windows NT 4.0 MCP+I and MCSE, and Windows 2000 Professional MCP accreditations.


