
This is the introductory screen of the new Virtual PC Wizard. You can access this wizard by clicking “New…” from the Virtual PC console or selecting File | New Virtual Machine Wizard.
Read Joshua’s article for complete details on recreating your fresh OS installation.
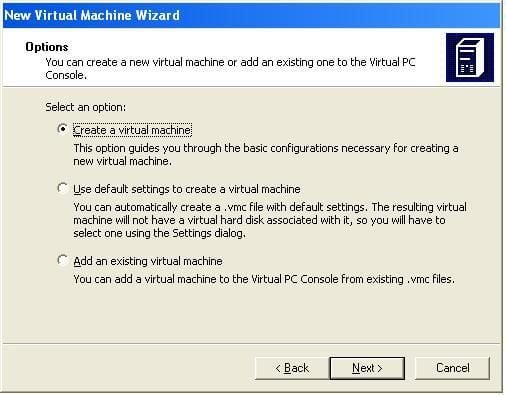
You can select from the three options listed here. We will be using the first option (Create a virtual machine) as we are building this machine from scratch.
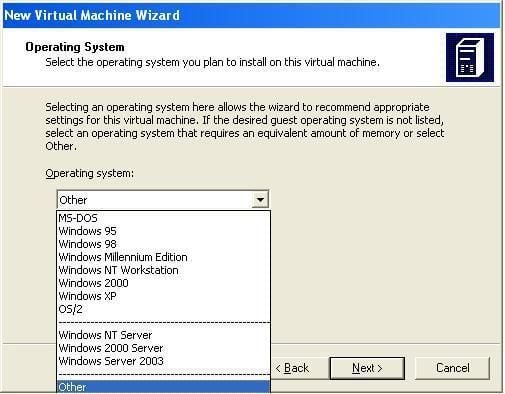
You will then select the operation system to install on the virtual machine. This choice provides system recommendations based on your O.S. choice, but you are free to change any options during the course of the wizard.
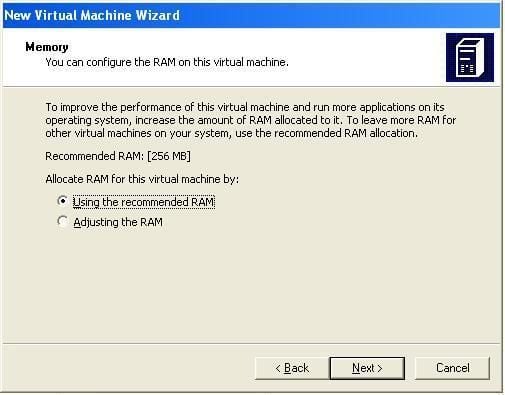
Based on your OS selection, Virtual PC recommends a certain amount of RAM, for example 256MB for Windows 2003 Server. You are free to change this, but remember that the RAM will be taken out of your host PC’s RAM. Don’t select more than you can spare to lose.

From here you can choose to use an existing VHD or create a new one. As this is the creation of our clean environment, we will create a new virtual hard disk.
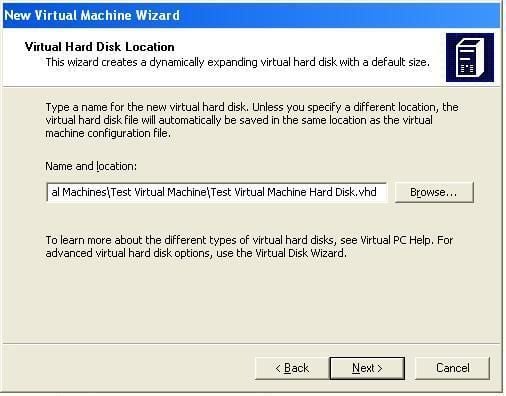
Please take not of this location and file name as you will need to back them up to be able to recreate the fresh installation environment without reinstalling the virtual machine.
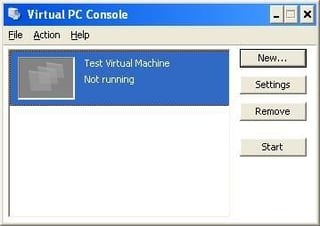
After creating your VHD file, your Virtual Machine is now ready to turn on. You can view the state of this and any other virtual machines you have in the Virtual PC Console application.
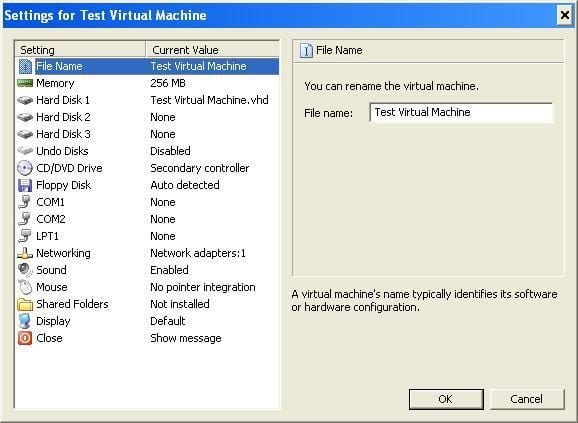
These are the settings for your new virtual machine (accessible from the “Settings” button on the Virtual PC Console. From here you can adjust many settings on your virtual system as well as reallocate or add hardware resources, though most hardware changes must be done while the virtual system is turned off.
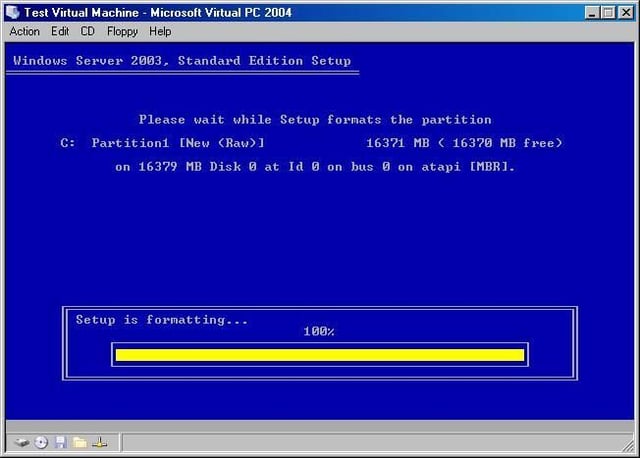
At this point you can start your virtual machine by clicking on it. If you have the proper media in your CD-ROM drive, you will be able to complete your installation just like on a normal system. One thing to watch out for though, if you use your mouse in the Virtual PC Window you must press the right ALT key to return mouse control to your main system. Once you have the virtual machine additions installed on your virtual machine you will no longer need to do this.
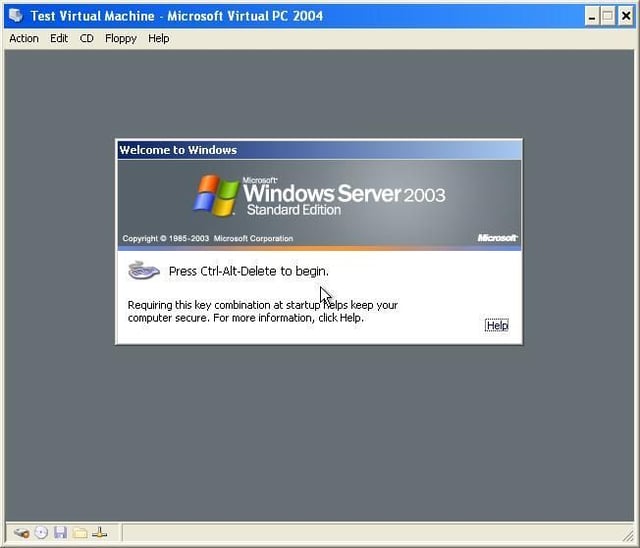
After completing your installation, you will have a full complete installation of your chosen OS ready for whatever work you have planned for it.
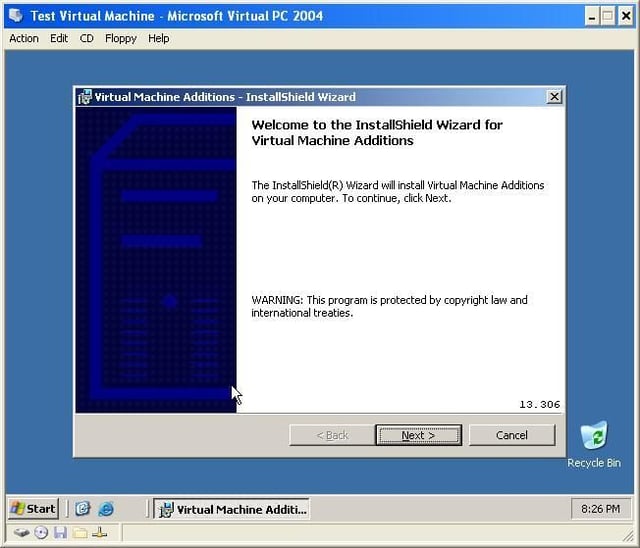
One of the first things you should do after installation is to install the Virtual Machine Additions. You can do this by selecting Action | Install of Upgrade Virtual Machine Additions after you have logged into the system. This will mount the ISO for the Virtual Machine Additions and begin the auto-run program. These additions will help your system run much more smoothly.
Bill Detwiler is the Editor for Technical Content and Ecosystem at Celonis. He is the former Editor in Chief of TechRepublic and previous host of TechRepublic's Dynamic Developer podcast and Cracking Open, CNET and TechRepublic's popular online show. Previously, Bill was an IT manager in the social research and energy industries. He has bachelor's and master's degrees from the University of Louisville, where he has also lectured on computer crime and crime prevention.


