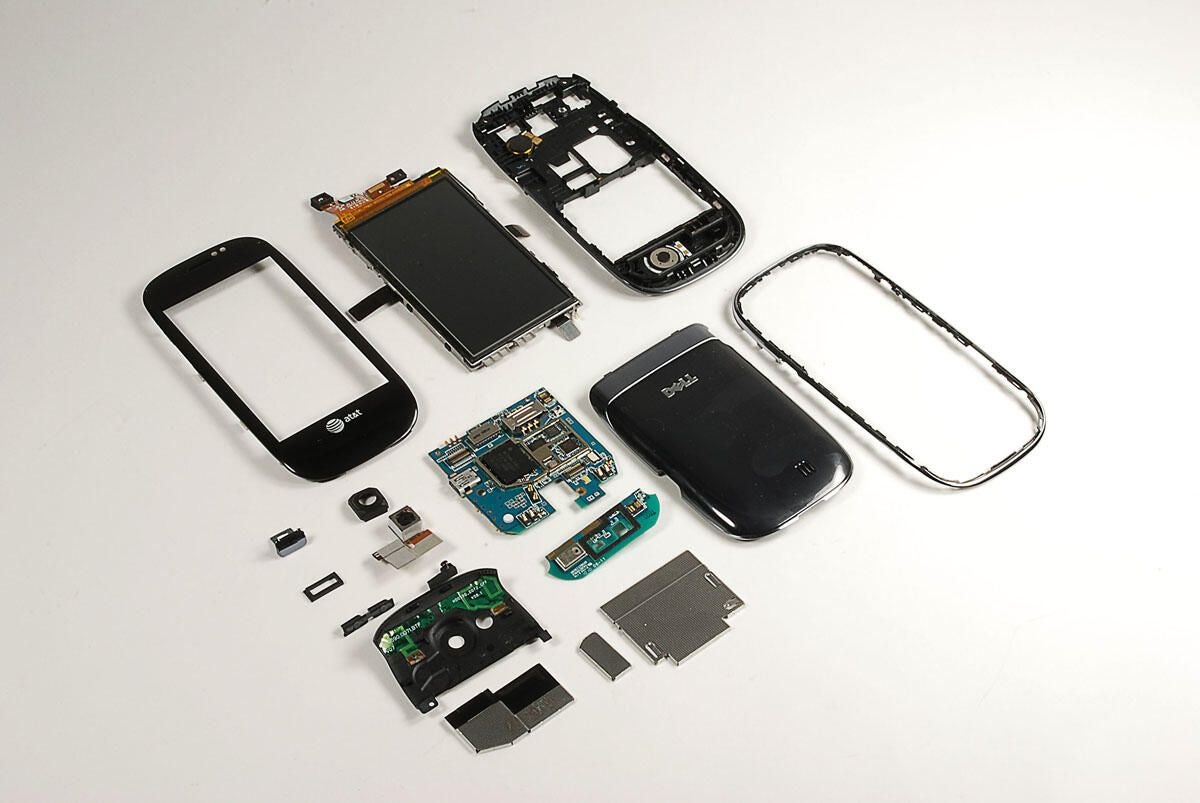
Dell officially announced the Aero (it’s first U.S. smartphone) in March at the Spring CTIA 2010 show. By the time the phone shipped in August, expectations where running high among the tech press and Android enthusiasts. Let’s take a look under the hood to see the hardware inside.
For an in-depth look at the Aero’s features, check out CNET’s review of the Dell Aero.
Photo by: Bill Detwiler / TechRepublic
Caption by: Bill Detwiler

The Dell Aero lacks a standard 3.5mm headphone jack. Luckily, the Aero ships with a Mini-USB to 3.5mm adapter in the box.
Photo by: Bill Detwiler / TechRepublic
Caption by: Bill Detwiler
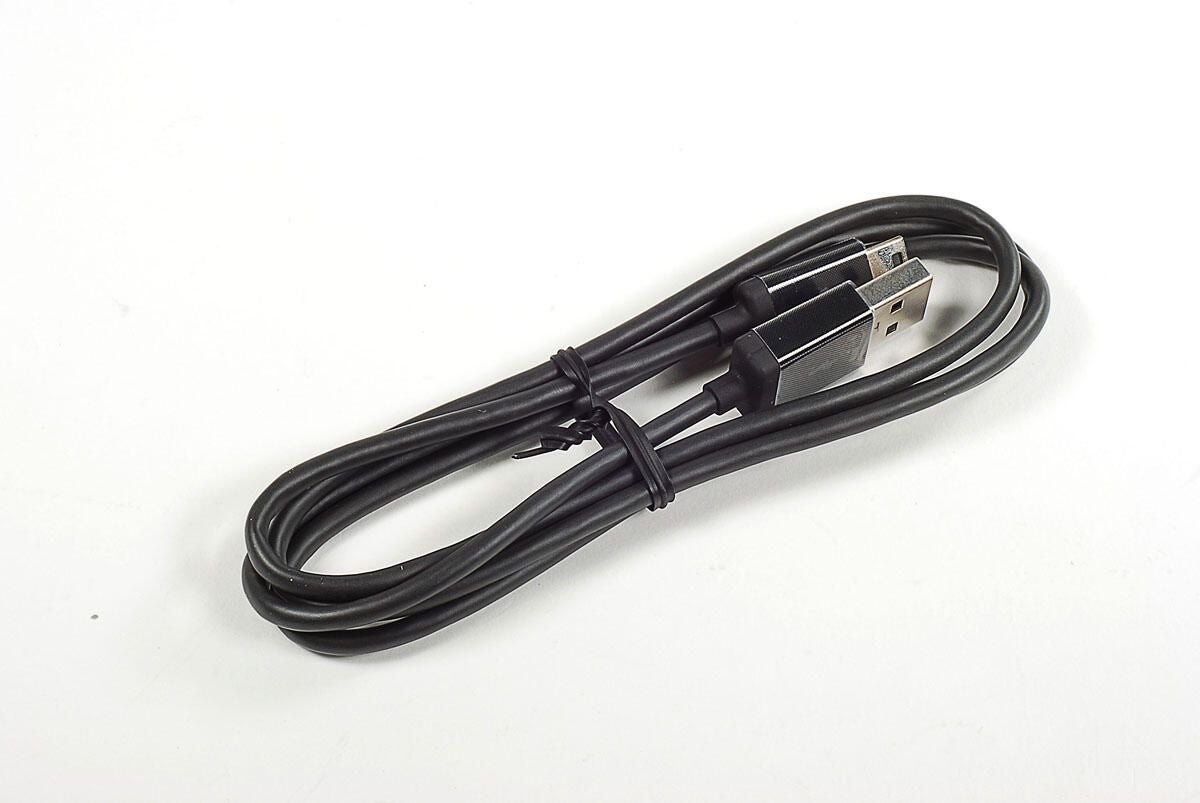
Photo by: Bill Detwiler / TechRepublic
Caption by: Bill Detwiler
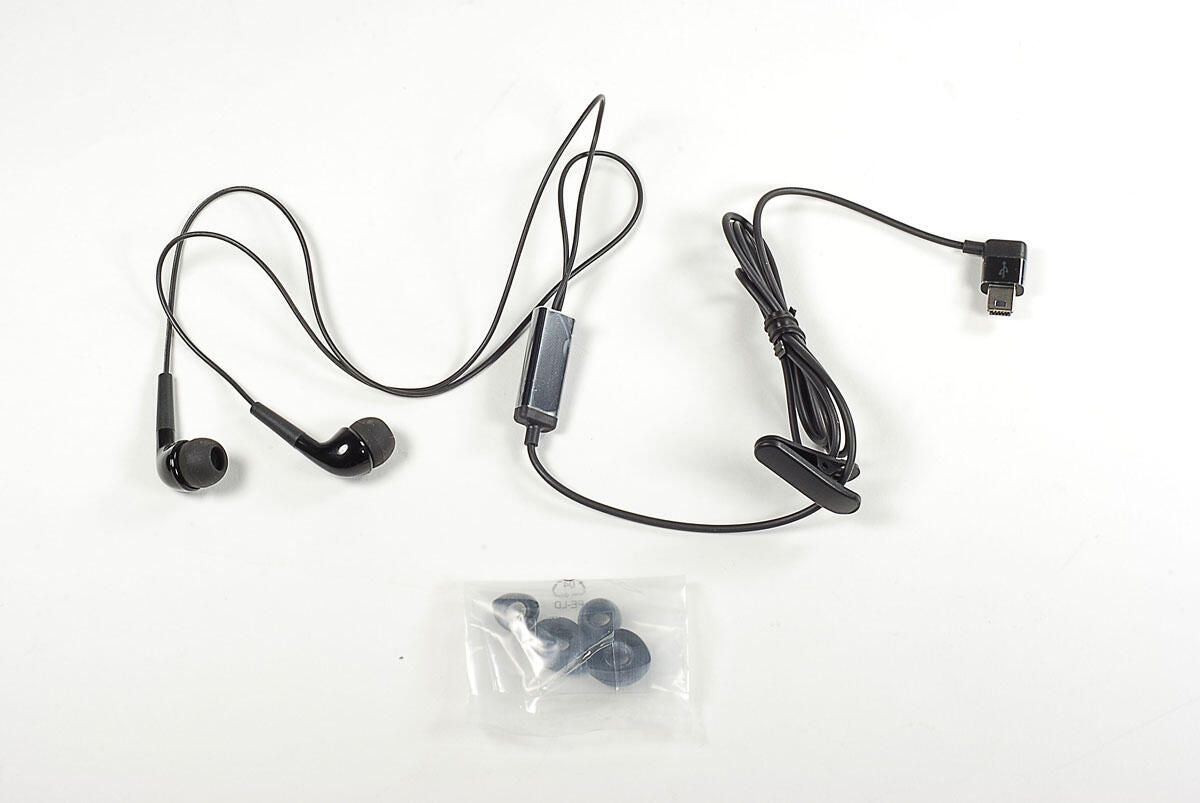
Photo by: Bill Detwiler / TechRepublic
Caption by: Bill Detwiler
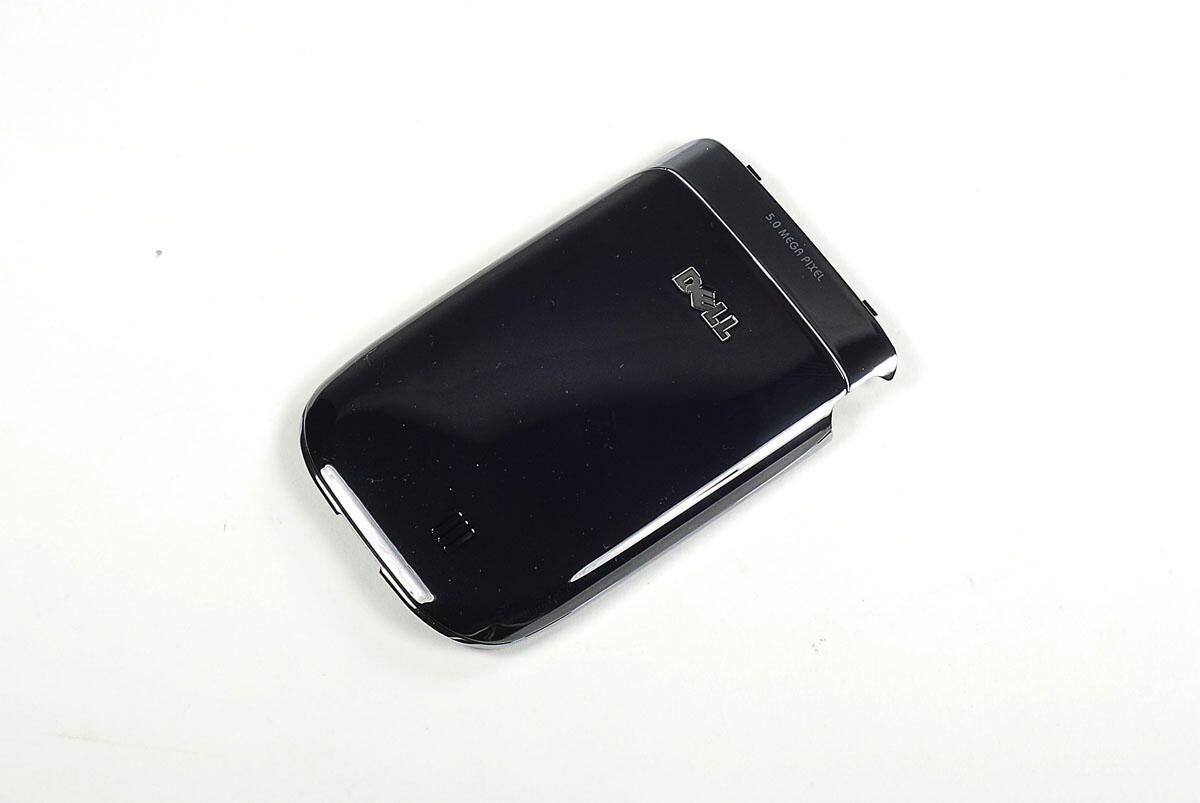
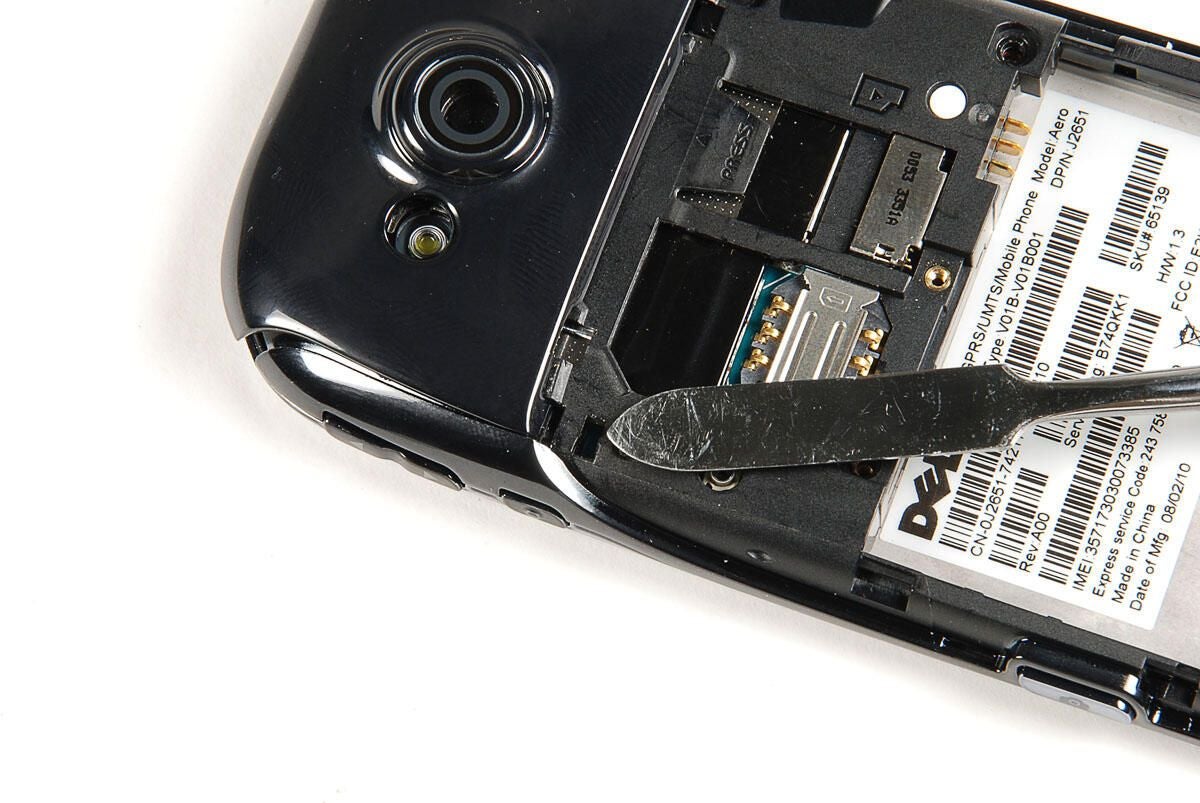
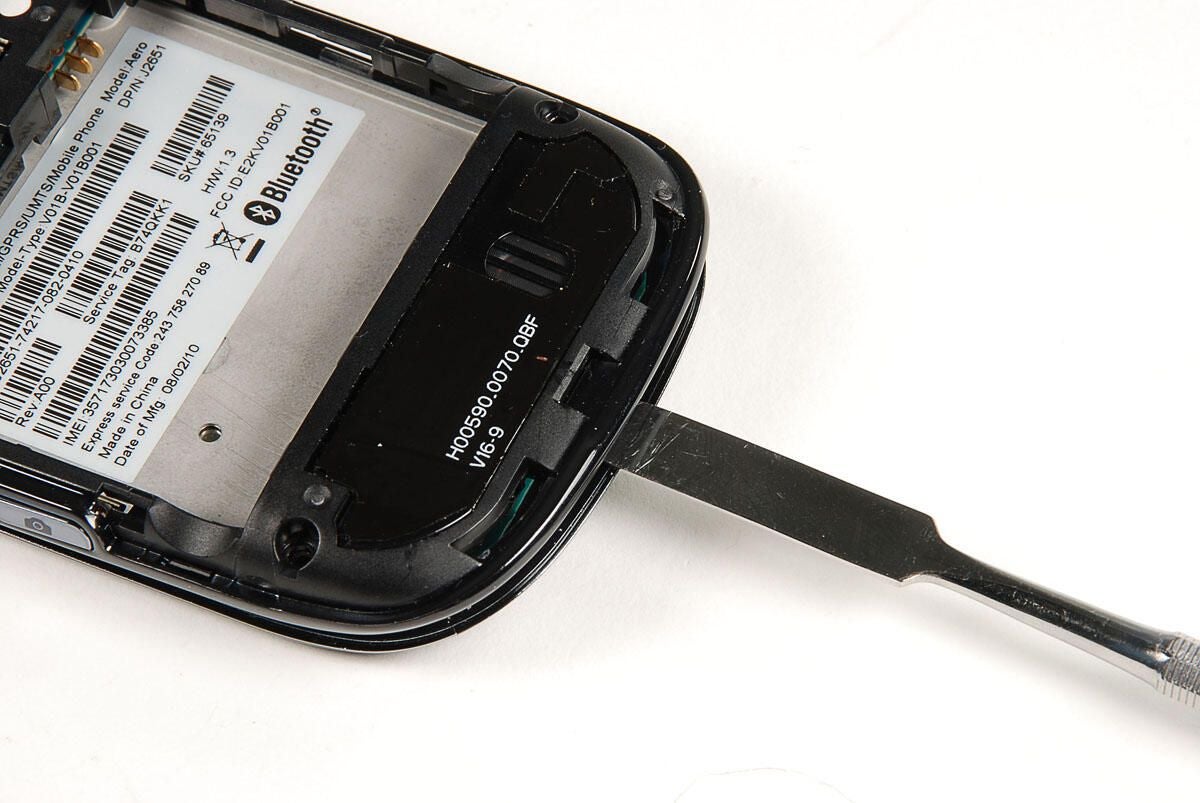
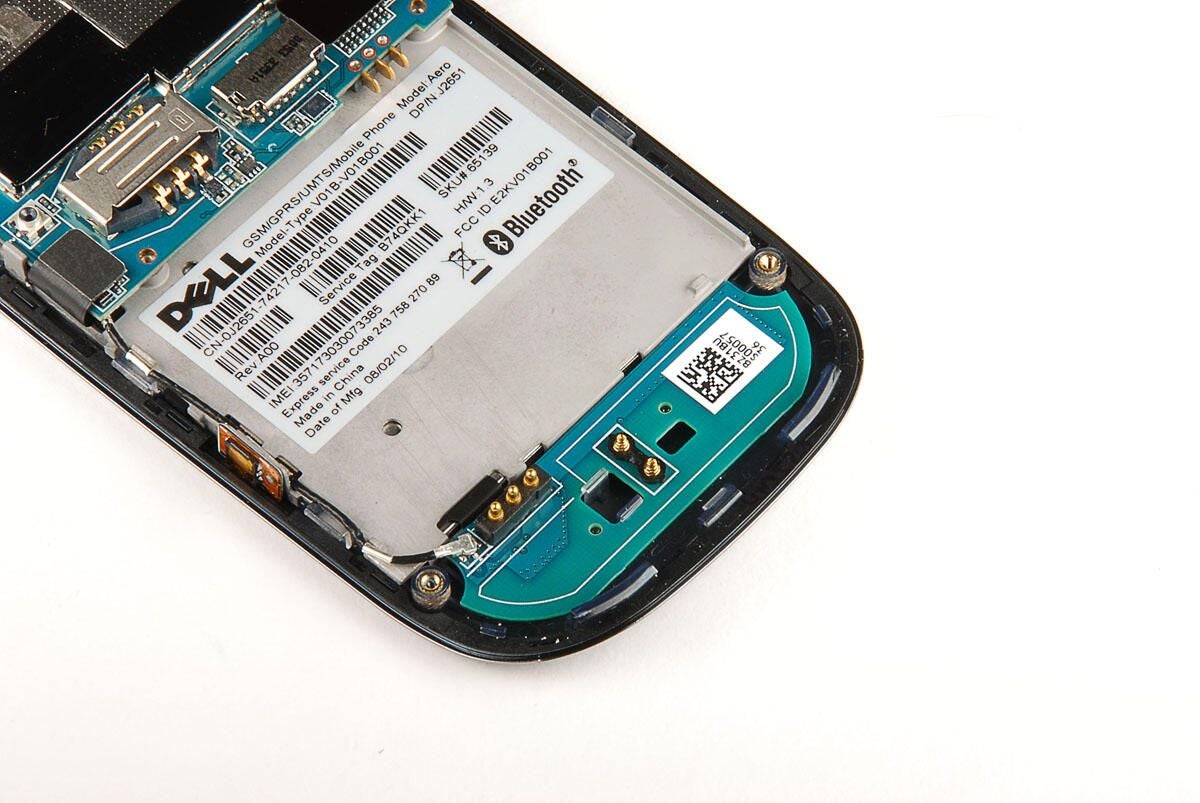
You can access the Dell Aero’s battery, SIM card slot, and MicroSD card slot by removing the back cover.
Photo by: Bill Detwiler / TechRepublic
Caption by: Bill Detwiler
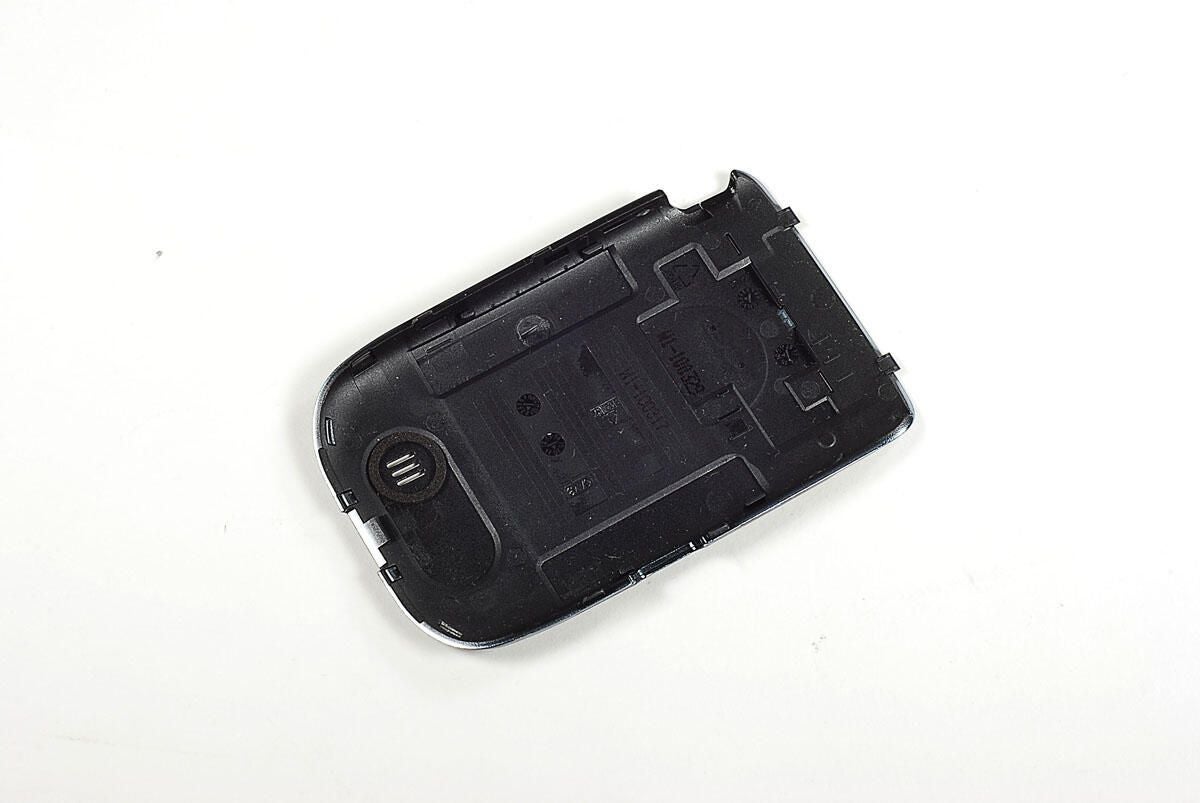
Photo by: Bill Detwiler / TechRepublic
Caption by: Bill Detwiler

With the back cover removed, we can see the space for the battery, SIM card slot, and MicroSD card slot. Luckily, we can also see several Torx T5 case screws–a good sign for any cracking open job.
Photo by: Bill Detwiler / TechRepublic
Caption by: Bill Detwiler
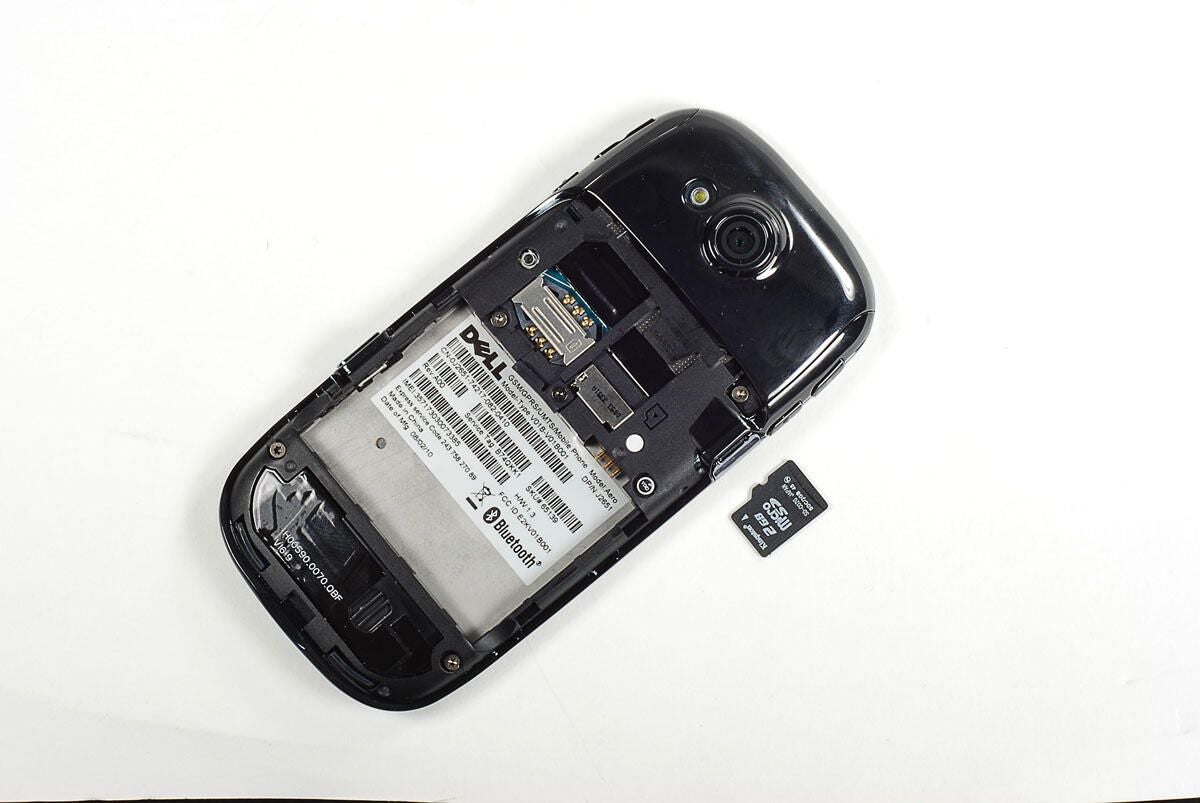
Photo by: Bill Detwiler / TechRepublic
Caption by: Bill Detwiler
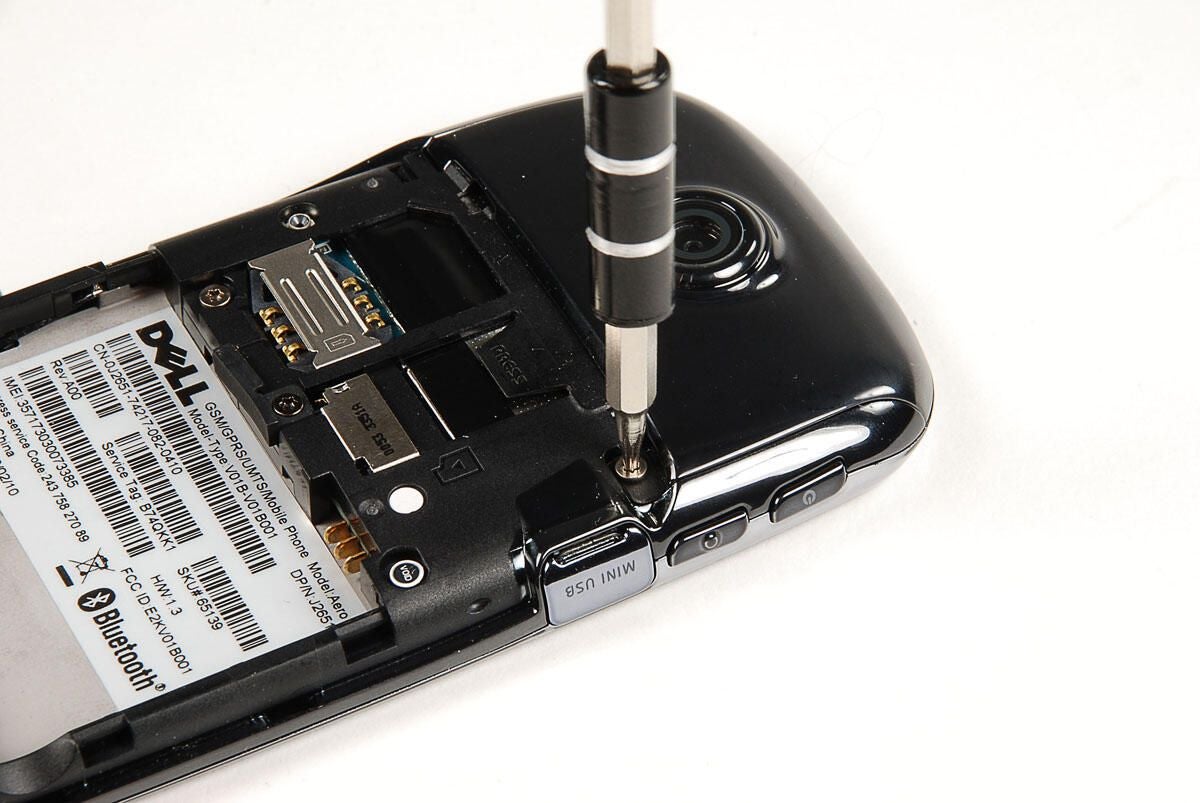
Photo by: Bill Detwiler / TechRepublic
Caption by: Bill Detwiler
Photo by: Bill Detwiler / TechRepublic
Caption by: Bill Detwiler
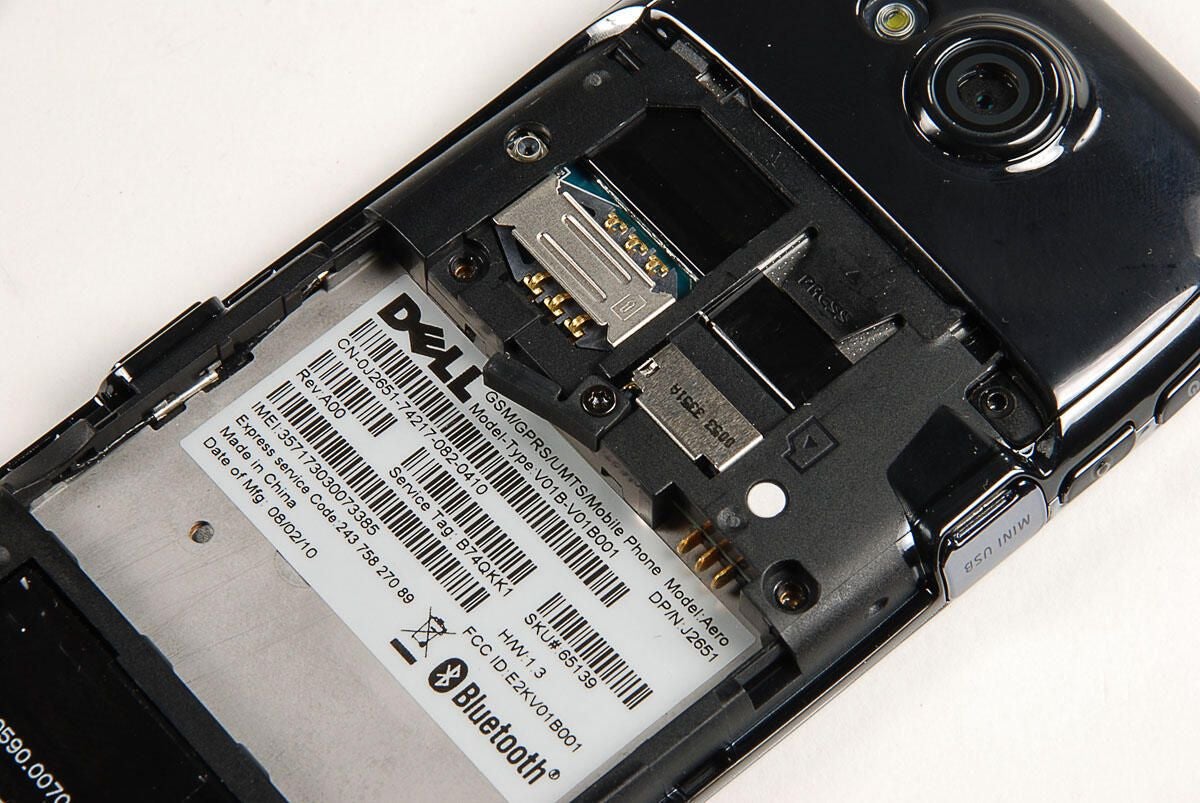
Photo by: Bill Detwiler / TechRepublic
Caption by: Bill Detwiler
Photo by: Bill Detwiler / TechRepublic
Caption by: Bill Detwiler
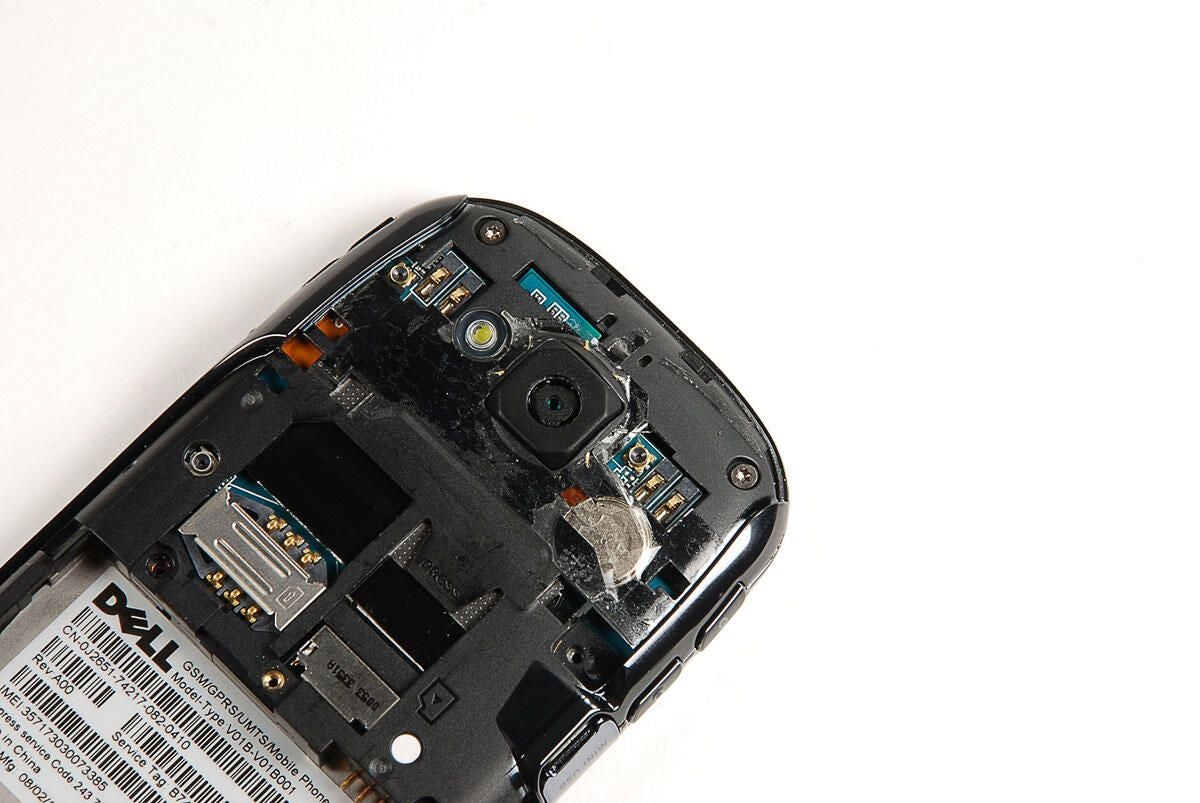
With the six case screws removed, we can begin removing the case, by gently prying loose the camera cover. It is held in place by a thin piece of adhesive tape and a single plastic tab. Using a pointed metal blade, I was able to release the tab and pry loose the cover without breaking it.
Photo by: Bill Detwiler / TechRepublic
Caption by: Bill Detwiler
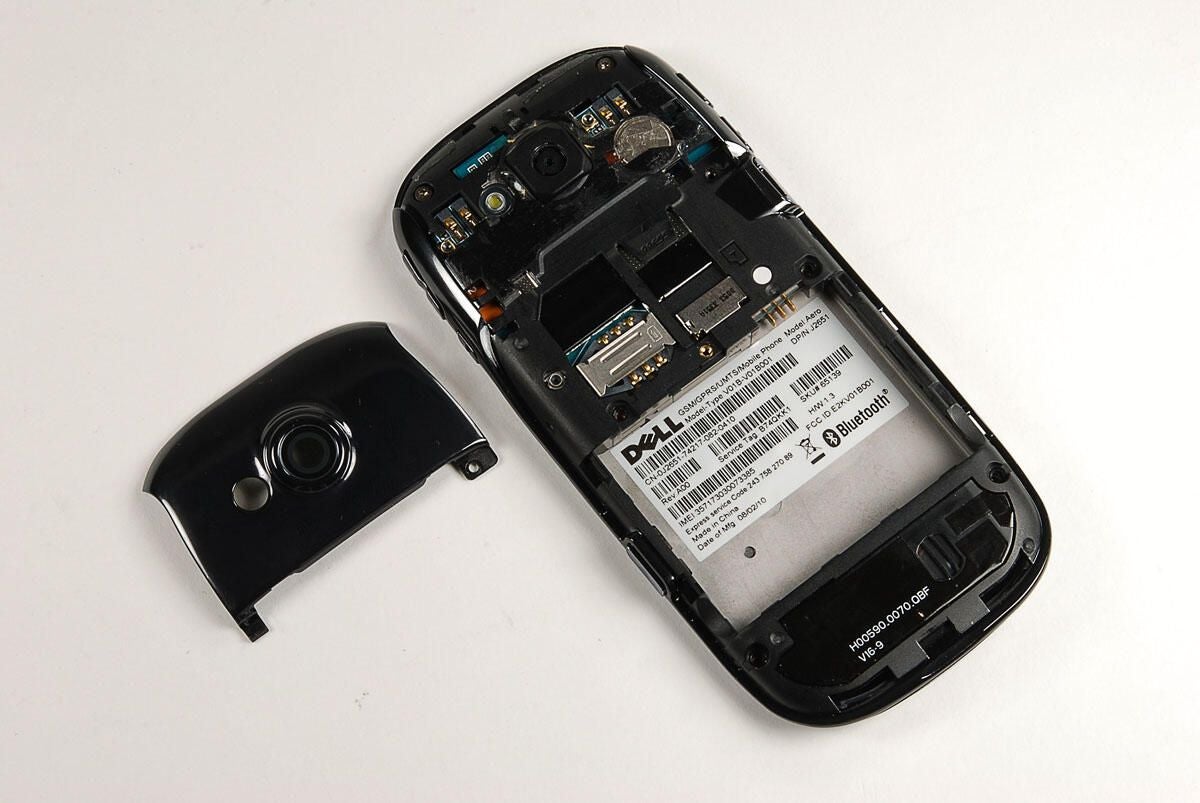
Photo by: Bill Detwiler / TechRepublic
Caption by: Bill Detwiler
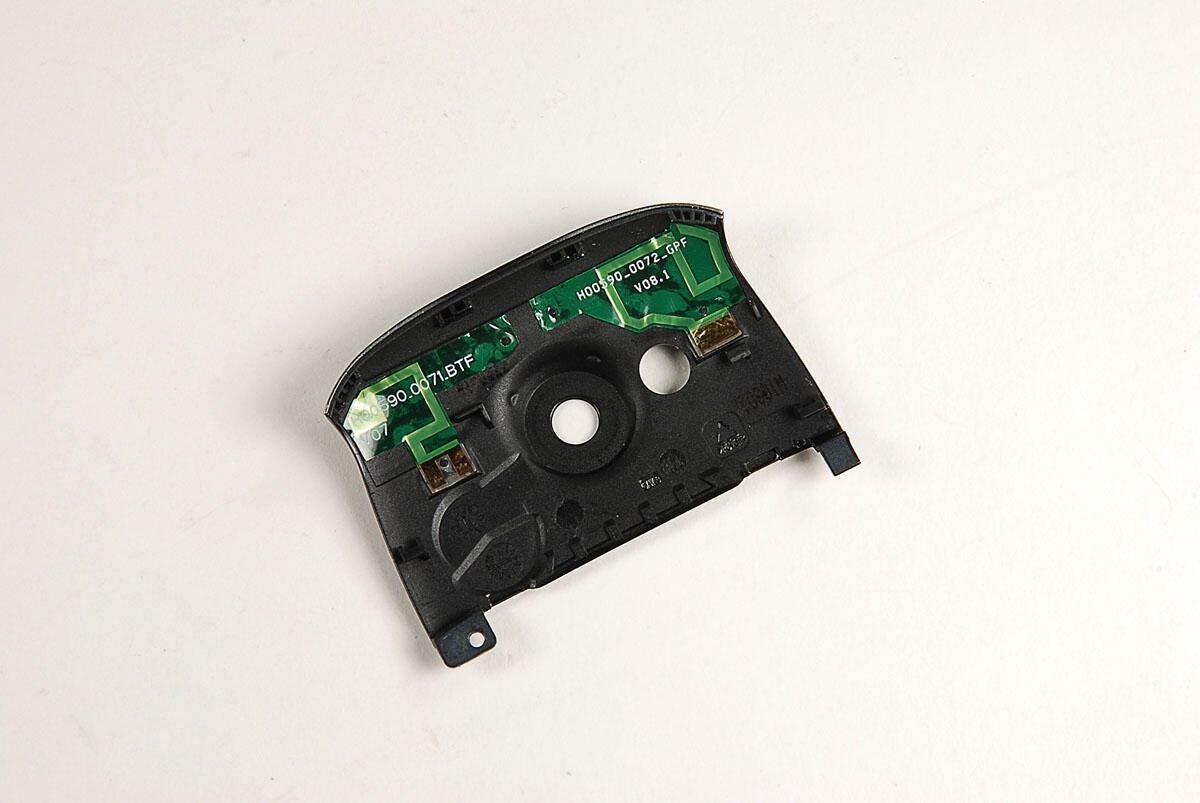
Two thin green circuits are mounted to the back of the camera cover. I’m guessing that these are antennas.
Photo by: Bill Detwiler / TechRepublic
Caption by: Bill Detwiler
With the camera cover removed, we see two more Torx T5 screws. We’ll need to remove both of them.
Photo by: Bill Detwiler / TechRepublic
Caption by: Bill Detwiler
With all the Trox T5 screws removed, we can begin to gently pry the outer case away from the front panel. The case is held in place with several plastic tabs. If you’re careful, you should be able to remove it without breaking any of the tabs or the case.
Photo by: Bill Detwiler / TechRepublic
Caption by: Bill Detwiler
Photo by: Bill Detwiler / TechRepublic
Caption by: Bill Detwiler
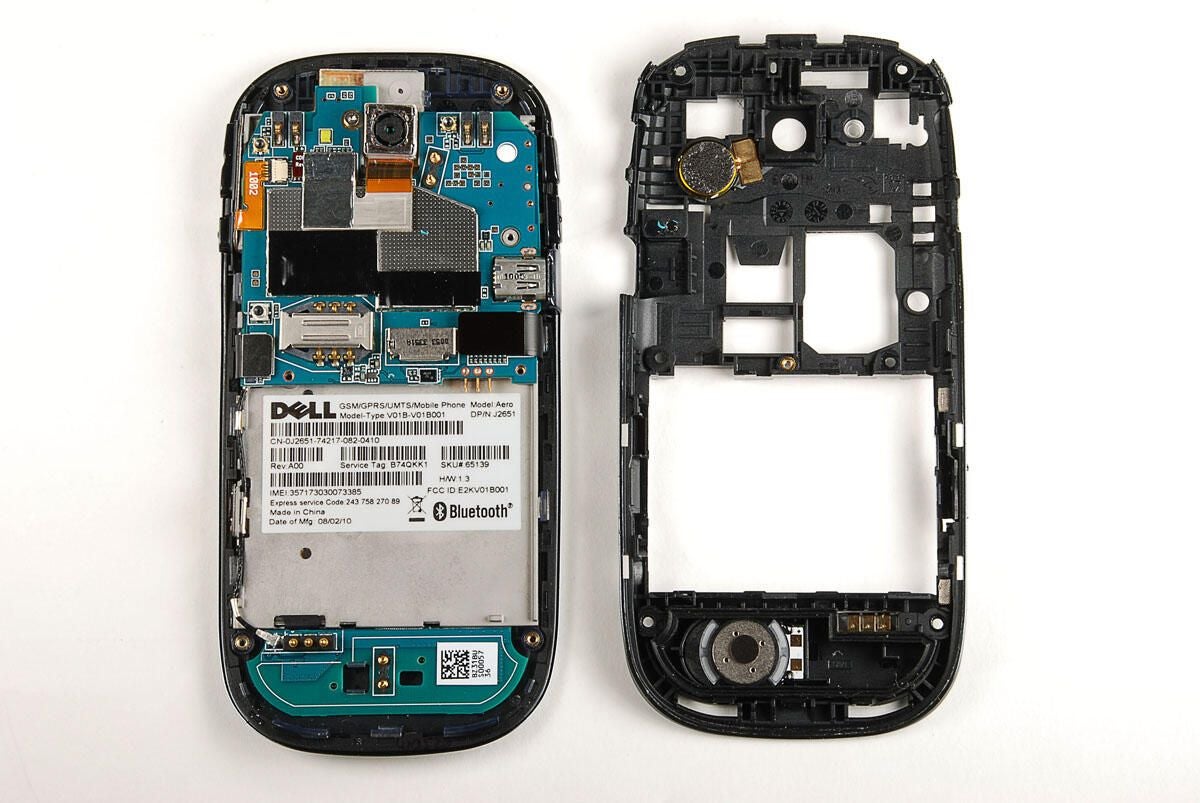
With the rear case panel removed, we get our first look inside the Dell Aero. Next, we’ll remove the device’s two printed circuit boards (PCBs).
Photo by: Bill Detwiler / TechRepublic
Caption by: Bill Detwiler
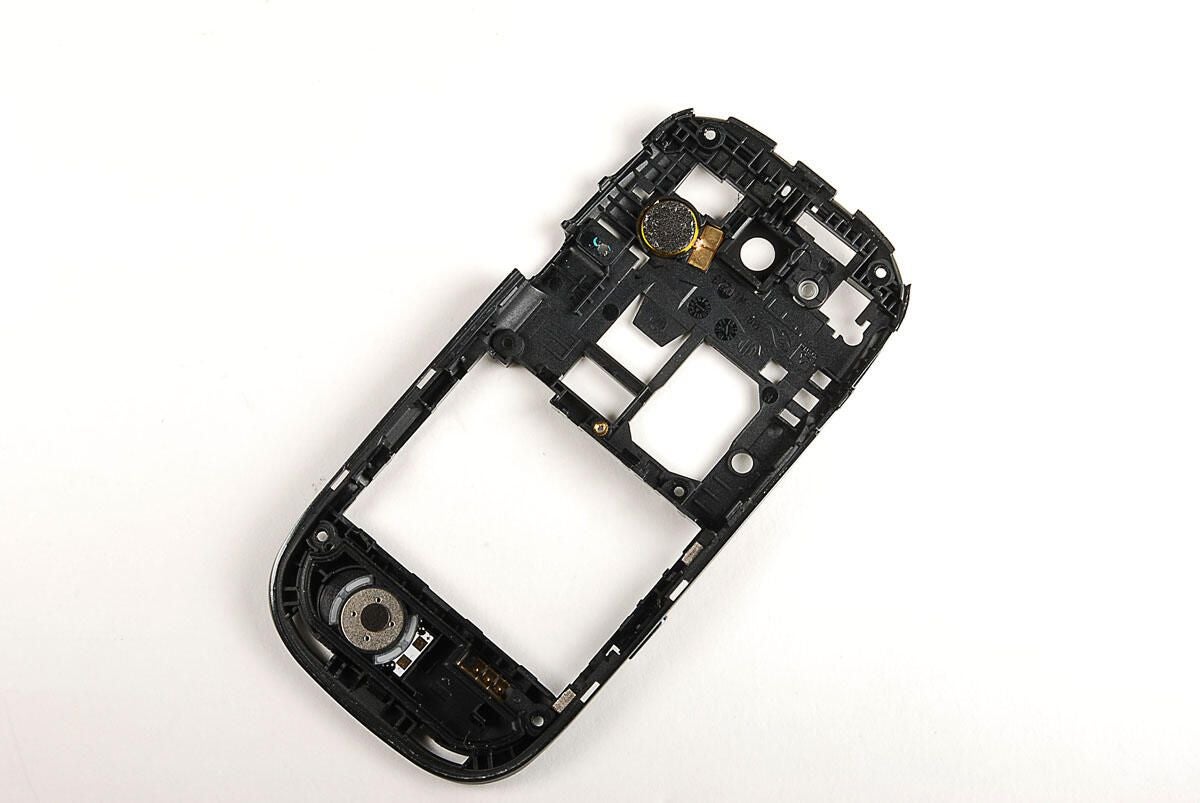
Photo by: Bill Detwiler / TechRepublic
Caption by: Bill Detwiler
Photo by: Bill Detwiler / TechRepublic
Caption by: Bill Detwiler
I’m not 100 percent sure what this small disc is. I could be the Dell Aero’s external speaker.
Photo by: Bill Detwiler / TechRepublic
Caption by: Bill Detwiler
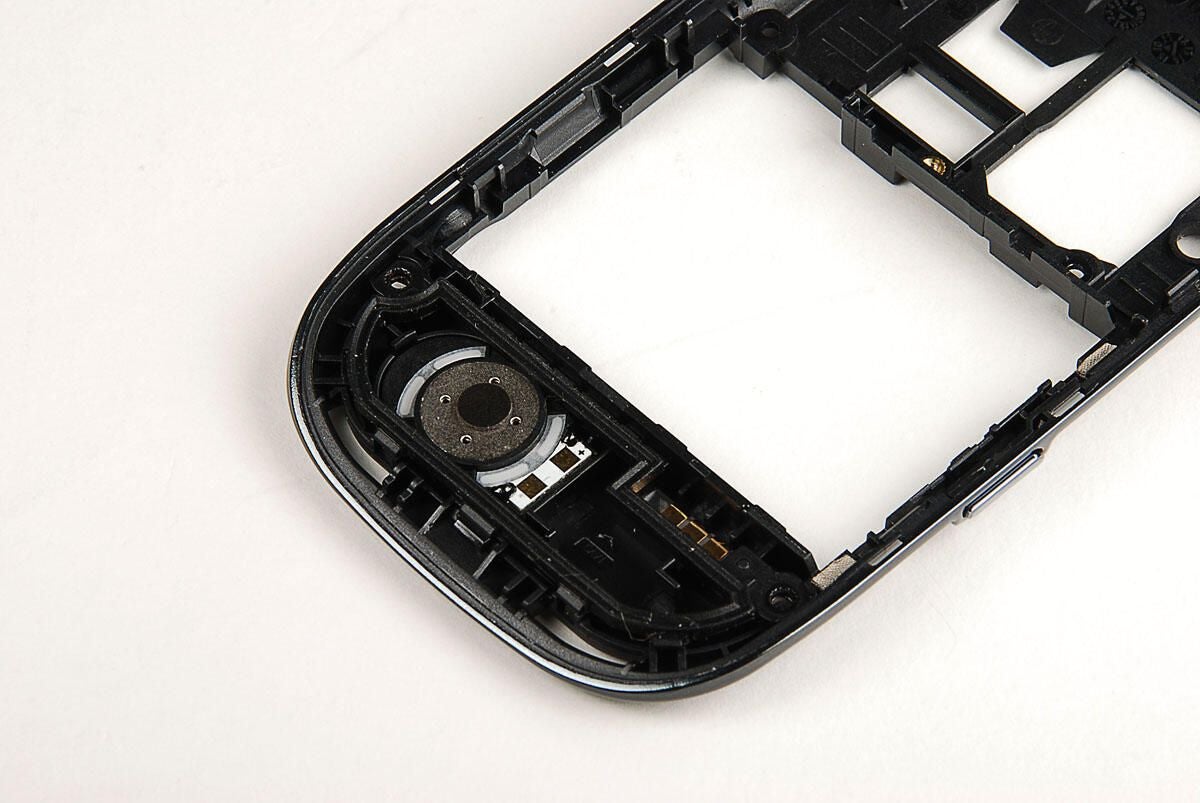
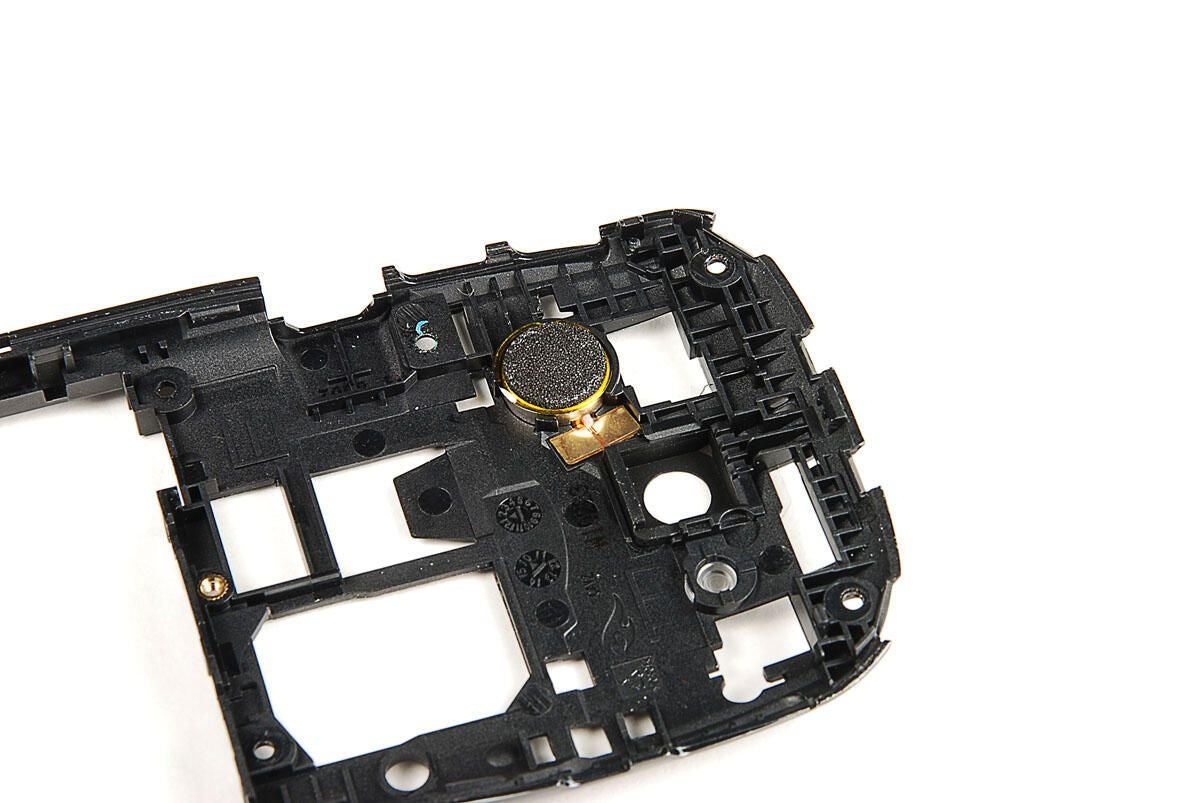
A second metal disc is mounted to the bottom of the rear case panel. This could be the Aero’s vibration motor.
Photo by: Bill Detwiler / TechRepublic
Caption by: Bill Detwiler
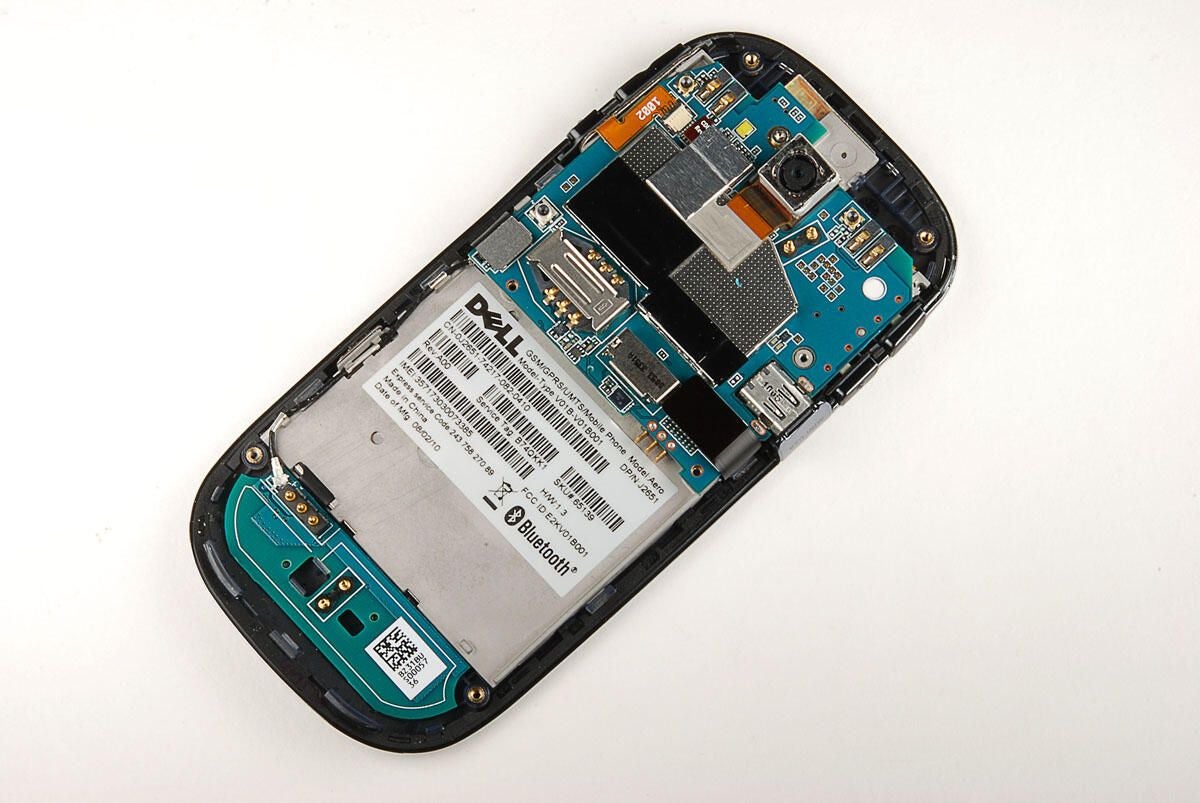
Let’s take a closer look at the two printed circuit boards inside the Dell Aero.
Photo by: Bill Detwiler / TechRepublic
Caption by: Bill Detwiler
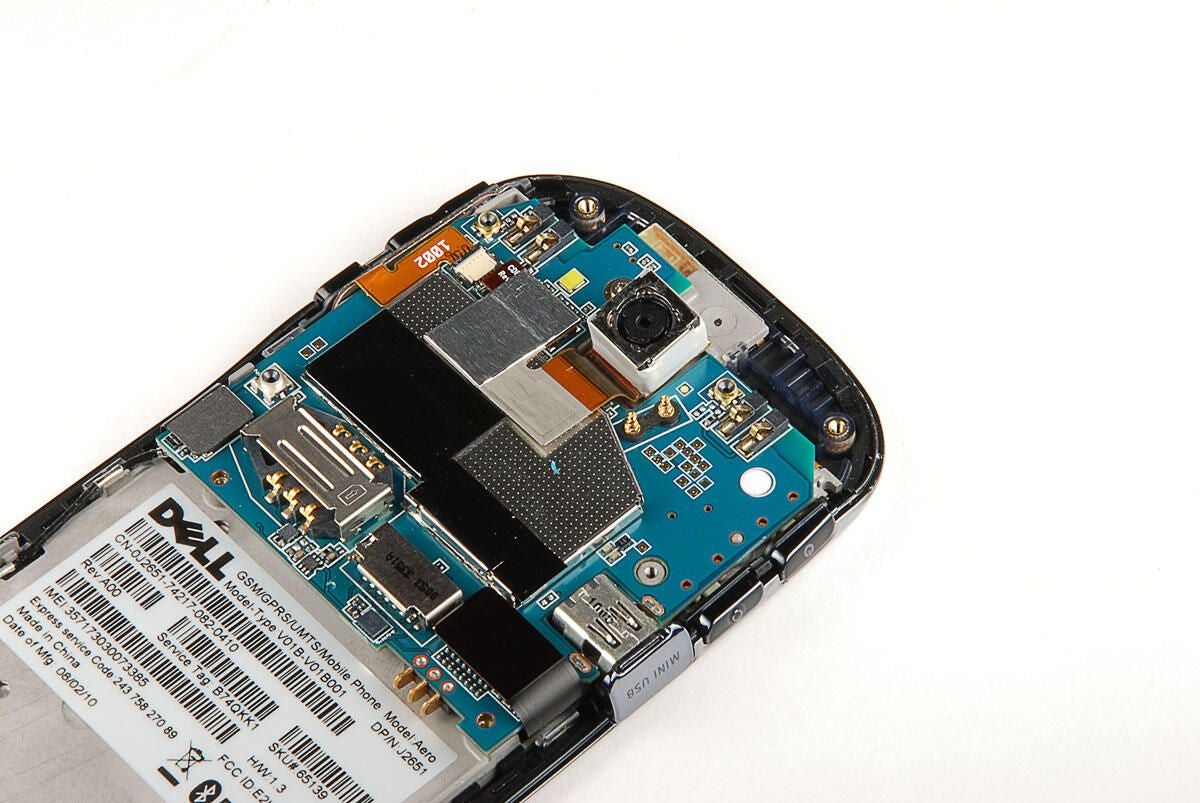
The Dell Aero has a 5MP camera capable of shooting video (WMV, H263, H264, MPEG4 at 30fps WVGA). The camera is attached to the main PCB with pop-off connector.
Photo by: Bill Detwiler / TechRepublic
Caption by: Bill Detwiler
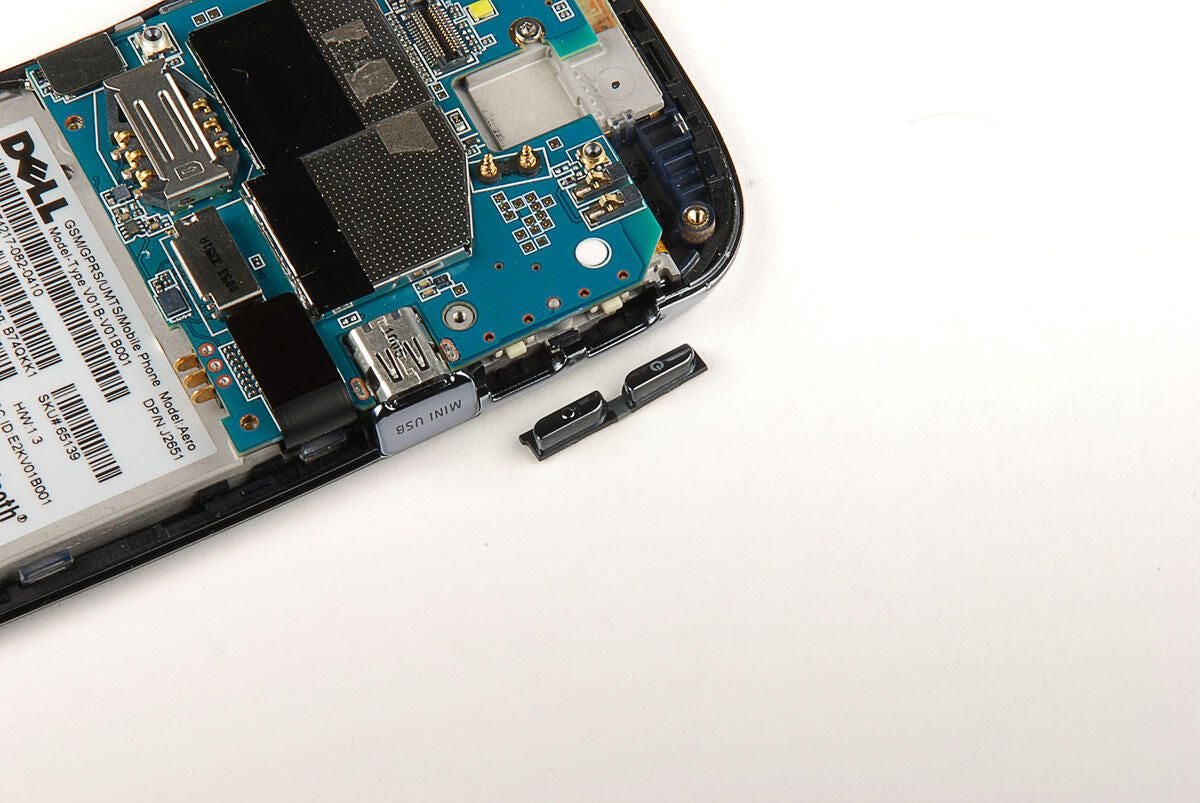
Photo by: Bill Detwiler / TechRepublic
Caption by: Bill Detwiler
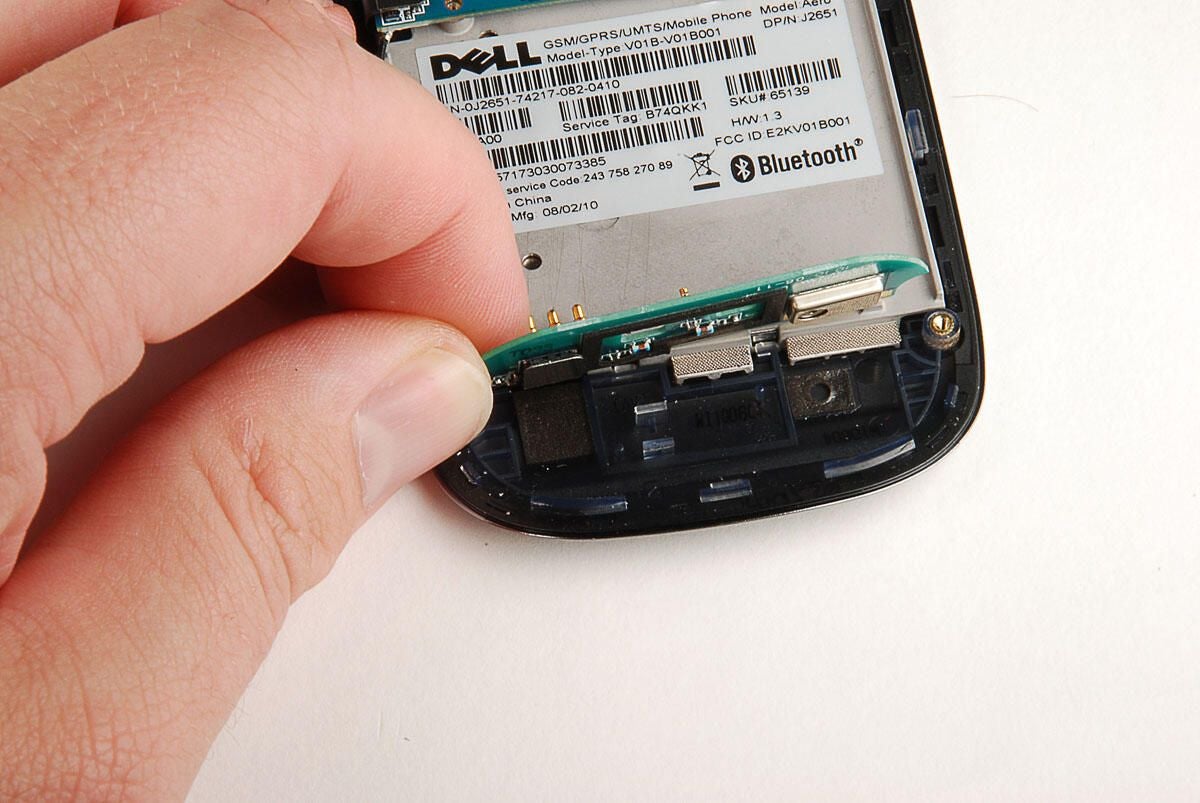
Next, we’ll removed the printed circuit board from the bottom of the Dell Aero. We’ll need to remove the antenna cable connector first.
Photo by: Bill Detwiler / TechRepublic
Caption by: Bill Detwiler
Under the bottom printed circuit board is one more pop-off connector.
Photo by: Bill Detwiler / TechRepublic
Caption by: Bill Detwiler
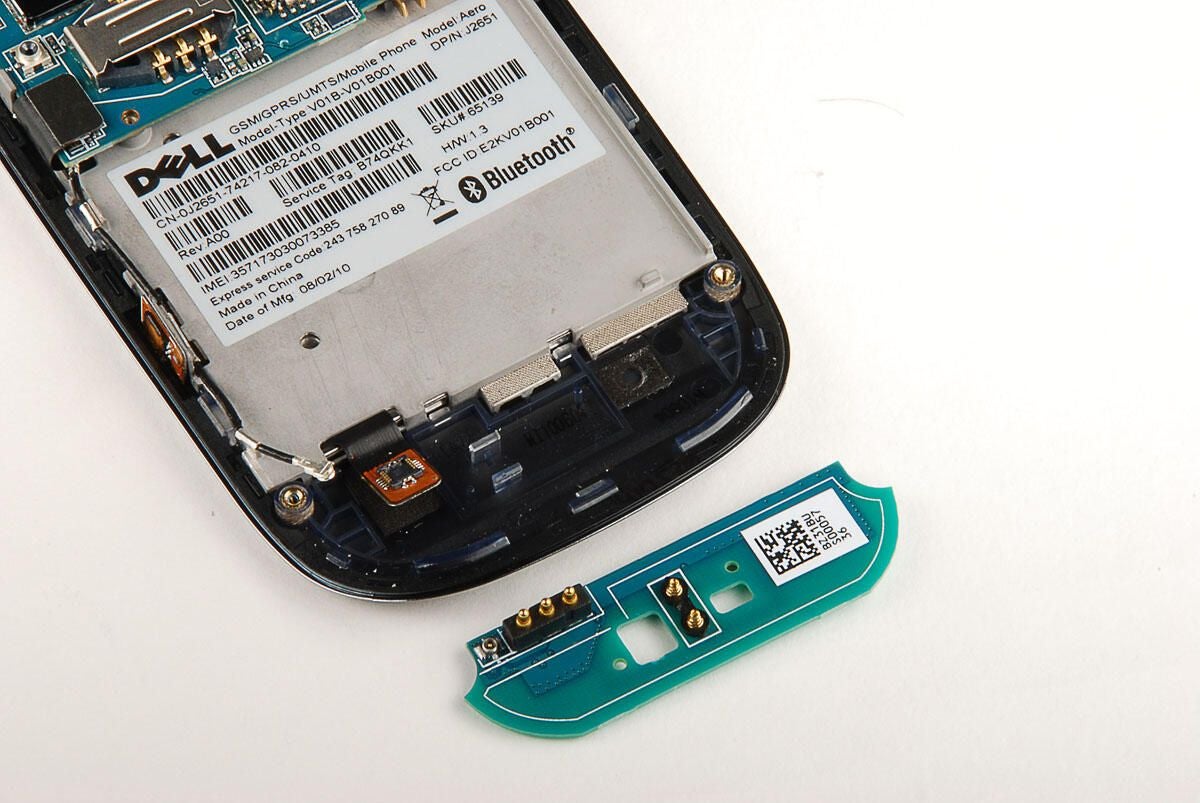
With all the connector’s removed, we can lift the small printed circuit board away from the Dell Aero’s front case panel.
Photo by: Bill Detwiler / TechRepublic
Caption by: Bill Detwiler
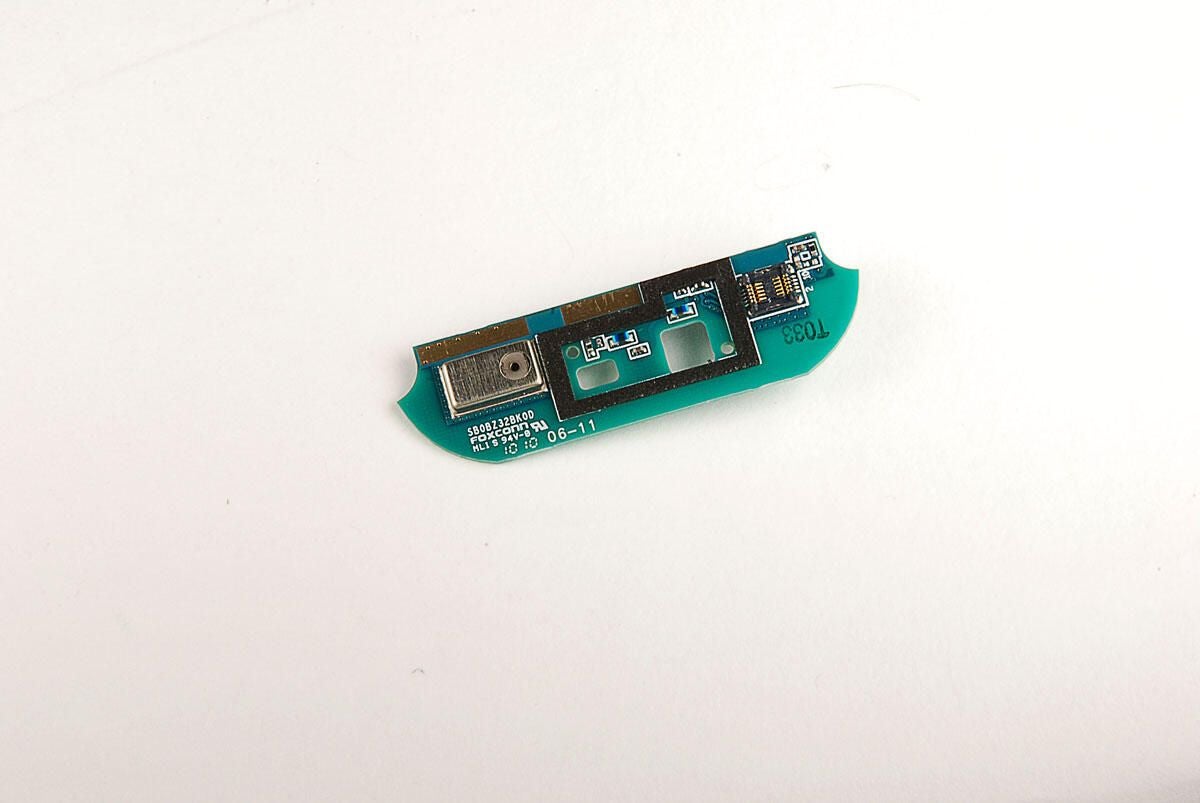
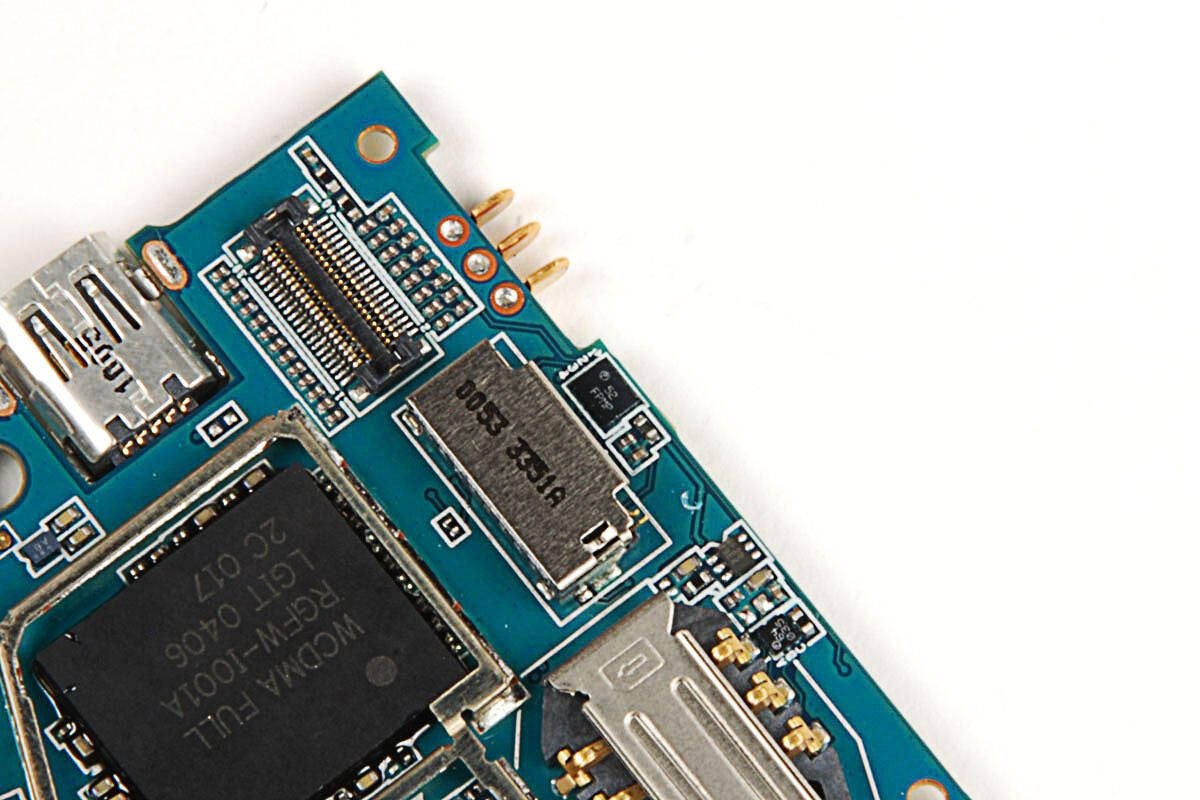
Not only does this small PCB serve as an antenna, it also houses the Dell Aero’s microphone.
Photo by: Bill Detwiler / TechRepublic
Caption by: Bill Detwiler
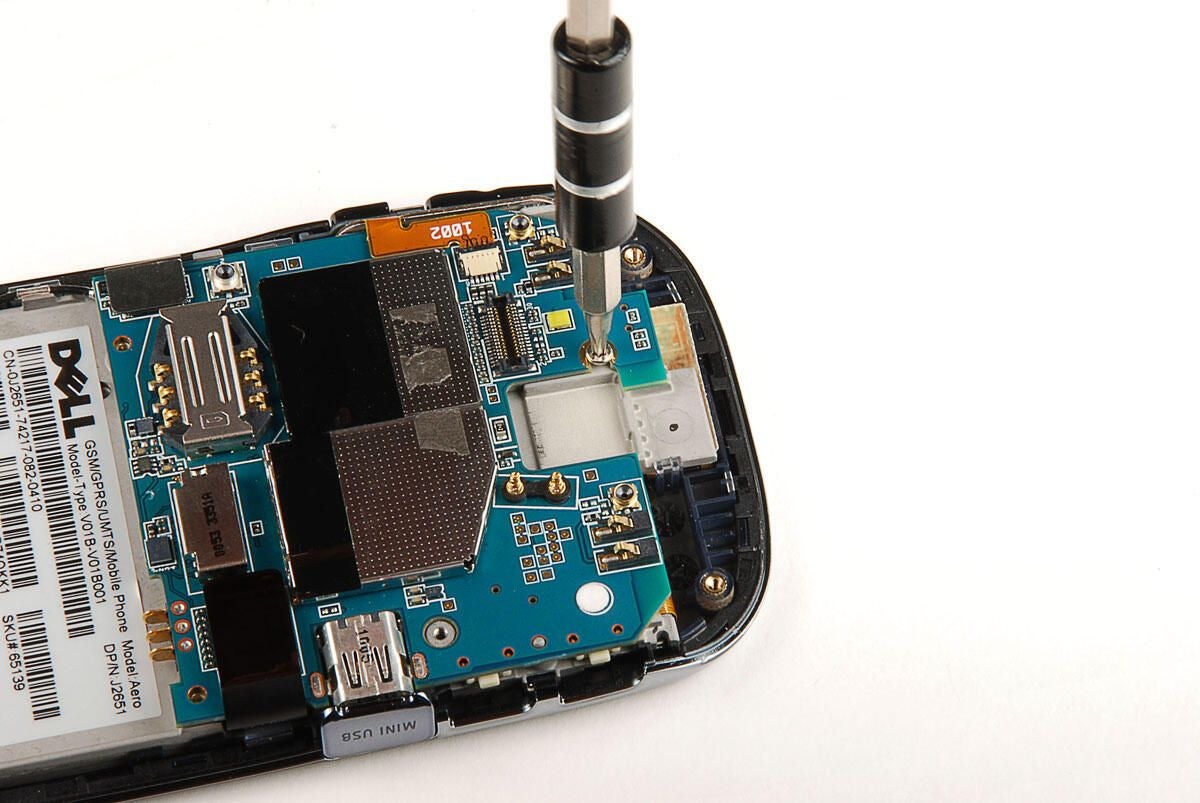
a single Torx T5 screws holds the Dell Aero’s main PCB in place.
Photo by: Bill Detwiler / TechRepublic
Caption by: Bill Detwiler
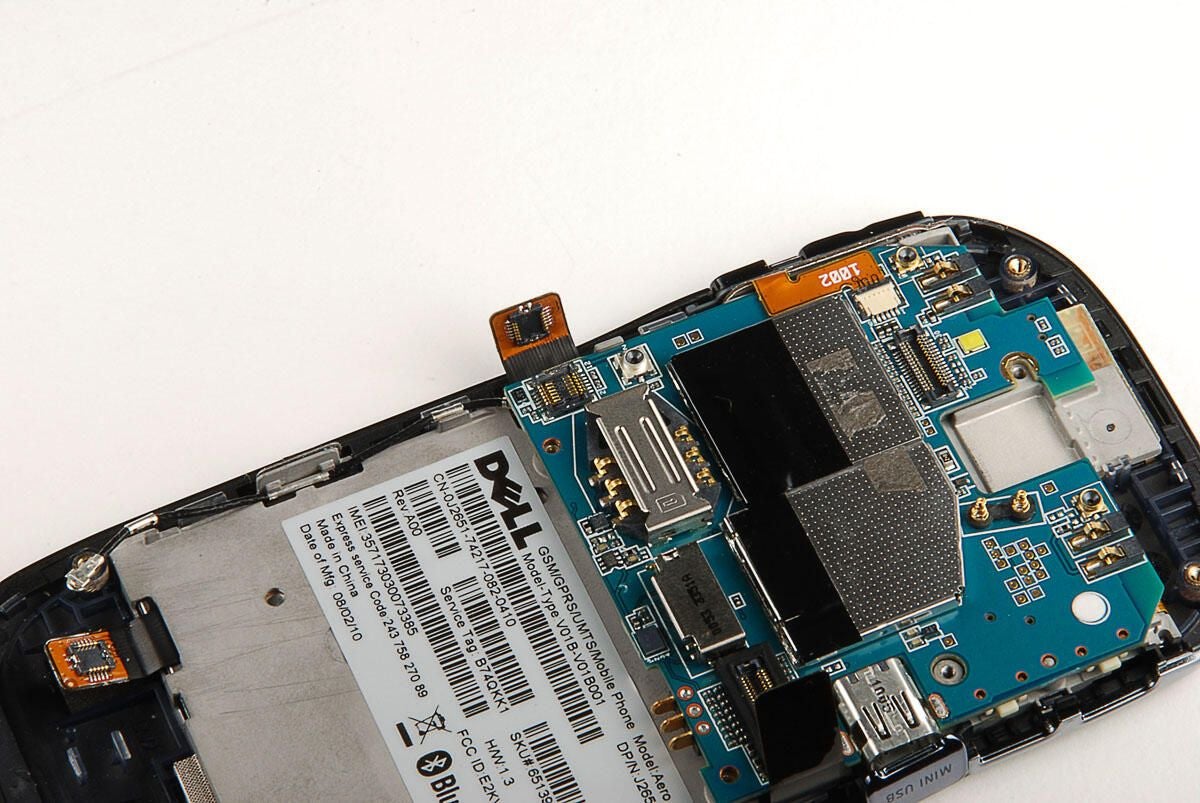
Photo by: Bill Detwiler / TechRepublic
Caption by: Bill Detwiler
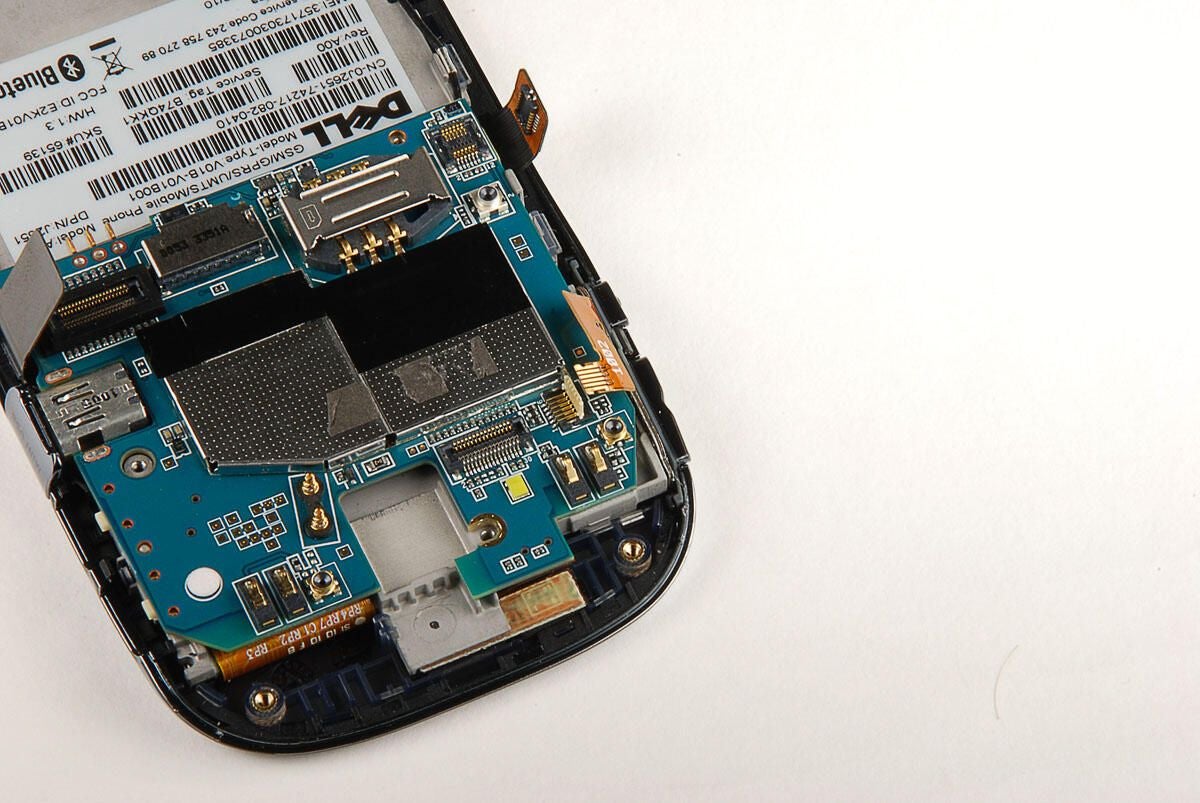
Photo by: Bill Detwiler / TechRepublic
Caption by: Bill Detwiler
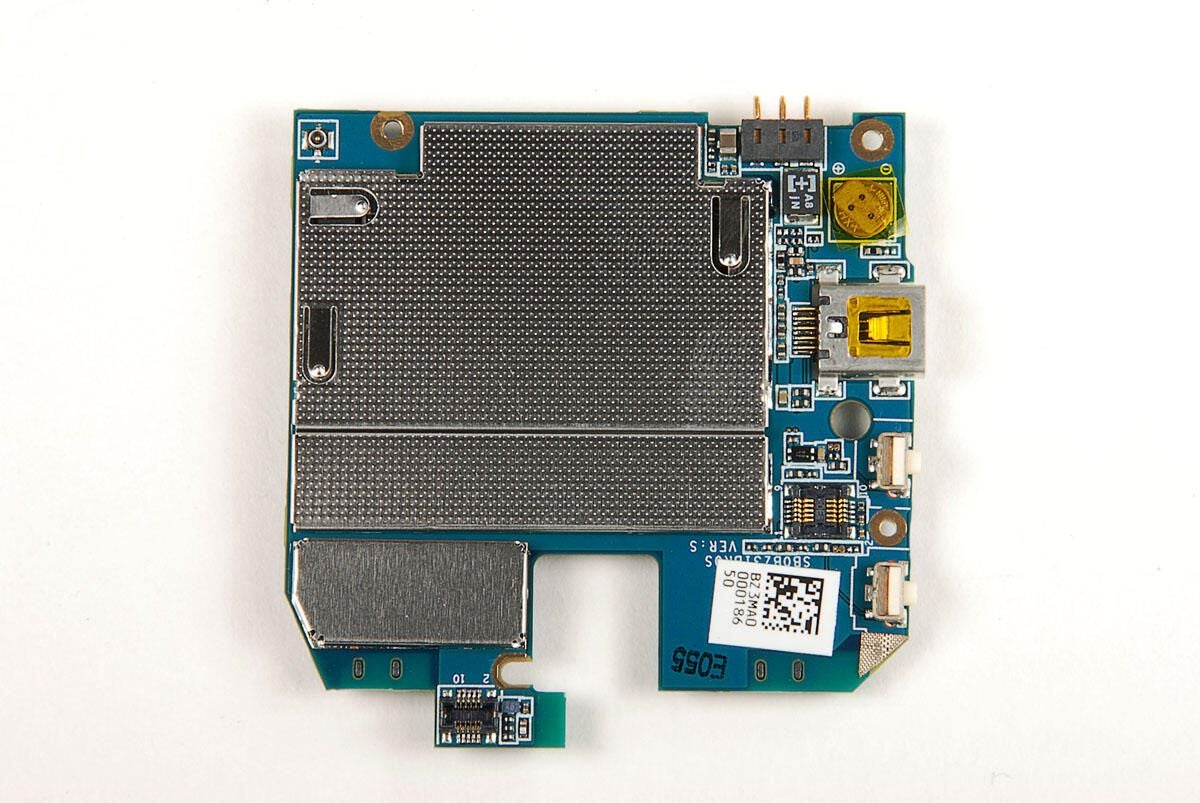
On the underside of the main PCB are three more connectors–one for the antenna cable and two at the top.
Photo by: Bill Detwiler / TechRepublic
Caption by: Bill Detwiler
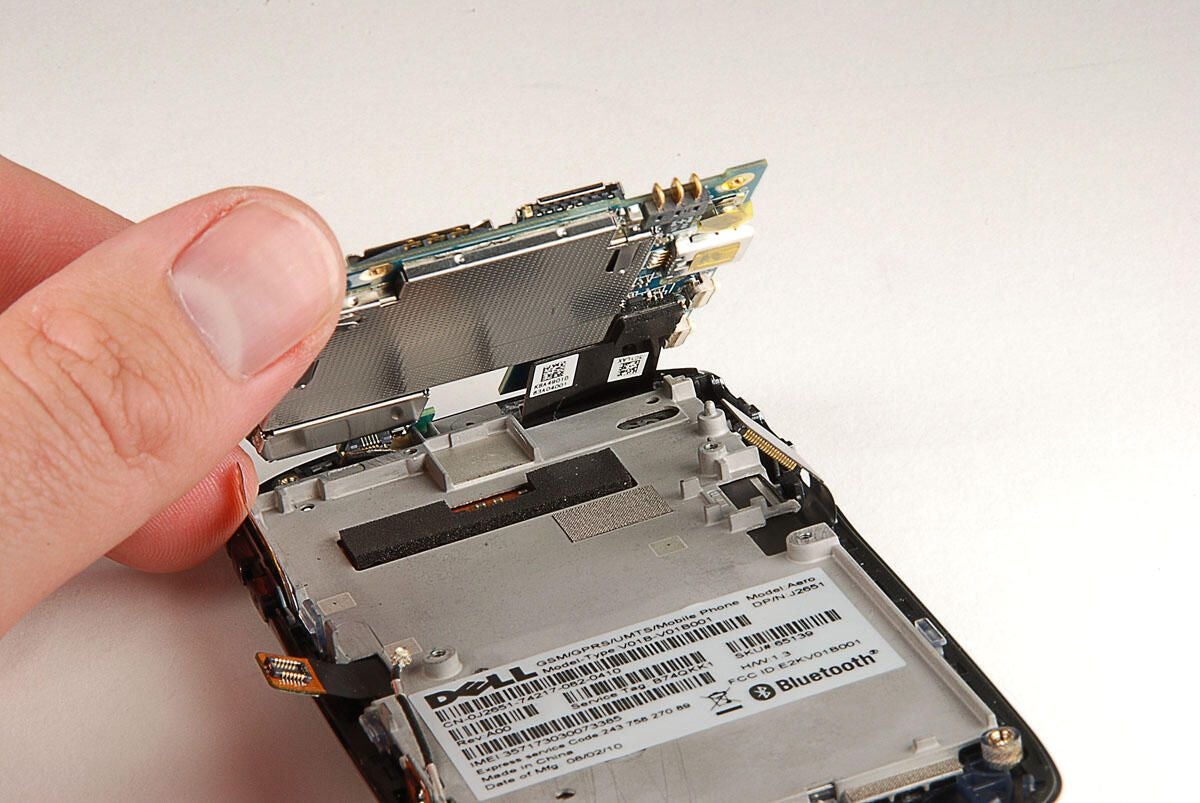
There are two pop-off connectors under the Dell Aero’s main PCB. With all the connectors removed, you can lift the main PCB away from the front case panel and display assembly.
Photo by: Bill Detwiler / TechRepublic
Caption by: Bill Detwiler
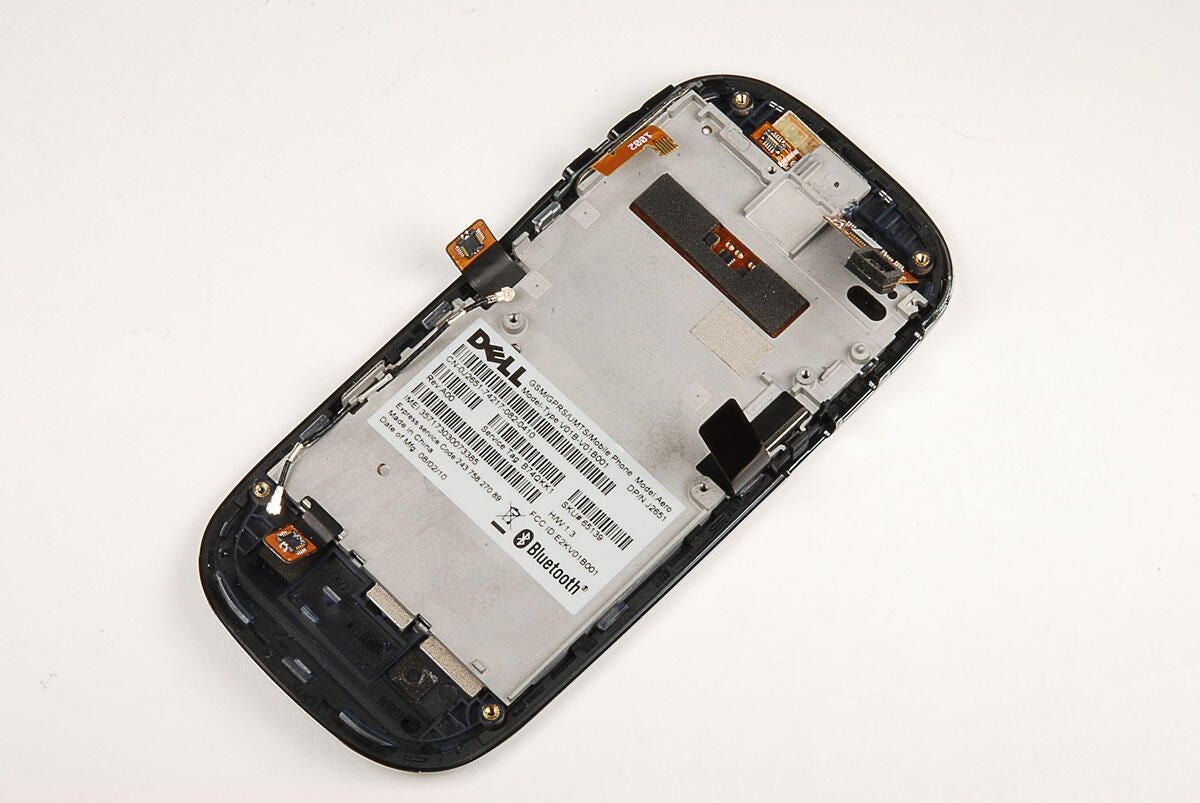
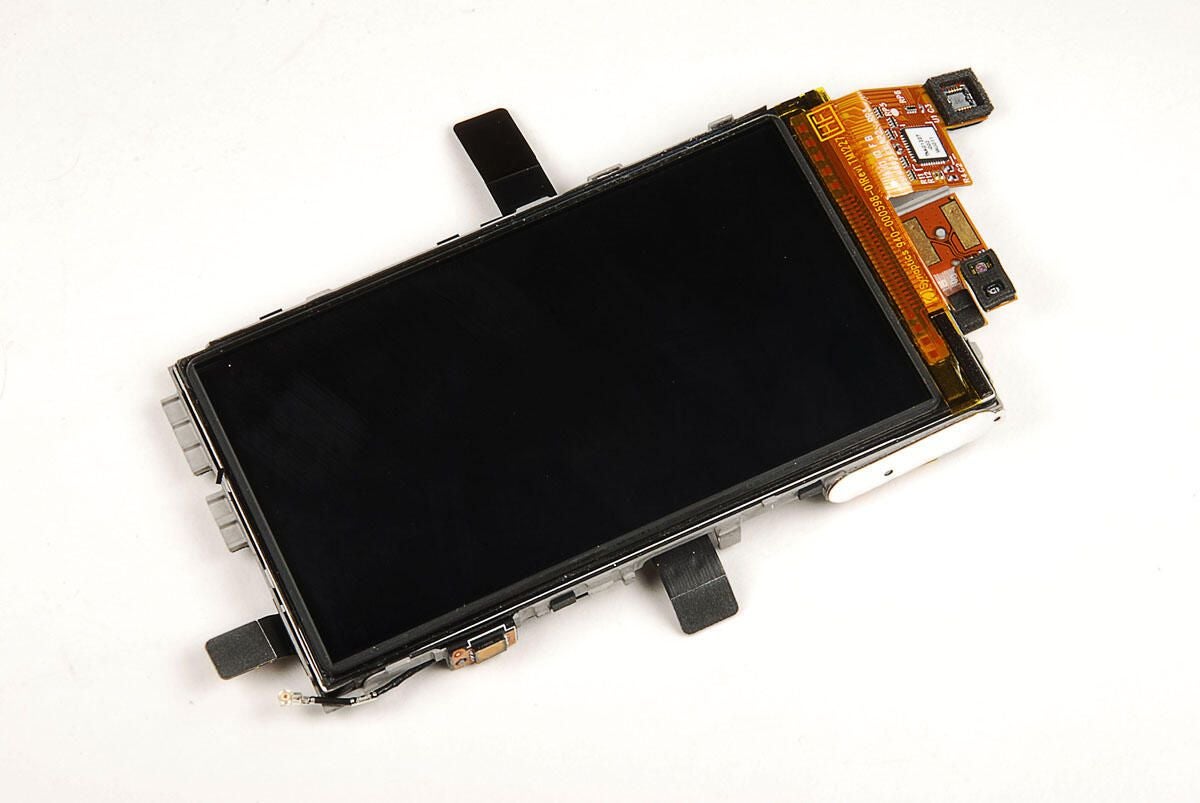
With the main PCB removed, you have an unobstructed view of the display assembly.
Photo by: Bill Detwiler / TechRepublic
Caption by: Bill Detwiler
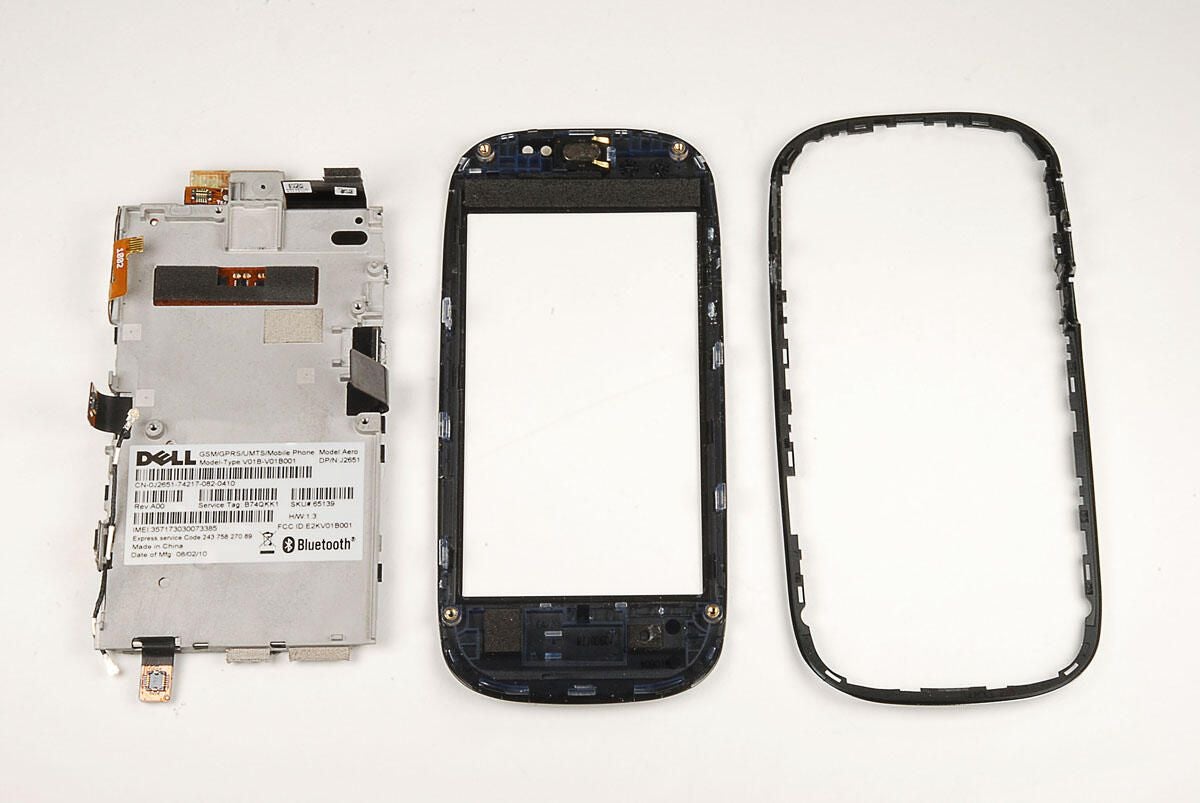
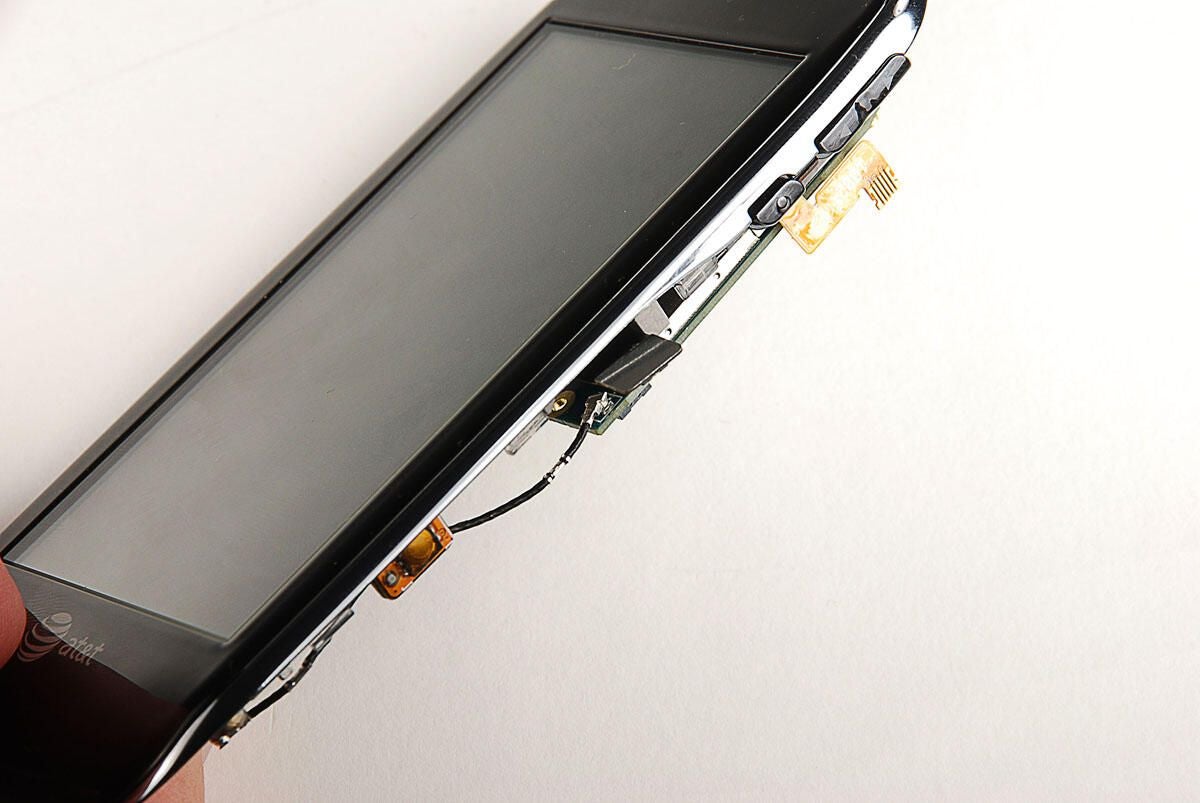
The display assembly is attached to the front panel and a thin silver bezel with small plastic tabs. Using a thin metal blade, a plastic case opening tool, or your fingernail, you should be able to pop the tabs loose and remove the display assembly. I recommend removing the thin outer bezel first. This will allow you to more easily access the front case panel tabs.
Photo by: Bill Detwiler / TechRepublic
Caption by: Bill Detwiler
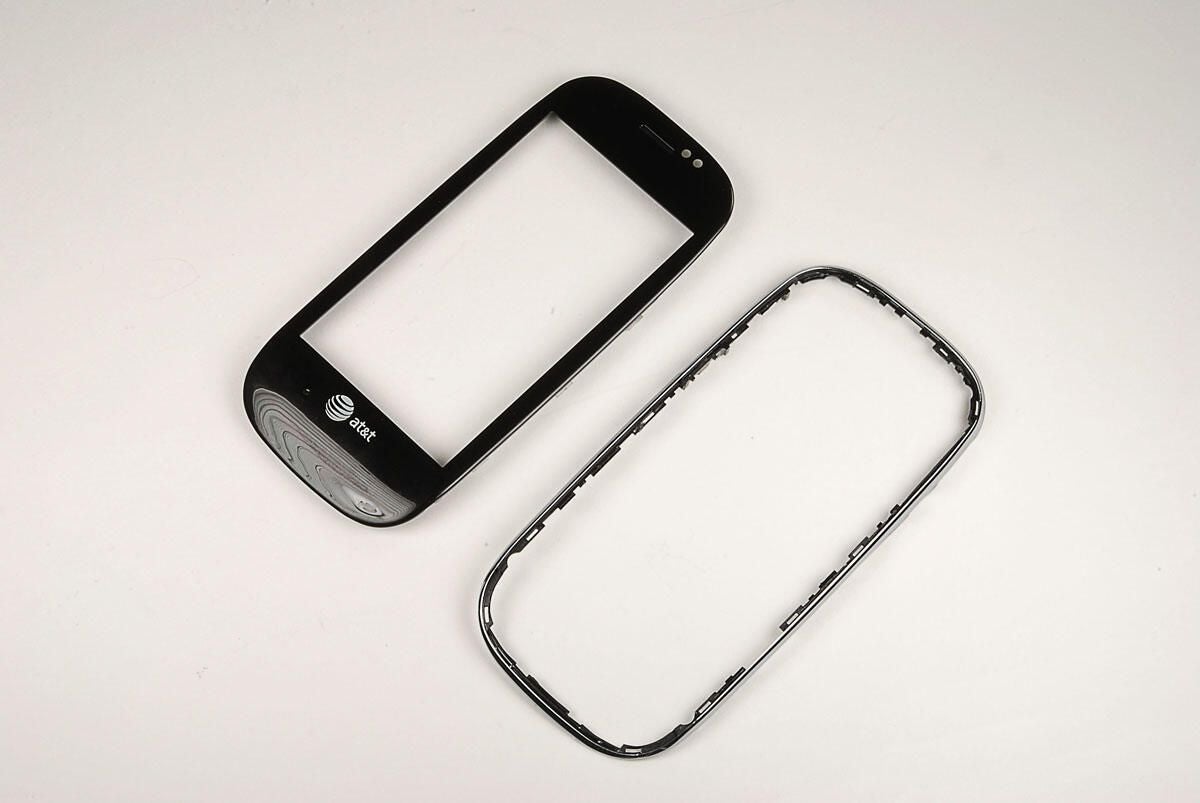
Photo by: Bill Detwiler / TechRepublic
Caption by: Bill Detwiler
As I previously noted, the Dell Aero’s display measures 3.5 inch (diagonal) and has a resolution of 640 X 360 pixels. The digitizer and display are fused together into a single unit.
Photo by: Bill Detwiler / TechRepublic
Caption by: Bill Detwiler
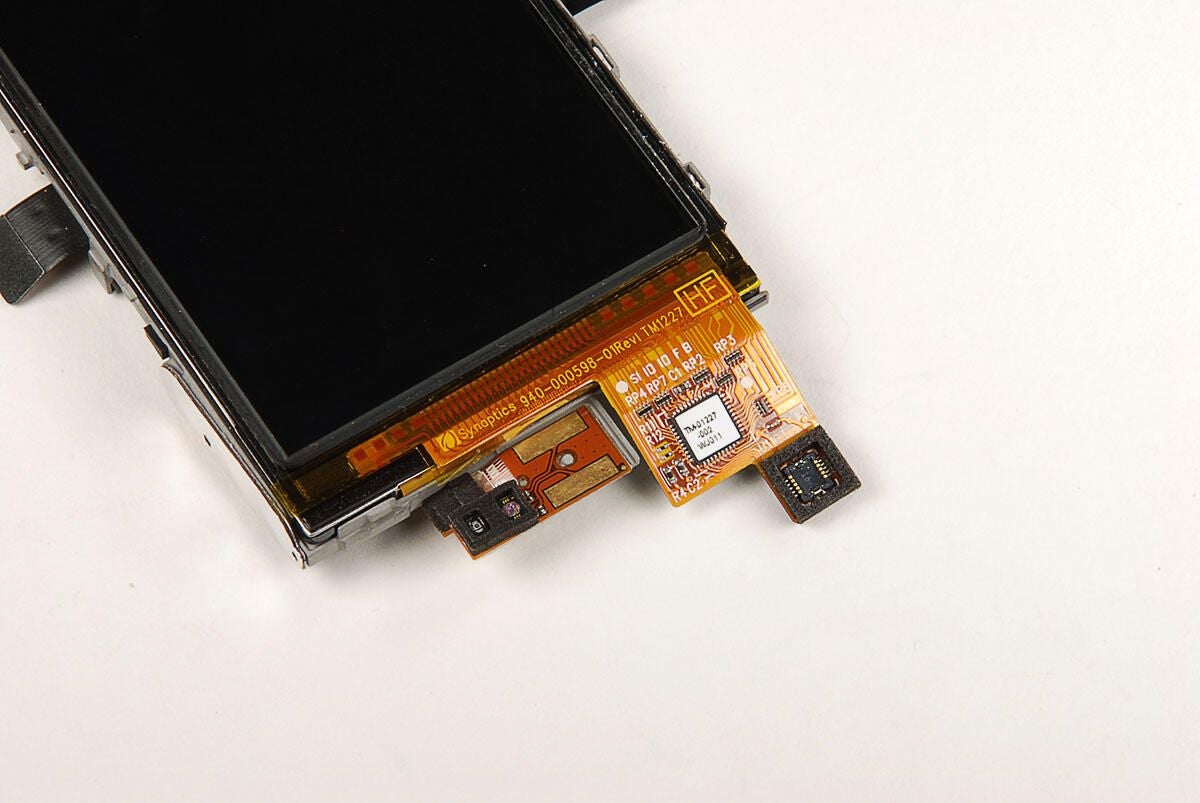
At the top of the display assembly are the proximity sensor, ambient light sensor, and connector for the Synaptics digitizer.
Photo by: Bill Detwiler / TechRepublic
Caption by: Bill Detwiler
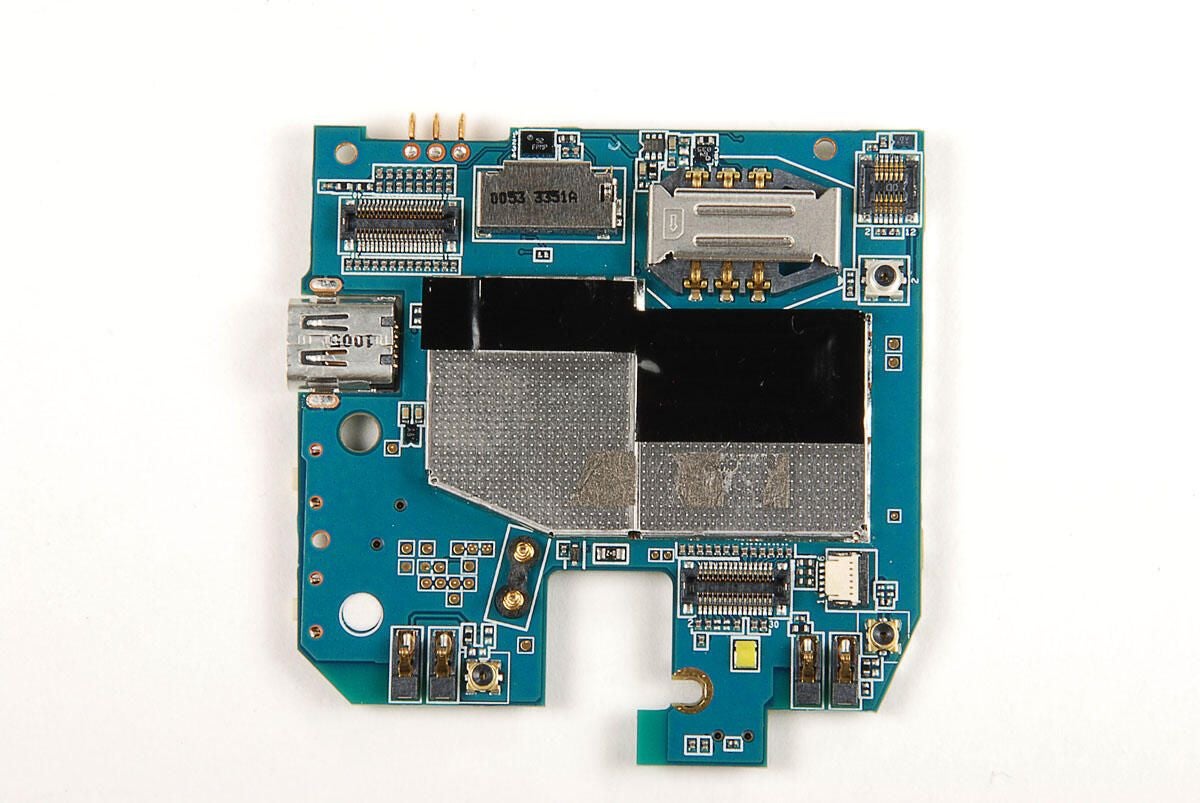
Two EMI shields cover most of the chips on the front of the Dell Aero’s main printed circuit board.
Photo by: Bill Detwiler / TechRepublic
Caption by: Bill Detwiler
As with the front of the Dell Aero’s main PCB, an EMI shield covers most of the chips on the back of the PCB. We’ll need to remove both shields to see the chips beneath.
Photo by: Bill Detwiler / TechRepublic
Caption by: Bill Detwiler
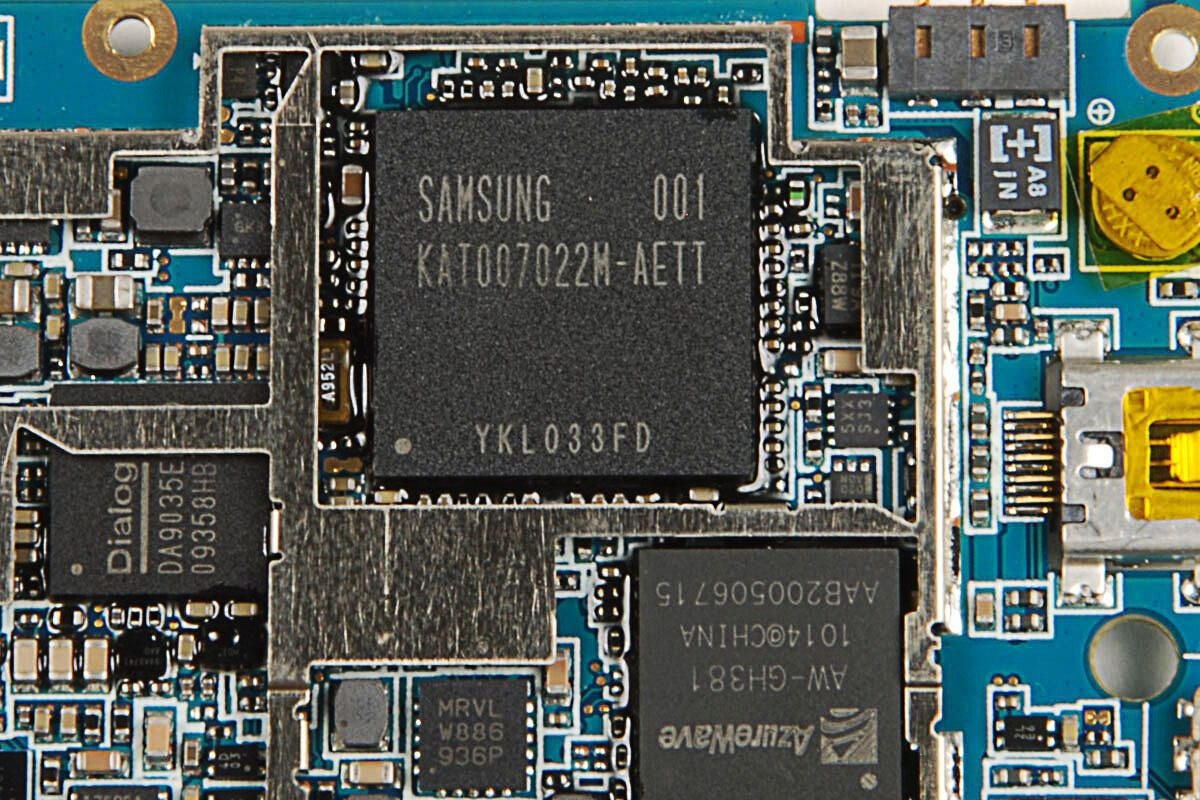
I wasn’t able to find any references to a Samsung chip with the specific markings 001 KAT007022M-AETT YKL033FD. Given my experience cracking open other smartphones, I assume this is a flash memory module.
Photo by: Bill Detwiler / TechRepublic
Caption by: Bill Detwiler
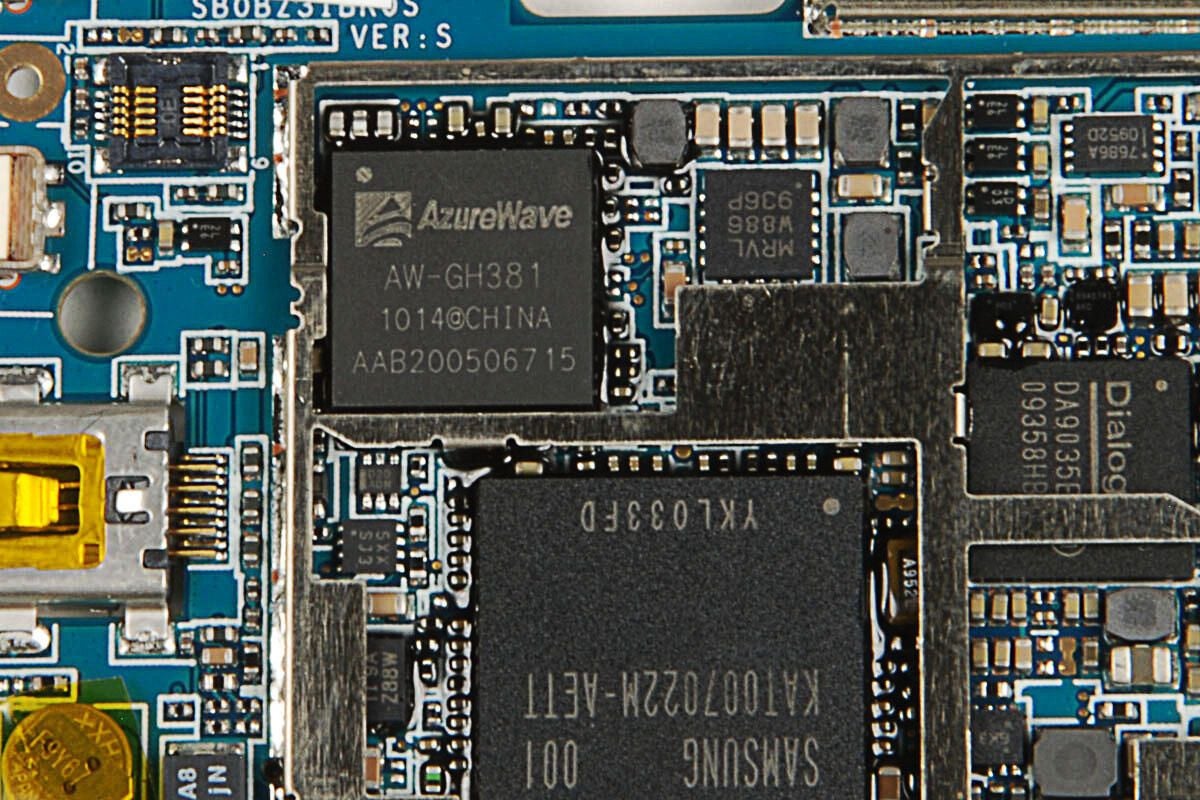
The AzureWave AW-GH381 is an “IEEE 802.11 b/g Wireless LAN & Bluetooth Module IC.”
Photo by: Bill Detwiler / TechRepublic
Caption by: Bill Detwiler
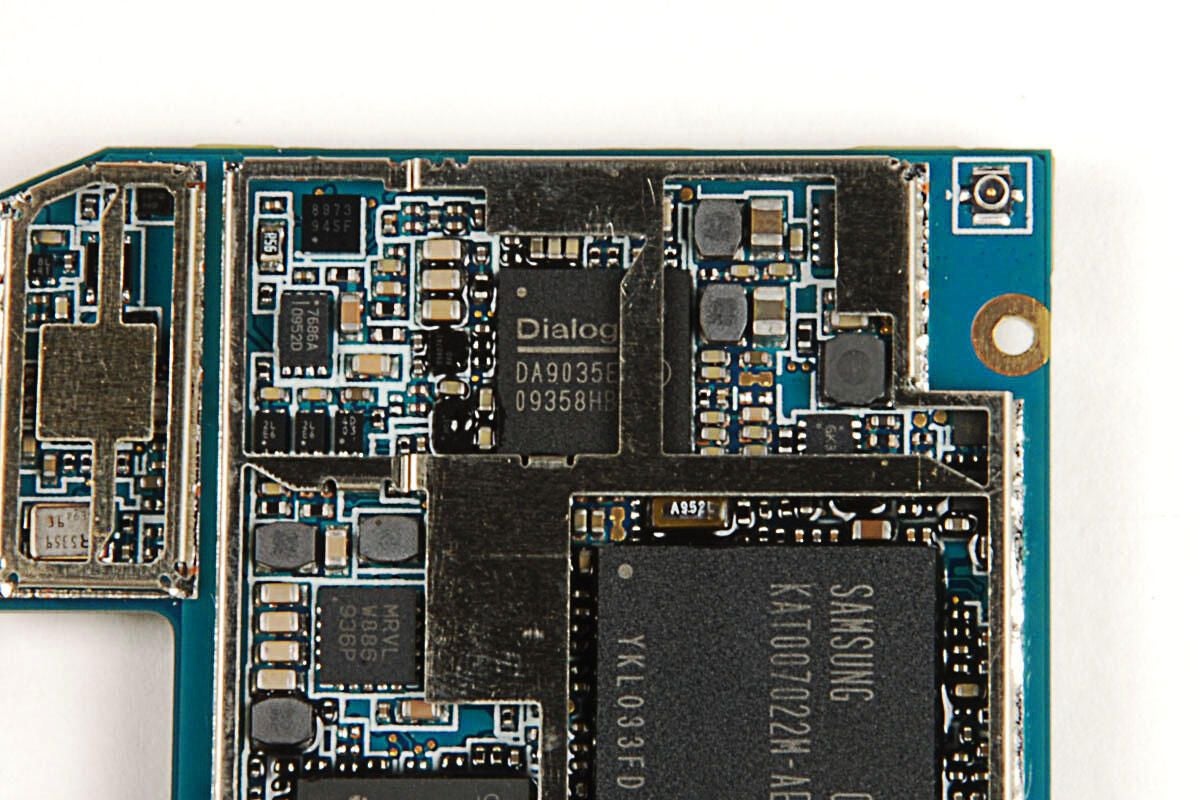
This Dialog Semiconductor DA9035 is an “audio and power management solution for use in the Marvell WCDMA platform.”
Photo by: Bill Detwiler / TechRepublic
Caption by: Bill Detwiler
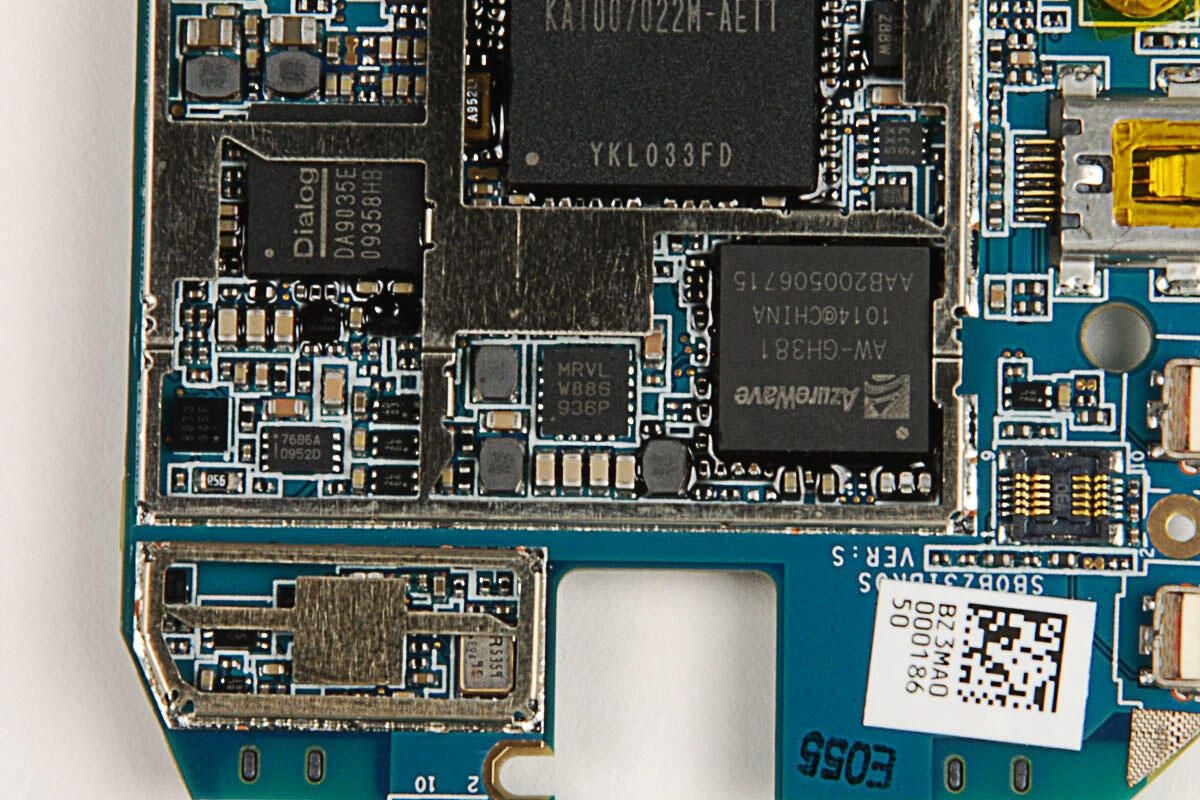
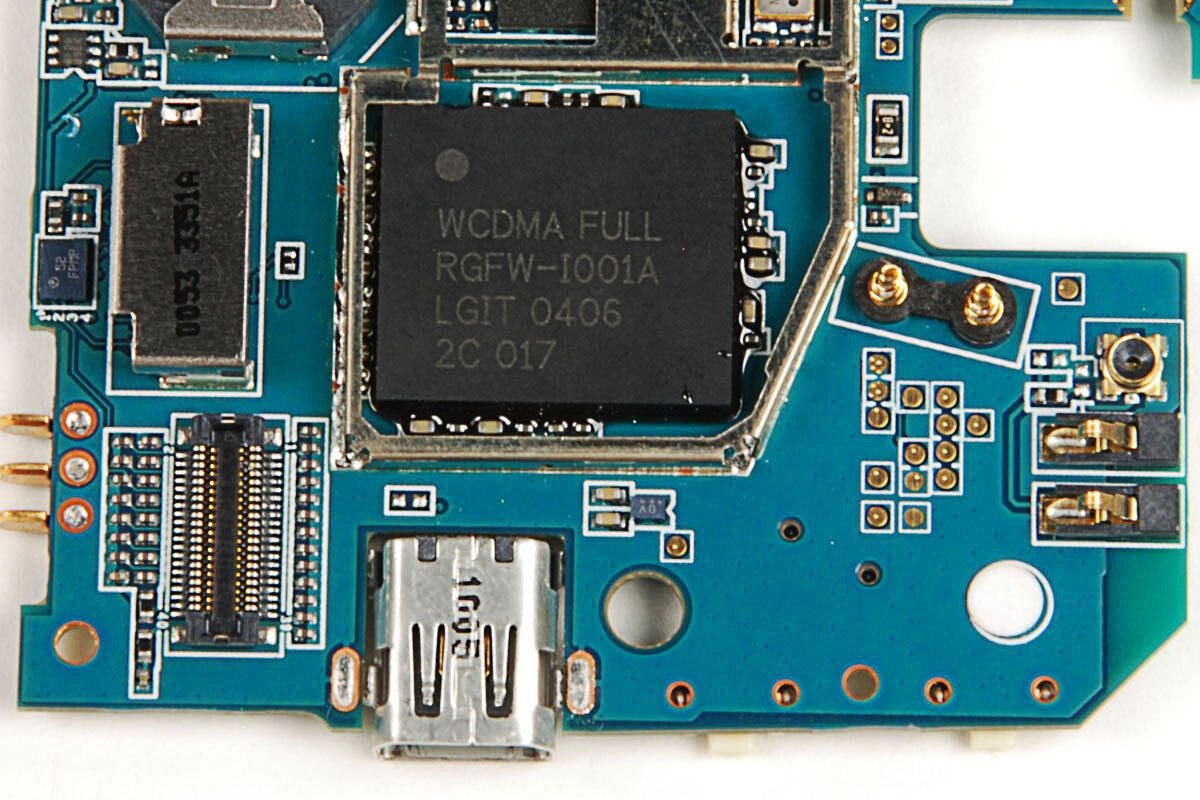
I wasn’t able to find specific information on this Marvell chip, but it likely part of the Marvel WCDMA platform used by the Dell Aero.
Photo by: Bill Detwiler / TechRepublic
Caption by: Bill Detwiler
Another chip that I wasn’t able to find specific information on, but it’s also likely part of the Marvel WCDMA platform.
Photo by: Bill Detwiler / TechRepublic
Caption by: Bill Detwiler
A few more small chips
Photo by: Bill Detwiler / TechRepublic
Caption by: Bill Detwiler
Bill Detwiler is the Editor for Technical Content and Ecosystem at Celonis. He is the former Editor in Chief of TechRepublic and previous host of TechRepublic's Dynamic Developer podcast and Cracking Open, CNET and TechRepublic's popular online show. Previously, Bill was an IT manager in the social research and energy industries. He has bachelor's and master's degrees from the University of Louisville, where he has also lectured on computer crime and crime prevention.
