Numerous applications exist for remote access and administration, but few are as easy to set up and use as LogMeIn Pro.
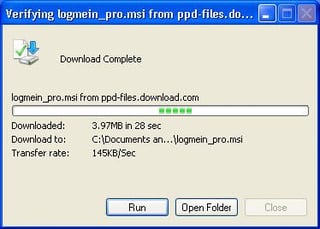
You can download LogMeIn Pro directly from TechRepublic. Once downloaded, double-click the MSI file to begin installation.
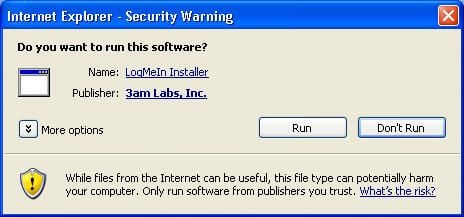
Confirm you wish to install the program by clicking the Run button.
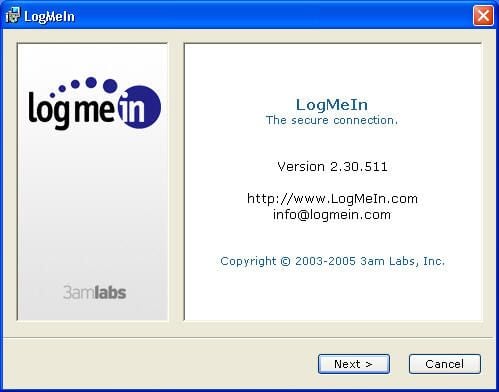
The LogMeIn Pro installer will appear. Click Next to proceed.
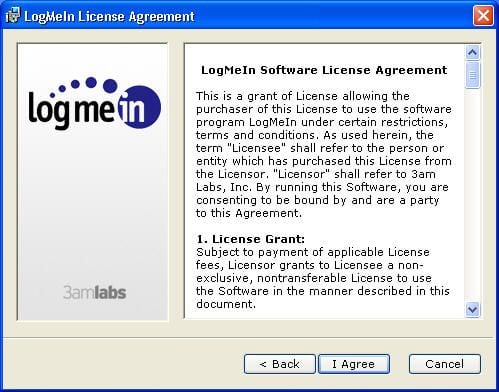
Read the LogMeIn Software License Agreement, and if you agree to abide by its terms, click the I Agree button.
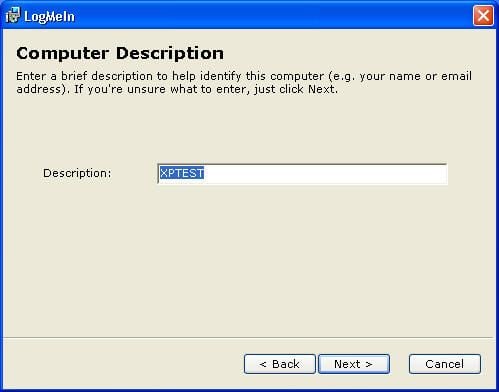
Provide a name for the computer you’re installing LogMeIn on. This is the name that will appear within a Web browser when you connect to the system from a remote location.
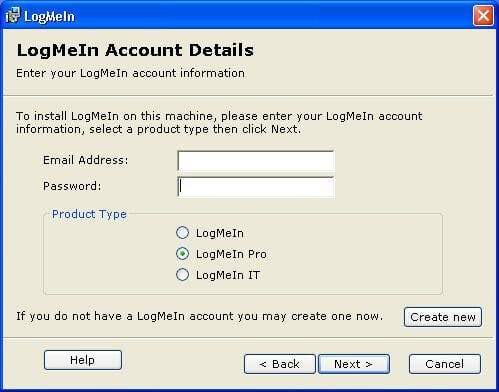
Specify the username (e-mail address) and password for an existing LogMeIn account. Or, to create a new one, click the Create New button. Specify, too, the version of LogMeIn you’re creating the account for (in this case LogMeIn Pro). Then click Next.
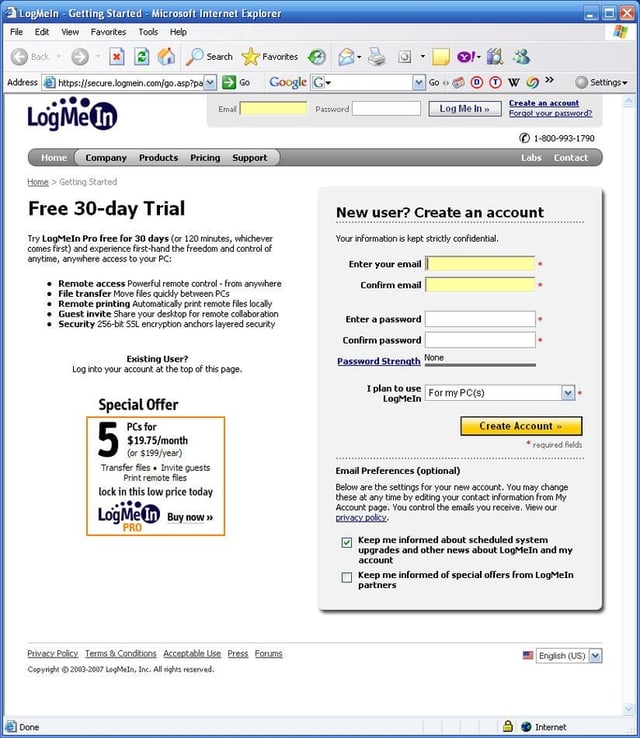
Enter an e-mail address and password to create a new account, then click Create Account.
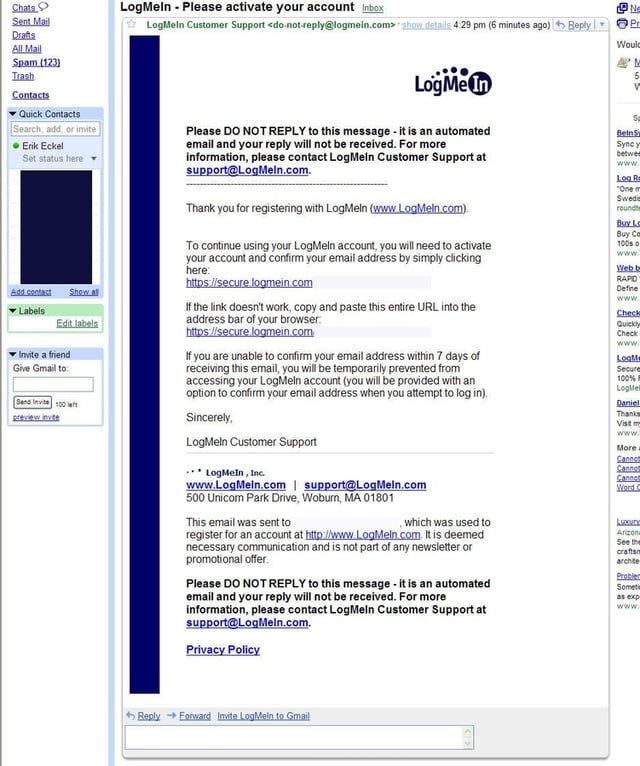
Next, retrieve the e-mail message LogMeIn sends to the e-mail account you specified during installation. You must activate the account by clicking the link provided within this e-mail message.
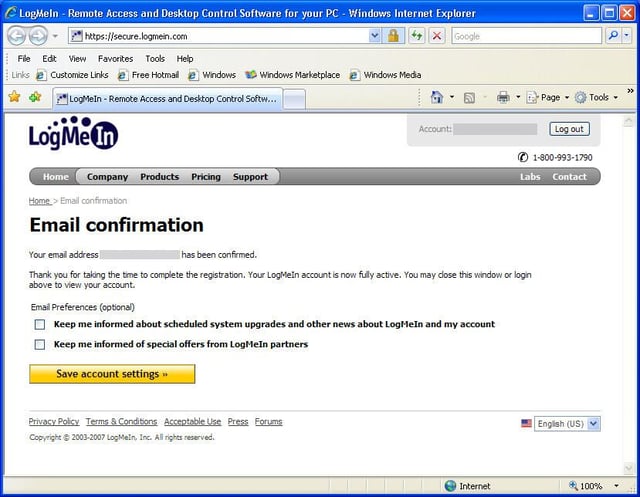
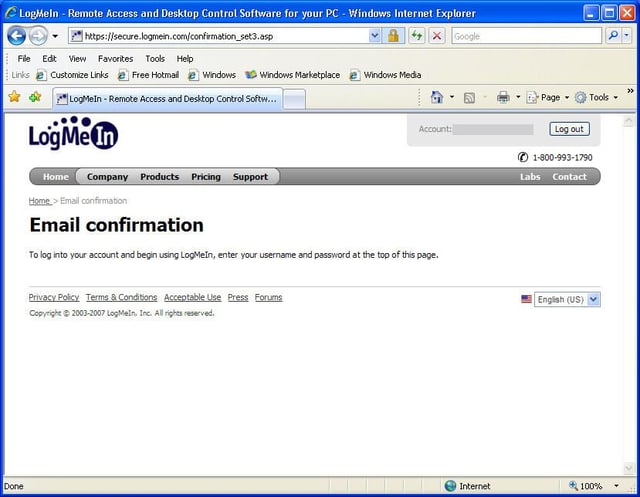
Once you’ve clicked the link LogMeIn includes within its confirmation e-mail message, you’ll see this screen confirming that your account is active.
Upon completing account registration, users see this confirmation screen. The LogMeIn account is now active and ready for use.

Now that the LogMeIn account is created, confirmed and active, you can provide the e-mail address and password. Once entered, click the Next button.
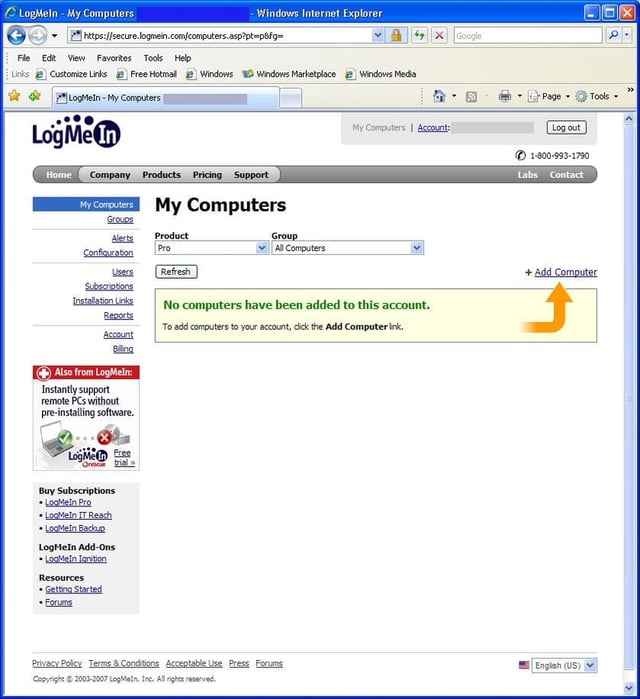
Upon logging in to your LogMeIn account you can add computers using the Add Computer link. Note that a separate license is required to add separate PCs and servers to your LogMeIn Pro account.
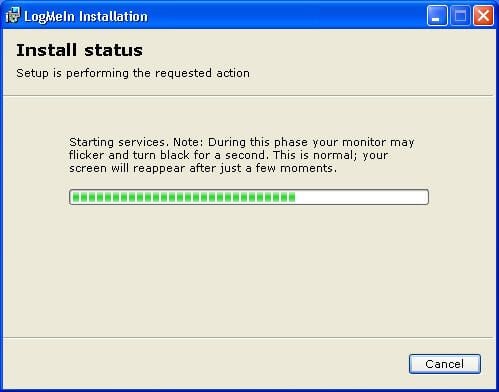
Alternatively, you can install LogMeIn on a system by continuing the Setup program. After entering your e-mail address and password and clicking Next, installation begins. The LogMeIn setup program will track installation status, as shown here.
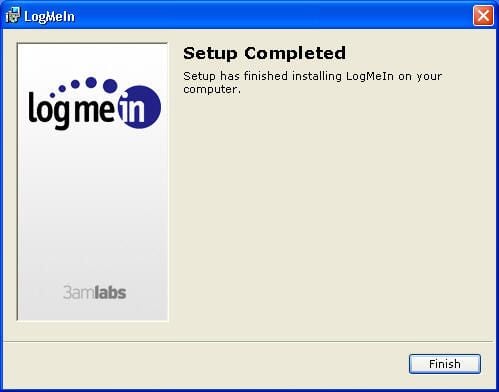
When the LogMeIn setup program completes installation, it displays the confirmation screen shown here.
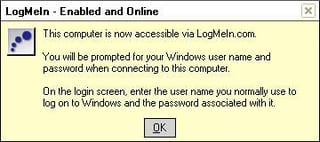
Once installed, LogMeIn displays this screen in Windows’ lower right-hand corner.
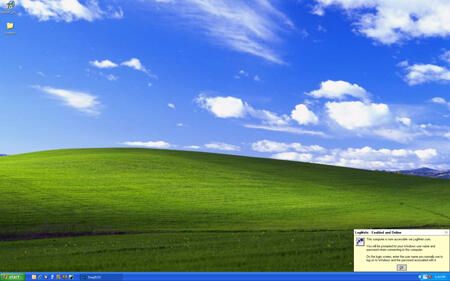
Here you can see a Windows XP system with LogMeIn Pro installed. The application displays the menu on the bottom right notifying the user that LogMeIn Pro is ready to accept remote connection requests.
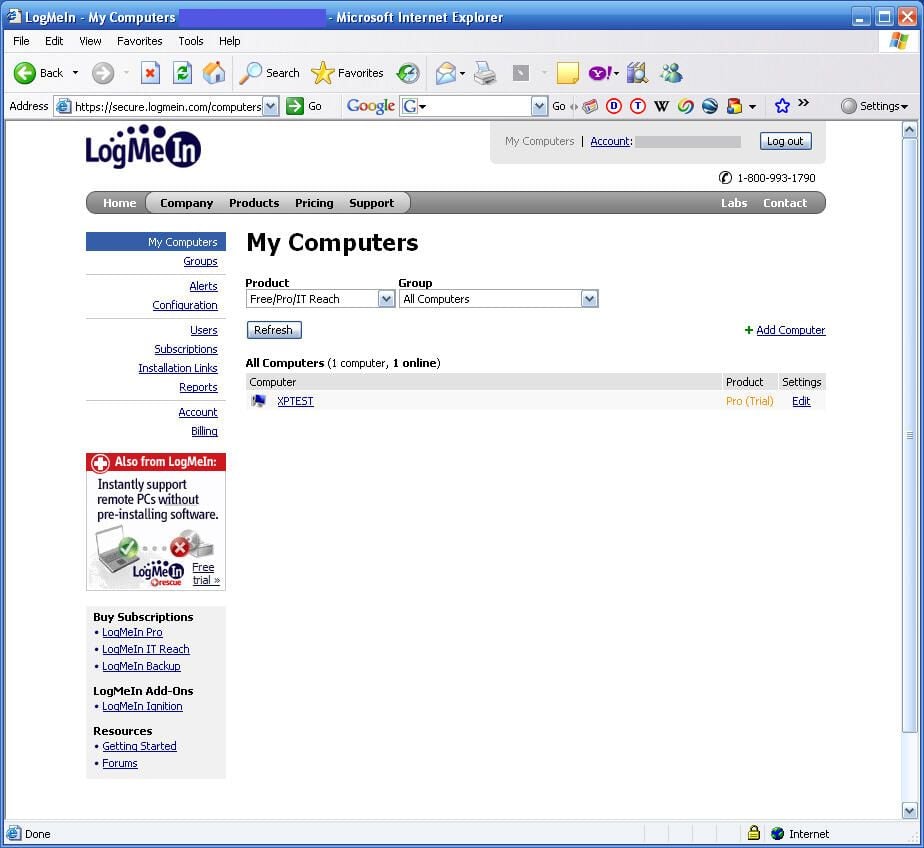
Once LogMeIn is installed on a PC or server, that system appears within the LogMeIn account (assuming the remote system is turned on and its LogMeIn application is enabled.
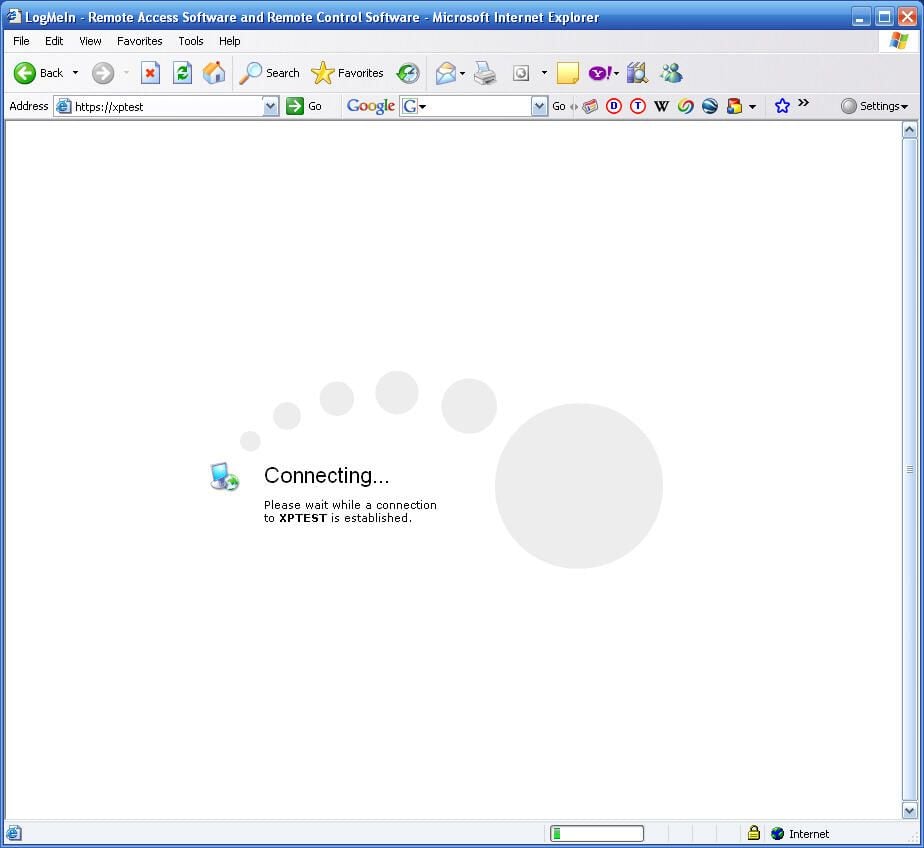
Clicking a computer’s hyperlink on the LogMeIn My Computers screen triggers the connection process. While LogMeIn negotiates the secure remote connection, users see this screen.
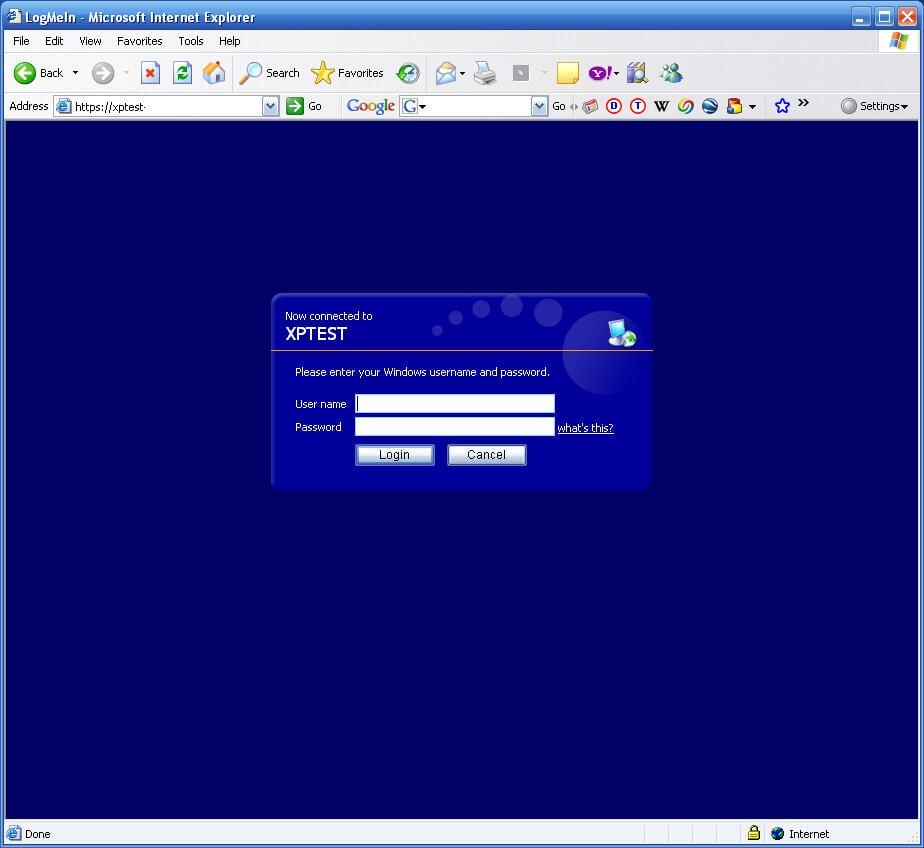
Upon completing the connection, LogMeIn prompts the user to log in to the local machine. Users must enter a valid username and password for the local system to complete the remote connection.
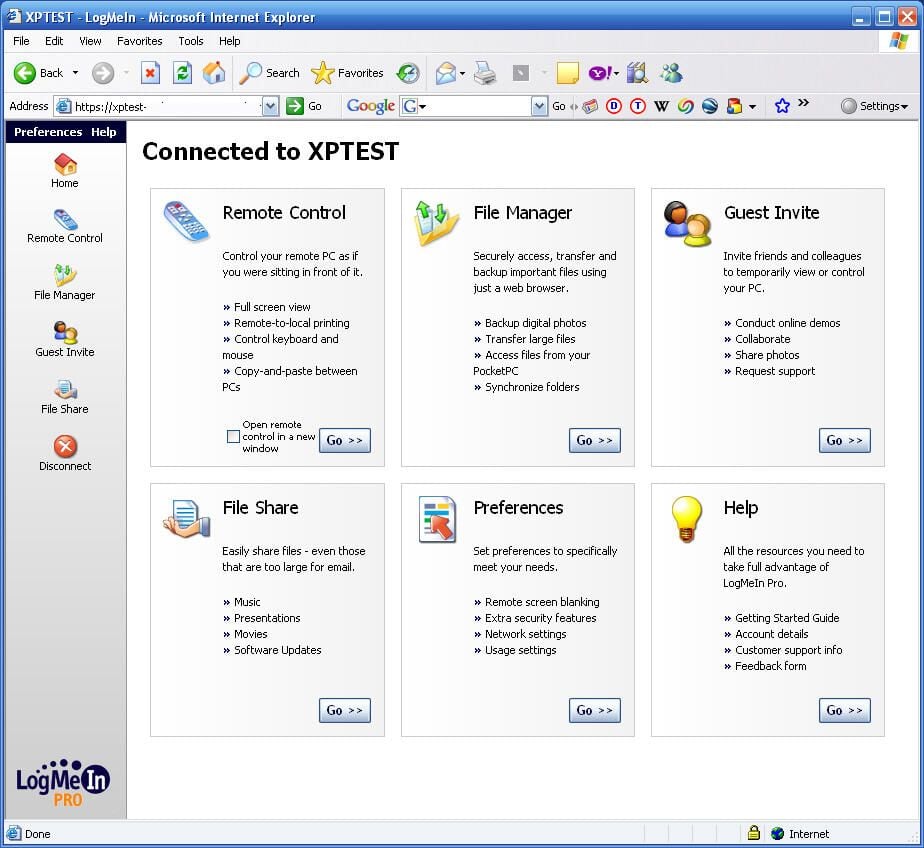
Once connected to the remote system, LogMeIn Pro offers numerous features, all of whose configuration and settings are administered using this home page console. In addition to 256-bit encryption, the Pro version adds local printing support, a powerful file sharing utility and the ability to invite guests to share your PC.
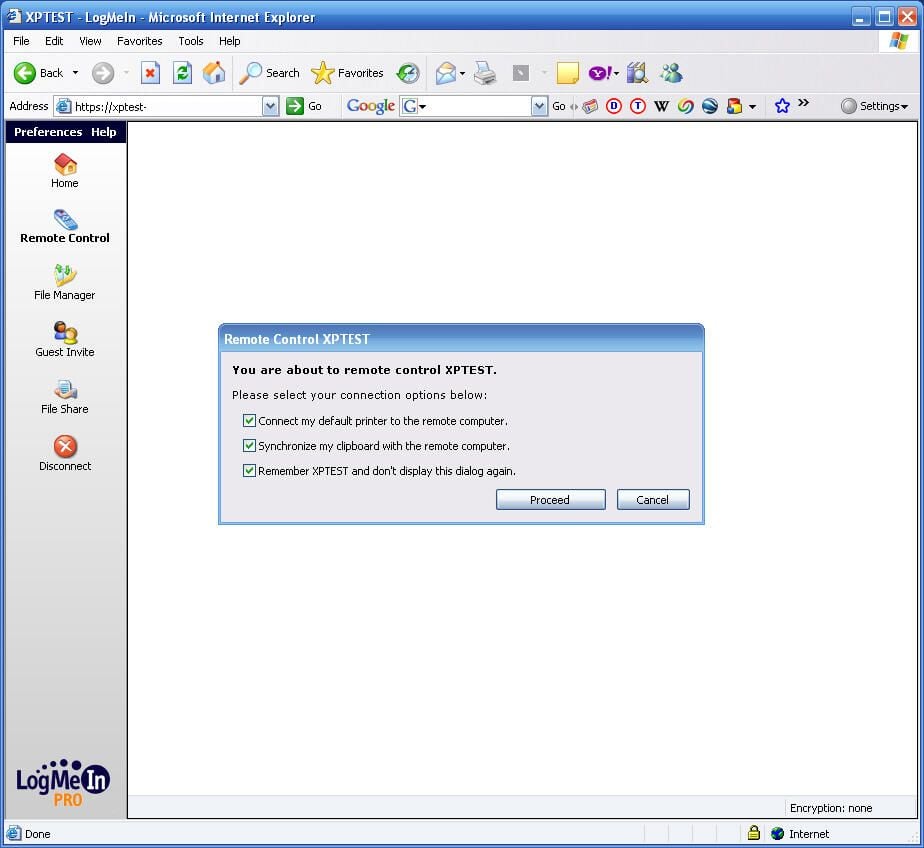
When selecting to Remote Control a system, this menu appears. Using LogMeIn Pro, users can connect their local default printer to the session, synchronize the local clipboard and choose to remember the settings they configure the first time the connection is accessed.
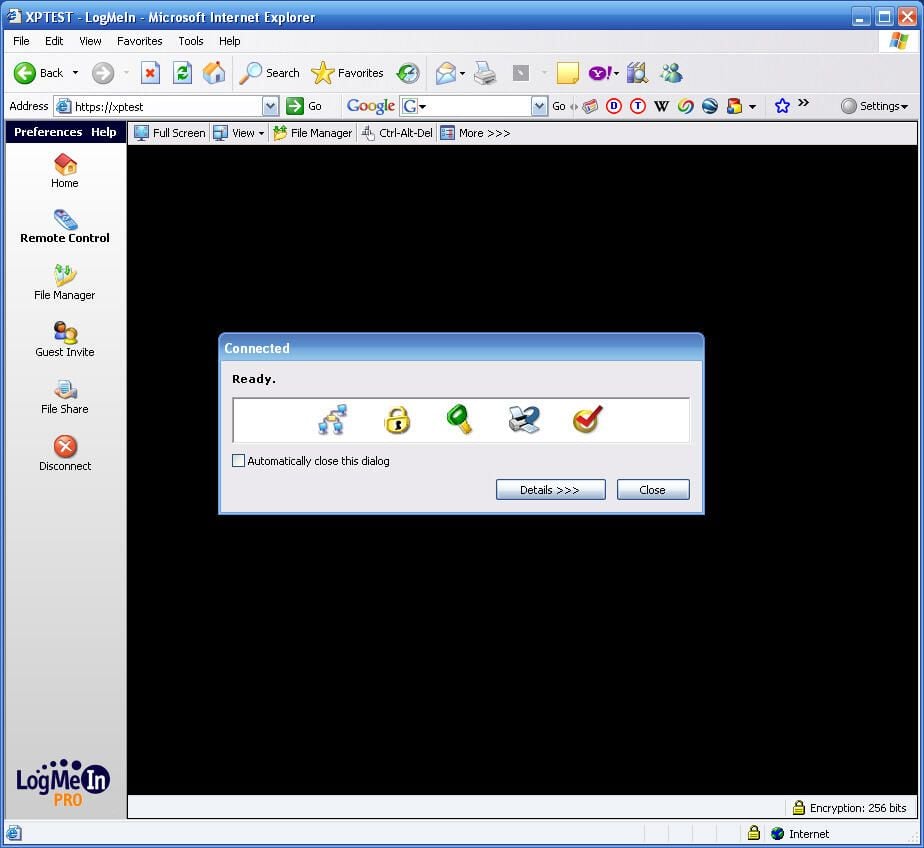
Once a Remote Control session is initialized, LogMeIn displays connection status.
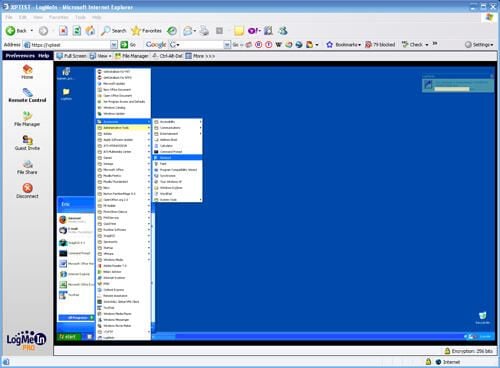
The remote system then appears withini the Web browser. Users can access programs, applications and files as if they were seated at the remote system.
Note the connection message LogMeIn displays. Toward the upper-right corner, LogMeIn informs local users of the remote system that another user (identified within the window) is connected to the system).
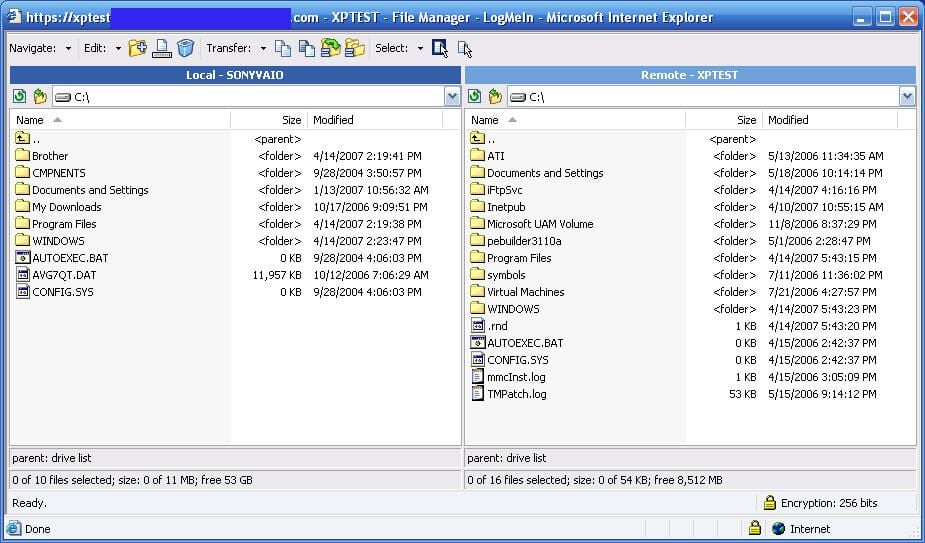
LogMeIn Pro boasts a powerful File Sharing console, shown here. Accessed from the Home menu, File Sharing simplifies file exchanges between local and remote systems.
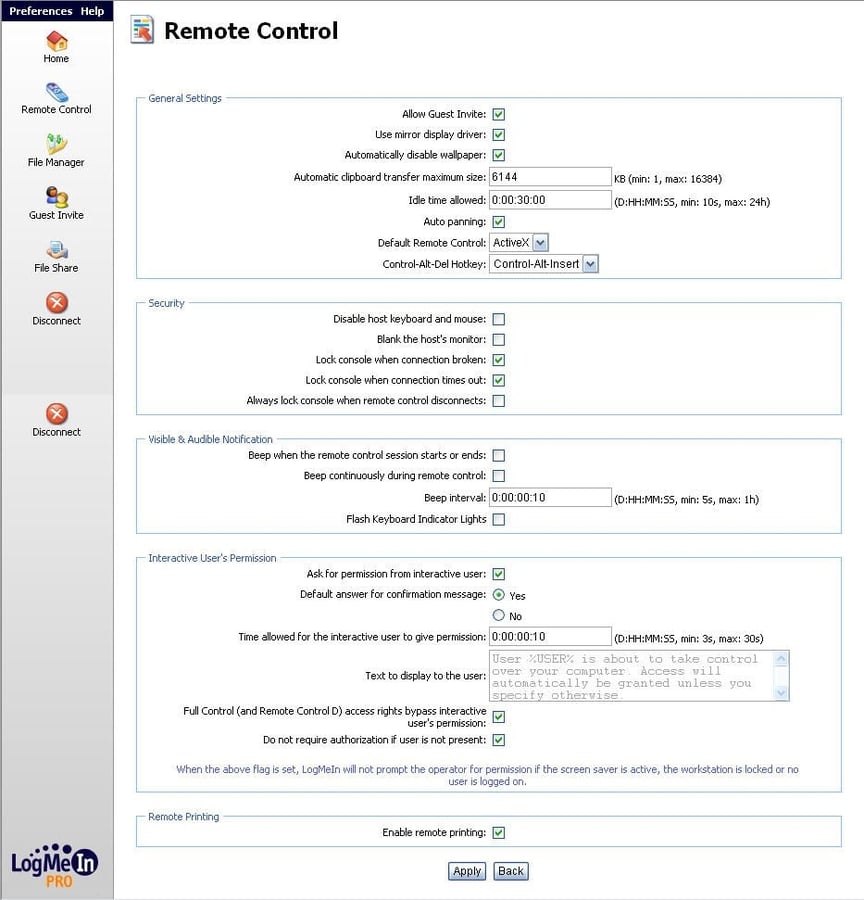
From the Home menu, users can access Remote Control preferences. Here you can see a variety of preferences can be changed changing the remote control experience.

Erik Eckel is a managing partner at Louisville Geek and president of Eckel Media Corp. He previously served as Executive Editor at TechRepublic. He received Microsoft Engineer accreditation from Sullivan University and earned his Bachelor's Degree in English from the University of Louisville. He's earned Network+, Windows NT 4.0 MCP+I and MCSE, and Windows 2000 Professional MCP accreditations.


