This design comes out of frustration and I hope one day we will see a case that takes the idea from mine and allows people to bolt together their own laptop in a weekend and not have to spend days in the shed annoying the neighbors with my angle grinder and learning how to weld aluminum like I did. There are ‘bare bones’ kits from some manufacturers, but to get a similar spec to mine, you are still expected to pay around 1500 to 2000 pounds, or worse!
© Torquil Harkness, JoverWeb
To have a laptop designed around mini-itx components would be great for most people, and we do not all want a laptop that we can fit in an envelope, but rather a unit that we can use all around the house for a decent price.
© Torquil Harkness, JoverWeb
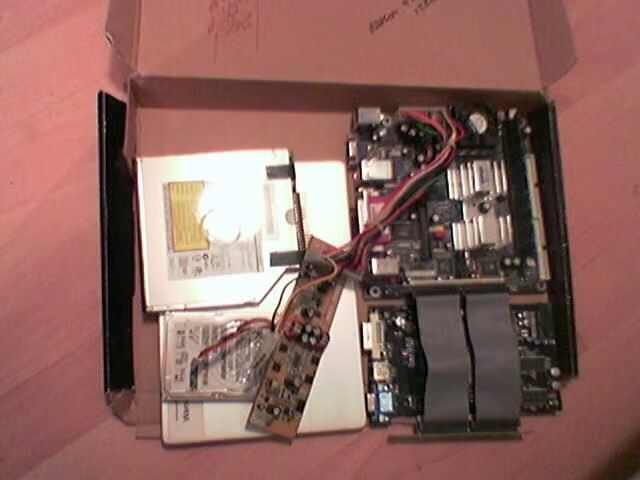
I first got all my components together, measured them and checked the layout in a cardboard box, left it on the kitchen table for a few weeks and generally annoyed my girlfriend.
© Torquil Harkness, JoverWeb
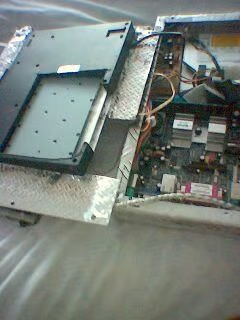
You can see, the battery under the DVD drive I had it lying around for ages and was originally purchased as an ‘external laptop UPS’, however I lost all of the connectors and had to crack it open to access the 12v circuit. I would not recommend this, but rather keep all the adapters and just wire it in parallel to your charging circuit.
© Torquil Harkness, JoverWeb
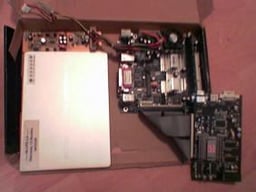
The Morex cubid PSU which I took from an old case I got from mini-ITX.
© Torquil Harkness, JoverWeb
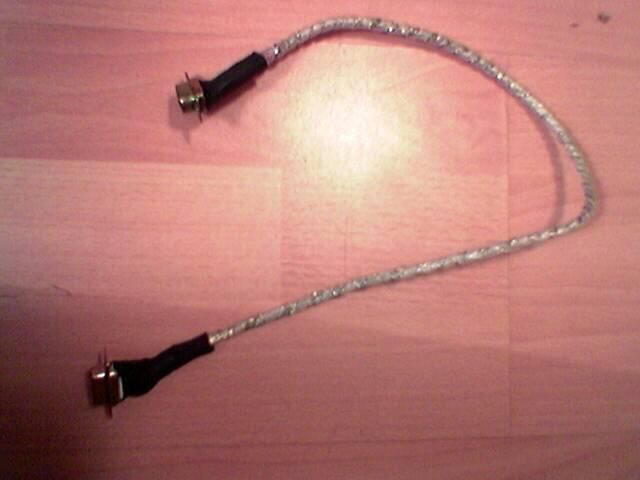
I made my own VGA cable as all the monitor cables I had seen were too bulky, this left lots of soldier blobs rolling round the floor for ages as the vacuum cleaner refused to pick them up!
© Torquil Harkness, JoverWeb
With the monitor stripped I played around and made sure it all worked.
© Torquil Harkness, JoverWeb
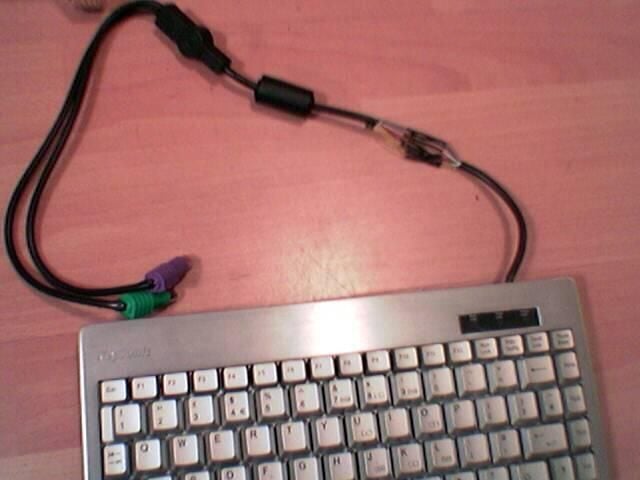
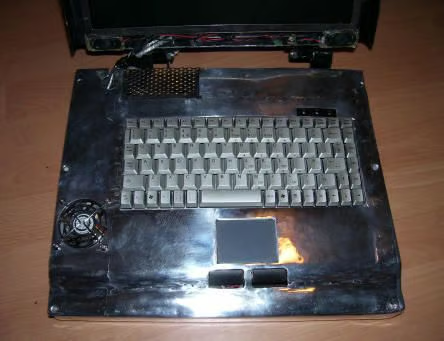
This was the keyboard that I bought; it came with a mouse integrated, a little more expensive than the USB wireless version; however I prefer a PS2 connection as it always works. The aluminium was important as I feel if I made it totally of ally, then it would reduce heat build up, much better than a steel case. I chopped about half a meter of cable out and re-soldiered the wires.
© Torquil Harkness, JoverWeb
The same layout with the keyboard cut-out to allow components to fit. This was later cut away altogether, and the components taped to the underside.
© Torquil Harkness, JoverWeb
Once I had welded the surrounds on to the keyboard, I measured it on the case, trimmed it and bent it to shape.
© Torquil Harkness, JoverWeb
© Torquil Harkness, JoverWeb
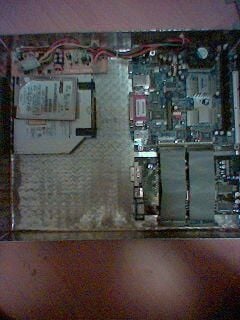
The USB wireless, it was moved in to the monitor section and a plastic back screwed over it, to improve reception. But in this picture you can see it here slipped down the side of the main board.
© Torquil Harkness, JoverWeb
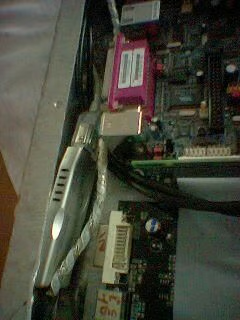
In this picture you can see it here slipped down the side of the mainboard.
© Torquil Harkness, JoverWeb
With the plastic cover in place. The hinges were quite a bit of work and are all hand made from sheet mild-steel and some stainless nut and bolts, welded together.
© Torquil Harkness, JoverWeb
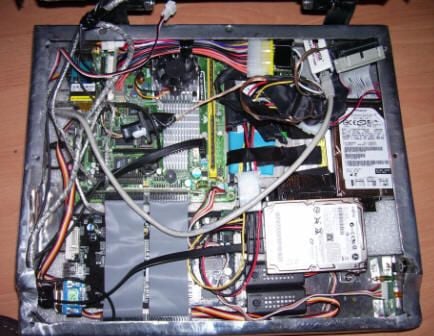
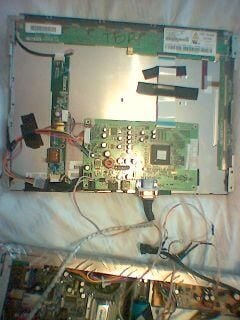
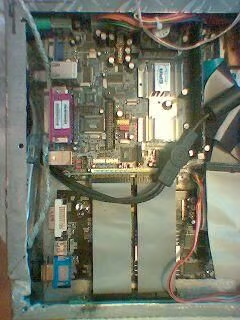
The layout as it is now, although I have tidied the wires up somewhat.
© Torquil Harkness, JoverWeb
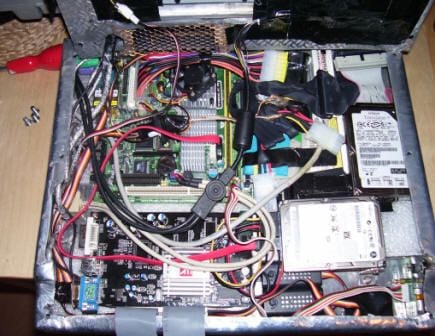
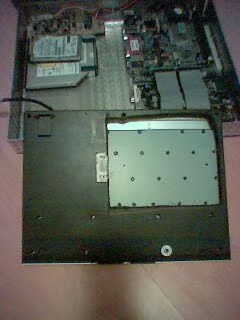
You can see the fan controllers at the front, and the new Pico power supply which saves me so much room. The keyboard has been removed and it is prior to the network RJ45 socket being screwed in place.
© Torquil Harkness, JoverWeb
You can see the speakers which I took from the monitor I dismantled and the plug and socket which is the 12v supply to the monitor.
© Torquil Harkness, JoverWeb

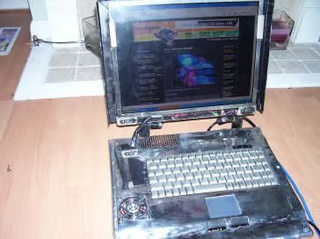
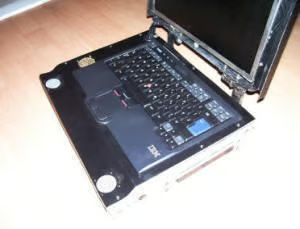
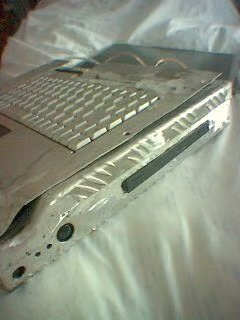
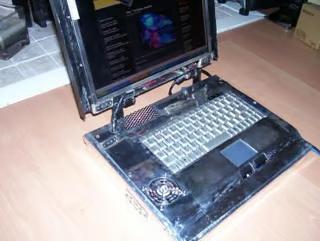
Complete ITX Laptop from a different angle.
© Torquil Harkness, JoverWeb
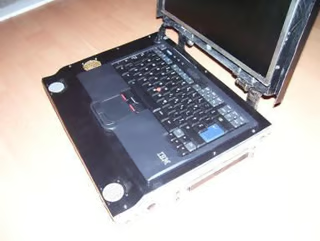
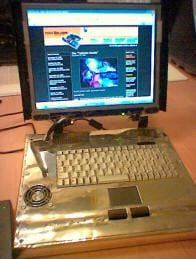
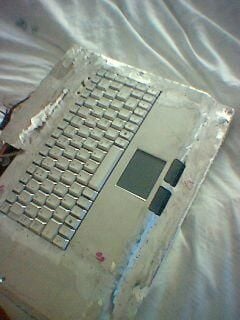
After it was complete, a new keyboard and speakers were added to enhance the look.
© Torquil Harkness, JoverWeb

Jack Wallen is an award-winning writer for TechRepublic, The New Stack, and Linux New Media. He's covered a variety of topics for over twenty years and is an avid promoter of open source. For more news about Jack Wallen, visit his website jackwallen.com.


