In September 2010, Sony released the PlayStation Move motion and navigation controllers–hoping to duplicate Nintendo’s success with the Wii’s motion control Remote and Nunchuk.
After cracking open the PlayStation Move motion controller, we moved on to the Move navigation controller. Like the larger Move controller, the small navigation controller is very easy to disassemble. All you need it a Phillips #0 screwdriver.
Photo by: Bill Detwiler / TechRepublic
Caption by: Bill Detwiler
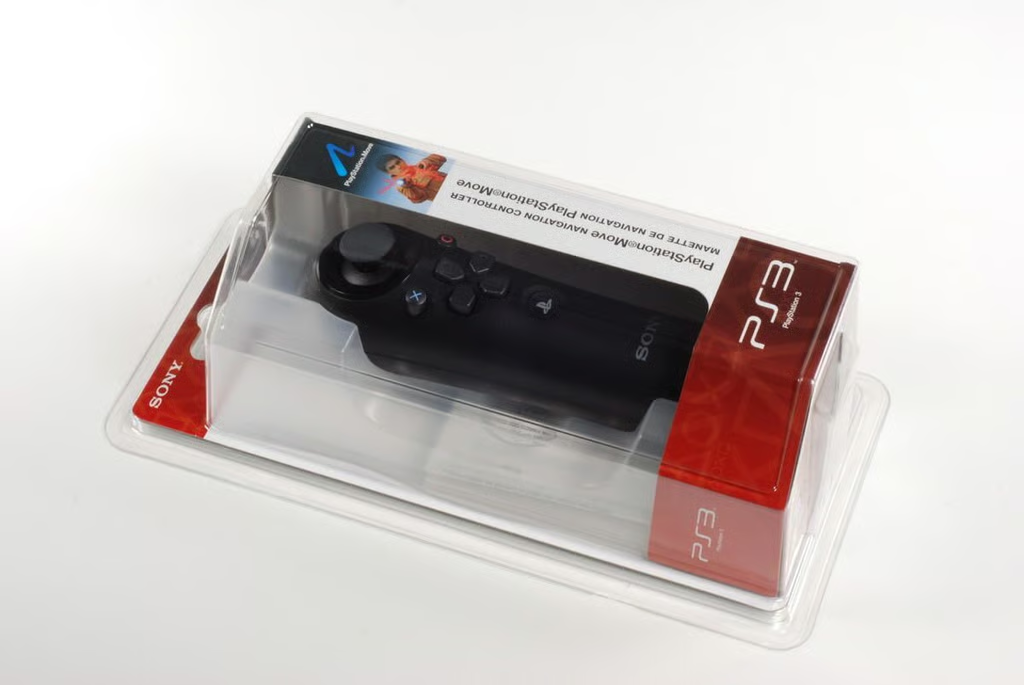
The PlayStation Move navigation controller is available separately for about $30 (US). The Move navigation controller can be used in conjunction with the Move motion controller on games such as SOCOM 4.
Photo by: Bill Detwiler / TechRepublic
Caption by: Bill Detwiler
Photo by: Bill Detwiler / TechRepublic
Caption by: Bill Detwiler
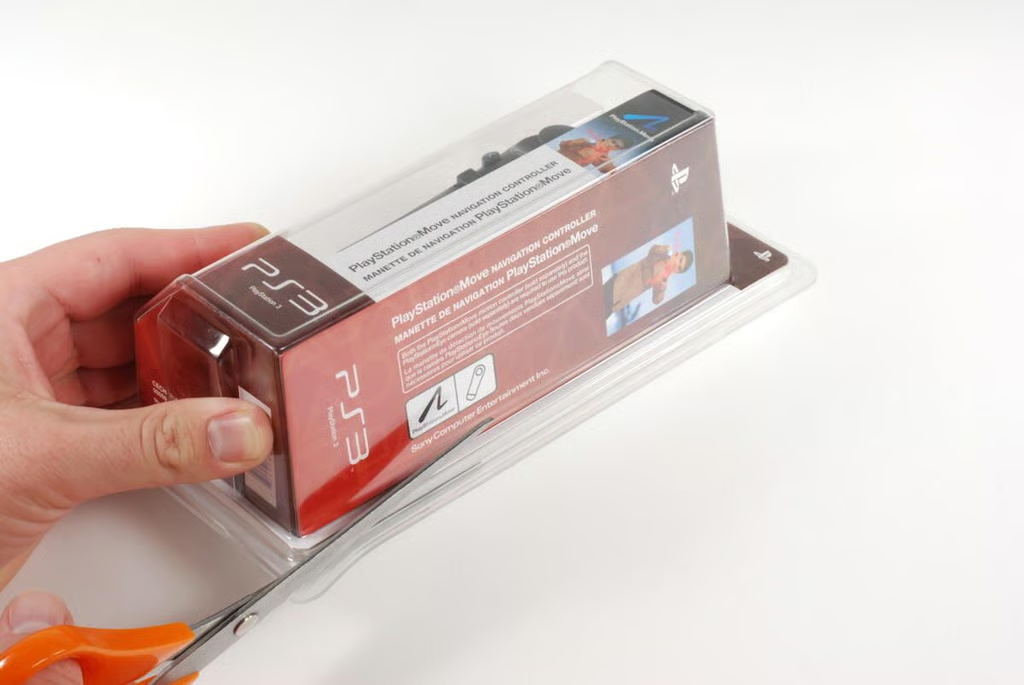
Opening the PlayStation Move navigation controller requires breaking out the scissors or a knife to cut through the blister pack.
Photo by: Bill Detwiler / TechRepublic
Caption by: Bill Detwiler
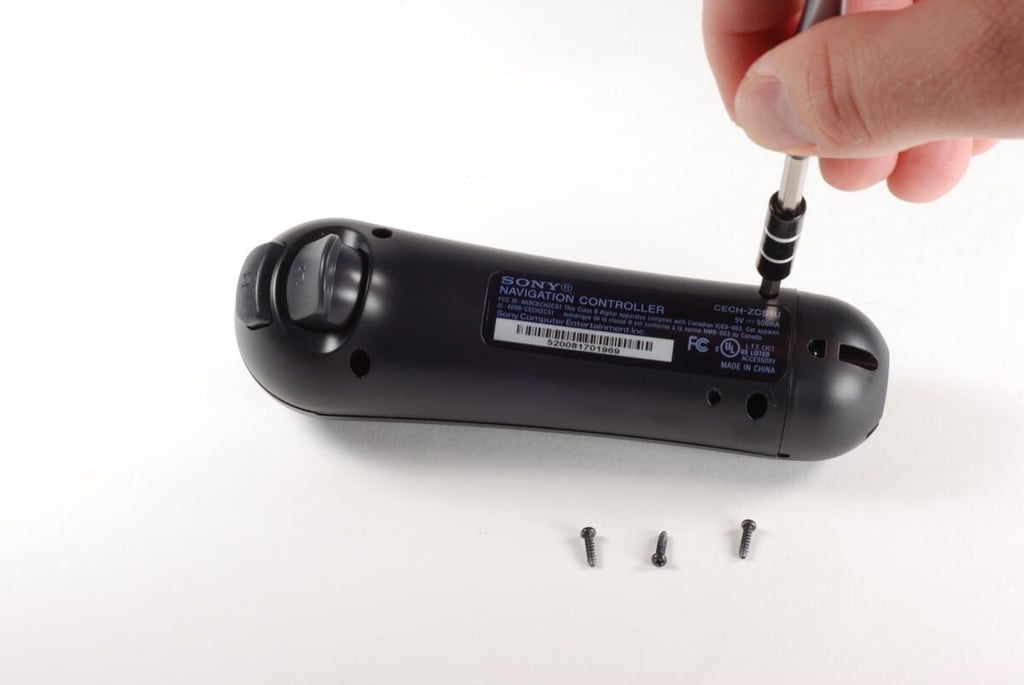
The PlayStation Move navigation controller has four Phillips #0 screws that hold the bottom half of the case in place.
Photo by: Bill Detwiler / TechRepublic
Caption by: Bill Detwiler
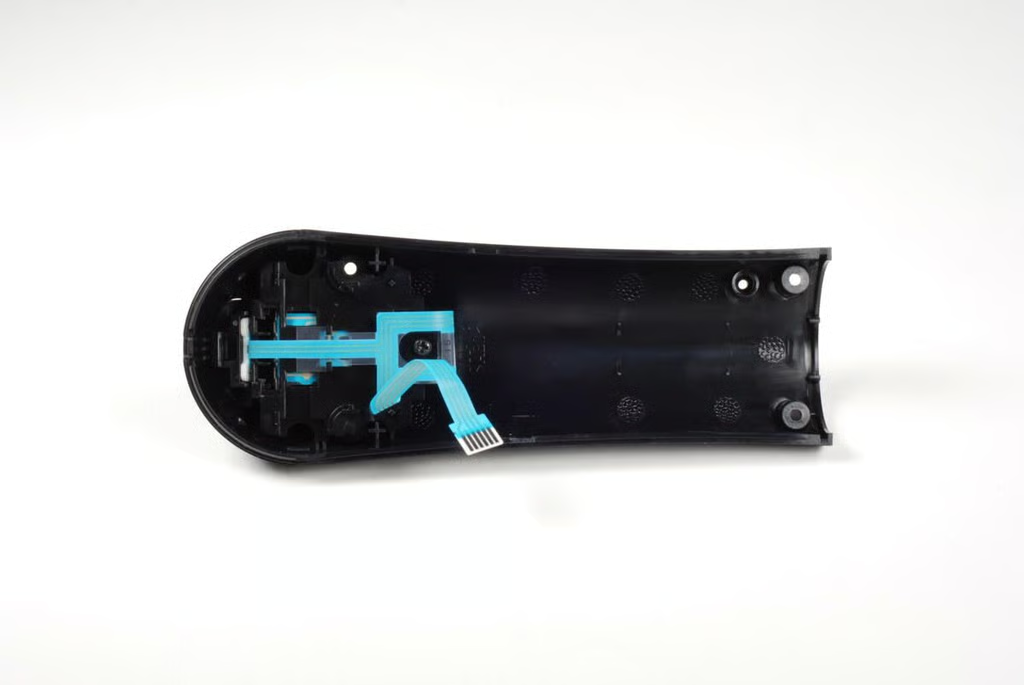
Photo by: Bill Detwiler / TechRepublic
Caption by: Bill Detwiler
A single Phillips #0 screws holds the L1 and L2 button assembly to the bottom half of the case.
Photo by: Bill Detwiler / TechRepublic
Caption by: Bill Detwiler
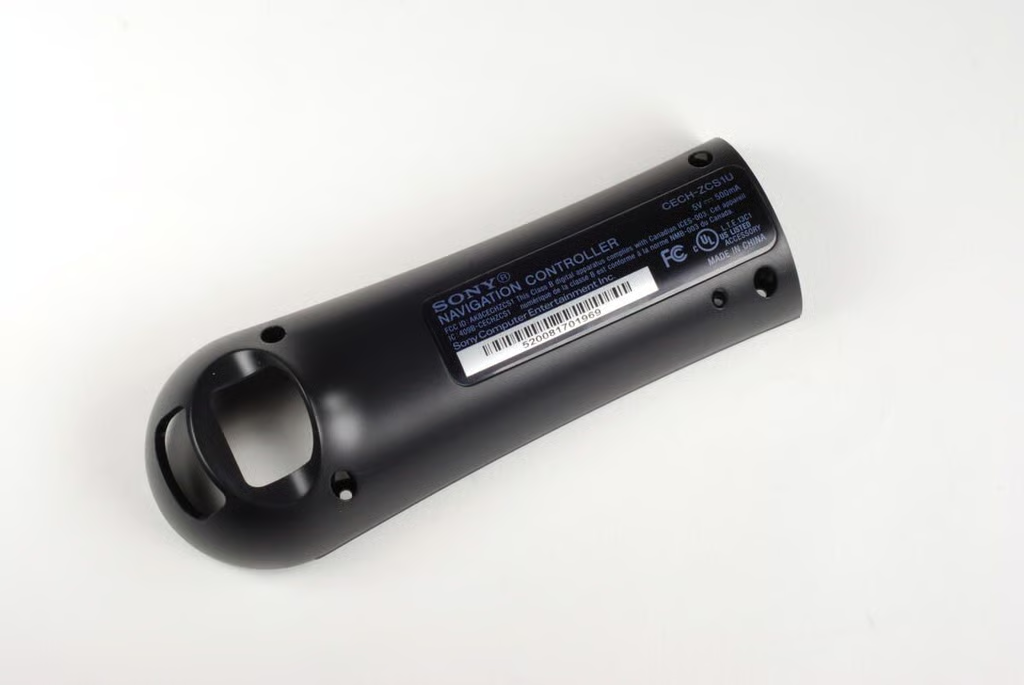
Photo by: Bill Detwiler / TechRepublic
Caption by: Bill Detwiler
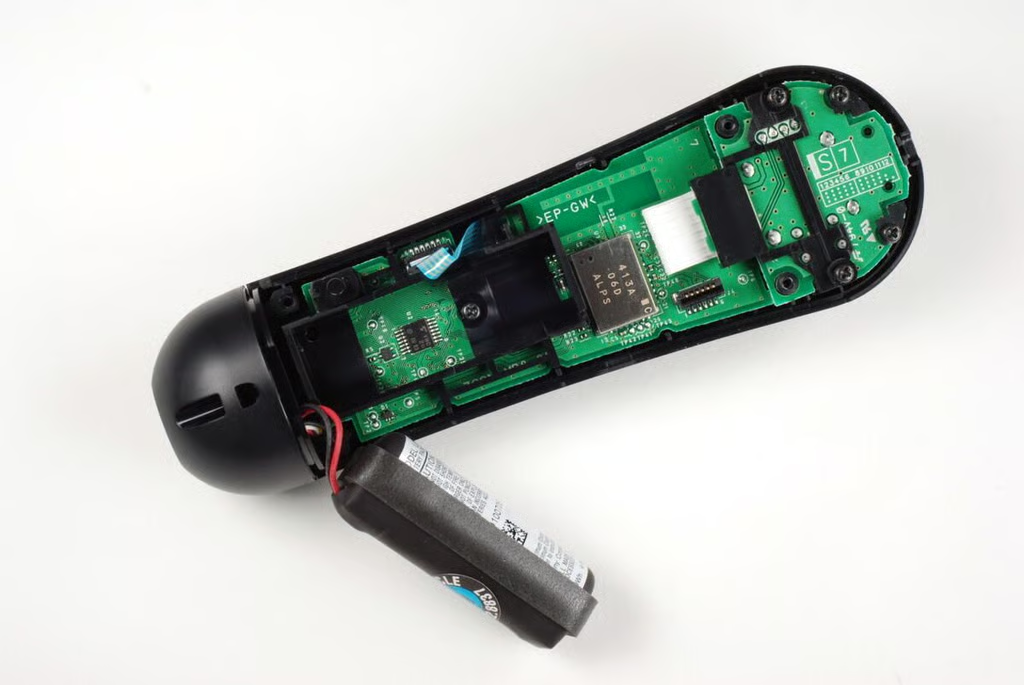
Five Phillips #0 screws hold the internal components in place. One screw is hidden under the battery.
Photo by: Bill Detwiler / TechRepublic
Caption by: Bill Detwiler
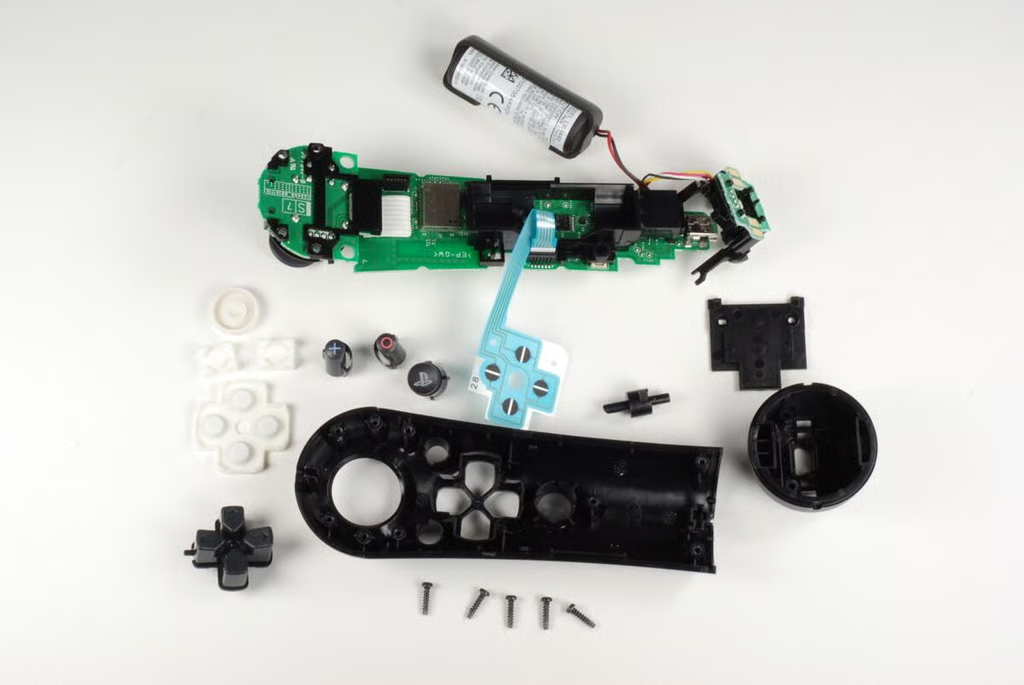
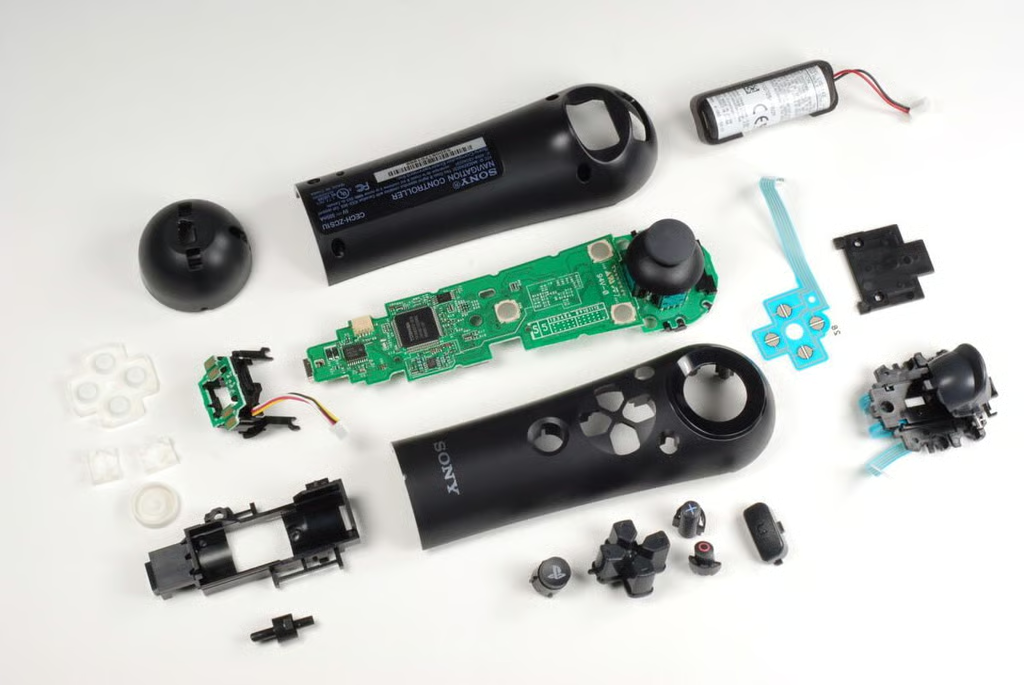
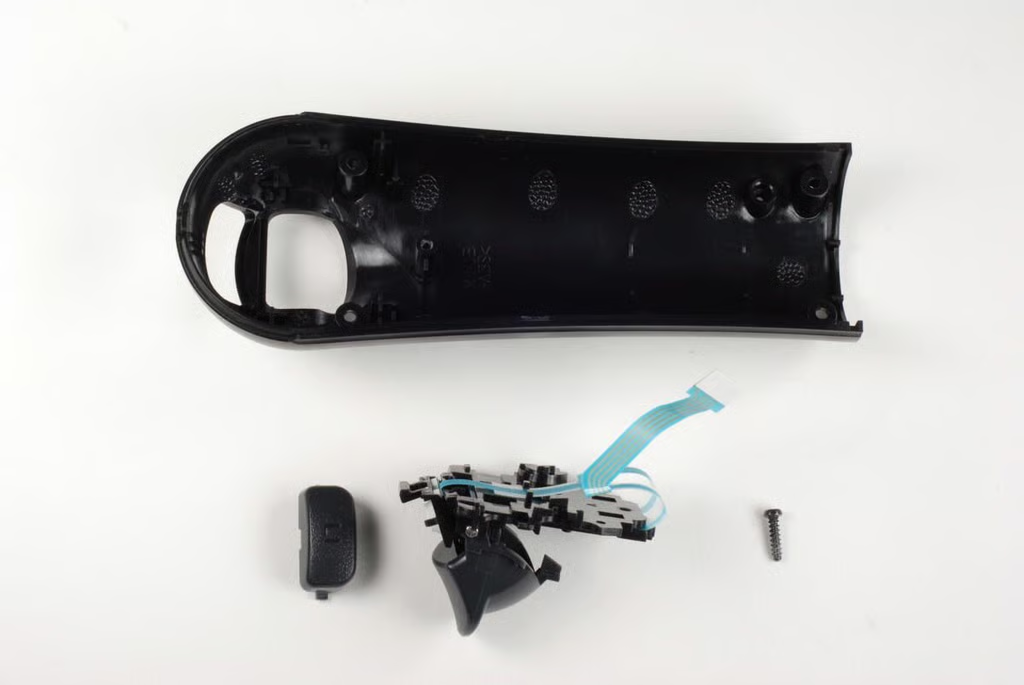
With the five screws removed, the PlayStation Move navigation controller’s internal components can be easily removed from the top half of the case.
Photo by: Bill Detwiler / TechRepublic
Caption by: Bill Detwiler
Photo by: Bill Detwiler / TechRepublic
Caption by: Bill Detwiler
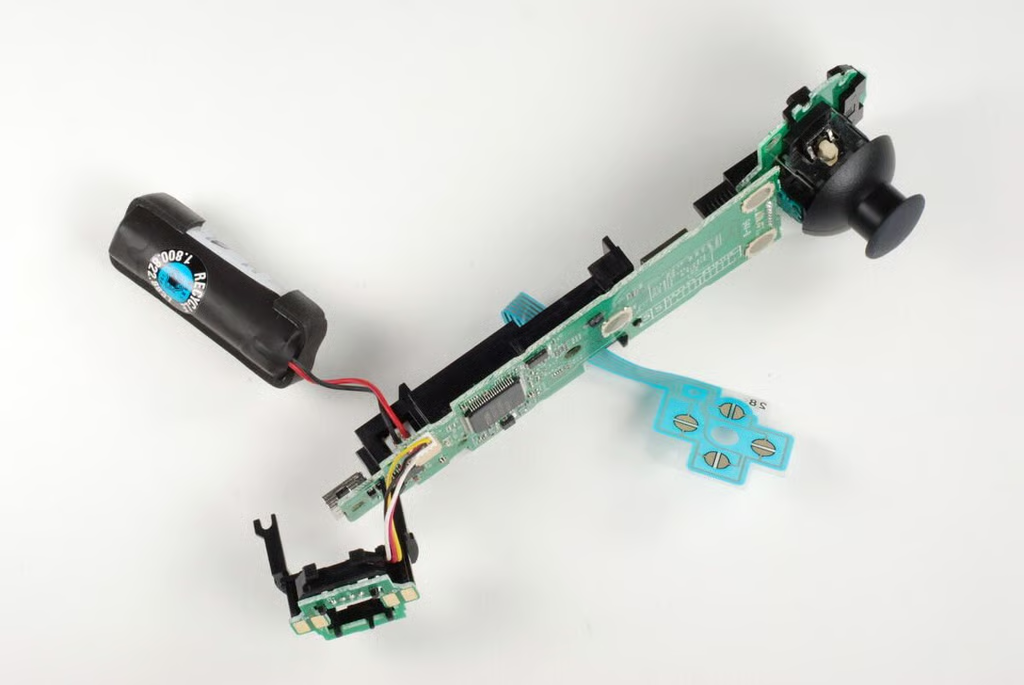
The PlayStation Move navigation controller’s Li-ion battery and charging contacts PCB are attached to the main PCB with connectors.
Photo by: Bill Detwiler / TechRepublic
Caption by: Bill Detwiler
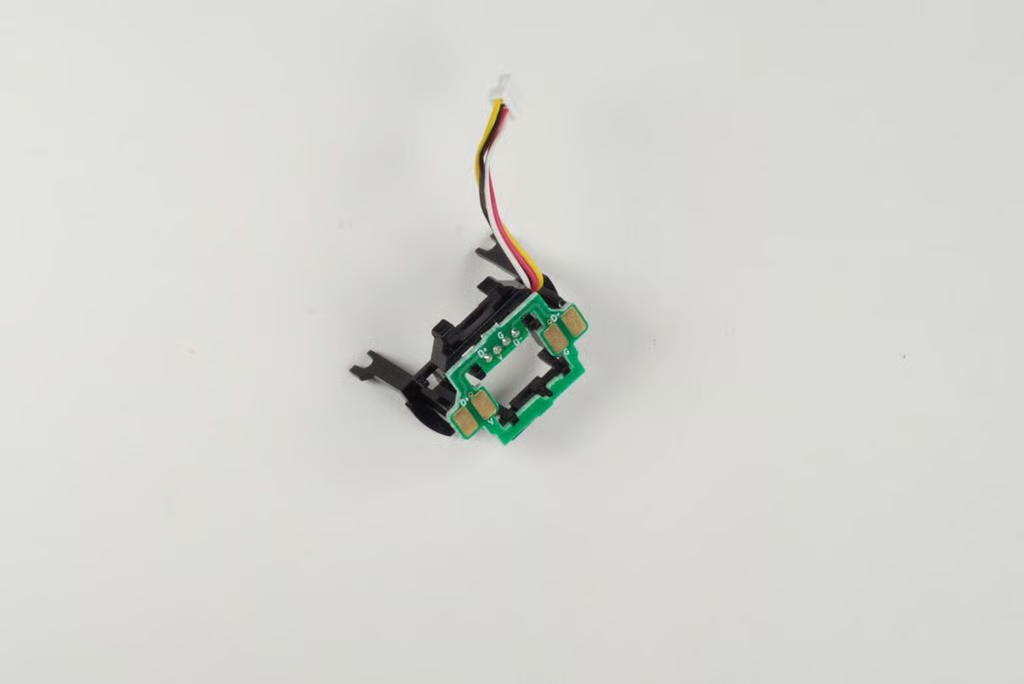
Photo by: Bill Detwiler / TechRepublic
Caption by: Bill Detwiler
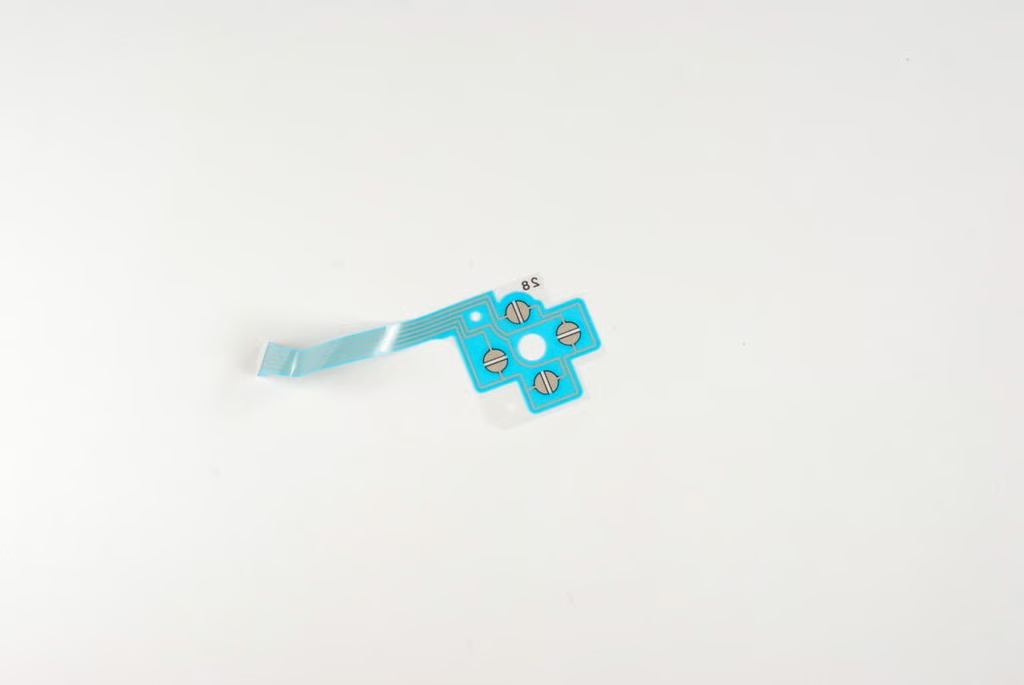
The four contacts for the directional buttons are located on a thin plastic strip.
Photo by: Bill Detwiler / TechRepublic
Caption by: Bill Detwiler

Like the PlayStation Move motion controller, the Move navigation controller’s battery rests in a black plastic housing. You can remove this housing by gently prying its tabs loose from the main PCB.
Photo by: Bill Detwiler / TechRepublic
Caption by: Bill Detwiler
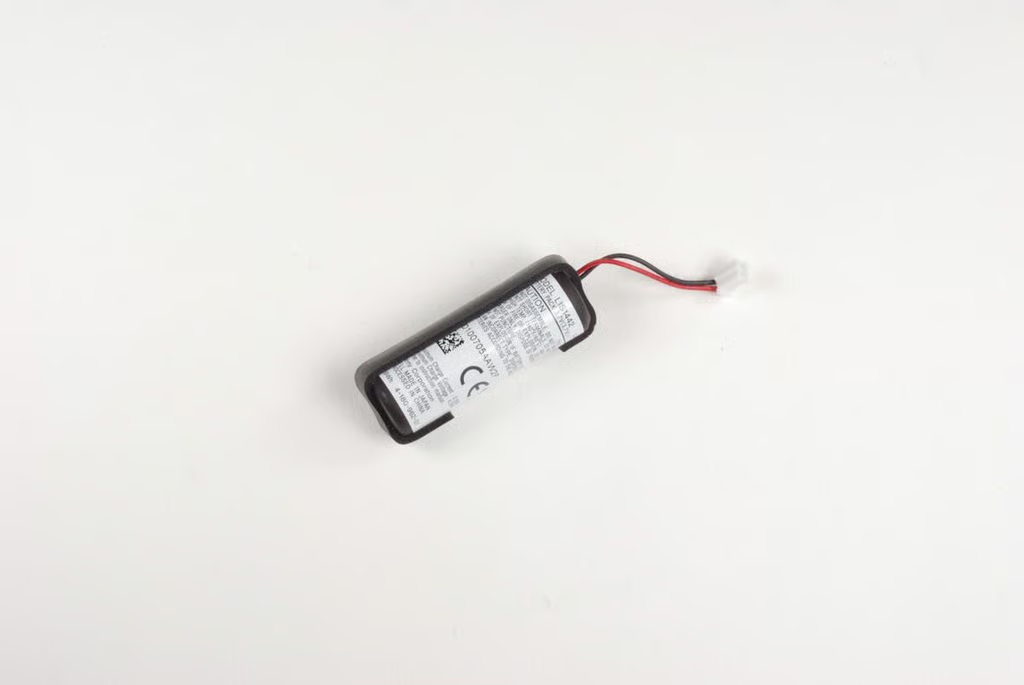
The PlayStation Move navigation controller has a 3.7V Li-ion battery.
Photo by: Bill Detwiler / TechRepublic
Caption by: Bill Detwiler
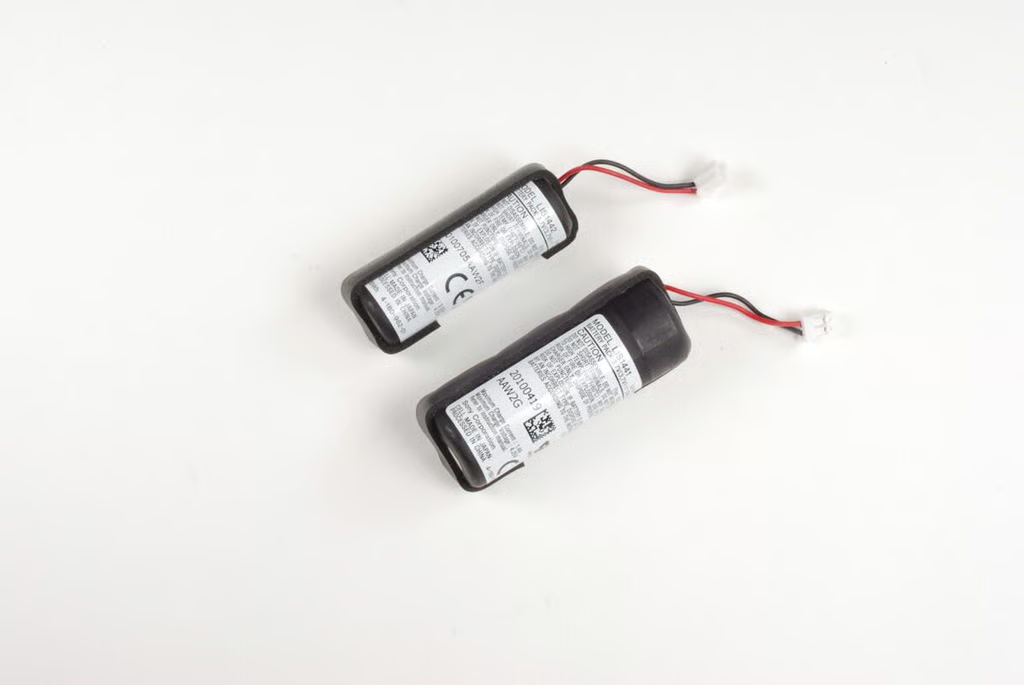
The PlayStation Move motion controller has a significantly larger battery than the navigation controller.
Photo by: Bill Detwiler / TechRepublic
Caption by: Bill Detwiler
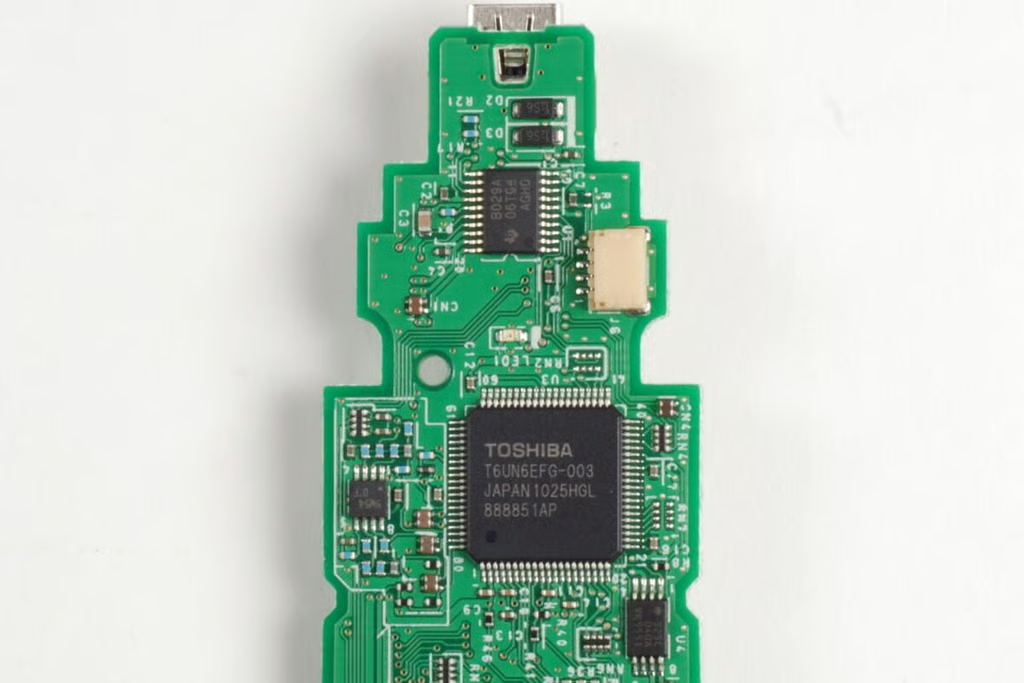
On the top of the main PCB is the Toshiba T6UN6EFG-003 chip. This chip is similar to the Toshiba chip found in the DualShock 3 controller. Above that chip is a Texas Instruments chips with the markings B029A 06T G4 AGH0.
Photo by: Bill Detwiler / TechRepublic
Caption by: Bill Detwiler
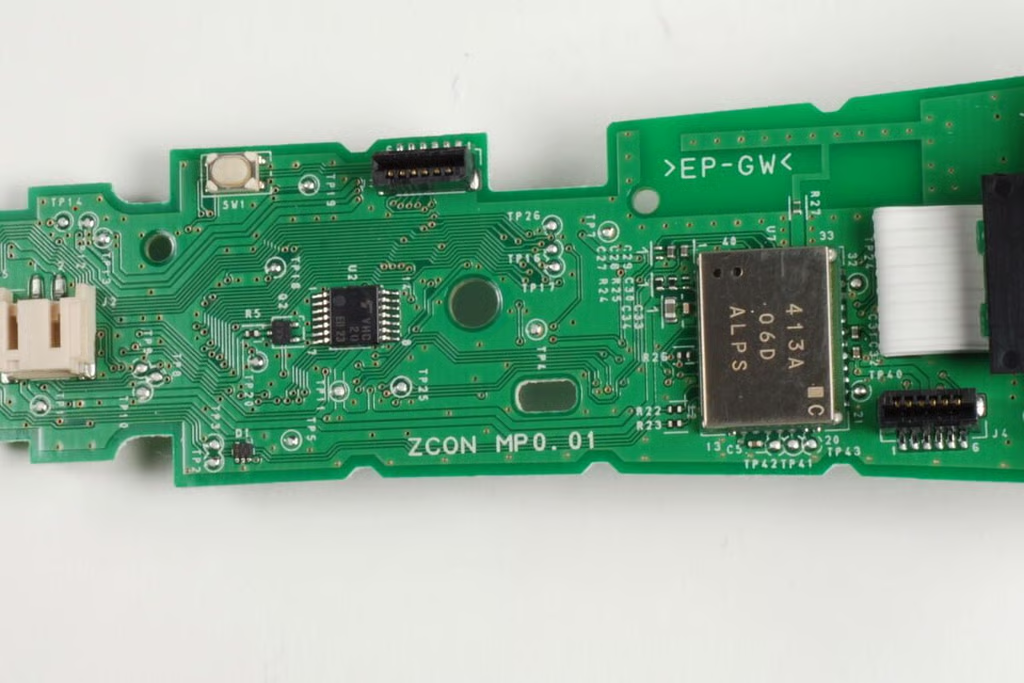
On the bottom of the main PCB is the Bluetooth chip–covered by the large metal shield. To the left of that is a small chip with the markings VHC 20 E0 23.
Photo by: Bill Detwiler / TechRepublic
Caption by: Bill Detwiler
Bill Detwiler is the Editor for Technical Content and Ecosystem at Celonis. He is the former Editor in Chief of TechRepublic and previous host of TechRepublic's Dynamic Developer podcast and Cracking Open, CNET and TechRepublic's popular online show. Previously, Bill was an IT manager in the social research and energy industries. He has bachelor's and master's degrees from the University of Louisville, where he has also lectured on computer crime and crime prevention.


