\n\tThis slideshow is also available as a post in the Windows and Office Blog.
\n
\n\tRecently, Microsoft made a free 90-day evaluation copy of the final version of Windows 8 Enterprise available for download. While the MSDN Evaluation Center page lists the Windows 8 Enterprise evaluation as being for developers building Windows 8 apps and IT professionals interested in trying Windows 8 Enterprise on behalf of their organization, anyone can download it. In this post, I’ll show you how to download and install the free 90-day evaluation copy of the final version of Windows 8 Enterprise.
\n
\n
\n
\n\tBefore I show you how to download and install the evaluation copy, you need to understand a few things about the terms of the evaluation. To begin with, in order to download the evaluation, you must have a Microsoft account, such as a Hotmail or Windows Live account, which you will use to register your copy. While the evaluation does not require a product key, once you install it, you must activate it within 10 days. (The download page erroneously states that you must complete activation before August 15, 2013, in order to use the evaluation. You can ignore that statement.)
\n
\n\tAfter the 90 days are up, the evaluation will no longer be genuine, which means that the desktop background will turn black and the PC will automatically shut down every hour without allowing you to save any work in progress. In other words, it will be rendered useless. Furthermore, there is no way to upgrade from the evaluation to a real Windows 8 version. Your only option is to trash the installation.
\n
\n\tOne more thing that you should be aware of is that Microsoft doesn’t provide any technical support for the evaluation version.
\n
\n
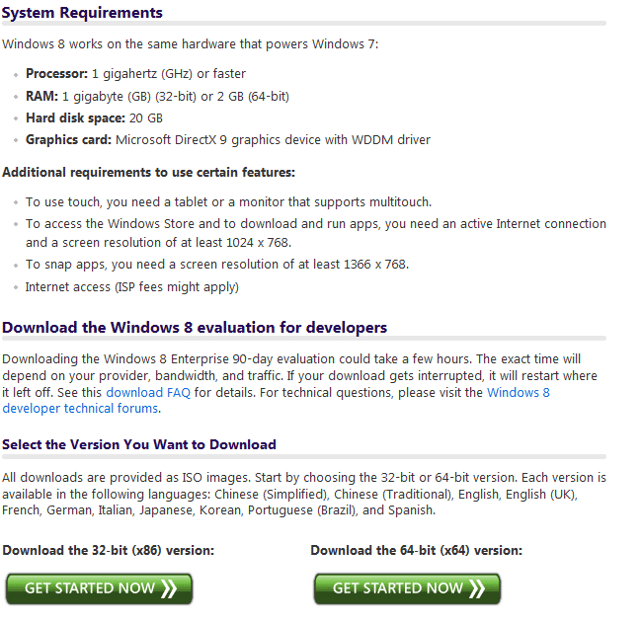
\n\tDownloading the evaluation is easy but very time consuming. To get started, head on over to the MSDN Evaluation Center’s Download Windows 8 Enterprise Evaluation page and scroll to the bottom of the page. There you will see two download buttons: One for the 32-bit version and one for the 64-bit version. For my example, I selected the 64-bit version.
\n
\n\tImages by Greg Shultz for TechRepublic
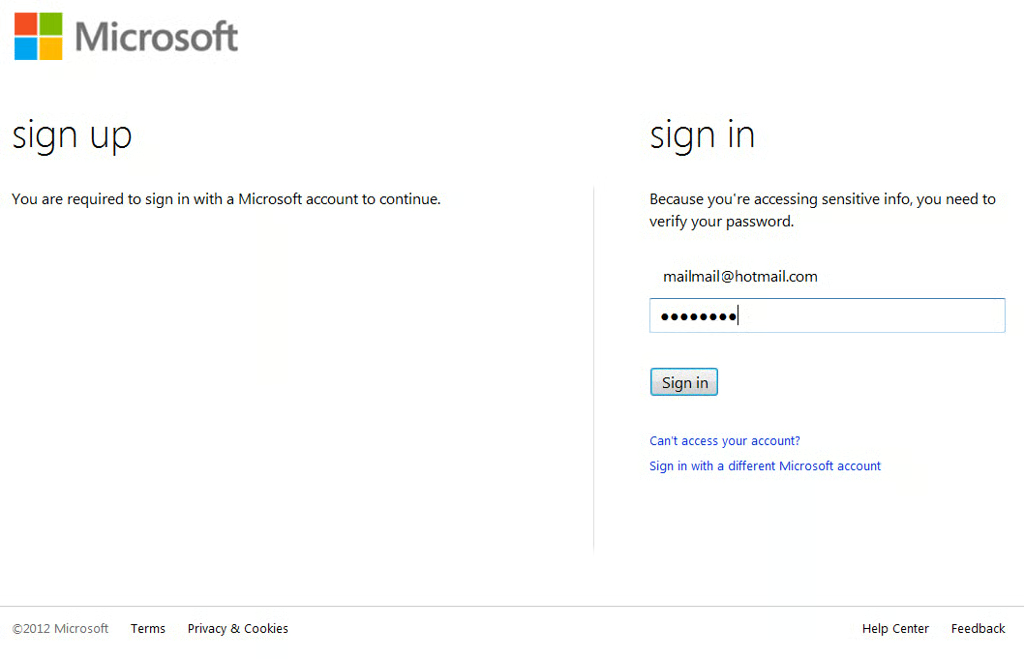
\n\tAs soon as you click one of the buttons, you’ll see a page like the one shown and will be prompted to sign in with your Microsoft account. In my case I was already signed in to Windows Live Messenger and so my email address was already included on the page and I just had to enter my password. (Keep in mind the screenshot shows a fake email address.)
\n\t
\n\tImages by Greg Shultz for TechRepublic
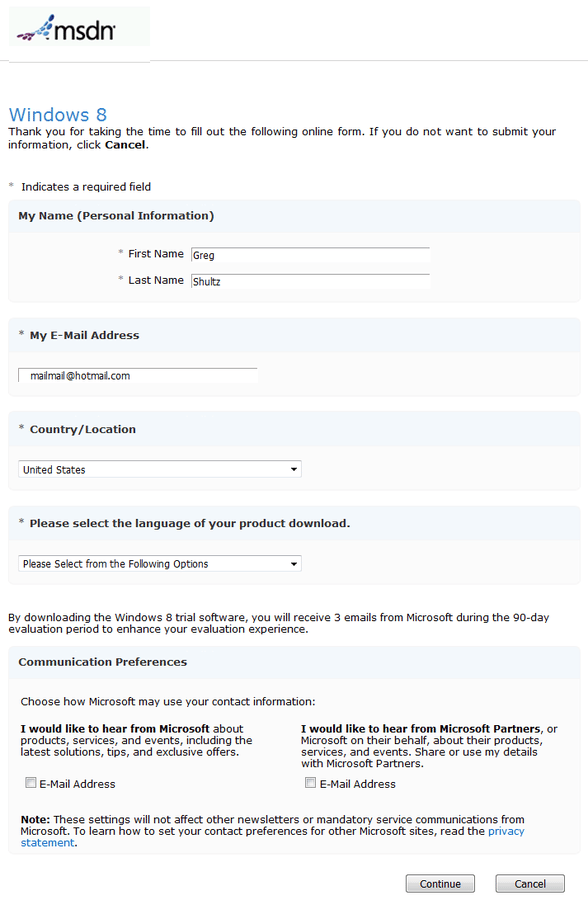
\n\tOnce you sign in, you’ll see the MSDN registration page and will need to verify your name and email address as well as select your language, as shown. If you wish, you can elect to receive more information from Microsoft or its partners.
\n
\n\tImages by Greg Shultz for TechRepublic
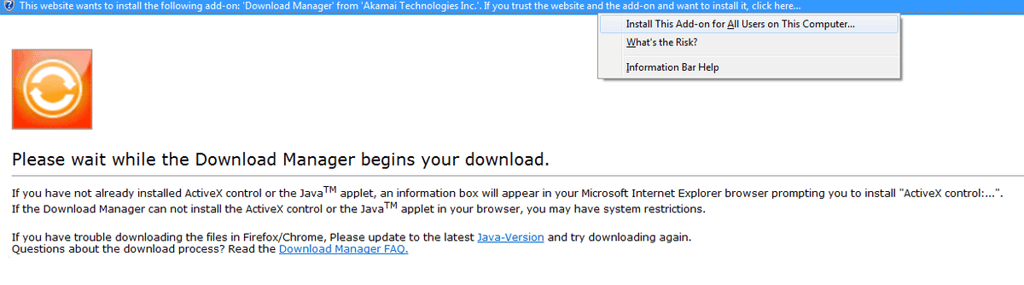
\n\tUpon clicking continue, you’ll be prompted to wait while Download Manager begins your download. Since it is unlikely that you have Download Manager installed, you’ll be prompted to install it. Once you click the Install The Add-on, be patient as it will take a few moments before you will see anything transpire.
\n\t
\n\tImages by Greg Shultz for TechRepublic
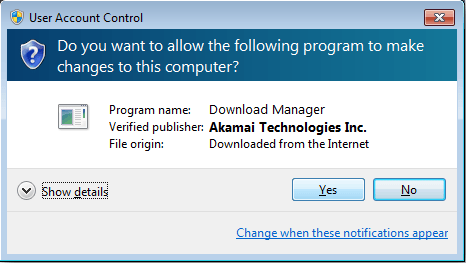
\n\tYou’ll then see a User Account Control window, like the one shown. To continue, click Yes and wait for the Download Manager to install. Again, be patient as it will take a few moments before you will see anything transpire.
\n\t
\n\tImages by Greg Shultz for TechRepublic
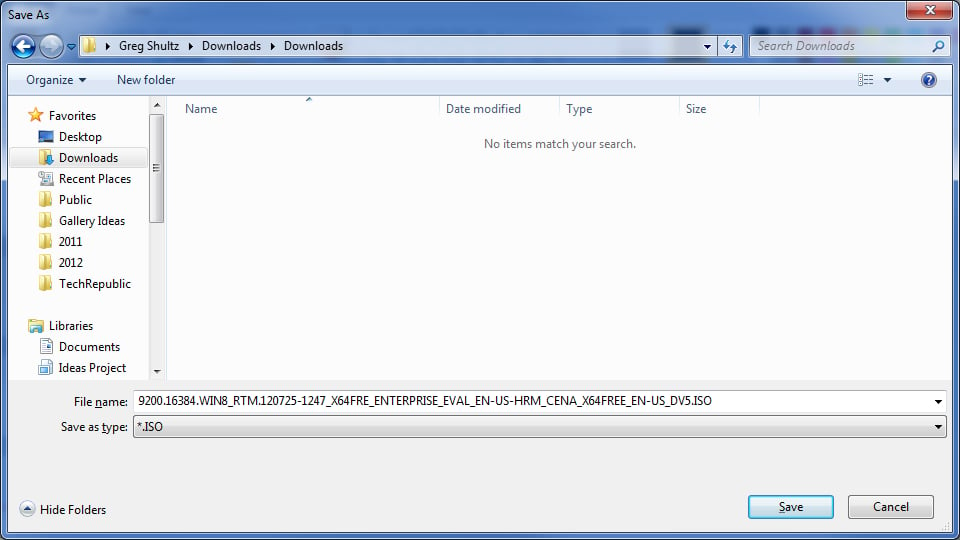
\n\tAs soon as the Download Manager is installed, it will begin the process and the first thing that it will do is prompt you for a location save the ISO file as shown in Figure F. Once you choose a location, just click Save.
\n\t
\n\tImages by Greg Shultz for TechRepublic
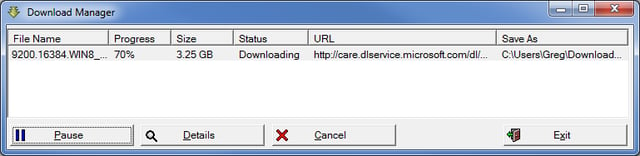
\n\tAs soon as you click Save, you’ll see the Download Manager window and the actual download of the ISO file will begin. Keep in mind that the download can take quite a bit of time to complete. For example, I chose to download the 64-bit version which is a 3.25GB file and it took a little over four hours to download. This screenshot shows the download at 70% – about three hours into the download.
\n\t
\n\tImages by Greg Shultz for TechRepublic
\n\tWhen the download was complete, Download Manager simply showed the Progress at 100% and the Status as Finished. Oddly, there was no pop up message box or beep to announce that the operation was complete.
\n
\n
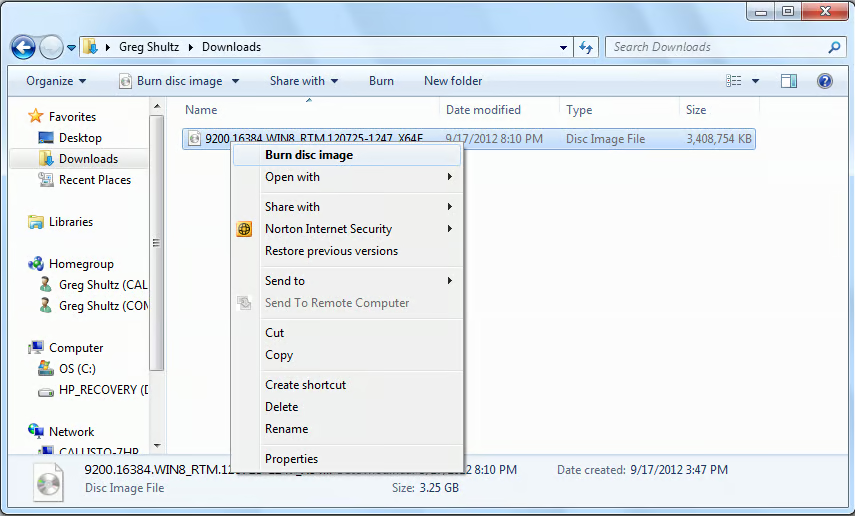
\n\tBurning the ISO to DVD in Windows 7 is an easy procedure with the built-in Windows Disc Image Burner. Just right-click on the ISO file and select the Burn disc image command from the context menu.
\n\t
\n\tImages by Greg Shultz for TechRepublic
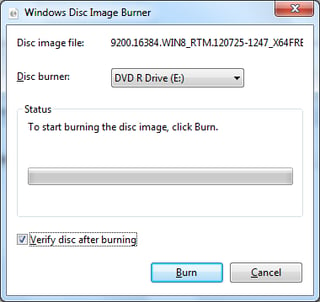
\n\tWhen you see the Windows Disc Image Burner window, insert a DVD disc, and select the Verify disc after burning check box. Then click the Burn button. The burn operation too will take a few minutes to complete.
\n\t
\n\tImages by Greg Shultz for TechRepublic
\n
\n\tOnce the DVD is ready, you can install the Windows 8 Enterprise evaluation. For the best possible experience while you use the evaluation and for ease of disposal once the 90 days are up, I recommend that you install Windows 8 Enterprise to a VHD and use it in a dual-boot configuration as I showed you in the article titled Dual-boot Windows 7 and Windows 8 using a VHD.
\n
\n\tFor my example installation, I used the Native VHD Boot feature in Windows 7 Home Premium system. I created VHD and then installed Windows 8 Enterprise evaluation onto the VHD. As soon as the installation was complete, I had a dual-boot system on which I can now experiment with Windows 8 Enterprise.
\n
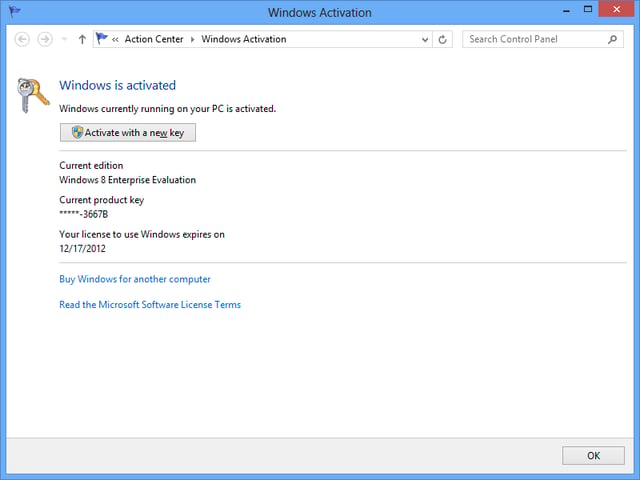
\n\tWhile the instructions on the MSDN Evaluation Center mention that you are required to activate the product within 10 days after installing, I discovered that my copy was already activated when I accessed the Windows Activation page in the Action Center.
\n\t
\n\tImages by Greg Shultz for TechRepublic

My first computer was a Kaypro 16 \"luggable\" running MS-DOS 2.11 which I obtained while studying computer science in 1986. After two years, I discovered that I had a knack for writing documentation and shifted my focus over to technical writing.


