\n\tThose who purchase and watch television shows, movies, and music videos through iTunes are no longer tied to their 20-inch computer monitors or 2.5-inch iPod screens. The Apple TV allows iTunes users to watch content from their iTunes library on a widescreen television.
\n\t
\n\tTo find out if this experience was really worth $299 and find out what was inside this Apple device, we purchased an Apple TV. Before cracking open the case, we gave it a test run.\n
\n\n
\n\n
\n\t
\n\tBy Bill Detwiler

I ordered this Apple TV on January 19, 2007 along with a set of HDMI cables. After a month-long delay, Apple shipped the unit on March 20, and it finally reached us two days later.
The HDMI cables were shipped separately. There’s nothing in this box, but the Apple TV.
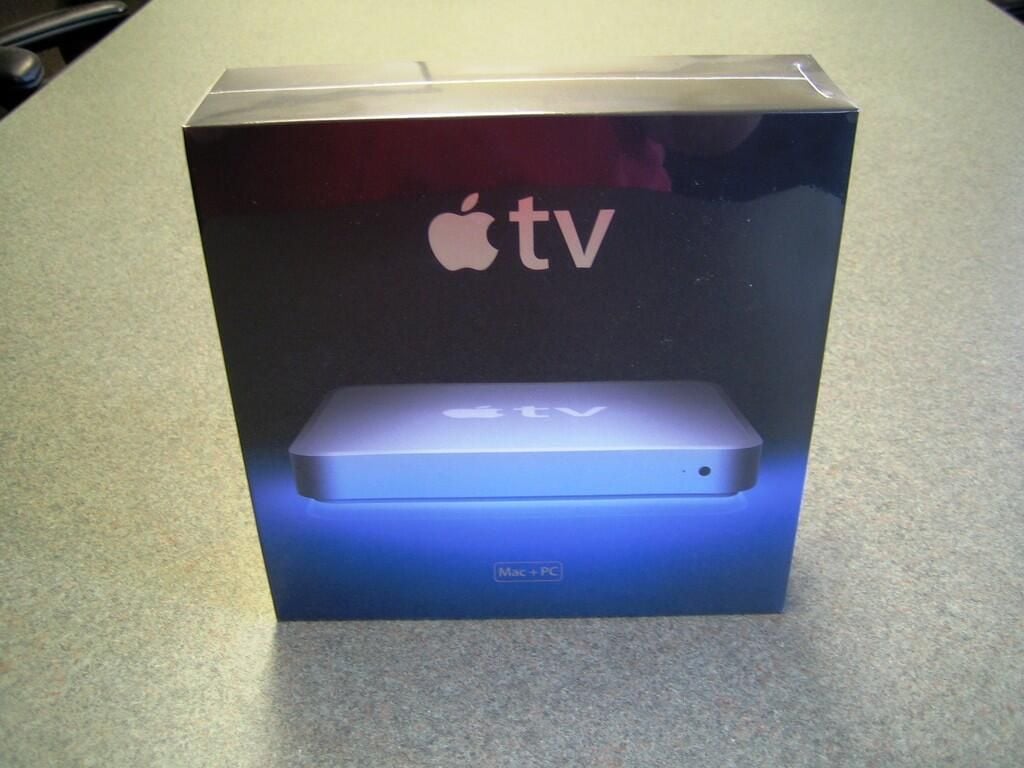
Still wrapped in plastic
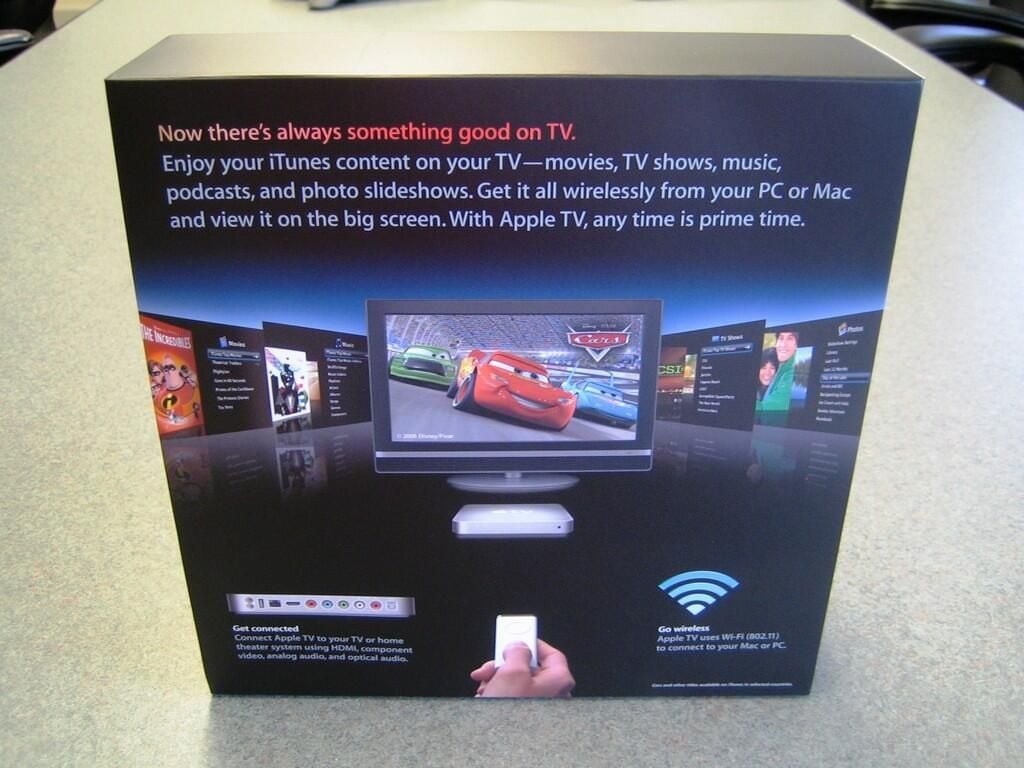
The back of the box showcased some of the iTunes content I’ll soon be watching on our widescreen TV.
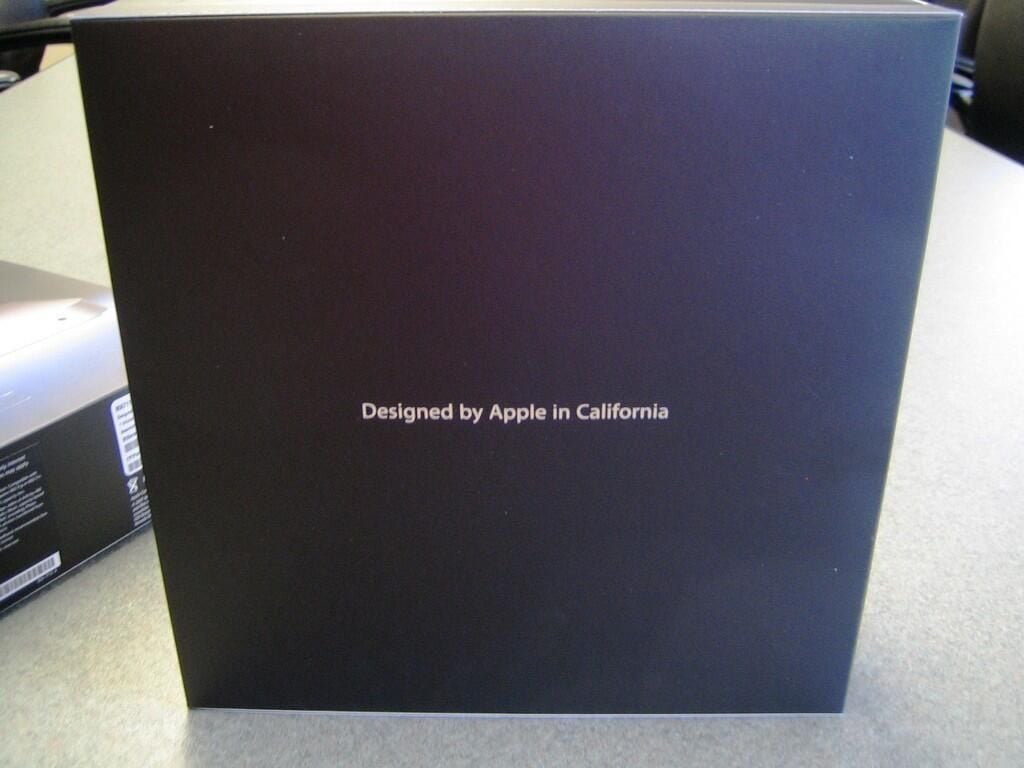
I’m not sure where the Apple TV was assembled, but Apple wants everyone to know that it was “designed” in California.

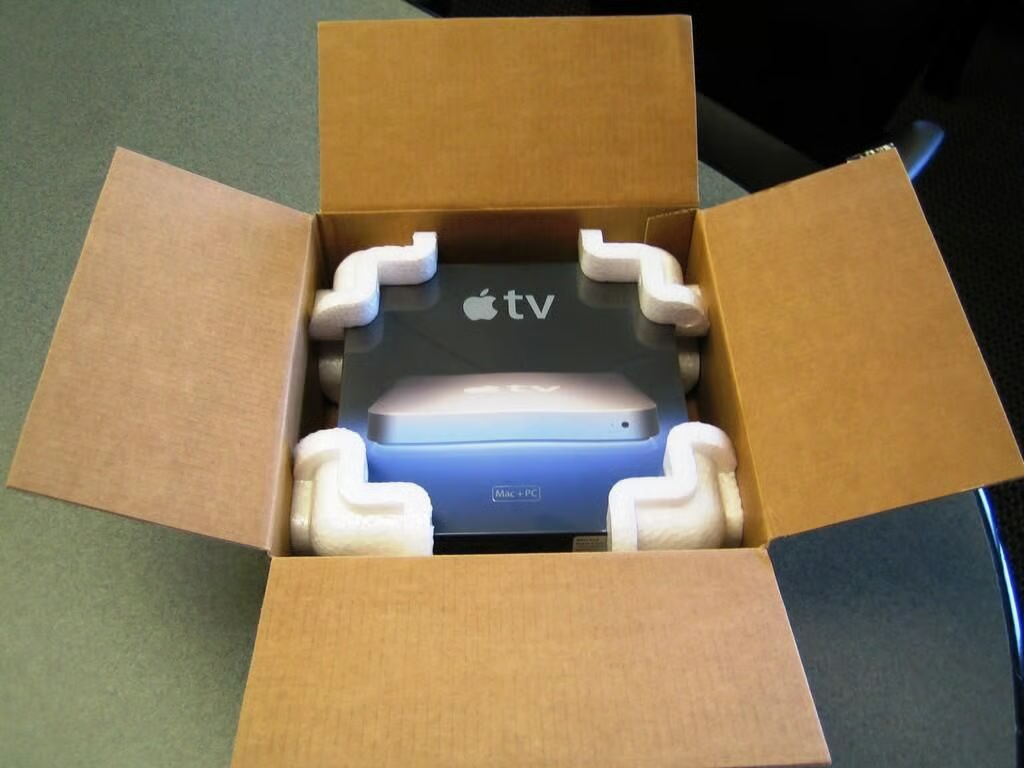
Opening the clamshell box revealed the Apple TV and the Apple Remote. The box firmly holds each device in molded Styrofoam.
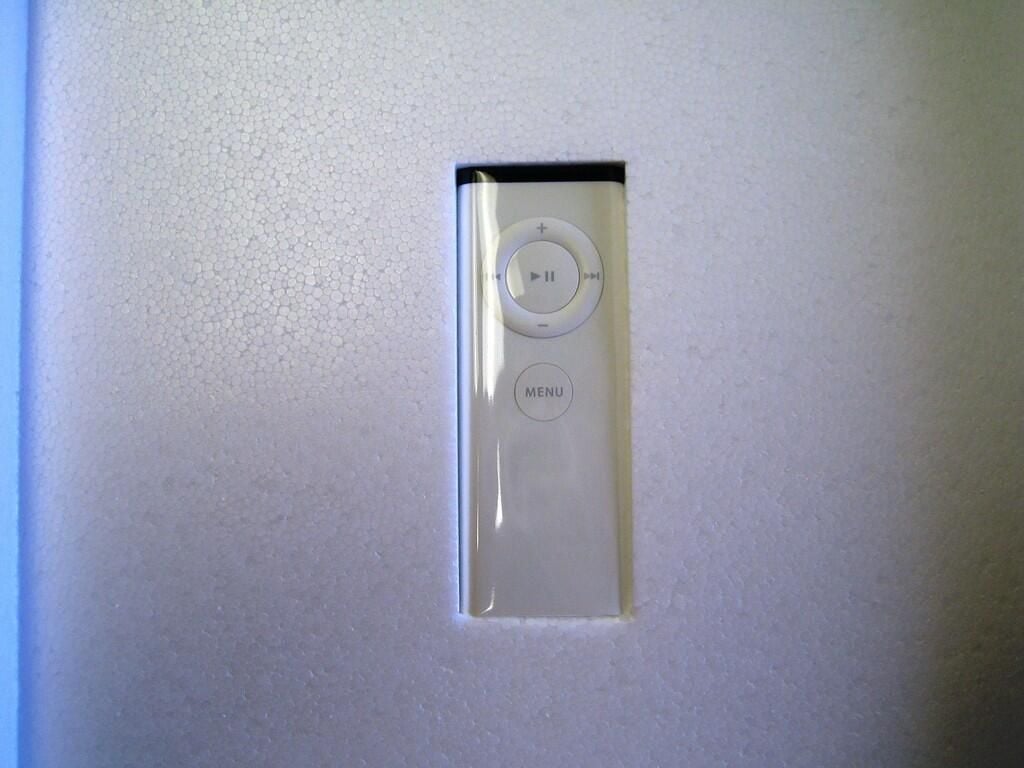
The included Apple Remote appears to be identical to the remotes Apple ships with other devices, such as the iMac.
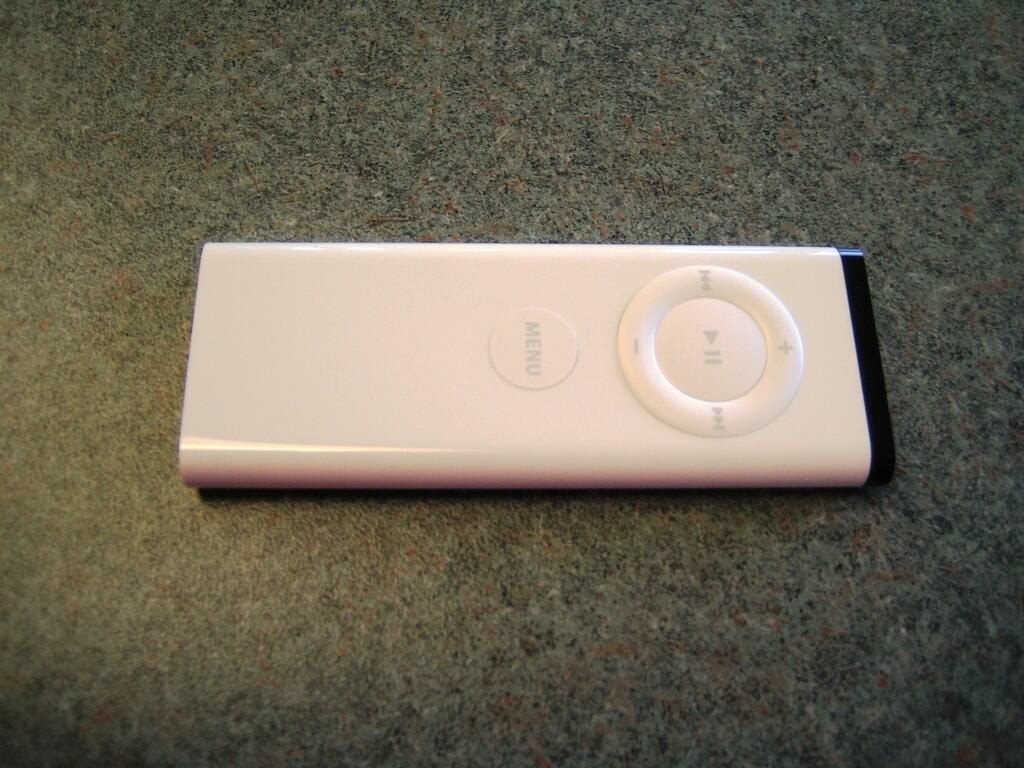
The Apple Remote uses the same circular button configuration as the iPod shuffle.
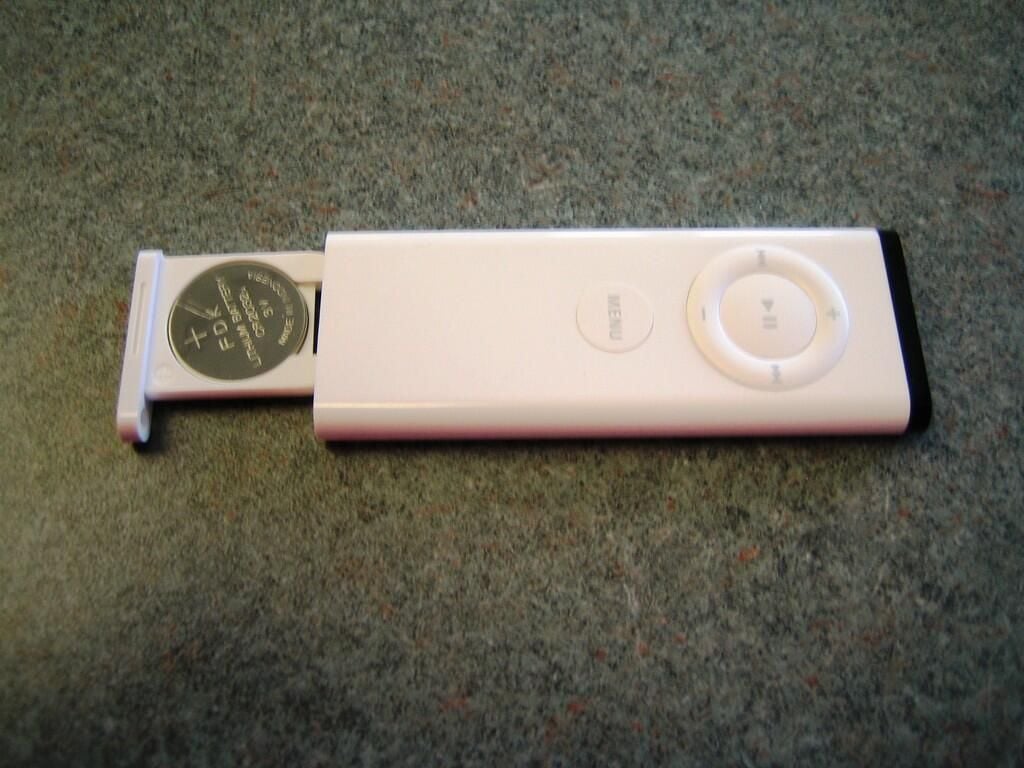
The Apple Remote uses a CR 2032 lithium battery.
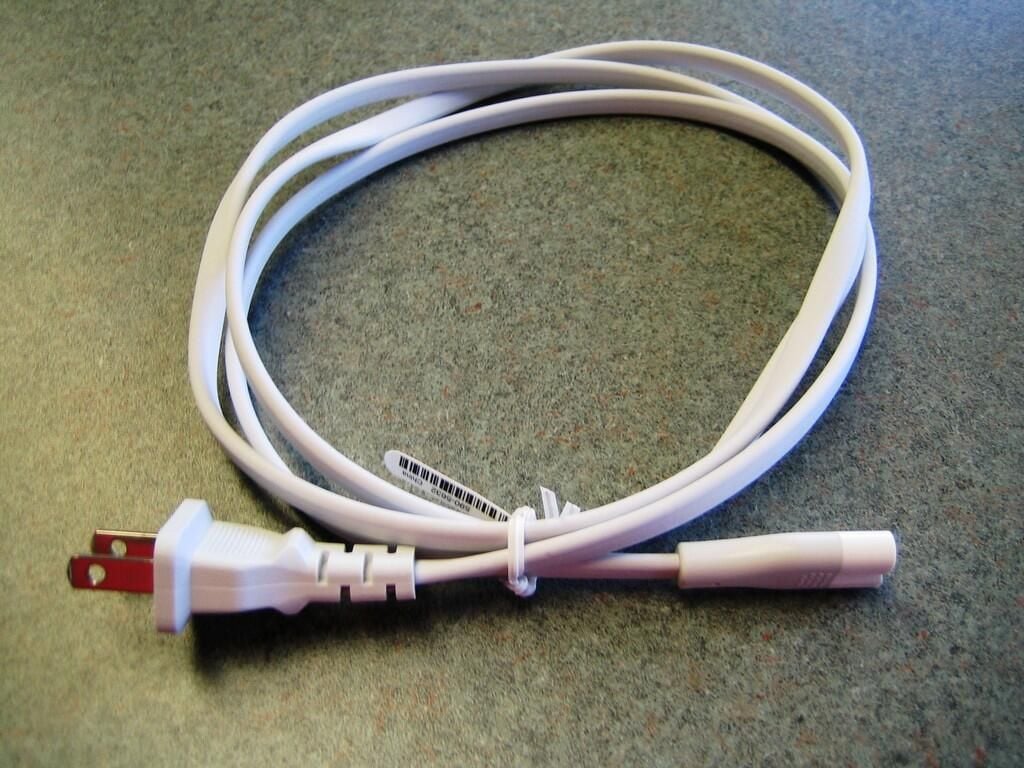
The only cord provided with the Apple TV, this cable connects to the internal 48-watt universal power supply.
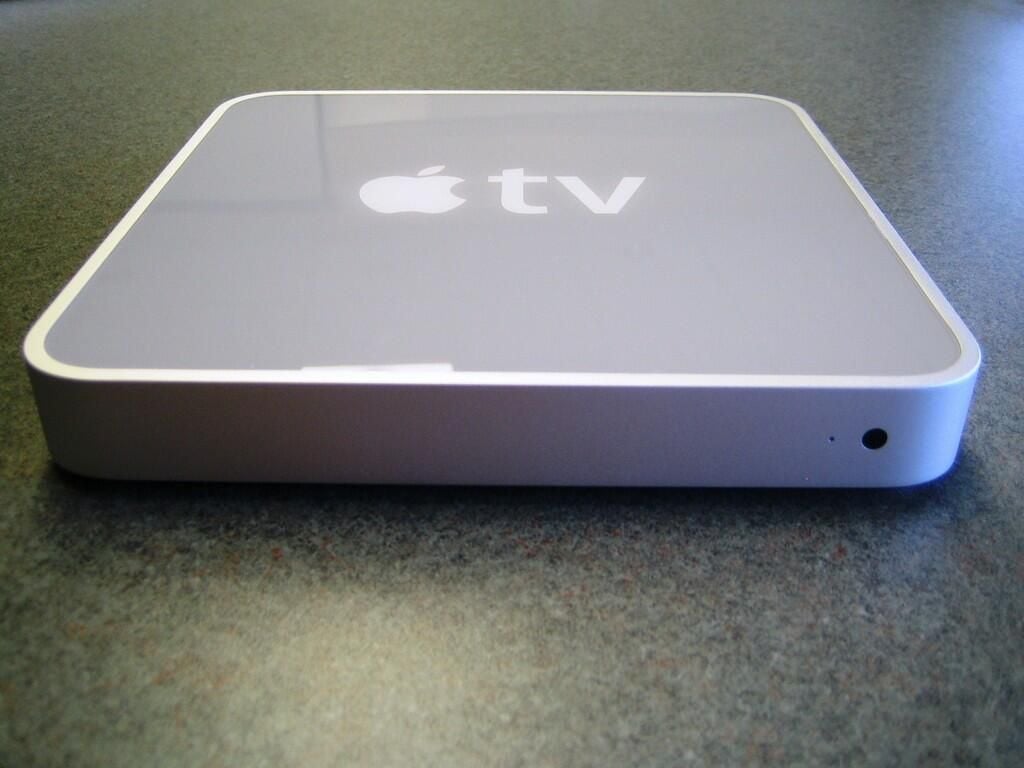
On the front panel, you’ll find the built-in IR receiver (for the included Apple Remote) and a small status light.
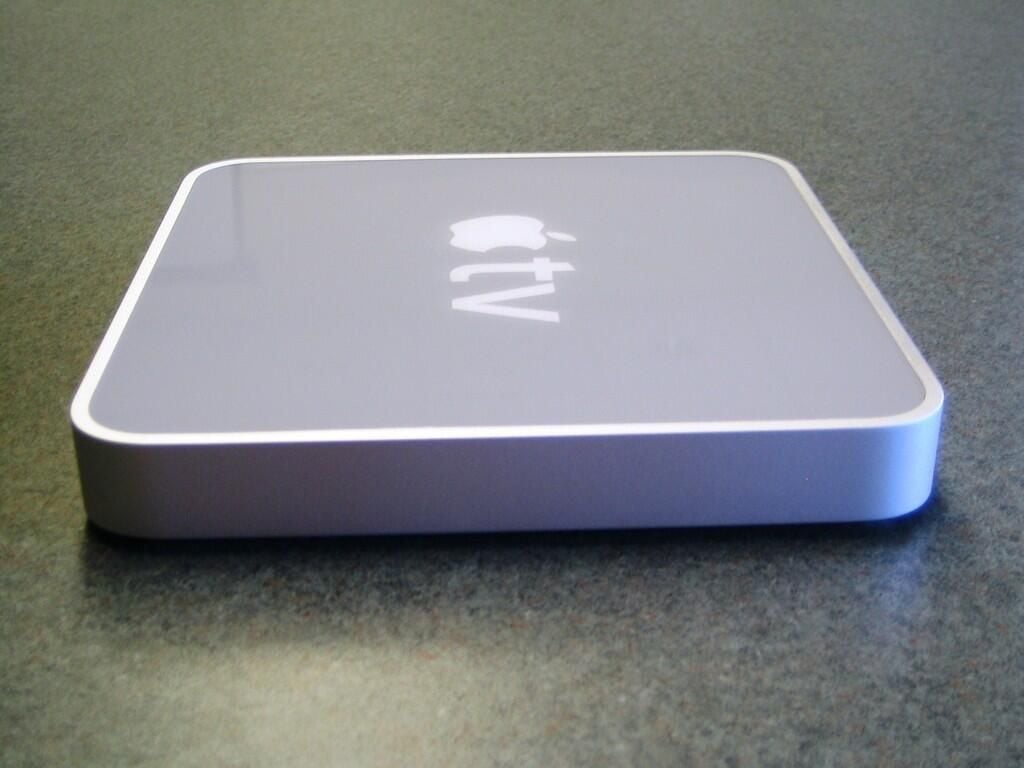
Except for a series of vent holes (not visible here), there is nothing on the unit’s left side.
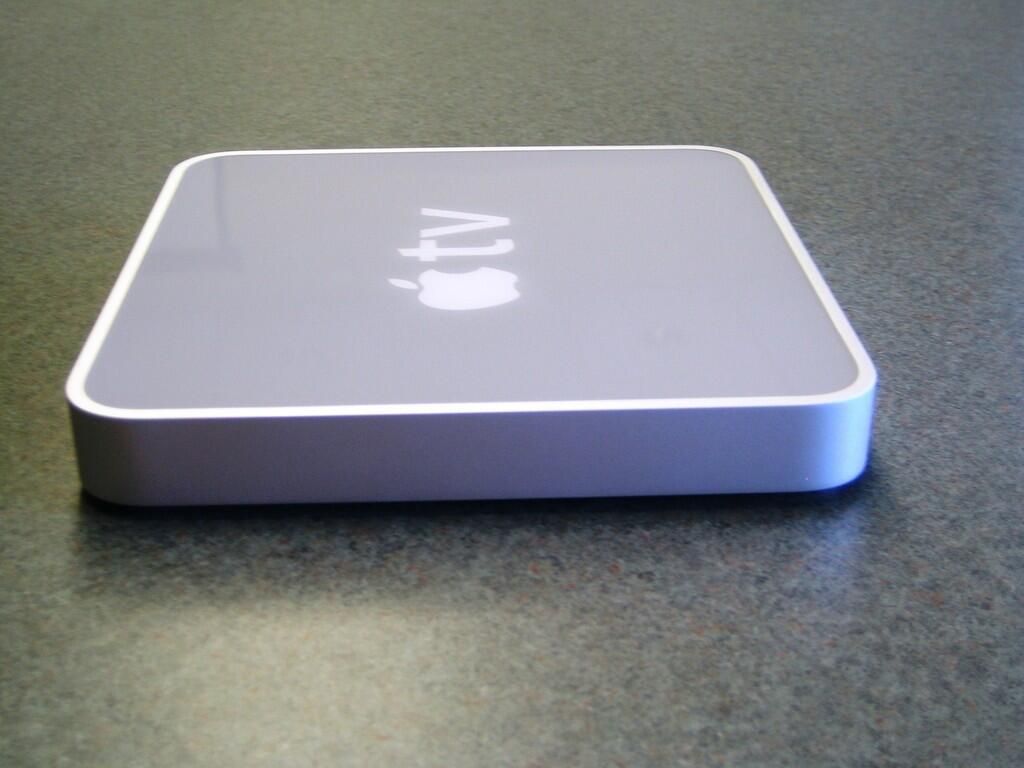
The unit’s right side is the same as the left.
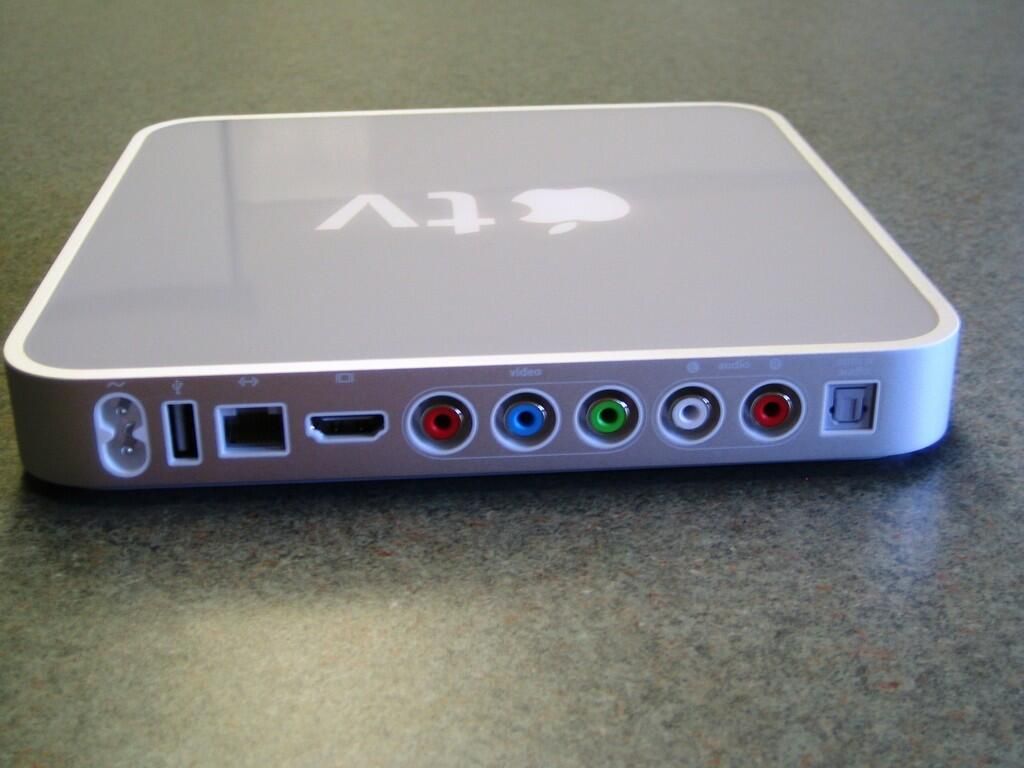
Most of the exterior action happens on the Apple TV’s rear panel. Here you’ll find the devices many ports. Moving from left to right, here you’ll find the power cord adapter, USB 2.0 port, 10/100BASE-T Ethernet jack, HDMI outlet, Component video ports, analog RCA stereo audio jacks, and optical audio port (shown with cover).
The USB port is currently disabled for anything other than diagnosis or servicing the unit. People have reported that you can boot from a USB drive during start up, but I have yet to try this. I’ll give you a full break down on the process as soon as I give it a go.
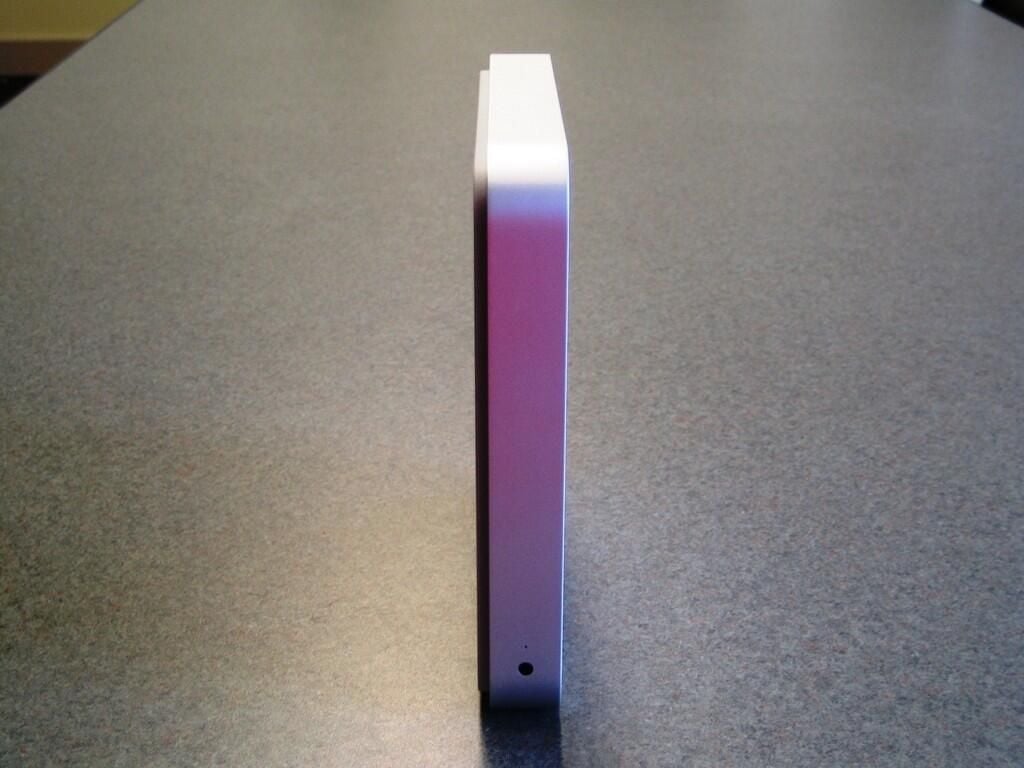
Positioned on its side, the Apple TV is very likely to fall over. I do not recommend using the unit in this position.
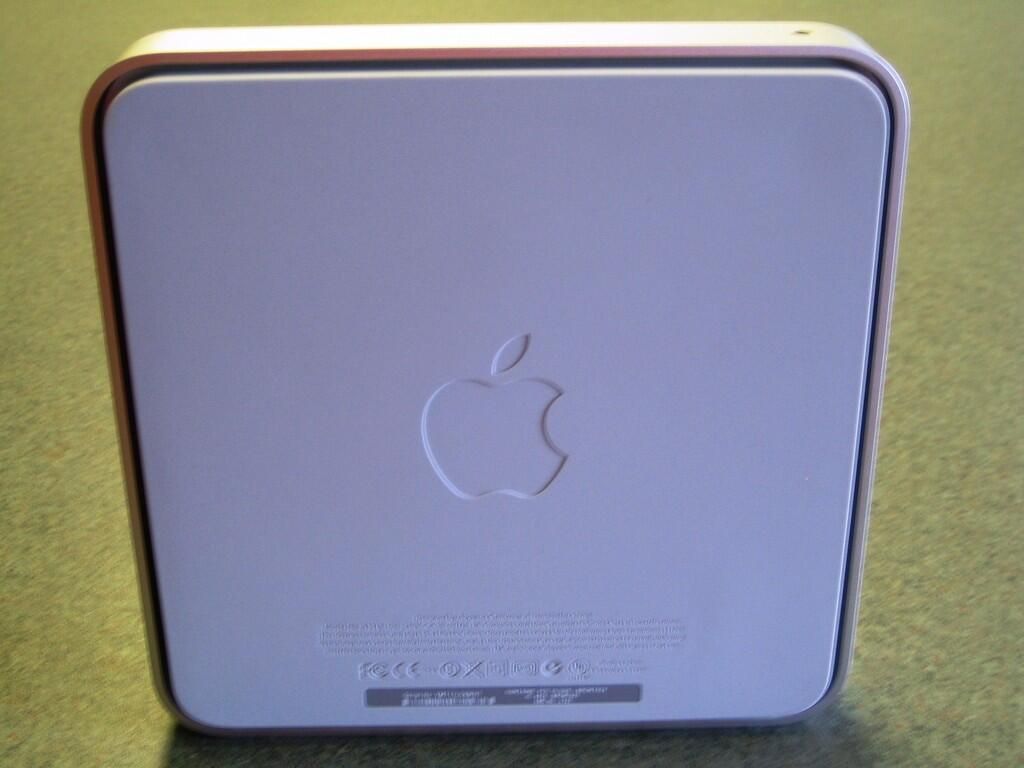
The Apple TV’s underside is almost completely covered by a gray, rubber pad.
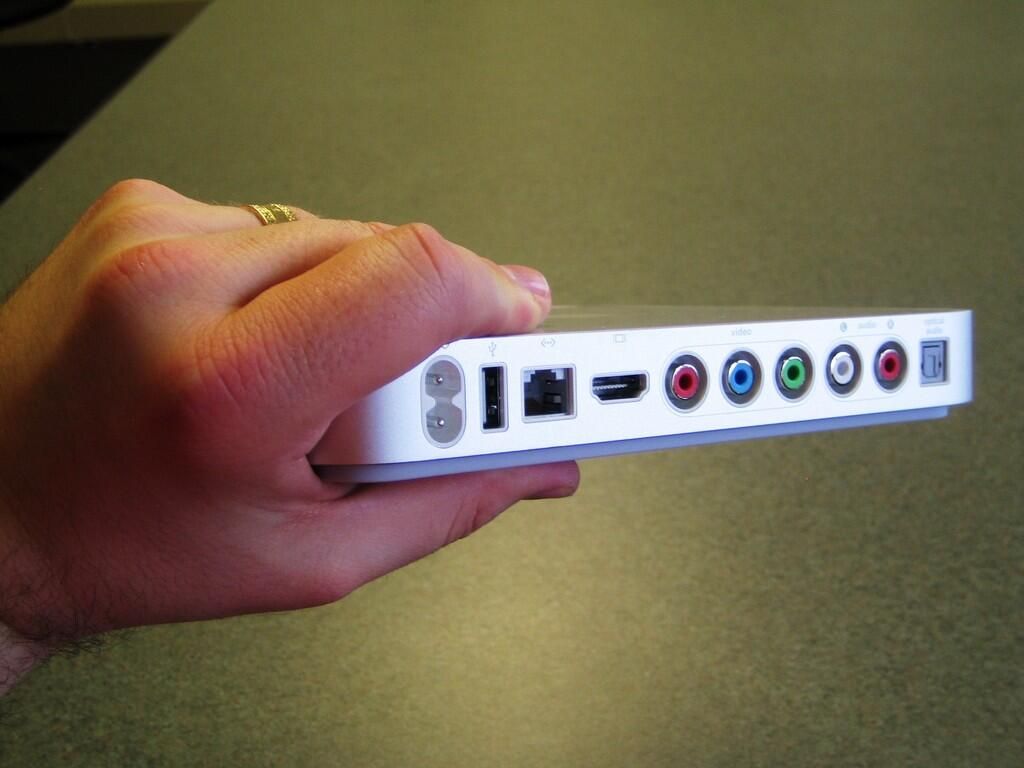
Here I am holding the extremely thin Apple TV.

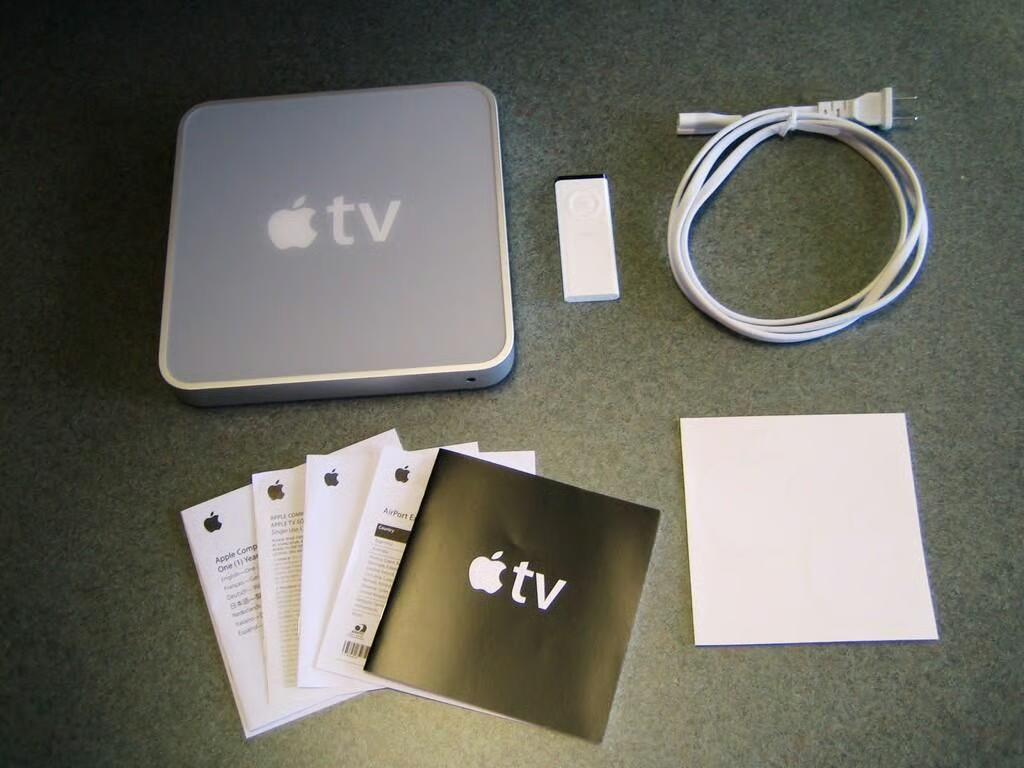
The Apple TV comes with only the Apple Remote, power cord, and documentation. You’ll need to supply the A/V, USB, and network cables. We purchased this XtremeMac HDMI to HDMI cable from Apple’s online store for $19.95 plus tax.
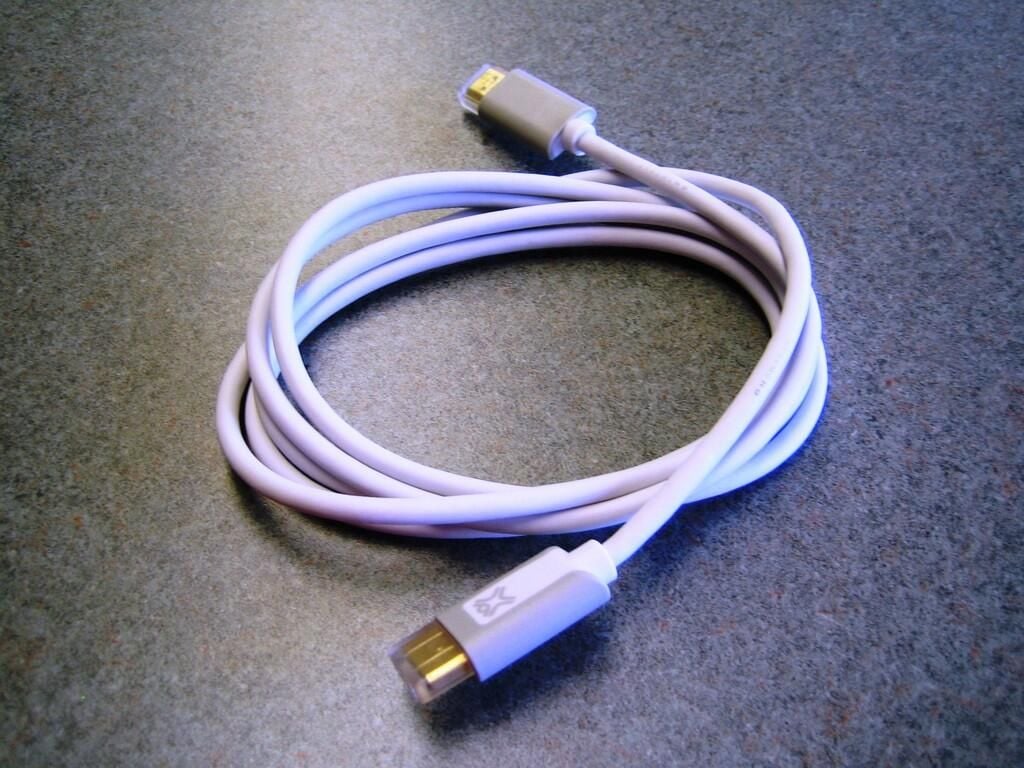
This HDMI cables has 24k gold-plated connectors and is 2.0 meters (6.56 feet) long.
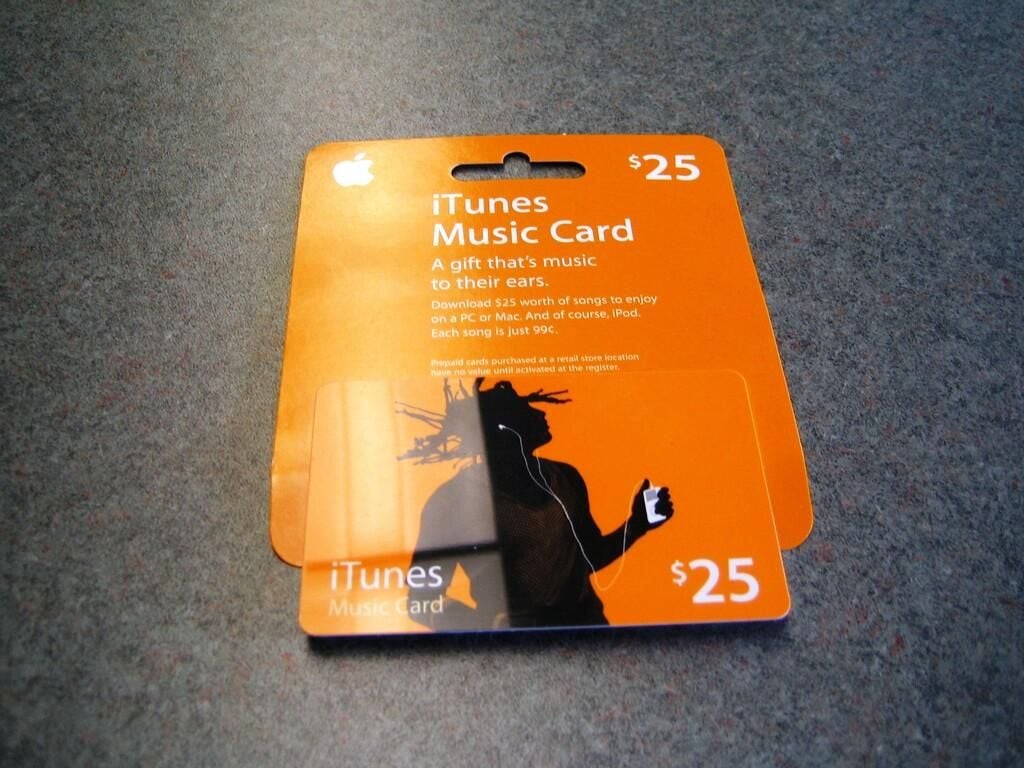
Once you pay $299 plus tax for the Apple TV, you still need to pay for the movies, music, and television shows you want to play–unless you already have them in your iTunes library. I purchased a $25 iTunes gift card to buy a few new television shows and movies.
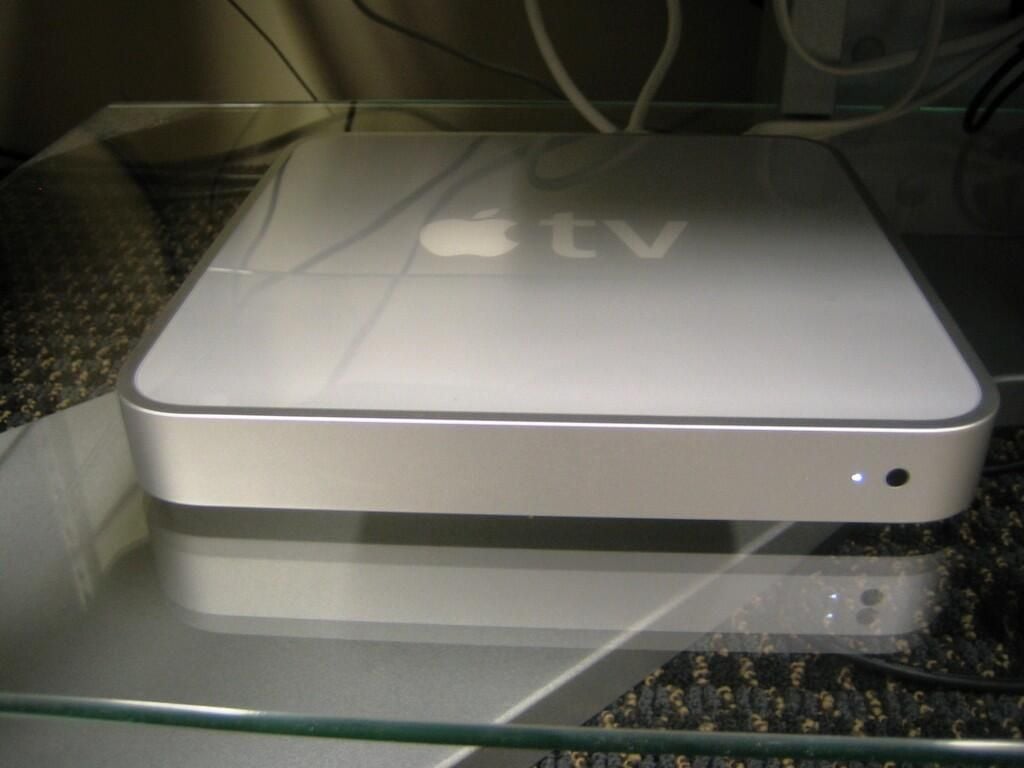
The small status light provides the only indication the unit is powered on.
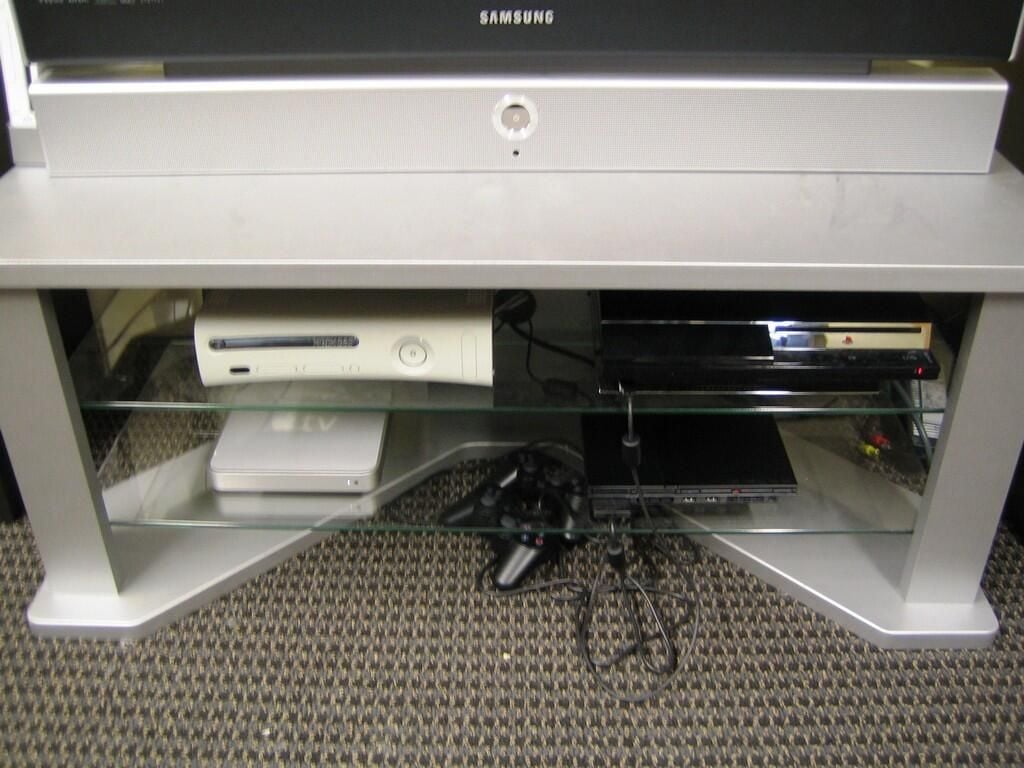
The Apple TV is significantly thinner than the Xbox 360 and PlayStation 3.
You can see me cracking open these and other hardware here.
Using the XtremeMac HDMI to HDMI cable, I connected the Apple TV to our Samsung HL-R4266W 42″ Widescreen DLP TV. This HDTV supports 480i,480p,720p, and 1080i resolutions.
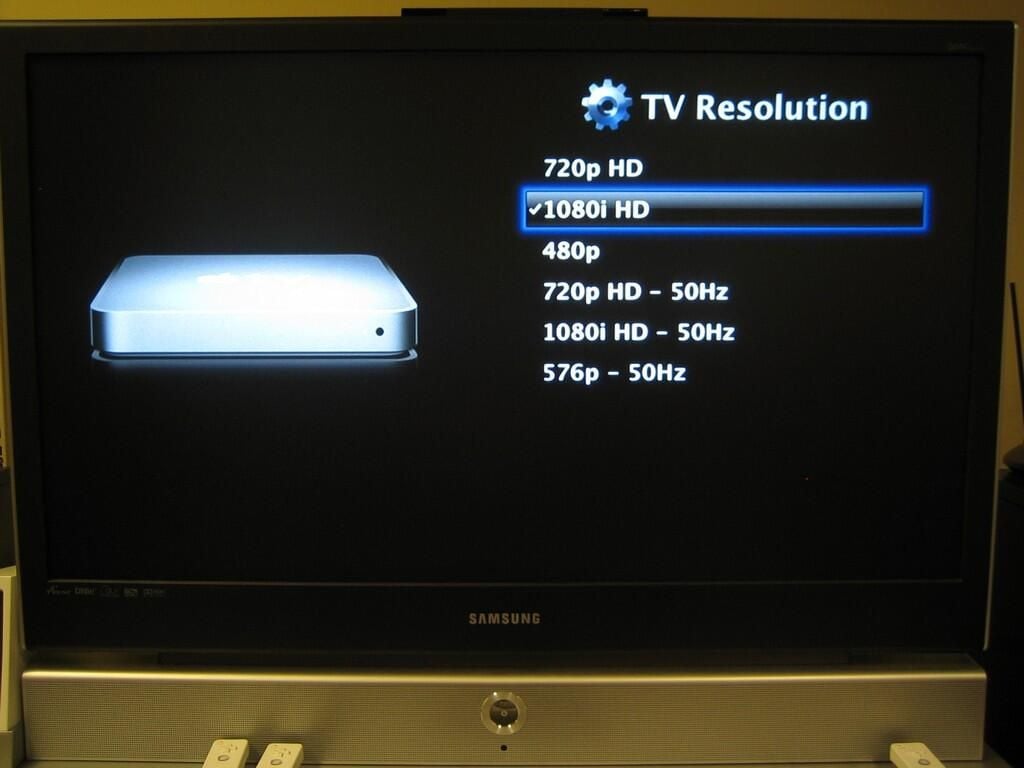
Next, you’ll choose an appropriate resolution. I tested the Apple TV at 480p, 1080i, and 720p. Overall, we were disappointed with the picture quality of the movie and television show we downloaded from iTunes–keep reading for a full account. However, the Apple TV’s interface and the content we tested looked best at 1080i.

If not connected to an Ethernet cable, the Apple TV automatically scans for wireless networks. The Apple TV support 802.11n wireless networking, which is backward-compatible with 802.11a/b/g. The unit can connect to WPA2 or WEP encrypted networks, but does not support WPA-Enterprise encryption.
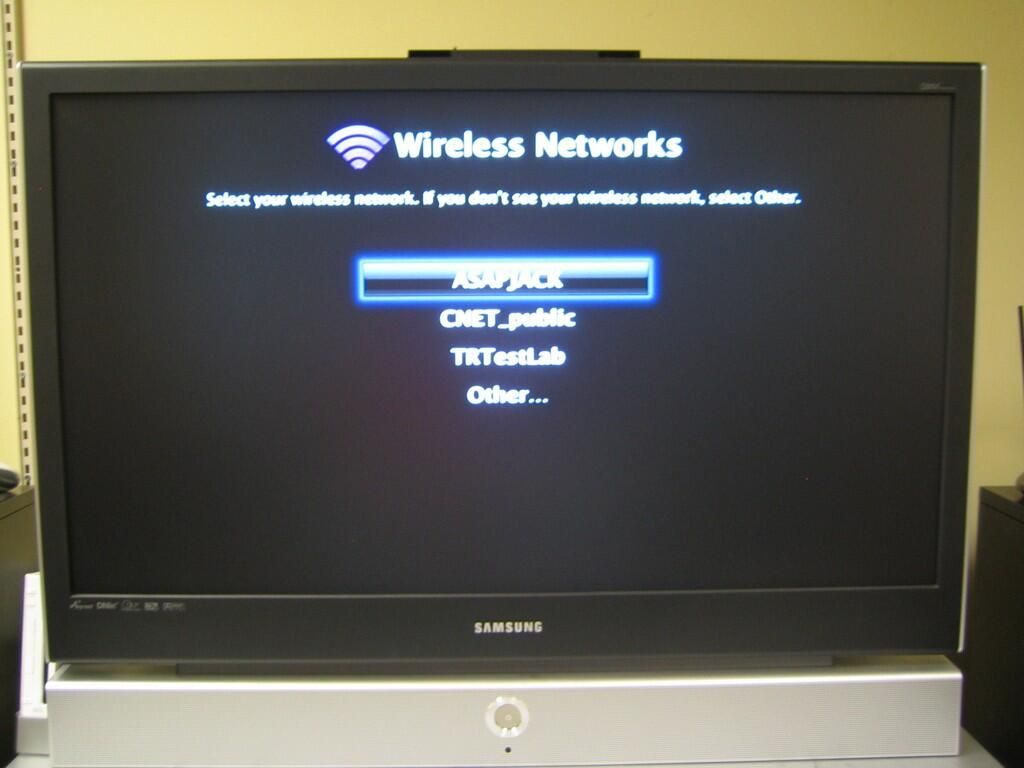
The Apple TV located three in-range wireless networks.
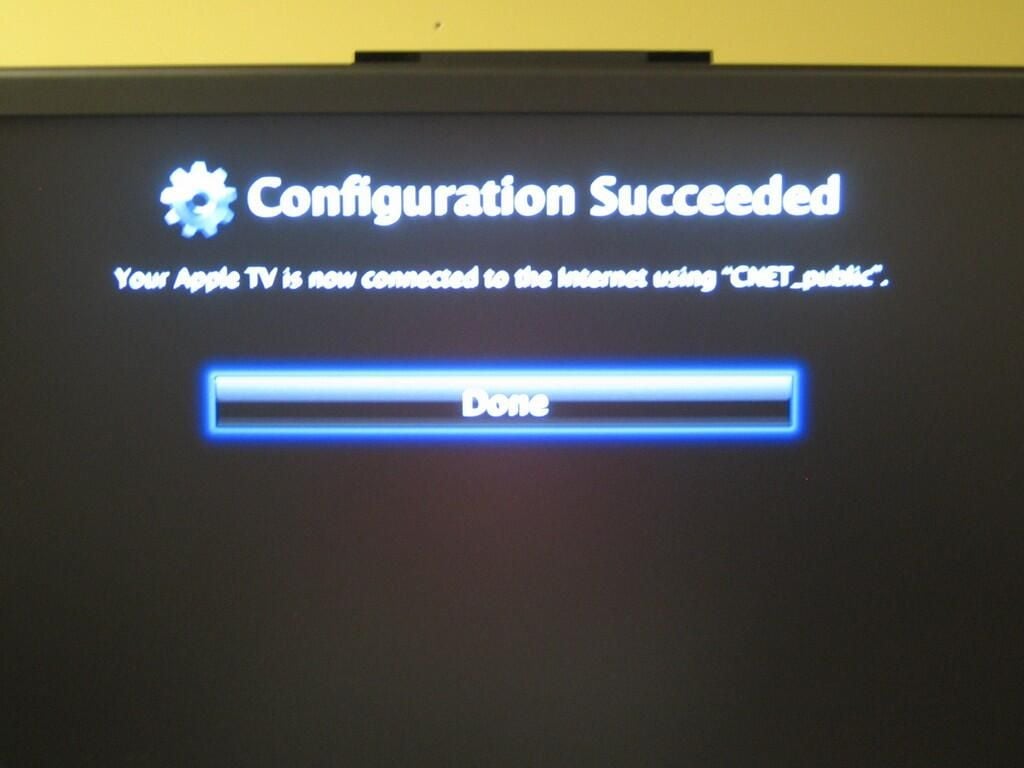
Once you select the desired network, the Apple TV will try to connect. The operating system will let you know if the connection was successful or prompt you for a password on encrypted networks.
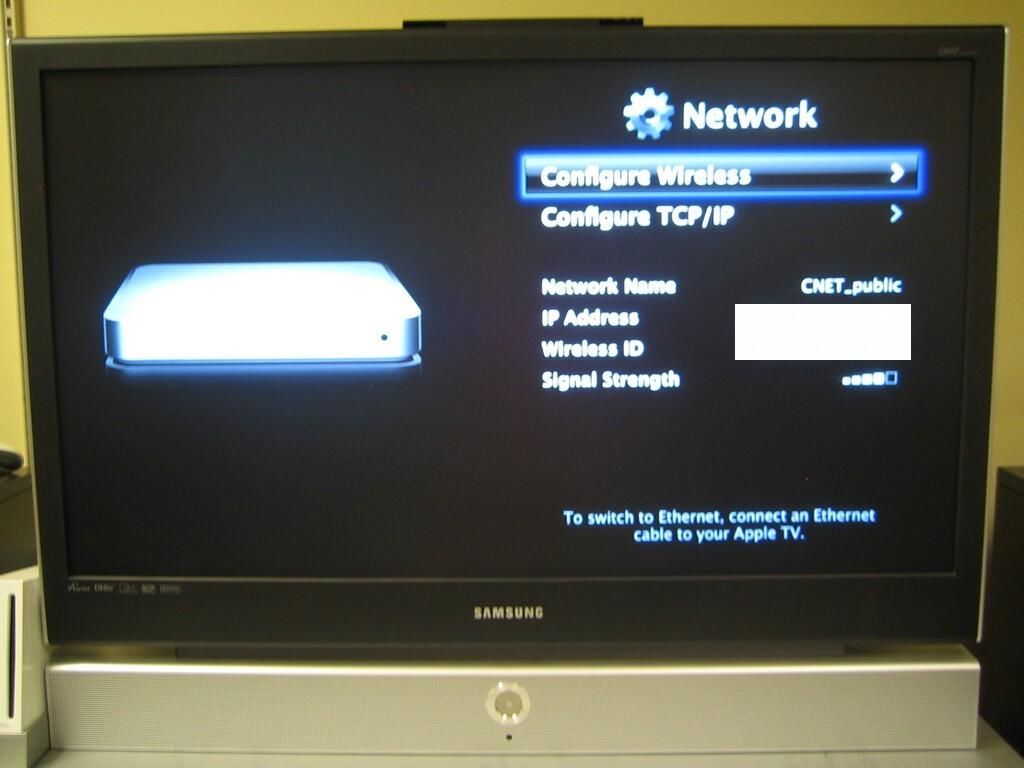
You can get information about the current network configuration, through the Network settings screen.
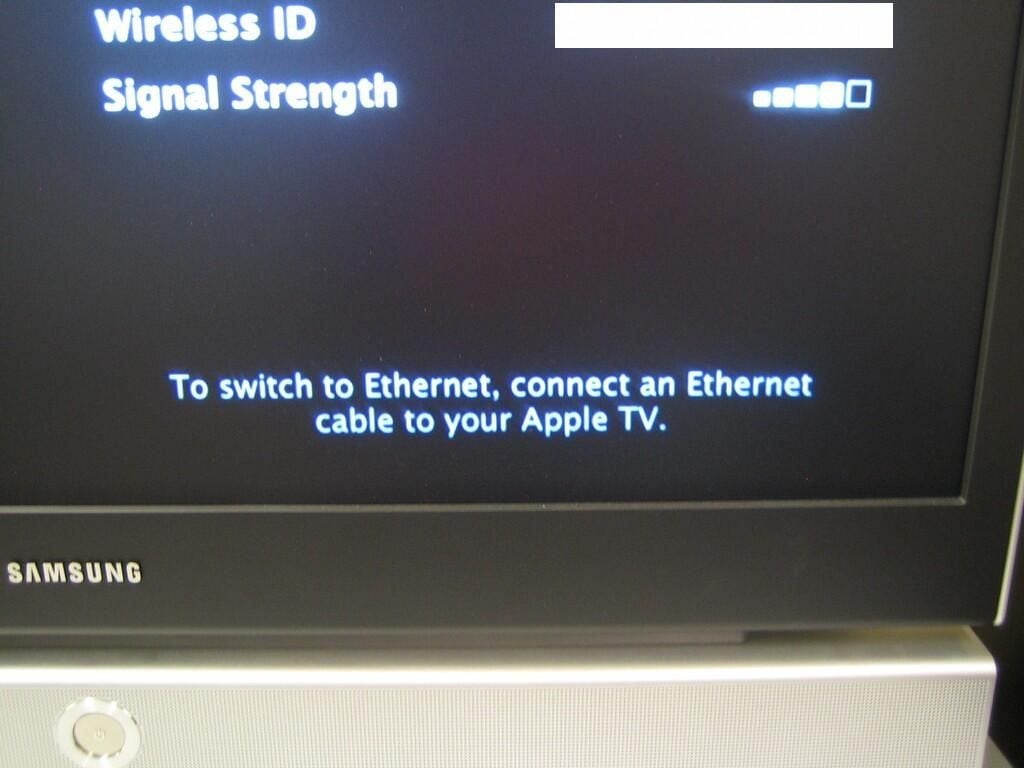
The Apple TV interface is designed for the novice network user. The operating system only displays options that match the current network connection–wireless or wired. You aren’t even given the option to configure a wired network unless an Ethernet connection is present.
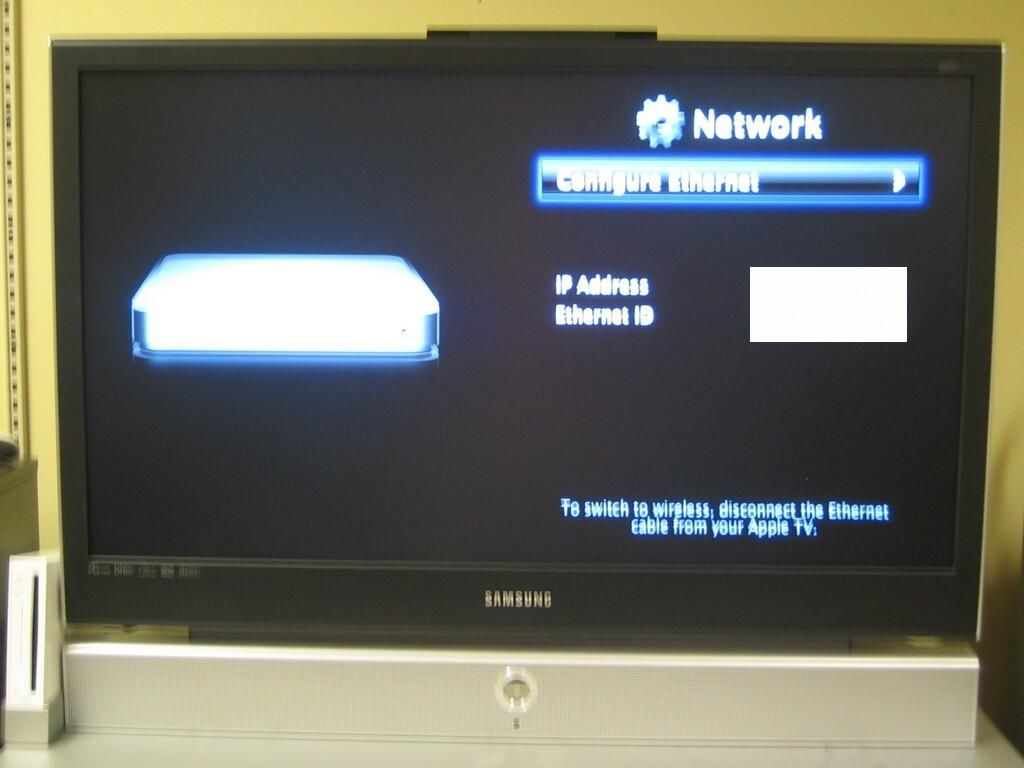
As with a wireless connection, once you connect and Ethernet cable, the operating system automatically tries to access the network.
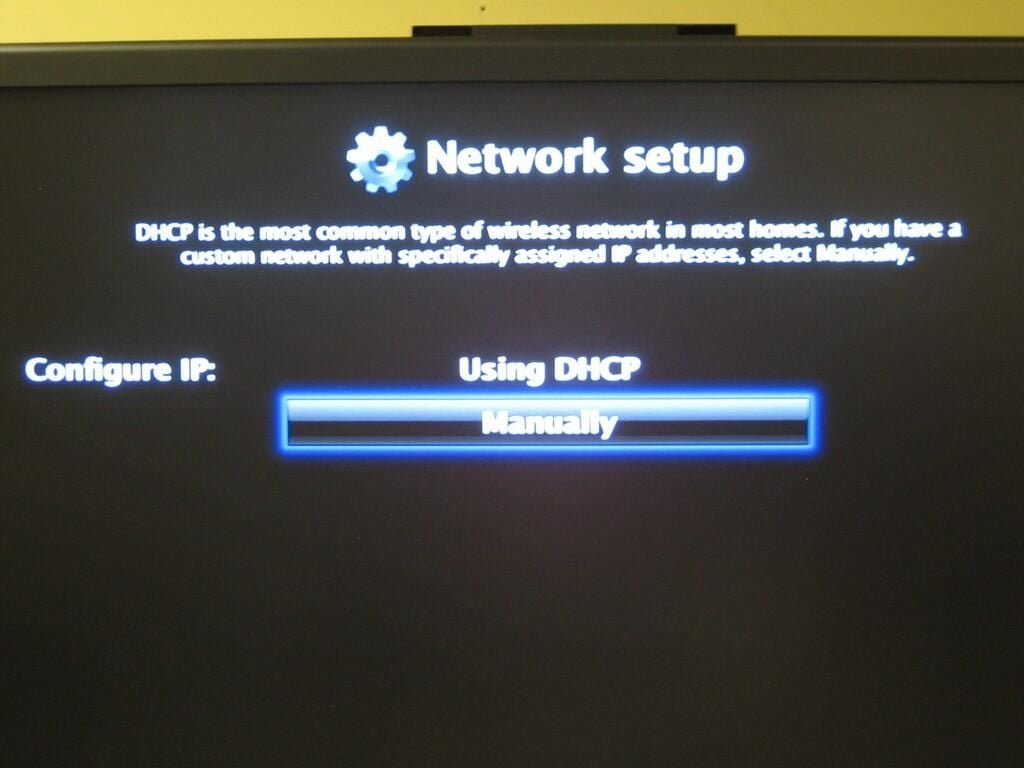
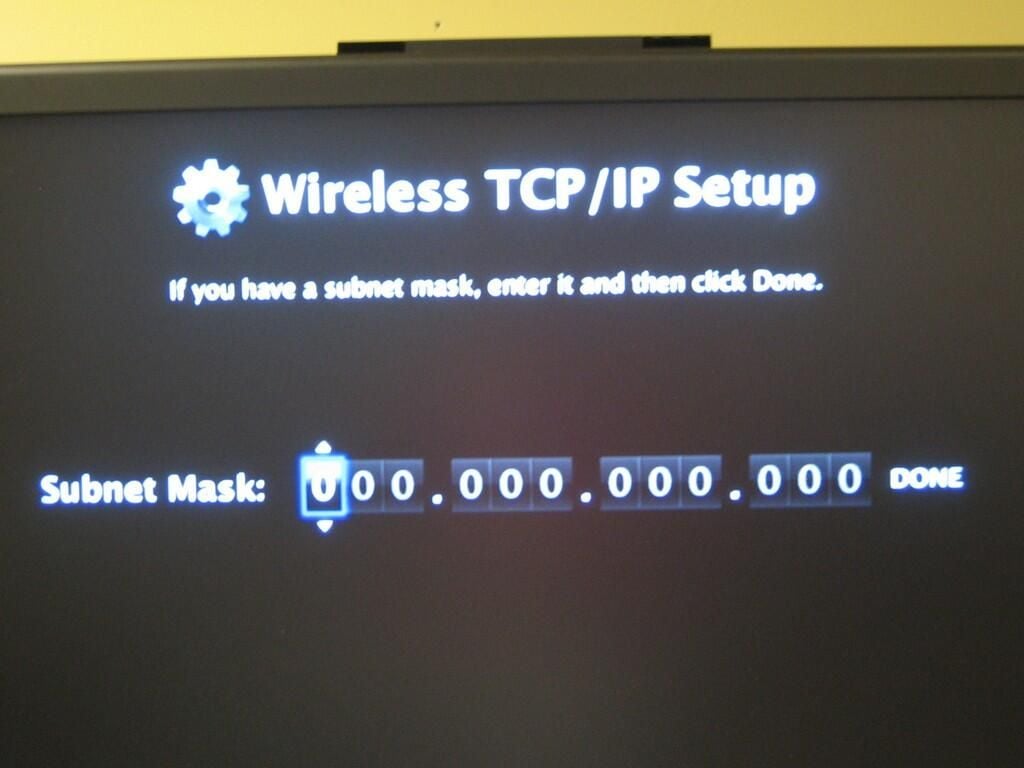
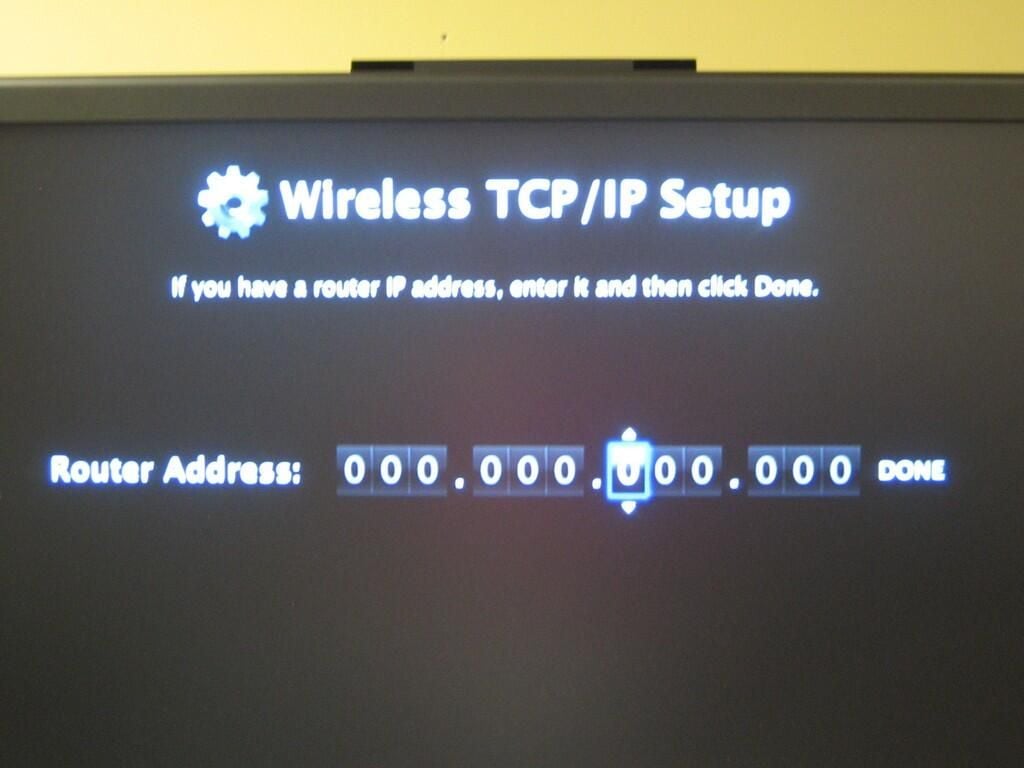
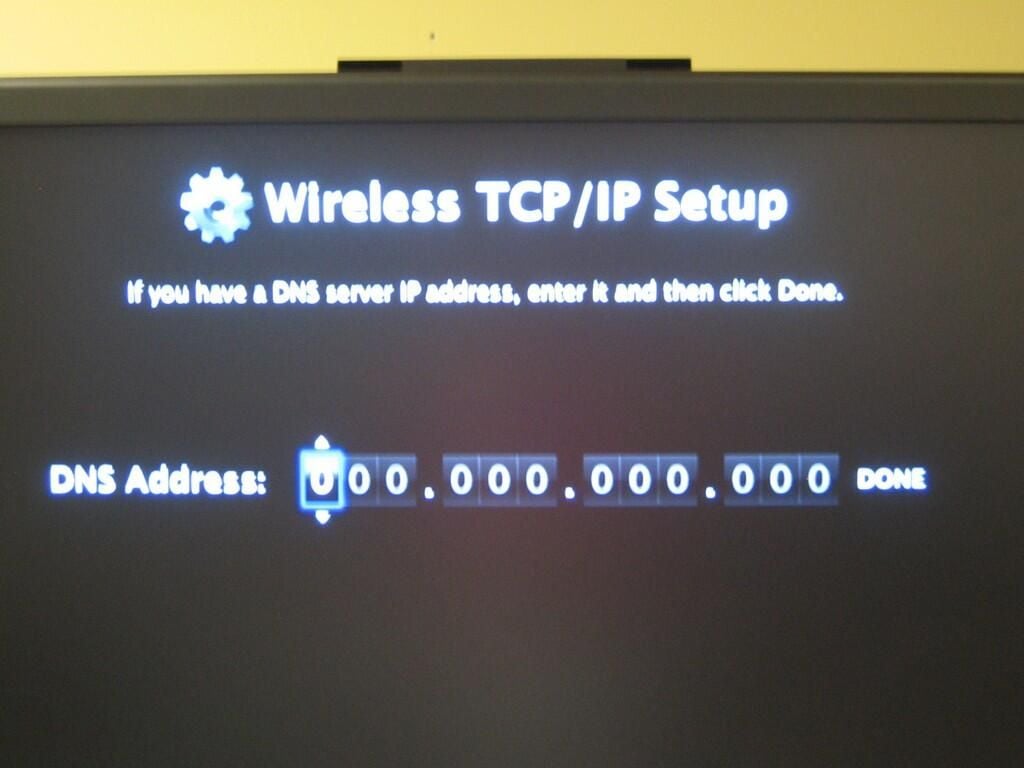
The Apple TV automatically tries to grab and IP address using DHCP. If you use static IP addresses or need to provide specific DNS and gateway information, you can manually configure the unit’s network settings.
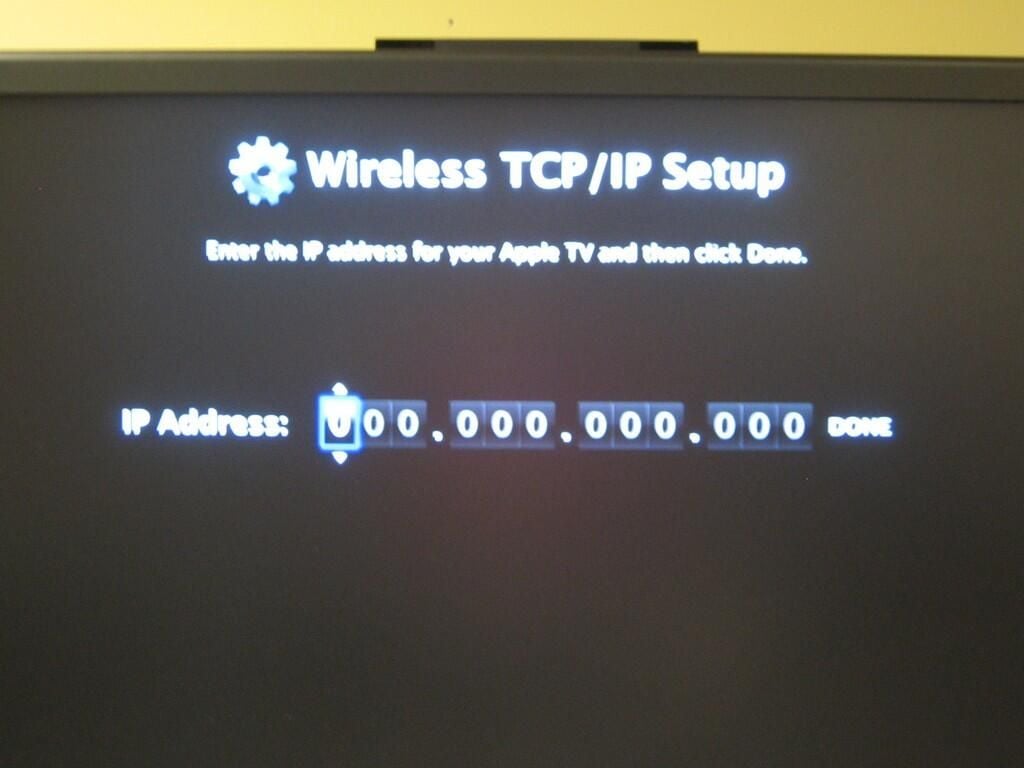
You can specify an IP address for the Apple TV.
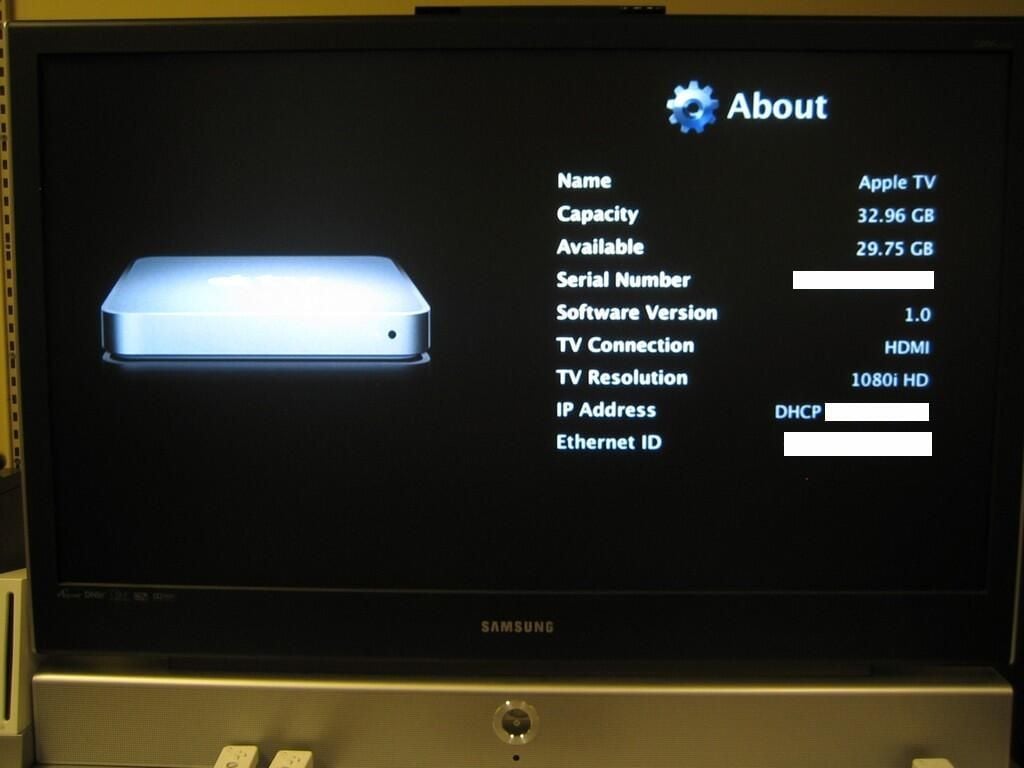
The Apple TV’s About screen provides a host of useful information.
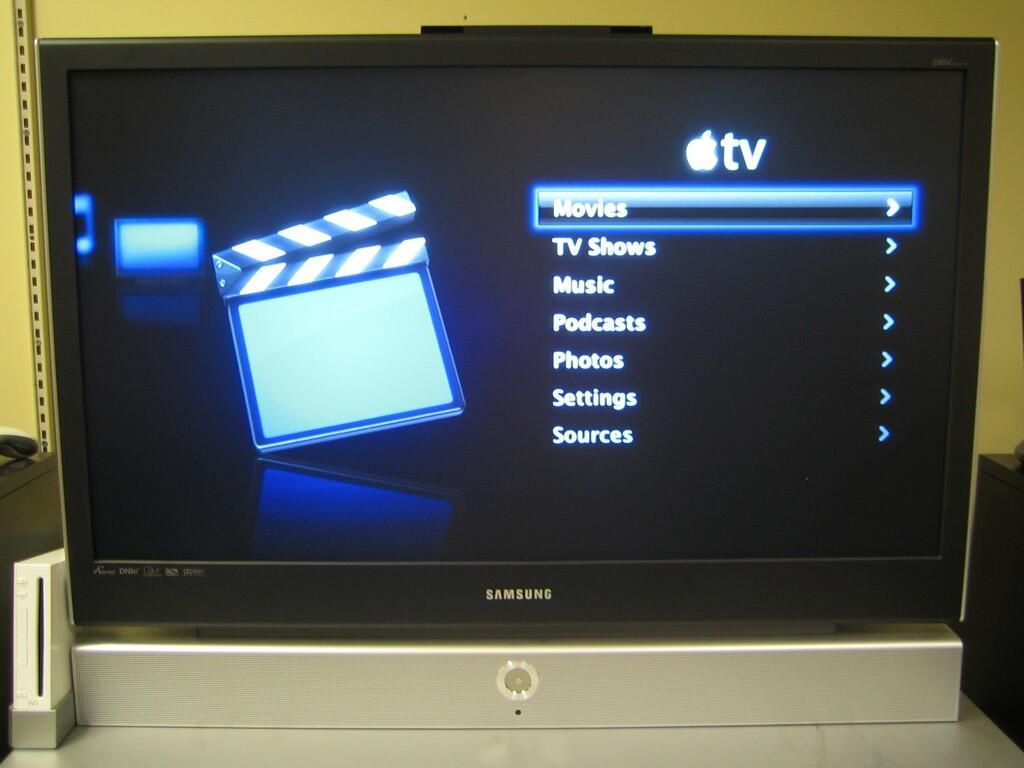
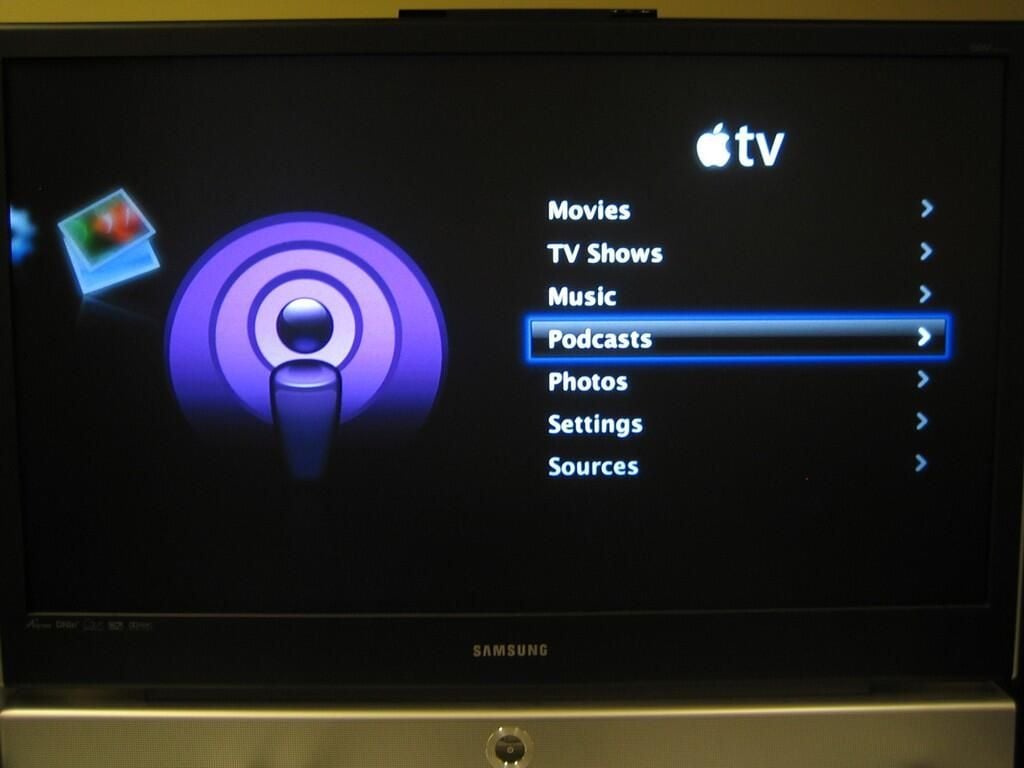
Once connected to a network, you are finally presented with the Apple TV’s main screen. I found the interface easy to navigate and quite eye-catching.

To play content from the Apple TV, you must connect to computer (Windows or Mac) running iTunes 7.1 or later.
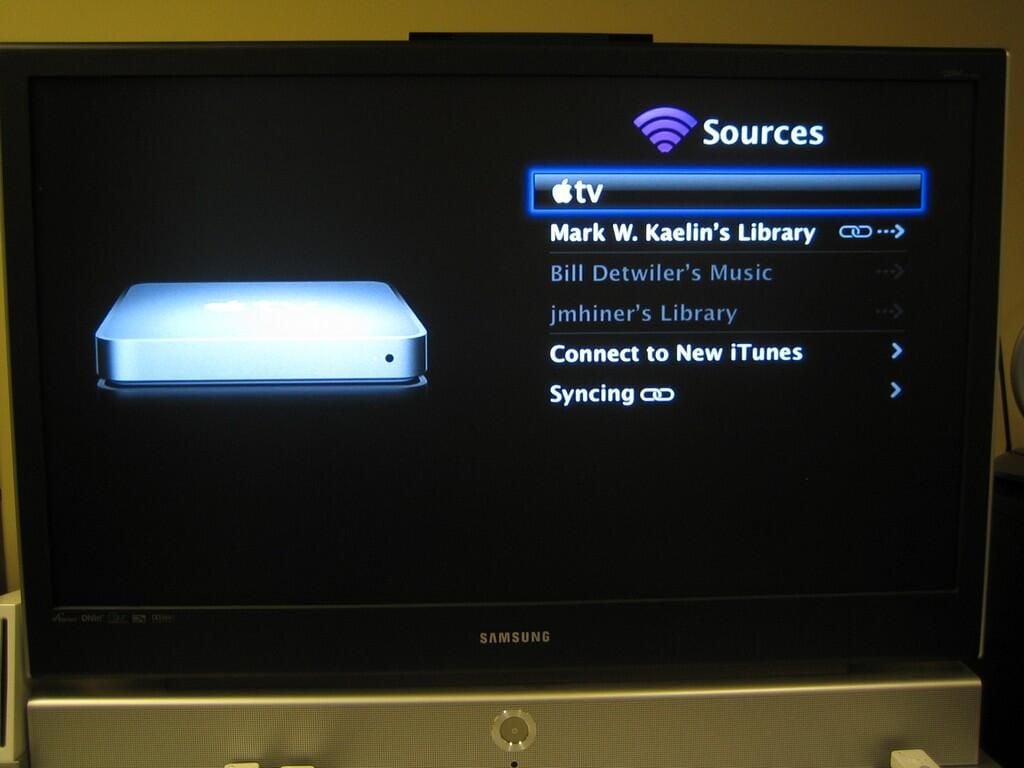
The connection process was extremely simple. Select Sources from the main menu to launch the Sources screen.
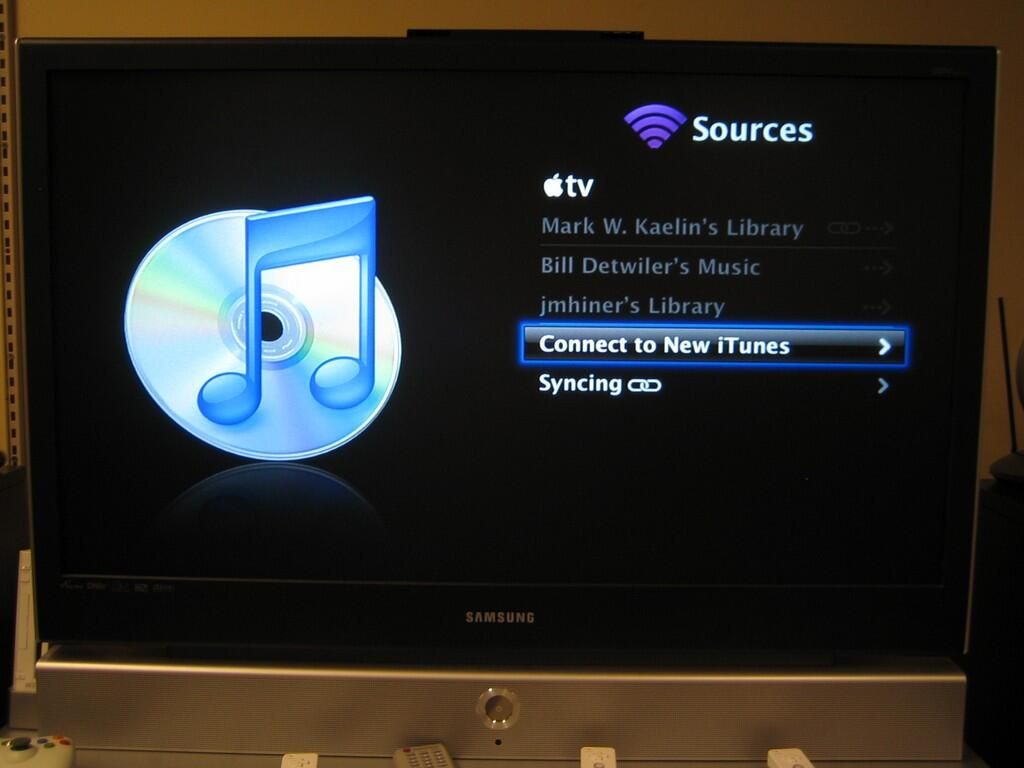
From the the Sources screen, select “Connect to New iTunes”.

Once you click “Connect to New iTunes”, the Apple TV generates a random five-digit passcode. While this code is being displayed, you will use it to connect to a specific iTunes installation.
From within iTunes 7.1 or later, locate and click the Apple TV option from the Devices list. You’ll be promoted to enter the passcode. When you enter the passcode, the Apple TV will automatically connect with iTunes.
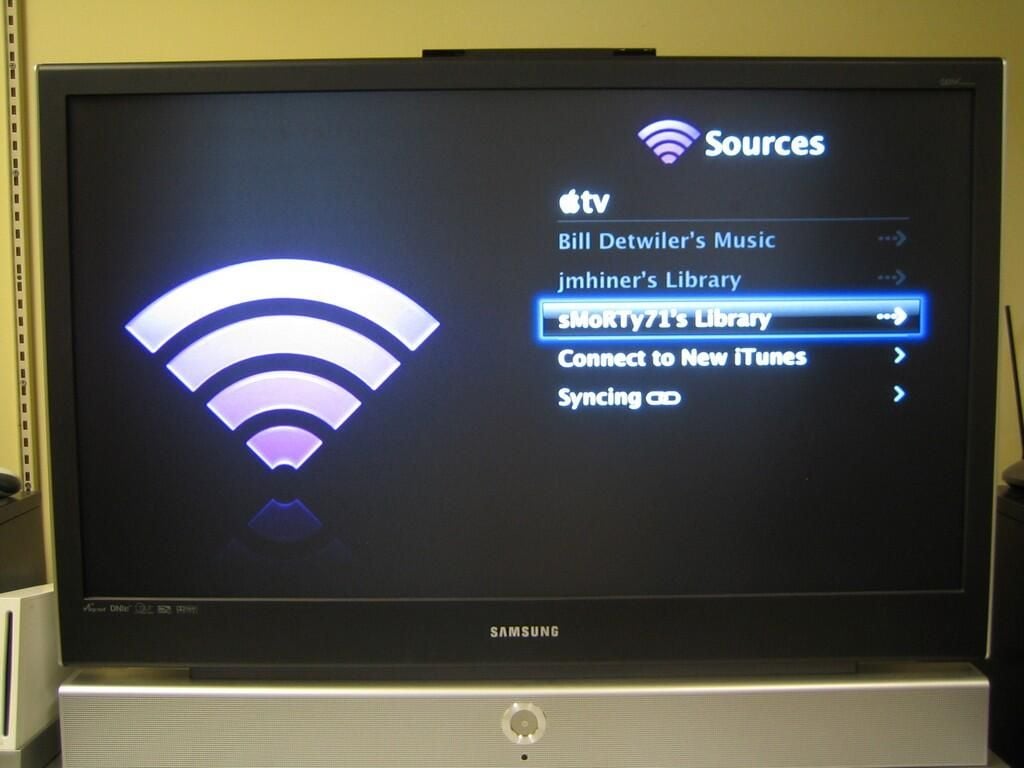
Once connected to an iTunes installation, you can stream or sync content from iTunes to the Apple TV. Streaming content uses the Apple TV as a conduit between the TV and iTunes installation. To stream content, iTunes must be running and connected to the Apple TV.
You can stream content from up to five different iTunes libraries in addition to the library the Apple TV is synced with. You only stream content from one library at a time.
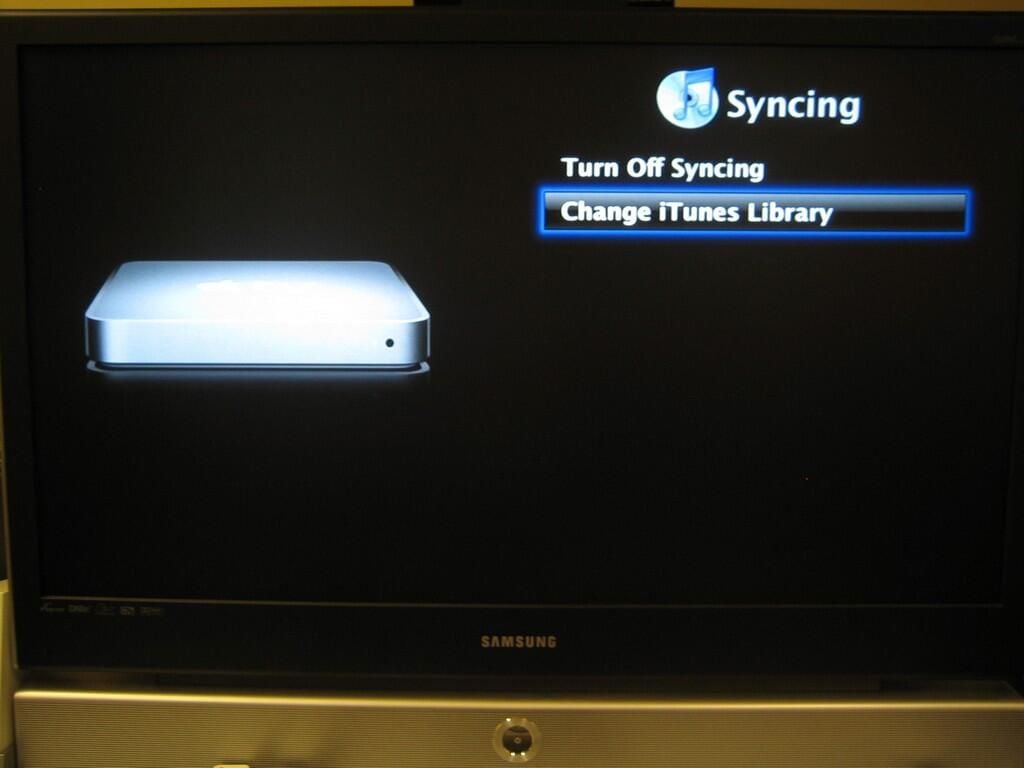
Syncing copies content to the Apple TV, which allows playback even if iTunes is not running. You can only sync the Apple TV with one iTunes library.
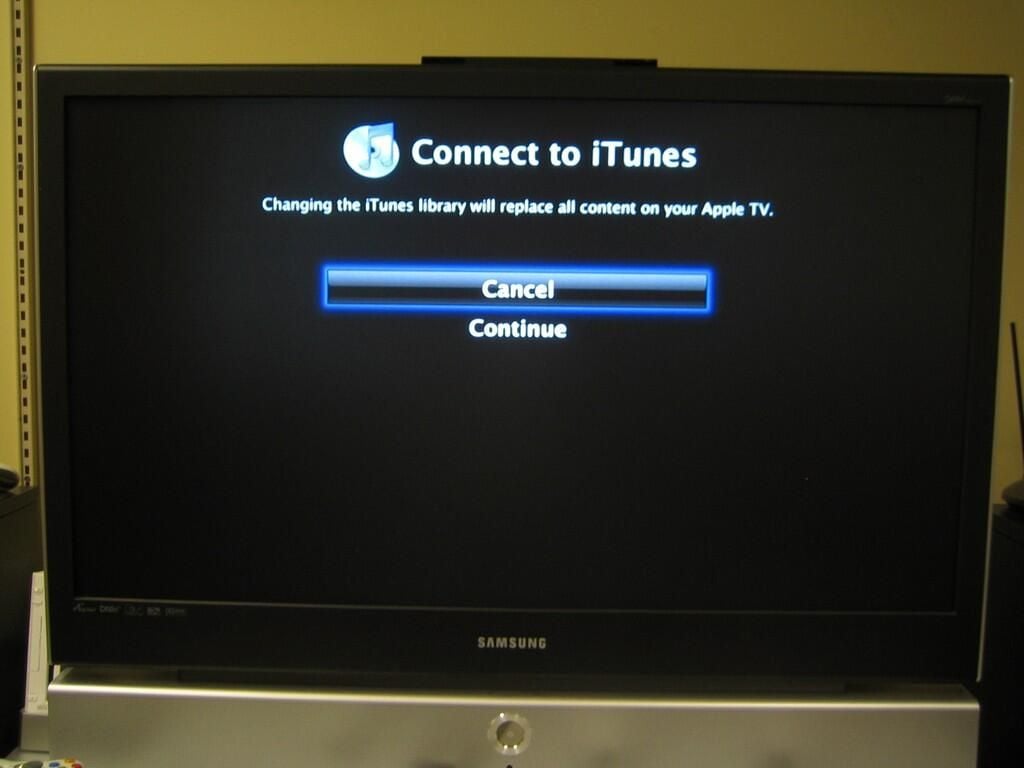
If you turn syncing off or change iTunes libraries, all content stored on the Apple TV is erased. This is extremely frustrating.

After selecting an iTunes library, the Apple TV GUI allows you to select the type of content to stream.
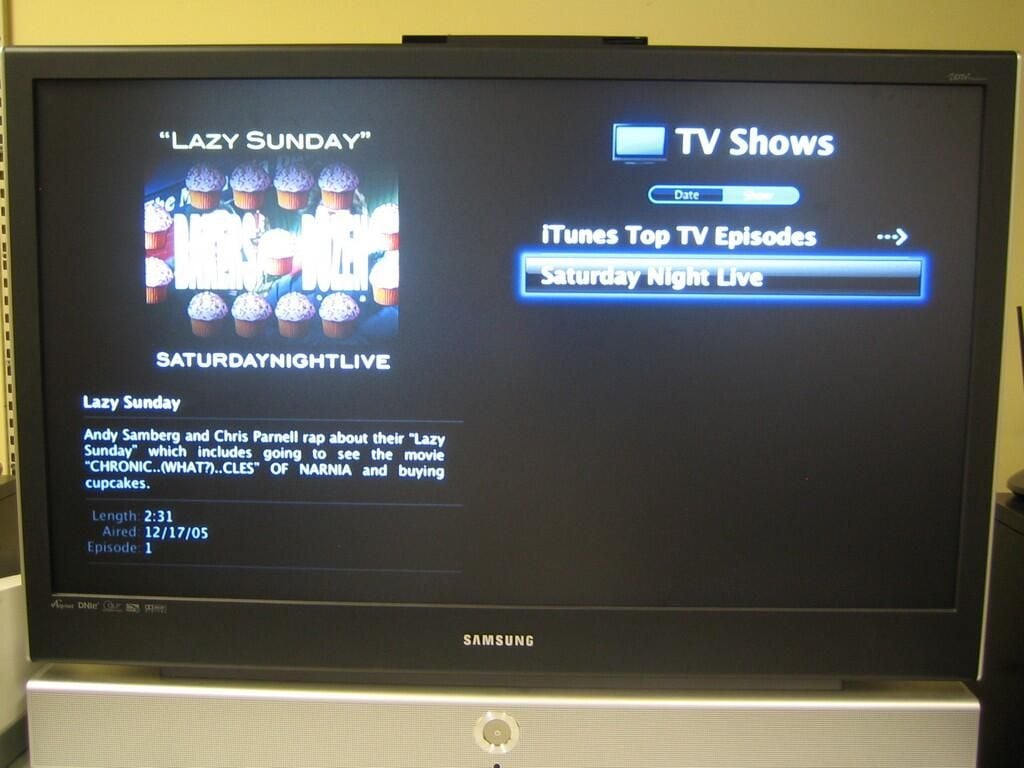
Once I selected TV Shows, the Apple TV interface displays a list of TV shows on the selected iTunes library. This library only has one TV show — Saturday Night Live’s Lazy Sunday routine.
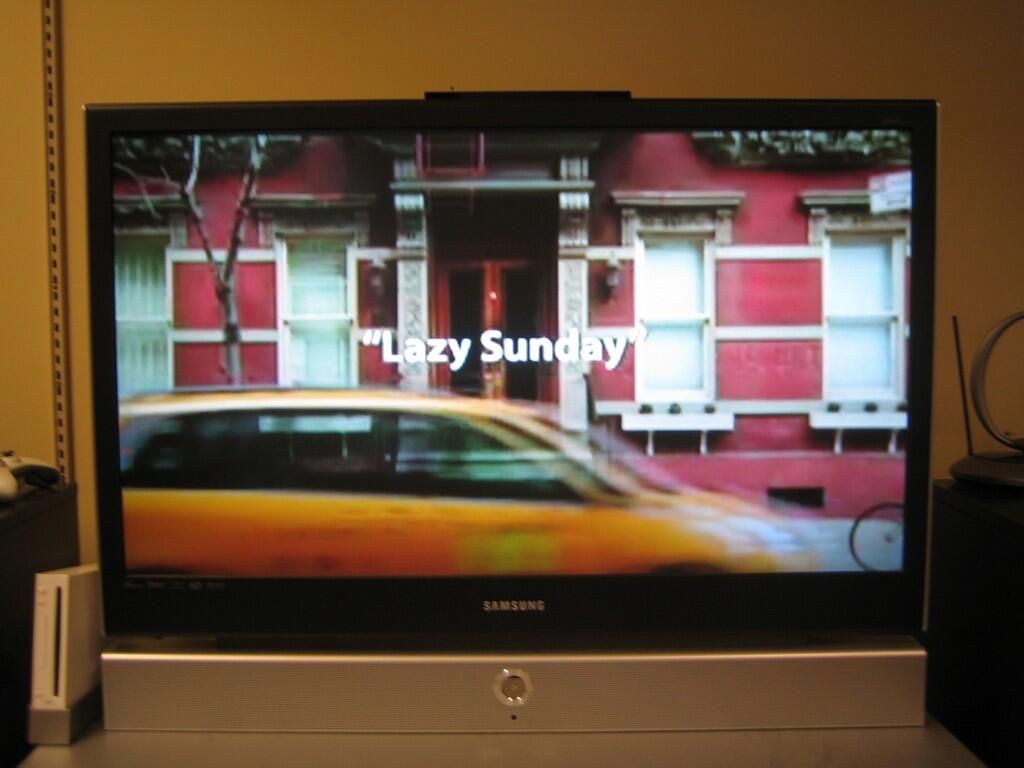
As this video was originally purchased for viewing on an iPod, the quality is rather poor on the big screen. However, It was still very watchable.
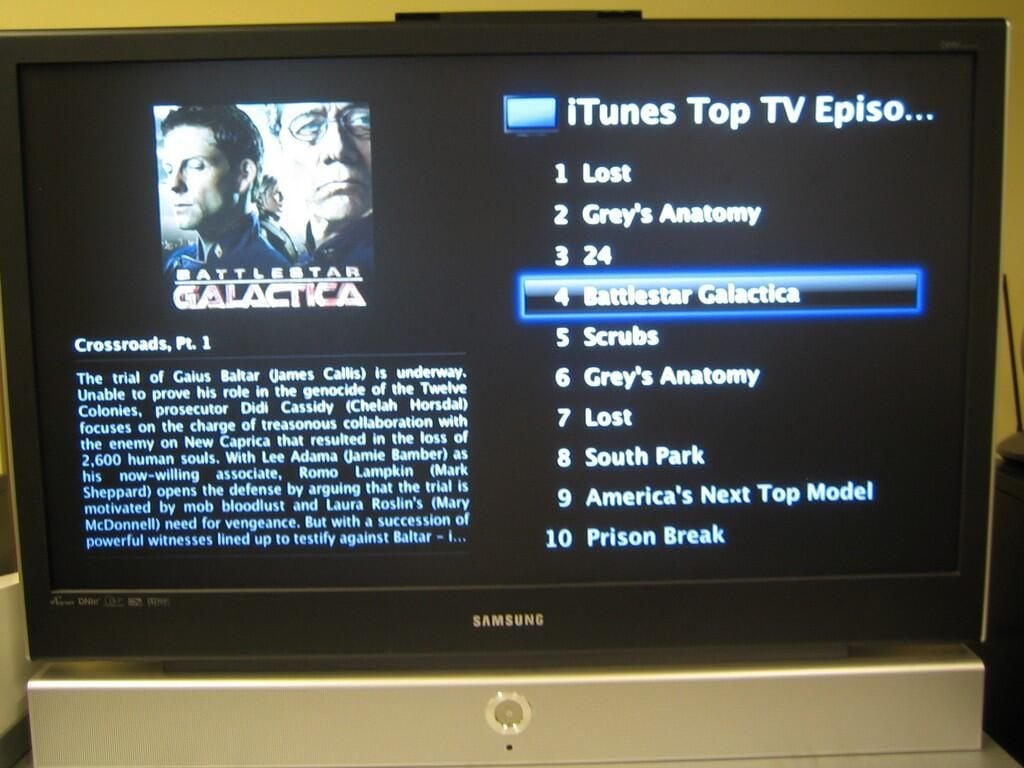
Using the Apple TV, you can watch 30-second previews of TV shows that are available for purchase through iTunes.
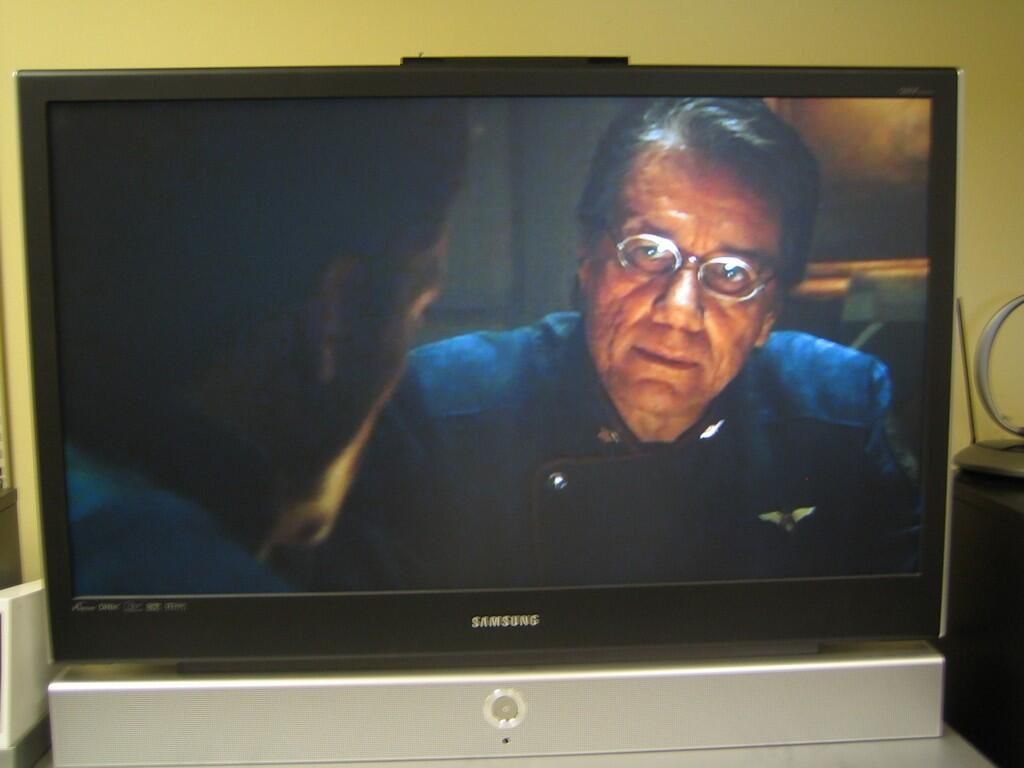
Here is a preview of Bettlestar Galactica.
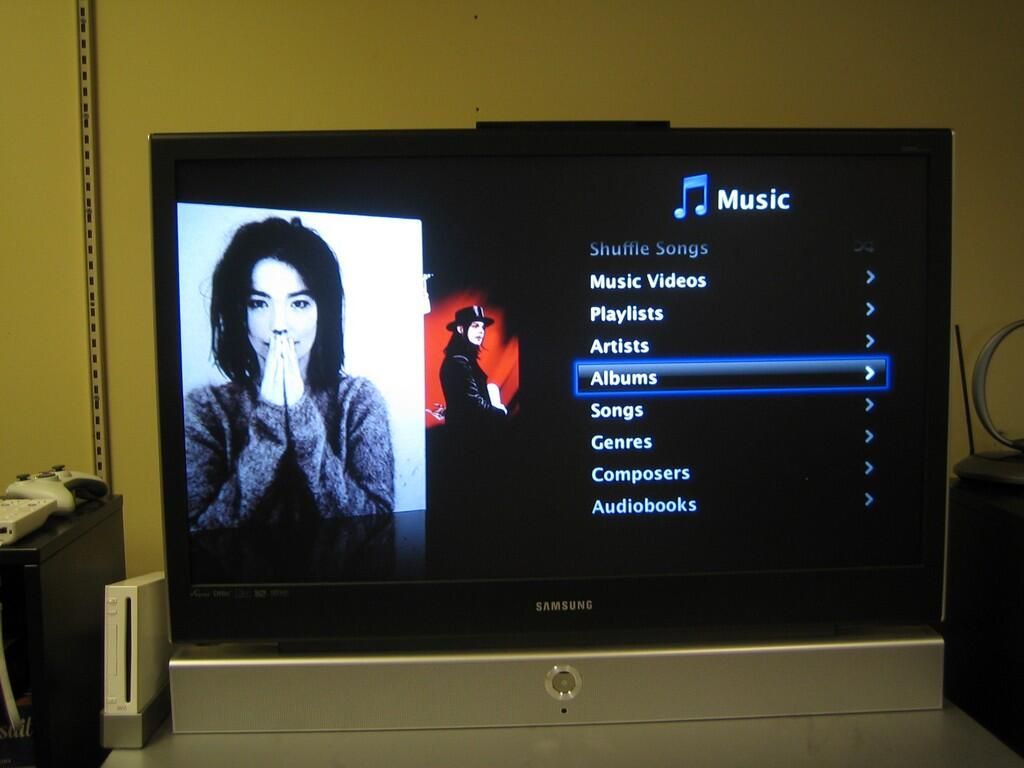
Through the Apple TV, you can sort and access your music library much as you would through iTunes.
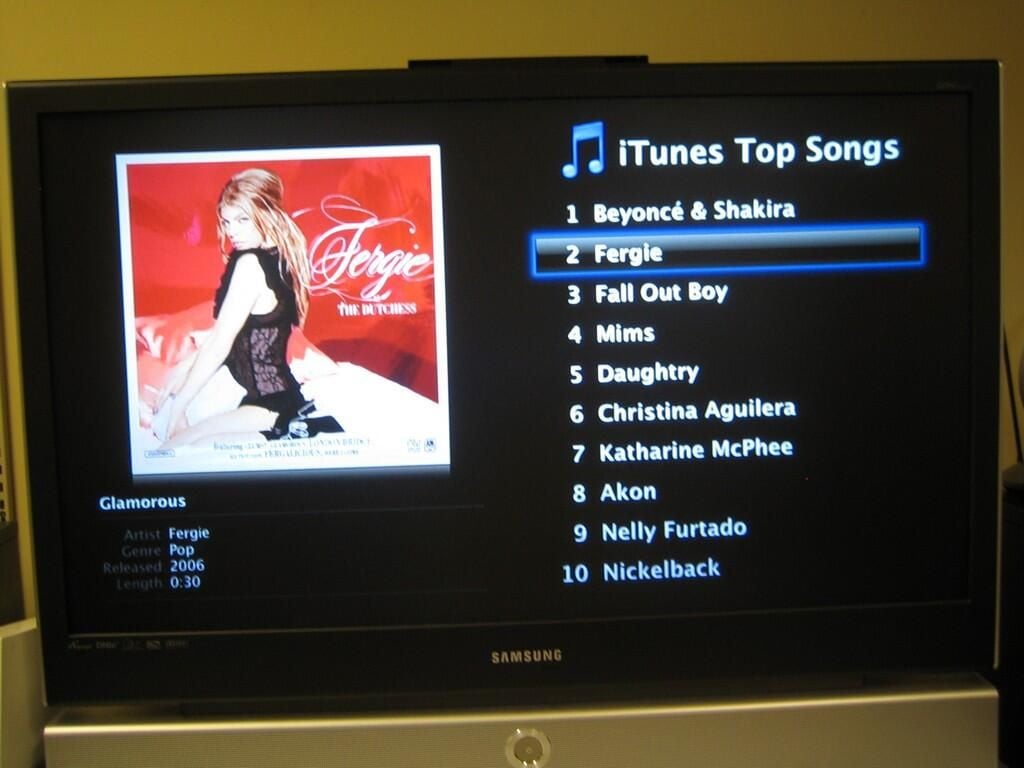
As with TV shows, you can also preview songs from iTunes.
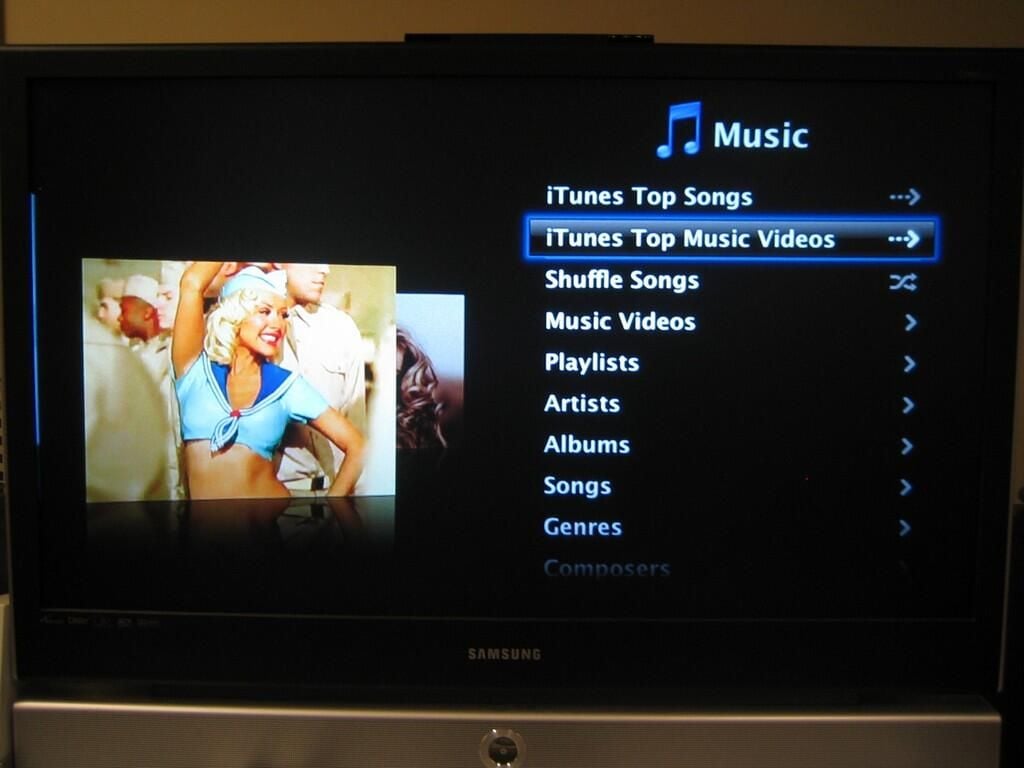
Music video previews are also available.
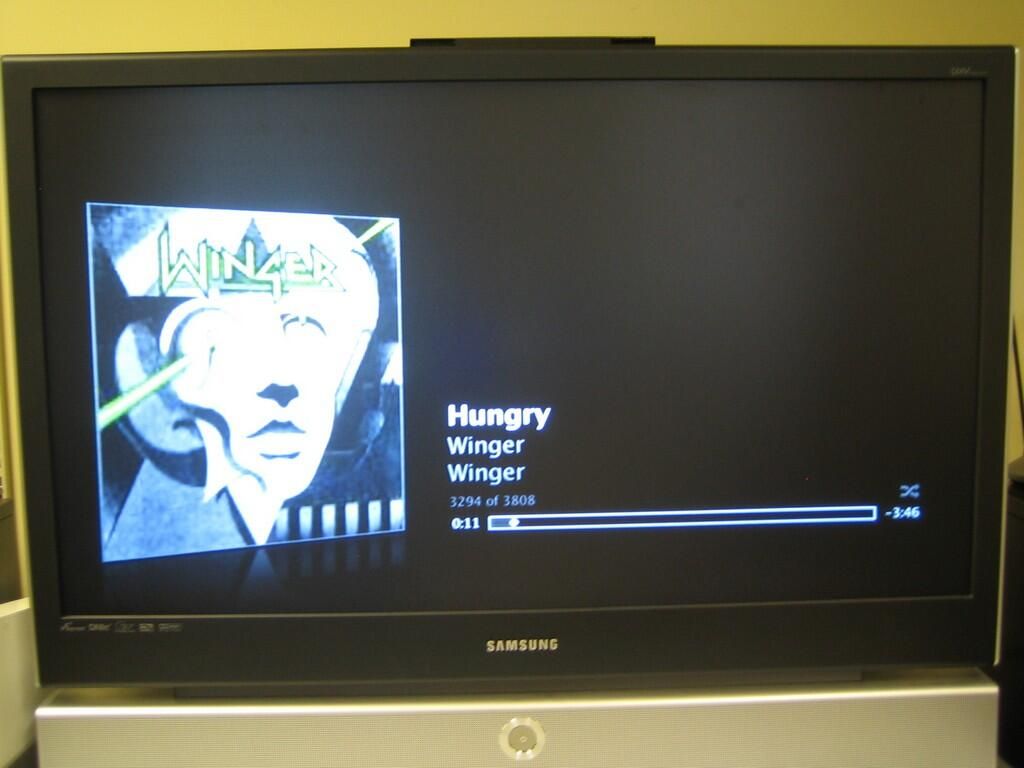
Streaming a little Winger from iTunes
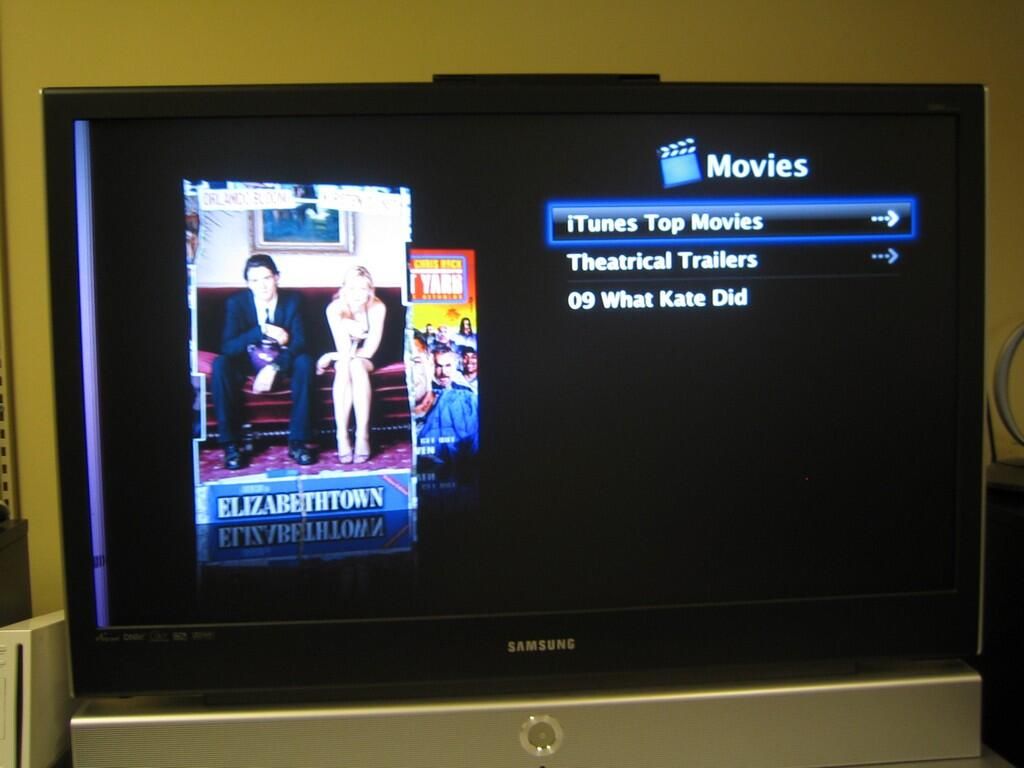
As with music and TV shows, you can view trailers from top iTunes movies.
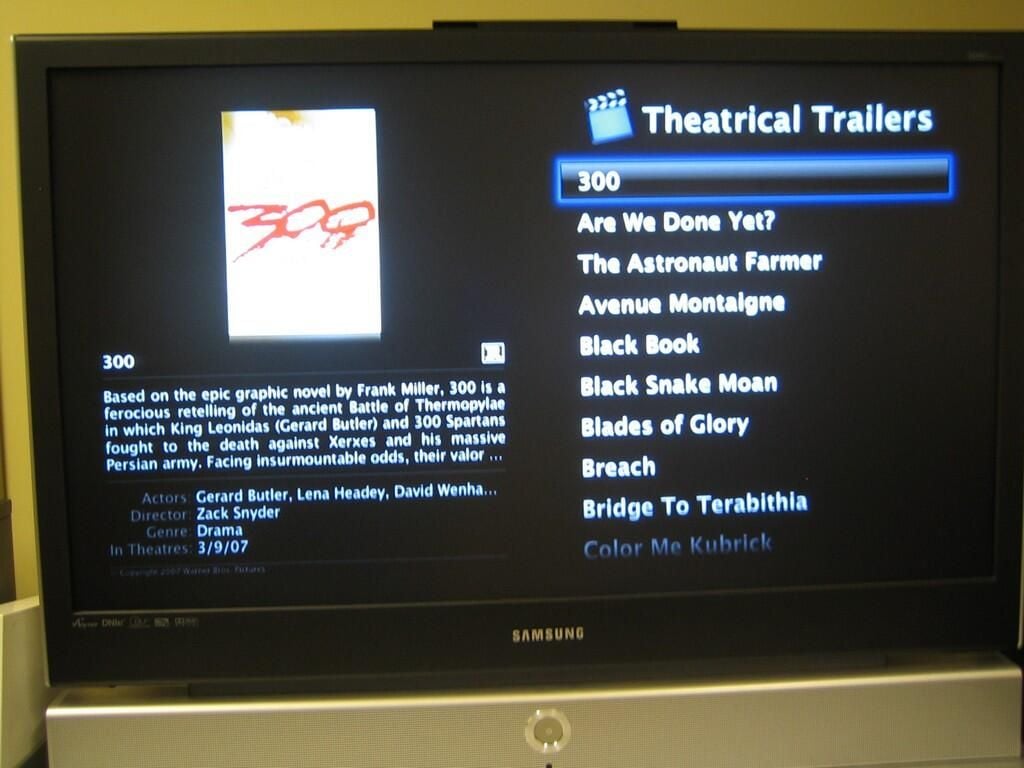
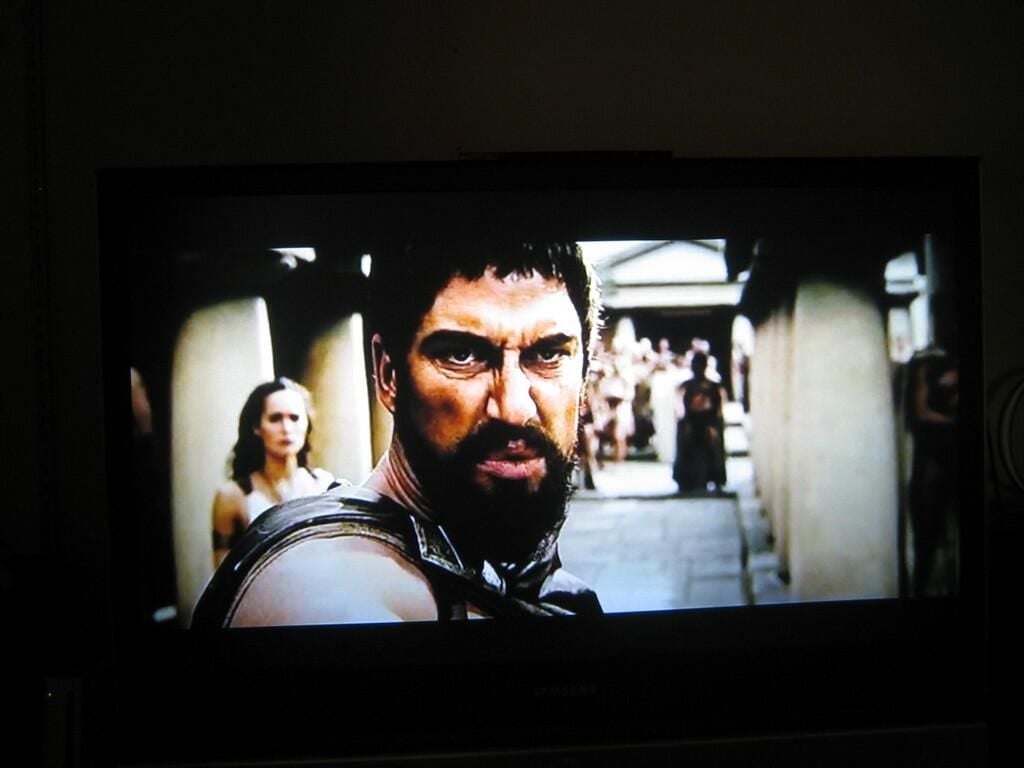
This is the theatrical trailer for 300.
So far, I had only streamed content to the Apple TV–either from the Internet or an iTunes library. To test the Apple TV’s syncing ability, we purchased a movie and TV show from iTunes and synced them to the Apple TV. Syncing copied the content to the Apple TV’s 40 GB hard drive and allowed us to watch the material even when the synced iTunes library was not running.
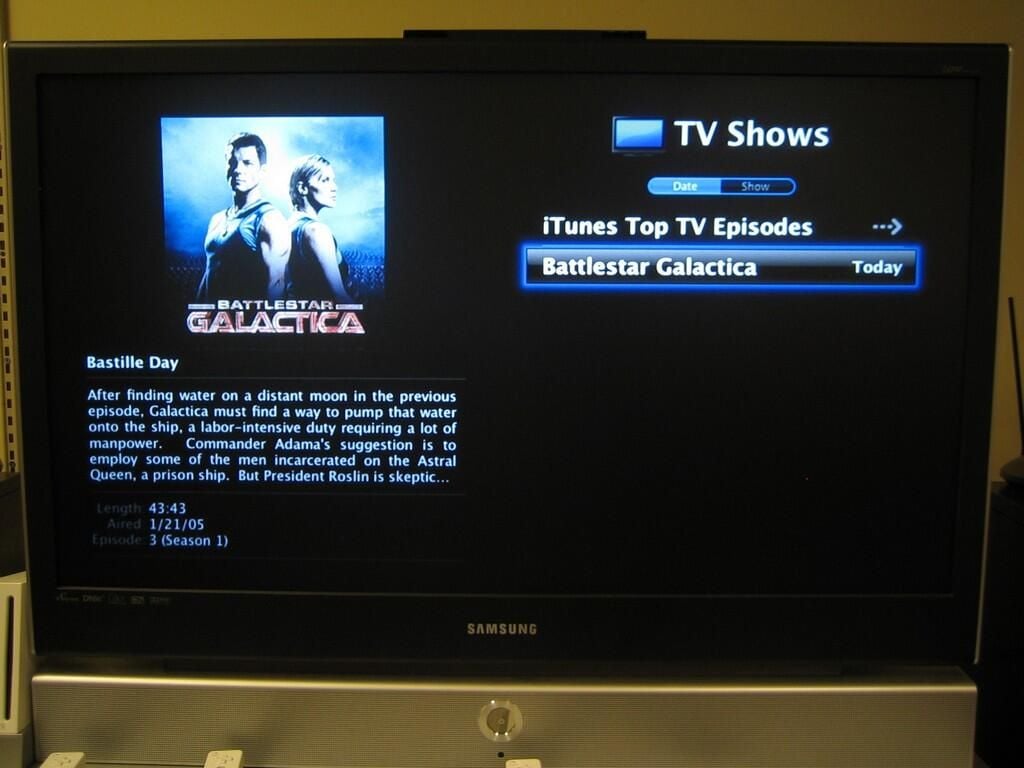
We purchased a Battlestar Galactica episode for $1.99 from iTunes.
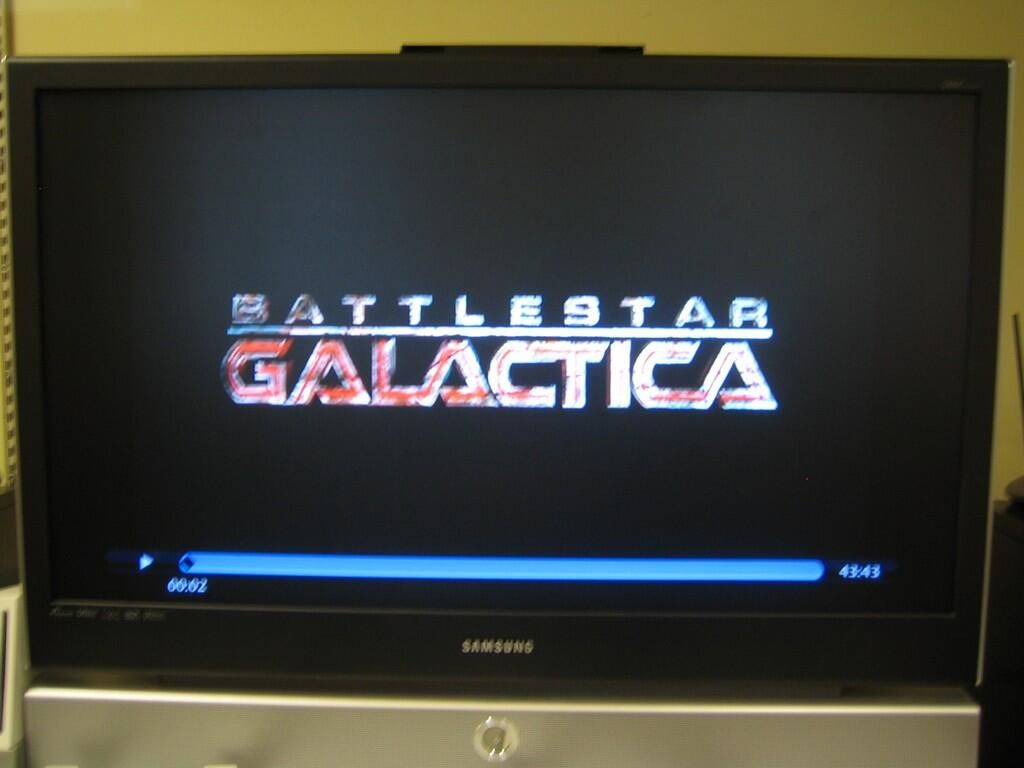
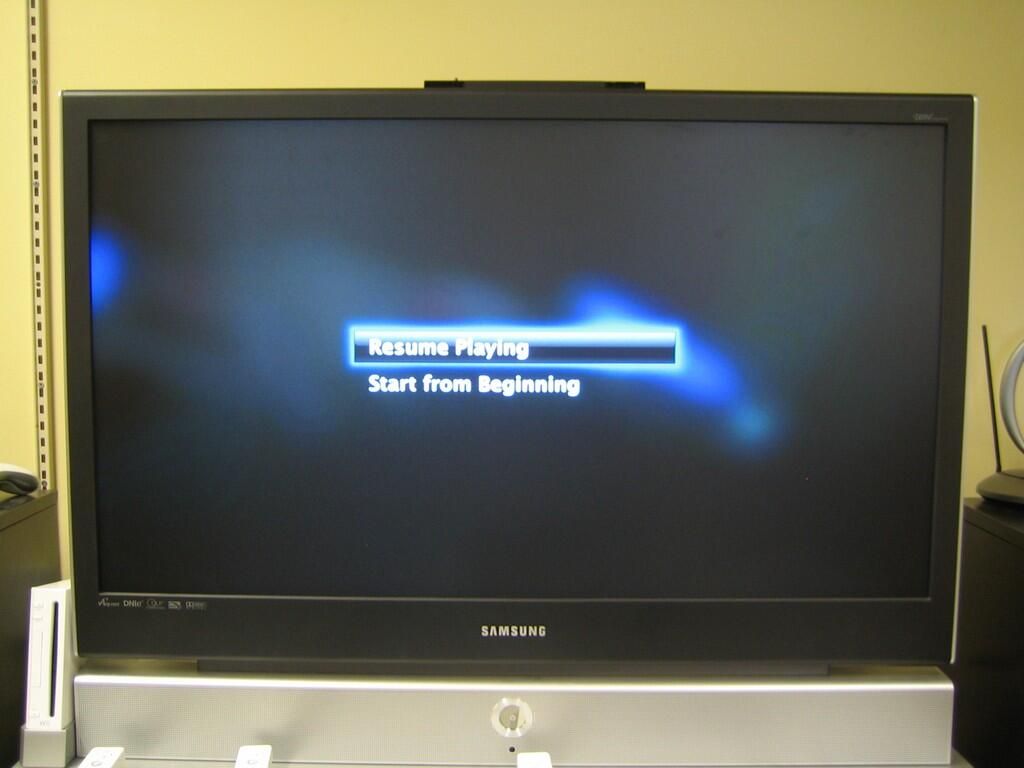
The Apple TV’s content controls are similar to those of a DVD player. You can pause, fast forward, rewind, stop, and even skip between chapters. Unfortunately, the TV show and movie we tested did not provide a main menu or the ability to select a specific scene selection. I was very disappointed to not find these features.

I really hate black bars and was frustrated to see them during this show. I was also slightly surprised. The Apple TV is designed for widescreen HD TVs and you would think the content would take advantage of that design.
I assume Battlestar Galactica is not filmed in widescreen and thus the bars are required.
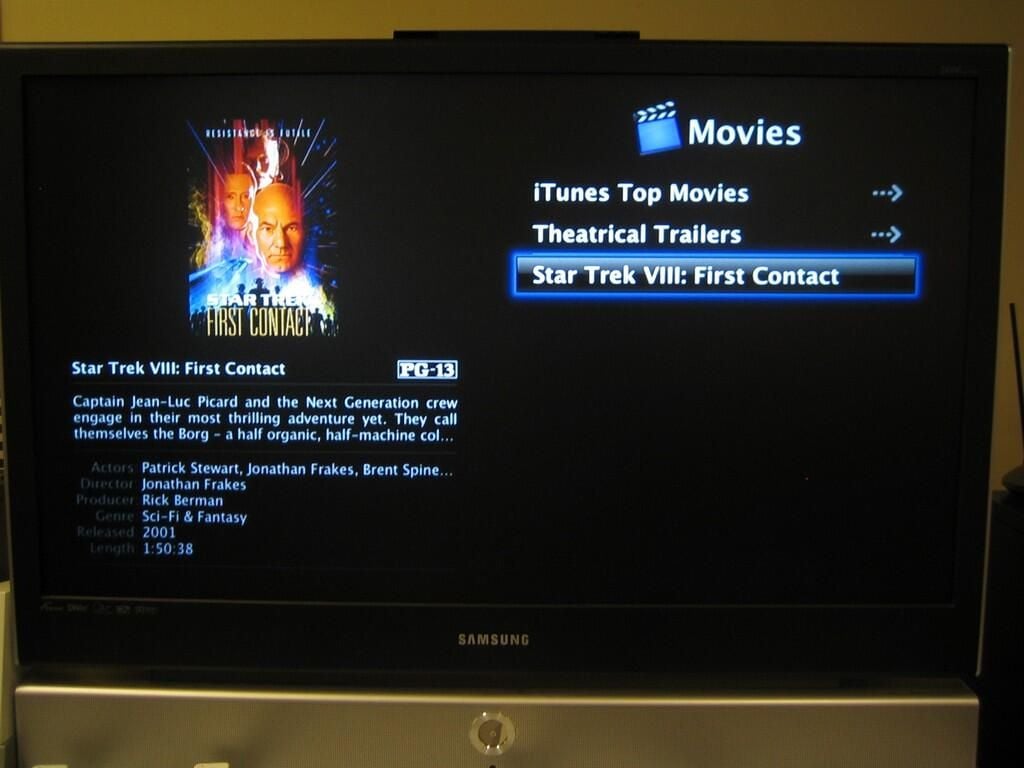
We also purchased Star Trek VIII: First Contact from iTunes to test the Apple TV’s ability to play movies. At $14.99, this decade-old title is way over priced. You can buy the two-disc DVD collectors edition, released in 2005, for $10.99 from Amazon.
Is it just me or does anyone else think something is wrong here? I can pay $10.99 for two DVDs that include loads of special features, offer a DVD quality image, provide an interactive menu, and are completely portable. Or, I can pay $14.99 for just the movie, which according to Apple’s Web site plays at “near DVD-quality”. Sure, I have to wait a few days to get the DVD from Amazon, and I may have to pay shipping, but those are minor inconveniences.

Not only was I disappointed by our test movie’s price, but the Apple TV’s image quality was much worse than other CNET editors and I expected. This image is being displayed at 1080i. We tested the movie at 720p and 480i, but 1080i seemed to produce the best picture.
Given that the Apple TV requires an enhanced definition or high-definition TV, we were somewhat confused by the movie’s poor quality, until we looked at the file size. A standard, single layer DVD is usually around 4.4 GB, including menus and special features. Our downloaded copy of Star Trek VIII: First Contact was only 1.19 GB–about 1/4 the size of a normal DVD. Perhaps Apple is trying to conserve iTunes bandwidth, but the image quality on the movie we tested was not worth the $14.99 price.
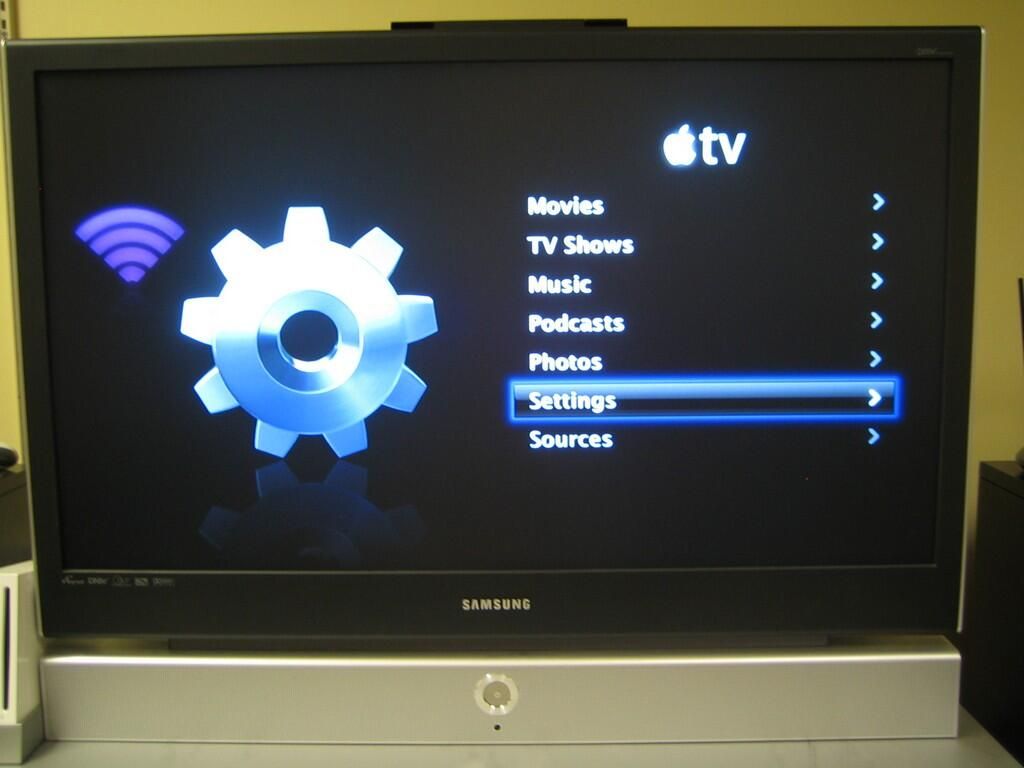
You can access the Settings menu from the Apple TV’s main screen.
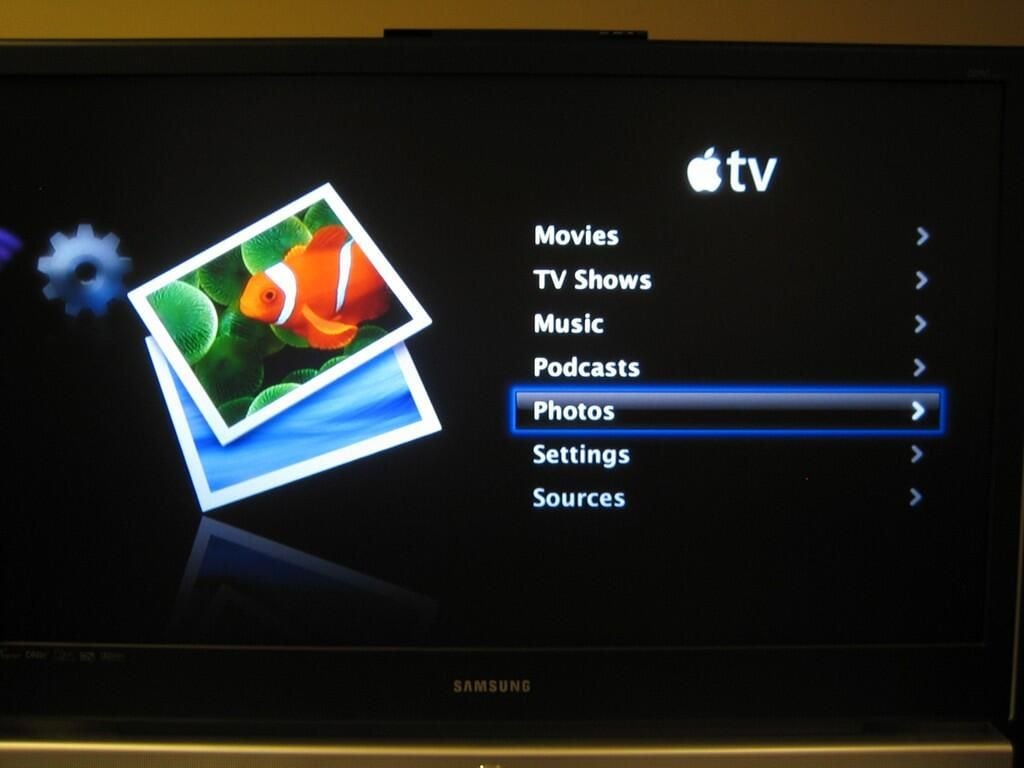
The Apple TV can display your favorite photo library, but you can only sync the photos, not stream them. This is a very annoying limitation.
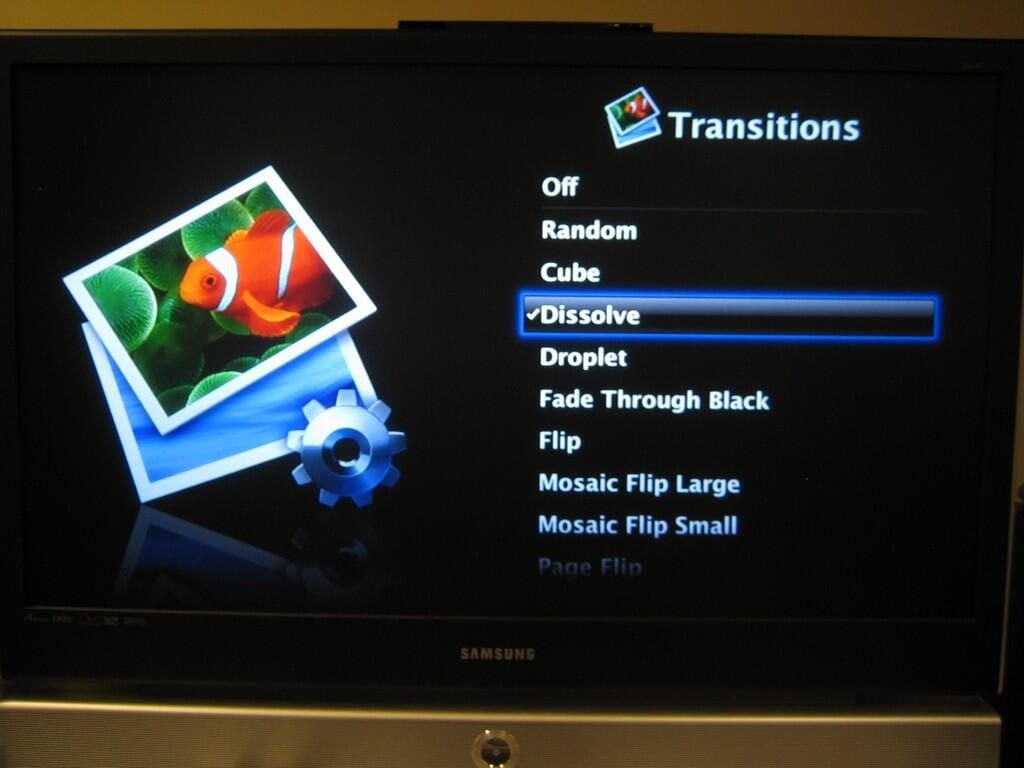
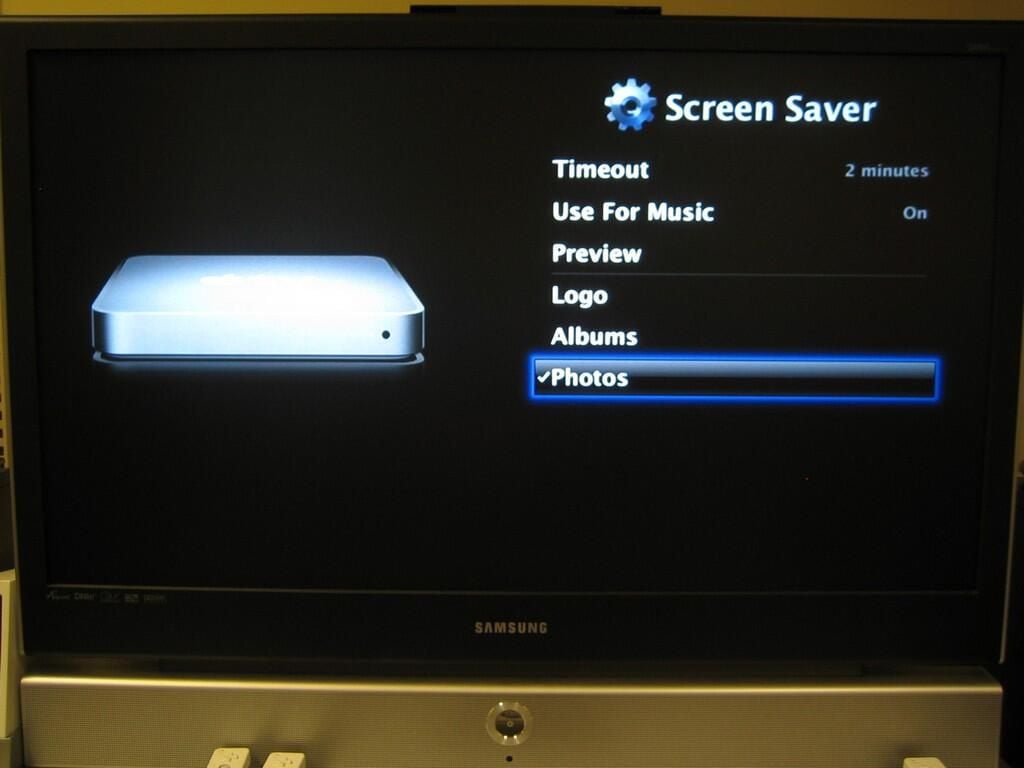
Using the Settings menu, you can customize the Apple TV’s screen saver.
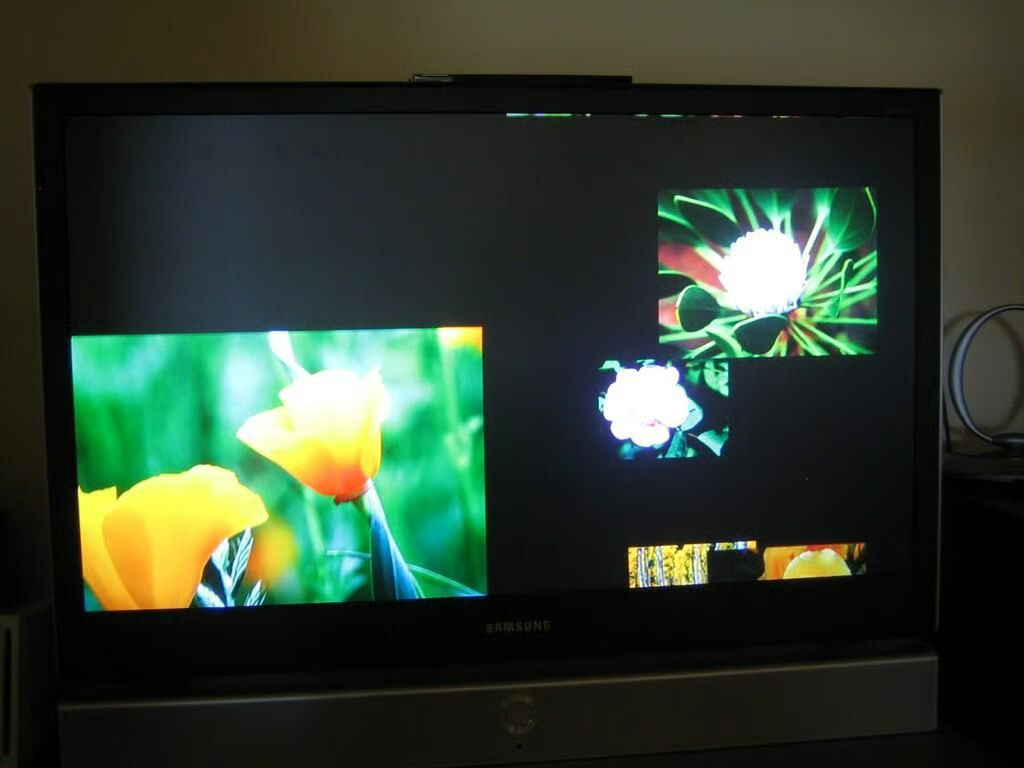
The Apple TV’s default screen saver setting uses stock photos that float across the screen.
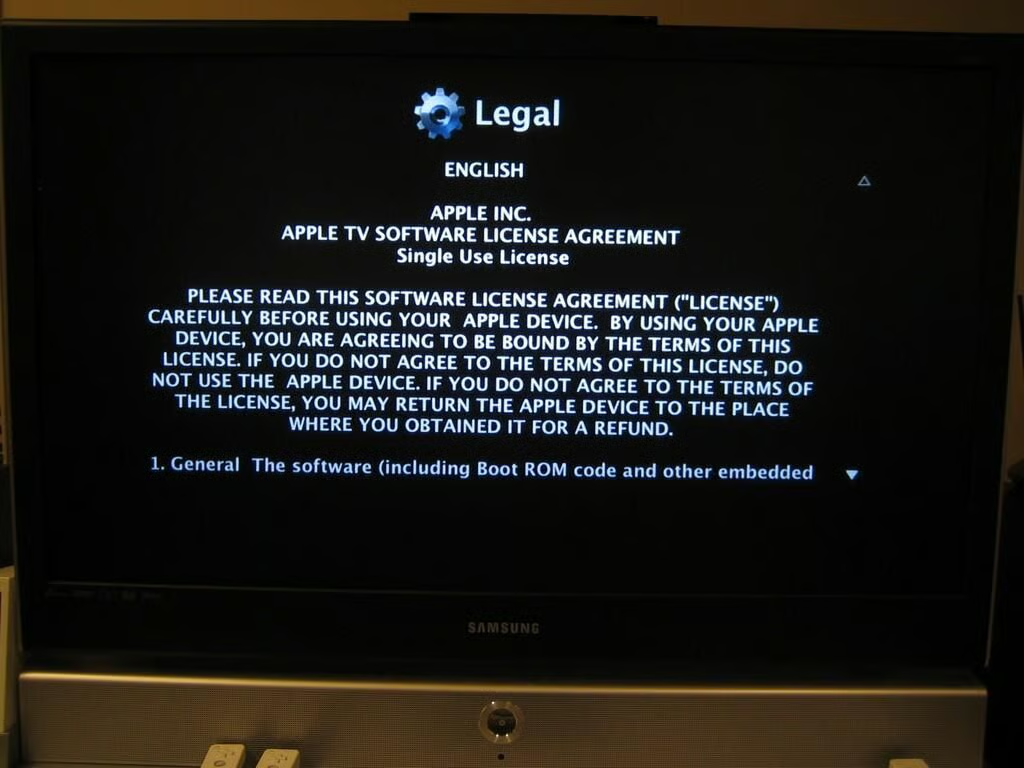
Just in case you wanted a little light reading, you can access the Apple TV’s software license agreement through the Settings menu.
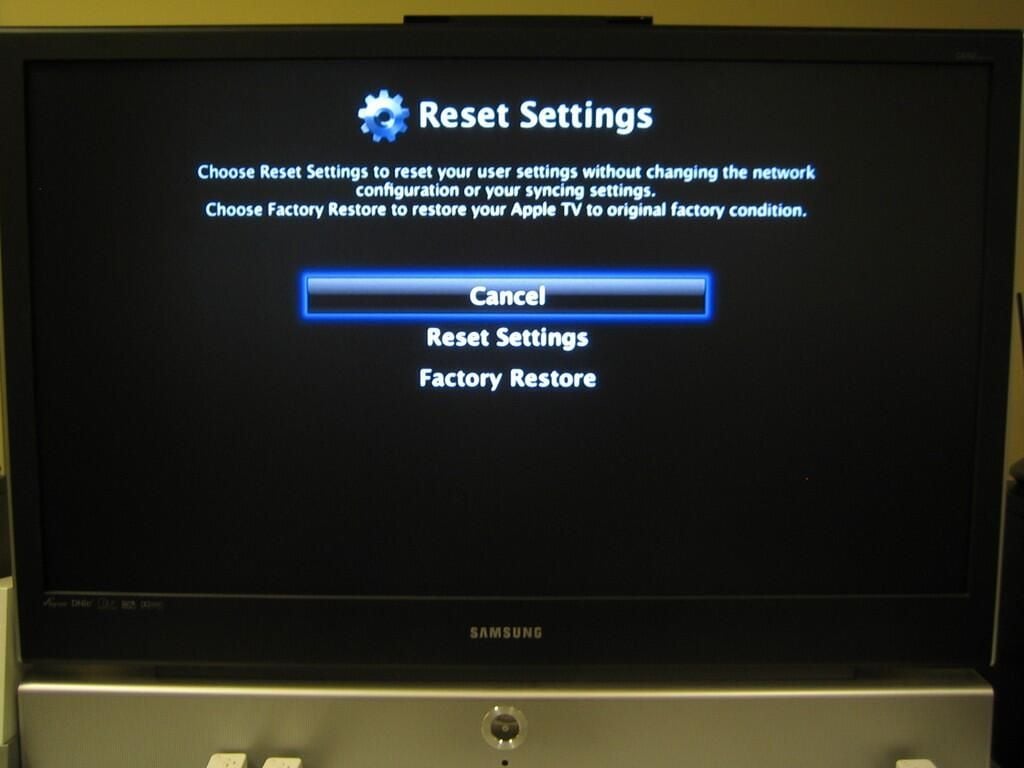
If you really screw up the settings on your Apple TV, you can quickly return the unit to the default settings. Those who want that totally factory-fresh feel can even perform a full factory restore.
Bill Detwiler is the Editor for Technical Content and Ecosystem at Celonis. He is the former Editor in Chief of TechRepublic and previous host of TechRepublic's Dynamic Developer podcast and Cracking Open, CNET and TechRepublic's popular online show. Previously, Bill was an IT manager in the social research and energy industries. He has bachelor's and master's degrees from the University of Louisville, where he has also lectured on computer crime and crime prevention.


