Windows 7’s Control Panel is literally packed with tools (a.k.a. applets) that allow you to configure and control the way that the operating system works. Because the Control Panel has so many tools, Microsoft added a Search box to make it easy for you to find the tool that you need for a particular task.
To help you become familiar with all of the tools that are available in Windows 7’s Control Panel, I have created the Windows 7 Walkthrough series in which I’ll show you and provide a brief overview of each tool in the Control Panel categories. This one covers the tools in the Hardware and Sound Control Panel category.
Keep in mind that I’ll be using the Ultimate edition of Windows 7, which contains some features not available in other editions of the operating system.
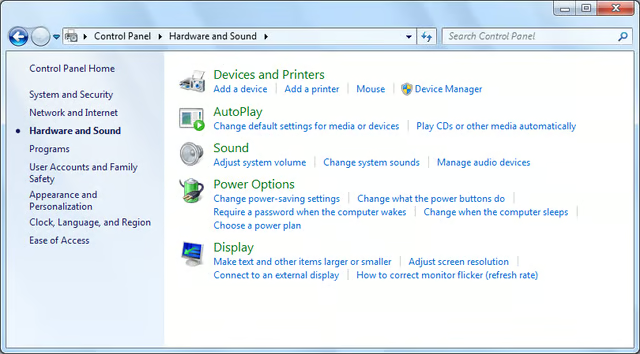
When you open the Hardware and Sound category you’ll see that there are 5 sections in this category.
Images by Greg Shultz for TechRepublic
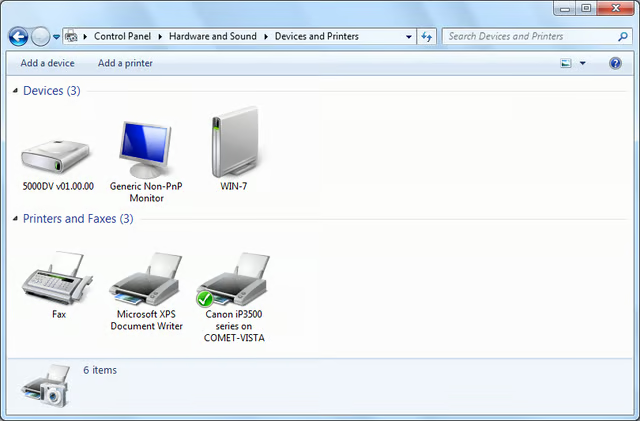
When you access Devices and Printers you’ll see all the devices and printers that are attached to your Windows 7 system.
Images by Greg Shultz for TechRepublic
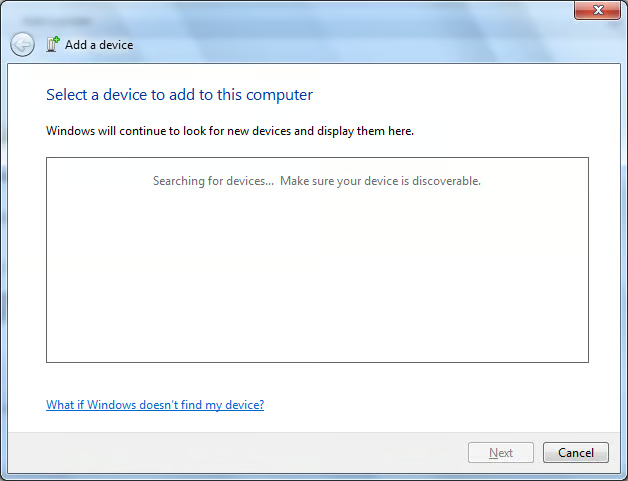
If you want to manually add a device, click Add a Device and you’ll see a wizard that will walk you through the steps of adding the device to Windows 7.
Images by Greg Shultz for TechRepublic
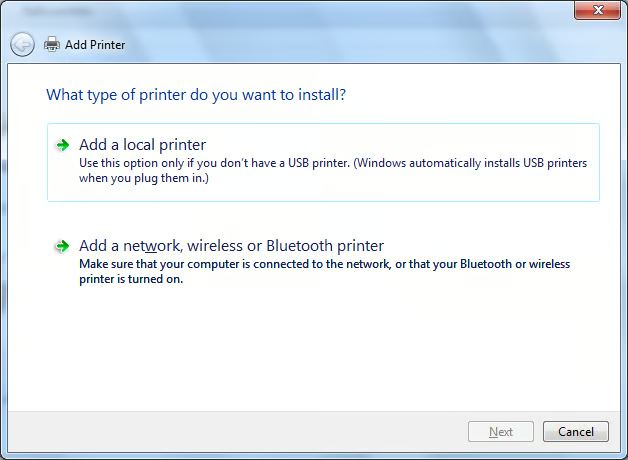
If you want to manually add a printer, click Add a Printer and you’ll see a wizard that will walk you through the steps of adding the either a local or a network printer to Windows 7.
Images by Greg Shultz for TechRepublic
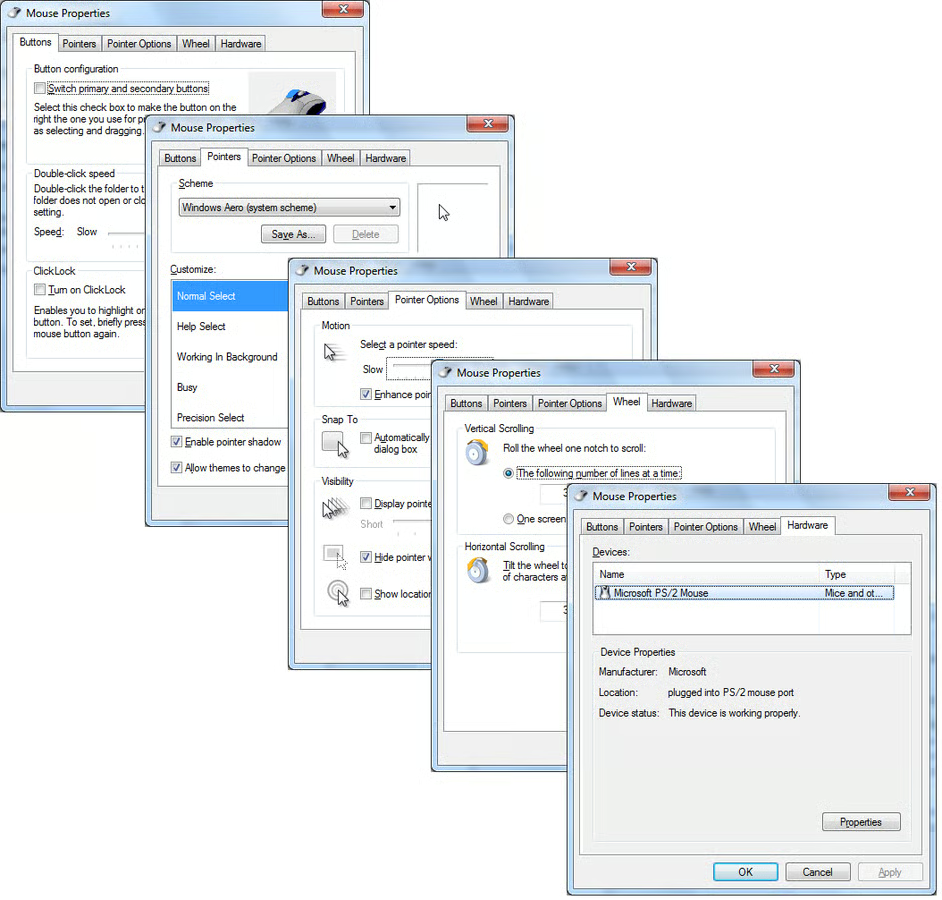
Back in the Hardware and Sound window under Devices and Printers you can access the Mouse Properties dialog box, which as you can see looks and works the same as in previous versions of Windows.
Images by Greg Shultz for TechRepublic
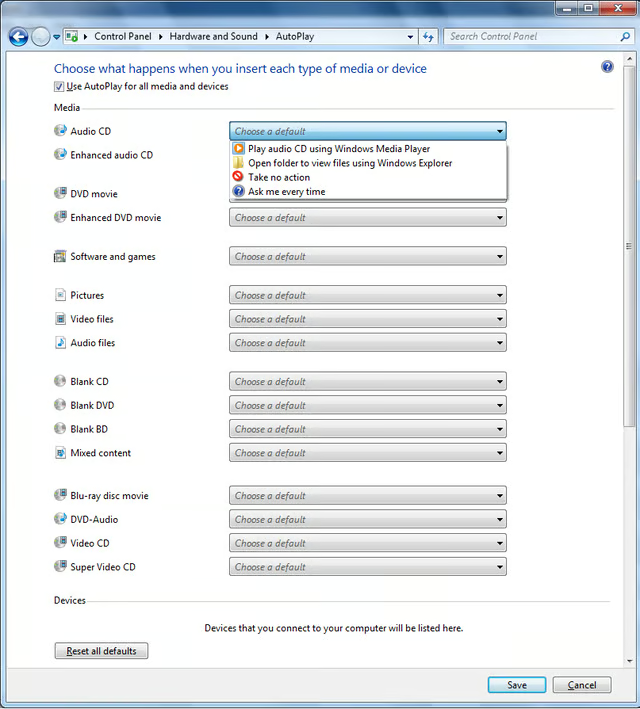
The next section in the Hardware and Sound window is AutoPlay, which provides you with the ability to choose what application is to start when you insert or connect various types of removable media or multimedia devices.
Images by Greg Shultz for TechRepublic
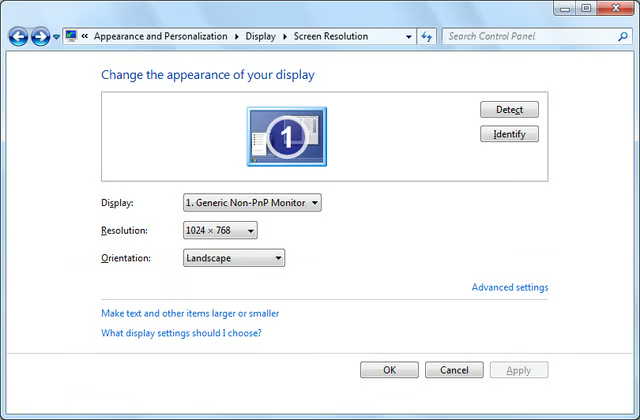
From within the Display window, the Adjust Resolution and Change Display Settings access the Screen Resolution window with controls that you can use to change the appearance of your display
Images by Greg Shultz for TechRepublic
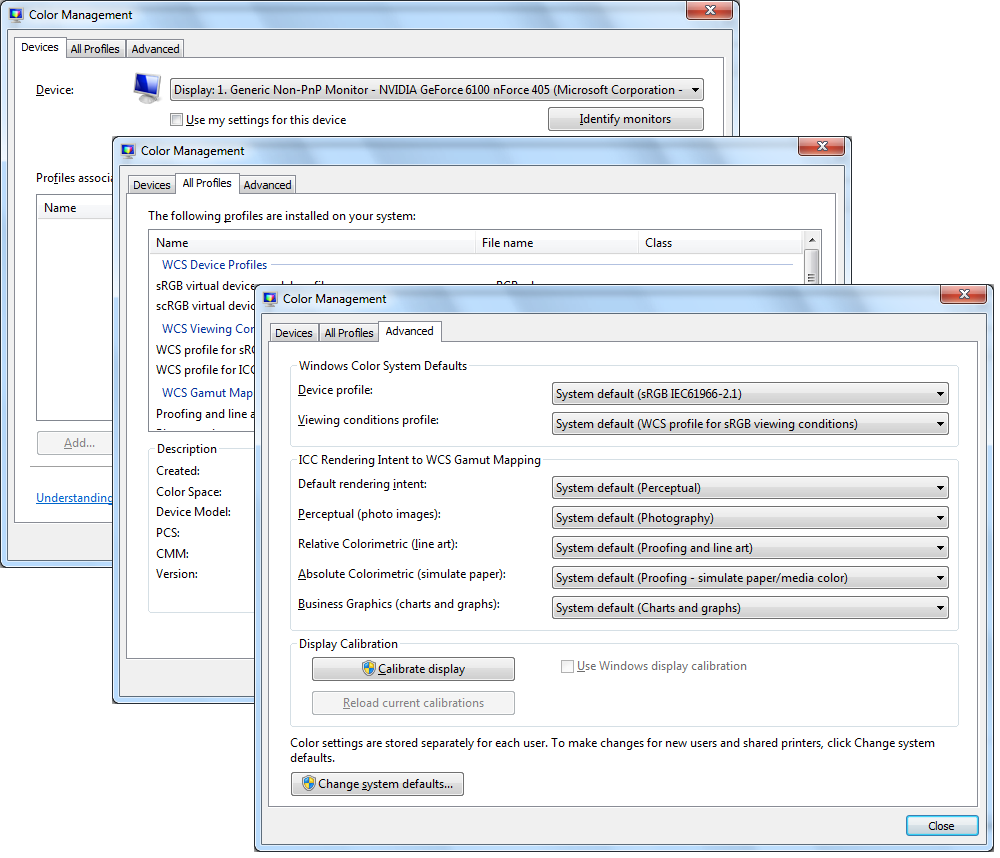
Using the Color Management tool, you can adjust settings in order to ensure that color content is rendered as accurately as possible on all display devices such as your monitor and your printer.
Images by Greg Shultz for TechRepublic

In addition to using the Color Management tool, you can select Calibrate Color from the Display window and launch the Display Color Calibration wizard, which will allow you to adjust the colors on the monitor and to ensure that they are represented as accurately as possible.
Images by Greg Shultz for TechRepublic

From within the Display window, you can access the ClearType Text Tuner, which is a wizard that walks you through adjusting ClearType text settings to improve the readability of text on LCD monitors.
Images by Greg Shultz for TechRepublic
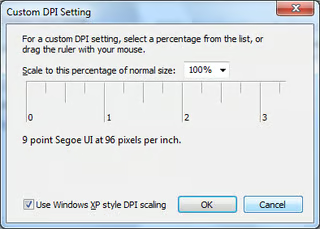
Also on the Display window, you can access and use the settings in the Custom DPI Setting dialog box to bump up the size of text and other graphical elements, like icons, so that they better fit the native DPI on LCD monitors
Images by Greg Shultz for TechRepublic
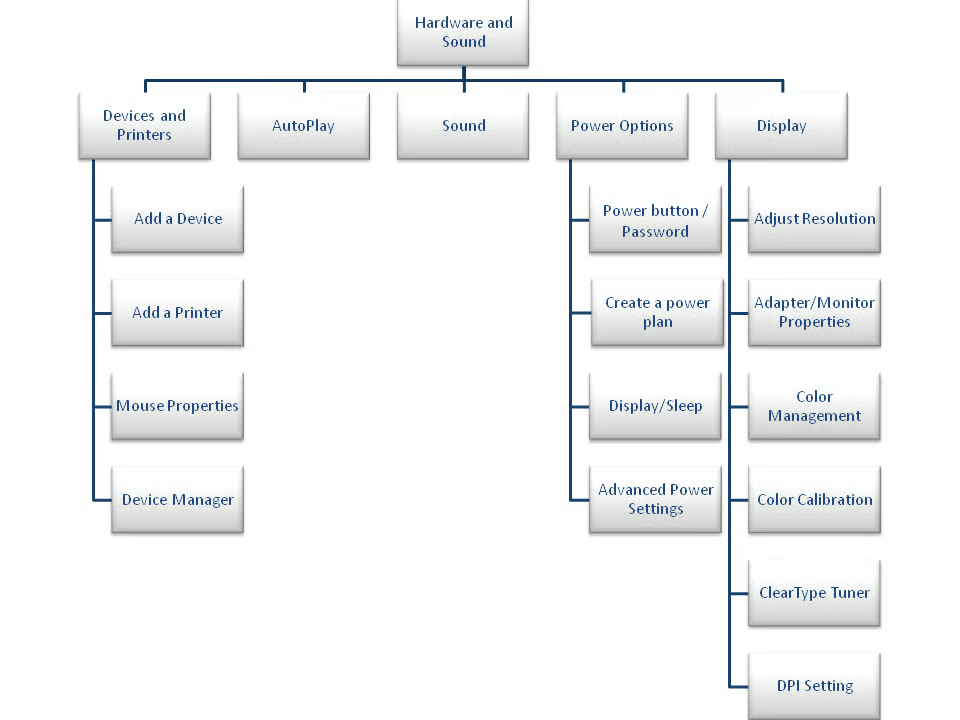
This tree diagram presents a map of the Hardware and Sound walkthrough.
Images by Greg Shultz for TechRepublic

My first computer was a Kaypro 16 \"luggable\" running MS-DOS 2.11 which I obtained while studying computer science in 1986. After two years, I discovered that I had a knack for writing documentation and shifted my focus over to technical writing.


