This\r\ngallery is also available as a TechRepublic article.
As I described in Get\r\nthe ISO you need to create your own Windows 8.1 DVD, if you have more than\r\none Windows 8 system that you need to update to Windows 8.1, you’ll want to\r\ndownload a Windows 8.1 ISO image that you can use to update multiple systems.\r\nHowever, if you are running Windows 8 on a single machine and want to update to\r\nWindows 8.1, you can do so using the free upgrade procedure via the Windows\r\nStore.
\r\n\r\n
In this article I’ll walk you through the entire Windows 8\r\nto Windows 8.1 upgrade procedure using the Windows Store.
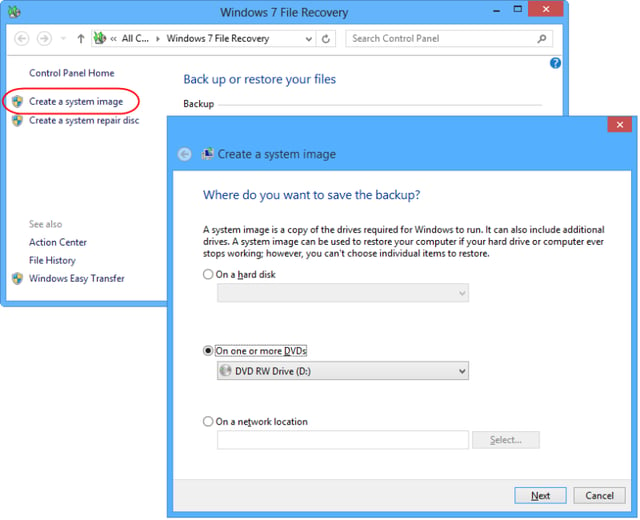
In\r\na moment, you’ll see the Windows 7 File Recovery user interface and you should\r\nselect the Create a system image command on the left side of the screen to\r\nlaunch the creation tool. On the first screen you will need to choose where you\r\nare going to create a system image. For example, you can create the system\r\nimage on a set of DVD discs, as illustrated in Figure B.
\r\n\r\n
Credit: Image by Greg\r\nShultz for TechRepublic
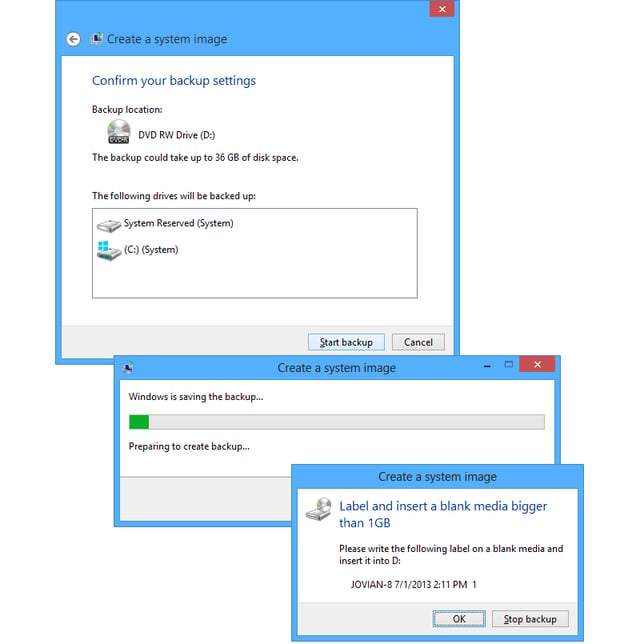
When\r\nyou click Next, you’ll be prompted to confirm your backup settings. When you\r\nare ready, just click the Start backup button and Windows will begin preparing\r\nfor the operation. As it does you, you will be prompted to label and insert the\r\nfirst DVD disc. This process is illustrated in Figure C.
\r\n\r\n
Credit: Image by Greg\r\nShultz for TechRepublic

Once\r\nyou insert the blank disc, you’ll be prompted to format it before the backup\r\nactually begins. Then, once the backup operation gets under way, you’ll see\r\nprogress indicators letting you know the status of the operation. When the\r\nSystem Image creation procedure is complete, you’ll be prompted to create a System\r\nRepair disc, as shown in Figure D.\r\nHowever, as you may remember, a System Repair disc is the same as the Recovery\r\nDrive and if you have already created\r\na Recovery Drive, you can just click No and you will be notified that the\r\nbackup completed successfully.
\r\n\r\n
Credit: Image by Greg\r\nShultz for TechRepublic
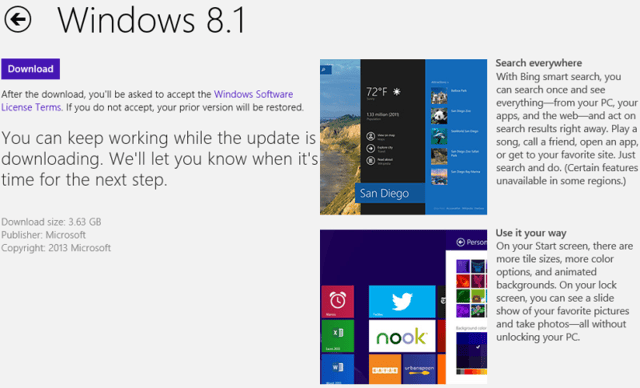
With your system image backup tucked way, the next step is to download\r\nthe Windows 8.1 installer. To do so,\r\ngo to the Windows Store from the Start screen and access the Windows 8.1 download\r\nscreen, shown in Figure E.
\r\n\r\n
Credit: Image by Greg\r\nShultz for TechRepublic
When\r\nyou click the Download button, the download operation will begin. Once it gets\r\nunderway, you’ll see the process advance, as illustrated in Figure F. Keep in mind that the\r\ndownload is almost 4GB and so may take a while depending on your Internet\r\nconnection speed.
\r\n\r\n
Credit: Image by Greg\r\nShultz for TechRepublic
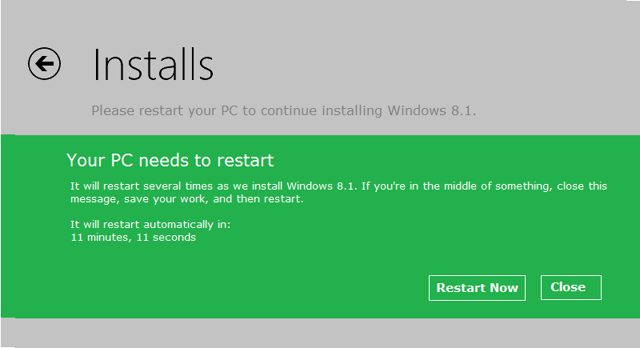
Once\r\nthe download is complete, you will see a message similar to the one shown in Figure G, which will prompt you to\r\nrestart your system. To continue, just click the Restart button. Once the\r\nsystem restarts, the first stage of the Windows 8.1 setup procedure will\r\ncommence.
\r\n\r\n
Credit: Image by Greg\r\nShultz for TechRepublic

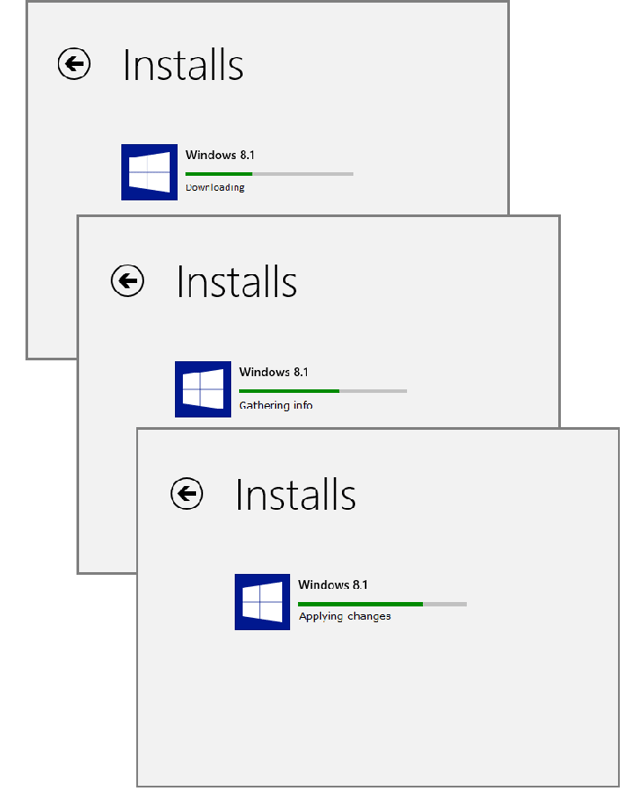
\r\n\r\nOnce the download is\r\ncomplete and the system restarts, the installation procedure will begin, and\r\nyou’ll see a screen similar to the one that I encountered on my Dell laptop, as\r\nshown in Figure H.
\r\n\r\n
Credit: Image by Greg\r\nShultz for TechRepublic
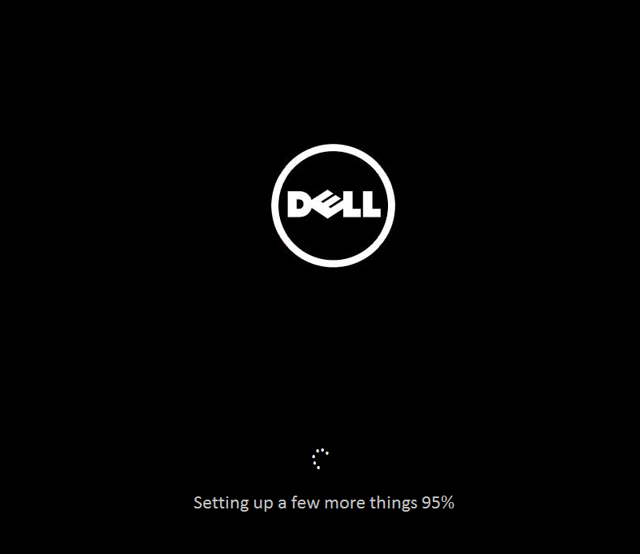
As\r\nyou can see the first screen indicates that setup is getting underway. You’ll\r\nsee this screen for a little while but the message will change as the installation\r\nprogresses. Of course there will be a couple of restarts. For example, on my test\r\nsystem the next message was Getting devices\r\nready, which was then followed by Getting\r\nready, and Applying PC settings.\r\nFinally, the screen shown in Figure I\r\nappears.
\r\n\r\n
Credit: Image by Greg\r\nShultz for TechRepublic
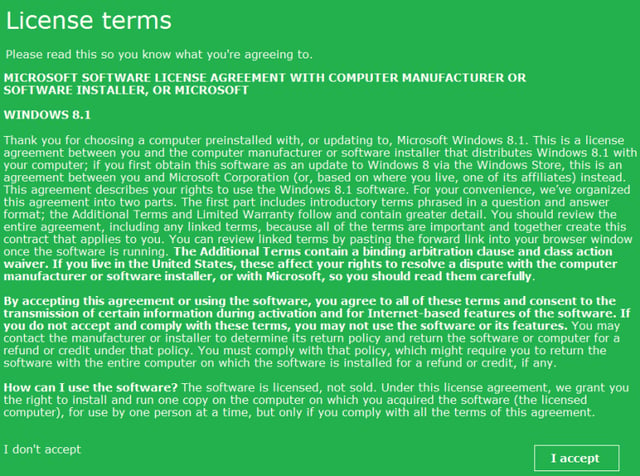
\r\n\r\nAs soon as your system\r\nreboots, you’ll be prompted to accept the Windows 8.1 license terms and will\r\nsee a screen similar to the one shown in Figure\r\nJ. As you can see, this is an OEM license for Windows 8.1 between me and\r\nthe computer manufacturer, which in this case is Dell.
\r\n\r\n
Credit: Image by Greg\r\nShultz for TechRepublic
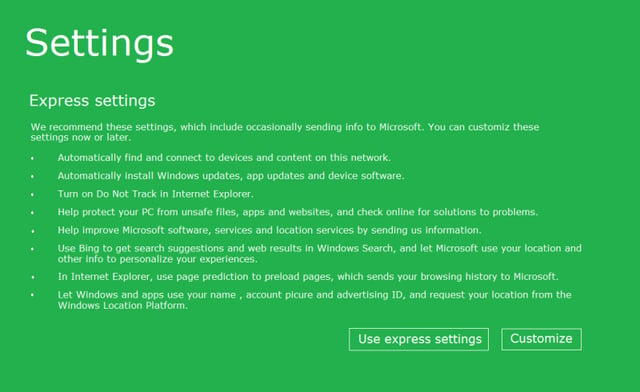
After\r\nyou click OK on the License terms screen, you’ll see a Settings screen like the\r\none shown in Figure K. Your best bet\r\nis to just click the Use express settings button. When you do, it appears as\r\nthough Setup just uses your existing settings. Of course, if you want to change\r\nyour settings go ahead and click the Customize button.
\r\n\r\n
Credit: Image by Greg\r\nShultz for TechRepublic
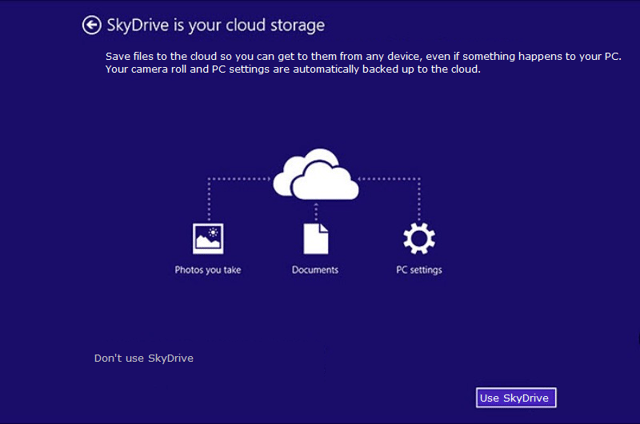
On\r\nthe following screens, you’ll be prompted to enter your Microsoft Account\r\npassword, specify your backup email account and then enter the security code\r\nthat will be sent to you via your backup email account. Once you enter the\r\ncode, you’ll see the screen shown in Figure\r\nL that prompts you to use SkyDrive, which is deeply\r\nintegrated into Windows 8.1.
\r\n\r\n
Credit: Image by Greg\r\nShultz for TechRepublic
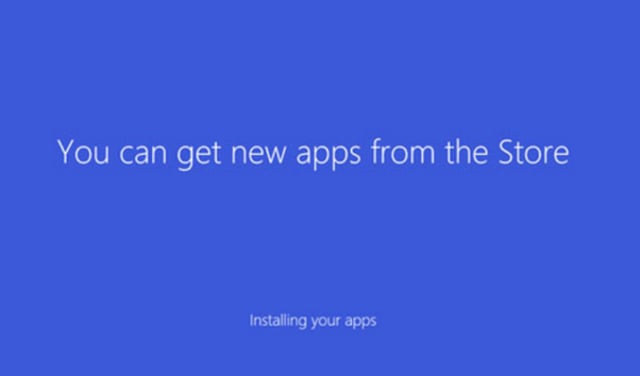
You’ll\r\nthen see a series of screens that change color while they inform you that settings\r\nare being configured. You’ll then see a screen, like the one shown in Figure M, which informs you that your\r\npreviously installed apps are being reinstalled. Keep in mind that some\r\nthird-party apps may only have a tile on the Start Screen. Just click the tile\r\nand the app will be completely reinstalled.
\r\n\r\n
Credit: Image by Greg\r\nShultz for TechRepublic
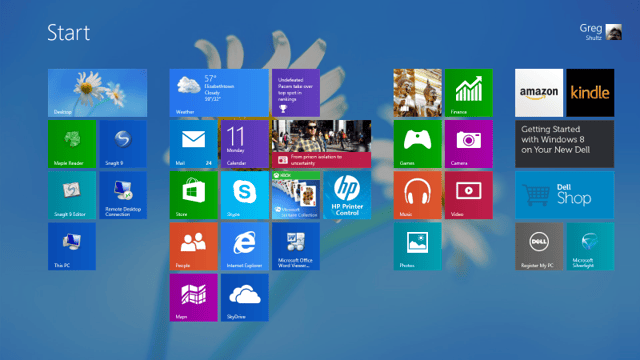
Finally\r\nyou will see the new transparent Start Screen that allows you to see your\r\ndesktop wallpaper in the background, as shown in Figure N.
\r\n\r\n
Credit: Image by Greg\r\nShultz for TechRepublic

My first computer was a Kaypro 16 \"luggable\" running MS-DOS 2.11 which I obtained while studying computer science in 1986. After two years, I discovered that I had a knack for writing documentation and shifted my focus over to technical writing.


