If you use CentOS 7 in your data center, you probably assume it an impeccably secure platform. For the most part, that assumption is on the money. However, there are things you can do to make the platform even more secure. One such task is to enable the auditd system.
Must-read security coverage
- UK Police Convicts Pair in £5.5 Billion Bitcoin Launder Case
- Blackpoint Cyber vs. Arctic Wolf: Which MDR Solution is Right for You?
- How GitHub Is Securing the Software Supply Chain
- 8 Best Enterprise Password Managers
What is the auditd system? Auditd is part of the Linux Auditing System, and it is responsible for writing audit records to disk. With auditd, you can configure audit rules, view logs, and customize it based on specific requirements. With the help of Auditd, you can gain valuable insights about your server performance and activity. Out of the box, you should have auditd installed on your CentOS 7 server. On the off-chance it’s not, we’ll install it.
Let’s take care of that.
SEE: Information security policy template download (Tech Pro Research)
Installing Auditd
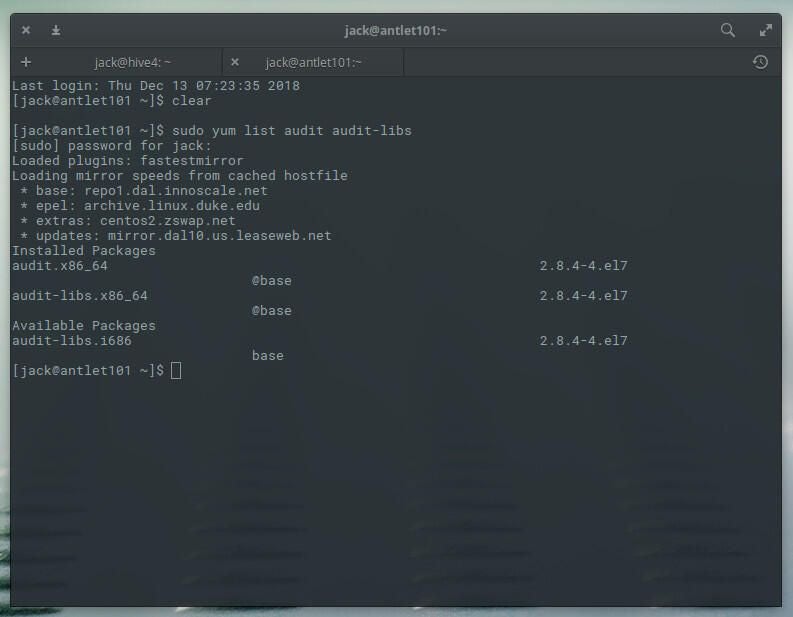
Audit system comes in the form of two packages: Audit and audit-libs. Let’s check to see if these are installed with the command:
sudo yum list audit audit-libs
If you see those packages listed (Figure A), everything is ready.
If you don’t see the packages listed, install them with the command:
sudo yum install audit audit-libs
Next, we need to start and enable Auditd with the commands:
sudo systemctl start auditd

sudo systemctl enable auditd
At this point, Auditd is running and writing records to /var/log/audit/audit.log. You can issue the command:
tail -f /var/log/audit/audit.log
The above command will follow anything written to the Auditd log, so you can view it in real time.
Configuring Auditd
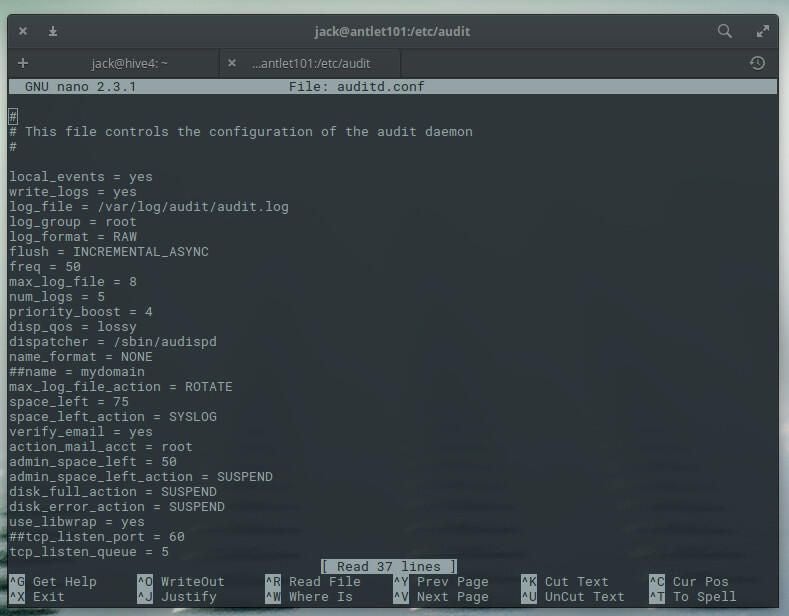
In order to configure Auditd, we must first change to the root user with the command su. Once you’ve done that, issue the command:
nano /etc/audit/auditd.conf
In this file (Figure B), you can configure the Auditd daemon.
What you want to focus your time on is the Auditd rules. Issue the command:
nano /etc/audit/audit.rules
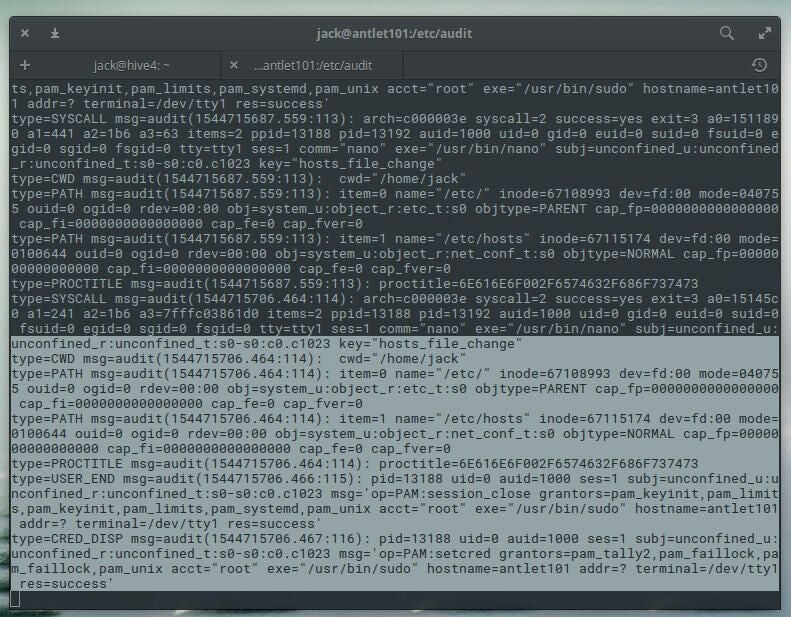
Let’s say you want to configure Auditd to watch a particular directory … say, /etc/hosts. In the audit.rules file, add the following:
-w /etc/hosts -p wa -k hosts_file_change
Where:
- -w is the location to watch.
- -p is the permissions (in accordance to standard UNIX permissions).
- -k is the key name (an optional string to help identify, which rule or a set of rules has generated a particular log entry).
Save and close that file. After adding the rule, run the tail command (from above) and edit the /etc/hosts file. You should see an entry tagged with the key configured in the rules entry (Figure C).
And that’s all there is to enabling Auditd and adding a new rule to the system. This is a great way to keep track of what’s going on with your CentOS 7 server.