\n\tIn September 2011, Verizon added a fourth device to its growing lineup of 4G LTE smartphones–the Motorola Droid Bionic. Like the Motorola Atrix, released in April, the Bionic support the Motorola Lapdock accessory.
\n
\n\tThe Lapdock is basically a large docking station complete with keyboard, LCD screen, and trackpad. It’s nearly identical to the Atrix Lapdock, but the two are not compatible as they have docking connectors designed specifically for each phone.
\n\t
\n\tAfter cracking open the Bionic, I was interested to examine the hardware inside the Lapdock. From the outside, it looks like and ultrathin laptop. Would the internal hardware, also be similar to a laptop’s? Find out, as I crack open the Motorola Droid Bionic Lapdock.
\n\t
\n\tPhoto by: Bill Detwiler / TechRepublic
\n\tCaption by: Bill Detwiler
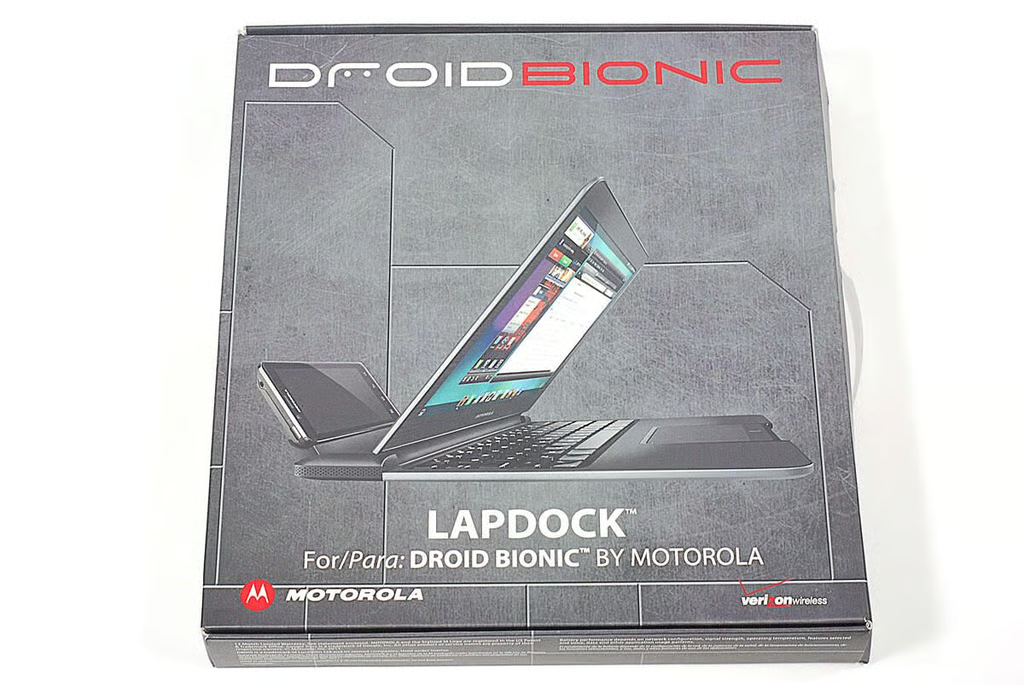
\n\tAs of this writing, Verizon is selling the Motorola Droid Bionic Lapdock for $299.99 (US).
\n\t
\n\tPhoto by: Bill Detwiler / TechRepublic
\n\tCaption by: Bill Detwiler
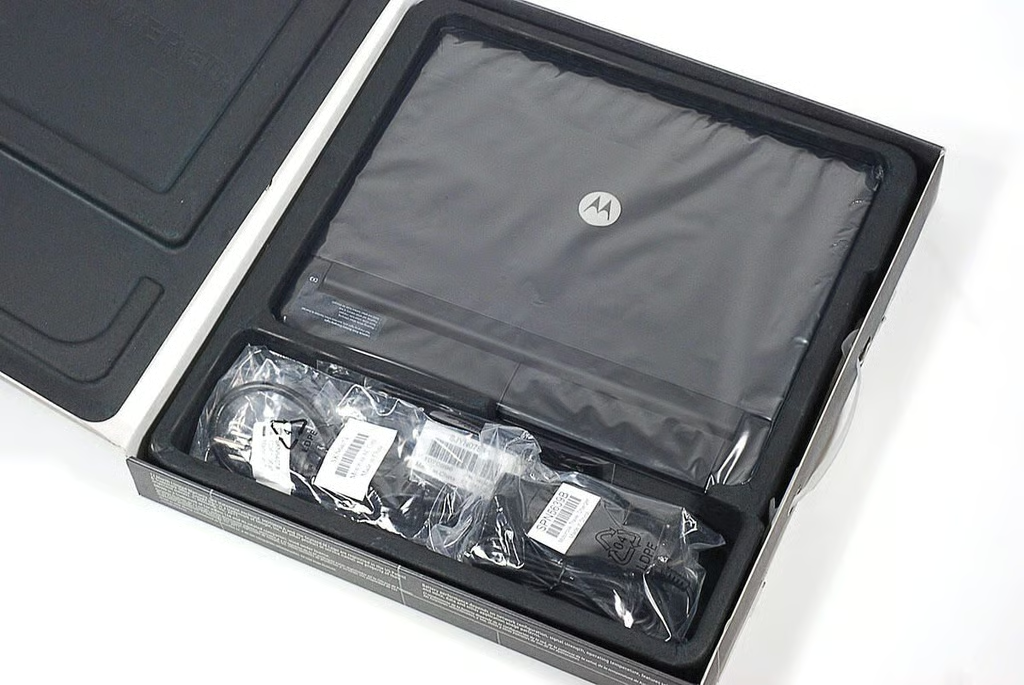
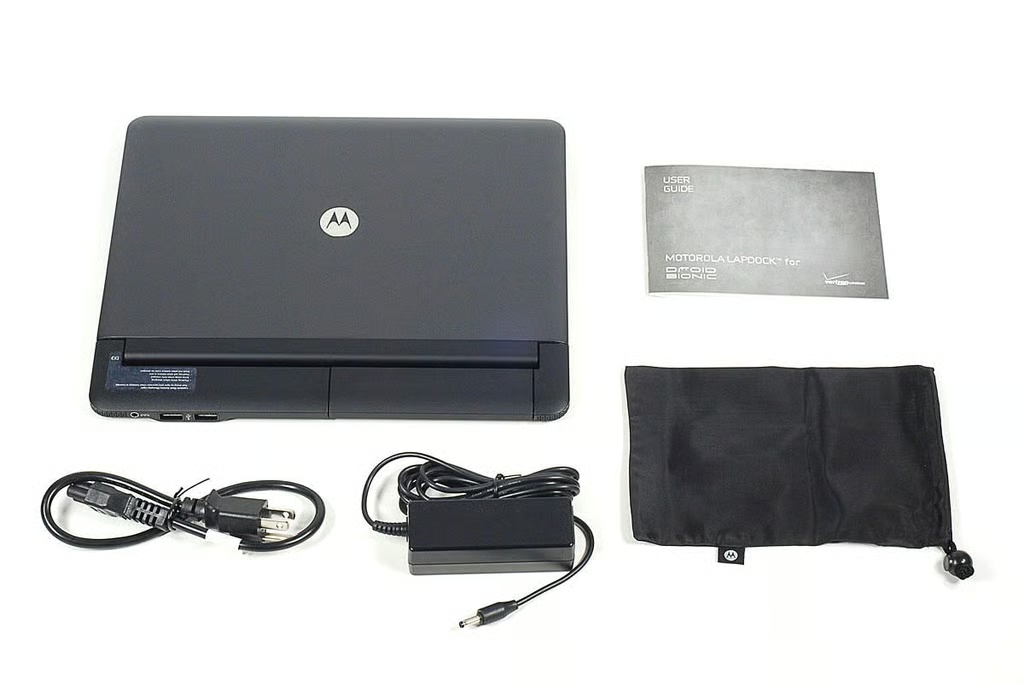
\n\tAlong with actual Lapdock accessory, you also get a power cable and adapter, bag (for the power adapter and cable), and product documentation.
\n
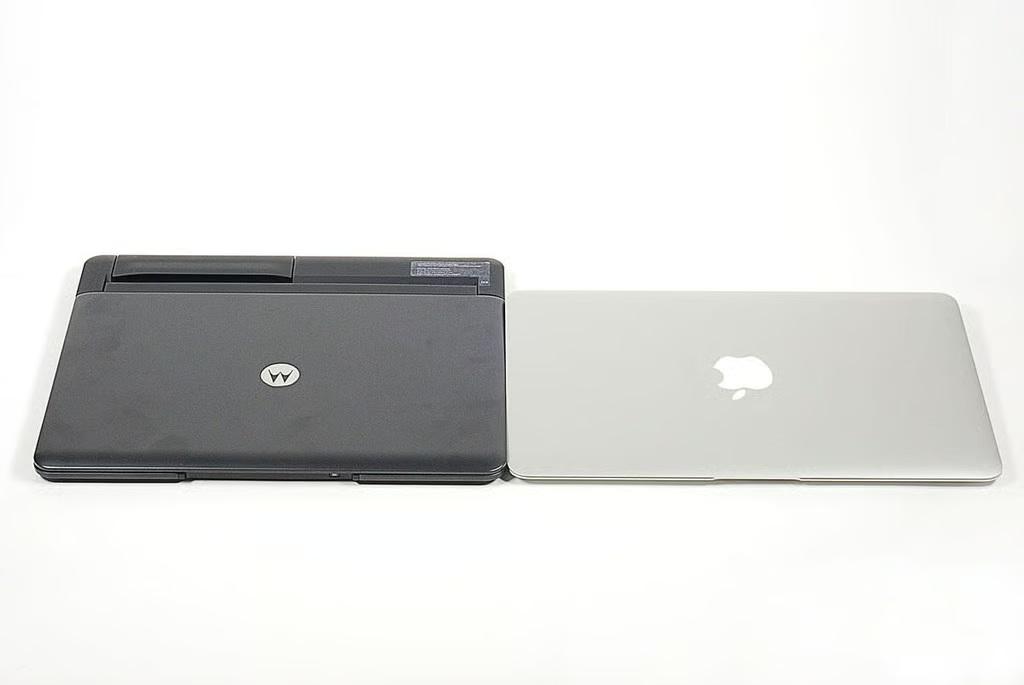
\n\tPhoto by: Bill Detwiler / TechRepublic
\n\tCaption by: Bill Detwiler
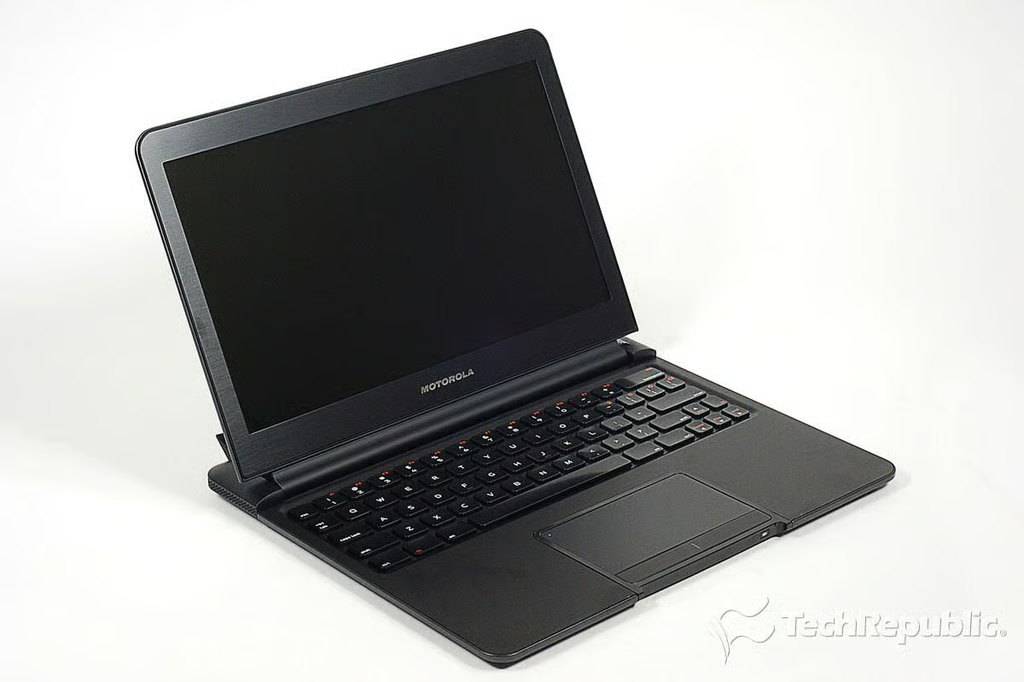
\n\tThe Droid Bionic Lapdock offers a fullsize keyboard, trackpad, and 11.5-inch (diagonal) LCD screen. It weighs around 2.4 pounds. If you didn’t know if was a smartphone accessory, you might think it was just another laptop.
\n\t
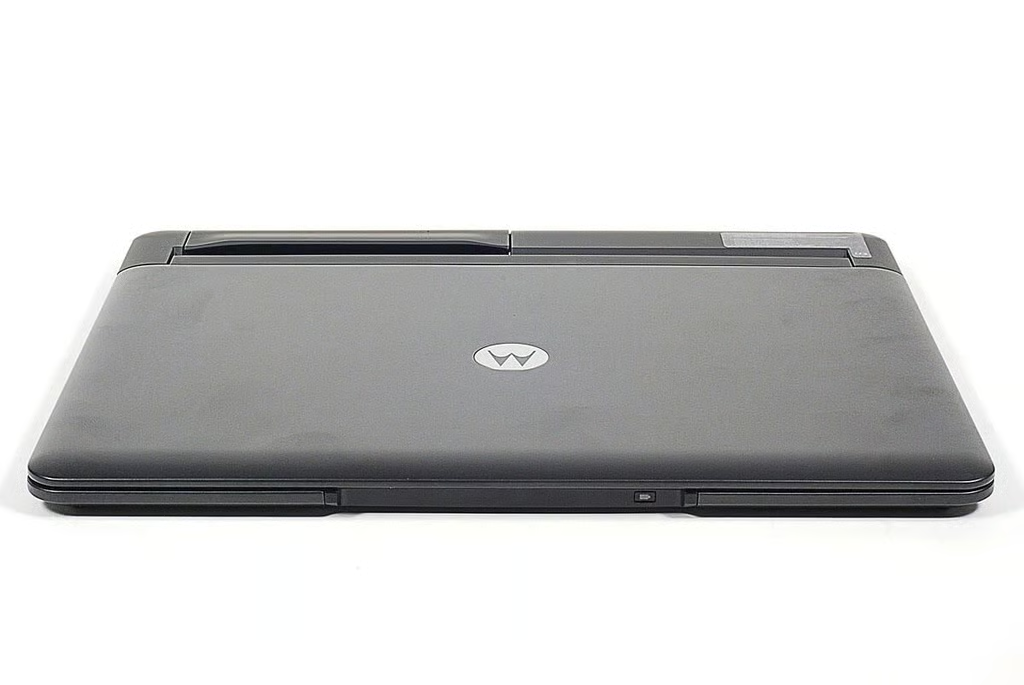
\n\tPhoto by: Bill Detwiler / TechRepublic
\n\tCaption by: Bill Detwiler
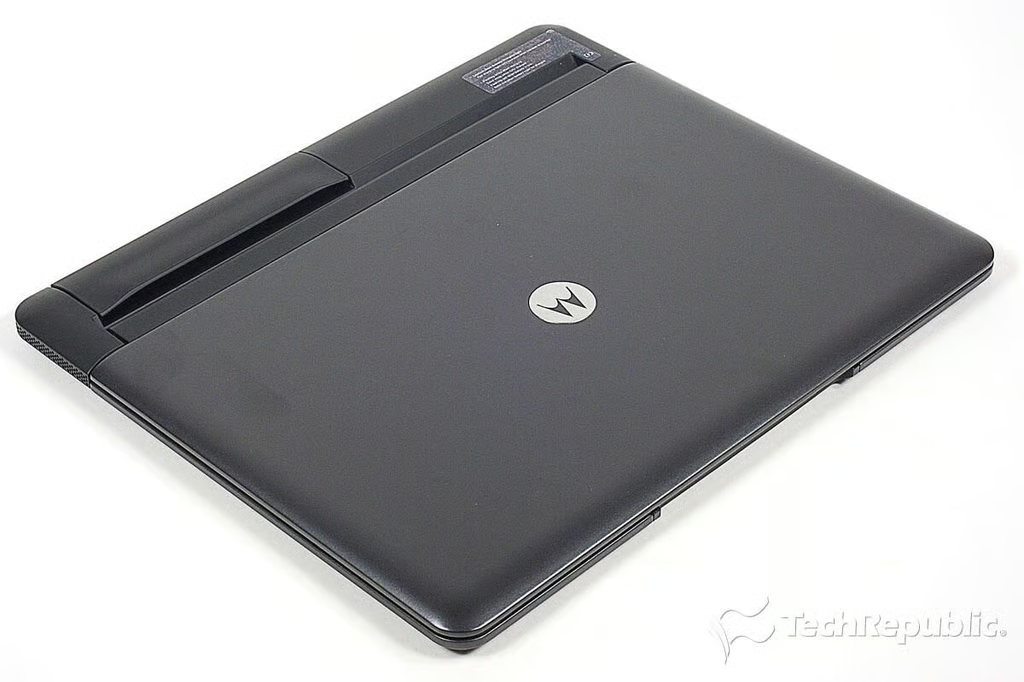
\n\tWith the lid and phone cradle closed, the Droid Bionic Lapdock looks like an ultrathin notebook.
\n
\n\tPhoto by: Bill Detwiler / TechRepublic
\n\tCaption by: Bill Detwiler
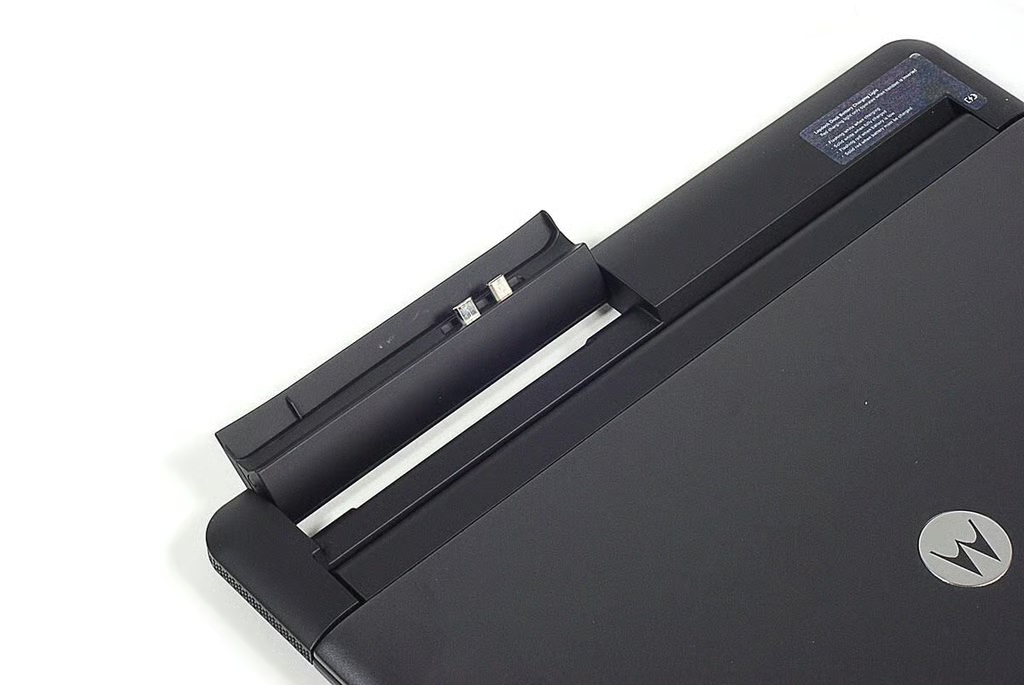
\n\tThe Lapdock’s phone cradle flips up to accept the Droid Bionic. As I noted earlier, the Bionic’s version of the Lapdock is not compatible with the Atrix (and vice versa).
\n
\n\tPhoto by: Bill Detwiler / TechRepublic
\n\tCaption by: Bill Detwiler
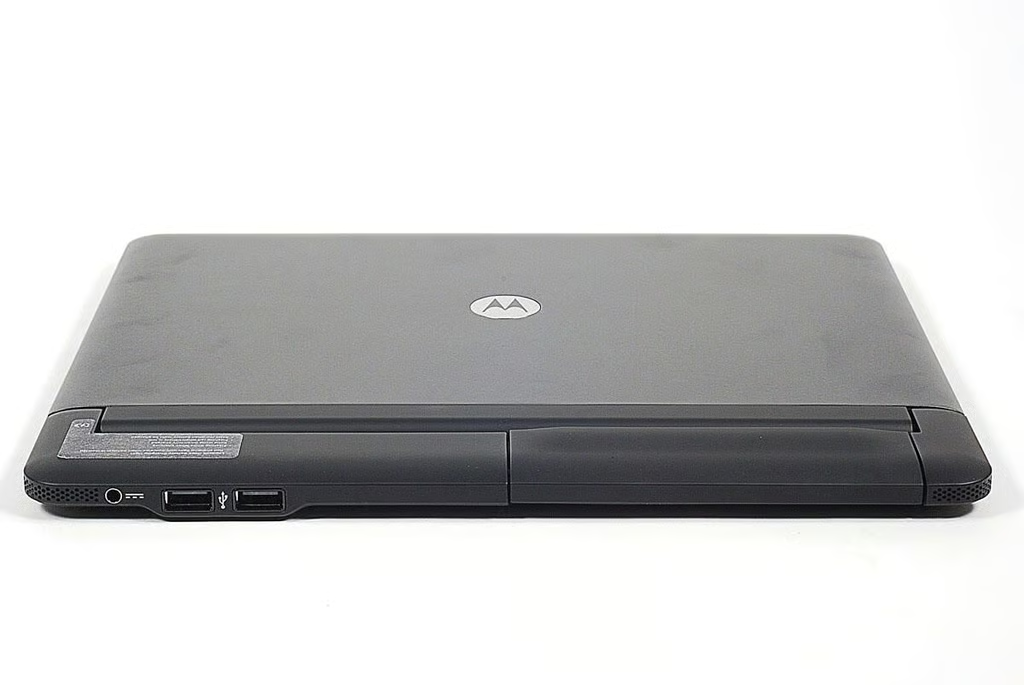
\n\tAlong the Lapdock’s back edge are the power connector and two USB 2.0 ports.
\n
\n\tPhoto by: Bill Detwiler / TechRepublic
\n\tCaption by: Bill Detwiler
\n\tA battery level indicator is located along the Lapdock’s front edge.
\n
\n\tPhoto by: Bill Detwiler / TechRepublic
\n\tCaption by: Bill Detwiler
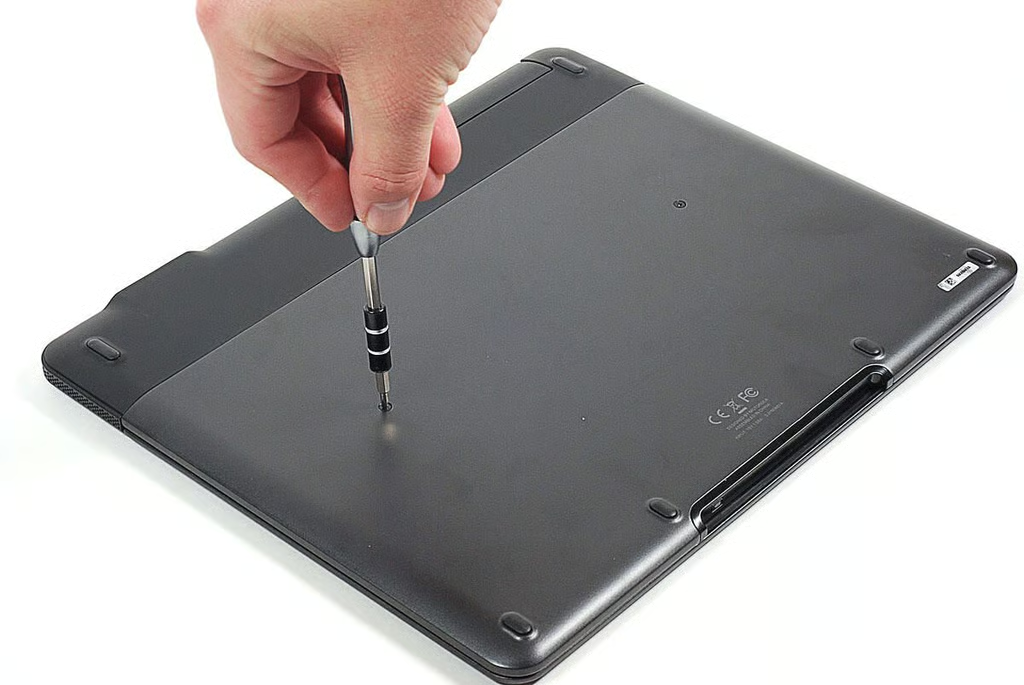
\n\tThe first step in disassembling the Lapdock, is to remove the exposed screws located on the bottom cover. I was able to remove all the Lapdock’s external and internal screws with a Phillips #00 screwdriver.
\n
\n\tPhoto by: Bill Detwiler / TechRepublic
\n\tCaption by: Bill Detwiler
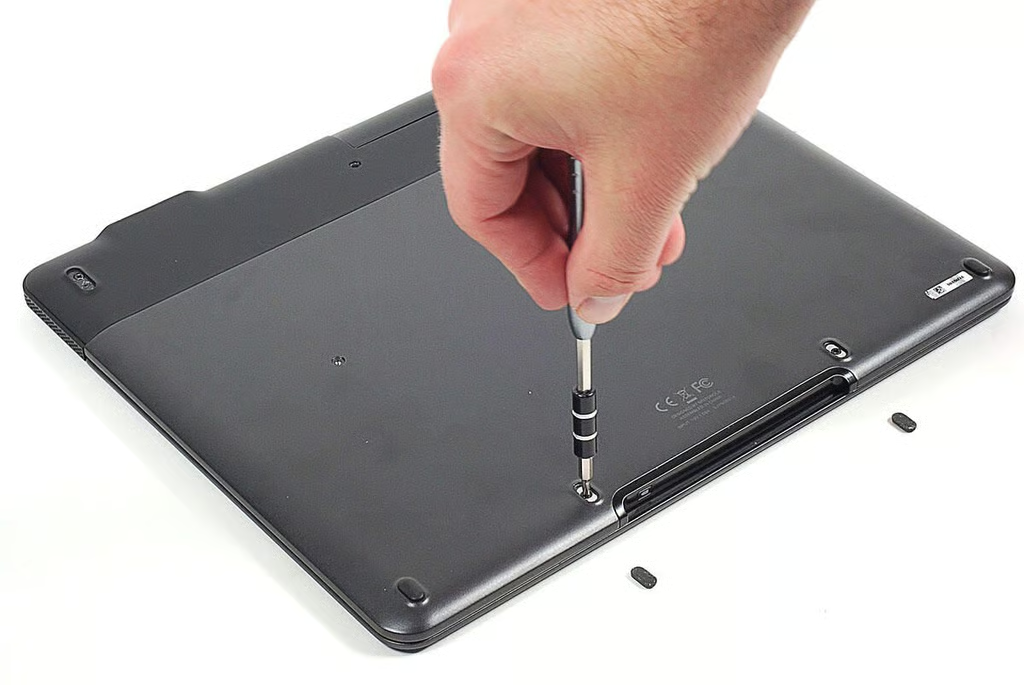
\n\tA pair of screws are hidden under the inner set of rubber feet.
\n
\n\tPhoto by: Bill Detwiler / TechRepublic
\n\tCaption by: Bill Detwiler
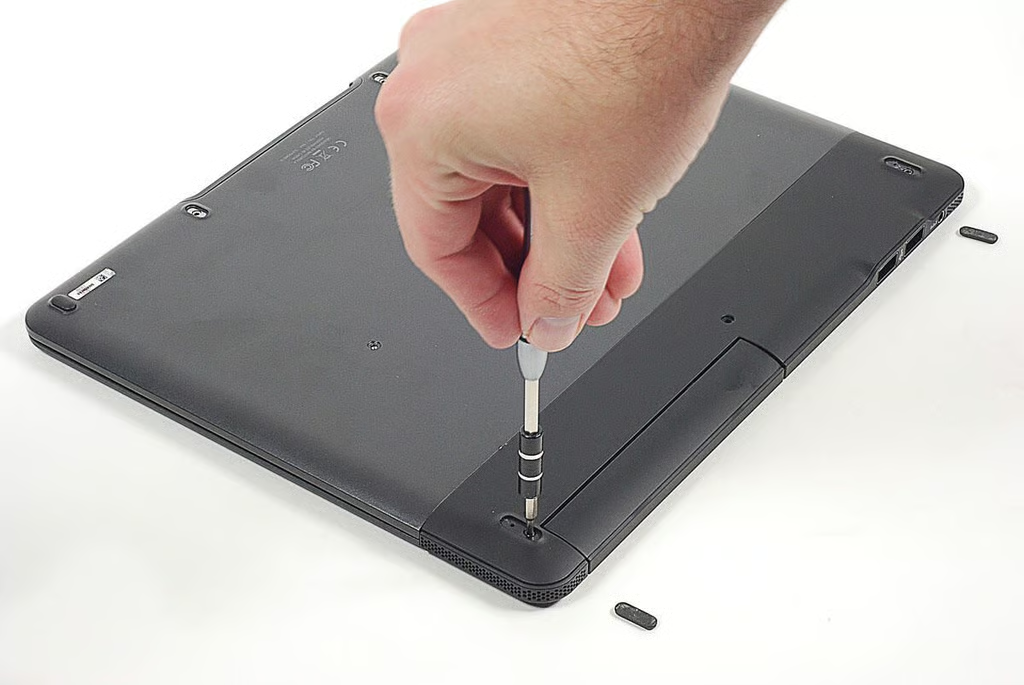
\n\tA second pair of screws are also hidden under the two back feet.
\n
\n\tPhoto by: Bill Detwiler / TechRepublic
\n\tCaption by: Bill Detwiler
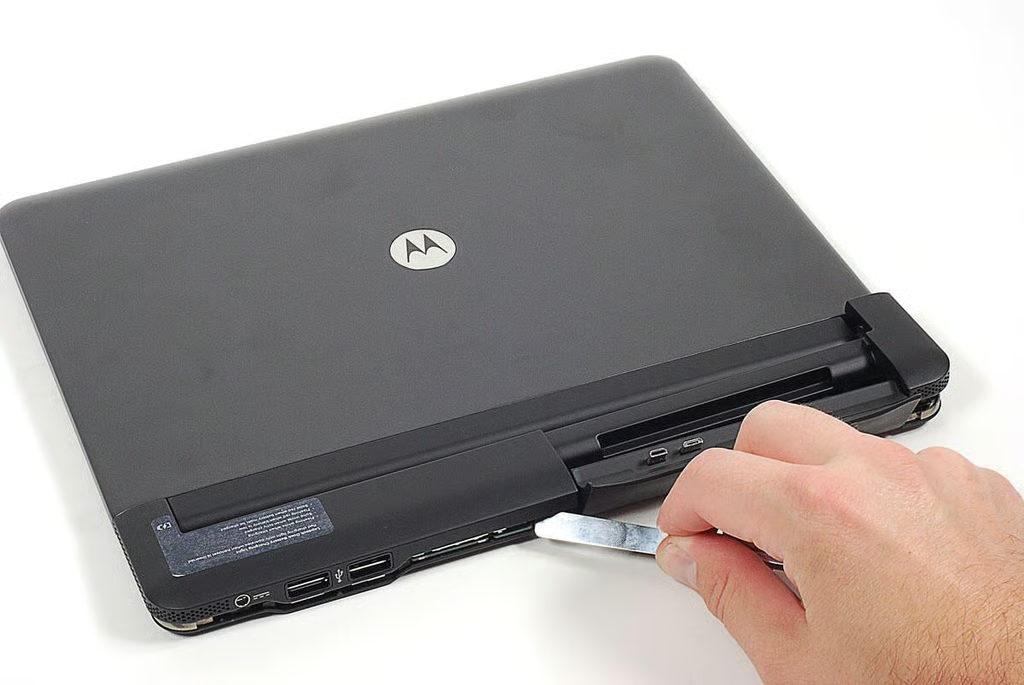
\n\tWith all visible and hidden screws removed from the bottom of the Lapdock’s case, I used a thin metal blade to pry the rear cover off.
\n
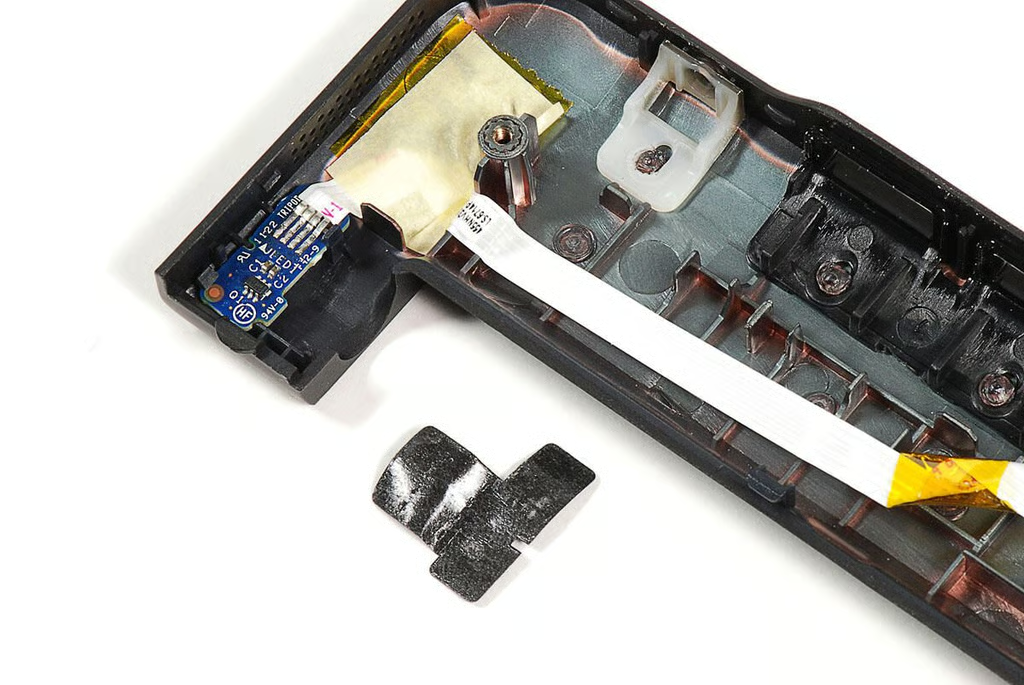
\n\tPhoto by: Bill Detwiler / TechRepublic
\n\tCaption by: Bill Detwiler
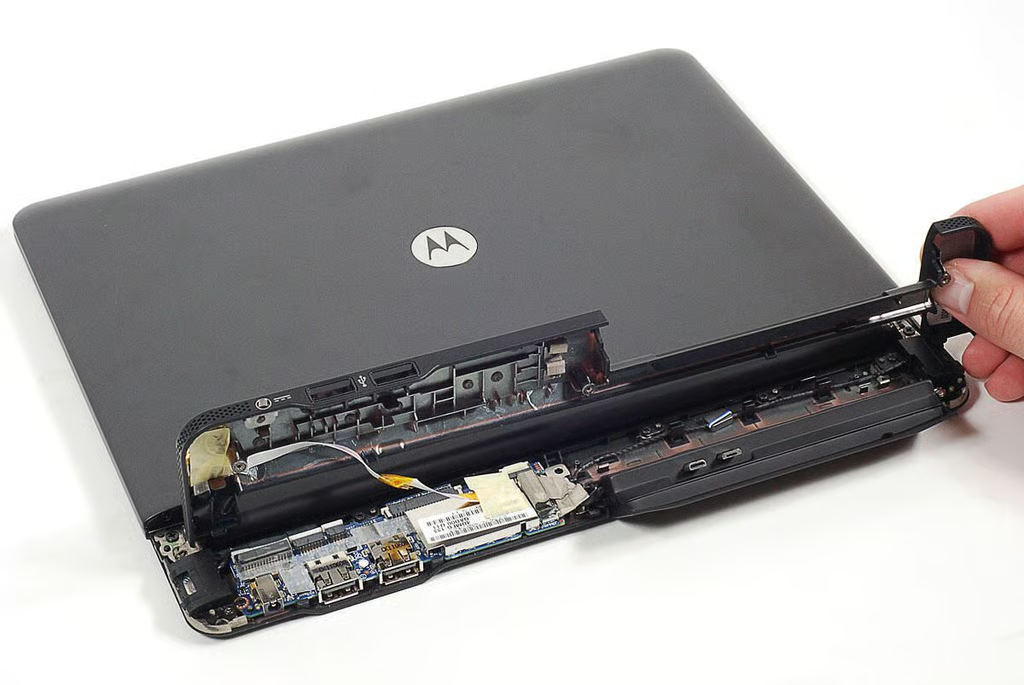
\n\tA ribbon cable connects the dock battery indicator LED to the motherboard. I gently disconnected it before completely removed the rear cover.
\n
\n\tPhoto by: Bill Detwiler / TechRepublic
\n\tCaption by: Bill Detwiler
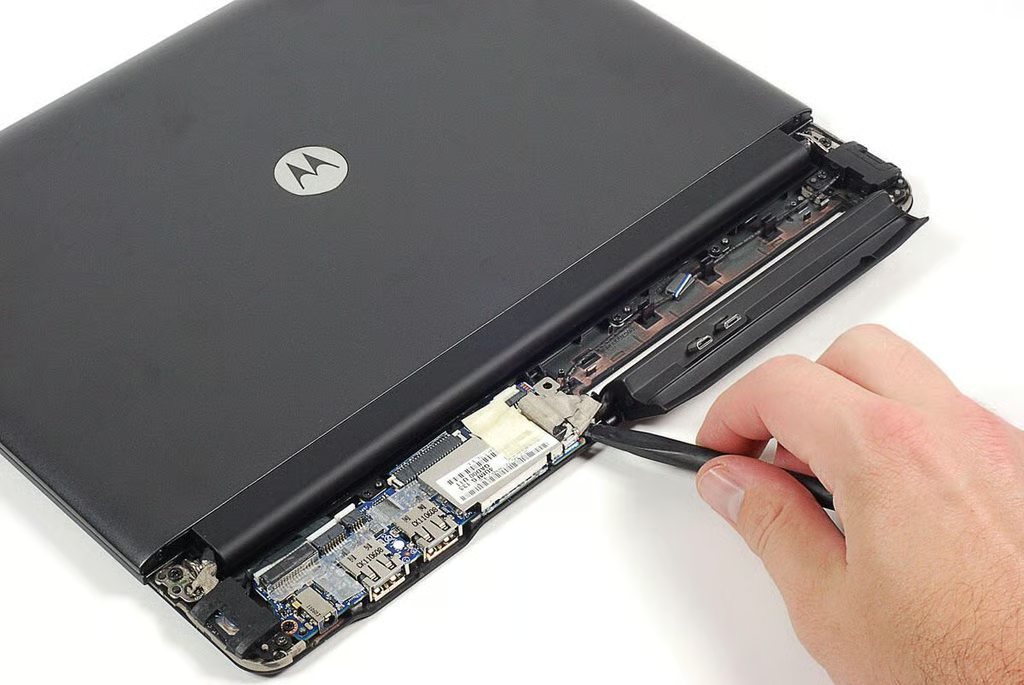
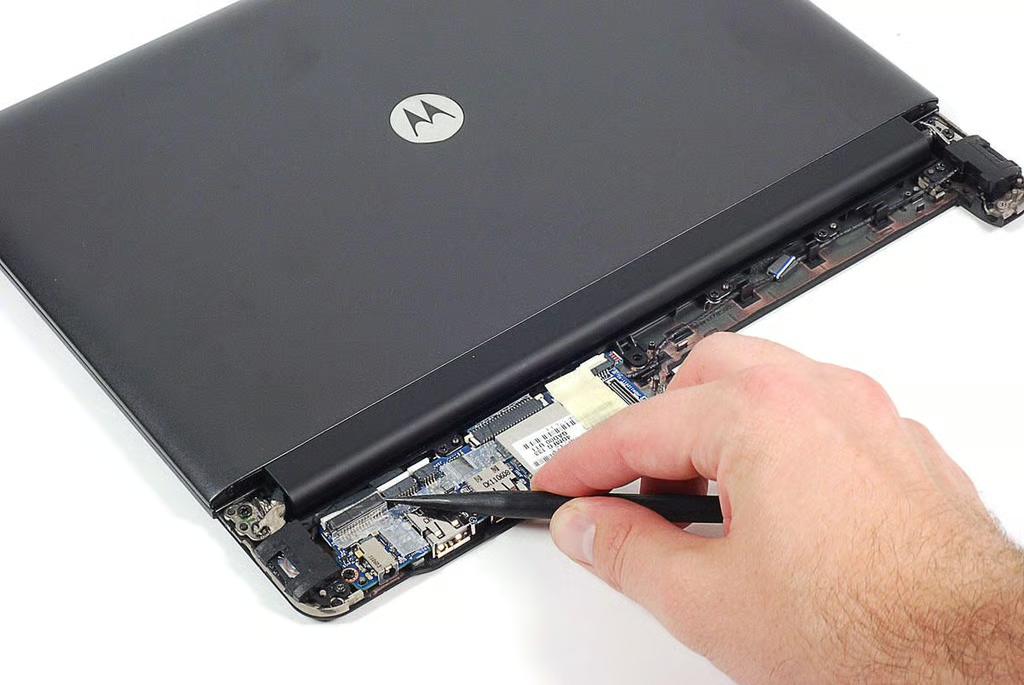
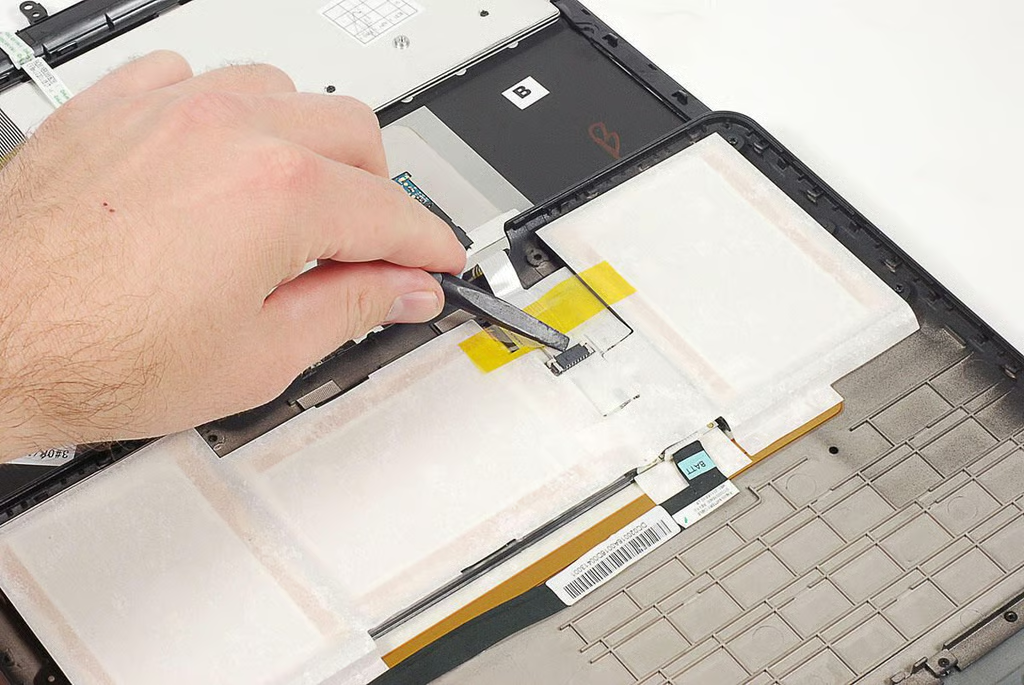
\n\tUsing a black, plastic spudger, I disconnected the phone cradle’s connector from the Lapdock’s motherboard.
\n
\n\tPhoto by: Bill Detwiler / TechRepublic
\n\tCaption by: Bill Detwiler
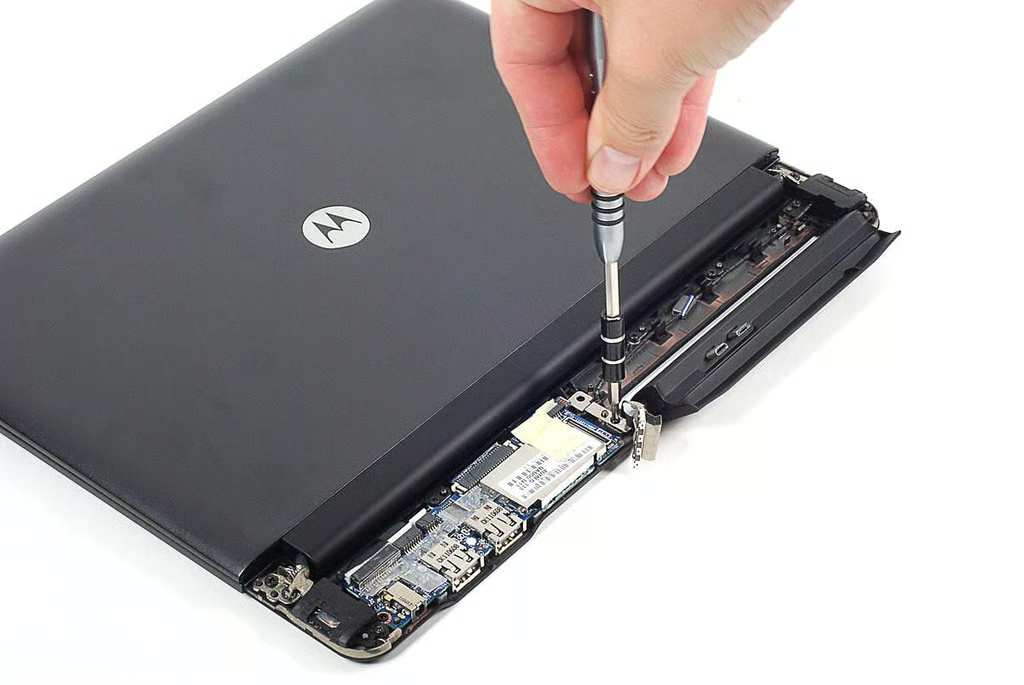
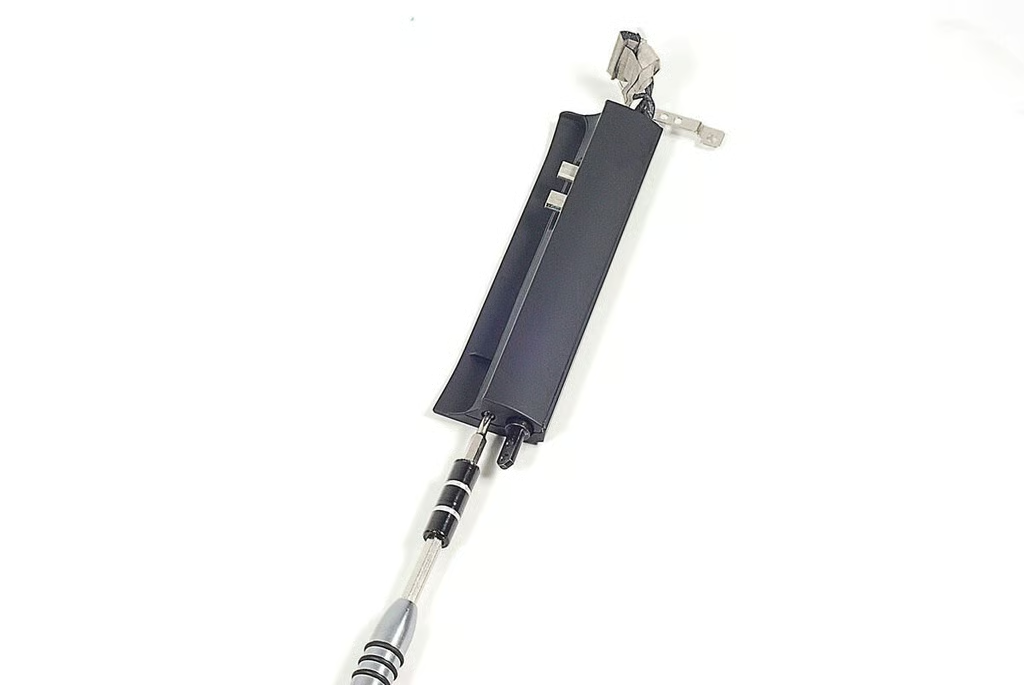
\n\tA few screws hold the cradle’s hinges to the Lapdock’s frame.
\n
\n\tPhoto by: Bill Detwiler / TechRepublic
\n\tCaption by: Bill Detwiler
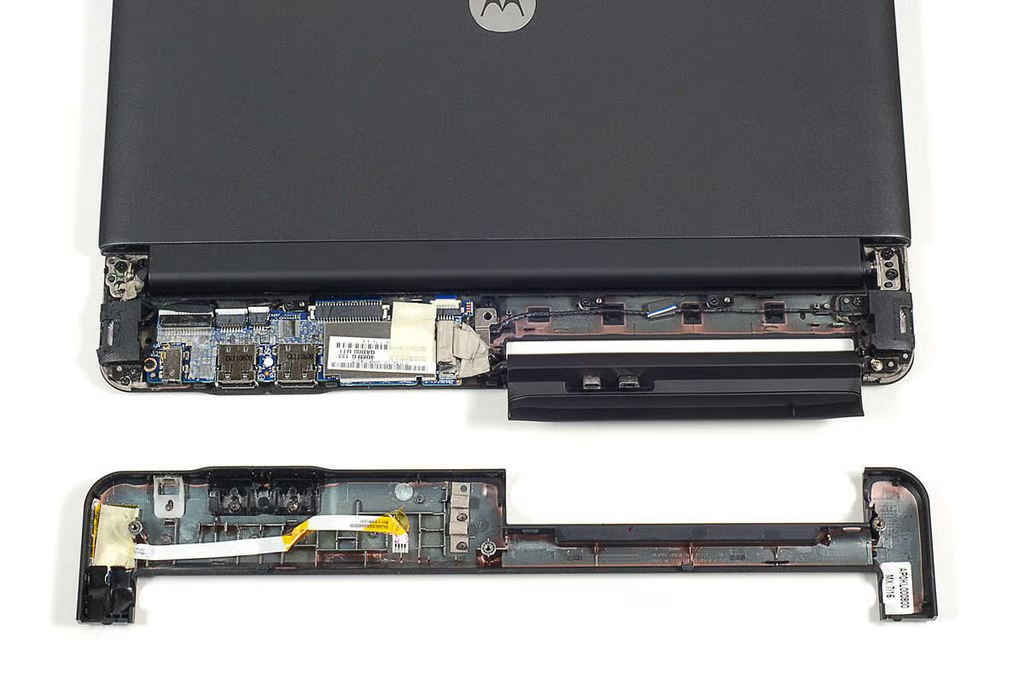
\n\tWith the phone cradle removed, I turned my attention to the motherboard. Using our plastic spudger, I detached all the cables from their connectors.
\n
\n\tPhoto by: Bill Detwiler / TechRepublic
\n\tCaption by: Bill Detwiler
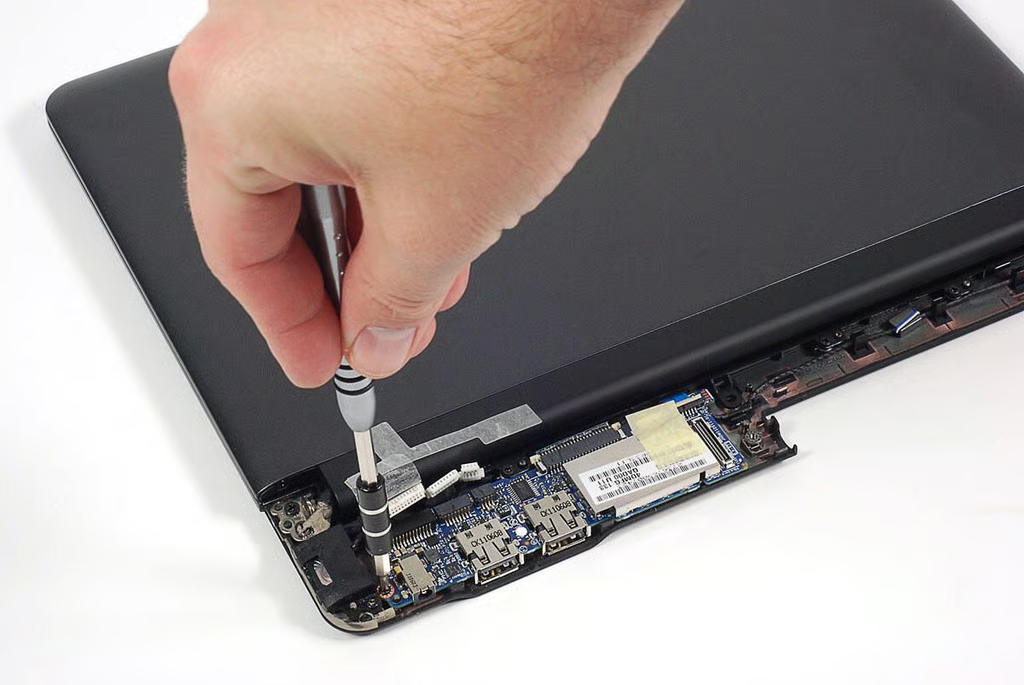
\n\tUsing our Phillips #00 screwdriver, I removed the screws holding the motherboard in place.
\n
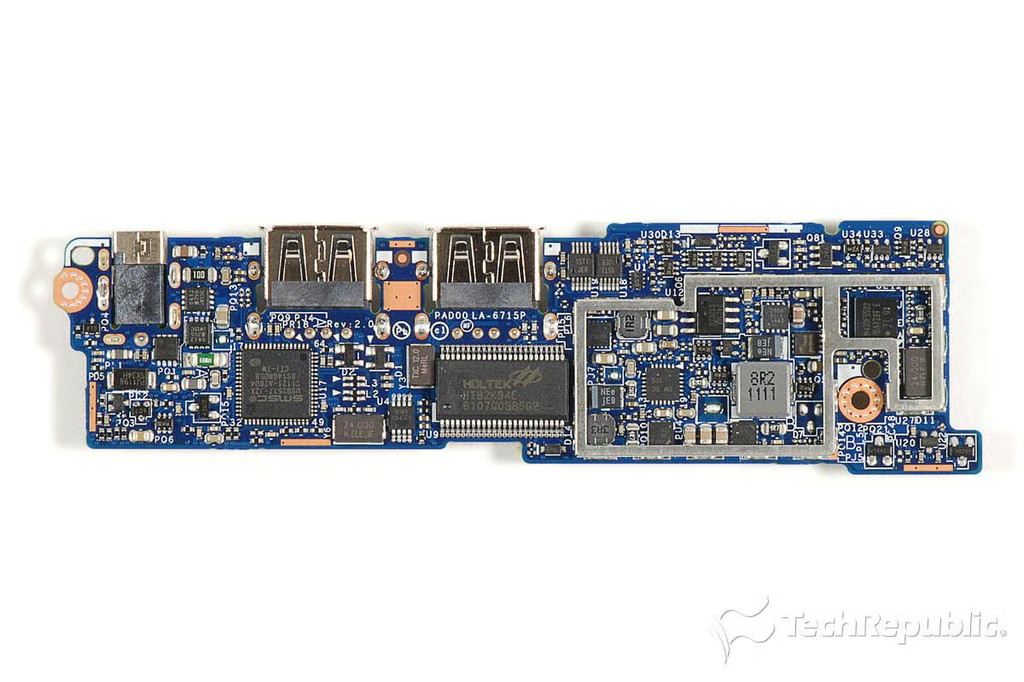
\n\tPhoto by: Bill Detwiler / TechRepublic
\n\tCaption by: Bill Detwiler
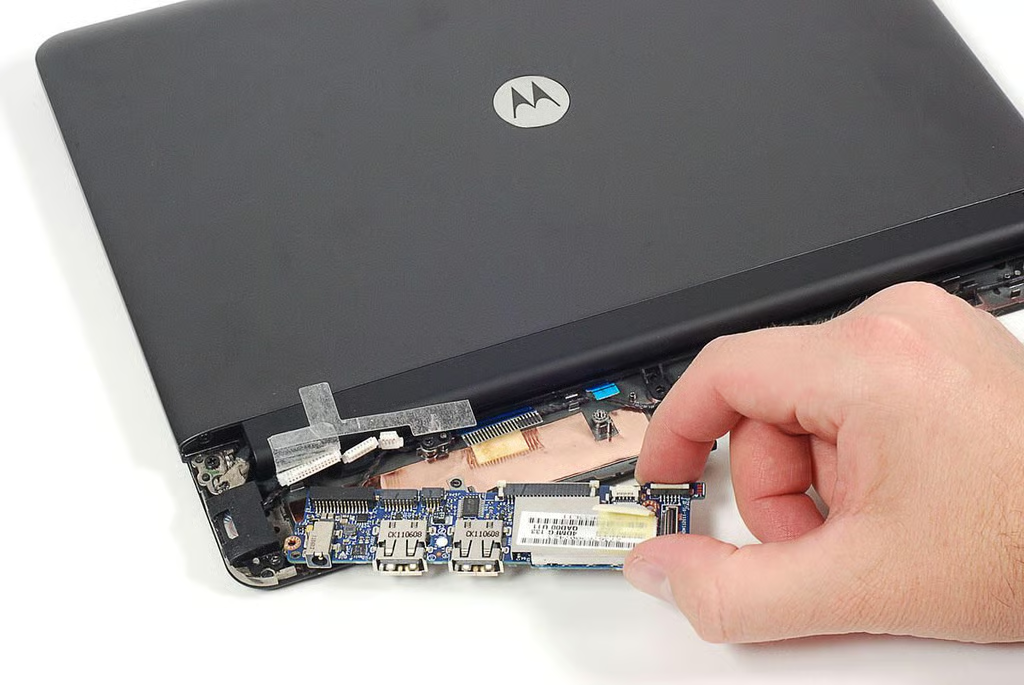
\n\tWith the screws removed and cables disconnected, I lifted the motherboard away from the Droid Bionic Lapdock’s case.
\n
\n\tPhoto by: Bill Detwiler / TechRepublic
\n\tCaption by: Bill Detwiler
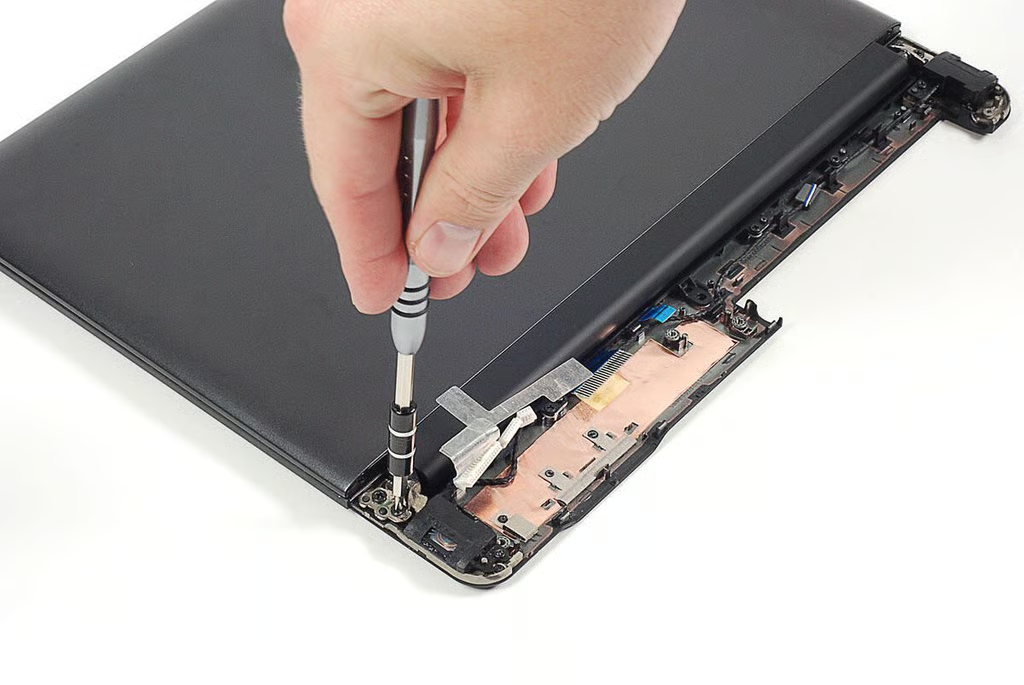
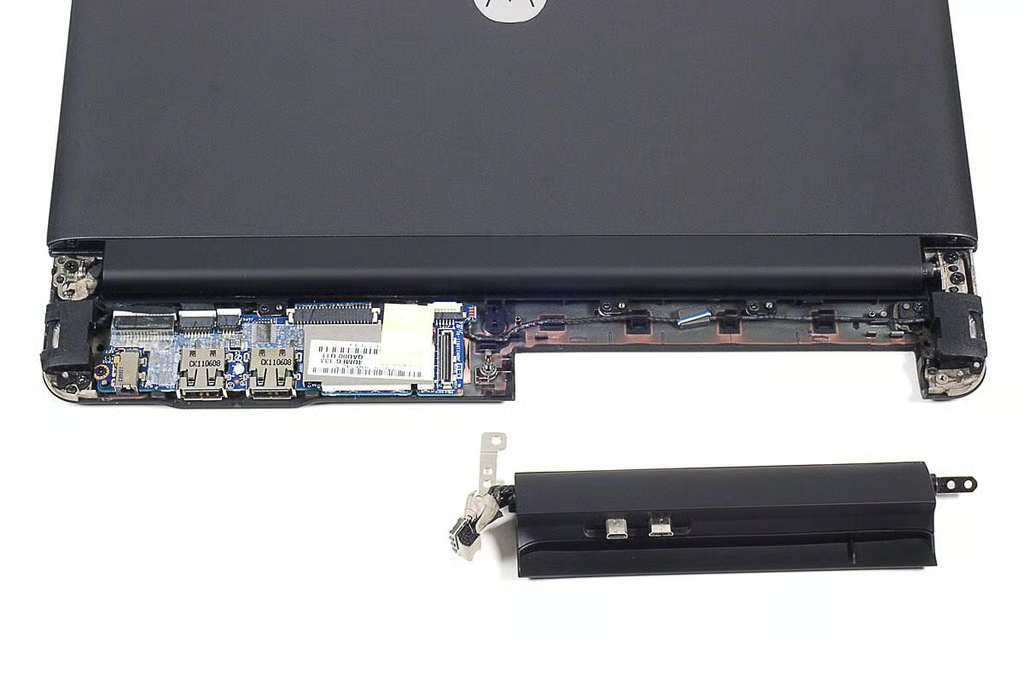
\n\tAfter removing the Lapdock’s motherboard, I removed the screws that hold the lid hinges to the lower case.
\n
\n\tPhoto by: Bill Detwiler / TechRepublic
\n\tCaption by: Bill Detwiler
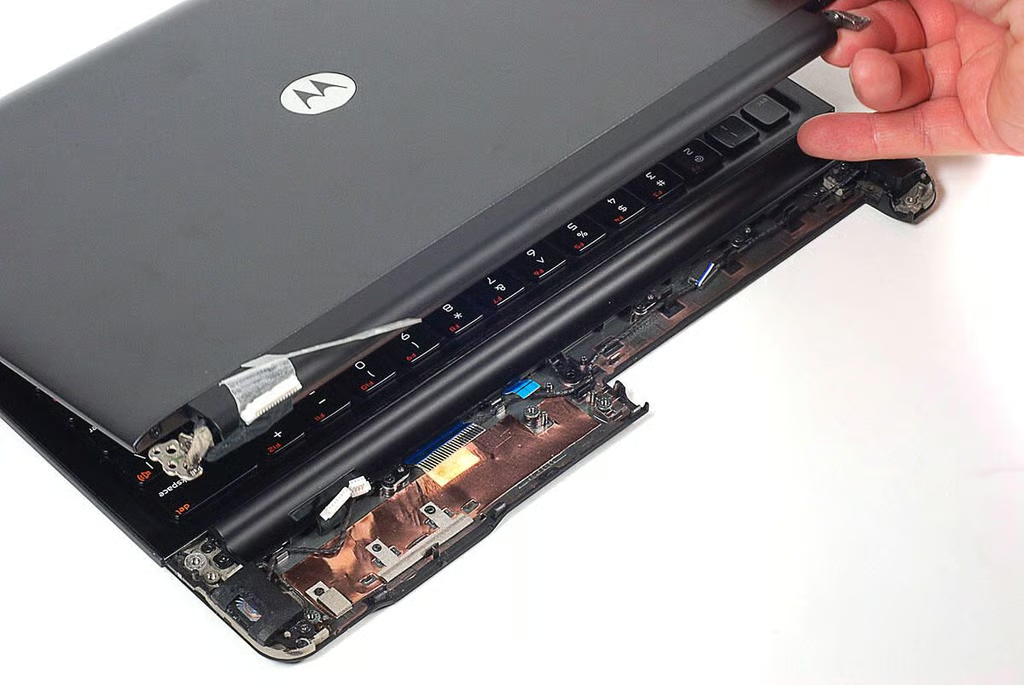
\n\tWith the hinge screws removed, I lifted the lid and LCD screen away from the Lapdock’s case.
\n
\n\tPhoto by: Bill Detwiler / TechRepublic
\n\tCaption by: Bill Detwiler
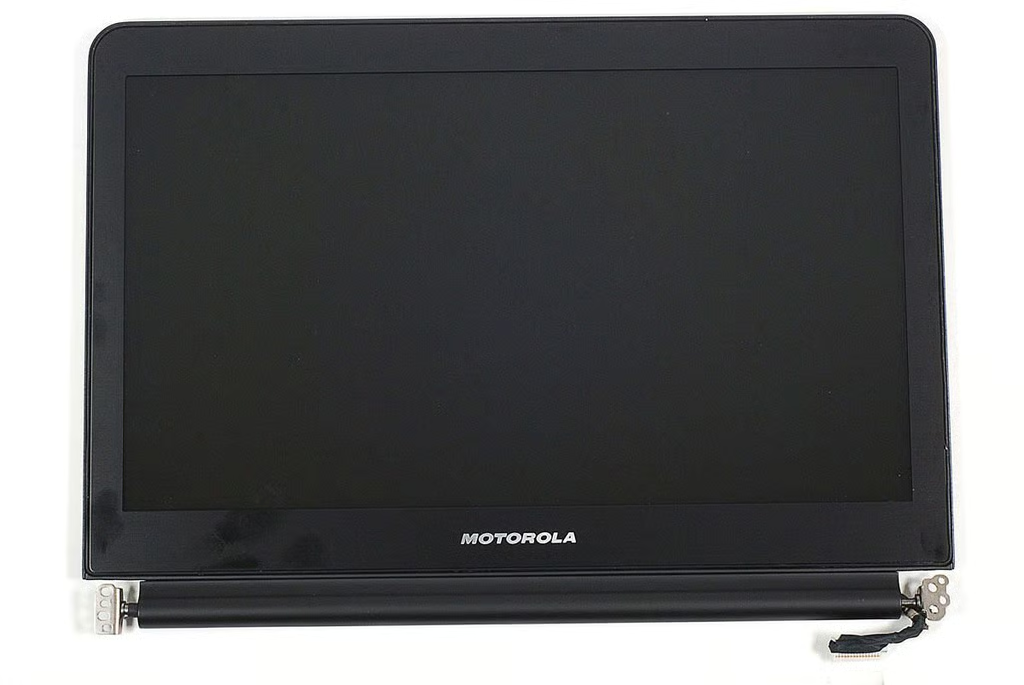
\n\tThe Lapdock has an 11.5-inch (diagonal) LCD.
\n
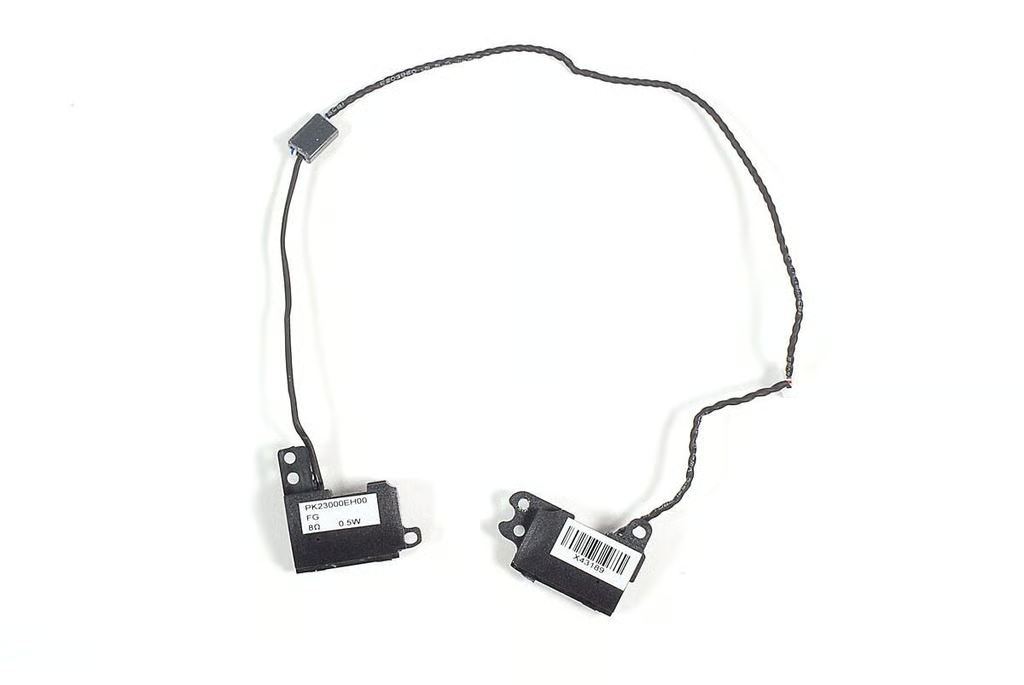
\n\tPhoto by: Bill Detwiler / TechRepublic
\n\tCaption by: Bill Detwiler
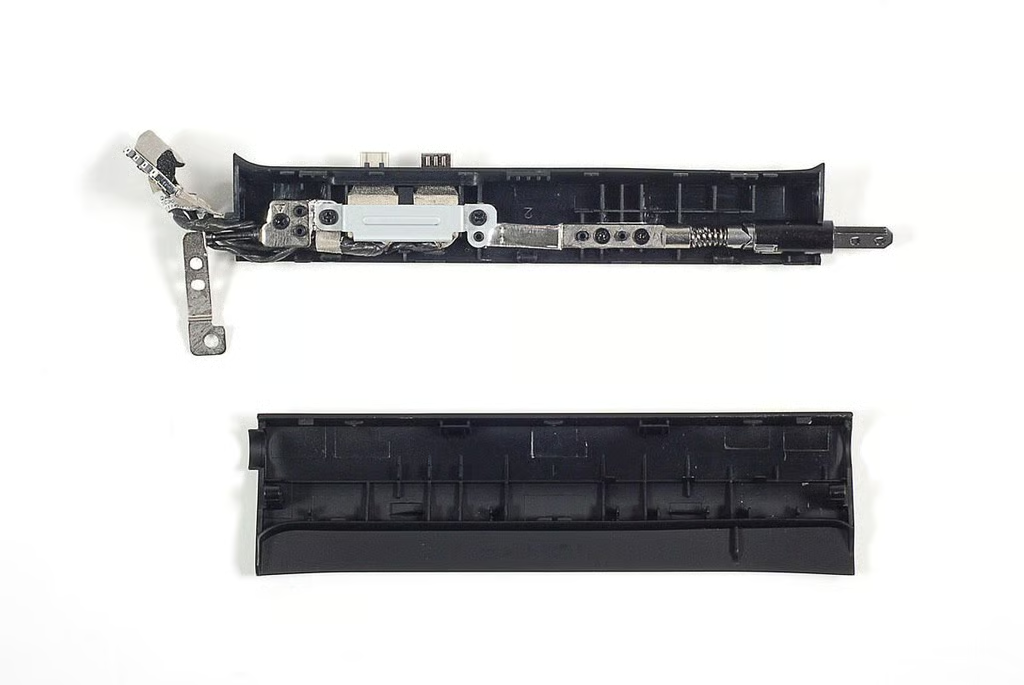
\n\tThe Lapdock contains a pair of stereo speakers. They are attached to the lower case with screws.
\n
\n\tPhoto by: Bill Detwiler / TechRepublic
\n\tCaption by: Bill Detwiler
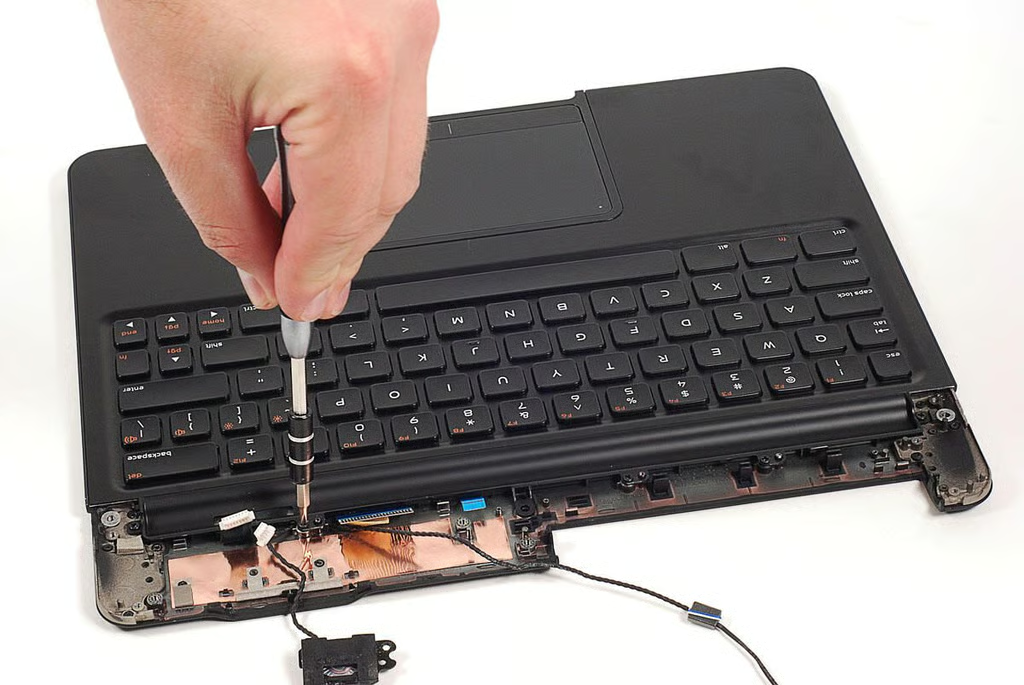
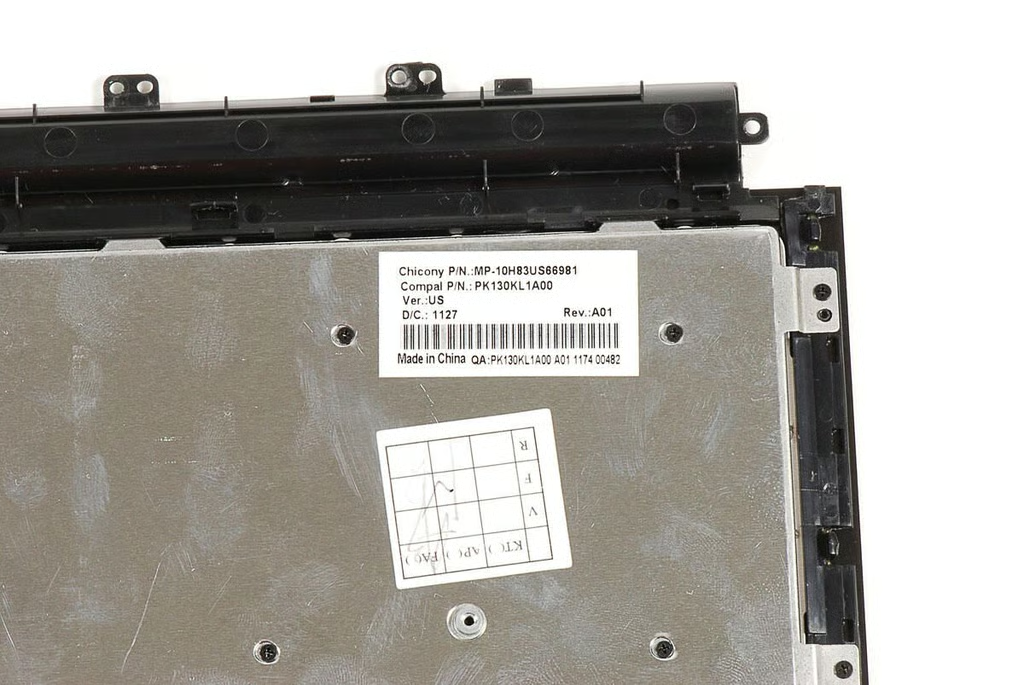
\n\tBefore removing the speakers, I had to remove the screws holding the upper half of Lapdock’s case (which includes the keyboard) in place.
\n
\n\tPhoto by: Bill Detwiler / TechRepublic
\n\tCaption by: Bill Detwiler
\n\tAfter removed the upper case’s screws, I could pop the case loose.
\n
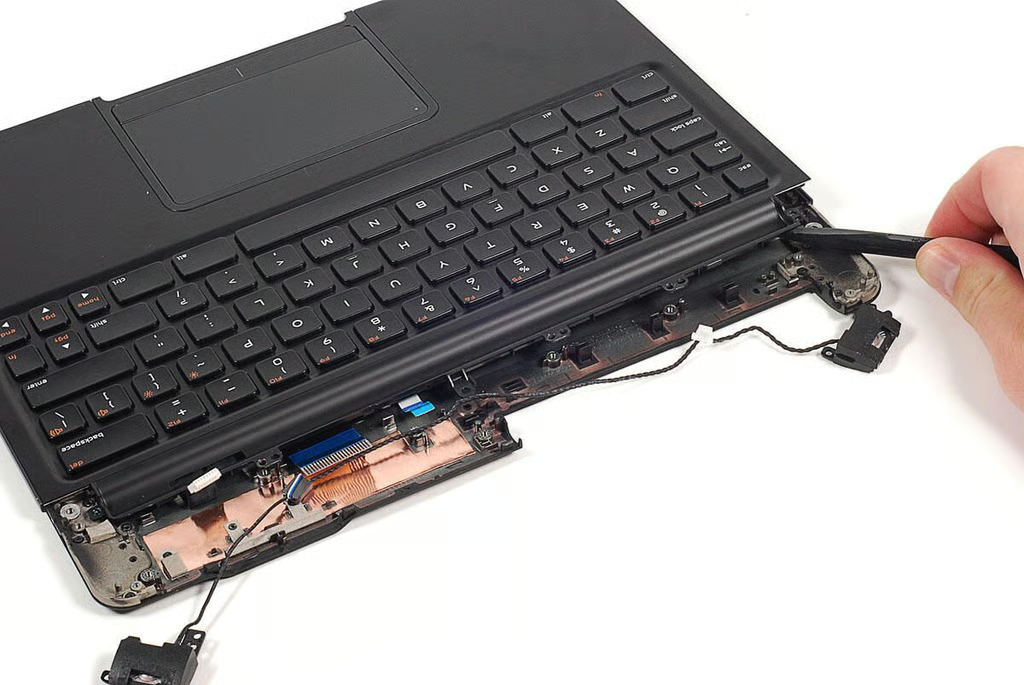
\n\tPhoto by: Bill Detwiler / TechRepublic
\n\tCaption by: Bill Detwiler
\n\tThe Lapdock’s speakers attached to the motherboard via a single connecotor.
\n
\n\tPhoto by: Bill Detwiler / TechRepublic
\n\tCaption by: Bill Detwiler
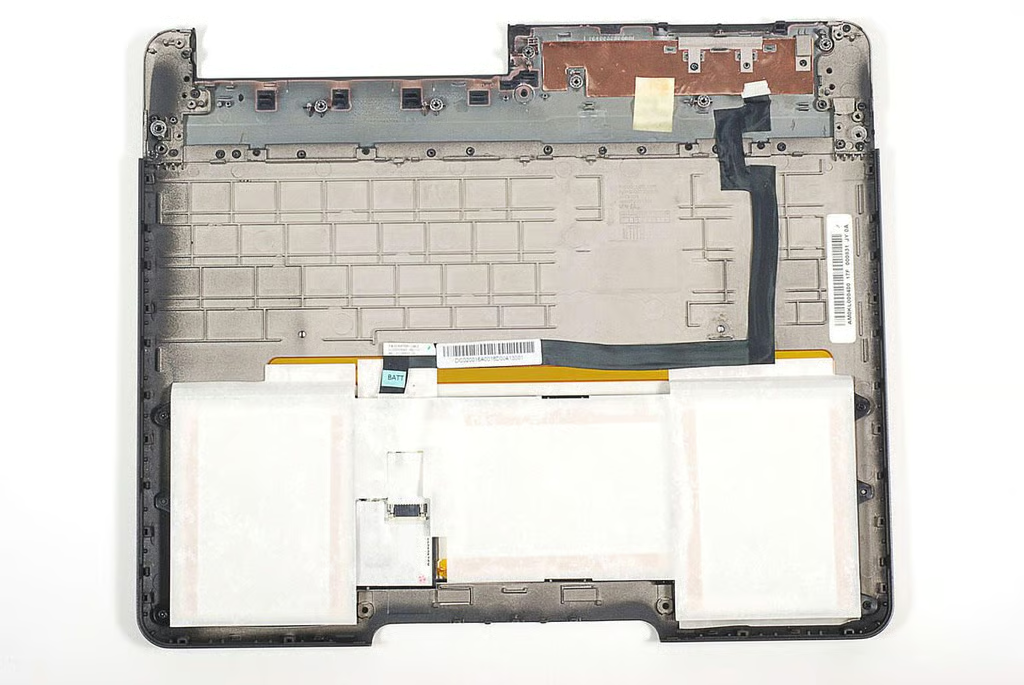
\n\tWith the speakers removed, I lifted up the upper case and keyboard.
\n
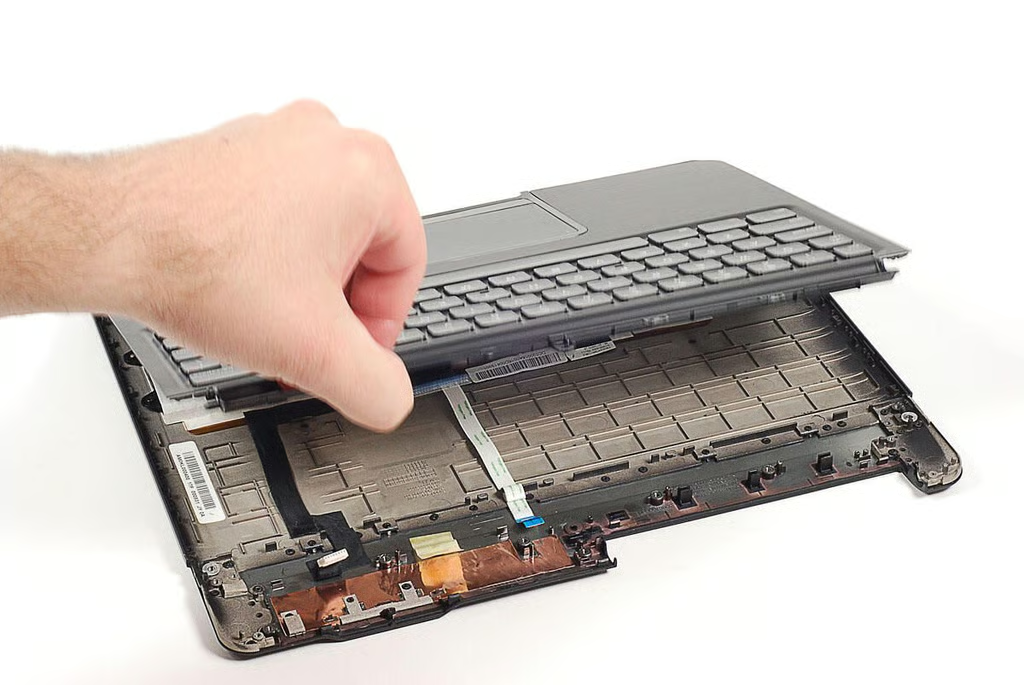
\n\tPhoto by: Bill Detwiler / TechRepublic
\n\tCaption by: Bill Detwiler
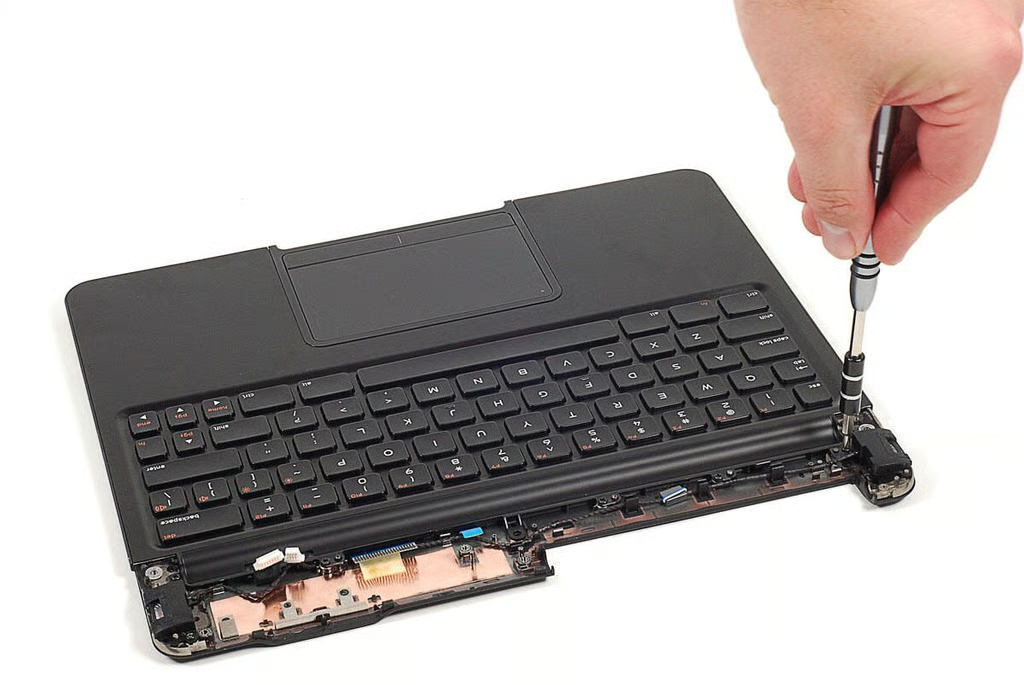
\n\tBefore completely removed the keyboard and upper case, I detached the trackpad ribbon cable.
\n
\n\tPhoto by: Bill Detwiler / TechRepublic
\n\tCaption by: Bill Detwiler
\n\tThe Lapdock’s battery pack contains no identifiable markings and is glued to the lower case with strong adhesive. I feared removing the batteries would likely damage them.
\n
\n\tPhoto by: Bill Detwiler / TechRepublic
\n\tCaption by: Bill Detwiler
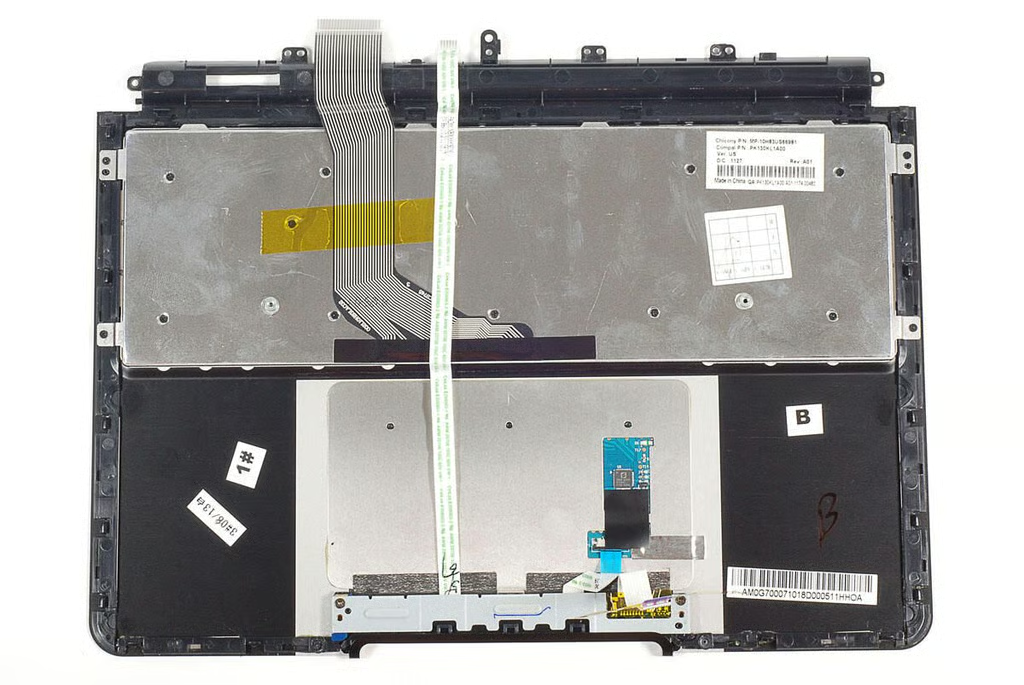
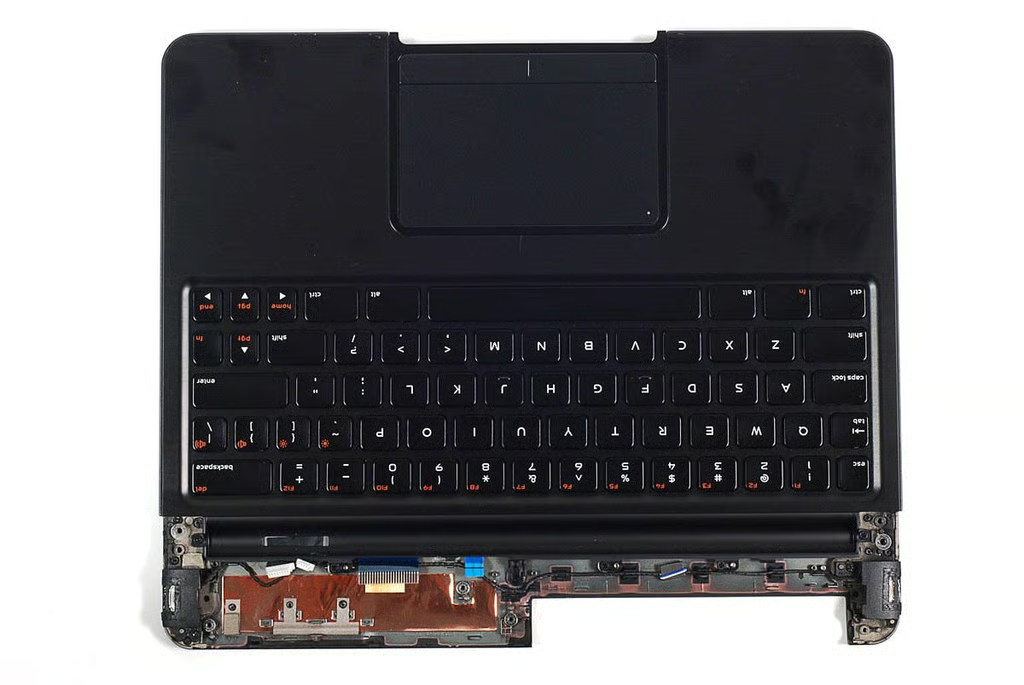
\n\tThe trackpad and keyboard are permanently attached the upper half of the Lapdock’s case.
\n
\n\tPhoto by: Bill Detwiler / TechRepublic
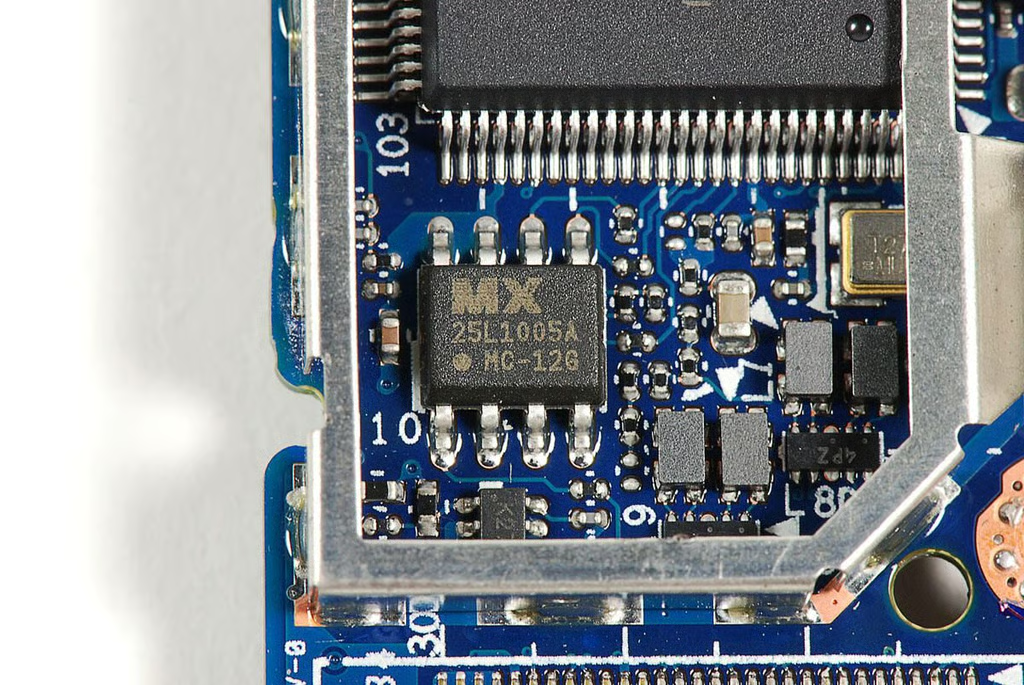
\n\tCaption by: Bill Detwiler
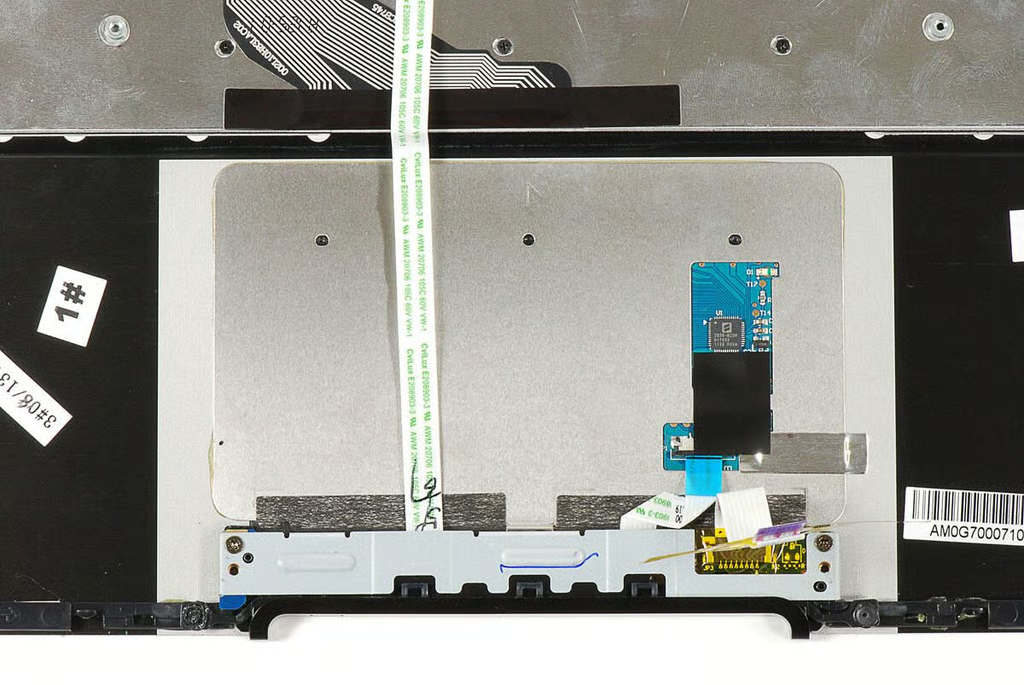
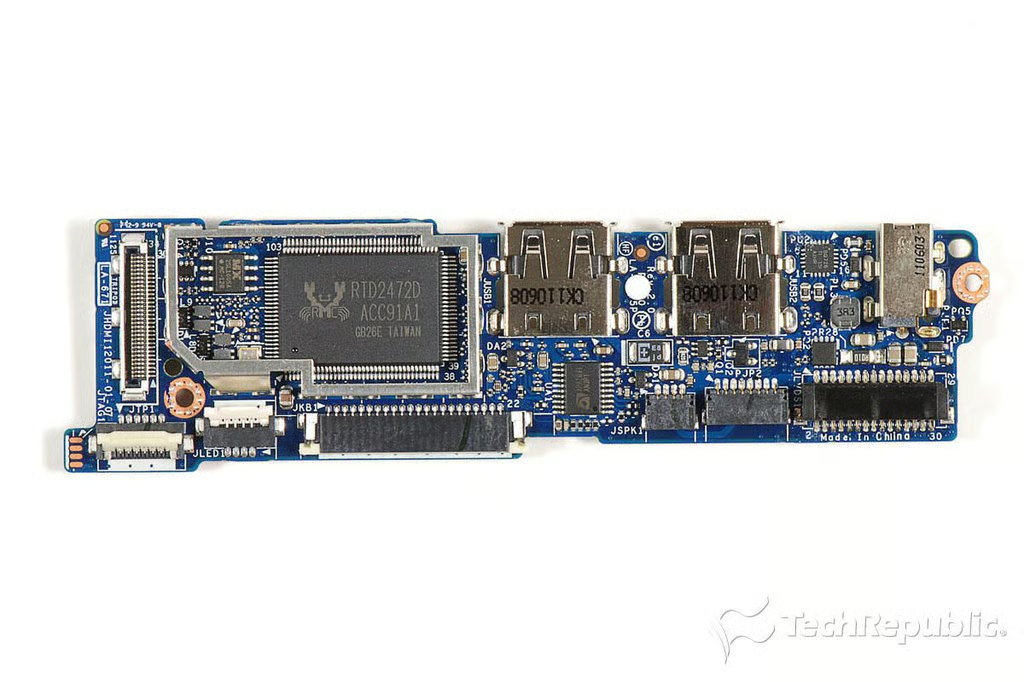
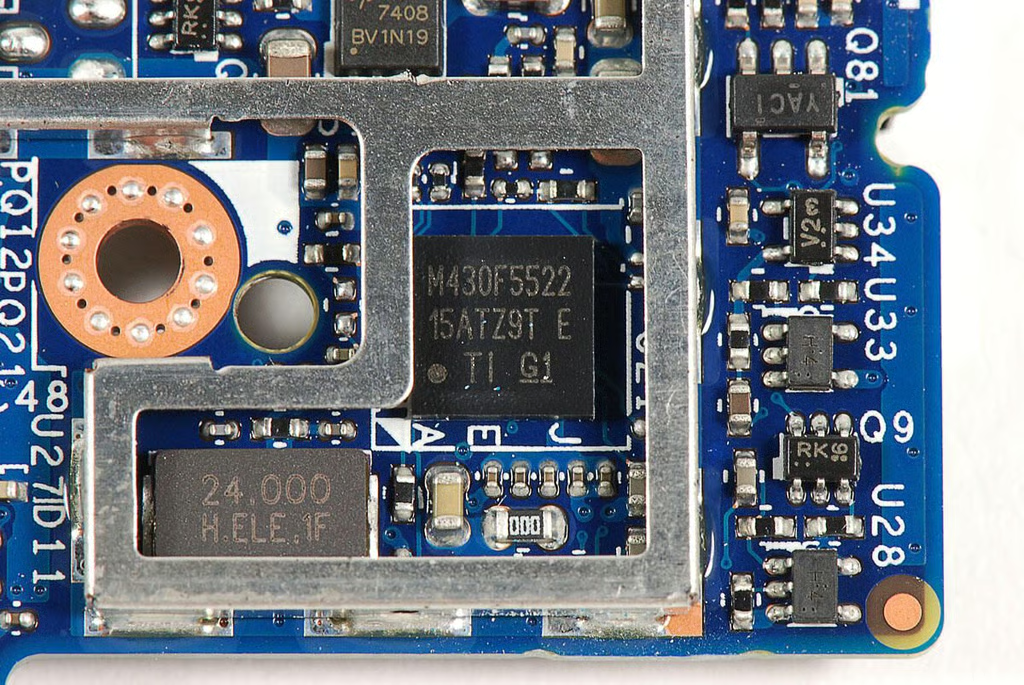
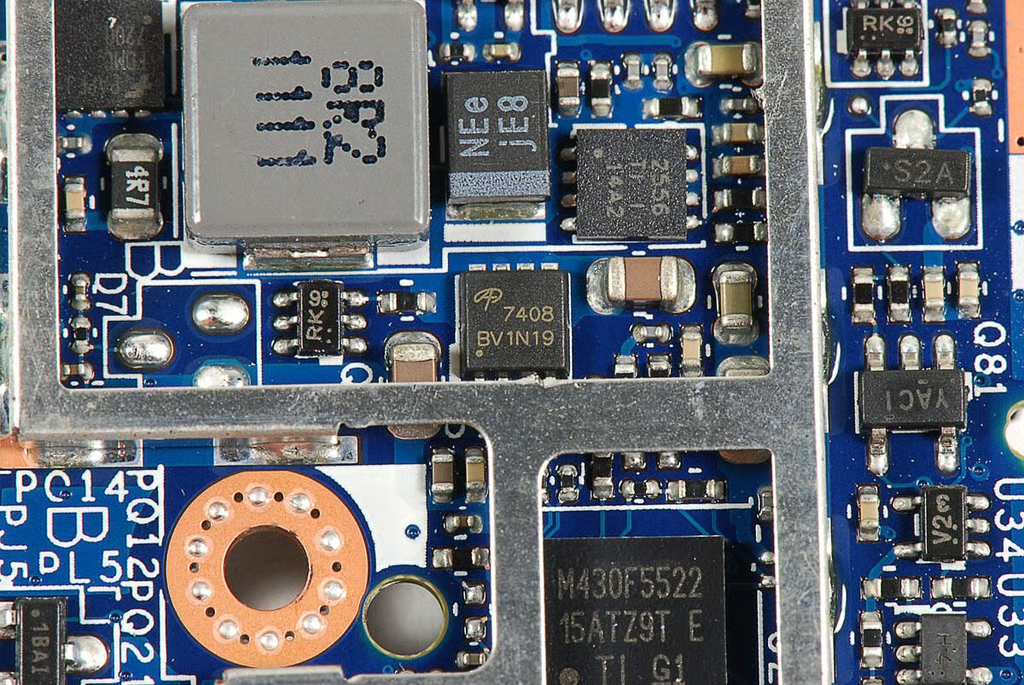
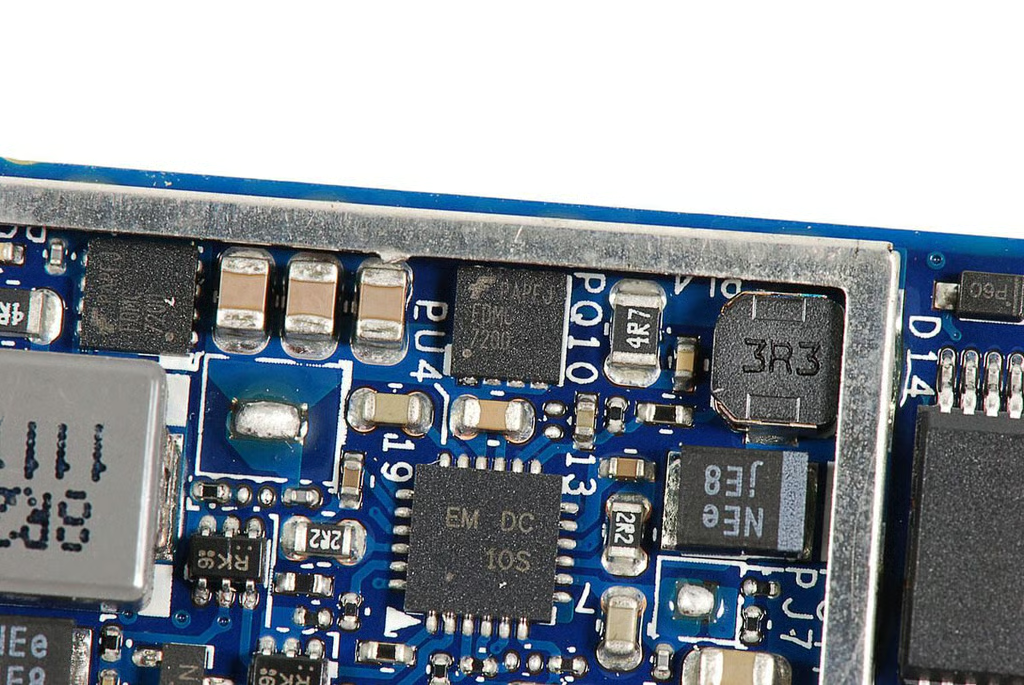
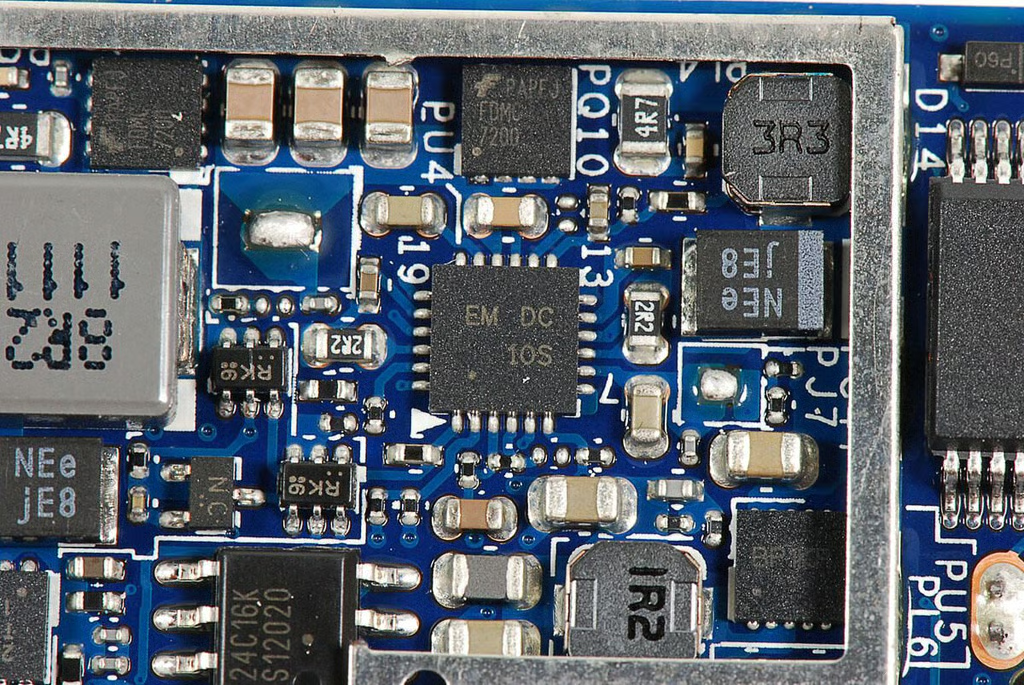
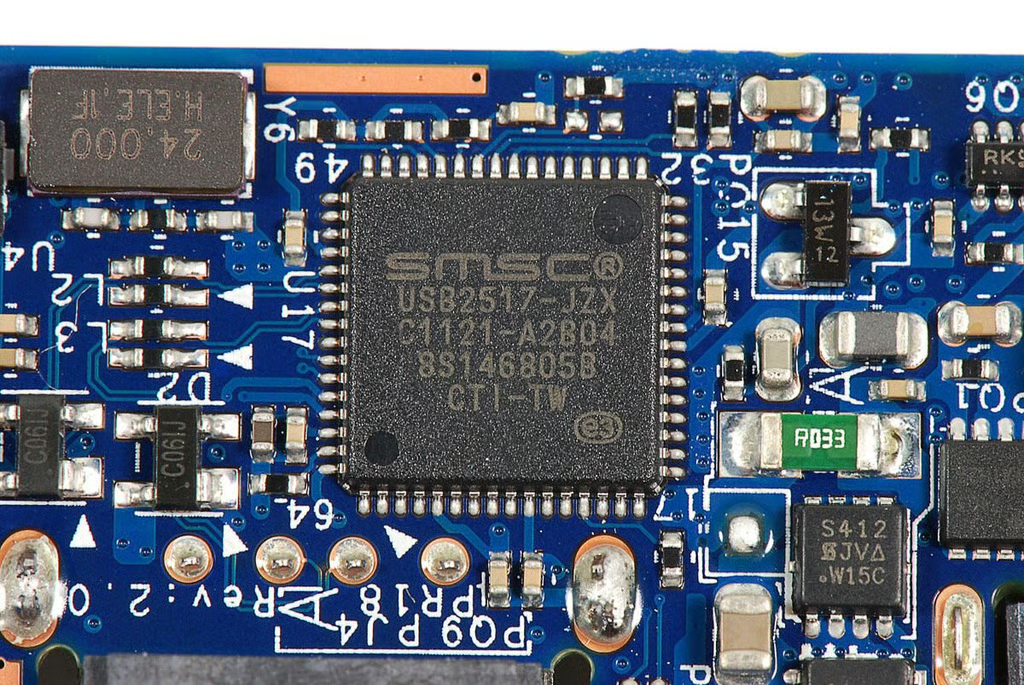
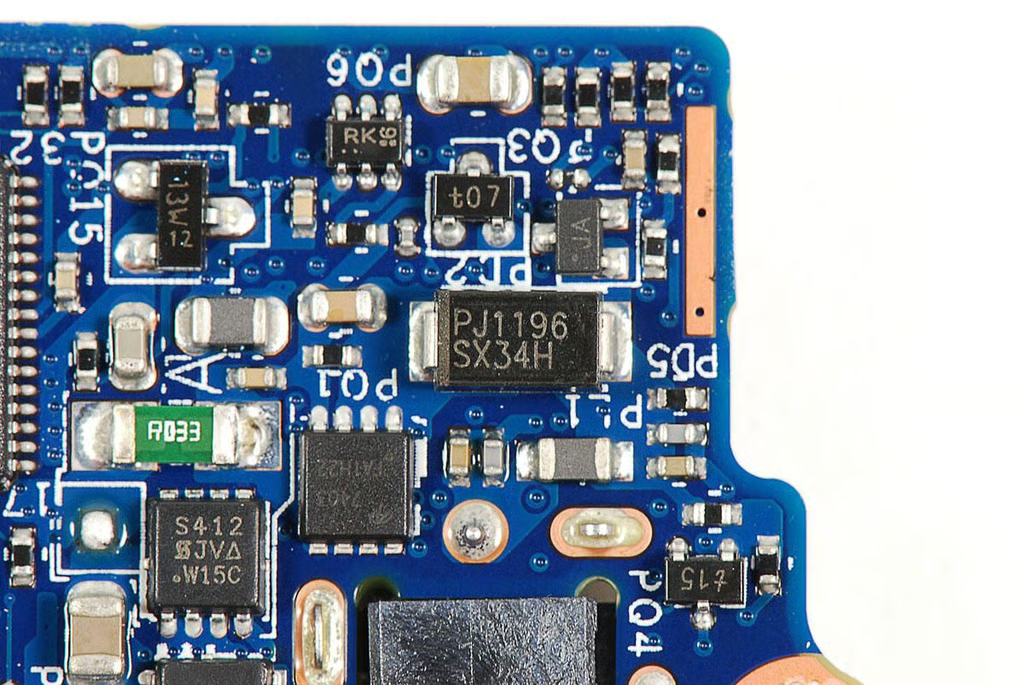
\n\tGiven that the Lapdock doesn’t have a CPU, RAM, or a storage unit, its motherboard is incredibly small.
\n
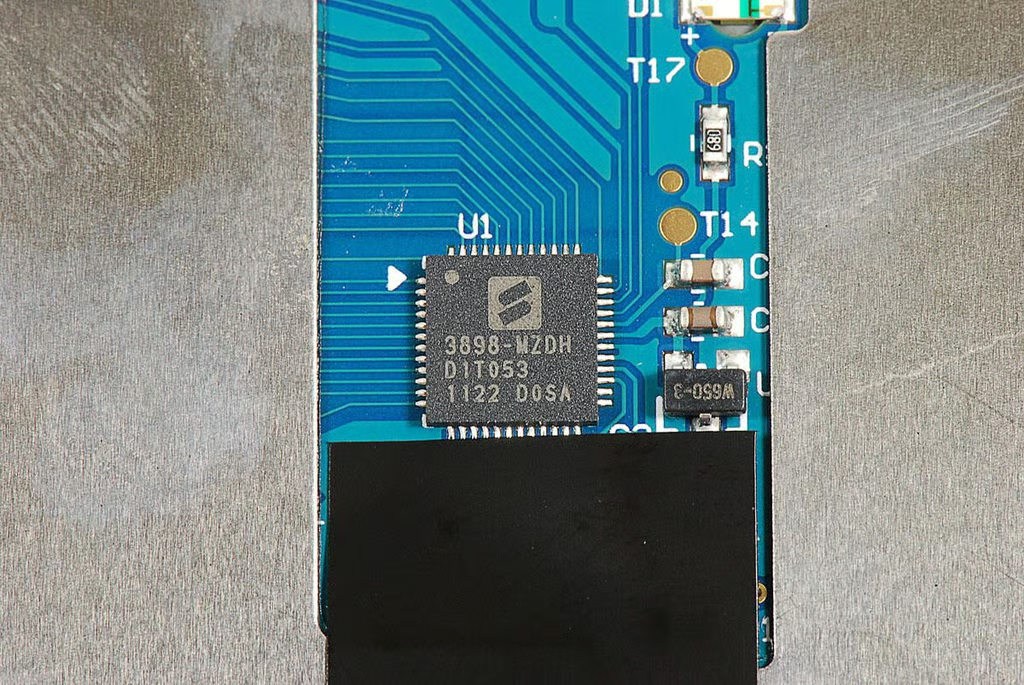
\n\tPhoto by: Bill Detwiler / TechRepublic
\n\tCaption by: Bill Detwiler
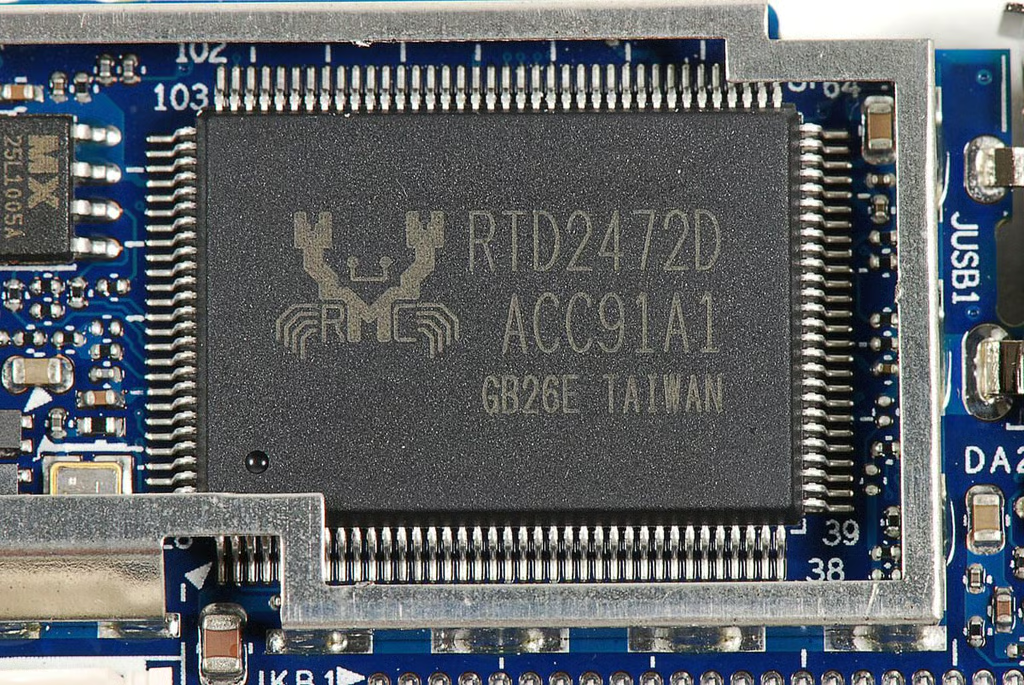
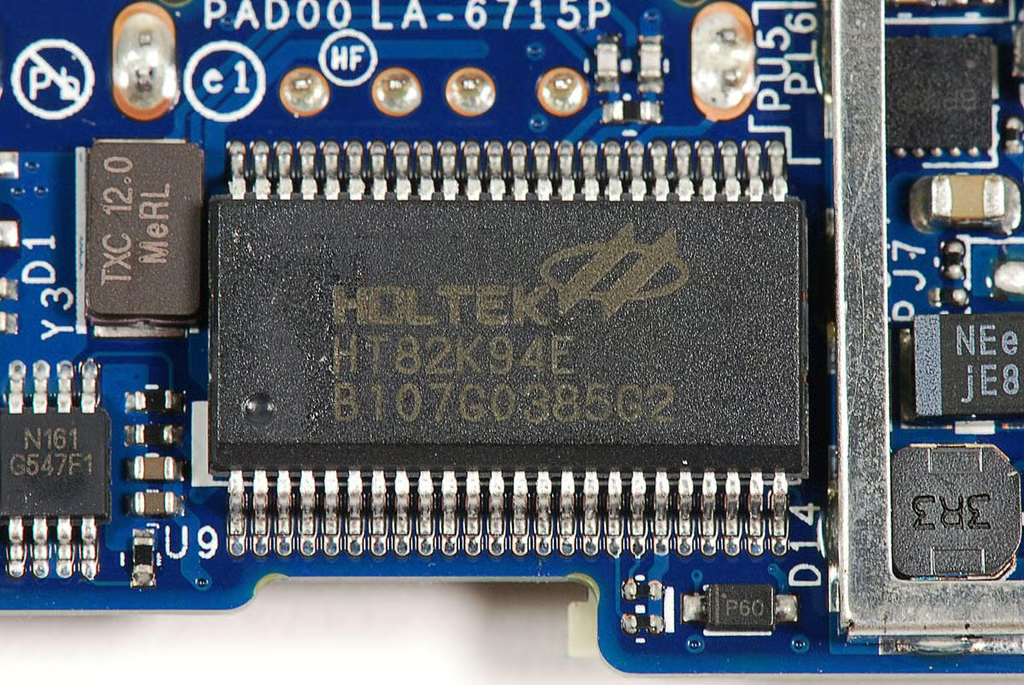
\n\tUnfortunately, I wasn’t able to find much information on this Realtek RTD2472D IC. At the time of this writing, the company produces an HDMI LCD Monitor Controller with the product number RTD2482D. Given the similar markings, it is likely the Droid Bionic Lapdock’s screen controller.
\n
\n\tPhoto by: Bill Detwiler / TechRepublic
\n\tCaption by: Bill Detwiler
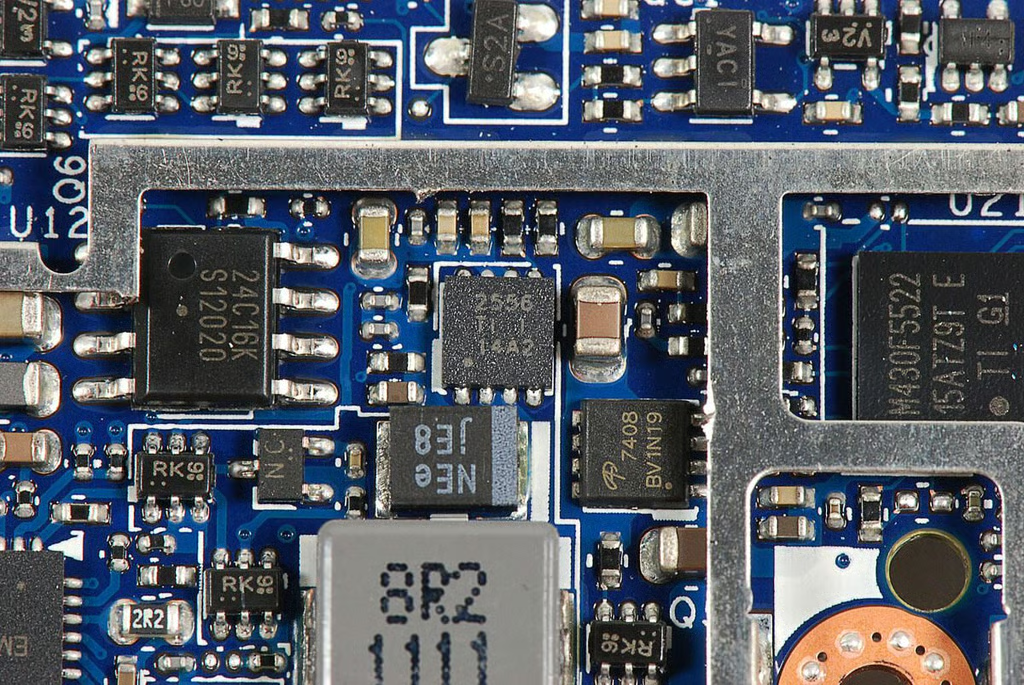
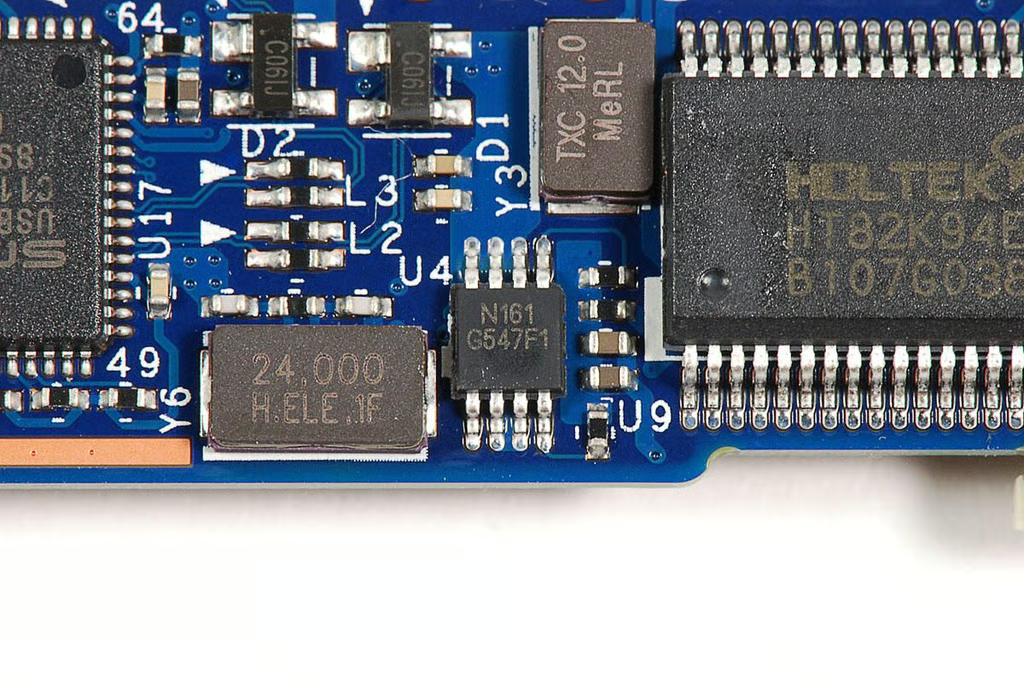
\n\tThe chip with markings 2566 TI 1 14A2 is likely a Texas Instruments TVL2556 12-Bit, 200 KSPS, 11 Channel, Low Power, Serial ADC with Internal Reference.
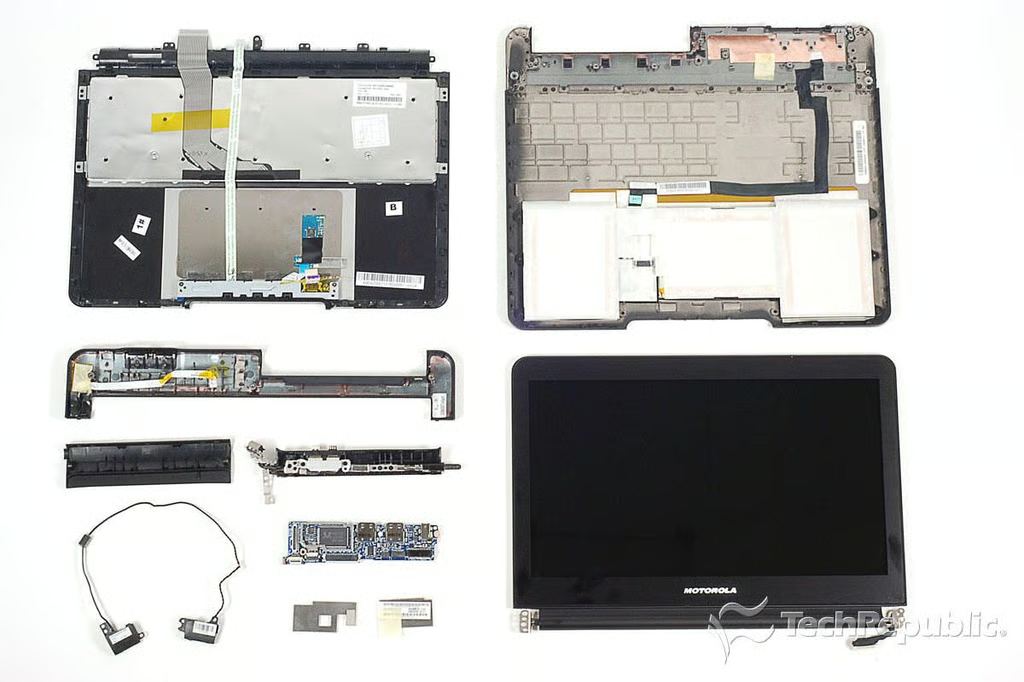
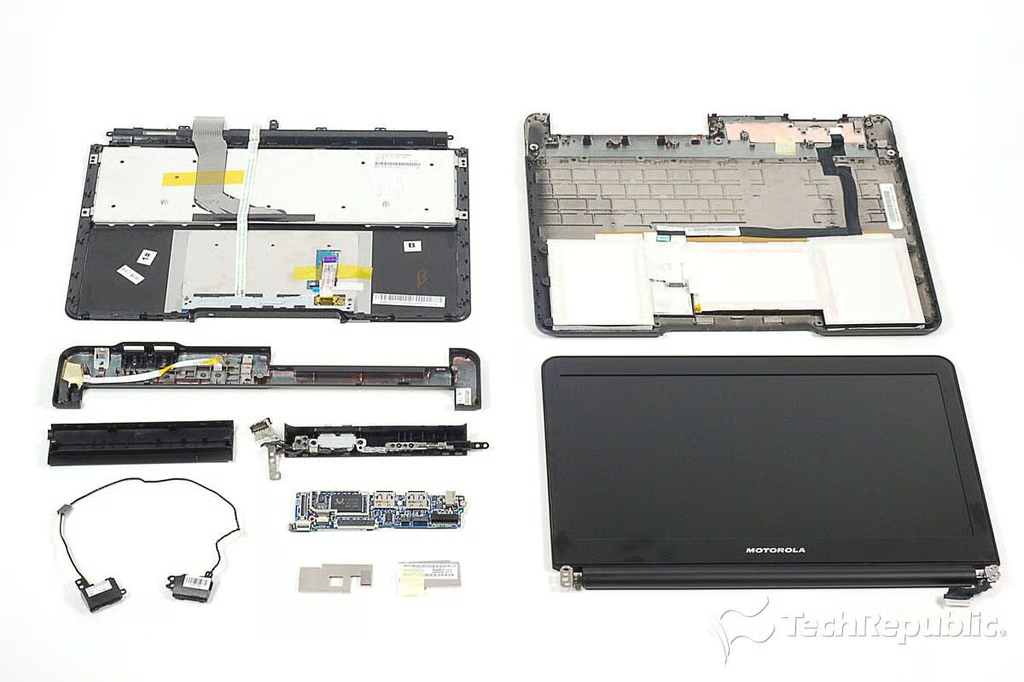
\n\tCracking open the Motorola Droid Bionic Lapdock was a relatively straightforward process. All the screws could be removed with a standard Phillips #00 screwdriver and the internal components were easily accessible. Unfortunately, the battery, keyboard, and trackpad are all permanently attached to the Lapdock’s outer case.
\n
\n\tProvided you could get replacement parts, repairing a broken Lapdock shouldn’t be difficult for anyone with experience fixing laptops.
\n
\n\tPhoto by: Bill Detwiler / TechRepublic
\n\tCaption by: Bill Detwiler
Bill Detwiler is the Editor for Technical Content and Ecosystem at Celonis. He is the former Editor in Chief of TechRepublic and previous host of TechRepublic's Dynamic Developer podcast and Cracking Open, CNET and TechRepublic's popular online show. Previously, Bill was an IT manager in the social research and energy industries. He has bachelor's and master's degrees from the University of Louisville, where he has also lectured on computer crime and crime prevention.


