Bitwarden is one of the best password managers on the market. Not only is it a user-friendly tool for keeping your passwords safe from prying eyes, but it’s also open-source and includes all the features you could ever need.
SEE: 40+ open source and Linux terms you need to know (TechRepublic Premium)
It also includes a really handy feature for teams or individuals that require the ability to collaborate or share out portions of a vault. That feature is called Organizations. When you create an organization within your Vault, you can then relate users and vault items together to share logins, notes, cards and identities that are owned by the Organization (which can be a team, business, family or any group that needs to securely share data).
You can create an Organization with a free Bitwarden account, but you’re limited to only two users (including yourself) and two collections. There are three other plans to choose from:
- Families $3.99/month—up to six users, unlimited Collections, 1GB encrypted storage.
- Teams $3/user/month—unlimited users and Collections, 1GB encrypted storage.
- Enterprise $5/user/month—unlimited users and Collections, 1GB encrypted storage, SSO Authentication.
I want to show you how easy it is to create an Organization and share items with your collaborators.
SEE: Password breach: Why pop culture and passwords don’t mix (free PDF) (TechRepublic)
What you’ll need
To make this work, you’ll need a running instance of Bitwarden and an account login. The reason for this is Organizations cannot be created on the desktop client. You must be able to log into the Bitwarden web interface to create and work with Organizations.
With your Bitwarden account at the ready, let’s create an Organization.
How to create an Organization in Bitwarden
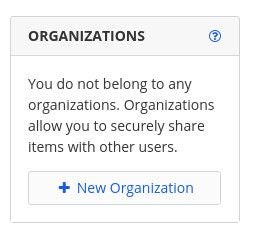
Log into the Bitwarden web interface and click New Organization in the upper right corner (Figure A).
Figure A
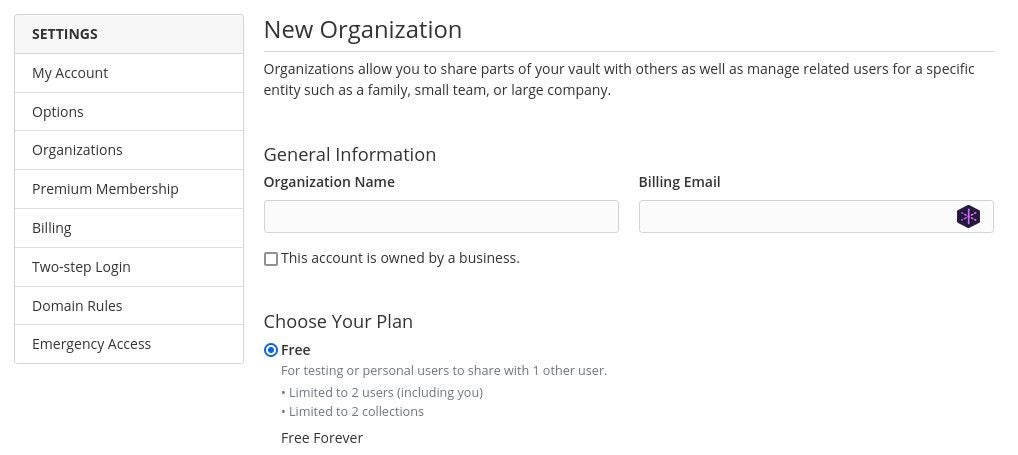
In the resulting window (Figure B), give your Organization a name, type the email address associated with your account, select the plan you want, and click Submit.
Figure B
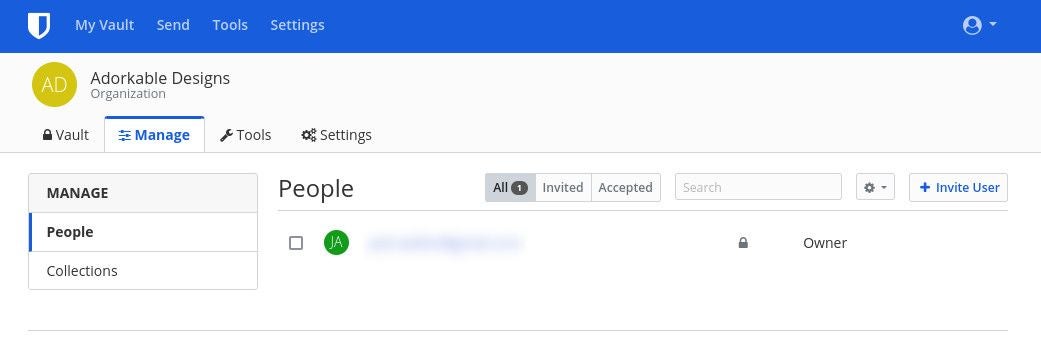
Once your organization has been created, click the Manage tab, where you can start adding users (Figure C).
Figure C
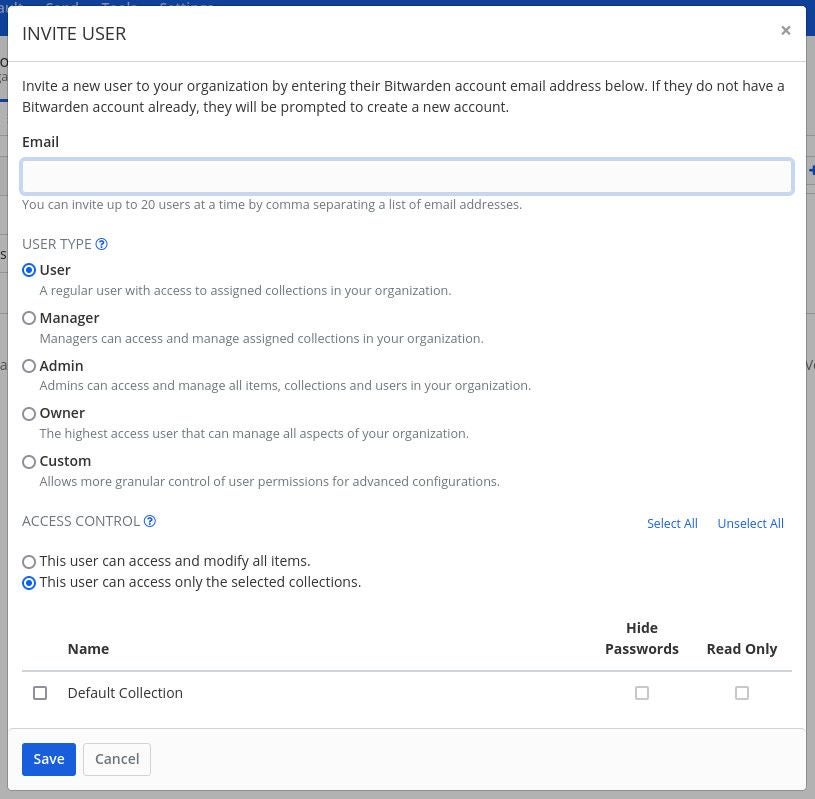
Click Invite User and, in the resulting window (Figure D), type the user’s email address, select the type of user, set the access control, select the Collection, and click Save.
Figure D
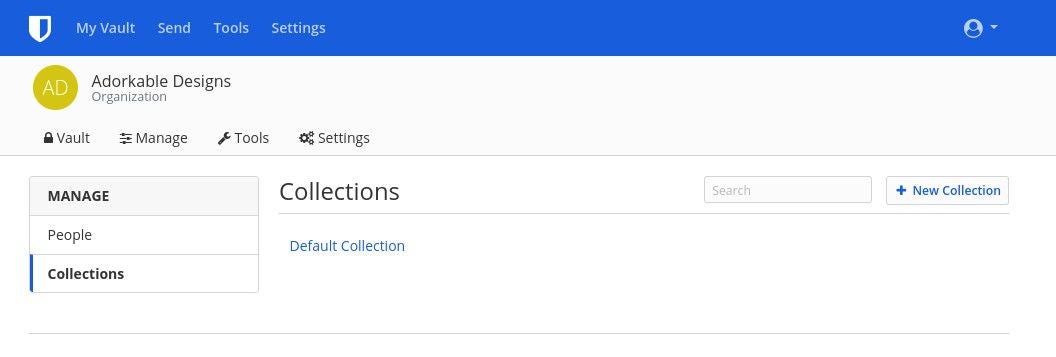
If you want to create a new collection, go back to the Manage tab, click Collections, click New Collection (Figure E), give the Collection a name (and external ID), and click Save.
Figure E
Once you’ve created a new Organization, it will appear in the desktop client. Although you cannot manage the Organization from within the desktop client, you can add new items to it.
And that’s the basics of the Bitwarden Organizations feature. This is a great way to share secret data with teams or family members. Give it a try and see if it doesn’t make your password management a bit simpler within your organization.
Subscribe to TechRepublic’s How To Make Tech Work on YouTube for all the latest tech advice for business pros from Jack Wallen.
