


LibreOffice Draw absolutely pales in comparison to applications like The Gimp, Photoshop, and other professional image editing tools. So, why bother including it? There’s actually a very simple and handy reason for the inclusion of this tool — to quickly add rudimentary drawing elements into the likes of LibreOffice Writer documents.
If you create word processing documents and are often needing to include the likes of:
- Callouts
- Lines and freehand lines
- Shapes
- Arrows
- Flowcharts
- Text frames
… you’ll be surprised how easy it is to add these items into your LibreOffice Writer documents.
However, it’s not exactly obvious how this is done. Of course, when you see just how to do it, you’ll wonder how you missed it. There are no configuration options for this feature — so, you get what you get (but what you get is plenty).
With that said, let’s dive into adding Draw objects to your LibreOffice Writer documents. This works the same on all platforms, but I’ll be demonstrating on Ubuntu 14.04, running LibreOffice 4.3.2.2. The feature works out of the box, so there’s no additional work to be done.
Opening the toolbar
The Draw elements feature works as a toolbar. Once it’s opened, you can move the toolbar around on the document window, but you cannot undock the bar. You can, however, add and remove elements from the bar.
First, let’s add the Drawing toolbar to the window. There are two ways to do do this:
- From the main toolbar, click the Drawing icon (Figure A)
- Click View | Toolbars | Drawing
Figure A

The Drawing icon is shown here on the far left.
Once you open the Drawing toolbar, it will default to the bottom of the window (Figure B).
Figure B

The Drawing toolbar in action.
As you can see, there are plenty of default Drawing objects you can add. For example, you can add a text frame that can be moved anywhere on the page (see the video below).
Most of the default objects are self explanatory. But if the toolbar doesn’t include the object you want, you can customize it. To do this, follow these steps:
- Click View | Toolbars | Customize
- From the Toolbar drop-down, select Drawing
- Click the Add button (Figure C)
- Select Drawing from the Category
- Scroll through the list of objects in the Commands window
- Select the object(s) you wish to add (select multiple objects by holding down the [Ctrl] key on your keyboard)
- When you’ve selected the desired object(s), click Add
- Click Close
- Click OK
Figure C
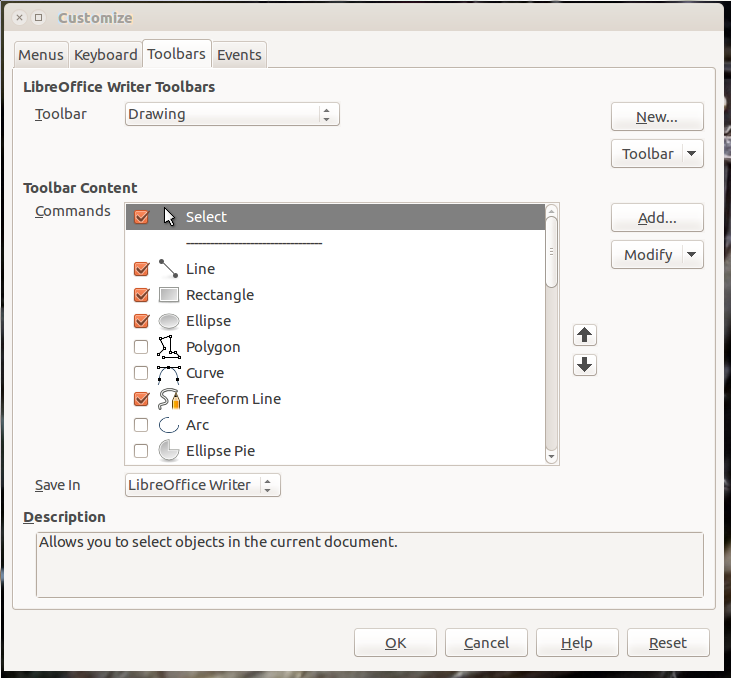
Adding new Drawing objects to the toolbar.
You can even add animated text to your documents. Animated text scrolls from right to left. Unfortunately, you cannot change this (it’s still a cool object to jazz up your documents).
Formatting or changing various aspects of an object is simple:
- Click on the object within the document
- Click on the formatting option in the toolbar (new options in the toolbar appear in the toolbar when an object is selected — Figure D)
- Click on the option to be edited
Figure D

Formatting Drawing objects within LibreOffice Writer.
To move the toolbar, you simply have to grab the toolbar handle (three tiny lines on the left edge of the bar) and move it to whatever edge of the screen you want. I find placement at the top to be a bit easier to use (as I don’t like anything in the way of the status bar at the bottom).
LibreOffice comes with plenty of tools to make your job easier. If you need to add Drawing objects into your documents, there’s no need to open up yet another application, you just have to open up a toolbar and add to your heart’s content.
How much do you depend upon your office suite? Is it the most important piece of software you use? If not, what is?