You bought that shiny new MacBook Pro or iMac, and you’re ready to start working. Stop! Before you do anything to that costly (and wonderful) piece of hardware, you should consider creating a USB installer drive for macOS. With this handy flash drive, you can reinstall macOS, should something go awry.
We’ve already covered how to do this from the command line (See How to create a bootable USB to install OS X), but I wanted to give those with a fear of the command line a way to do the same thing. That means–GUI!
If you know such a USB drive is in your future, but do not want to toy with the terminal, you’re in luck–the process can be done with the help of a handy GUI. Let’s do just that.
I’ll be demonstrating this on a 2017 MacBook Pro with High Sierra. You will need an internet connect and a flash drive with a minimum of 5GB of space. I highly recommend at least a 12GB flash drive that will be used solely for this purpose. You don’t want to create your installer drive and accidentally erase the installer files while working with a spreadsheet or presentation. So grab a fresh drive and get ready. Don’t forget, if this is a standard USB flash drive you’ll need an adapter for the USB C ports on the laptop. I’ve used this inexpensive solution without fail.
Download the installer file
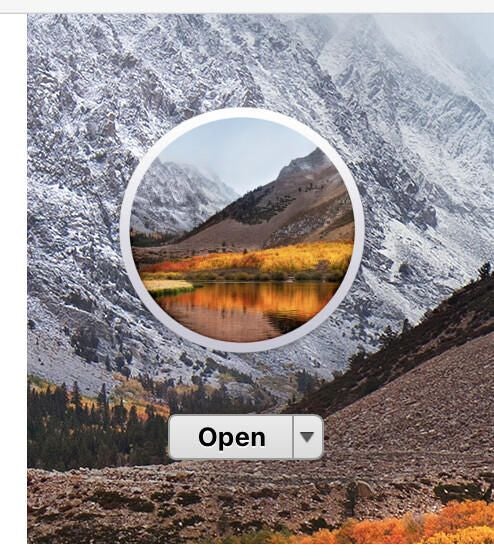
The first thing you must do is download the installer file from the App Store. To get this software, open the App Store and search for “High Sierra.” After clicking on the entry, you will either see an Open or Download button. If you’ve already downloaded the file–it’ll be listed as Open (otherwise, click Download).
Once the download has completed, insert your USB drive and you’re ready to go. The USB does not have to be formatted in any particular way, as the installer will take care of this for you.
Download the GUI tool
The tool we will be using is called Install Disk Creator. This particular app is a self-contained piece of software, so there’s no actual installation to be done. Simply download the file, open up finder, change into the directory housing the download, and double-click on the downloaded file.
Once Install Disk Creator opens (Figure A), click on the top drop-down and select the correct USB drive to be used. By default the tool will select your local drive–do NOT use that drive for the installer.
Figure A

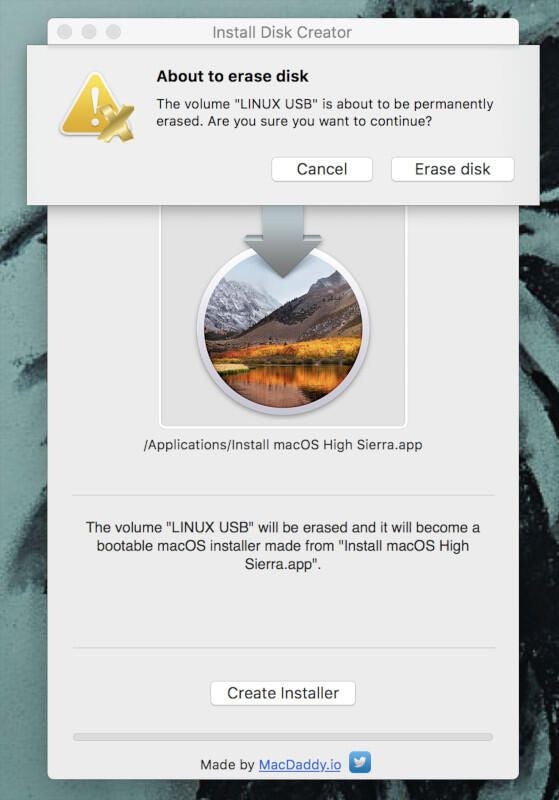
Install Disk Creator should automatically select the downloaded installer file. If you have more than one downloaded, you can click Choose a macOS install and then select which one you prefer. Once everything is in order, click Create Installer. The app will warn you that everything on your USB drive is about to be permanently erased. If that’s okay, click Erase Disk (Figure B).
Figure B

You will then be prompted for your user password (or, if you have a touchbar, to touch the fingerprint sensor). With authentication out of the way, the app will create the bootable USB drive. The process can take some time (about 10 minutes), and will seem like it’s not doing anything (there is no progress bar). Wait until a new window pops up informing you your bootable installer has been created and is ready to use.
Once complete, eject the USB drive and put it away for safekeeping. Hopefully, you’ll never need it. On the off-chance you do, you can rest assured it is there to serve.
Don’t be left high (sierra) and dry
Should something go wrong with your MacBook or iMac, the last thing you need is to be left without the means to recover. With this handy bootable USB installer, you can reinstall macOS without much trouble. If the time comes to use this tool, insert it into the USB C port and boot the machine while holding down the Option key. Crisis averted.