
The LibreOffice suite of tools enables user to employ a seriously powerful office suite that can cover a number of tasks. One such task LibreOffice handles with aplomb is making databases user-friendly. With handy GUI tools for every step, LibreOffice gives serious power to those that might not otherwise have the skills to make use of databases. End users can easily create a database, set up the forms with which to enter data, and even query their databases.
It’s that query that many forget about. After you’ve spent all that time creating the database and entering data via your well-designed form, you need to be able to search that data. Fortunately, LibreOffice makes this equally as simple.
There are three methods for creating queries in LibreOffice:
- Design View
- Query Wizard
- SQL View
Of the three methods, the Design View and Query Wizard are best suited for new users, but the Design View gives you a bit more flexibility. Let’s walk through the process of creating a query for a pre-existing database using the Design View.
Getting to Design View
The first thing you need is to open LibreOffice Base; when you do, you’ll be prompted to either create a new database or open an existing database. Go ahead and click the check box for Open an existing database and then select your database from the drop-down (Figure A).
Figure A
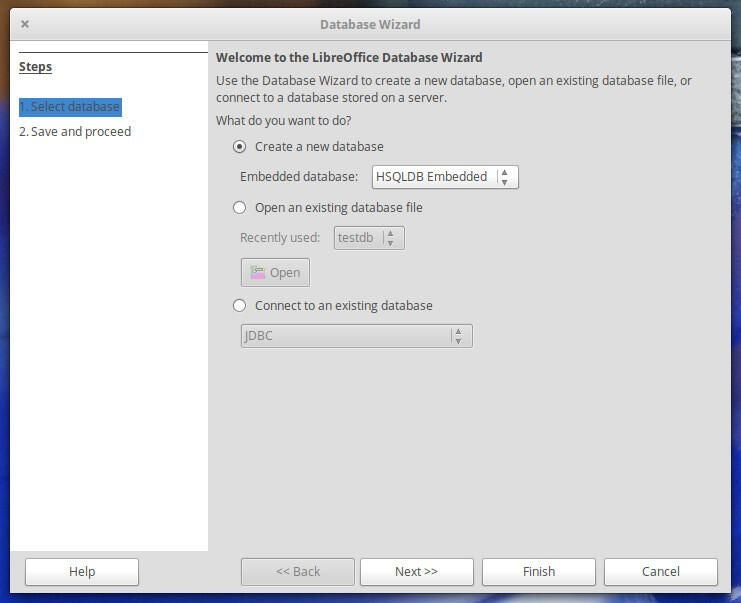
Click Finish and LibreOffice Base will open the selected database. Click on Queries in the left pane and then click Create Query in Design View. A new window will open, prompting you to Add Tables or Query (Figure B).
Figure B
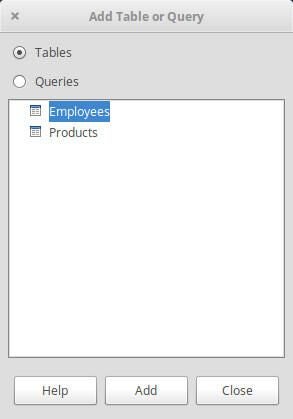
Select Tables, click the table to be added to the query, and then click Add. You can add as many tables as you need to the query; just select the next table in the same window and click Add. Once you’ve added all the necessary tables, click Close.
You will now find yourself in the Query Design window (Figure C).
Figure C

At this point, what you need to do is add options for your query. To do this, go down the first interactive column and select the options you want for the query. Say, for instance, you want to query your entire database to match employee first name and last name to employee ID. The first thing you would do is click on the cell directly to the right of Field. This cell will automatically switch to a drop-down where you can then select from the table. In the first cell we’ll select Employees.ID. Once that is selected, go to the cell to the next column and do the same, only this time selecting Employees.FirstName. Finally go to the next column and select Employees.LastName from the drop down.
At this point, you have everything you need for this very simple query (Figure D). You have two options: If this is a query you plan on using more than once, I highly recommend clicking the Save button before you run the query.
Figure D
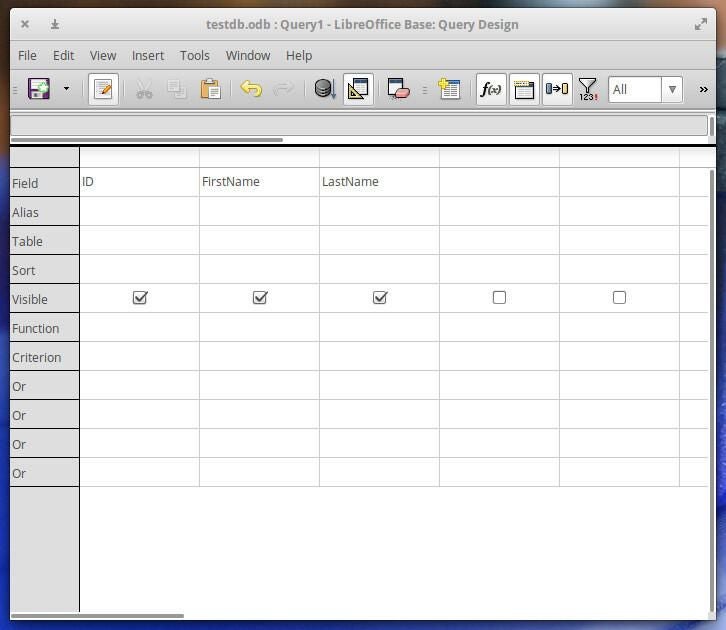
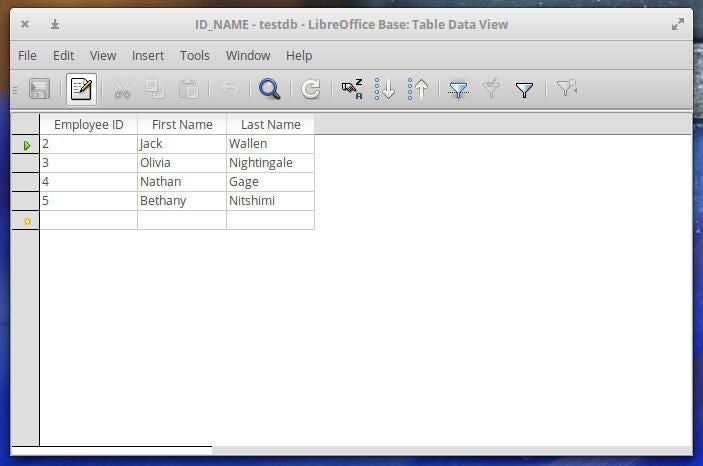
When you click Save, you’ll be prompted to give the Query a name (make sure you give the query a name that will help you remember exactly what the query does). Once the query has a name, click OK. After you’ve saved the query, click the Run button (or hit F5); the query will then run and display your results (Figure E).
Figure E
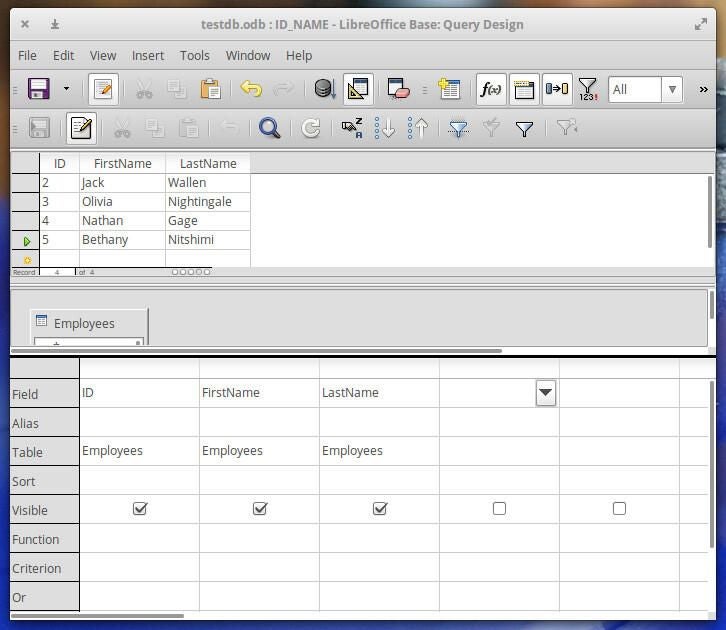
Running a saved query
If you saved your query, you’ll find it listed in the bottom pane of the Queries window (listed by the name you gave it). If you double-click that query, it will open up a new window displaying the results of the query (Figure F).
Figure F
Foundation set
What we just did was create an incredibly simple query against a single table on a database. You now have the tools necessary to begin the process of creating more and more complex queries (using Sort, Function, Criterion, and Or statements and even queries involving multiple tables). Know that certain elements cannot be used with every entry in your table; for instance, Function pertains only to numerical data types (CHAR as opposed to VARCHAR). For more information on Functions, give this official LibreOffice help page a read.