


Though the question “how to use Square” seems straightforward, Square offers so many services and products that the answer can be complex. It all starts with narrowing down what you’re using Square for—are you selling in person? Online? Both? Do you operate out of a single location or work on the go?
Before you can do anything else, you’ll actually have to sign up with Square.
- Step 1: Sign up for Square
- Step 2: Connect your bank account
- Step 3: Choose a card reader
- Step 4: Download the Square POS app
- Step 5: Set up your inventory
- Step 6: Sync your card reader
- Step 7: Start processing
- Processing a payment on the Square app
- How to send invoices (and get them paid) via Square
- How should I use Square?
Step 1: Sign up for Square
Like creating an email account, starting a Facebook profile, or setting up login credentials for a payment portal, you start with Square by hitting the “Get Started” button on their website, and filling in the requisite personal information. This step is relatively quick, as it tends to be for most websites and online platforms, taking about ten minutes or so.
Step 2: Connect your bank account
You will need to provide bank account information and the credentials necessary to verify it. Then, Square has to actually verify it, which can take anywhere from an hour to two full days. Once you’re verified, though, you’re ready to start taking payments.
Step 3: Choose a card reader
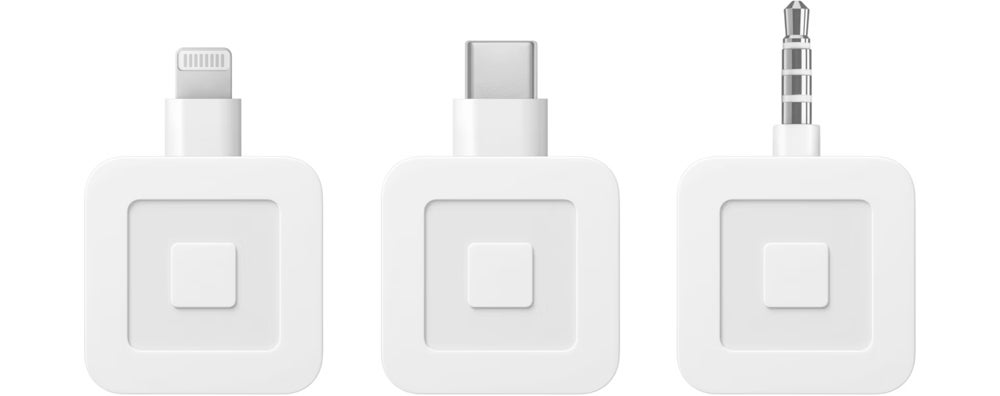
After connecting your bank account, you must pick either the free magstripe Square Reader that’s shipped to you when you sign up or the upgraded wireless Square Reader that enables tap-and-chip payments. The latter will run for just under $50 but includes both the Bluetooth reader and the standard aux port magstripe reader they send for free.
Pro tip: If you have an iPhone 11 or newer, you can skip both of these and use the phone’s built-in Tap to Pay functionality instead. You’ll still be using the app to accept and process payments.
Step 4: Download the Square POS app
Regardless of which reader you opt for, you’ll have to use the mobile app to take payments—the peripherals are just card readers, after all.
The app can be downloaded from the Apple App Store or the Google Play Store. You’ll be prompted to log in with your Square credentials, which will link the payments your phone processes to your merchant account.
Step 5: Set up your inventory
This will not apply to everyone and is neither mandatory nor time-sensitive. However, you can create inventory items in Square to simplify things and track sales numbers, should you need/want to.
This can be done from your account online or the phone app and is most beneficial if what you sell is fairly standardized. Mass-produced consumer goods where each item is different but all units of a given item are identical (e.g., tee shirts, water bottles, screwdriver sets) are one example. Or if you provide various services, but the price and nature of a service are the same each time.
If you’re not sure whether this is needed or would be valuable, don’t sweat it; you can always go back later should you change your mind.
Step 6: Sync your card reader
This step also may or may not be necessary, depending on your hardware decision earlier. For the plug-in reader and the Tap to Pay option, this won’t be necessary. However, you’ll have to pair the Bluetooth reader to the app, similar to how you connect headphones or other devices.
Open the Square app and navigate to Settings>Hardware>Square Card Readers. Once you’ve reached this point, click the power button on the card reader, triggering it to enter pairing mode. The app will automatically detect the reader and list it under My Hardware once the pairing has been completed.
Pro tip: You can also navigate to this menu to ensure your plug-in reader is being recognized by your phone. When it’s connected, it will show up under My Hardware the same way.
Step 7: Start processing
As the only payment method you’ll have available at this point is manual card entry (which has one of the least favorable processing rates Square charges), you’ll want to avoid doing that, if possible.
Rather, this is a good time to decide how you want (or need) to take payments. Think you’ll be doing most of it in person? You’ll need to get yourself some POS hardware and link it. Want to receive payments via an online portal? That’s another few steps of setup. Plan on using invoices? You just need to navigate to that part of the platform and get started there.
Processing a payment on the Square app
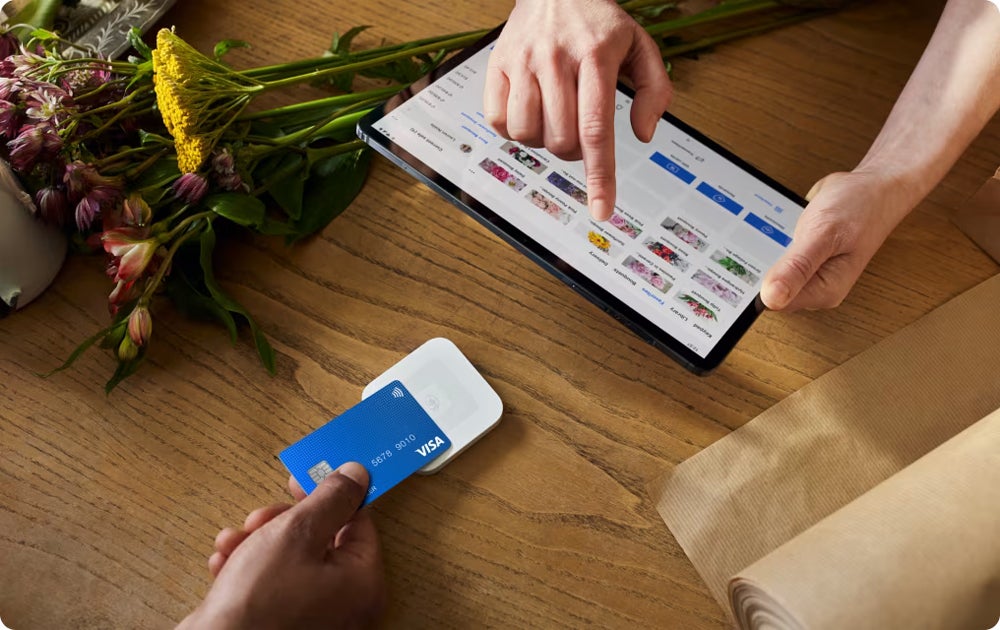
To make a sale, open the Square app and get your reader of choice ready. From the app, select items from your inventory (if you set up a product catalog) or manually punch in the item and price. Then, have your customers swipe/tap/dip, and your phone will register the transaction and begin processing the payment.
And with that, you’ve completed your first card-present transaction.
How to process a ‘card-not-present’ payment with Square
In the event the customer does not have their physical card present at the time of purchase, you can still process the transaction (though at a higher processing fee). After ringing up as normal, select “Phone Order” and type in the card information manually. Then, hit “Charge.” The transaction then proceeds as normal.
Pro tip: As the name implies, this can be used for over-the-phone orders, but it is also a good backup when the Terminal struggles to read an older or worn-out card.
How to process an offline payment with Square
If you lose your connection to the Internet, you can still collect payments from customers, albeit temporarily.
Navigate to Settings>Offline Mode>Allow, and you can log customer transactions locally on the device. Once your device reconnects, the transactions will be synced with Square’s system and processed as normal.
Pro tip: You can only run in offline mode for up to 24 hours at a time. After that, the device will only accept further card transactions after it has been synced via an internet connection.
How to send invoices (and get them paid) via Square
If your business is not set up for swiping cards or digital shopping carts, invoices are another option With Square, you can send and receive payment from invoices.
Step 1: Navigate to Square’s invoice portal
Just as Square has a separate section of its platform for web hosting and online storefronts, its invoicing portal also has a dedicated spot on the site. Log in to your Square Dashboard and navigate from the main menu to Invoicing.
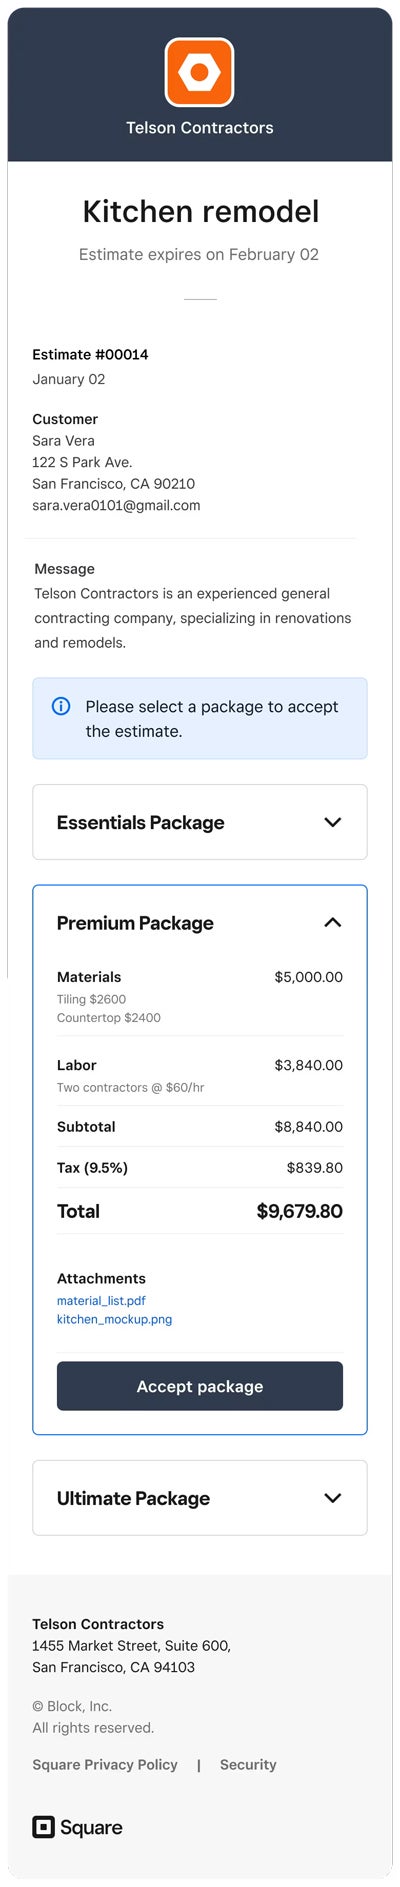
Step 2: Create an estimate
You may have cause to create estimates and send those to potential customers before needing to invoice them for your work. Not all business relationships will involve this step, but Square does facilitate estimates. That said, unless you’re on the paid plan, you won’t be able to convert estimates directly to invoices once you’ve struck an agreement, so it might be less valuable in that case anyway.
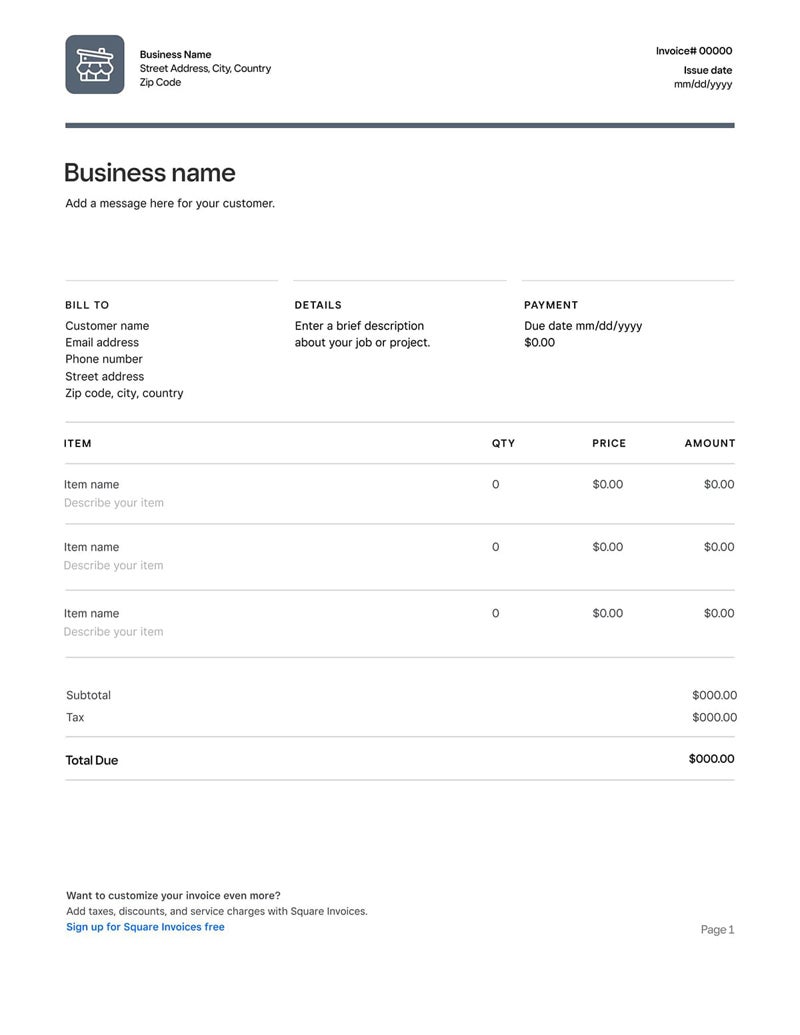
Step 3: Create an invoice
Square has a fairly intuitive and capable interface for creating and customizing invoices. Click “Send an invoice” to start drafting, and follow the prompts and field edits to create your invoice as needed. Before you finalize it, you can choose how the invoice will be sent to the customer.
Step 4: Send your invoice
Once you’ve filled out all the mandatory fields and are satisfied with the appearance of your invoice, you can hit the “Send” button at the top right. The invoice will be forwarded to the customer using the method you chose earlier.
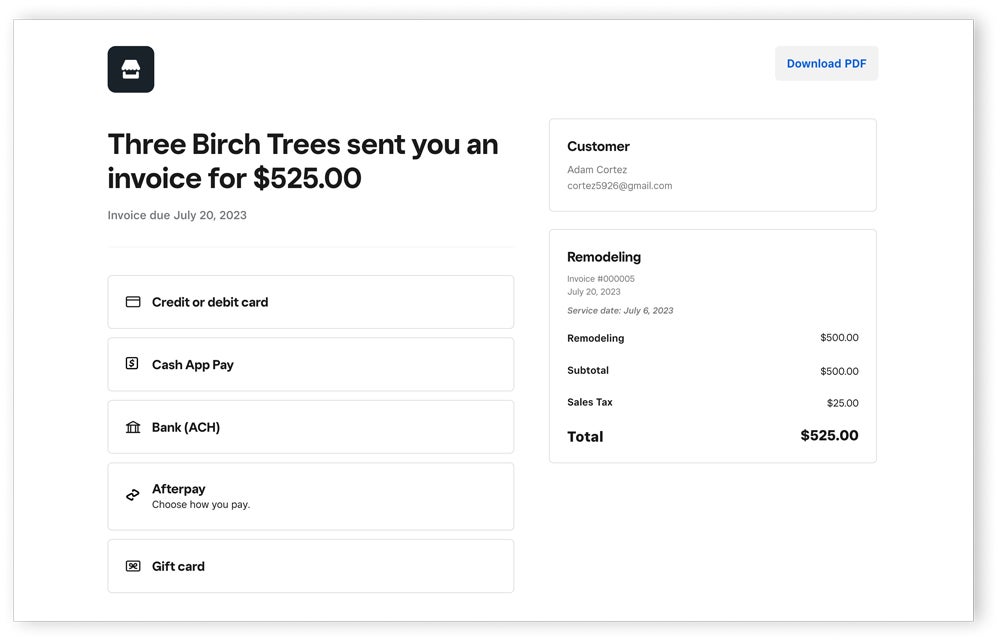
Step 5: Accept payment
Like the digital shopping cart, things are in the customer’s hands now. They can click the large “Pay Invoice” button right on the digital invoice to take it to a payment portal. They’ll enter their payment info and hit submit. Once they do, the transaction will be processed.
How should I use Square?
Square is and always has been a reliable and reputable vendor of payment solutions. Many businesses have thrived largely because of what Square has enabled for them.
If you are a new business, a small business, or a seasonal pop-up business, you stand to benefit from Square more than almost anyone else. You can start taking card payments in person at no upfront cost and at comparatively low processing rates. For anyone in this demographic, we recommend going with Square.
And, if you’re looking for more than bare necessities card processing, consider upgrading to the paid plan for Square or signing up for one of their add-ons to expand the list of features you can access.
This article was reviewed by retail and payments expert Meaghan Brophy.