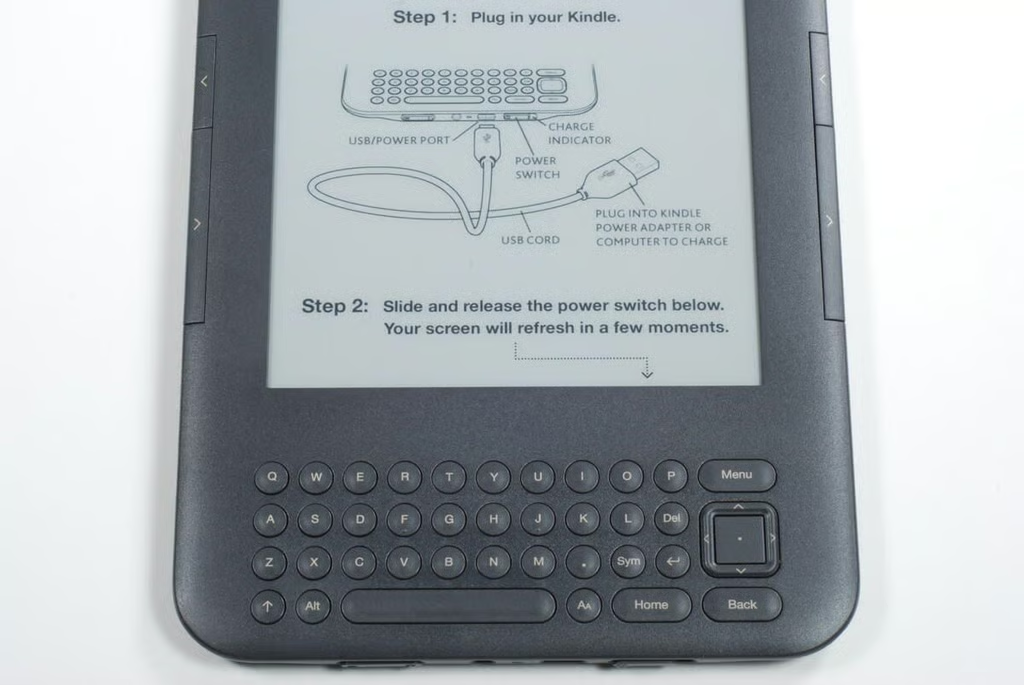
Compared to previous Kindles, the keypad on the Kindle Graphite (2010) is more compact and has a redesigned 5-way controller.
Photo credit: Bill Detwiler / TechRepublic
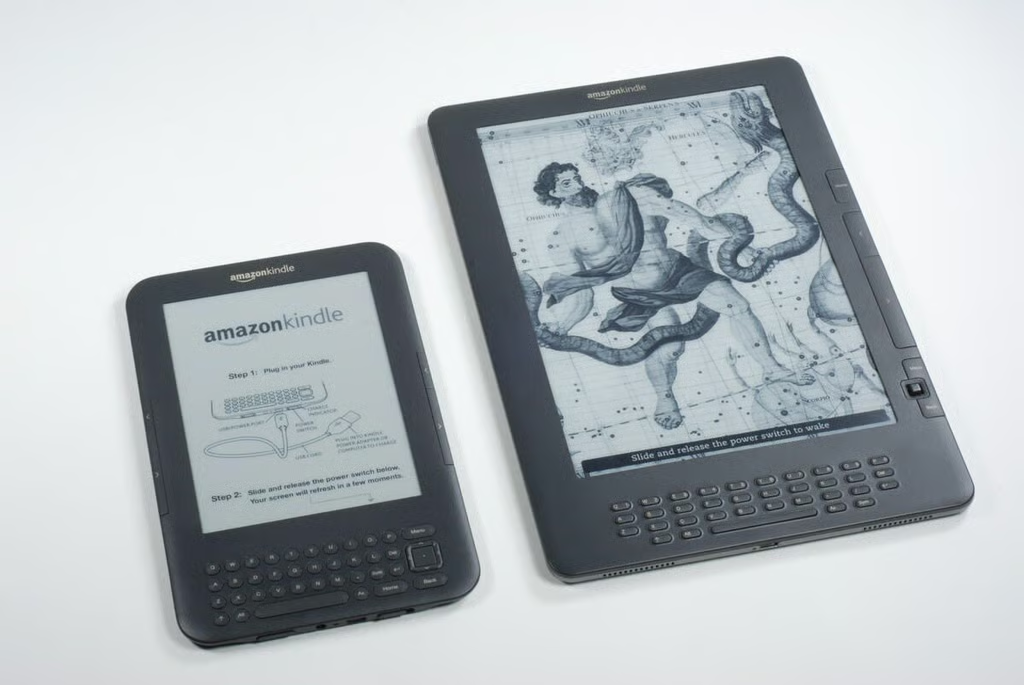
Earlier in 2010, Amazon also released a redesigned Kindle DX–the Kindle’s larger sibling. The Kindle DX (right) retails for $379.
Check out Bill’s teardown of the Kindle DX (Graphite) 2010.
Photo credit: Bill Detwiler / TechRepublic
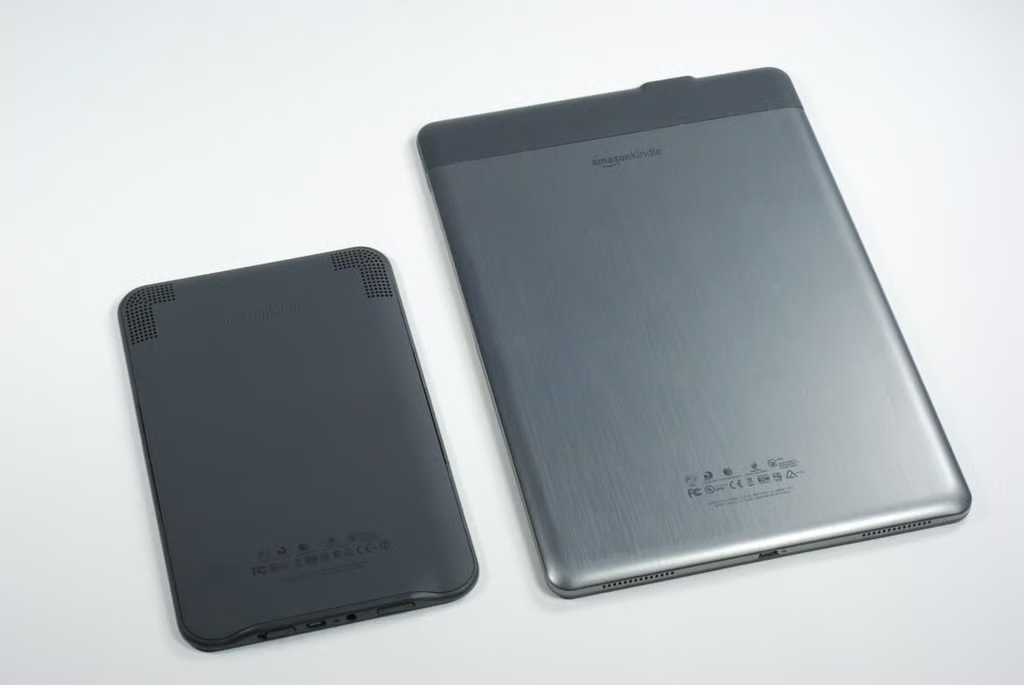
The back of the Kindle DX (2010) has a metal plate and plastic RF window on the top.
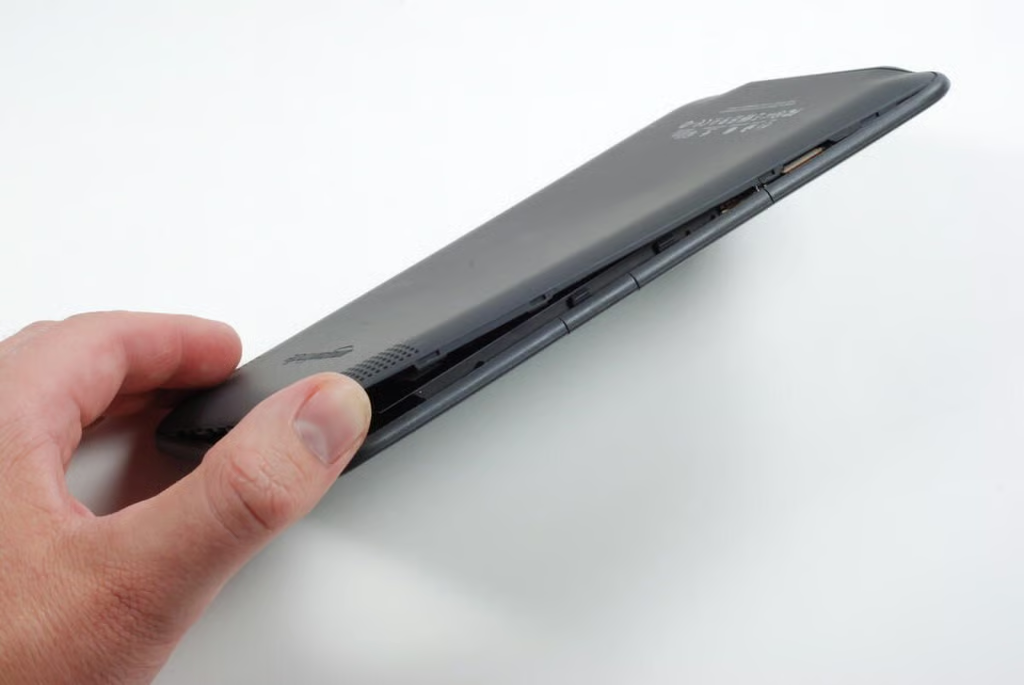
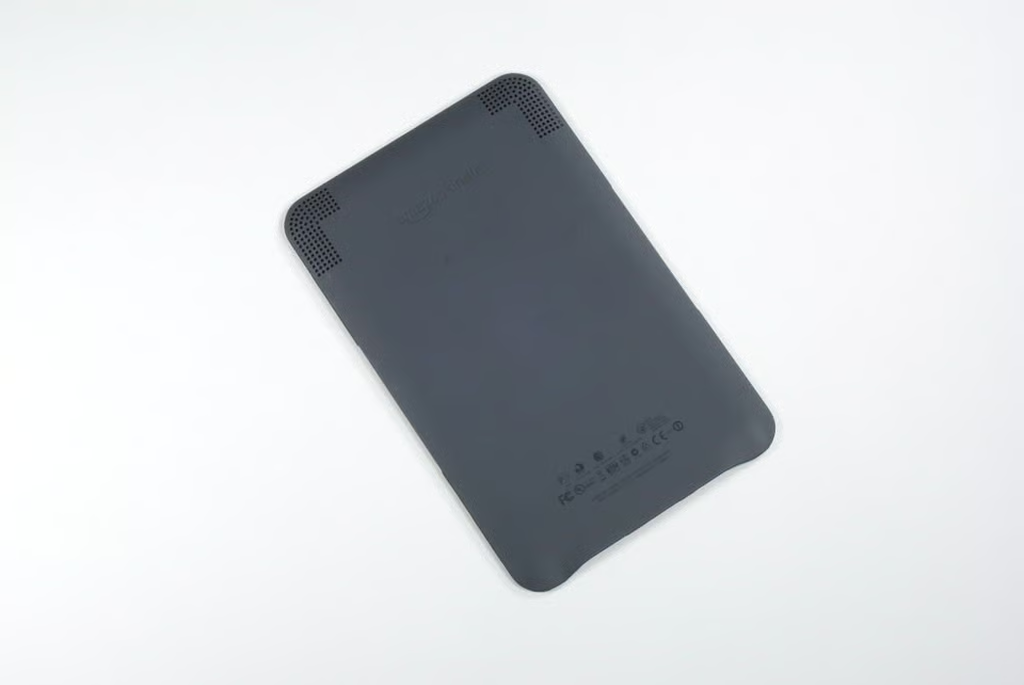
The Kindle Graphite (2010)’s case is all plastic, which actually made disassembling the device much easier.
Photo credit: Bill Detwiler / TechRepublic
Once you’ve loosened one side of the panel, the other side should come free with a little wiggling.
Photo credit: Bill Detwiler / TechRepublic
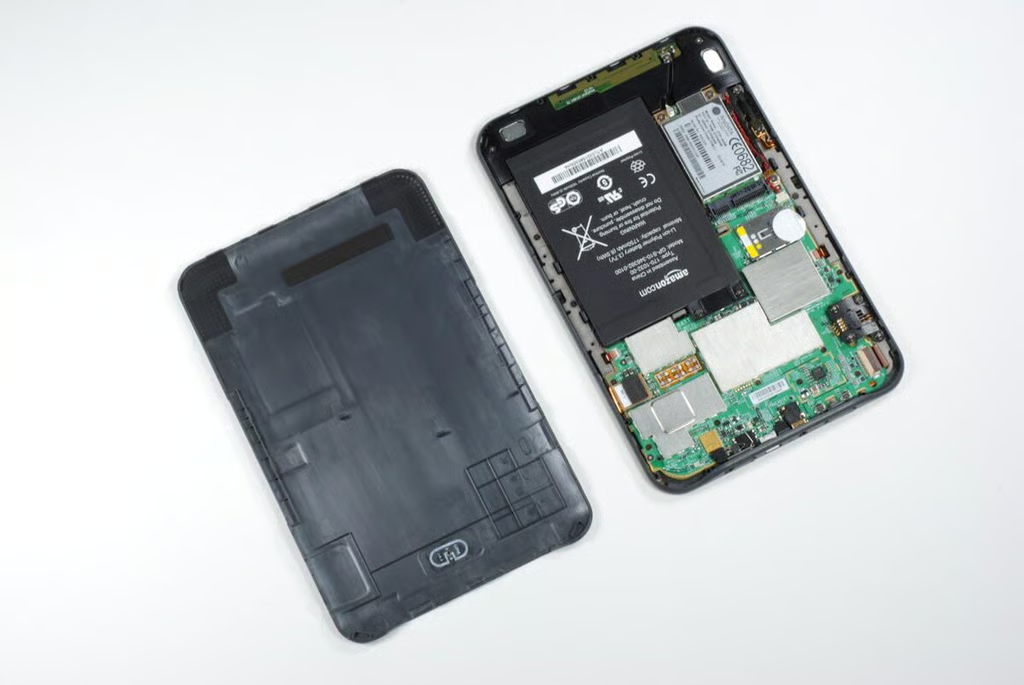
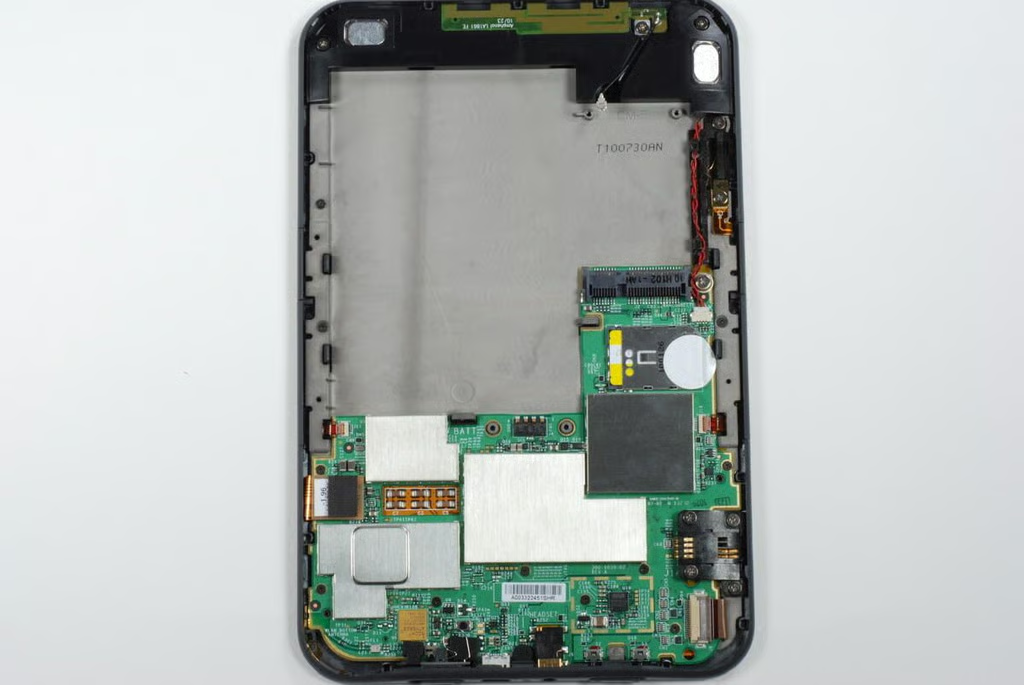
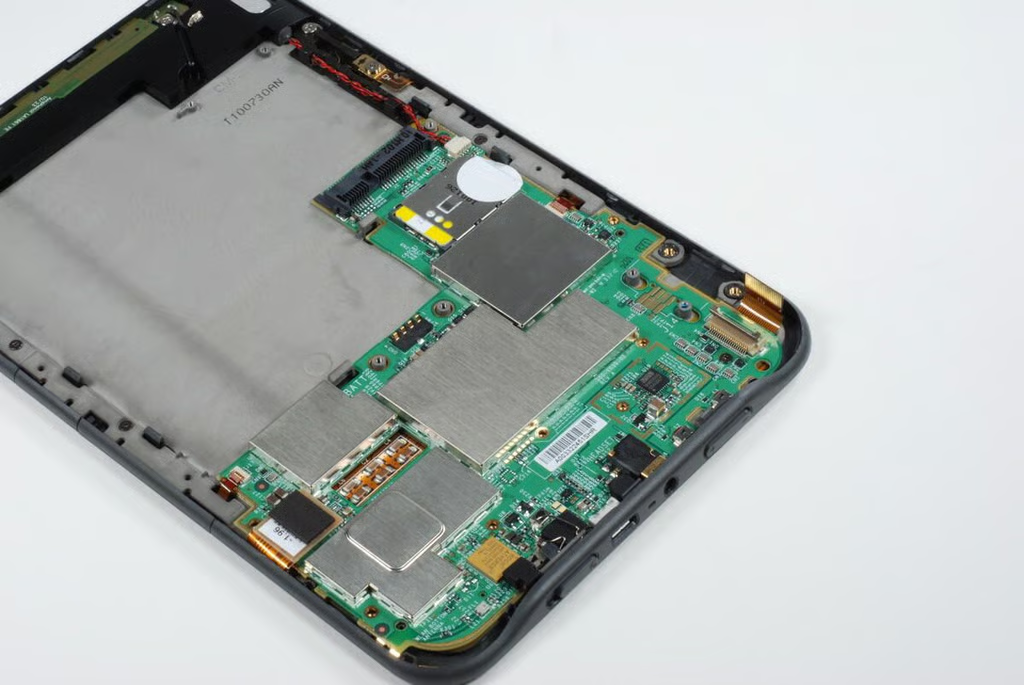
With the back panel removed, we get our first look inside the Kindle Graphite (2010).
Photo credit: Bill Detwiler / TechRepublic
Unlike the Kindle DX Graphite (2010), the Kindle Graphite (2010)’s back panel is all plastic.
Photo credit: Bill Detwiler / TechRepublic
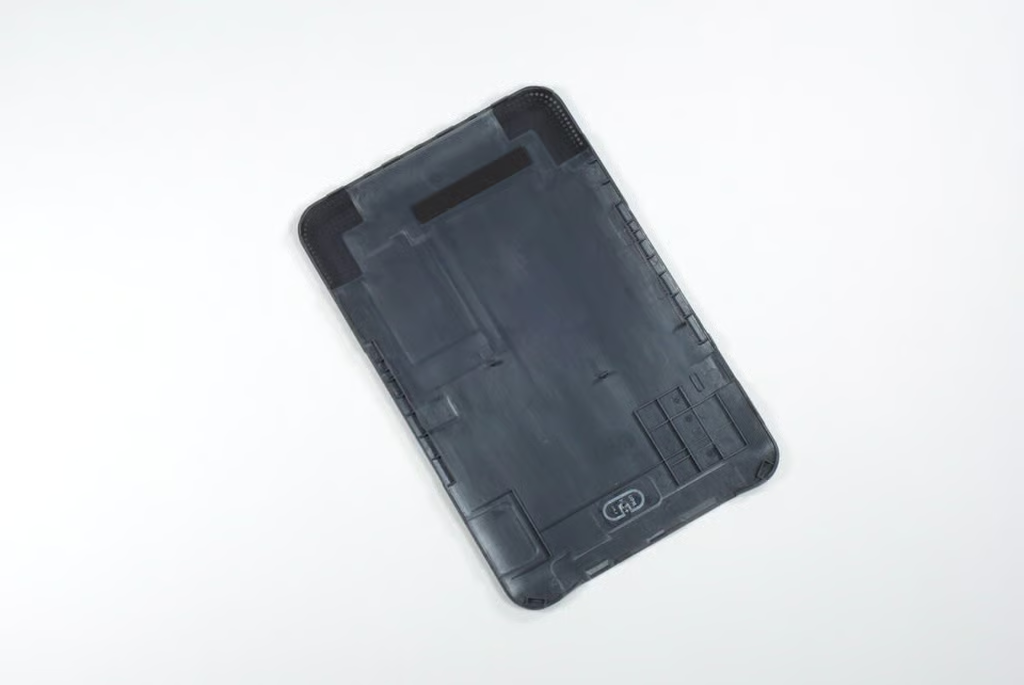
Photo credit: Bill Detwiler / TechRepublic
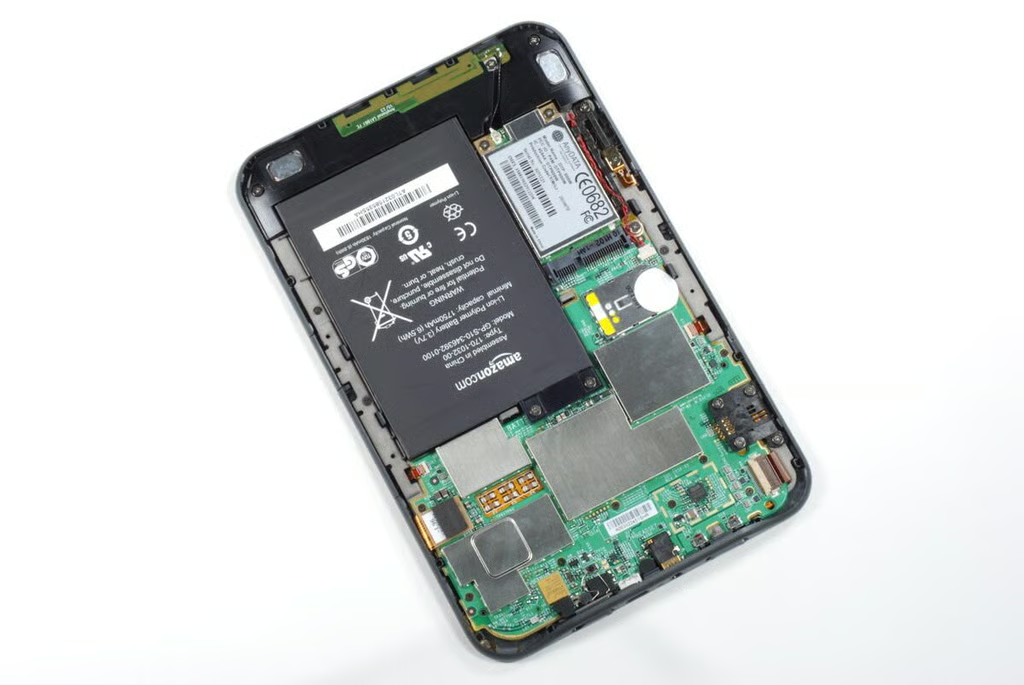
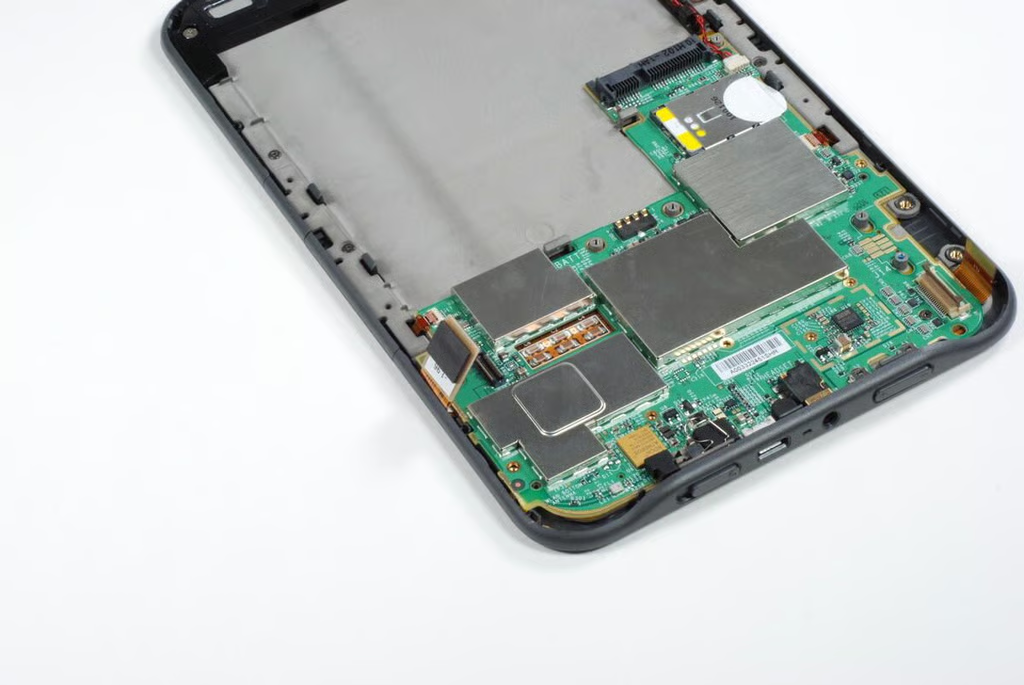
Our first step in dissecting the Kindle Graphite (2010) will be removing the battery.
Photo credit: Bill Detwiler / TechRepublic
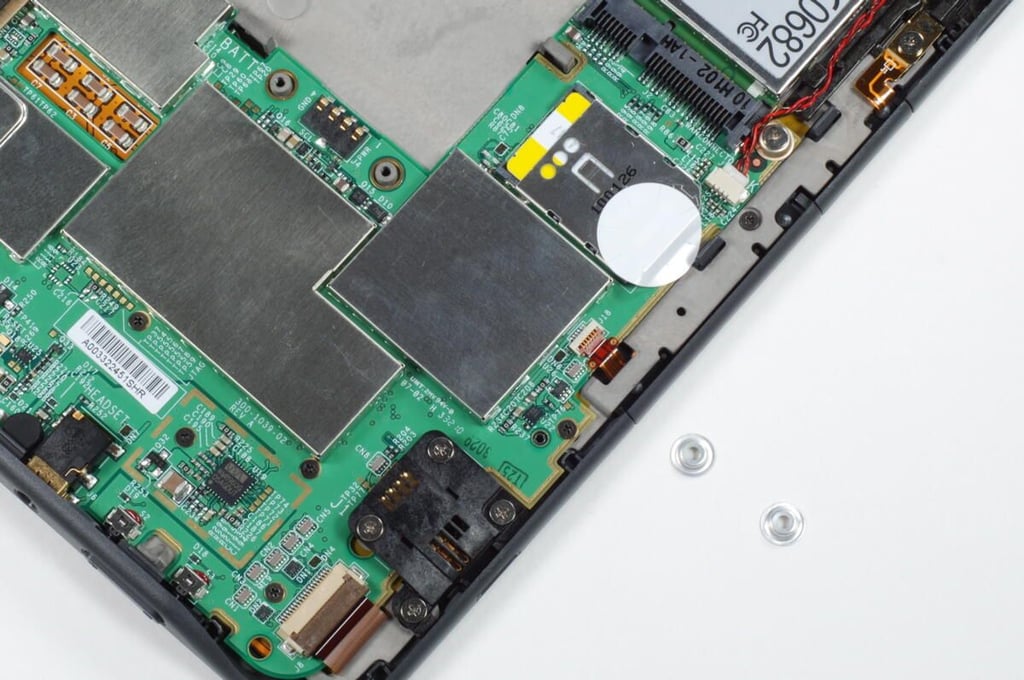
Between the battery and the main logic board, are two dome-shaped, metal washers. Be careful not to lose these when removing the battery.
Photo credit: Bill Detwiler / TechRepublic
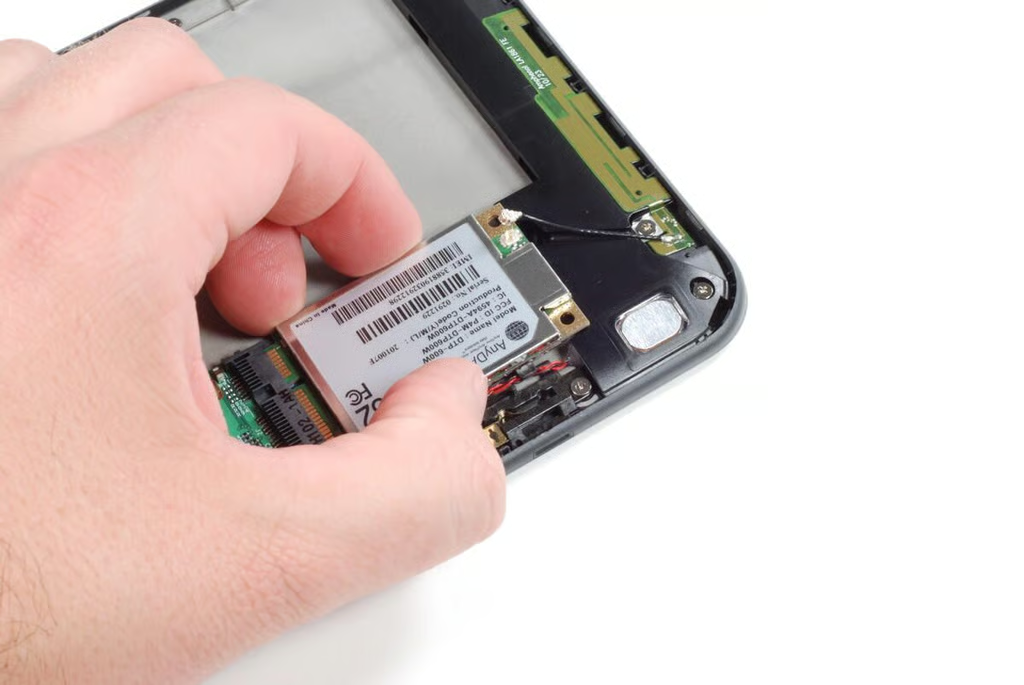
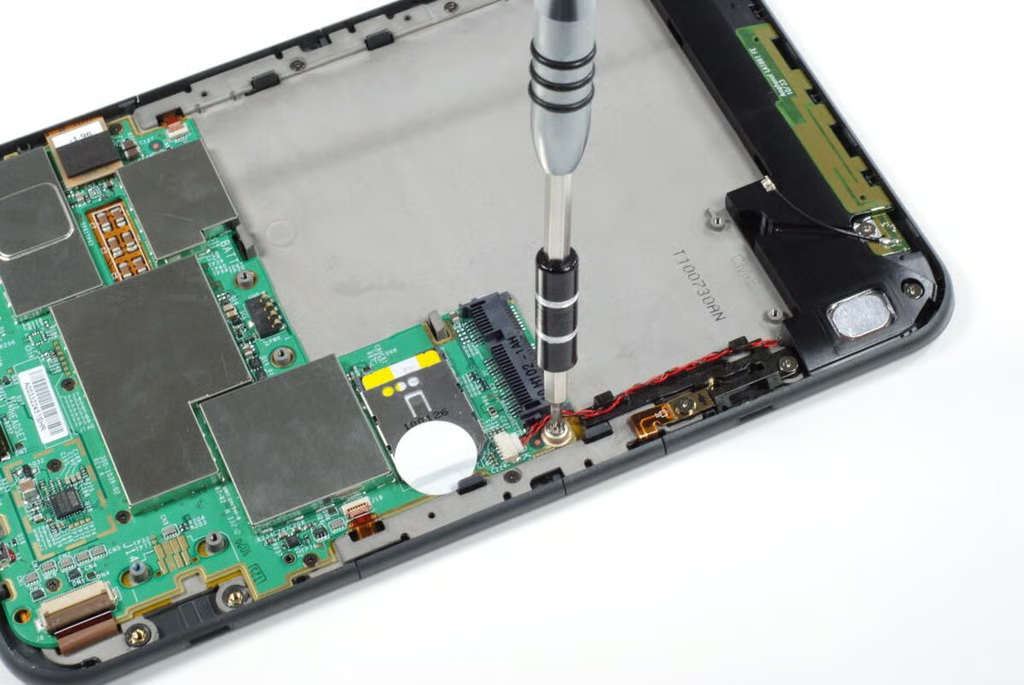
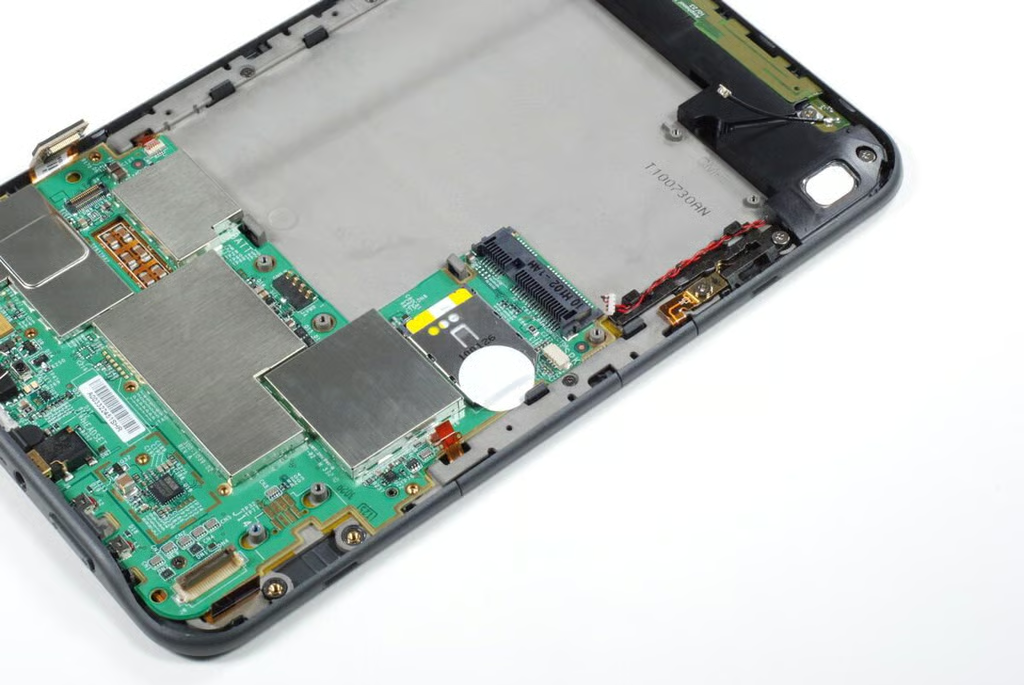
The 3G wireless card is attached to the case with two Phillips #00 screws. To removed the card, you’ll need to remove the screws and disconnect the antenna cable.
Photo credit: Bill Detwiler / TechRepublic
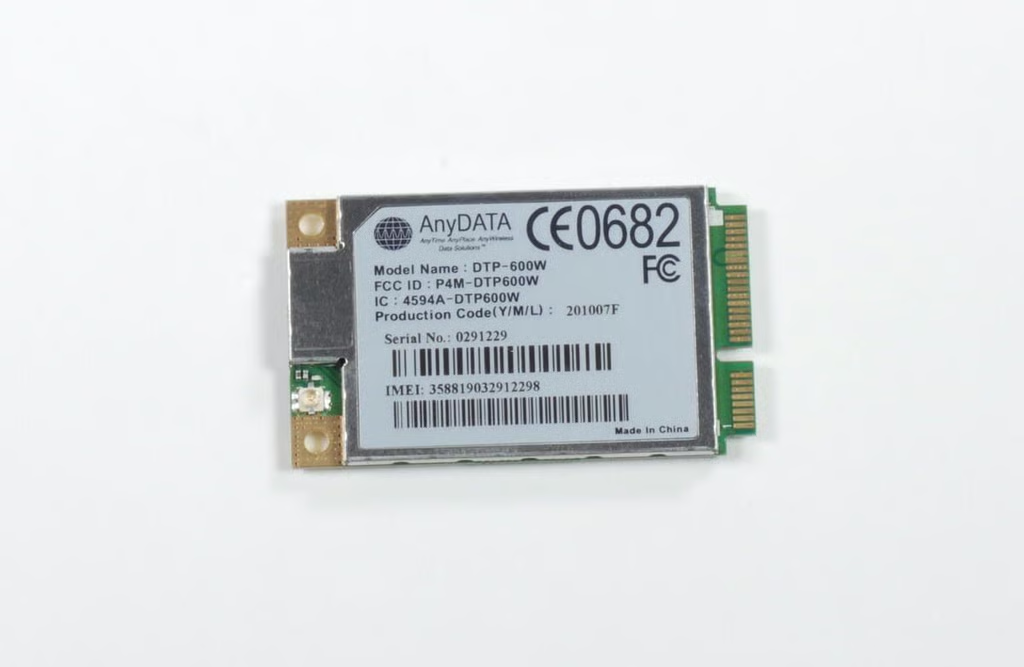
The Kindle Graphite (2010) uses an AnyDATA DTP-600W HSPA mini PCI-E module for wireless 3G connectivity. This is the same card used by the Kindle DX Graphite (2010).
According to AnyDATA documentation the DTP-600W “operates globally on tri-band UMTS 850/1900/2100 wireless networks as well as quad-band GSM/GPRS/EDGE 850/900/1800/1900 networks.”
Photo credit: Bill Detwiler / TechRepublic
Photo credit: Bill Detwiler / TechRepublic
With the wireless card and battery removed, we can see more of the gray panel that lies between most of the internal components and the E-Ink display.
Photo credit: Bill Detwiler / TechRepublic
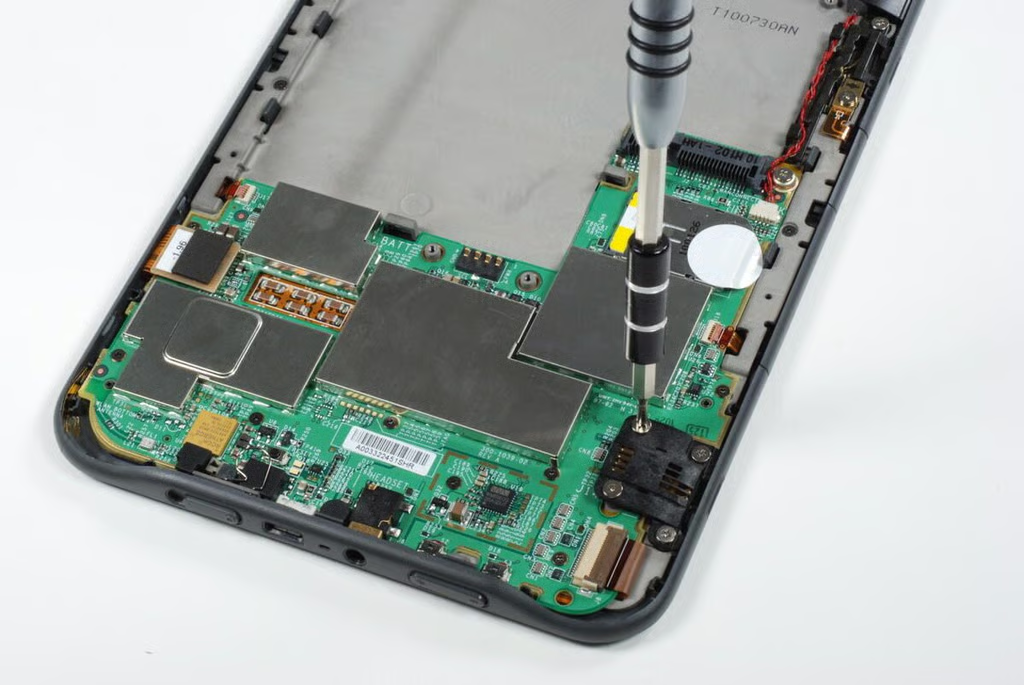
A small black, plastic bezel is mounted behind one of the Kindle Graphite (2010)’s case catch. It is held in place with four Phillips #00 screws.
Photo credit: Bill Detwiler / TechRepublic
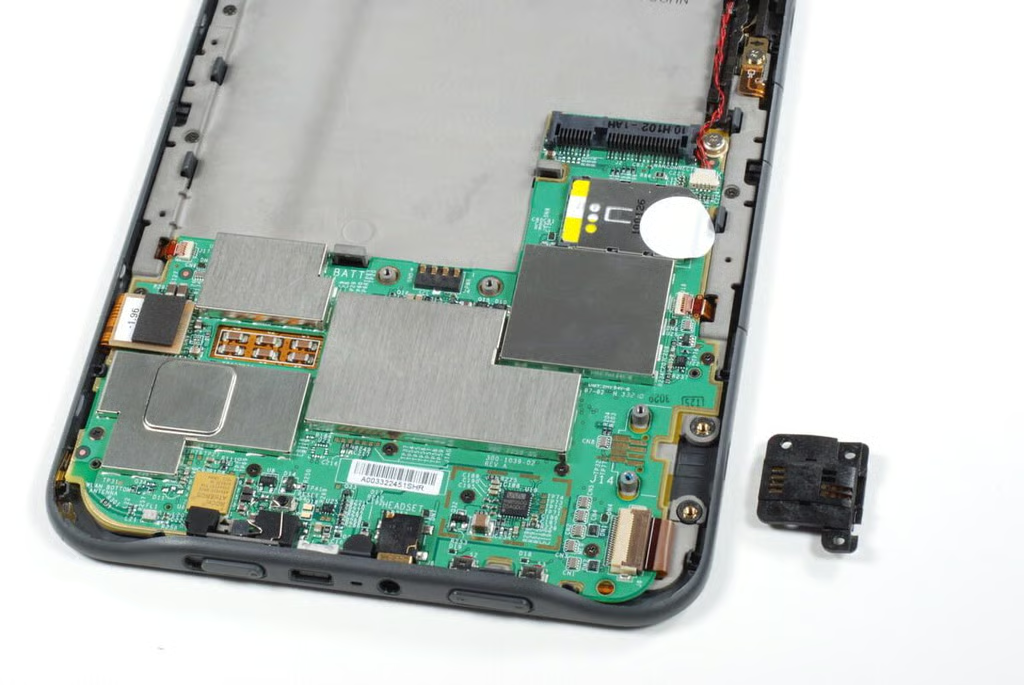
Photo credit: Bill Detwiler / TechRepublic
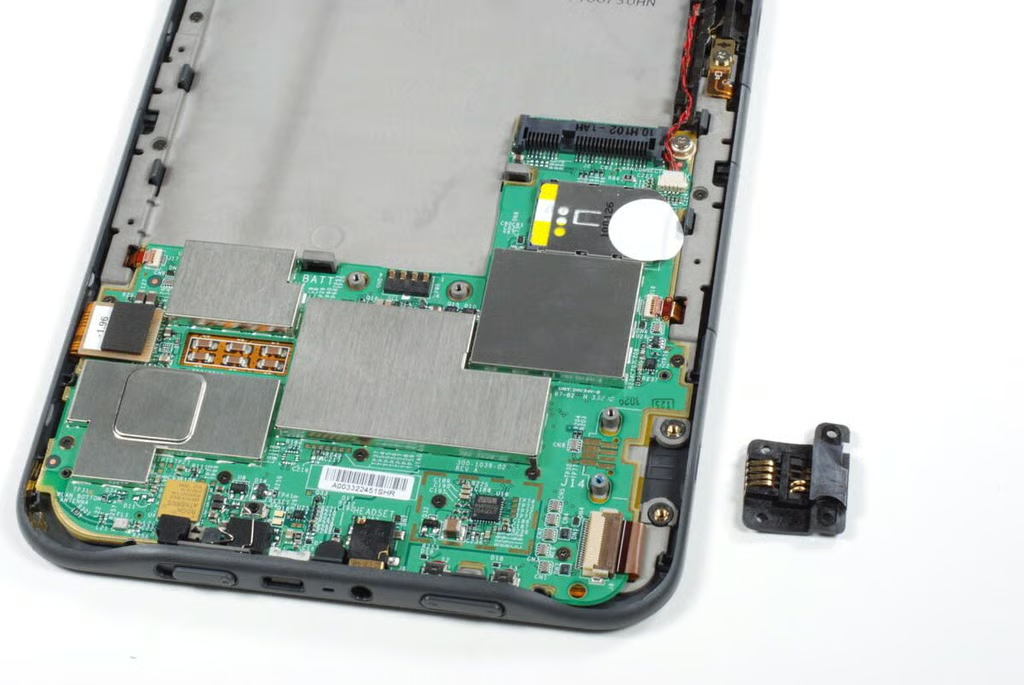
This underside of the catch bezel has metal contacts that tell the Kindle a case is connected.
Photo credit: Bill Detwiler / TechRepublic
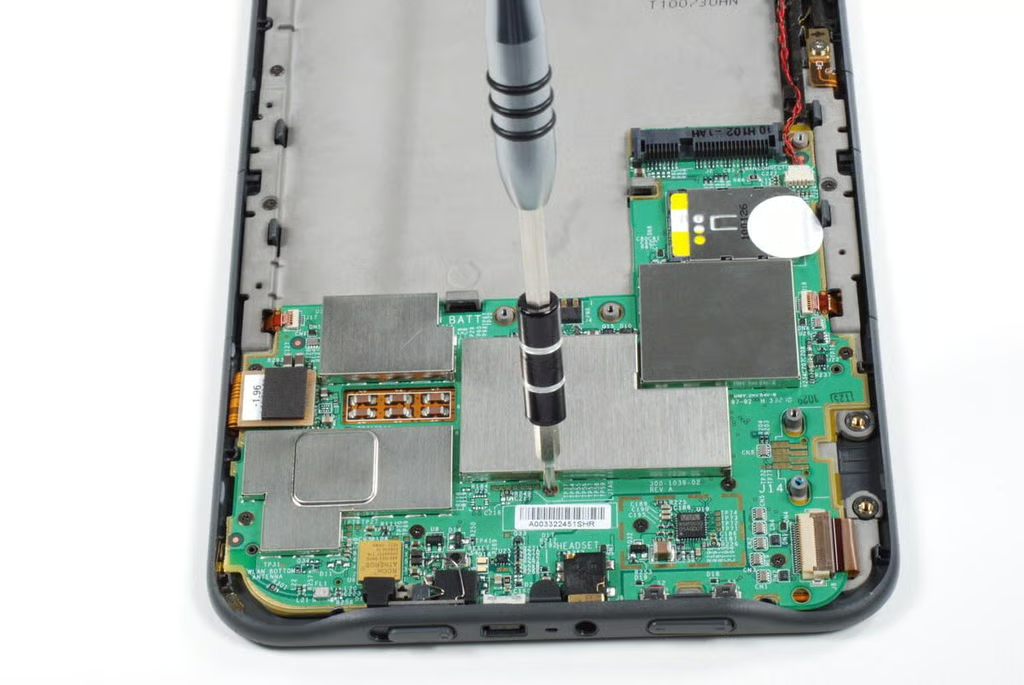
Before we can remove the main logic board from the support structure underneath and the front half of the case, we must remove one more “silver” screw and several dark-colored screws.
Photo credit: Bill Detwiler / TechRepublic
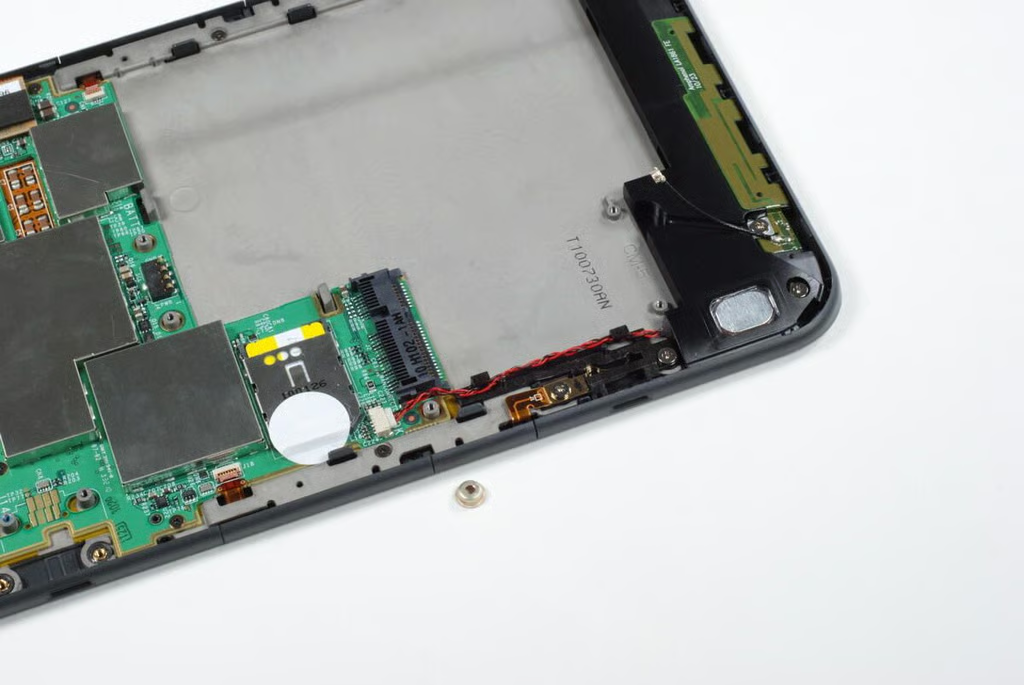
Photo credit: Bill Detwiler / TechRepublic
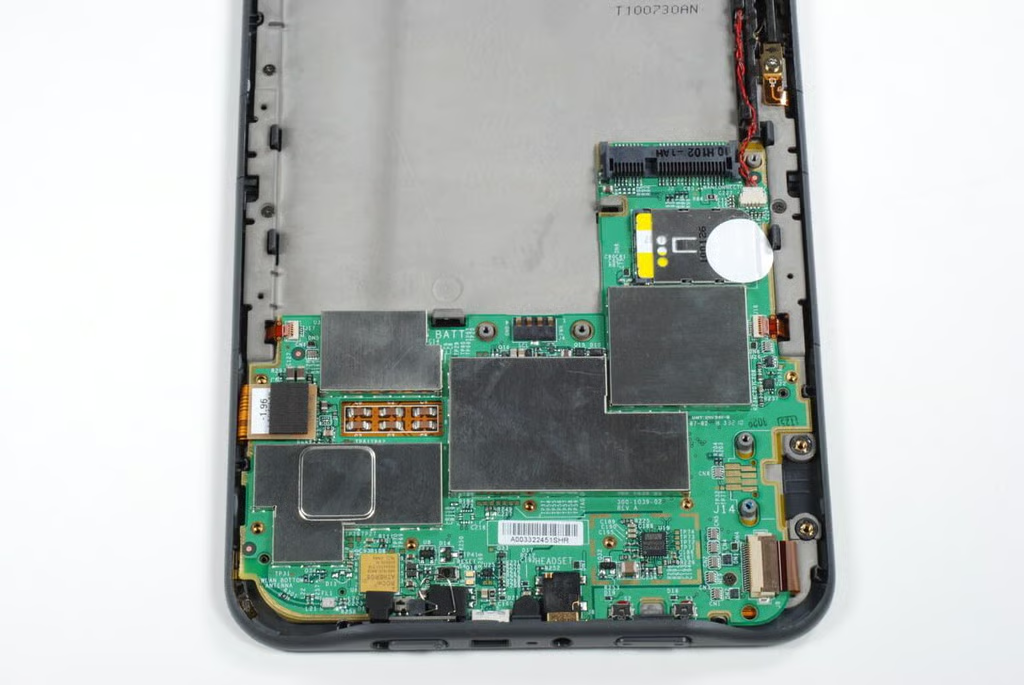
There are eight dark-colored screws that hold the Kindle Graphite (2010)’s main logic board to the support structure underneath and the front half of the case.
Photo credit: Bill Detwiler / TechRepublic
Before removing the logic board, we’ll also need to disconnect all the cables.
Photo credit: Bill Detwiler / TechRepublic
The ribbon cable for the Kindle Graphite (2010)’s keypad is connected to the main logic board with a gated connector. Gently lift up the gate and pull the cable free.
Photo credit: Bill Detwiler / TechRepublic
Next to be disconnected is the Kindle Graphite (2010)’s E-Ink display connector. This connector should pop loose with a little force.
Photo credit: Bill Detwiler / TechRepublic
Next, disconnect the internal speaker cable.
Photo credit: Bill Detwiler / TechRepublic
There are two very small ribbon cables (one on each side) for the two pairs of Previous Page and Next Page buttons. You’ll need to lift the connector gates and pull the cables loose on both.
Photo credit: Bill Detwiler / TechRepublic
When lifting the main logic board away from the front half of the case, you’ll need to lift it out from under this bent metal sprint on the power switch.
Photo credit: Bill Detwiler / TechRepublic

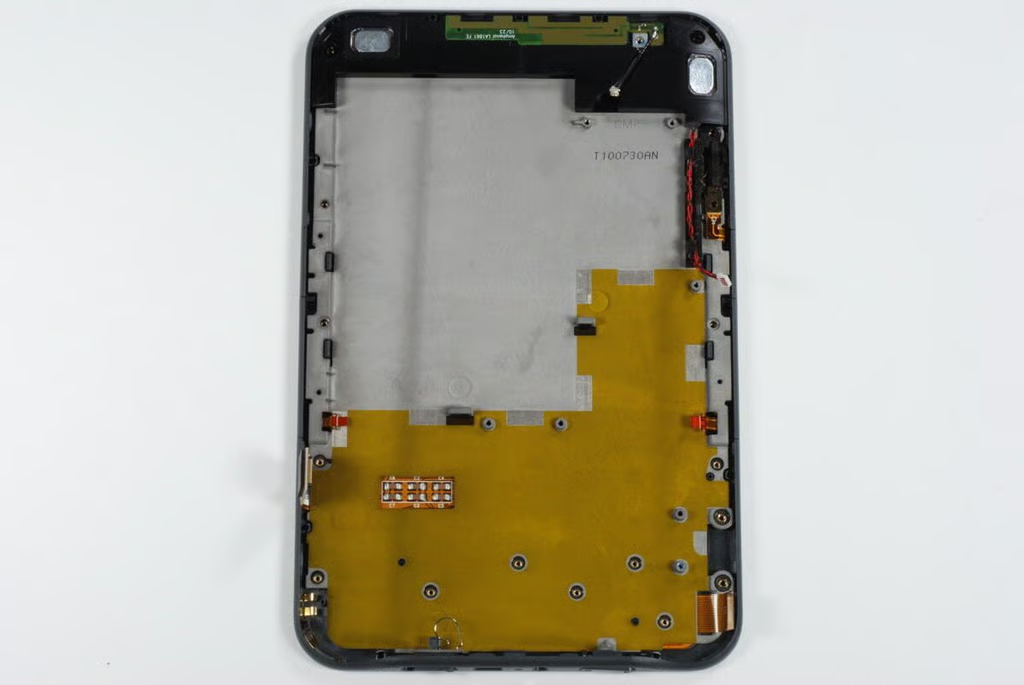
With the Kindle Graphite (2010)’s logic board removed, we can see the gray support structure underneath, which serves as the backing for the E-Ink display and contains the internal components for the keypad.
Photo credit: Bill Detwiler / TechRepublic
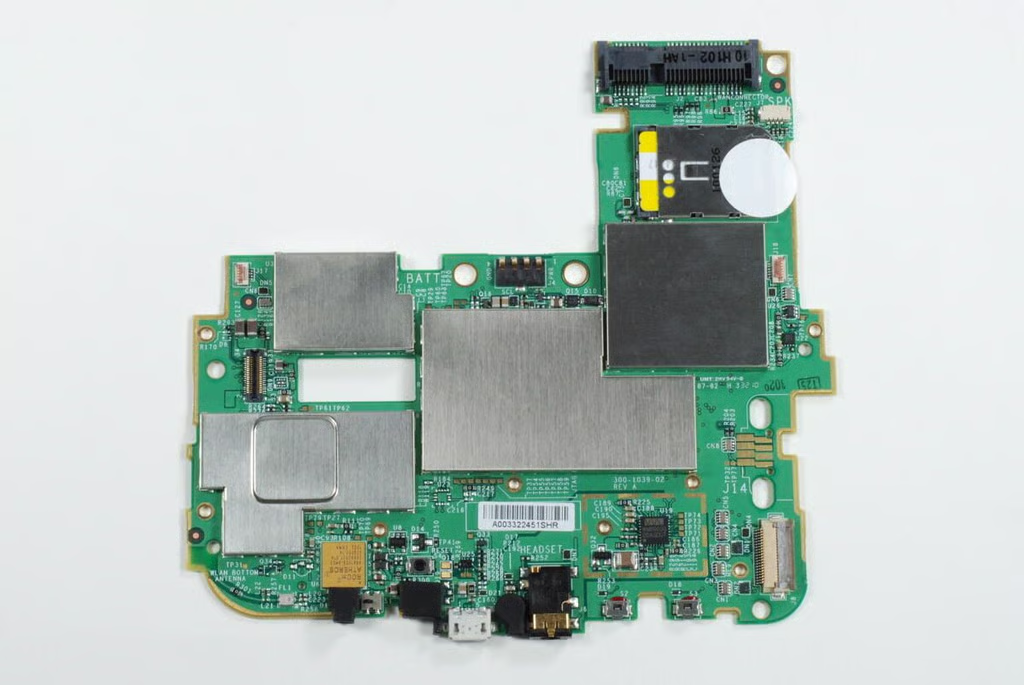
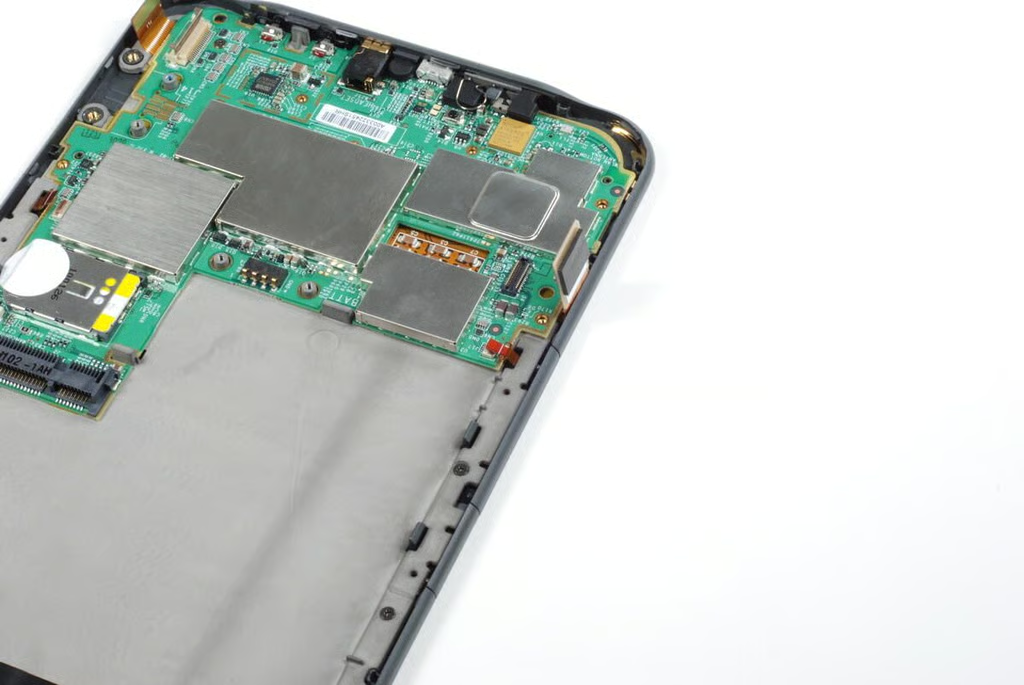
At this point, we can see a chip or two on the main logic board, but we’ll need to remove the metal shields to see more.
Photo credit: Bill Detwiler / TechRepublic
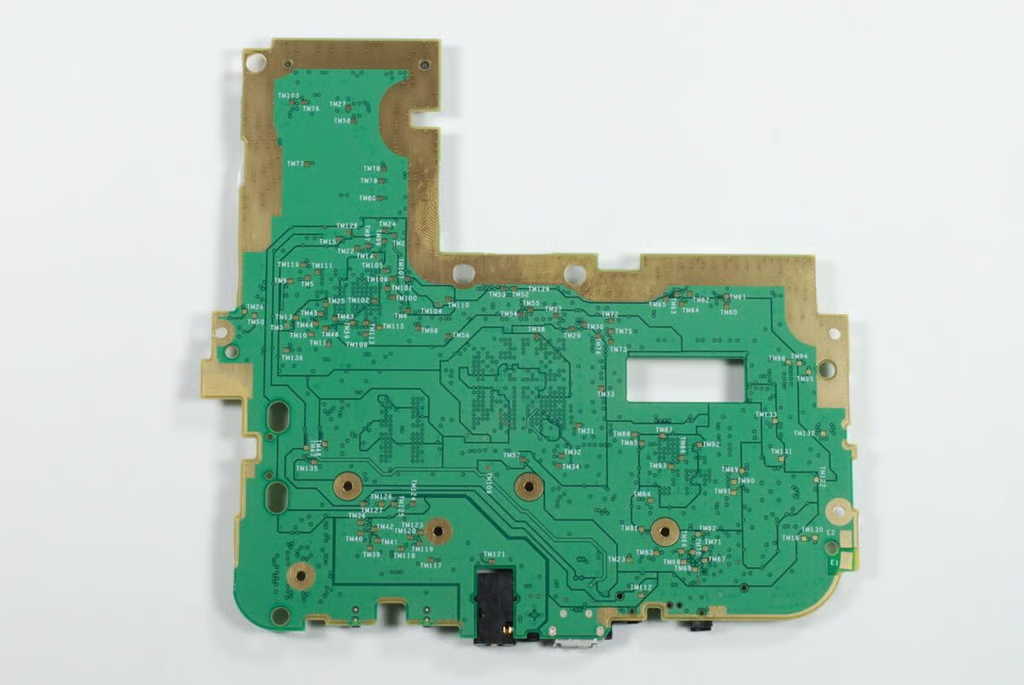
There’s not much to talk about on the back of the Kindle Graphite (2010)’s main logic board.
Photo credit: Bill Detwiler / TechRepublic
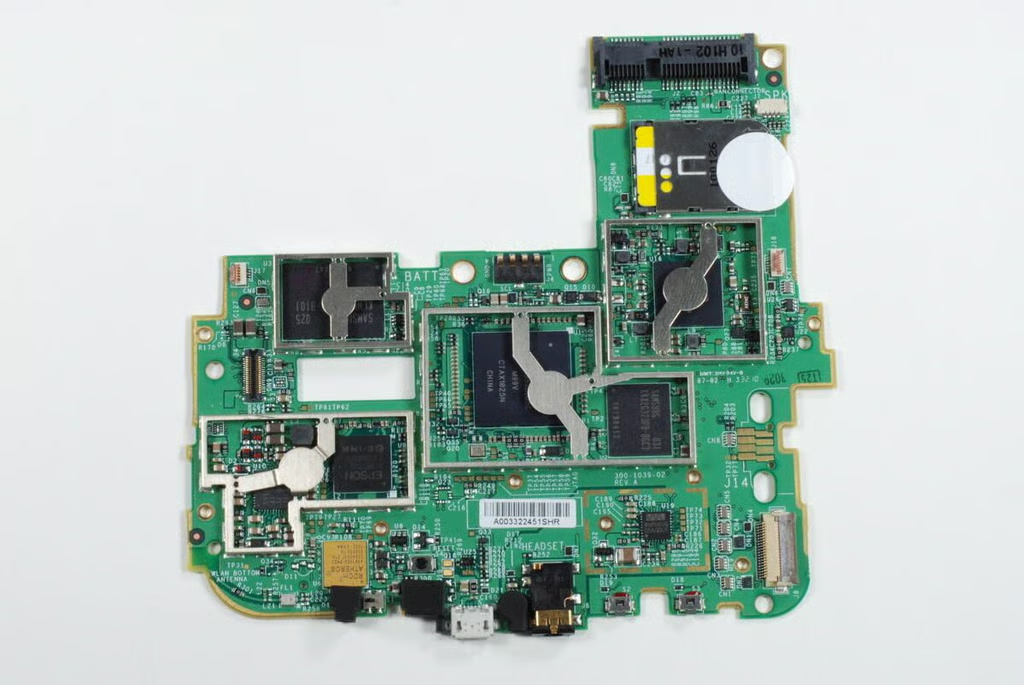
Using a thin metal blade or plastic spudger, you should be able to pop the shields off the Kindle Graphite (2010)’s main logic board.
Photo credit: Bill Detwiler / TechRepublic

This picture shows the following chips:
Freescale ARM 11-based i.MX353 multimedia applications processor — Part number: MCIMX353DJQ5C (partially obscured)
Samsung K4X2G323PB-8GC3 DRAM
Photo credit: Bill Detwiler / TechRepublic
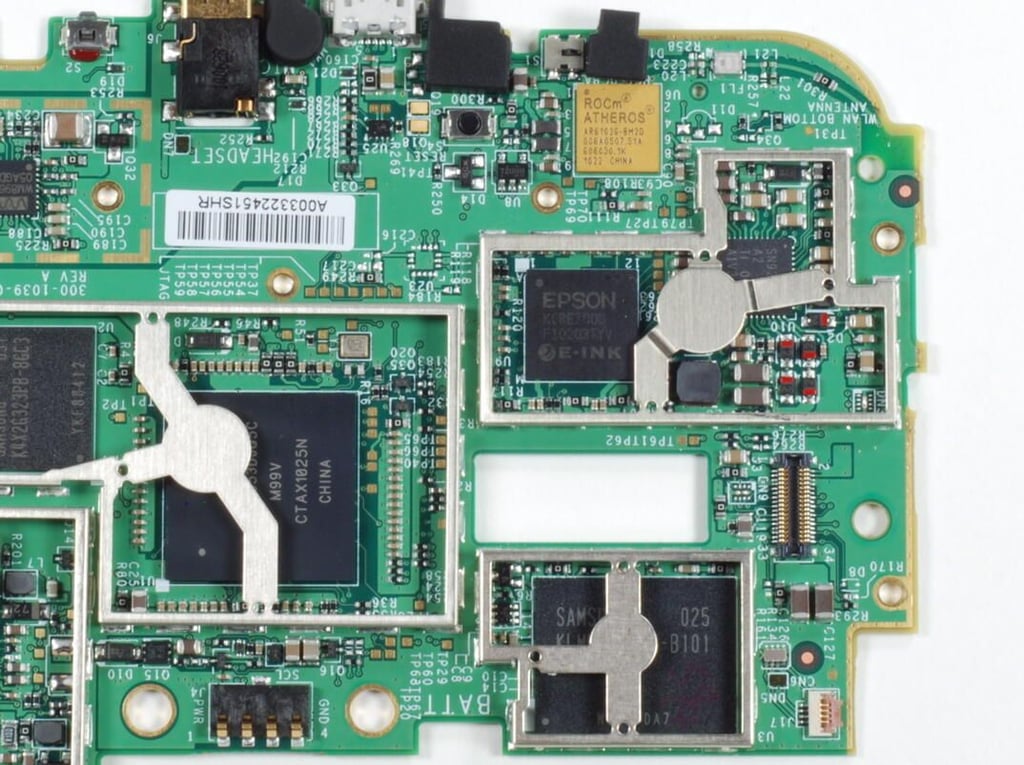
This pictures shows the following chips:
Samsung 4GB moviNand storage chip — KLM4G1DEHM-B101
EPSON KCRE7000 F10203TYV E-Ink display controller
Atheros AR6102 ROCm WLAN chip (AR6102G-BM20)
Photo credit: Bill Detwiler / TechRepublic
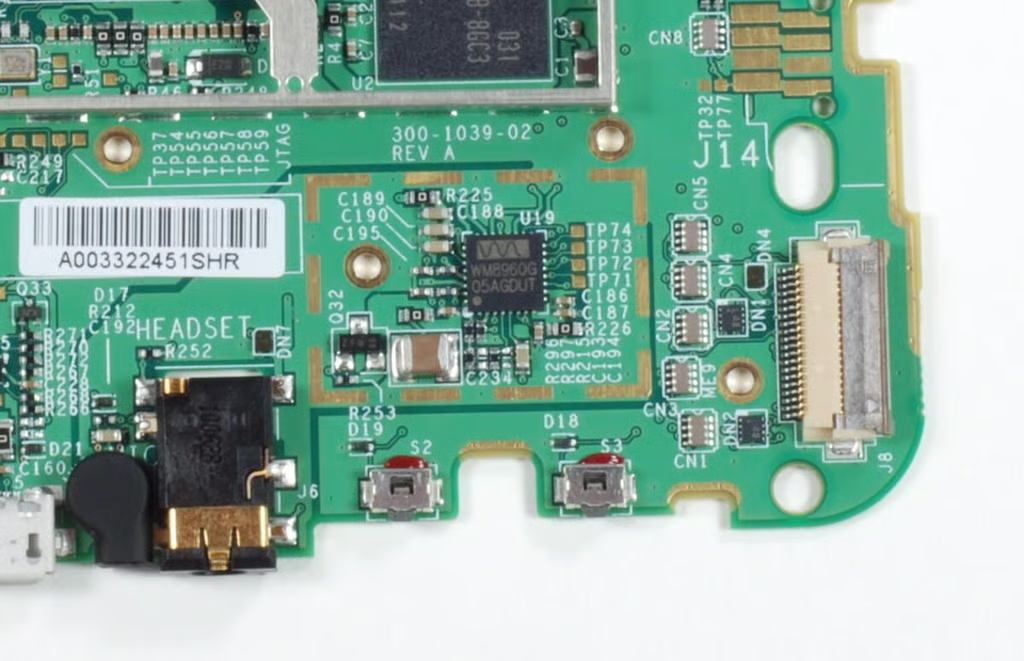
The Kindle Graphite (2010) uses the Wolfson Microelectronics WM8960G stereo codec.
Photo credit: Bill Detwiler / TechRepublic
With the main logic board removed, we can see the support structure underneath. It is held to the front case panel with several Phillips screws.
Photo credit: Bill Detwiler / TechRepublic
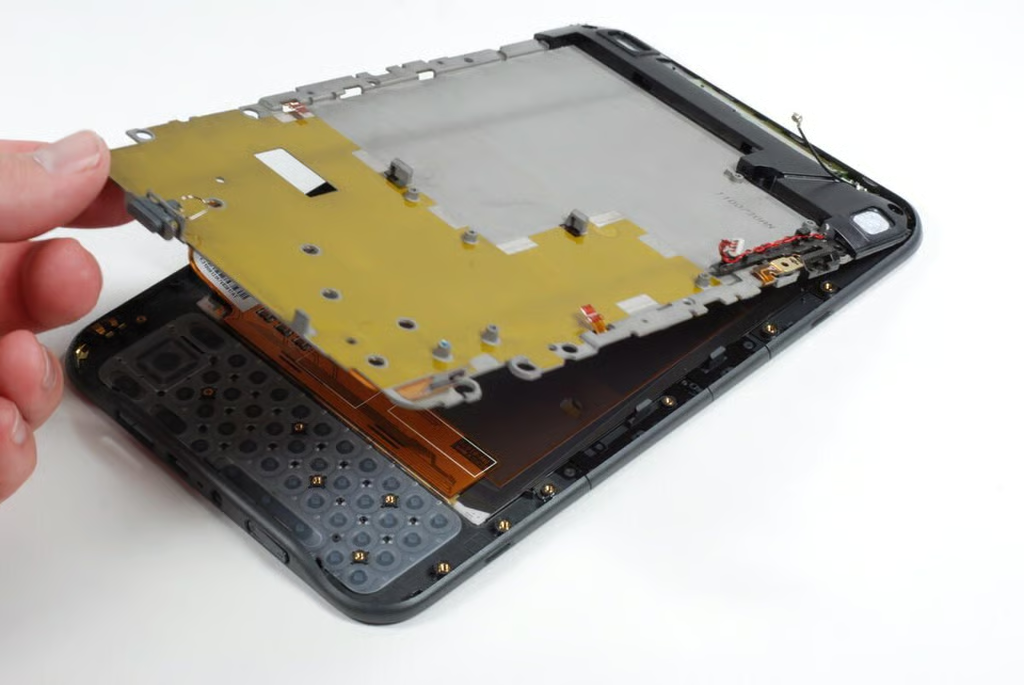
Once the screws are removed, you can gently lift the internal structure away from the front panel.
Photo credit: Bill Detwiler / TechRepublic
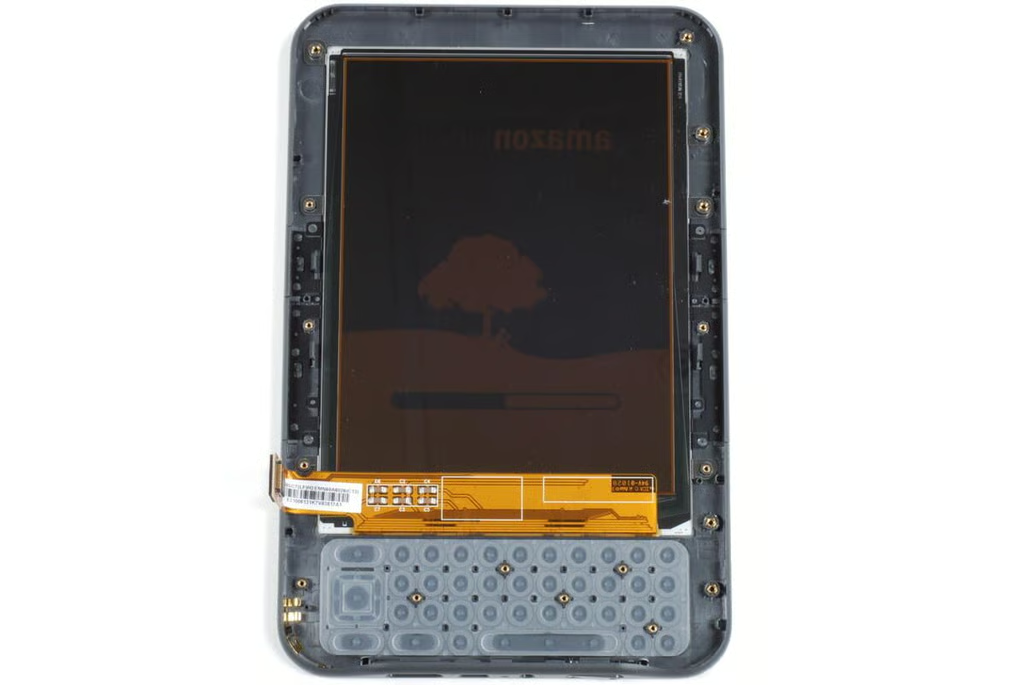
Behind the internal support structure is the E-Ink display and the back of the Kindle Graphite (2010)’s keypad.
Photo credit: Bill Detwiler / TechRepublic
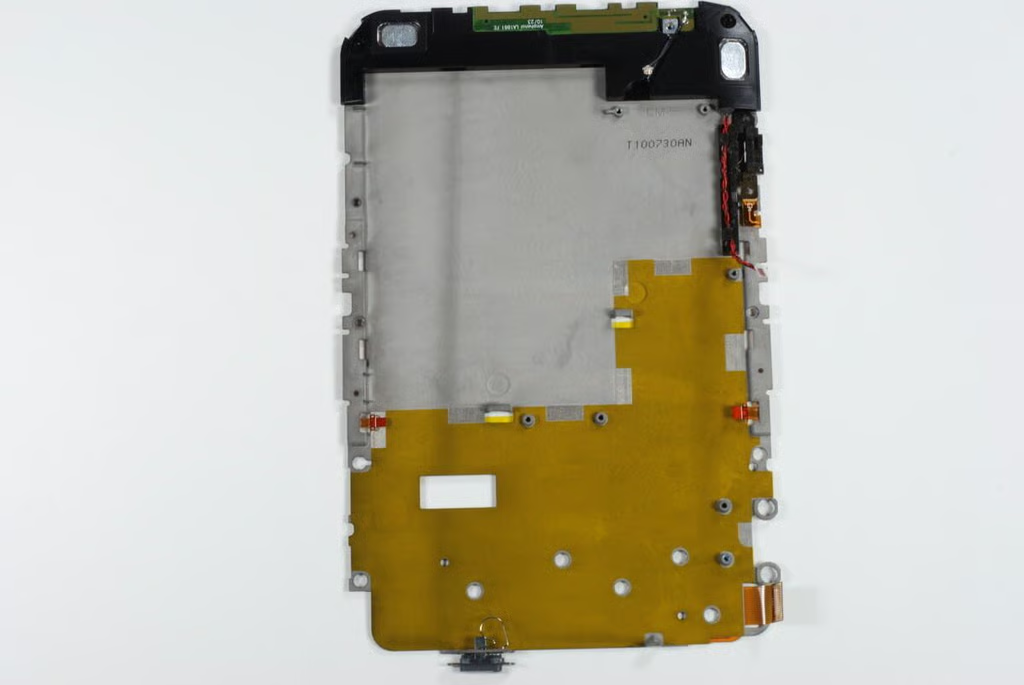
At the top of the internal support structure is the speaker assembly, which is attached to the structure with adhesive.
Photo credit: Bill Detwiler / TechRepublic

On the front of the internal support are the actual contacts for the keypad buttons.
Photo credit: Bill Detwiler / TechRepublic
Bill Detwiler is the Editor for Technical Content and Ecosystem at Celonis. He is the former Editor in Chief of TechRepublic and previous host of TechRepublic's Dynamic Developer podcast and Cracking Open, CNET and TechRepublic's popular online show. Previously, Bill was an IT manager in the social research and energy industries. He has bachelor's and master's degrees from the University of Louisville, where he has also lectured on computer crime and crime prevention.


