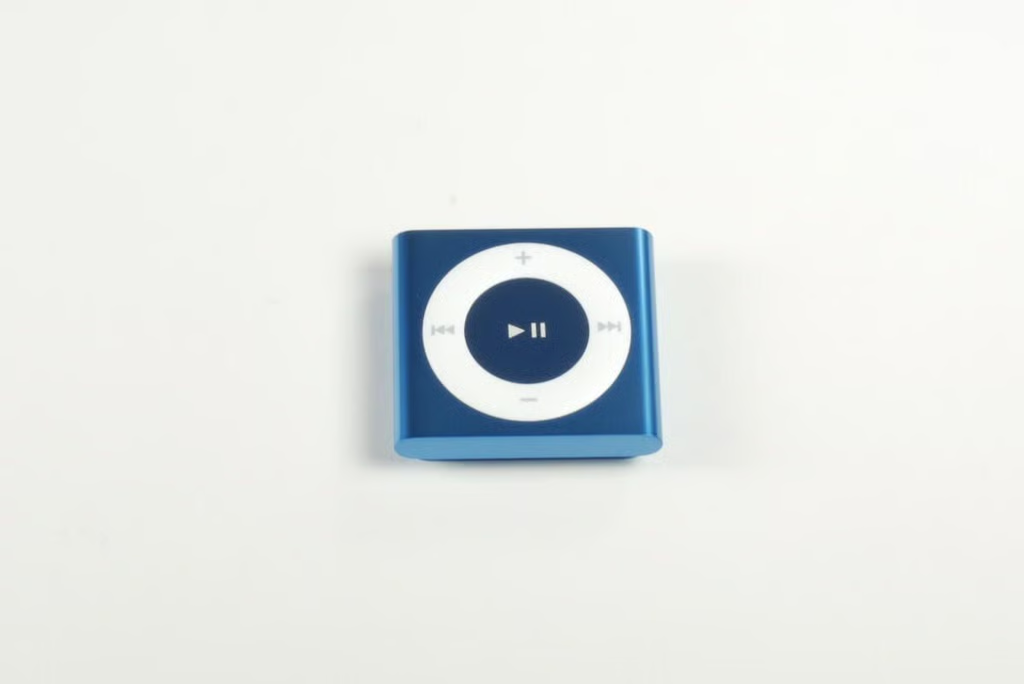
In September 2010, Apple unveiled the 6th generation iPod Nano (Model: A1366). The new Nano is a significant departure from previous versions–resembling the new iPod Shuffle more than older Nanos.
As with the iPod Shuffle, the Nano isn’t designed to be easily disassembled. But if you’re working on a device that’s already broken and out of warranty, you might not have anything to lose.
To disassemble the iPod Nano, you’ll need a Phillips #00 or #000 screwdriver, a thin metal blade or plastic spudger, and a hair dryer or heat gun.
Photo by: Bill Detwiler / TechRepublic
Caption by: Bill Detwiler

The 6th generation iPod Nano is available in seven colors and two memory sizes (8GB or 16GB). The 8GB Nano sells for $149 (US). The 16GB version costs $179 (US).
Photo by: Bill Detwiler / TechRepublic
Caption by: Bill Detwiler
Photo by: Bill Detwiler / TechRepublic
Caption by: Bill Detwiler
A removable sticker illustrates the iOS-like icons used by the iPod Nano’s GUI.
Photo by: Bill Detwiler / TechRepublic
Caption by: Bill Detwiler
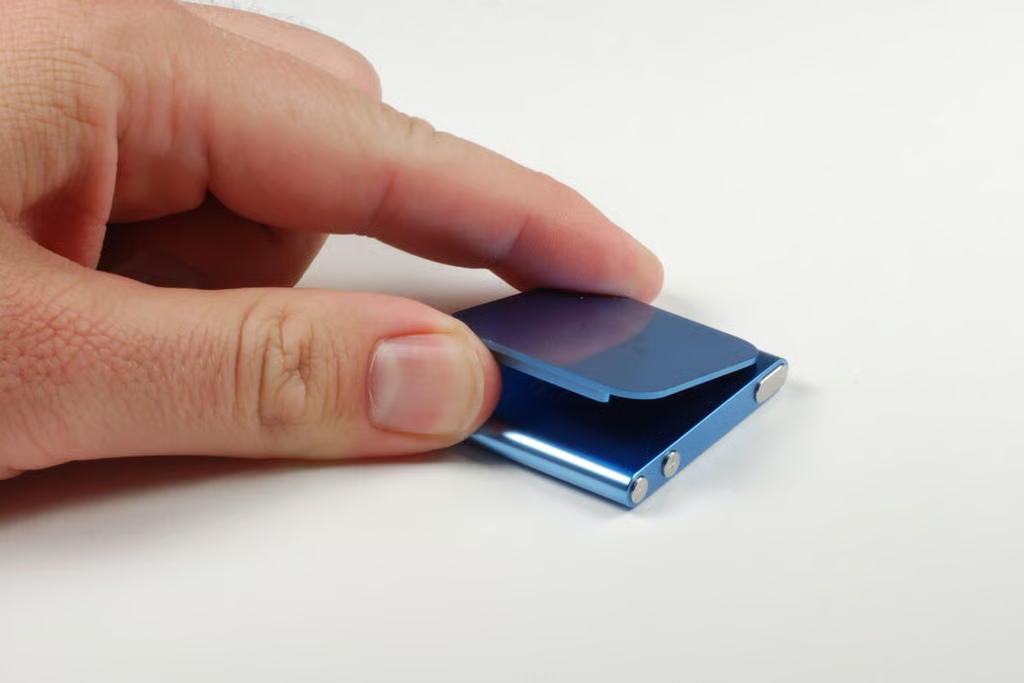
Like the 2010 iPod Shuffle, the Nano has a large clip on the back.
Photo by: Bill Detwiler / TechRepublic
Caption by: Bill Detwiler
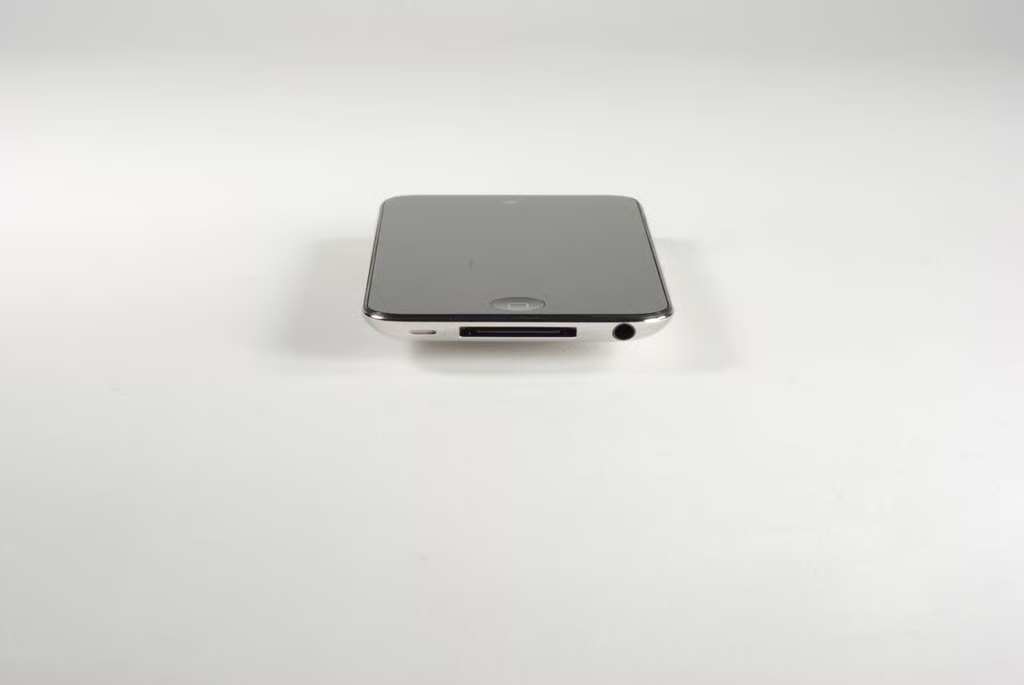
Unlike the 4th generation iPod Shuffle, the 6th generation iPod Nano’s enclosure has no visible entry points. Assuming that the touchscreen was held on with adhesive, I heated the Nano to soften the glue. You could use a heat gun for this task, but I prefer a hair dryer for gadgets like the Nano. Heat guns can get very hot, very quickly. Too much heat can ruin sensitive components.
Photo by: Bill Detwiler / TechRepublic
Caption by: Bill Detwiler
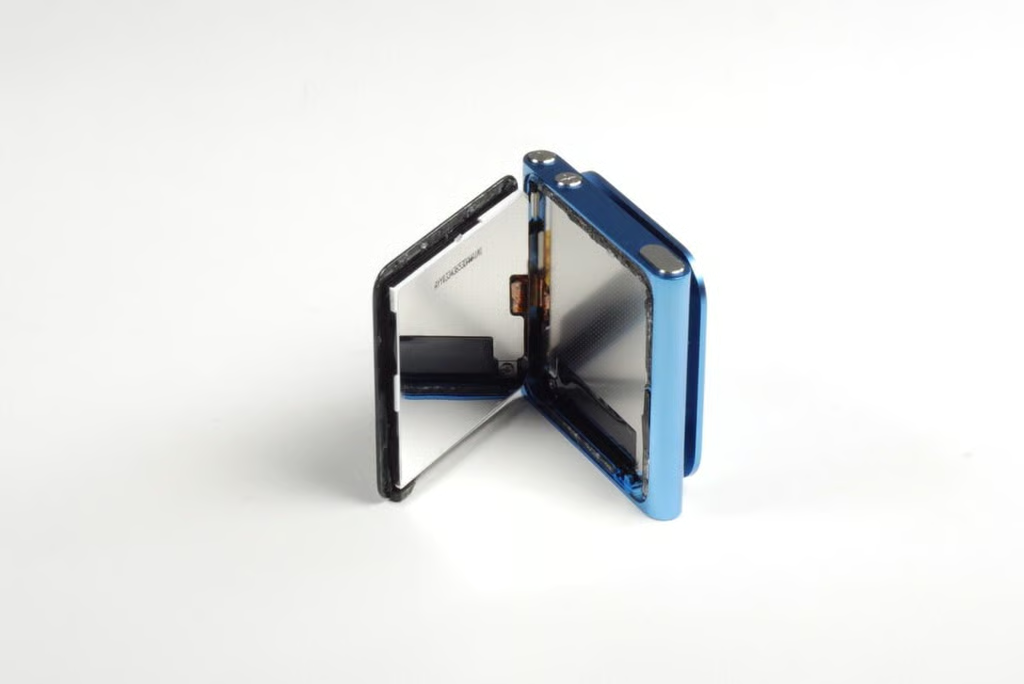
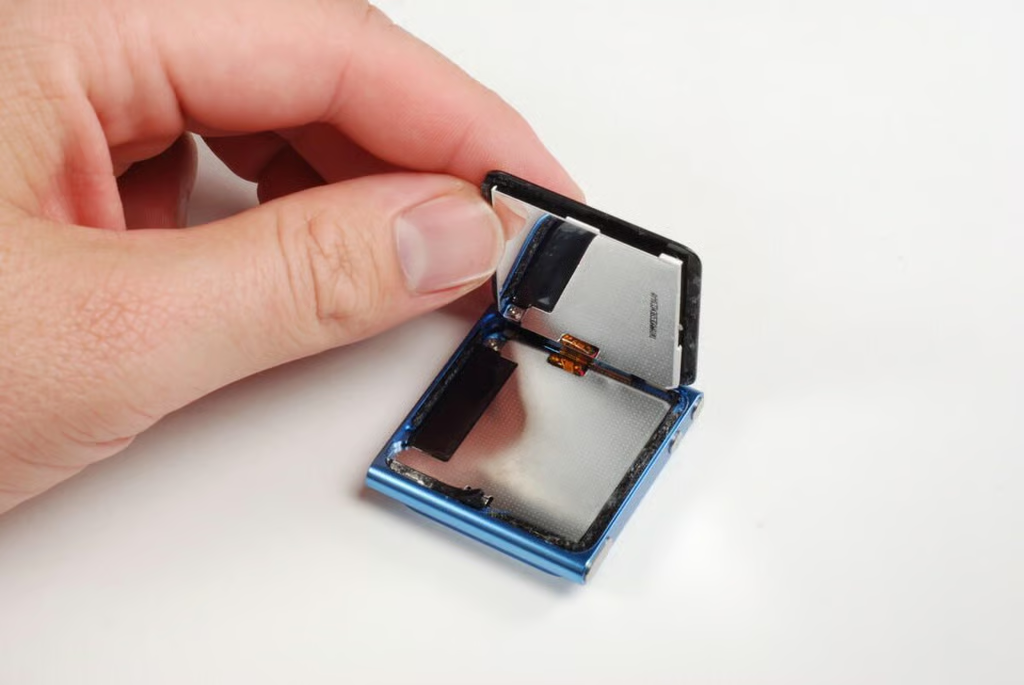
With the adhesive softened, I used a very thin metal blade to gently pry the touchscreen away from the iPod Nano’s enclosure. Take care when doing this not to insert the metal blade or plastic spudger too far into the Nano. You don’t want to damage the internal components.
Photo by: Bill Detwiler / TechRepublic
Caption by: Bill Detwiler
The touchscreen is attached to the logic board via a thin ribbon cable–located along the side below the volume buttons.
Photo by: Bill Detwiler / TechRepublic
Caption by: Bill Detwiler
Take care not to damage the display’s ribbon cable when prying it loose from the enclosure. We’ll need to disconnect the cable before completely removing the screen.
Photo by: Bill Detwiler / TechRepublic
Caption by: Bill Detwiler
A metal shield covers the logic board and most of the components inside the iPod Nano.
Photo by: Bill Detwiler / TechRepublic
Caption by: Bill Detwiler
There are two screws that hold the metal shield to the iPod Nano’s enclosure. I used a Phillips #000 bit to remove these and the other screws inside the Nano.
Photo by: Bill Detwiler / TechRepublic
Caption by: Bill Detwiler
The second screw is located in the corner opposite the first.
Photo by: Bill Detwiler / TechRepublic
Caption by: Bill Detwiler
With both screws removed, you should be able to left the shield away from the iPod Nano’s aluminum enclosure.
Photo by: Bill Detwiler / TechRepublic
Caption by: Bill Detwiler
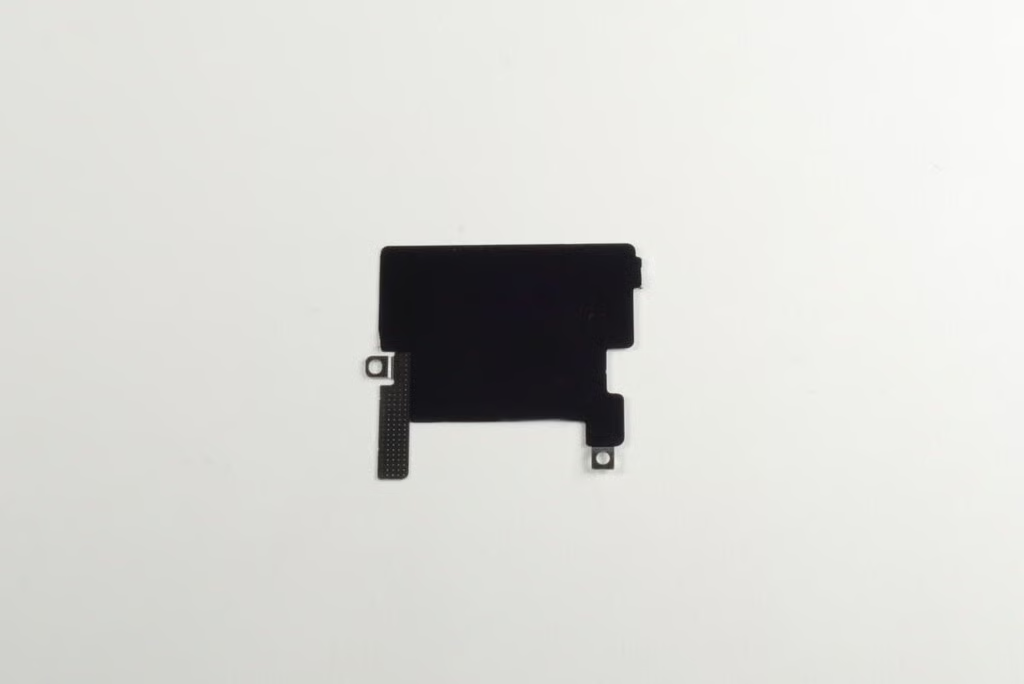
The side of the shield facing the battery and logic board is covered with a black material.
Photo by: Bill Detwiler / TechRepublic
Caption by: Bill Detwiler

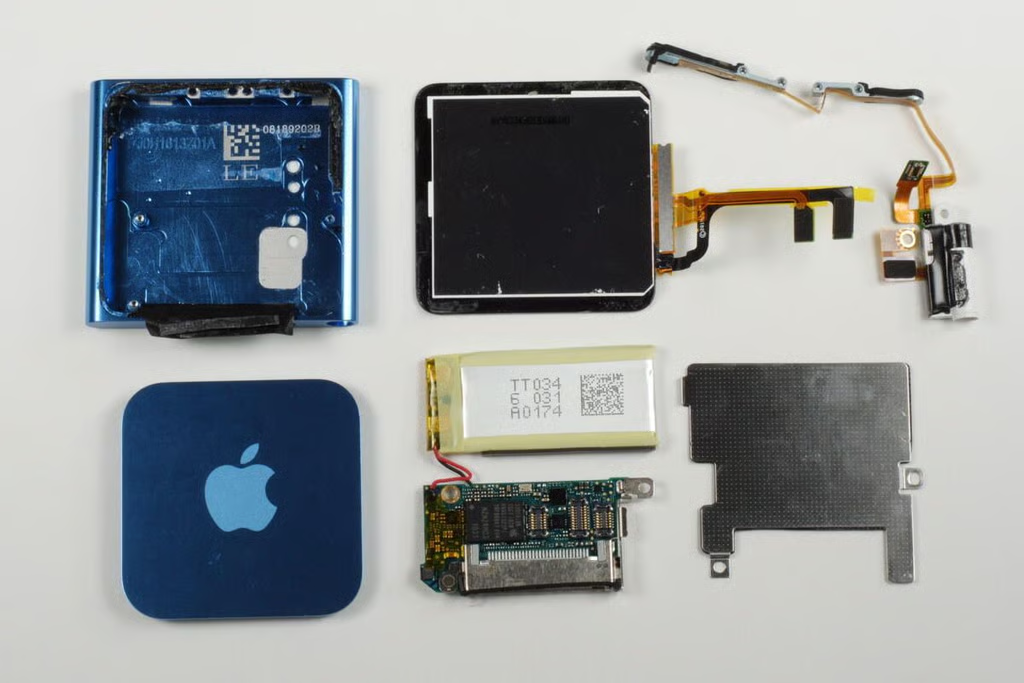
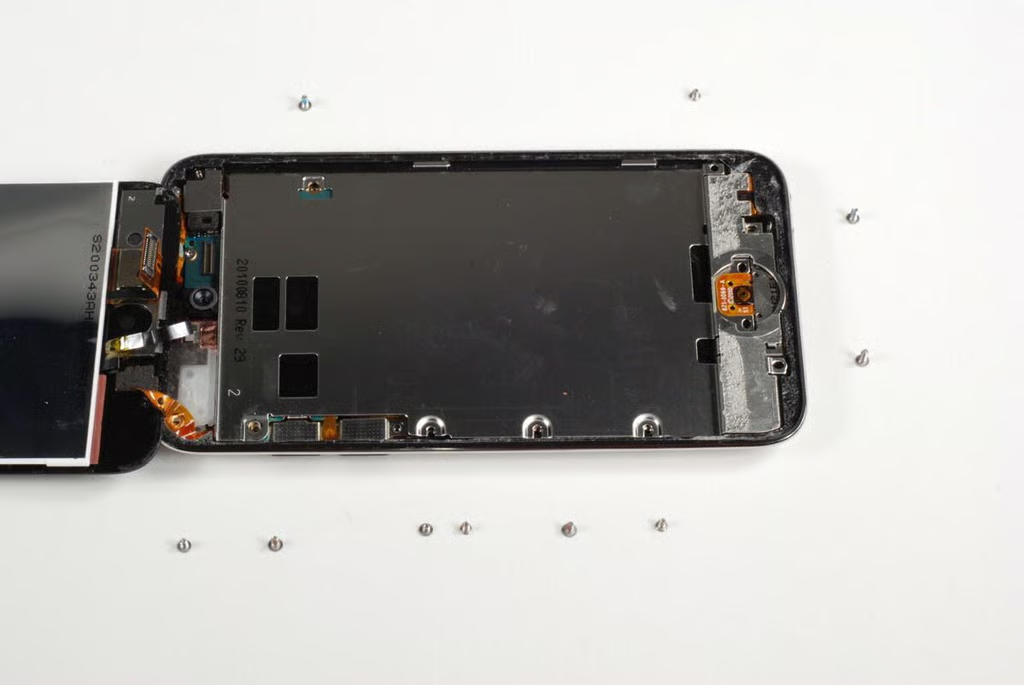
With the shield removed, we get our fist look inside the 6th generation iPod Nano. After taking with photo, I disconnected the TFT display and headphone control button cables from the logic board.
Photo by: Bill Detwiler / TechRepublic
Caption by: Bill Detwiler

The iPod Nano’s TFT display is connected to the logic board with two connectors. Using a thin plastic blade, you should be able to pop both connectors free without using too much force.
Photo by: Bill Detwiler / TechRepublic
Caption by: Bill Detwiler
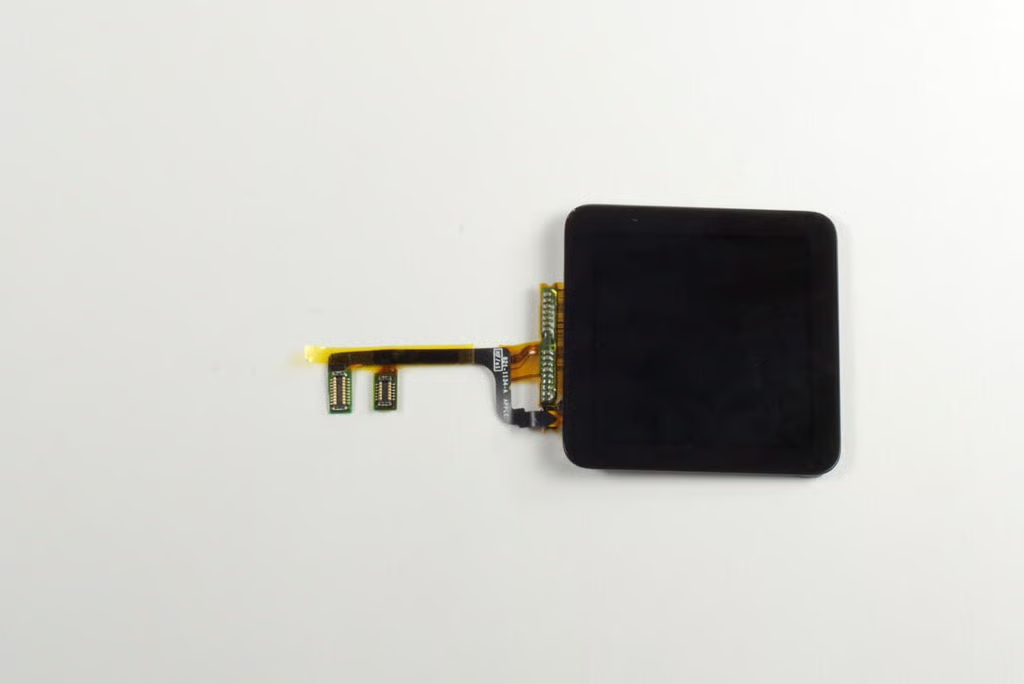
Photo by: Bill Detwiler / TechRepublic
Caption by: Bill Detwiler
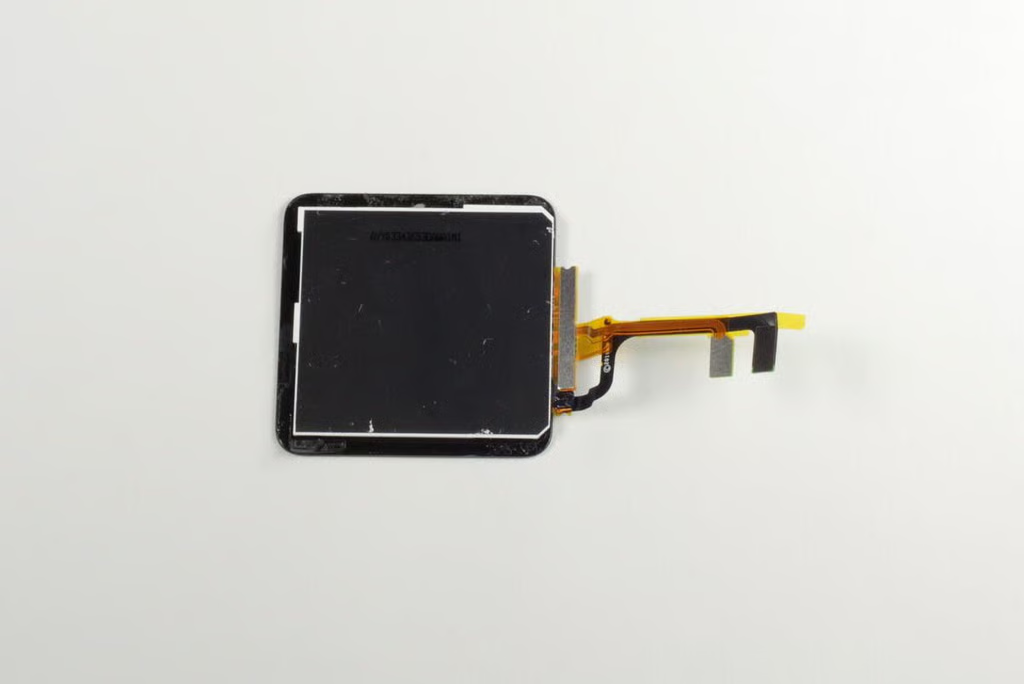
Photo by: Bill Detwiler / TechRepublic
Caption by: Bill Detwiler
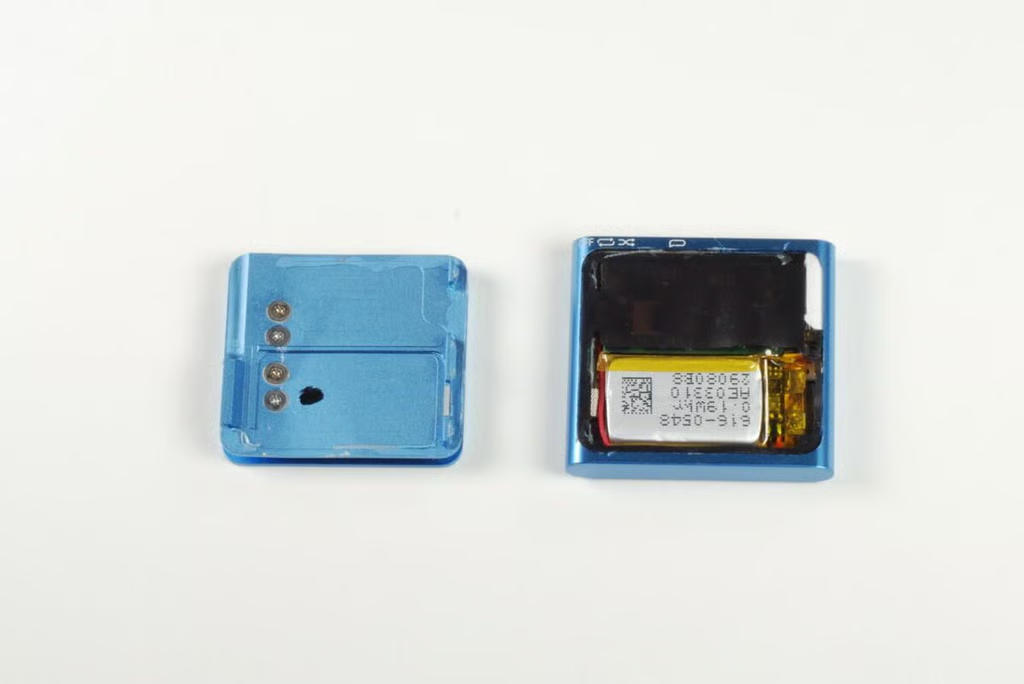
The space inside the iPod Nano’s enclosure is almost evenly split between the battery and logic board.
Photo by: Bill Detwiler / TechRepublic
Caption by: Bill Detwiler
A single Phillips screw hold the logic board to the aluminum enclosure.
Photo by: Bill Detwiler / TechRepublic
Caption by: Bill Detwiler
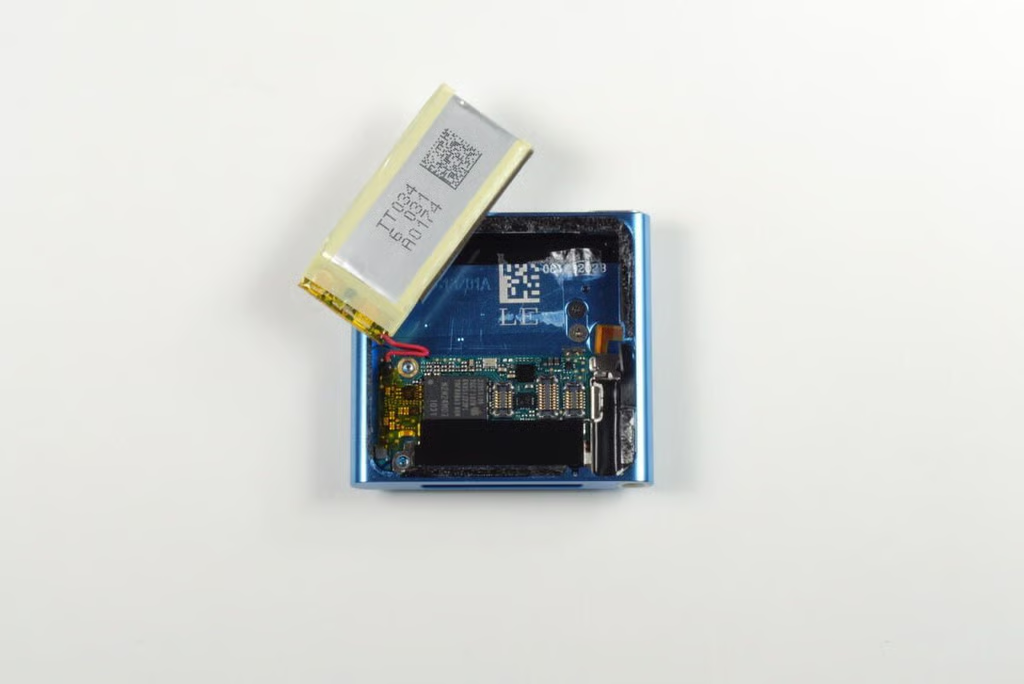
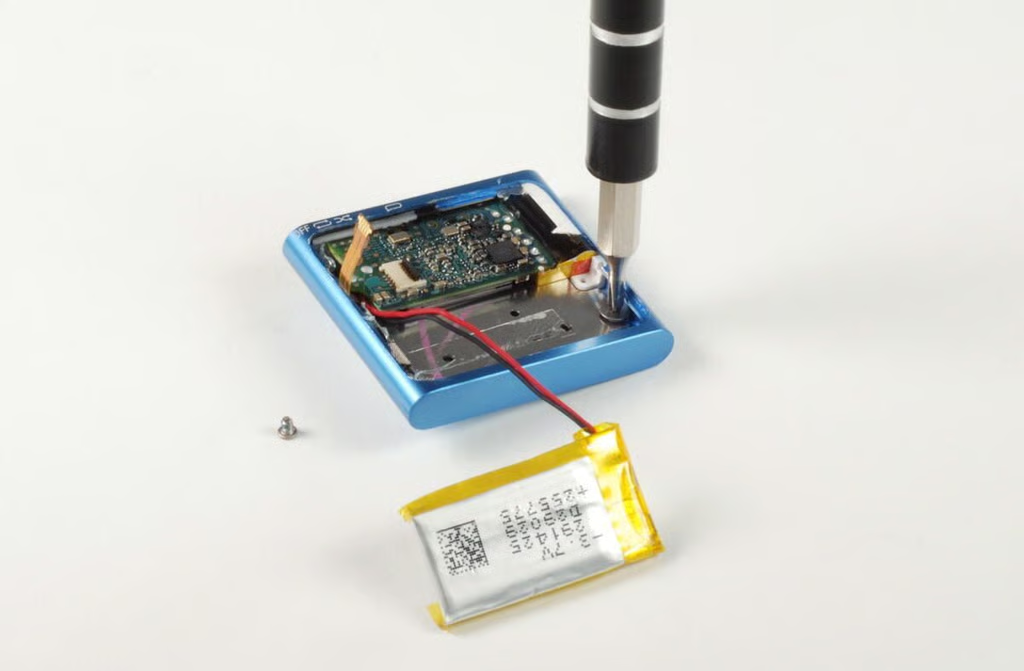
Like the 4th generation iPod Shuffle, the 6th generation Nano has a battery that’s soldered to the logic board. Adhesive holds the battery to the enclosure, but I was able to pry it loose without damaging it or the wires.
Photo by: Bill Detwiler / TechRepublic
Caption by: Bill Detwiler
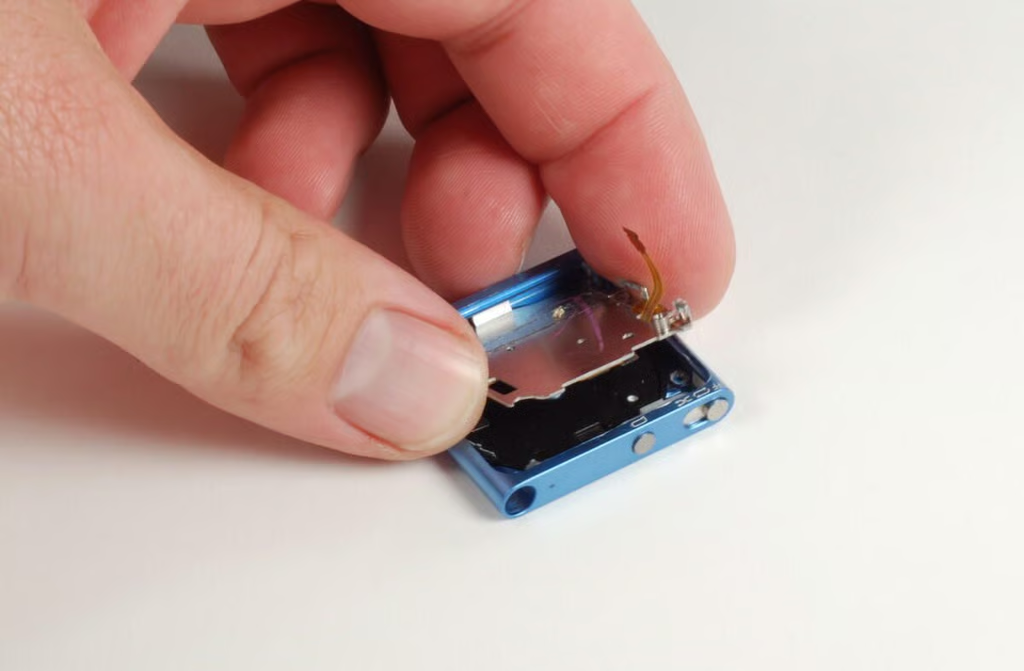
A small strip of black tape and a rubber gasket are attached to the enclosure and the 30-pin connector on the logic board. To remove the logic board, you’ll need to pull the tape away from the logic board, enclosure, or both. I pulled the tape away from the logic board and left it attached to the enclosure.
Photo by: Bill Detwiler / TechRepublic
Caption by: Bill Detwiler
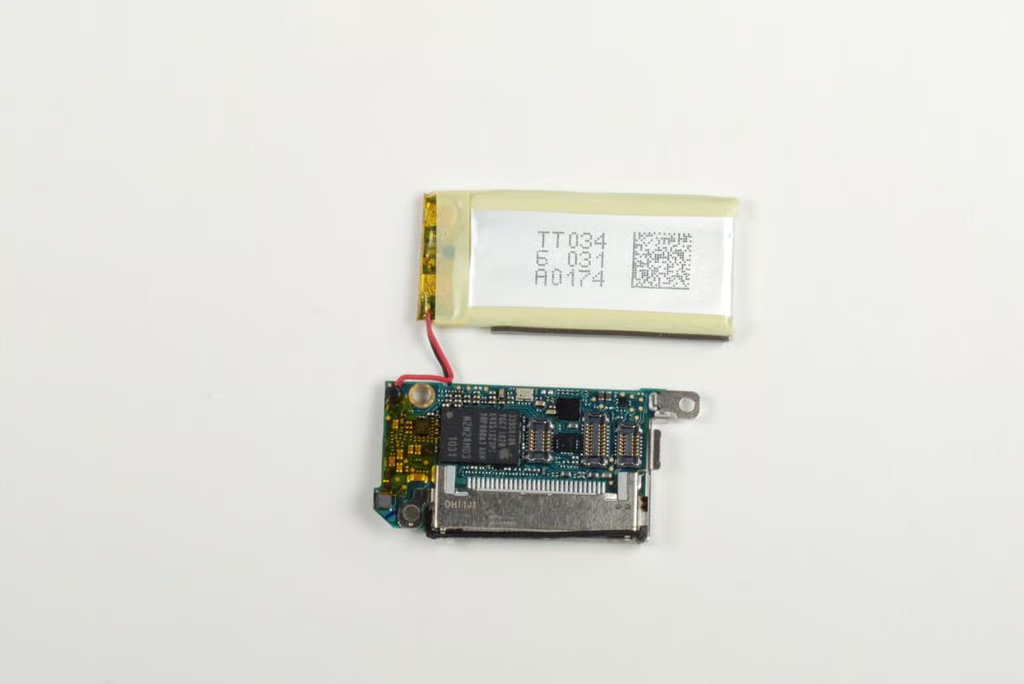
Photo by: Bill Detwiler / TechRepublic
Caption by: Bill Detwiler
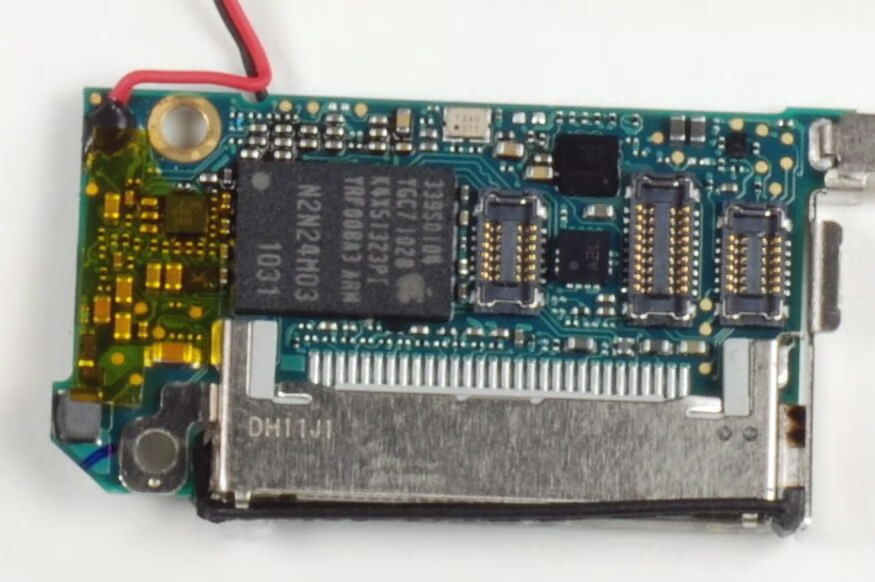
On the front of the main logic board are four chips of interest, with the following markings:
?Apple
339S0104
YGC7 1028
K4X51323P1
YRF 008A3 ARM
N2N24M03 1031
?33753907
1025
A 04
629749
A2L
121Z
J0FG
Photo by: Bill Detwiler / TechRepublic
Caption by: Bill Detwiler
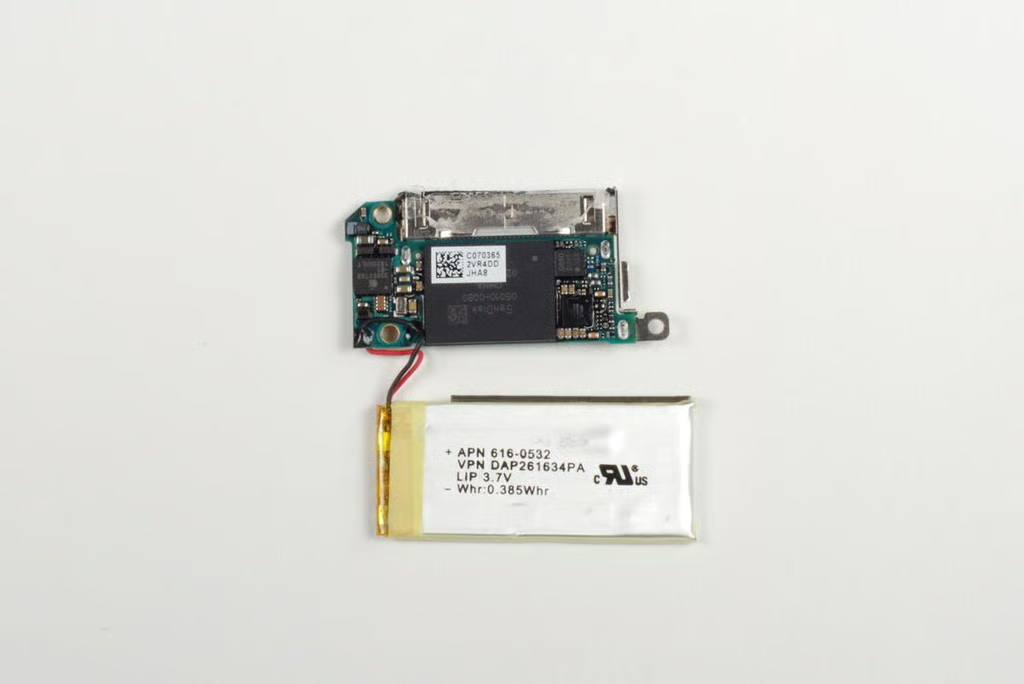
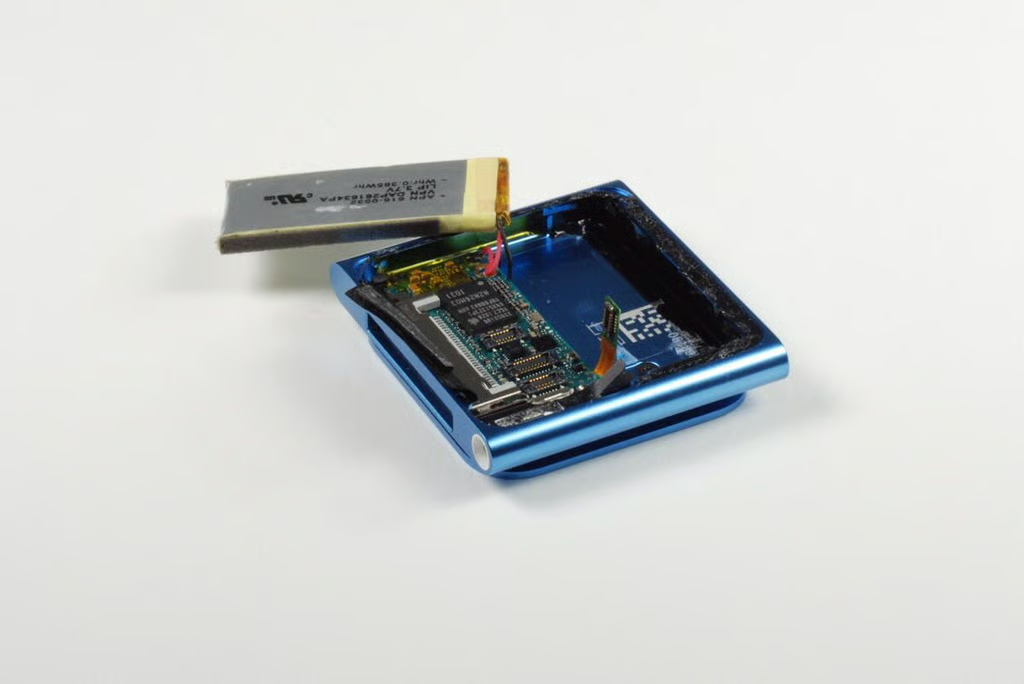
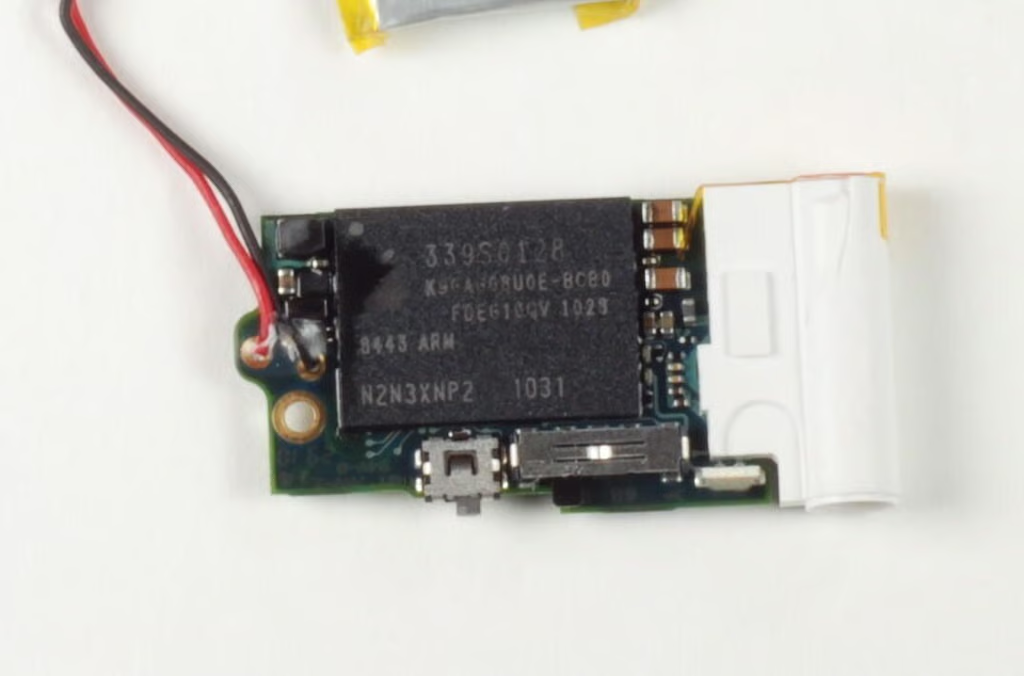
The iPod Nano’s has a 3.7V, 0.385 Whr Lithium-ion battery. We’ll need to remove that white sticker to get a better look at the Nano’s memory chip.
Photo by: Bill Detwiler / TechRepublic
Caption by: Bill Detwiler
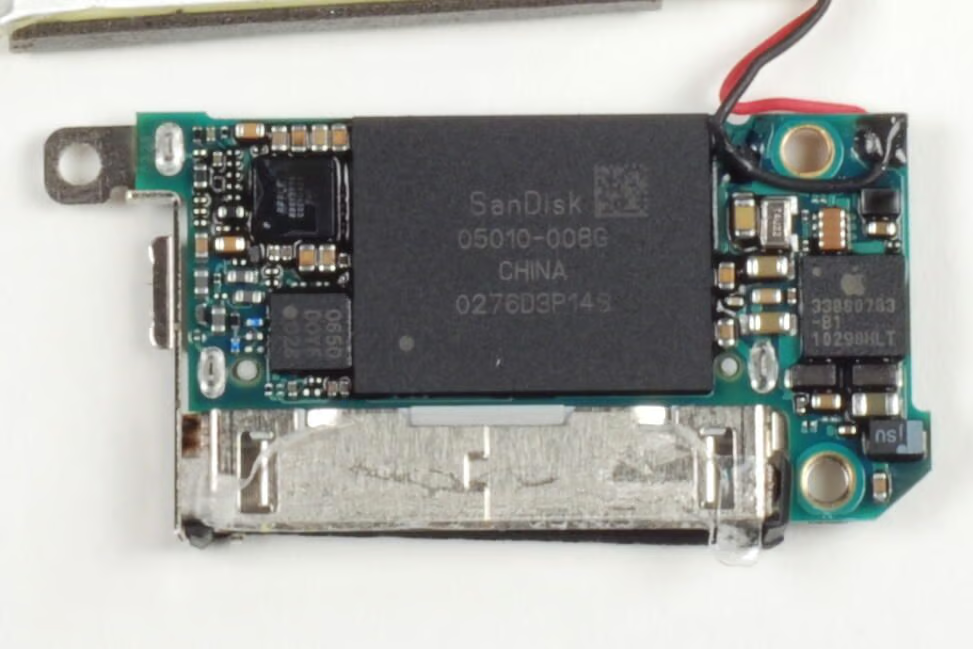
The large storage chip dominates the back of the iPod Nano’s logic board. Our 8GB model had a chip with the following markings:
SanDisk
0501-008G
CHINA
0276D3P14S
Two other chips have the following markings:
338S0783-B1
10298HLT
0650
D0YF
028
The marking on a fourth Apple chip were obscured by a crusty substance that I didn’t want to scrape off.
Photo by: Bill Detwiler / TechRepublic
Caption by: Bill Detwiler
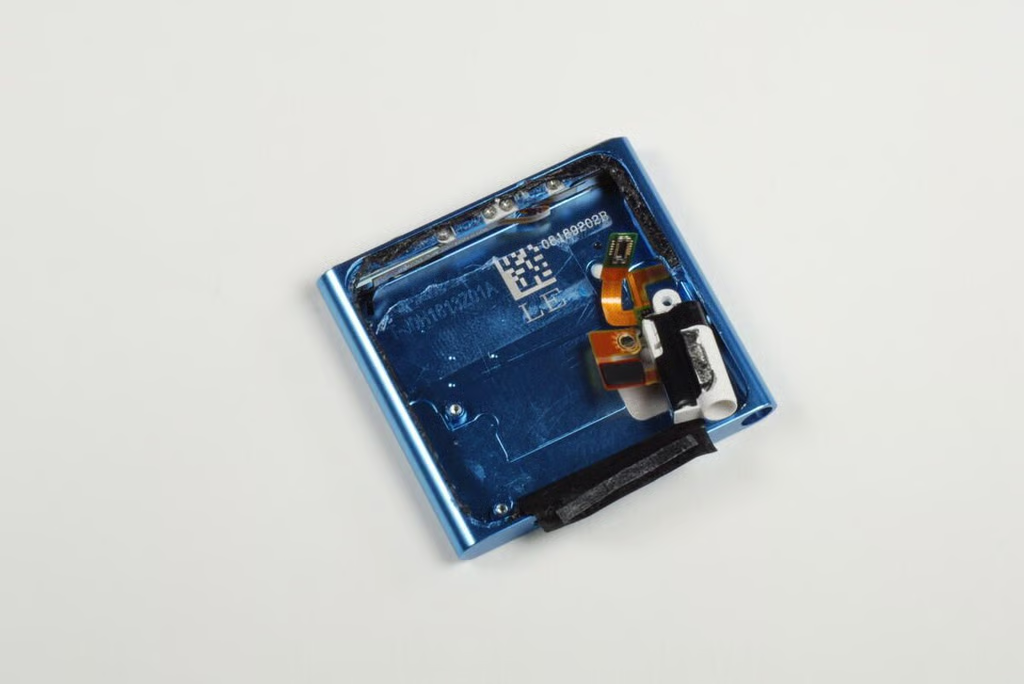
With the battery and main logic board removed, we can detach the exterior clip and remove the headphone jack / control button assembly.
Photo by: Bill Detwiler / TechRepublic
Caption by: Bill Detwiler
This photo shows the black tape and rubber gasket that is still attached to the enclosure (top of image).
Another strip of black tape covers the contacts for the control buttons (bottom of image).
Photo by: Bill Detwiler / TechRepublic
Caption by: Bill Detwiler
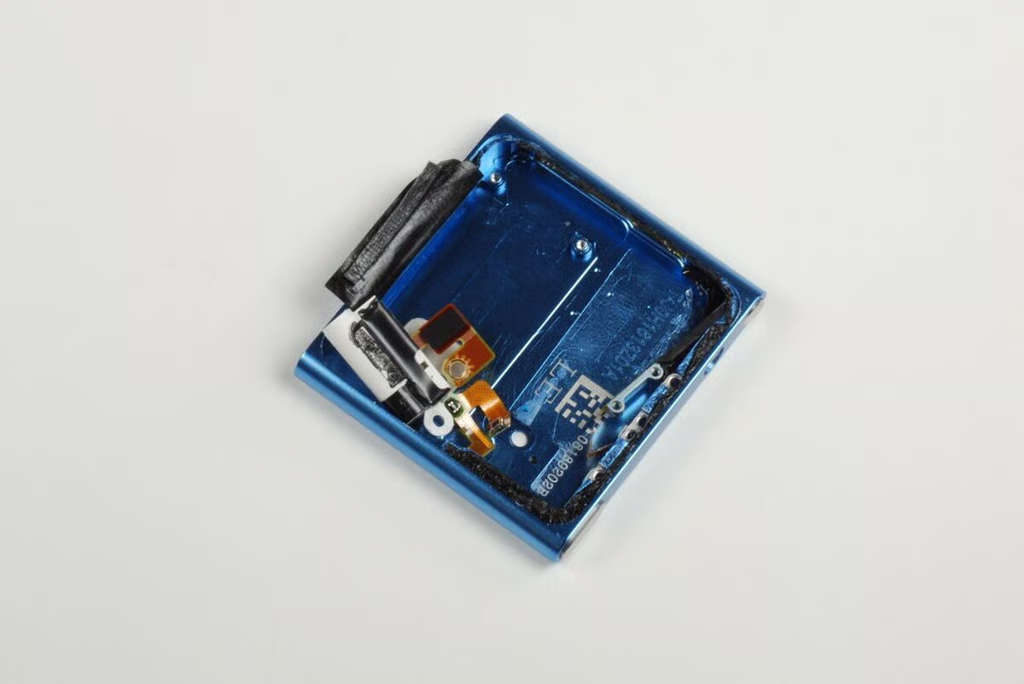
Like the 4th generation iPod Shuffle, the Nano’s external clip is attached to the enclosure with four Phillips screws. Three of the screws are readily visible, but one is hidden under a ribbon cable on the headphone jack and control button contact assembly.
Photo by: Bill Detwiler / TechRepublic
Caption by: Bill Detwiler
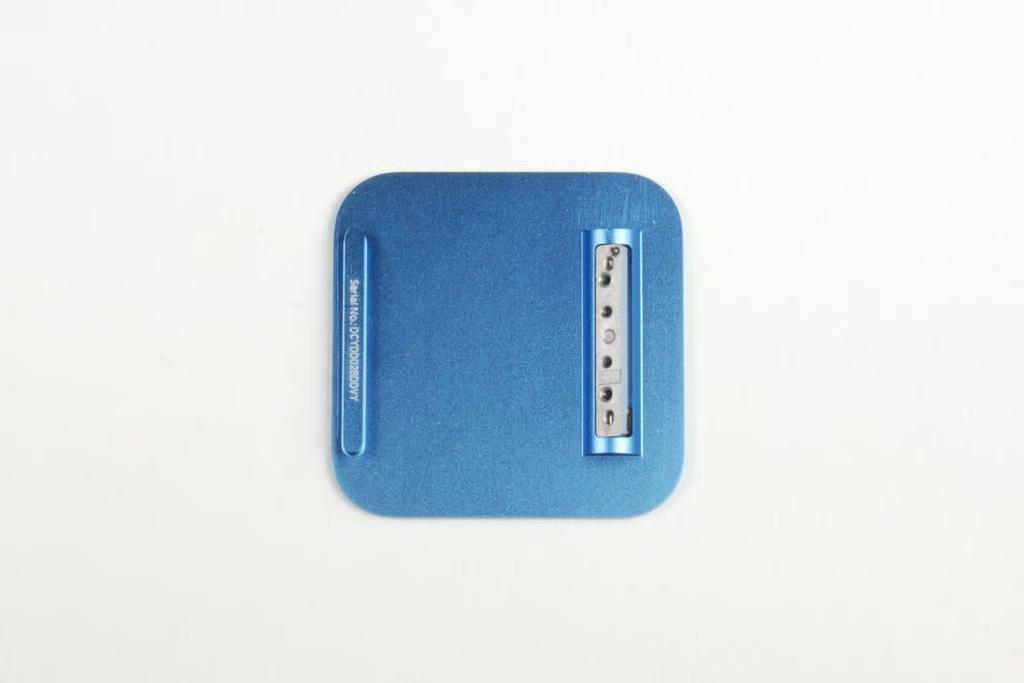
The iPod Nano’s spring-loaded clip is nearly identical to the one on the 4th generation iPod Shuffle.
Photo by: Bill Detwiler / TechRepublic
Caption by: Bill Detwiler
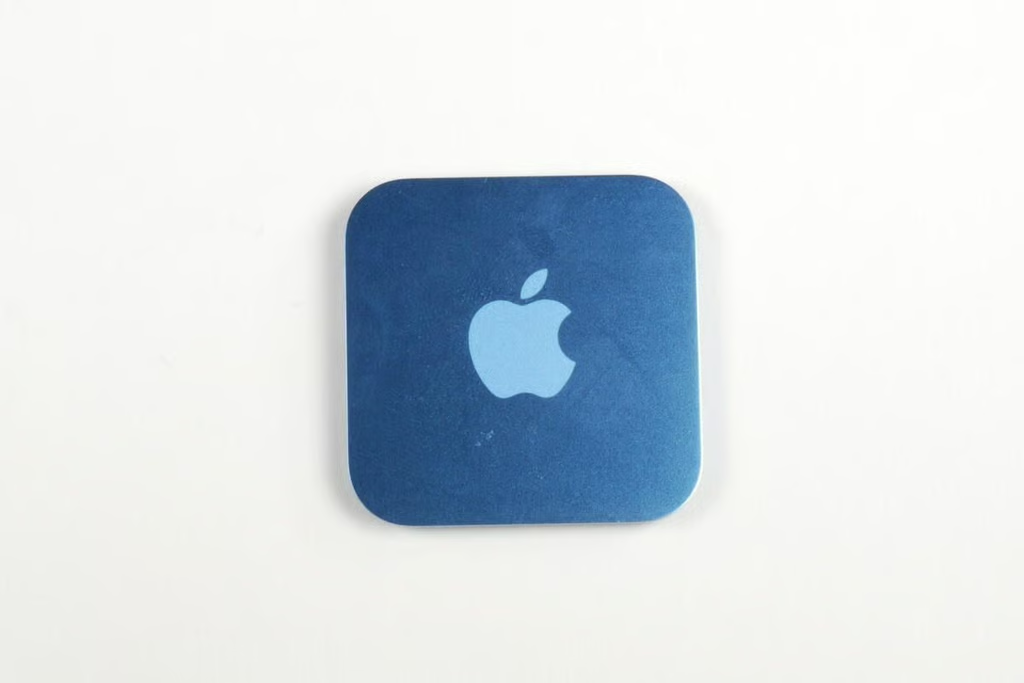
Photo by: Bill Detwiler / TechRepublic
Caption by: Bill Detwiler
I was able to pull the the black tape away from the control button contact assembly and the iPod Nano’s enclosure without tearing it.
Photo by: Bill Detwiler / TechRepublic
Caption by: Bill Detwiler
I’ll put the tape back when I reassemble the iPod Nano.
Photo by: Bill Detwiler / TechRepublic
Caption by: Bill Detwiler
Four tiny Phillips screws hold the headphone jack / control button contact assembly to the iPod Nano’s enclosure. I was able to remove them with a Phillips #000 bit.
Photo by: Bill Detwiler / TechRepublic
Caption by: Bill Detwiler
With the screws removed, you can pull the control button contact / headphone jack assembly away from the iPod Nano’s aluminum enclosure. Some of the ribbon cables are held against the enclosure with adhesive, so take care not to rip them during the removal.
Photo by: Bill Detwiler / TechRepublic
Caption by: Bill Detwiler
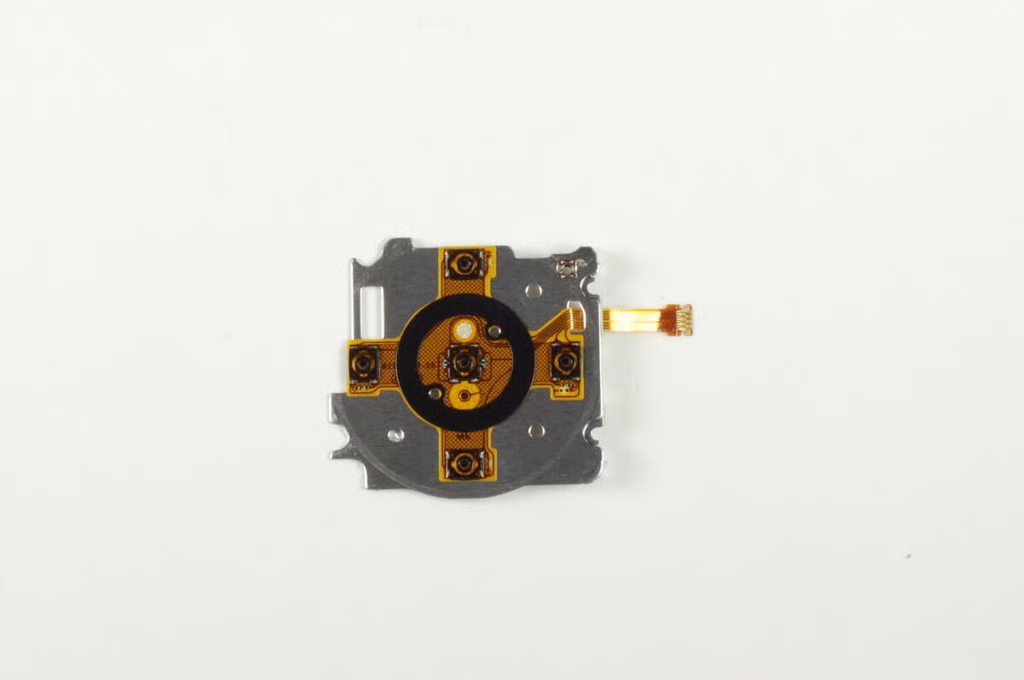
Unlike the 4th generation iPod Shuffle, the Nano’s headphone jack and control button contacts are part of a single unit. The Shuffle’s jack was attached directly to the logic board.
Photo by: Bill Detwiler / TechRepublic
Caption by: Bill Detwiler
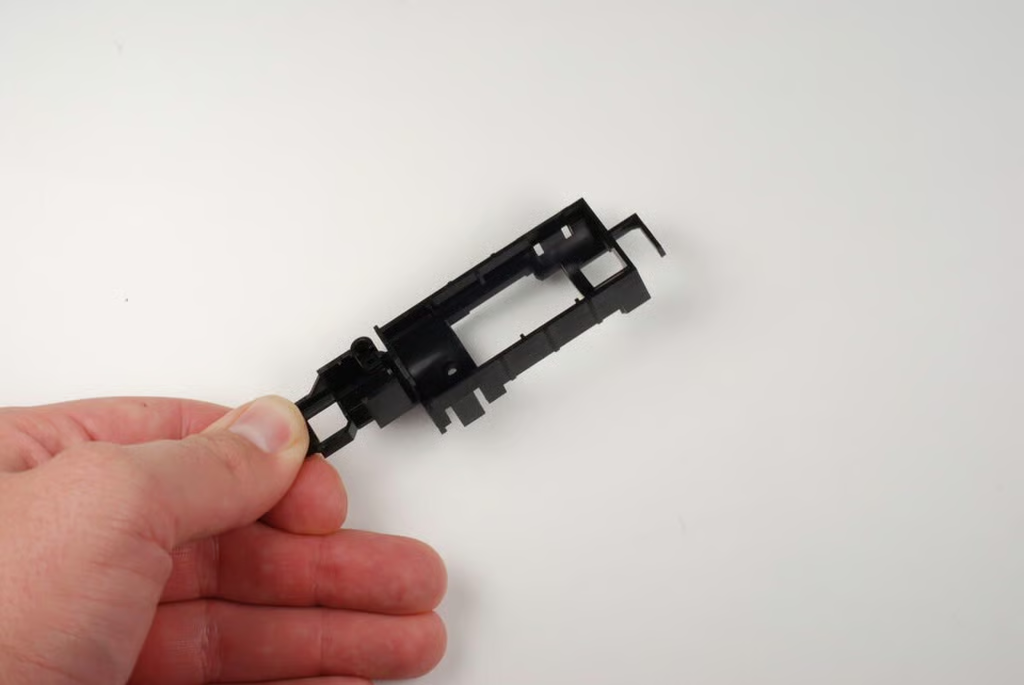
Photo by: Bill Detwiler / TechRepublic
Caption by: Bill Detwiler
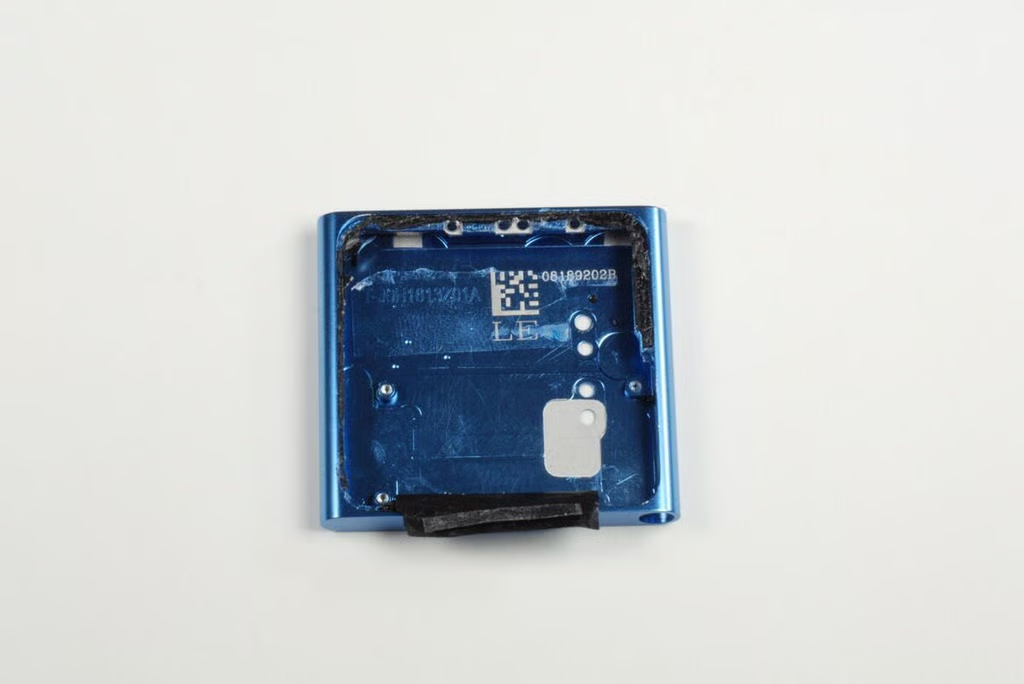
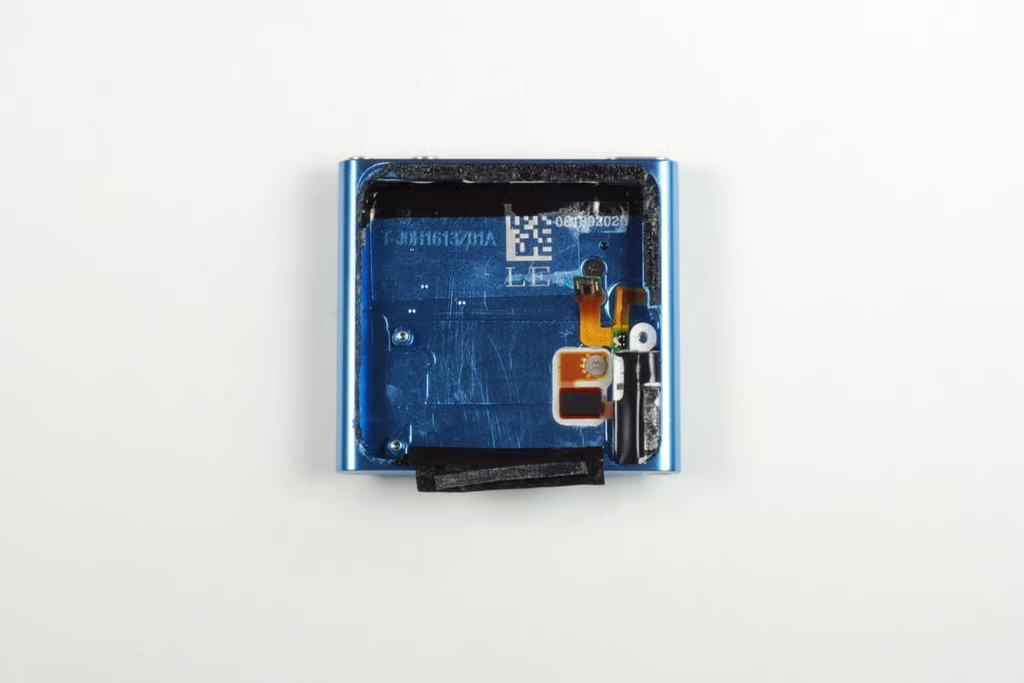
There not much left in the enclosure.
Photo by: Bill Detwiler / TechRepublic
Caption by: Bill Detwiler
Bill Detwiler is the Editor for Technical Content and Ecosystem at Celonis. He is the former Editor in Chief of TechRepublic and previous host of TechRepublic's Dynamic Developer podcast and Cracking Open, CNET and TechRepublic's popular online show. Previously, Bill was an IT manager in the social research and energy industries. He has bachelor's and master's degrees from the University of Louisville, where he has also lectured on computer crime and crime prevention.


