In September 2010, Apple unveiled the 4th generation iPod Shuffle. The music player has the basic design of the 2nd generation iPod Shuffle, with the large control pad and postage stamp shape.
Unlike most of the computers, smartphones, and gadgets I disassemble, the iPod Shuffle isn’t designed to be taken apart and put back together. And with a price of just $49 (US), most people will opt to simply replace a damaged Shuffle instead of repairing it. But, that doesn’t mean it can’t, or shouldn’t be done.
If you do decide to disassemble the iPod Shuffle, you’ll need a Phillips #00 or #000 screwdriver and a thin metal blade or plastic spudger.
Photo credit: Bill Detwiler / TechRepublic
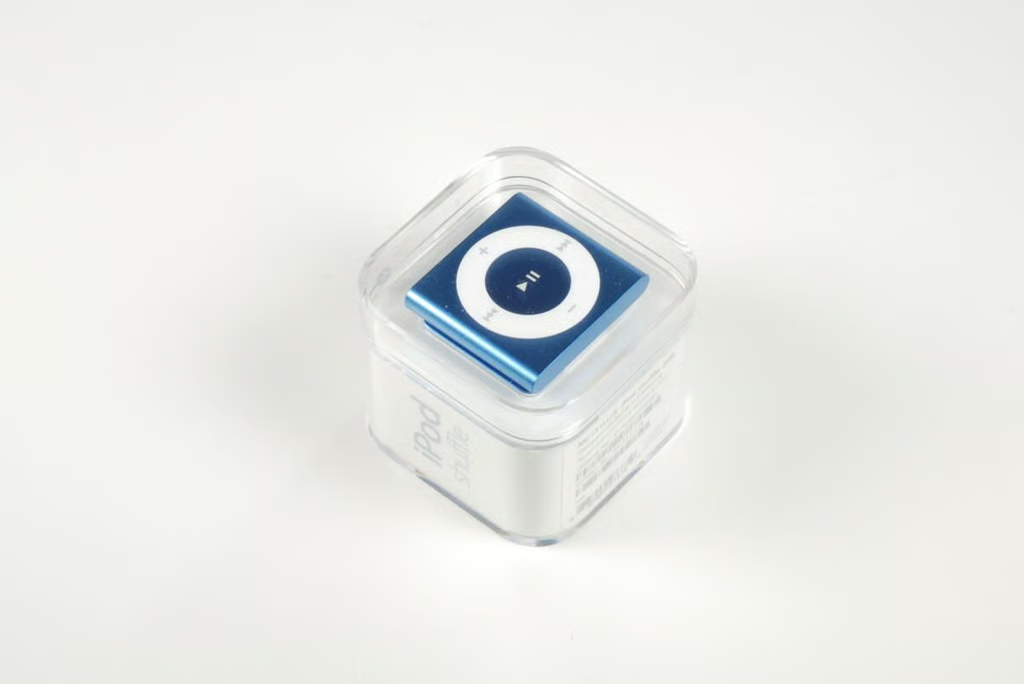
According to Apple, the 4th generation iPod Shuffle’s packaging is 60 percent smaller and 53 percent lighter than the packaging using on previous models.
Photo credit: Bill Detwiler / TechRepublic
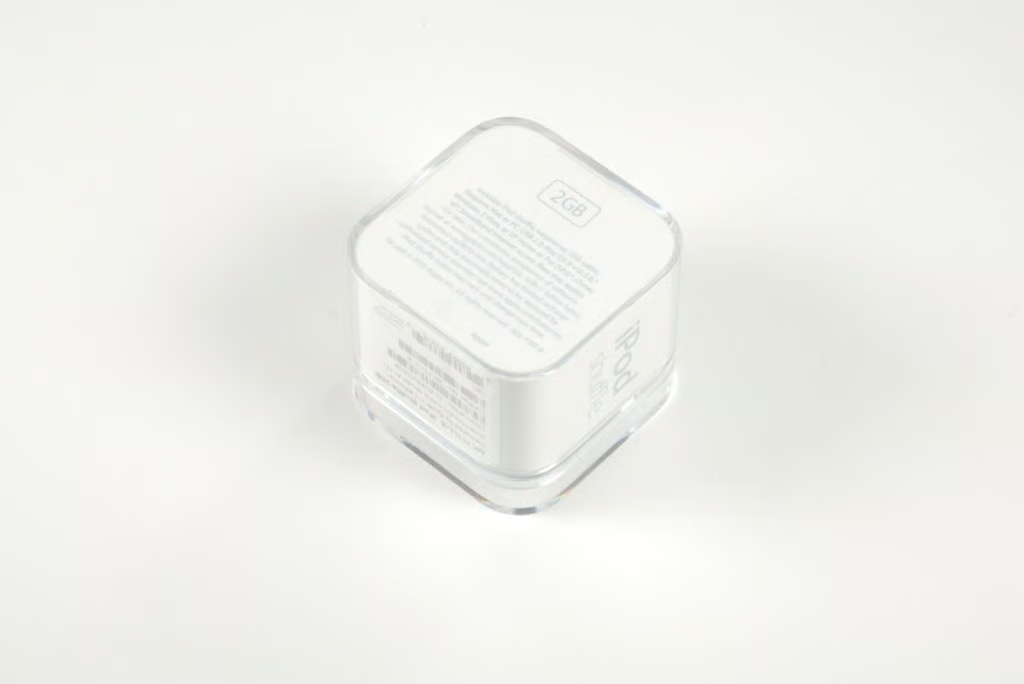
As the packing indicates, this is a 2GB iPod Shuffle–the only size Apple offers.
Photo credit: Bill Detwiler / TechRepublic
Photo credit: Bill Detwiler / TechRepublic
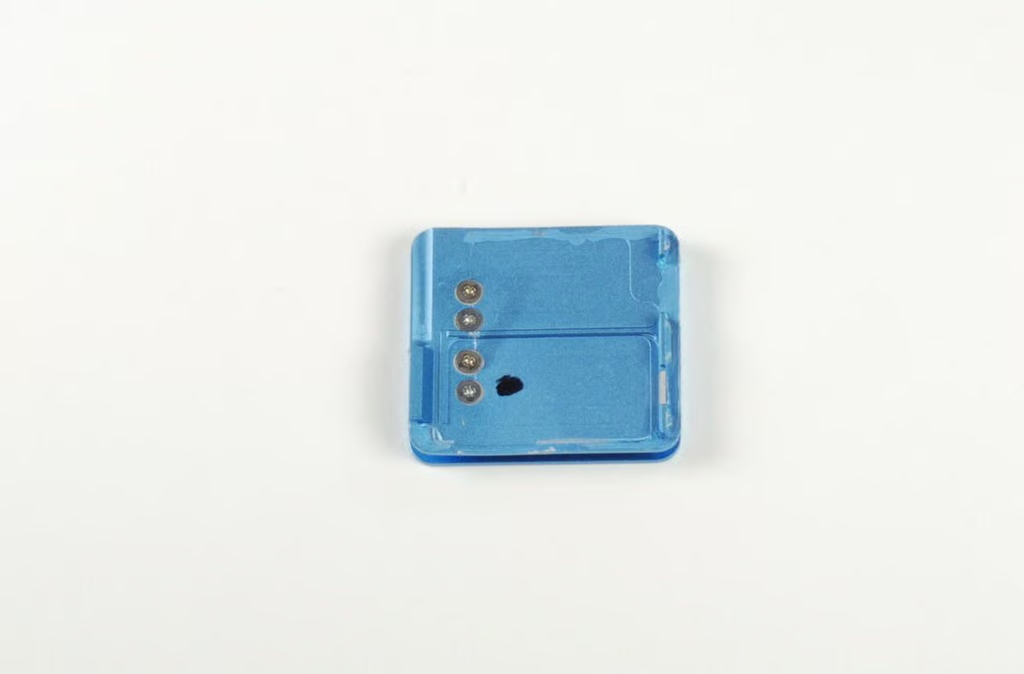
With one side of the panel free, you should be able to separate it from the front case enclosure. A very thin rubber gasket sits under the rear panel. Take care not to rip the gasket when removing the panel.
Photo credit: Bill Detwiler / TechRepublic
With the rear panel removed, we get our first look inside the 4th generation iPod Shuffle.
Photo credit: Bill Detwiler / TechRepublic
Photo credit: Bill Detwiler / TechRepublic
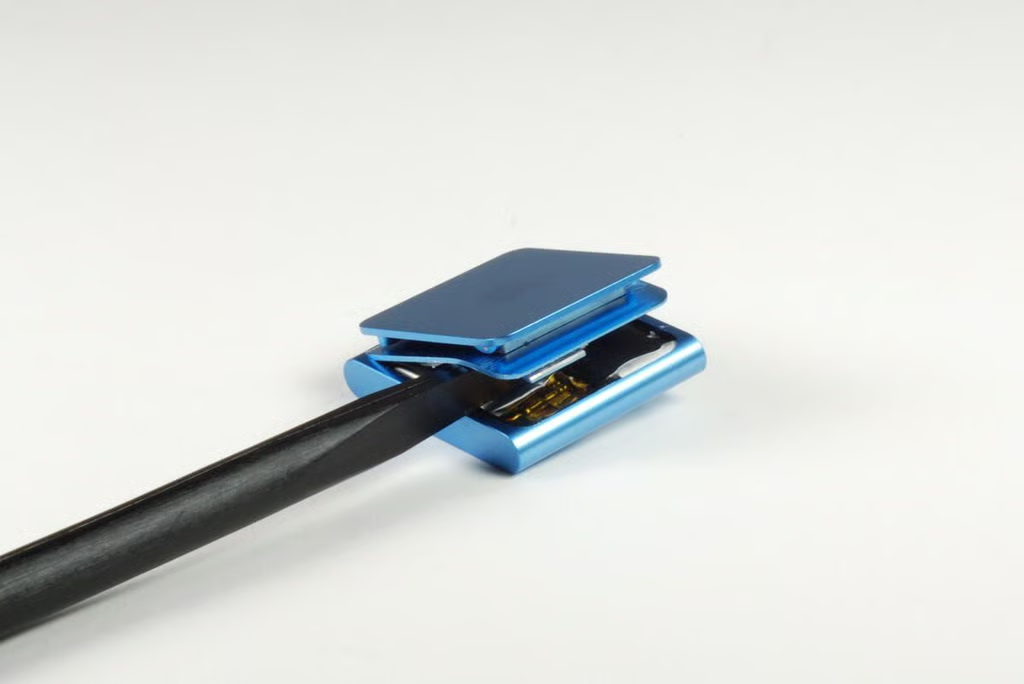
The iPod Shuffle’s clip and hinge are attached to the rear panel with four screws.
Photo credit: Bill Detwiler / TechRepublic
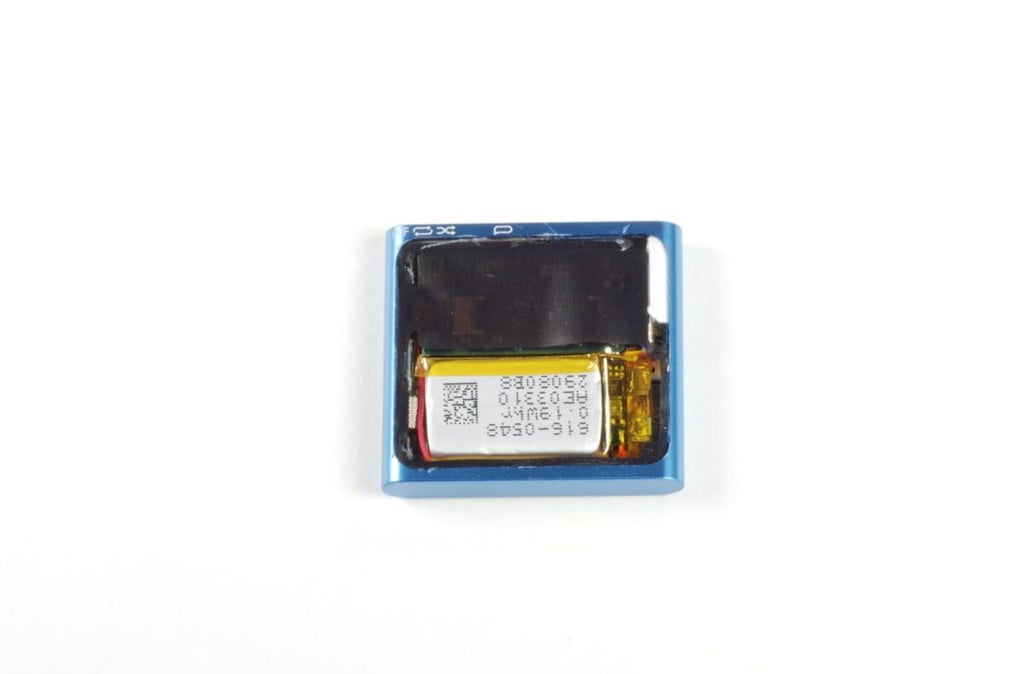
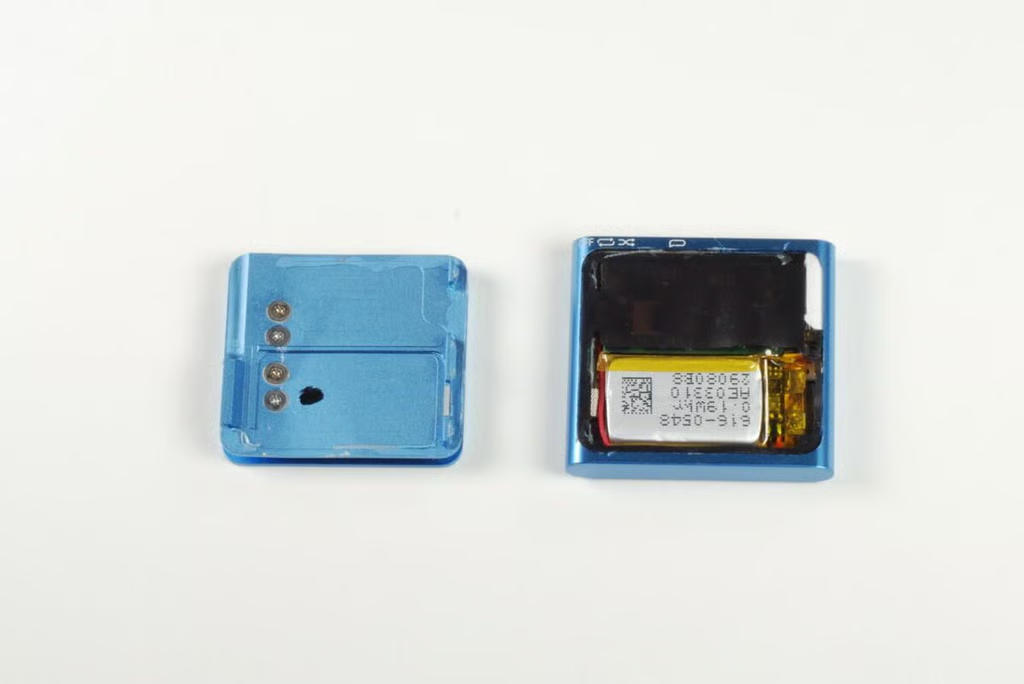
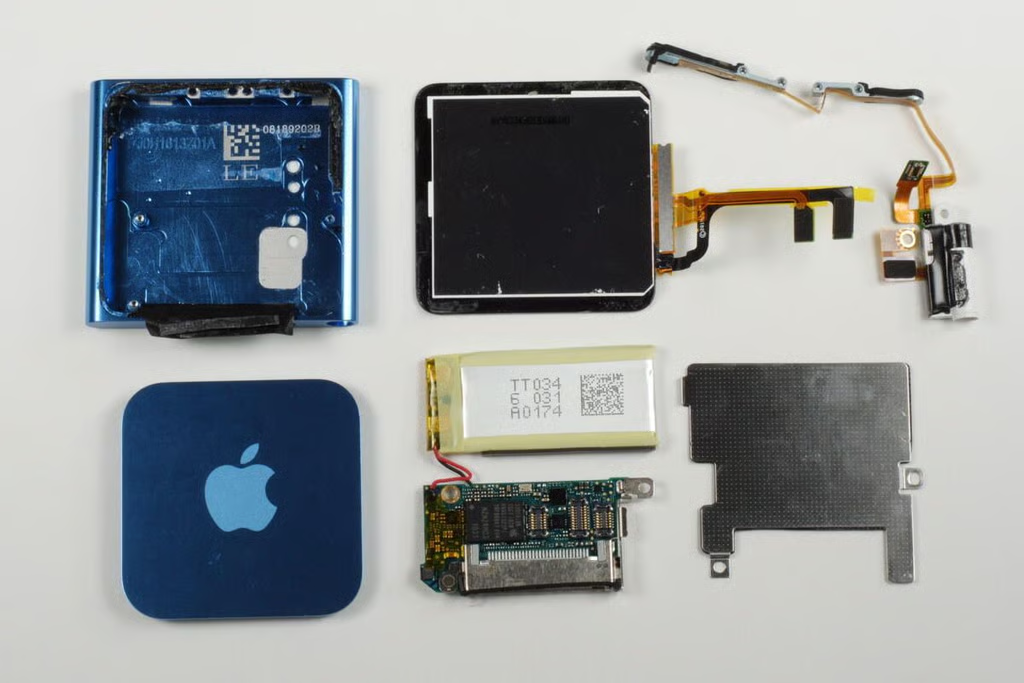
Taking up roughly half the space inside the 4th generation iPod Shuffle is the 3.7V, 0.19Whr Li-ion battery. The black, rubber gasket still covers the back of the logic board.
Photo credit: Bill Detwiler / TechRepublic

You should be able to lift the gasket away from the iPod Shuffle without tearing it. With the gasket removed, we can see the underside of the logic board.
Photo credit: Bill Detwiler / TechRepublic
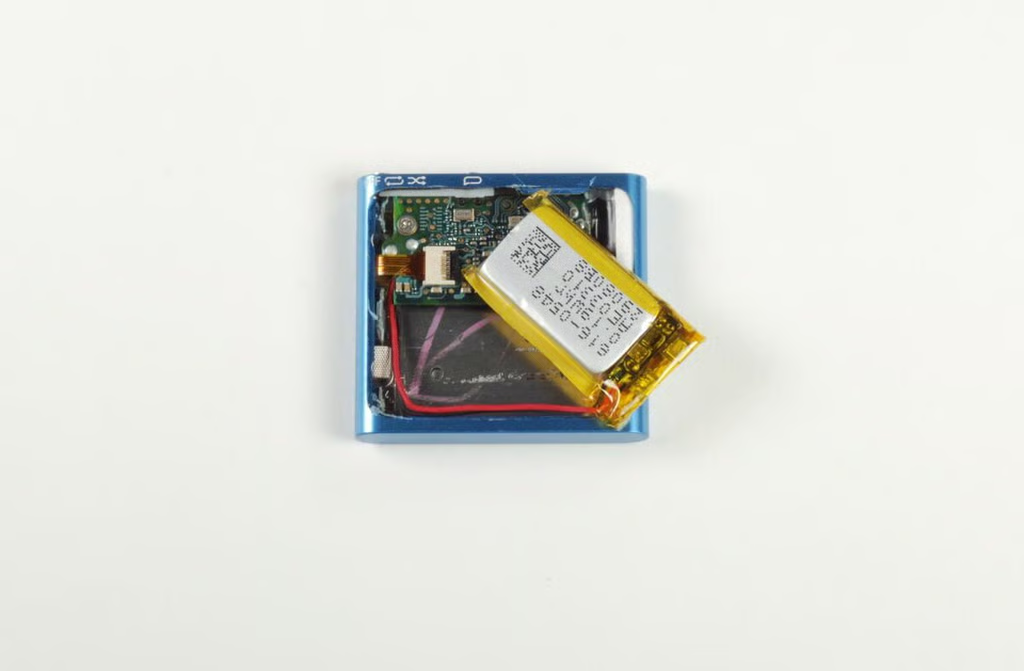
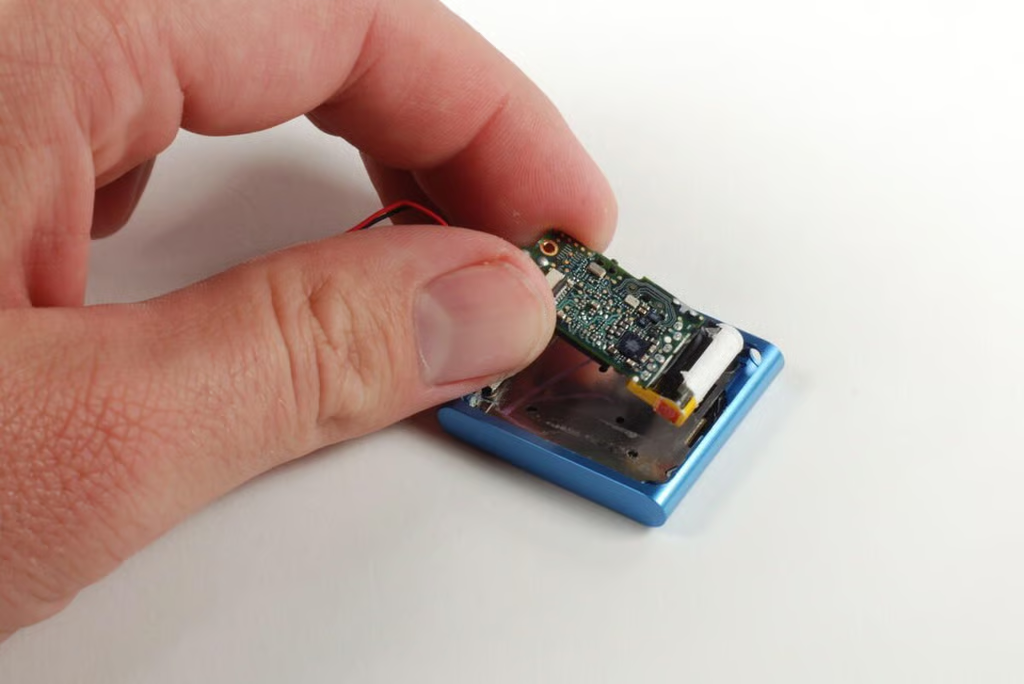
Unfortunately, Apple soldered the iPod Shuffle’s battery to the logic board. You won’t be replacing this battery without getting out your soldering iron.
Photo credit: Bill Detwiler / TechRepublic
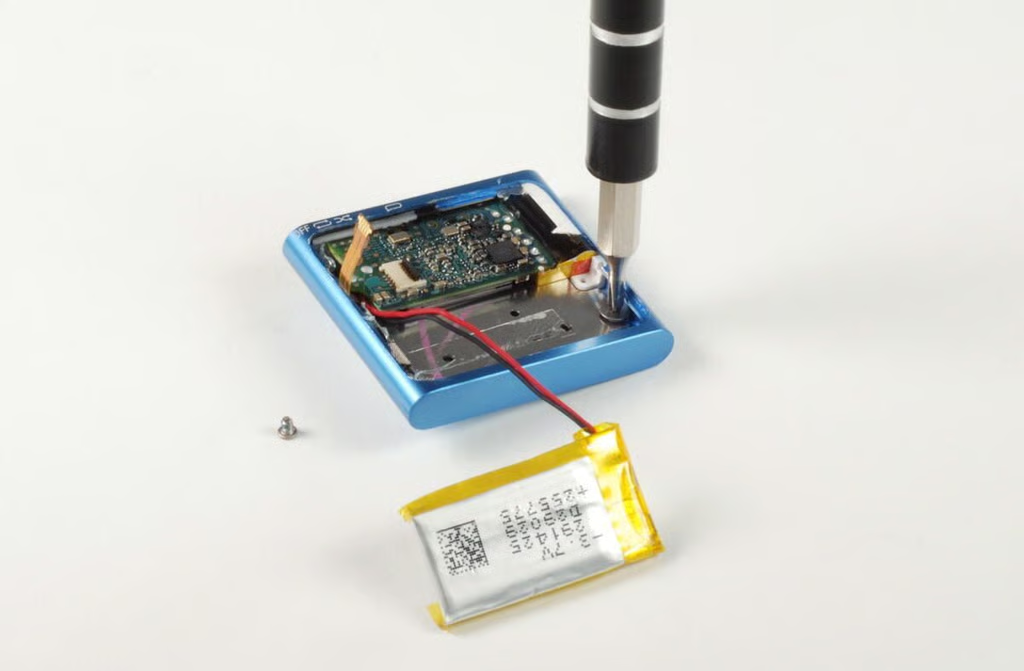
Removing the battery reveals a portion of the metal plate that serves as a backing for the control pad’s internal contacts. One of the screws that holds this plate in place is also visible. You can remove the screw now or leave it in place and remove it later. I choose to remove it now.
Photo credit: Bill Detwiler / TechRepublic

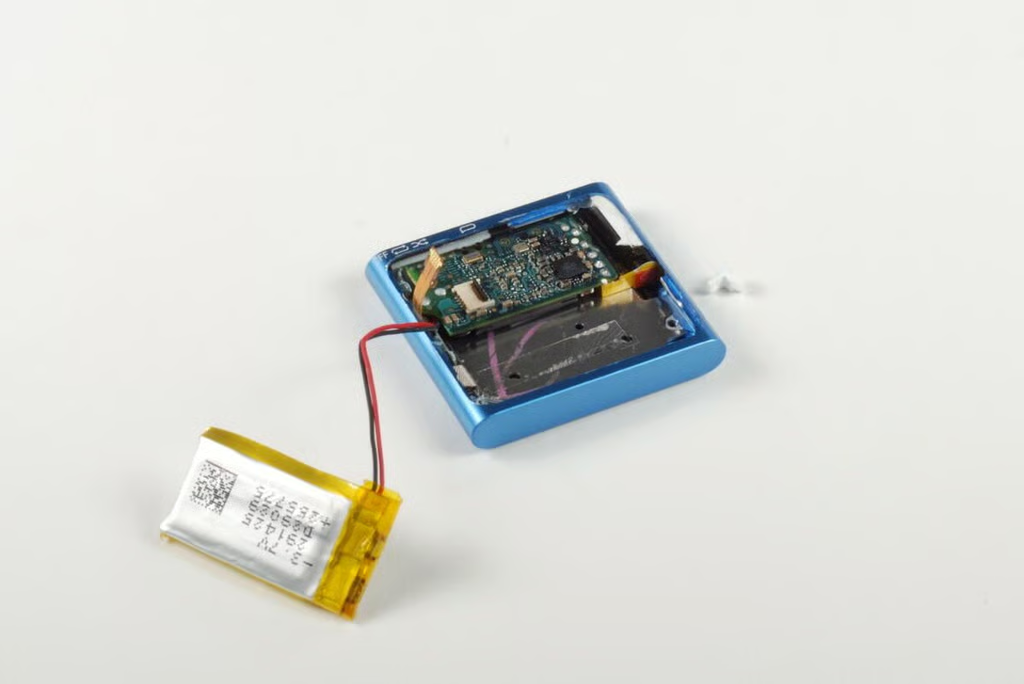
A small, plastic spacer holds the logic board against the top of the front case enclosure. You should be able to pop it free with a small pointed instrument, such as the metal blade shown here.
Photo credit: Bill Detwiler / TechRepublic
With the spacer removed, you can slide the logic board and attached headphone jack down past the top lip of the case.
Photo credit: Bill Detwiler / TechRepublic
You should now be able to gently lift the logic board away from the case.
Photo credit: Bill Detwiler / TechRepublic
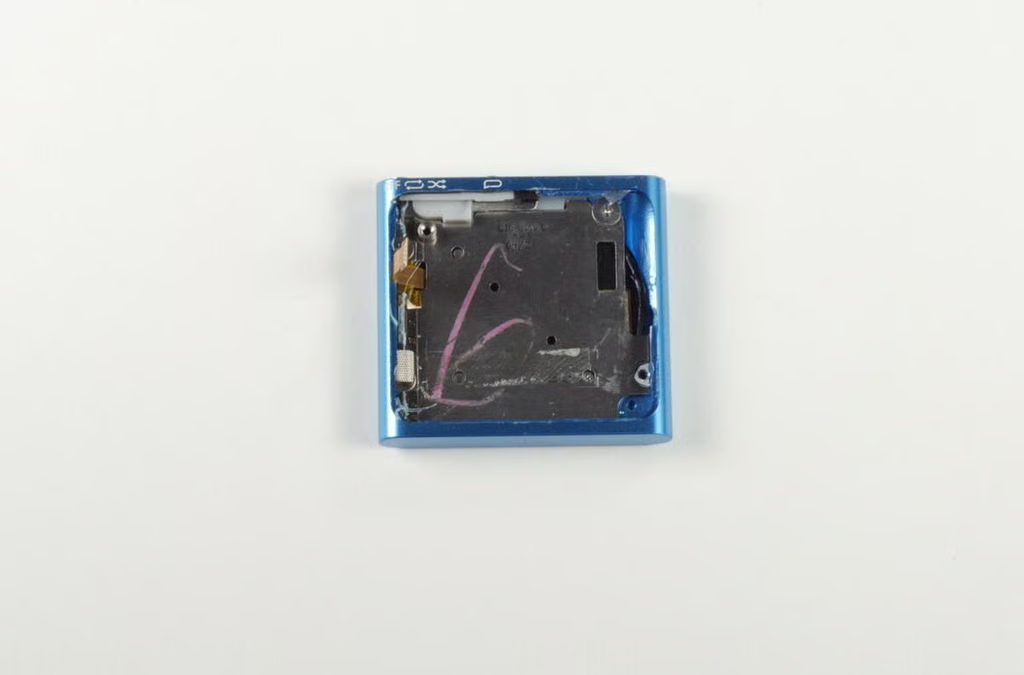
With the logic board and battery removed, we can see a metal plate, which serves as a base for the Control pad contacts. It’s held in place with four Phillips #00 screws–one of which I removed earlier.
Photo credit: Bill Detwiler / TechRepublic
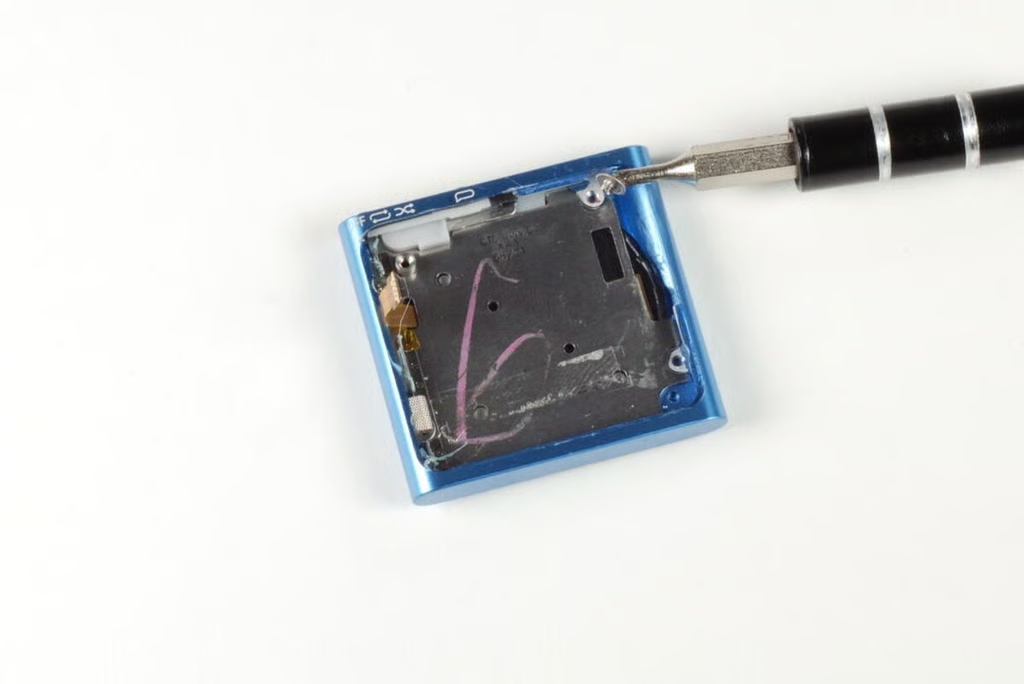
We’ll need to remove the three remaining screws before lifting the control pad contact plate away from the case.
Photo credit: Bill Detwiler / TechRepublic
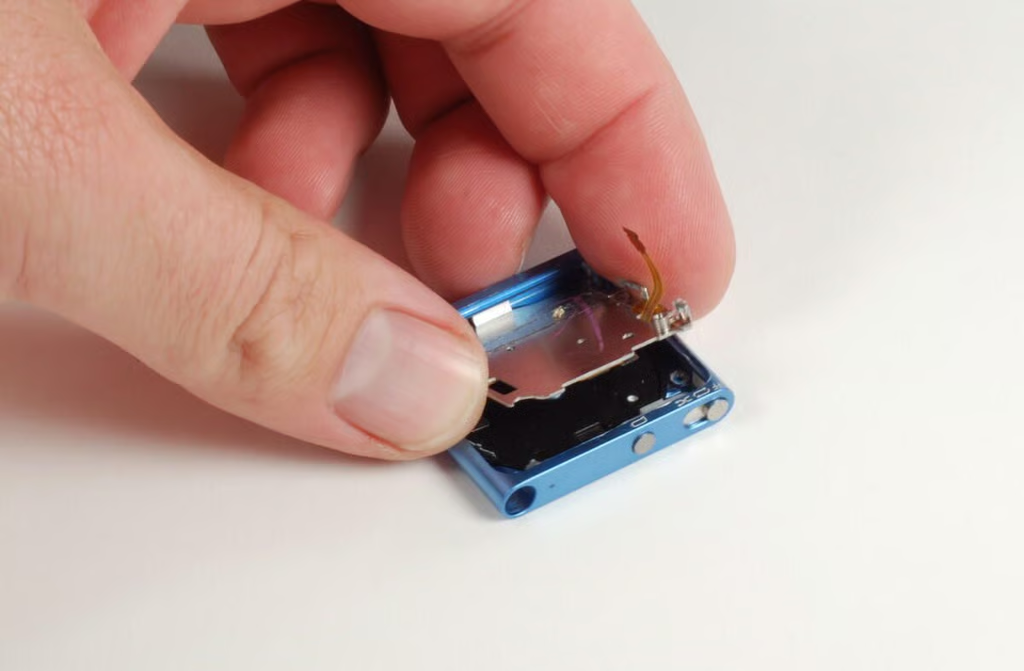
With all four screws removed, we can lift the control pad contact plate away from the case.
Photo credit: Bill Detwiler / TechRepublic
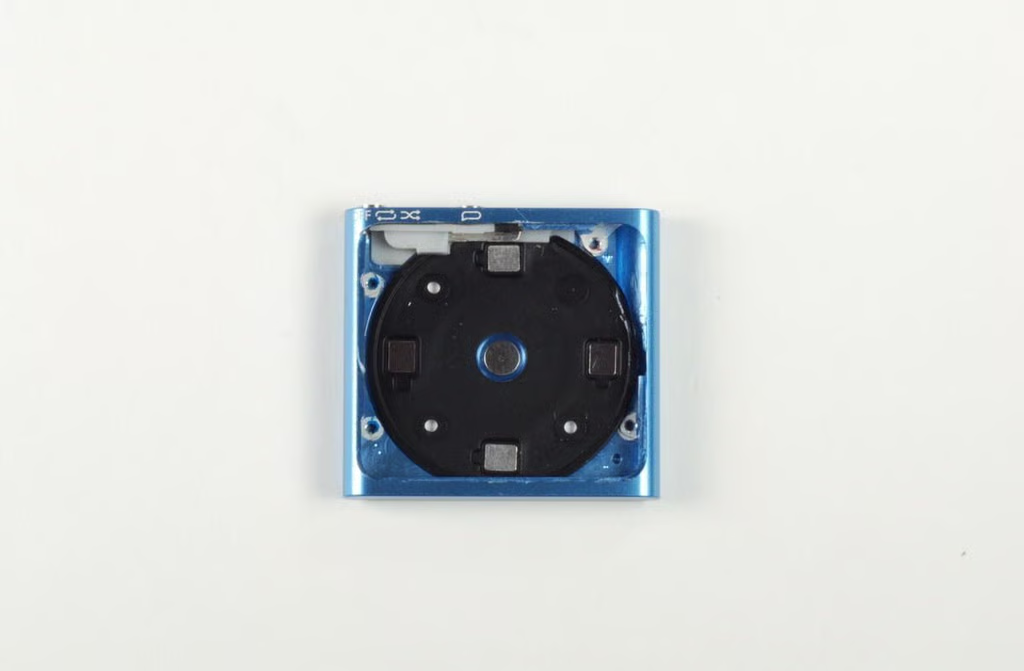
With the control pad contact plate removed, we can see the back of the control pad.
Photo credit: Bill Detwiler / TechRepublic

Photo credit: Bill Detwiler / TechRepublic
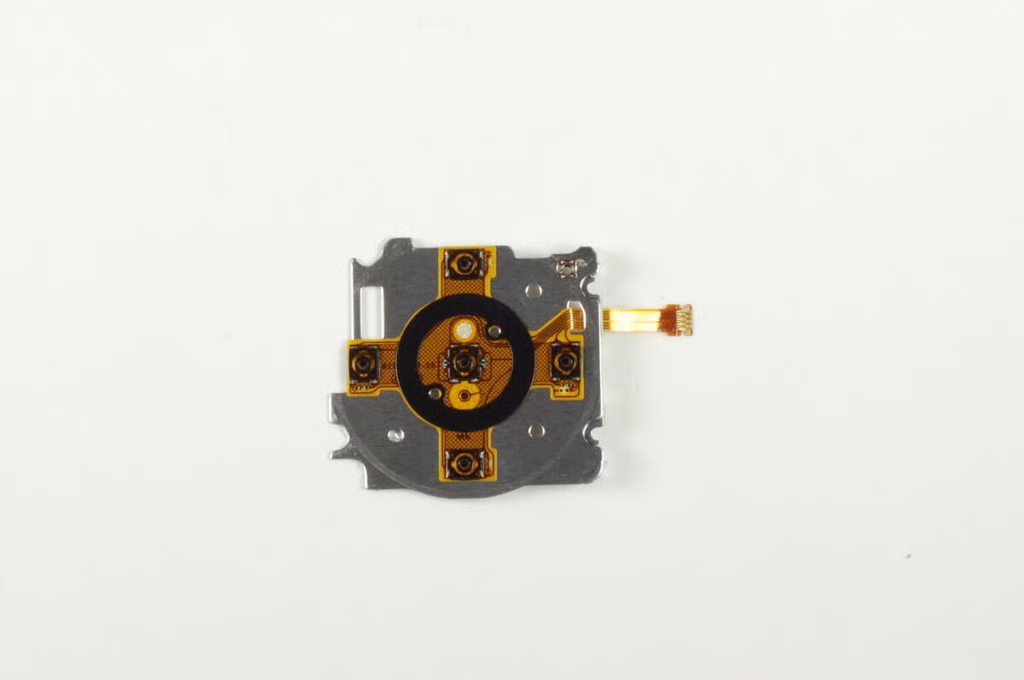
The actual contacts for the iPod Shuffle’s control pad are attached to this metal plate.
Photo credit: Bill Detwiler / TechRepublic
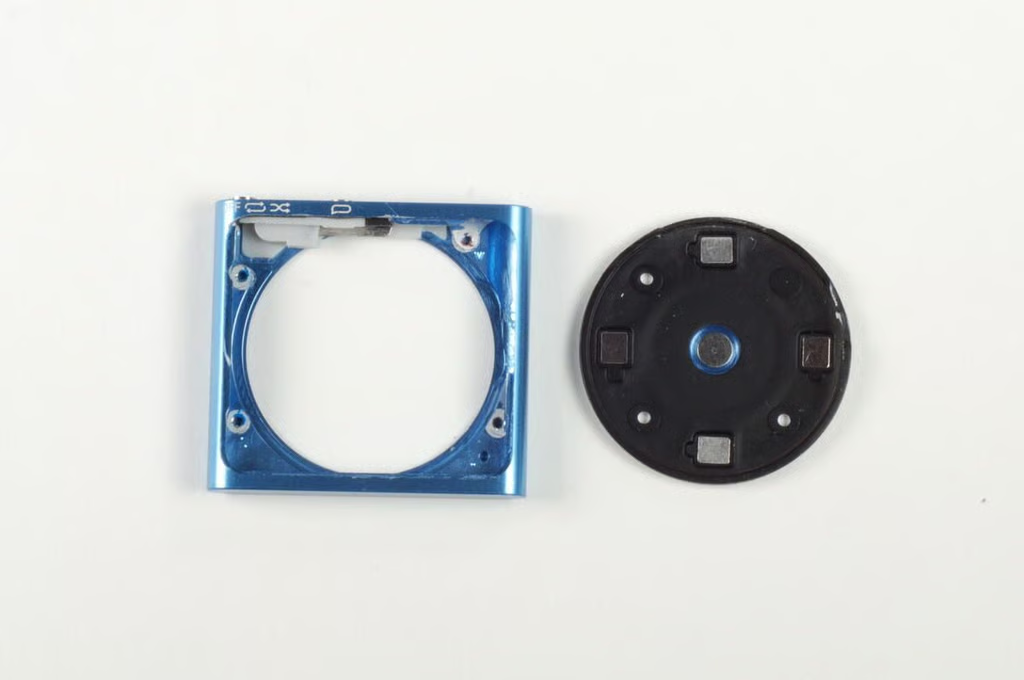
The iPod Shuffle’s control pad should pop free with a gentle push.
Photo credit: Bill Detwiler / TechRepublic

Photo credit: Bill Detwiler / TechRepublic
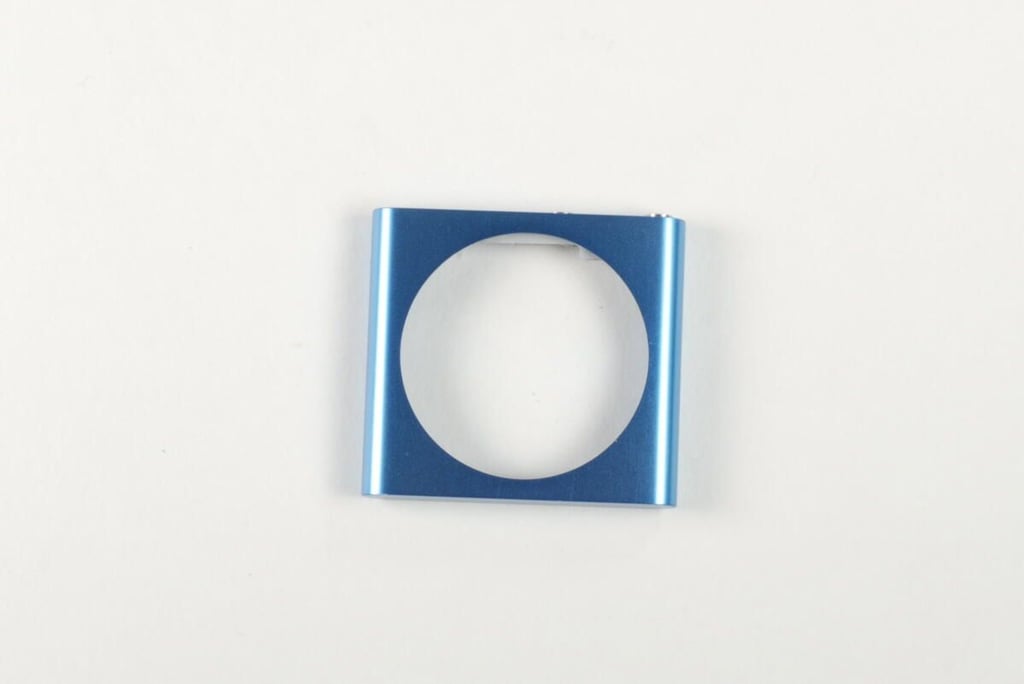
Photo credit: Bill Detwiler / TechRepublic
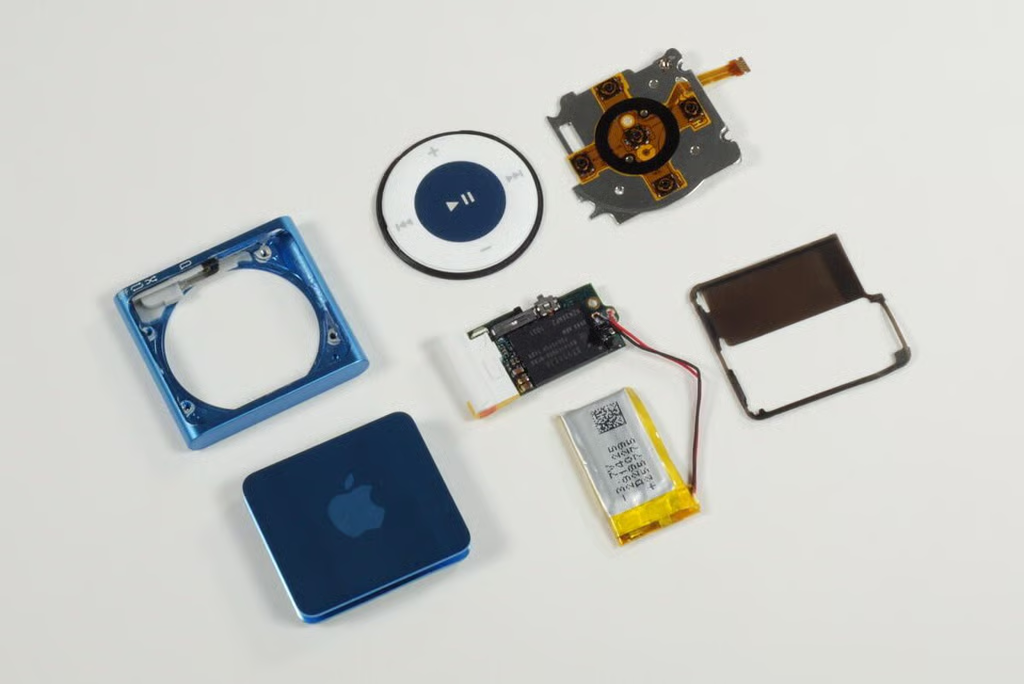
At this point, there’s nothing left in the iPod Suffle’s case but the play-order/power switch.
Photo credit: Bill Detwiler / TechRepublic
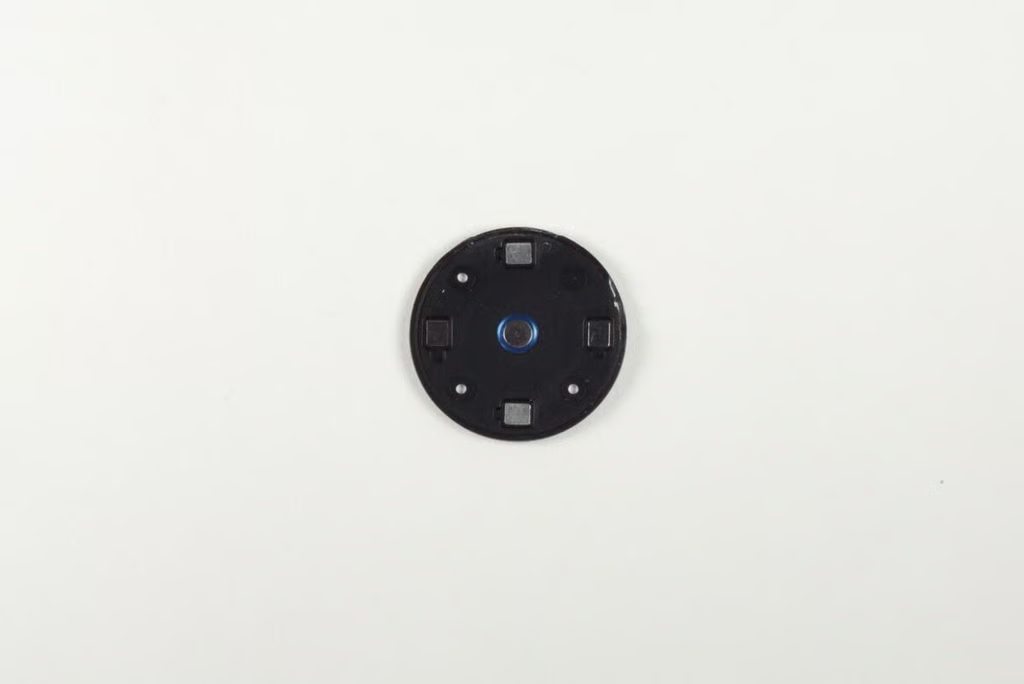
Photo credit: Bill Detwiler / TechRepublic
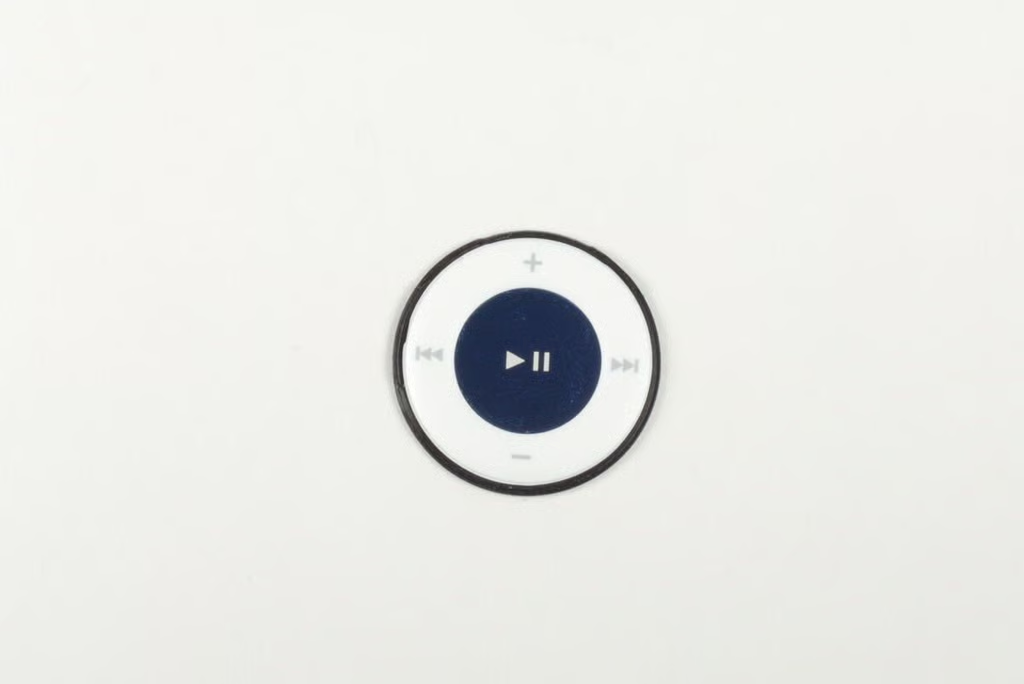
Photo credit: Bill Detwiler / TechRepublic
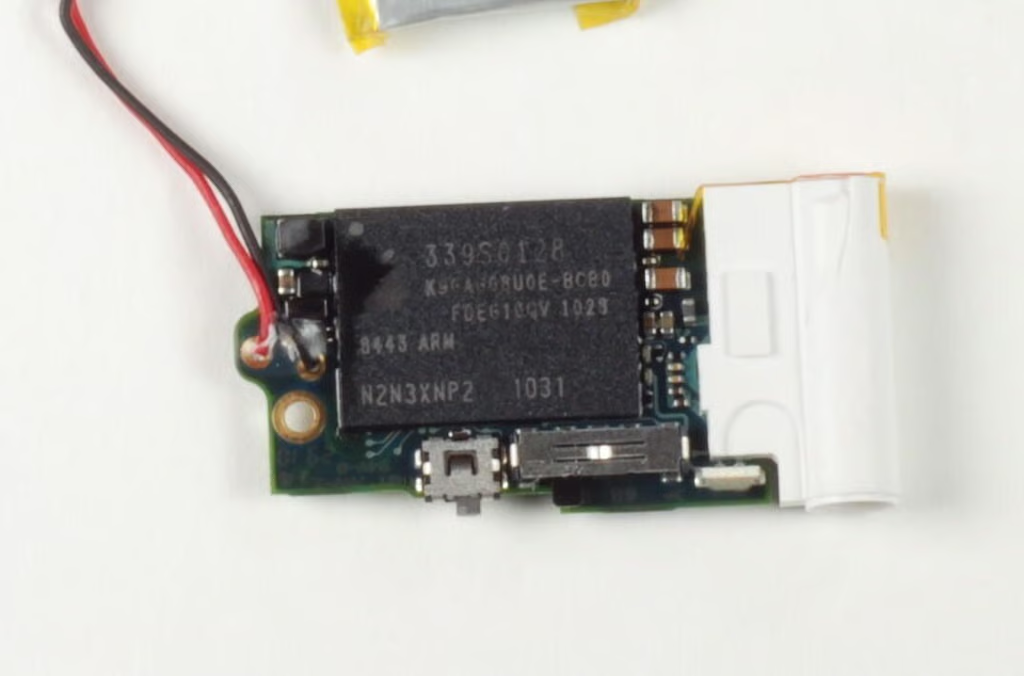
The iPod Shuffle’s main chip has the following markings:
339S0128
K9GA608U0E-BCB0 / FDEG21QV 1028
8443 ARM
N2N3XNP2 1031
Photo credit: Bill Detwiler / TechRepublic
Bill Detwiler is the Editor for Technical Content and Ecosystem at Celonis. He is the former Editor in Chief of TechRepublic and previous host of TechRepublic's Dynamic Developer podcast and Cracking Open, CNET and TechRepublic's popular online show. Previously, Bill was an IT manager in the social research and energy industries. He has bachelor's and master's degrees from the University of Louisville, where he has also lectured on computer crime and crime prevention.


