In September 2010, Apple released the 2nd generation Apple TV. The new device is significantly smaller than the 1st generation Apple TV (released in 2007) and is focused on streaming media rather than downloading and storing it.
To disassemble the 2nd generation Apple TV you’ll need a screwdriver with Phillips #1 and Torx T6 bits and a thin metal blade or plastic spudger.
Photo by: Bill Detwiler / TechRepublic
Caption by: Bill Detwiler
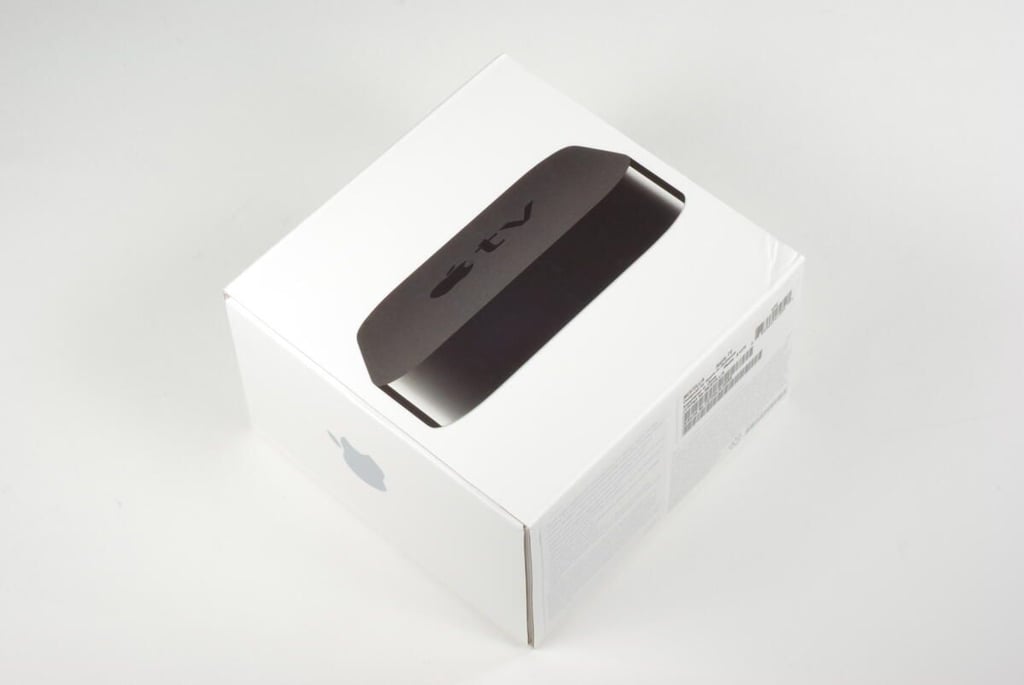
The 2nd generation Apple TV costs $99 (US). It lets you rent movies and TV shows from iTunes and stream them to your television. The device can also stream music and videos from your PC or Mac running iTunes. It supports Netflix streaming and can be controlled with either a remote control (included) or via an iPhone, iPad, or iPod touch–using Apple’s free Remote app.
Photo by: Bill Detwiler / TechRepublic
Caption by: Bill Detwiler
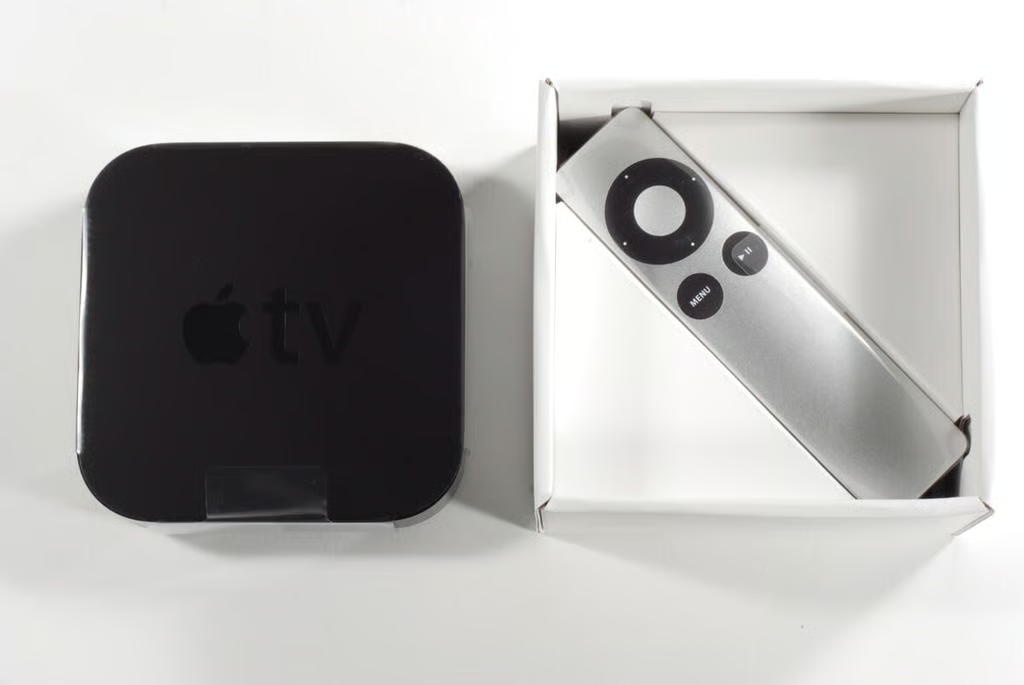
The aluminum Apple Remote sits under the Apple TV.
Photo by: Bill Detwiler / TechRepublic
Caption by: Bill Detwiler
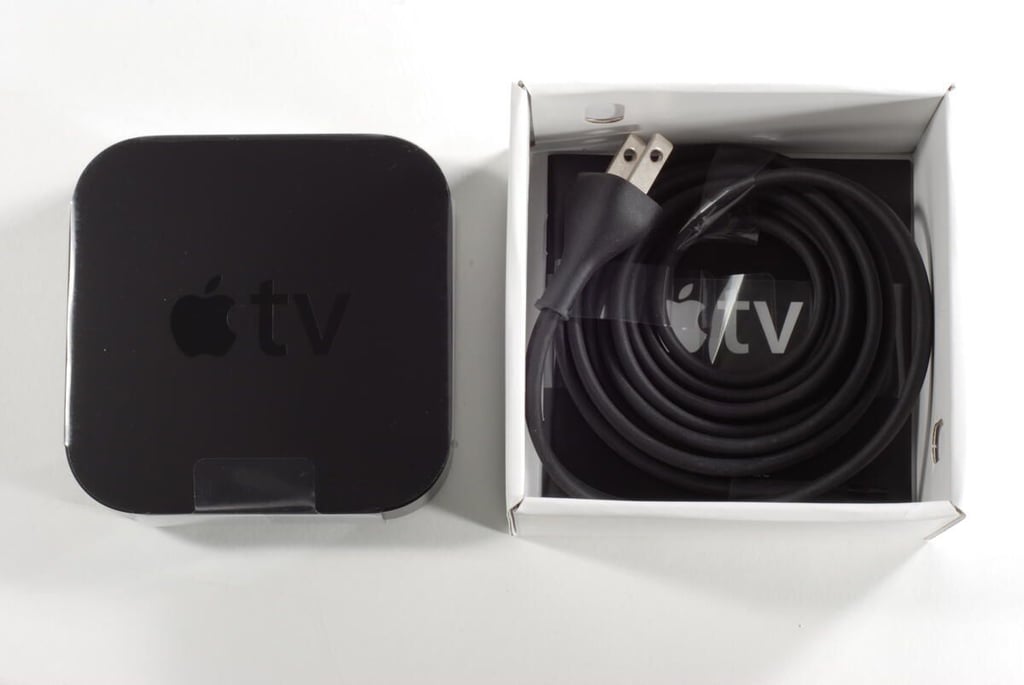
The power cable and documentation sit under the remote.
Photo by: Bill Detwiler / TechRepublic
Caption by: Bill Detwiler
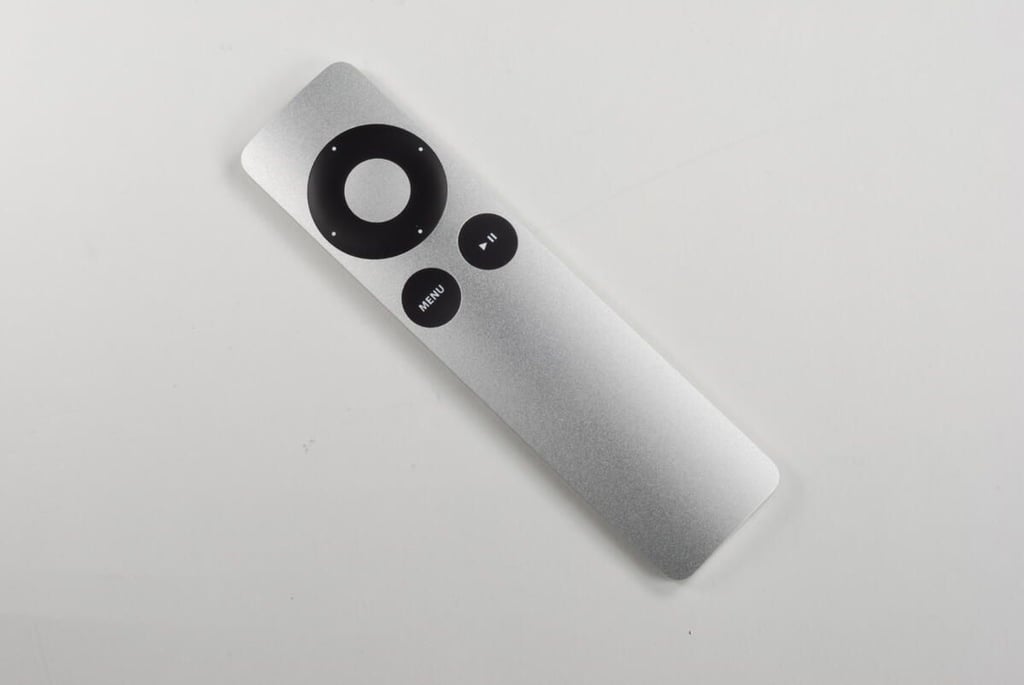
The Apple TV remote has the familiar Apple navigation buttons along with Menu and Play/Pause buttons.
Photo by: Bill Detwiler / TechRepublic
Caption by: Bill Detwiler
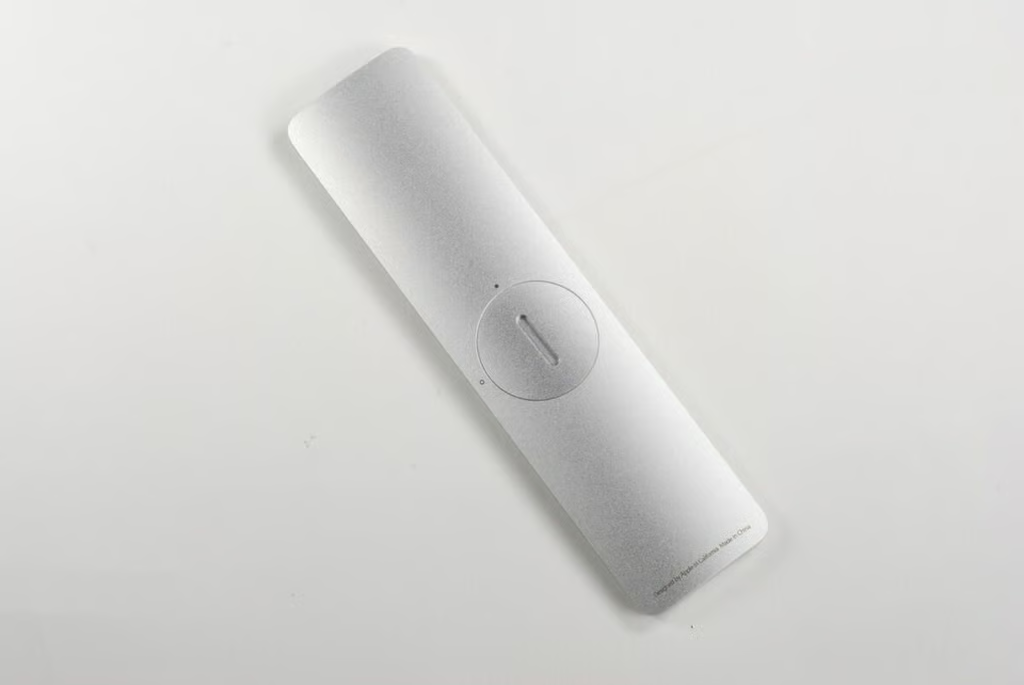
The Apple Remote’s battery compartment is easily accessible. To remove the battery cover, twist it counterclockwise.
Photo by: Bill Detwiler / TechRepublic
Caption by: Bill Detwiler
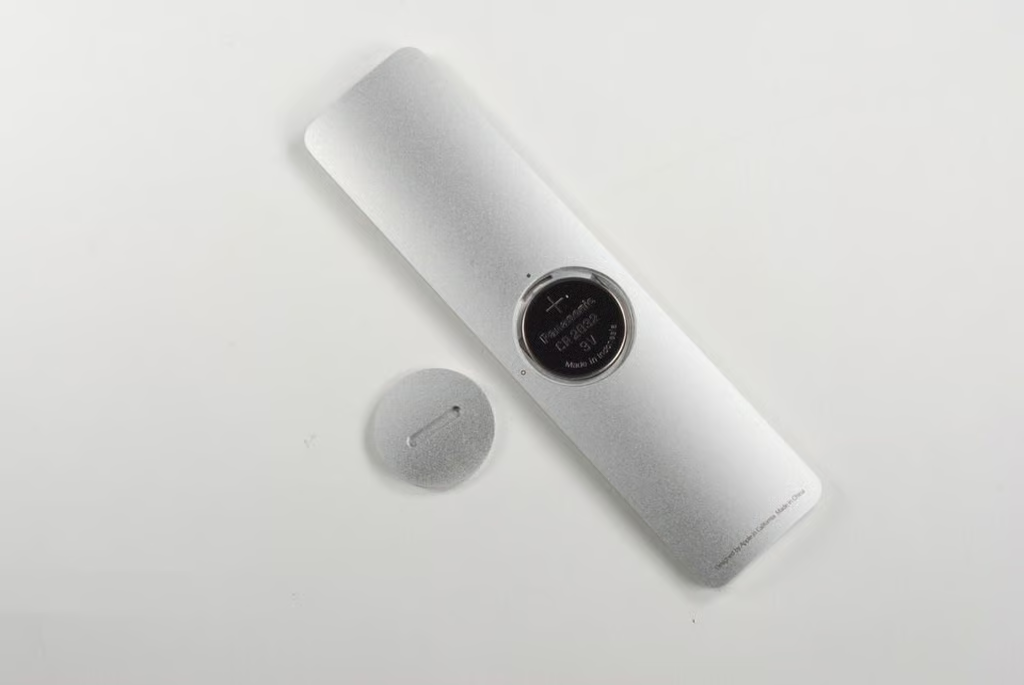
This Apple Remote came with a Panasonic CR 2032 3V battery.
Photo by: Bill Detwiler / TechRepublic
Caption by: Bill Detwiler
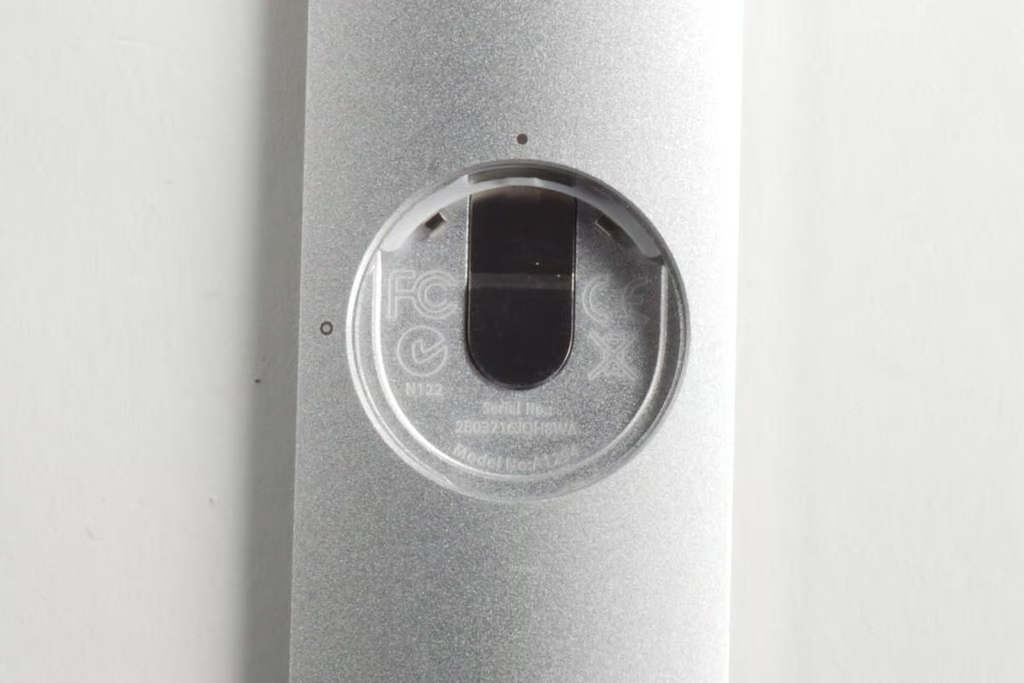
Photo by: Bill Detwiler / TechRepublic
Caption by: Bill Detwiler
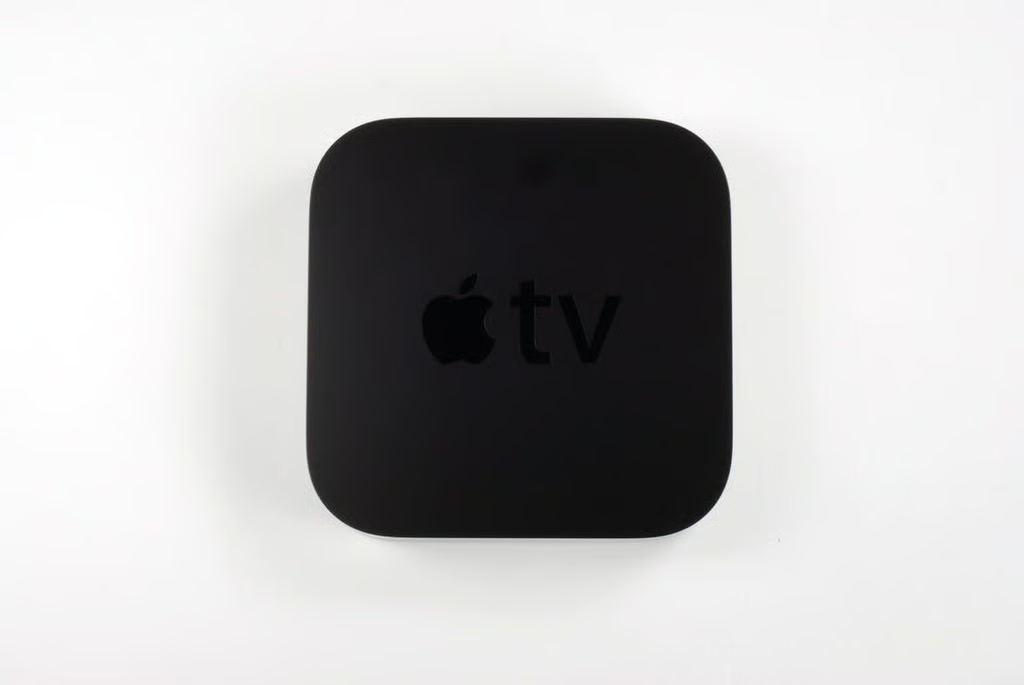
Photo by: Bill Detwiler / TechRepublic
Caption by: Bill Detwiler
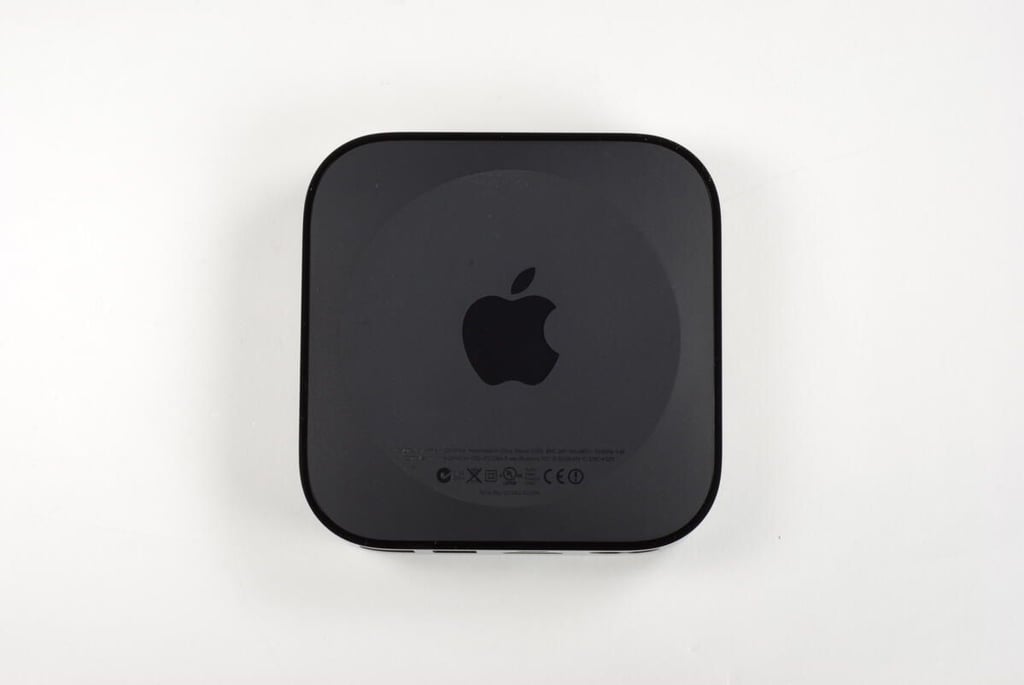
The 2nd generation Apple TV has a model number of A1378.
Photo by: Bill Detwiler / TechRepublic
Caption by: Bill Detwiler

There is not much to see on the front of the 2nd generation Apple TV. When powered on, the unit’s LED status light is visible from the front. The unit’s IR receiver is also located behind the front edge.
Photo by: Bill Detwiler / TechRepublic
Caption by: Bill Detwiler
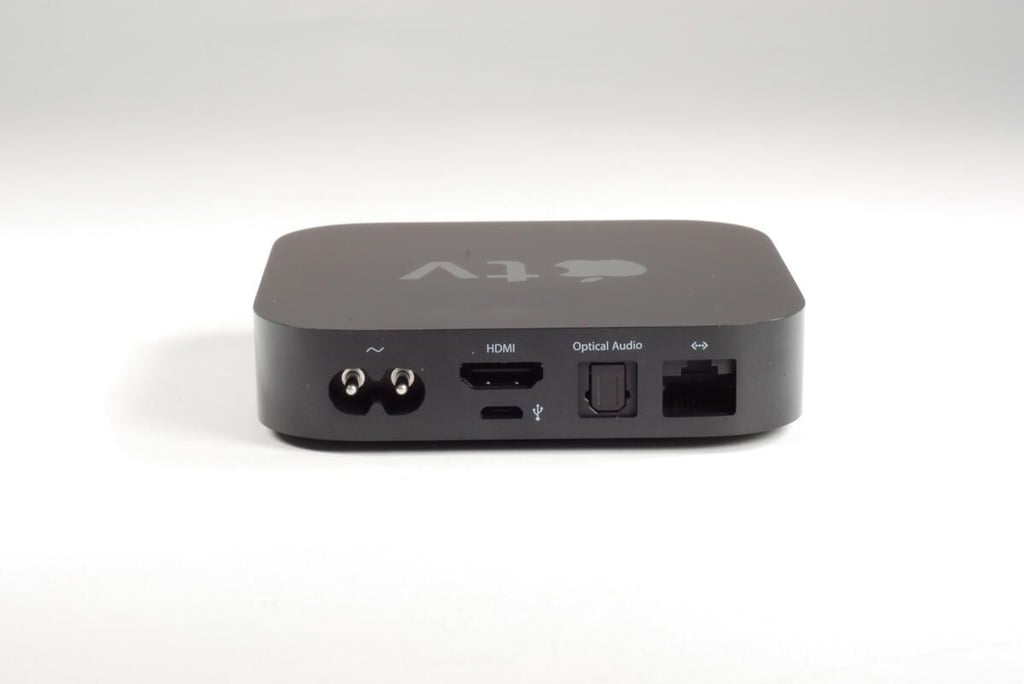
On the back of the 2nd generation Apple TV, you’ll find the power port, HDMI port, Micro USB port, optical digital audio port, and Ethernet port. The new Apple TV also supports Wi-Fi (802.11a/b/g/n).
Photo by: Bill Detwiler / TechRepublic
Caption by: Bill Detwiler
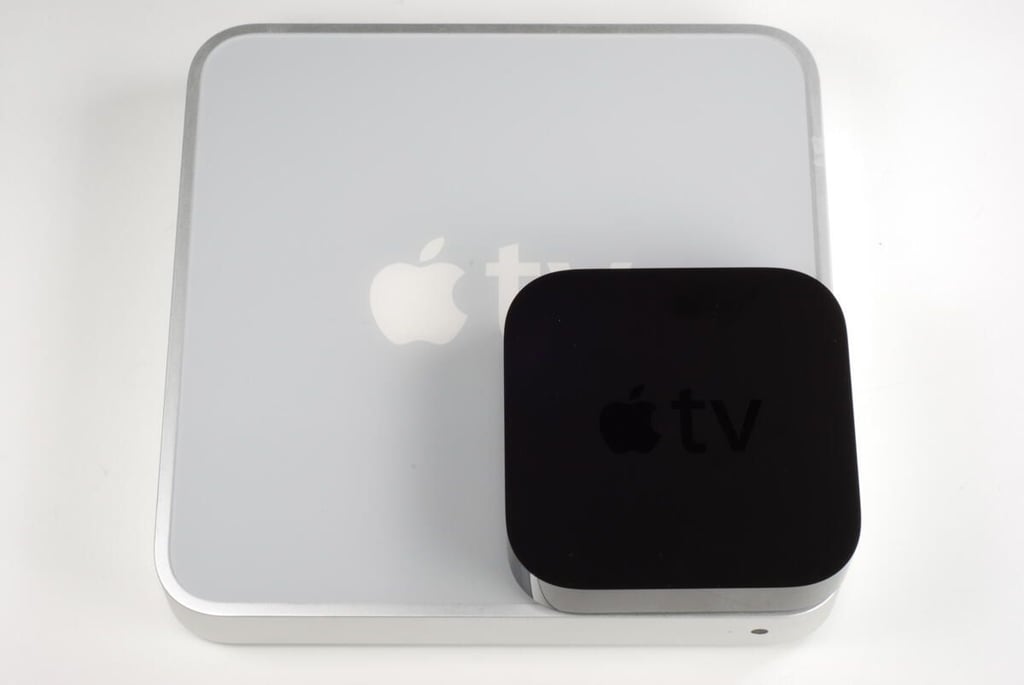
This photo shows the 2nd generation Apple TV on top of the original. The newer version is about a quarter of the size of the 1st generation Apple TV.
Photo by: Bill Detwiler / TechRepublic
Caption by: Bill Detwiler
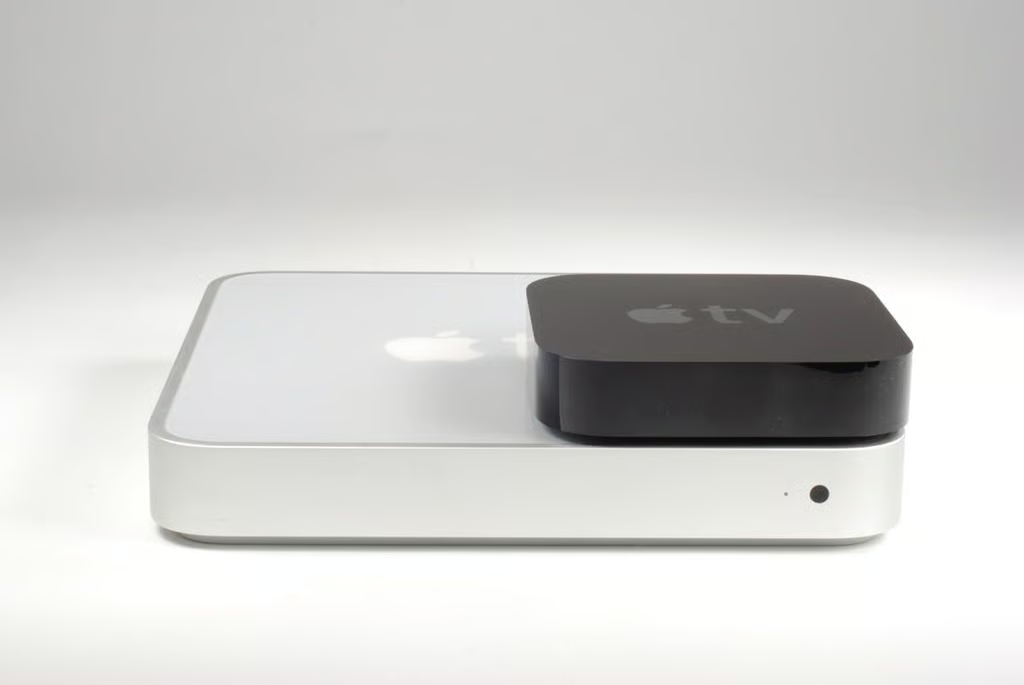
The 2nd generation Apple TV is also thinner than its predecessor.
Photo by: Bill Detwiler / TechRepublic
Caption by: Bill Detwiler
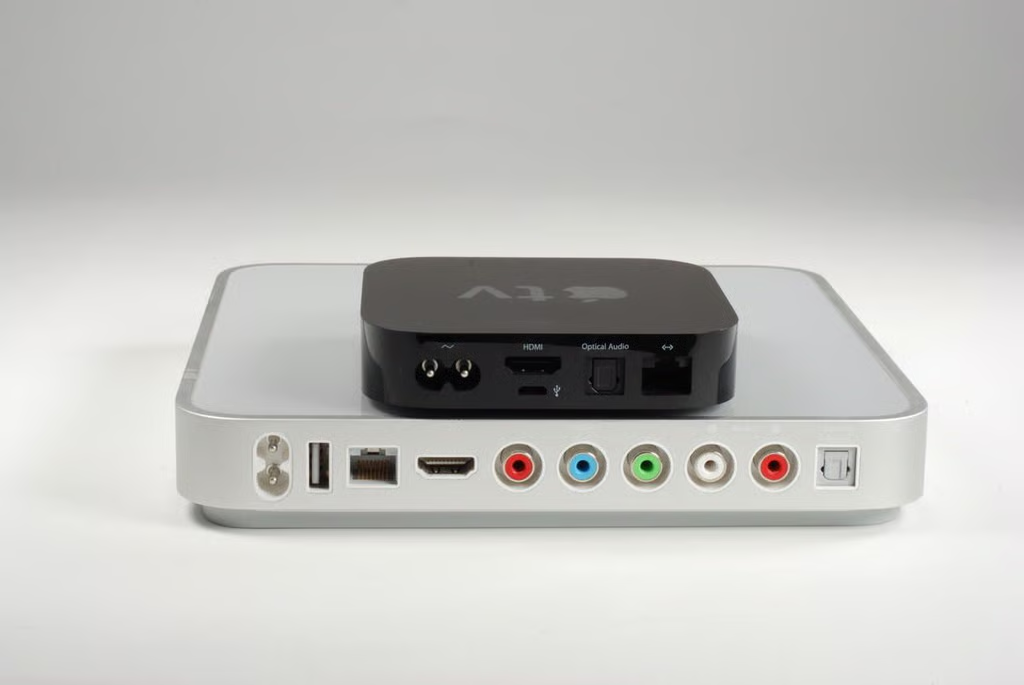
Besides not including a hard drive, Apple shrunk the 2nd generation Apple TV by doing away with the Component video and RCA audio outputs. The newer unit also has a Micro USB port instead of the standard USB port found on the earlier version.
Photo by: Bill Detwiler / TechRepublic
Caption by: Bill Detwiler
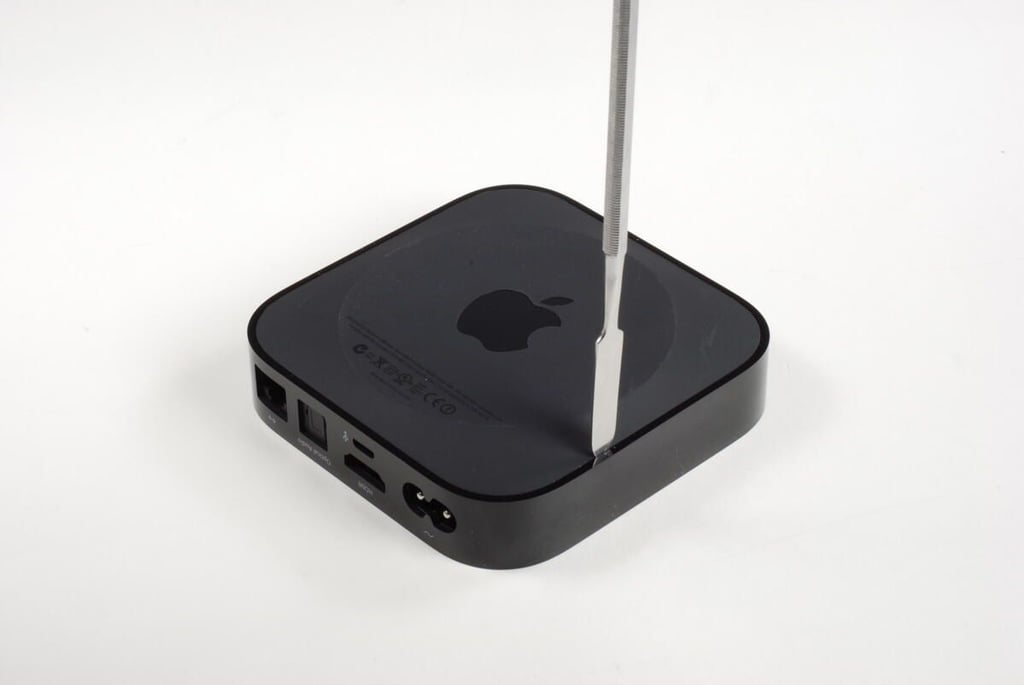
To crack open the 2nd generation Apple TV, you’ll first need to remove the case’s rubberized base. I used several thin, metal spudgers to pop the base free from the shinny black case. The base is held in place with plastic tabs. It may take a few minutes, but you should be able to pop the tabs free without breaking them.
Photo by: Bill Detwiler / TechRepublic
Caption by: Bill Detwiler
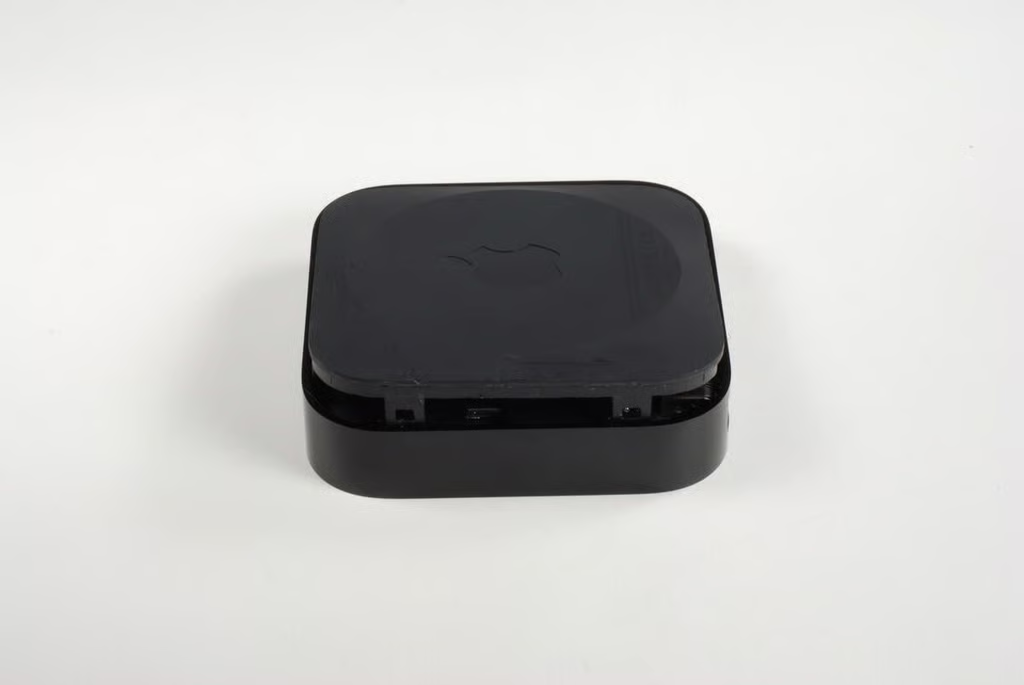
Here you can see two of the base’s tabs. ?Although I didn’t break the base of any of the tabs during removal, I did mar the base’s rubberized surface.
Photo by: Bill Detwiler / TechRepublic
Caption by: Bill Detwiler
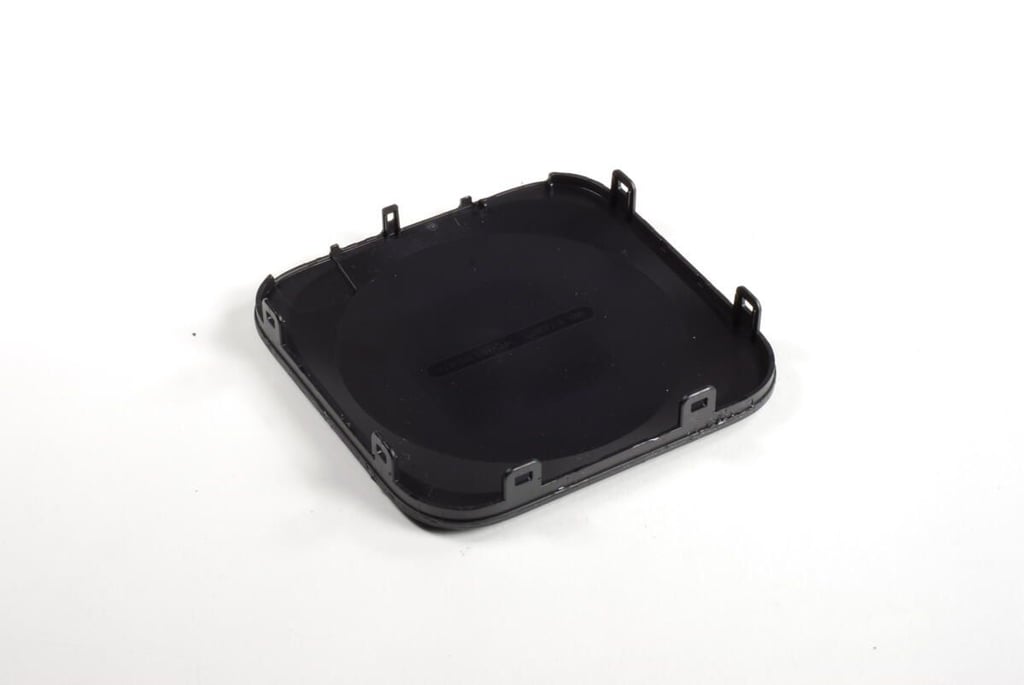
Luckily, I was able to remove the bottom cover without breaking any of the tabs.
Photo by: Bill Detwiler / TechRepublic
Caption by: Bill Detwiler
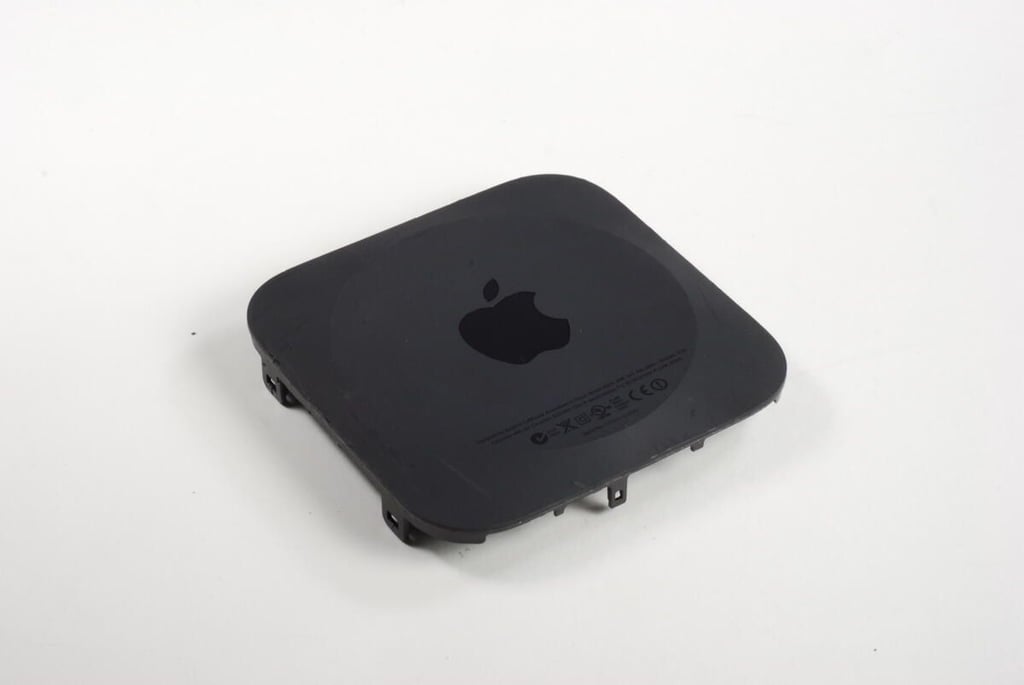
Photo by: Bill Detwiler / TechRepublic
Caption by: Bill Detwiler

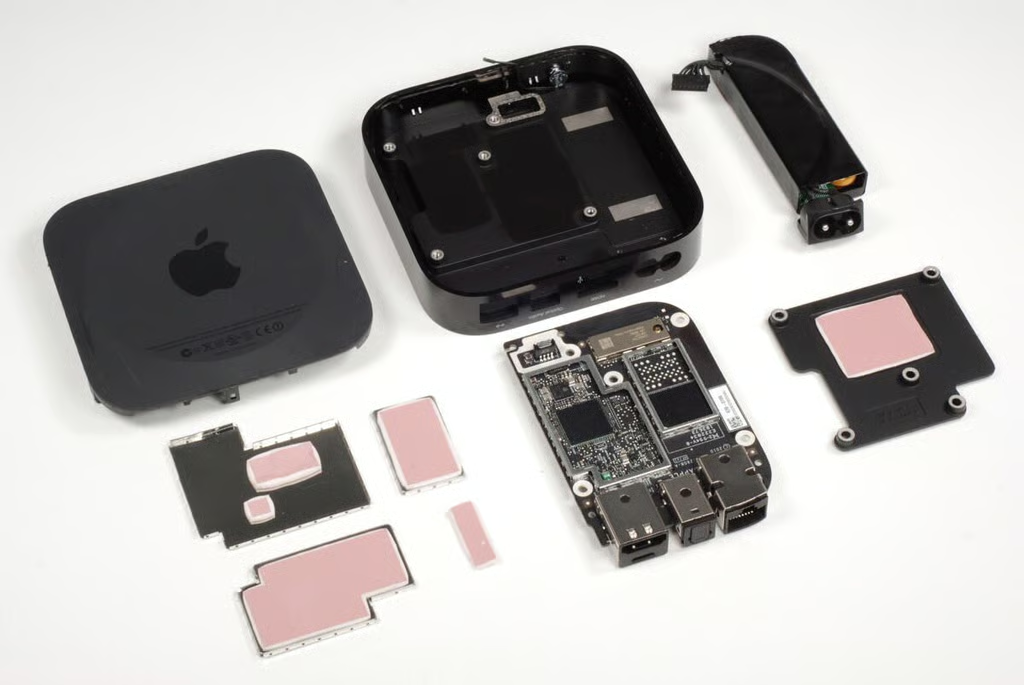
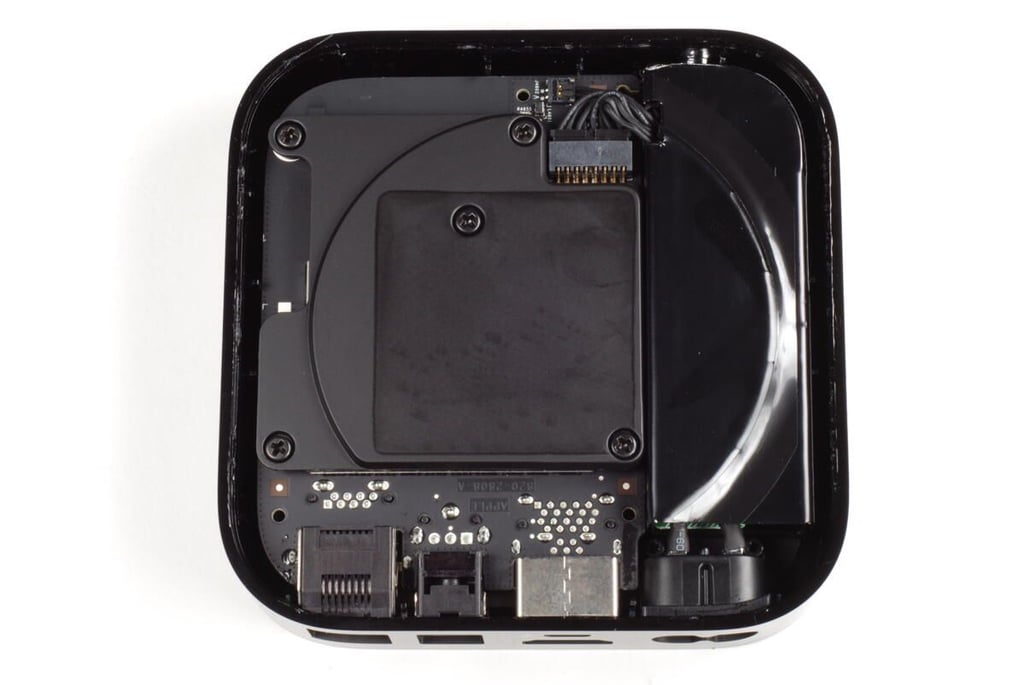
A black, metal plate covers most of the printed circuit board (PCB). This plate likely serves as a heat sink to draw heat away from the chips on the PCB. A large, pink thermal pad is stuck to the heat sink. I assume this pad and the others like it inside the Apple TV help transfer heat from the internal components to the outer shell.
Photo by: Bill Detwiler / TechRepublic
Caption by: Bill Detwiler
You should be able you remove the thermal pad in one piece. Once it’s removed, we can see the five Phillips #1 screws that hold the heat sink and PCB in place.
Photo by: Bill Detwiler / TechRepublic
Caption by: Bill Detwiler
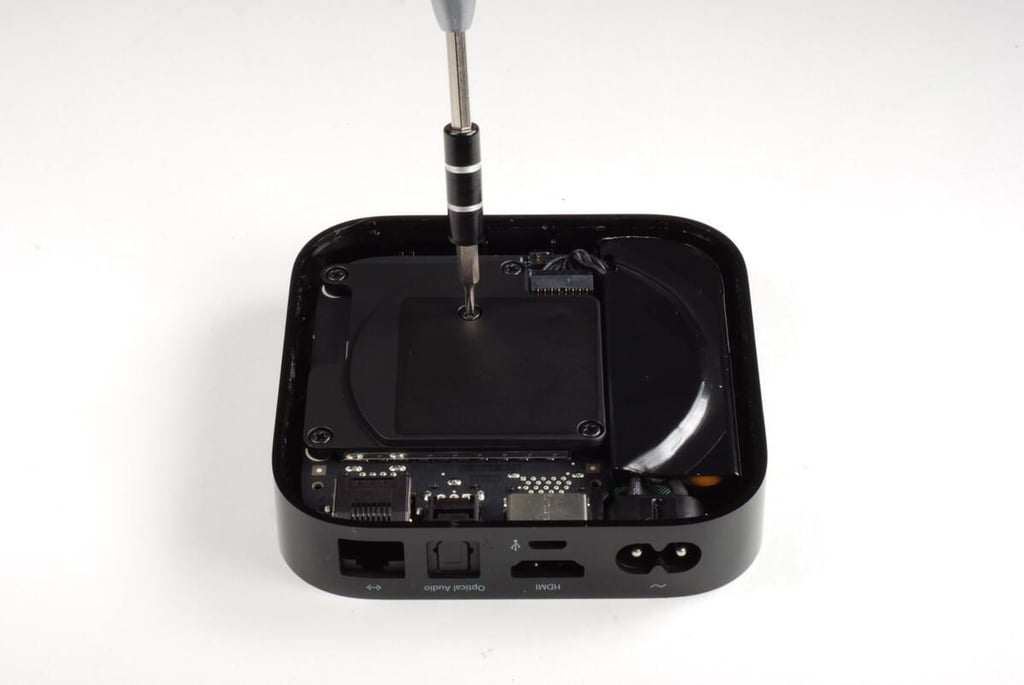
Photo by: Bill Detwiler / TechRepublic
Caption by: Bill Detwiler
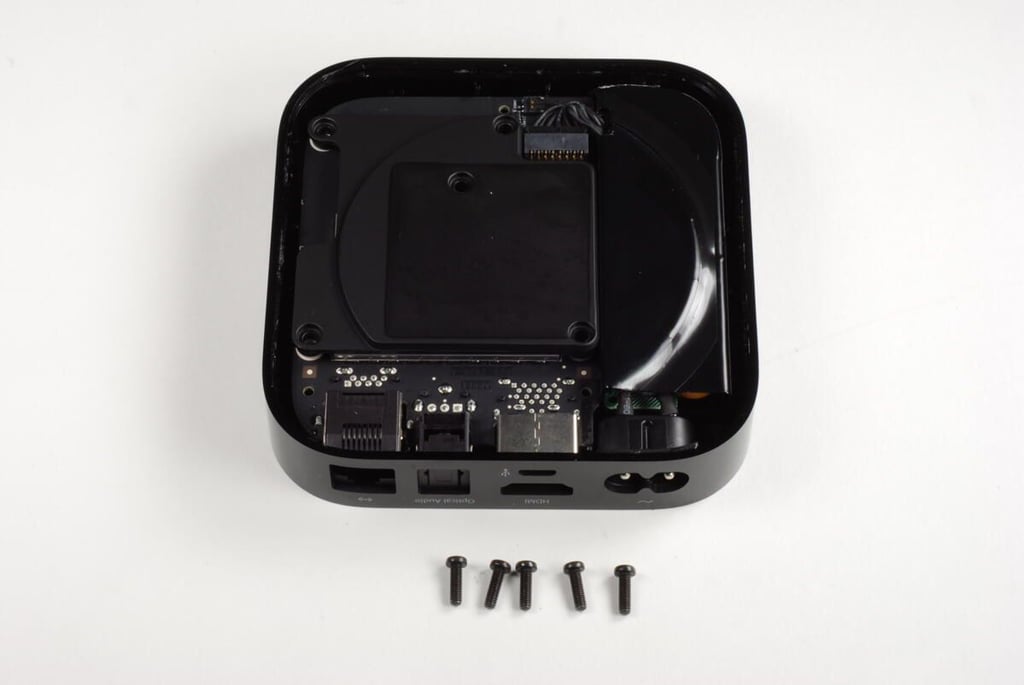
Luckily, all the Phillips #1 screws within the 2nd generation Apple TV are all the same length.
Photo by: Bill Detwiler / TechRepublic
Caption by: Bill Detwiler
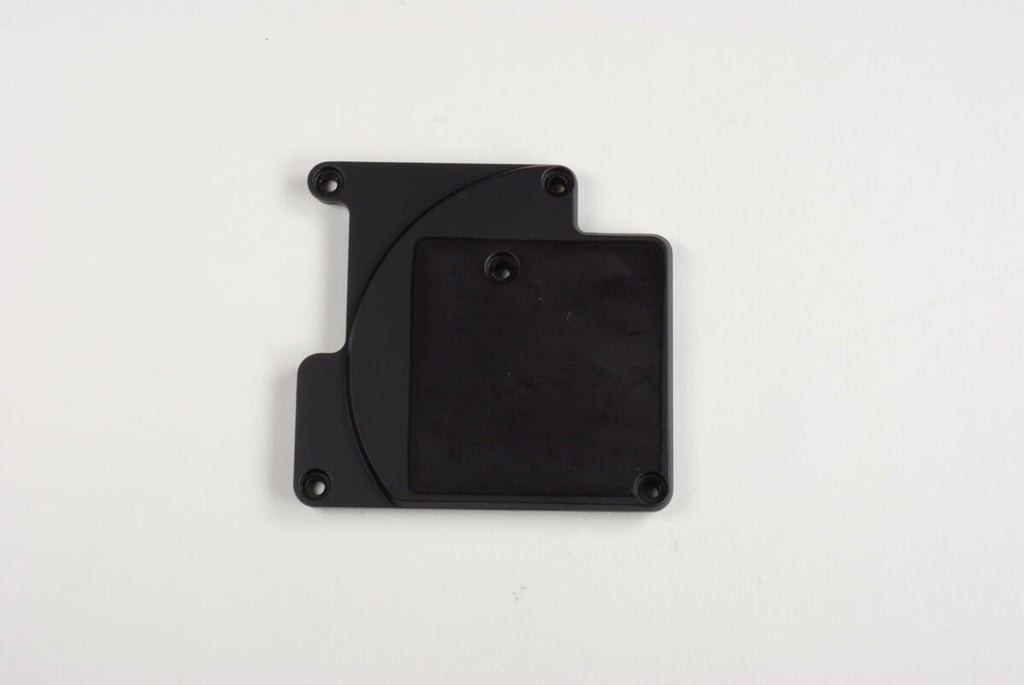
Photo by: Bill Detwiler / TechRepublic
Caption by: Bill Detwiler
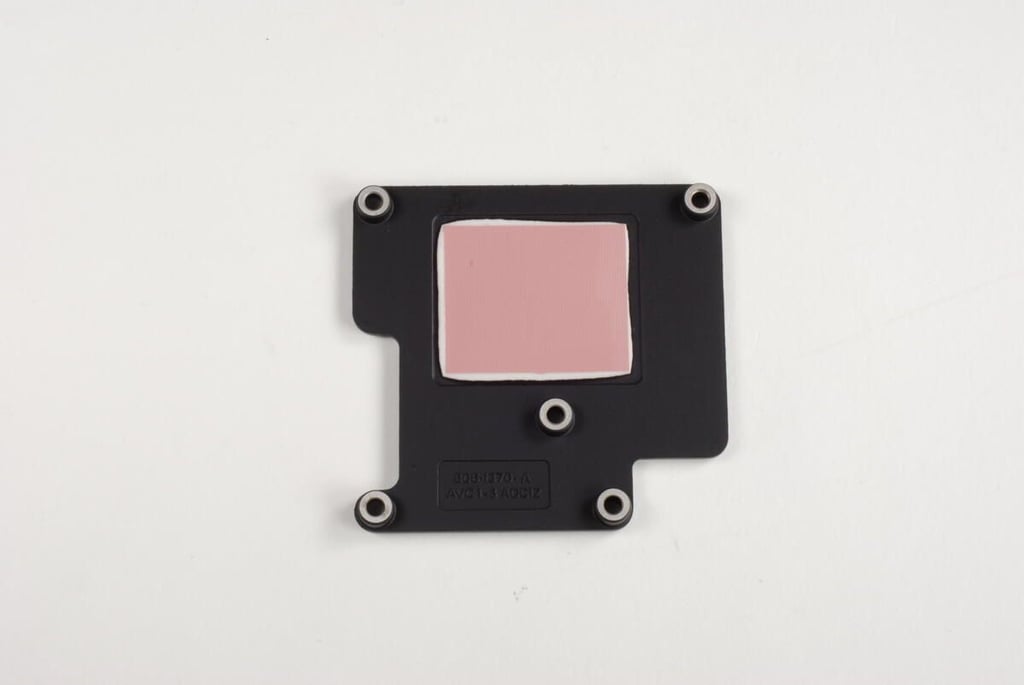
Photo by: Bill Detwiler / TechRepublic
Caption by: Bill Detwiler

With the heat sink removed, we get our first good look at the 2nd generation Apple TV’s PCB. As expected, a metal EMI shield covers most of the chips. We’ll need to remove the PCB from the case and then remove the shields to see what really makes this Apple TV run.
Photo by: Bill Detwiler / TechRepublic
Caption by: Bill Detwiler
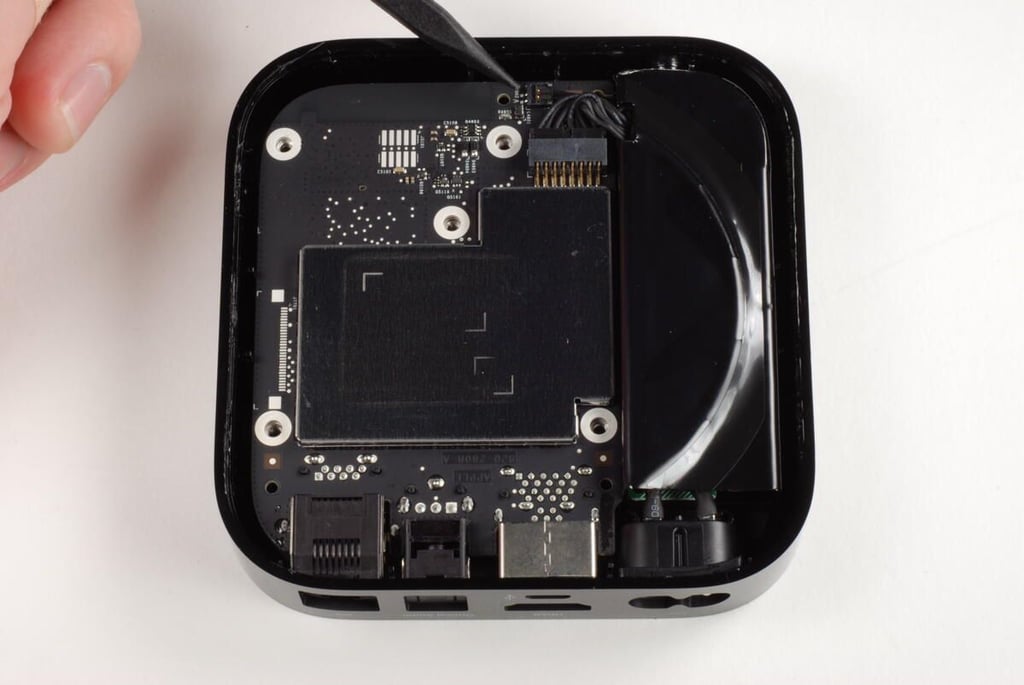
There are two connectors attached to the PCB–a smaller one for the front LED status light and a larger one for the power supply.
Photo by: Bill Detwiler / TechRepublic
Caption by: Bill Detwiler
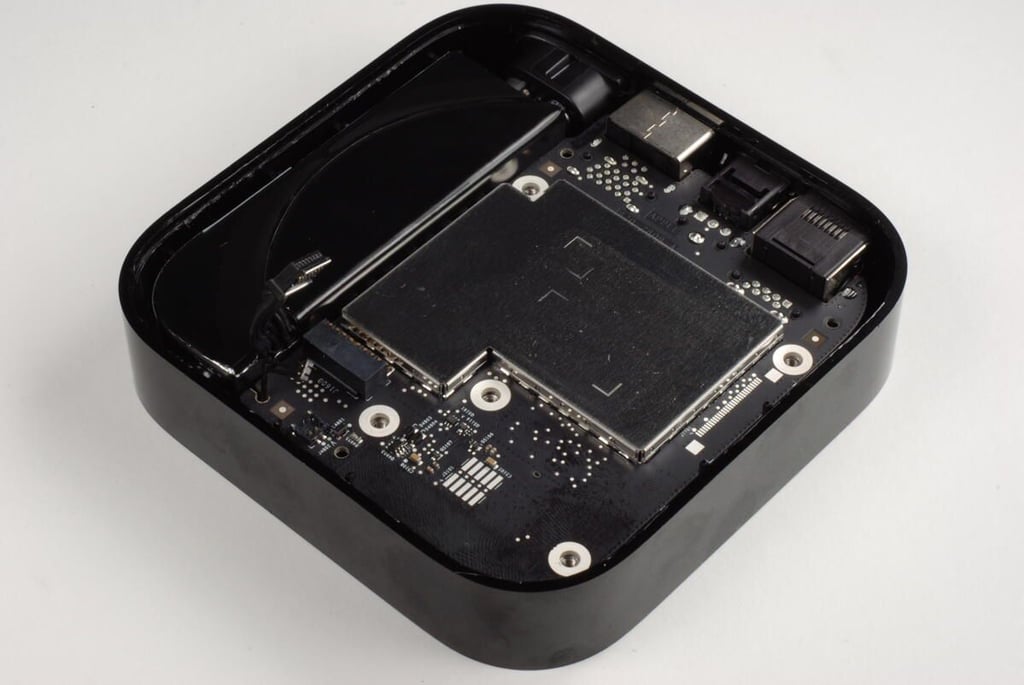
Photo by: Bill Detwiler / TechRepublic
Caption by: Bill Detwiler
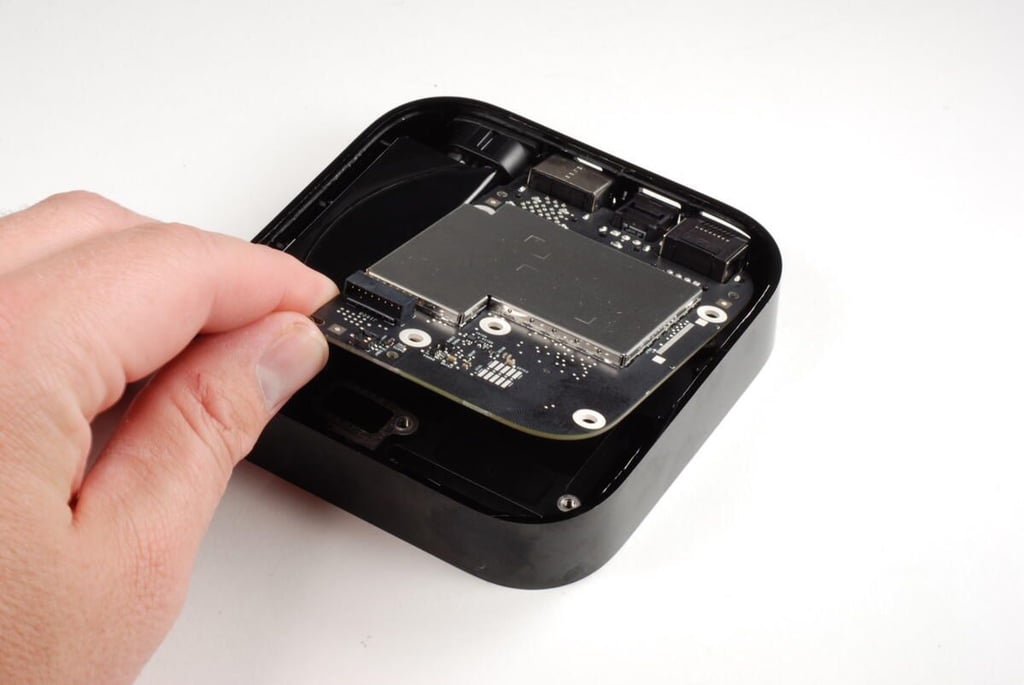
With the power supply and status light cables disconnected, we can lift the A2nd generation Apple TV’s PCB away from the case.
Photo by: Bill Detwiler / TechRepublic
Caption by: Bill Detwiler
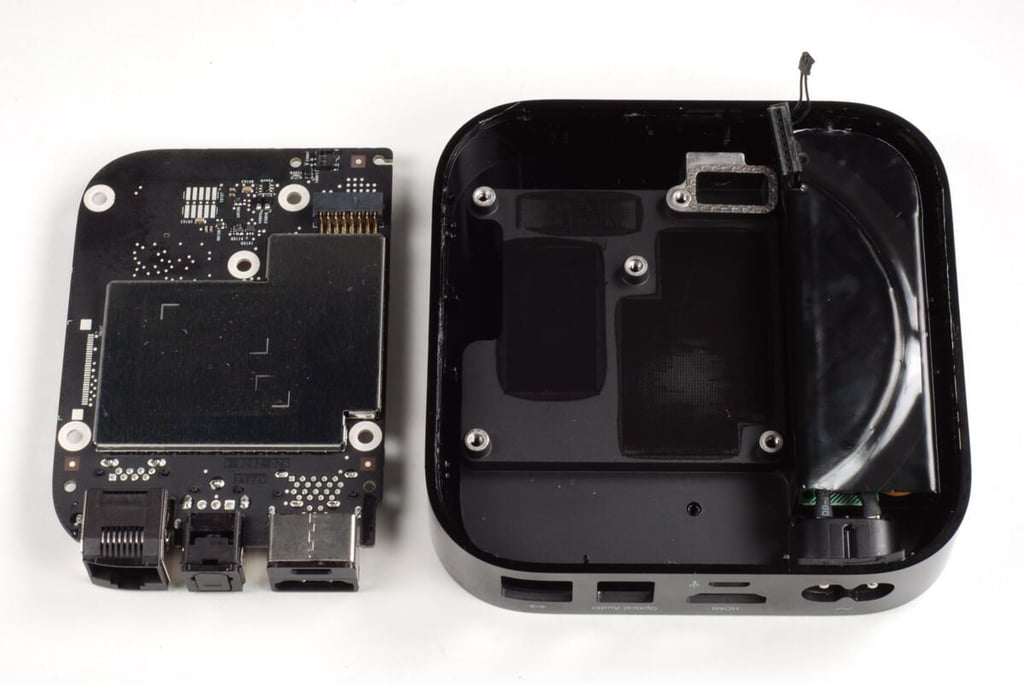
Photo by: Bill Detwiler / TechRepublic
Caption by: Bill Detwiler
Two Torx T6 screws hold the power port’s plastic housing to the 2nd generation Apple TV’s case. You’ll need to remove both screws before removing the power supply.
Photo by: Bill Detwiler / TechRepublic
Caption by: Bill Detwiler
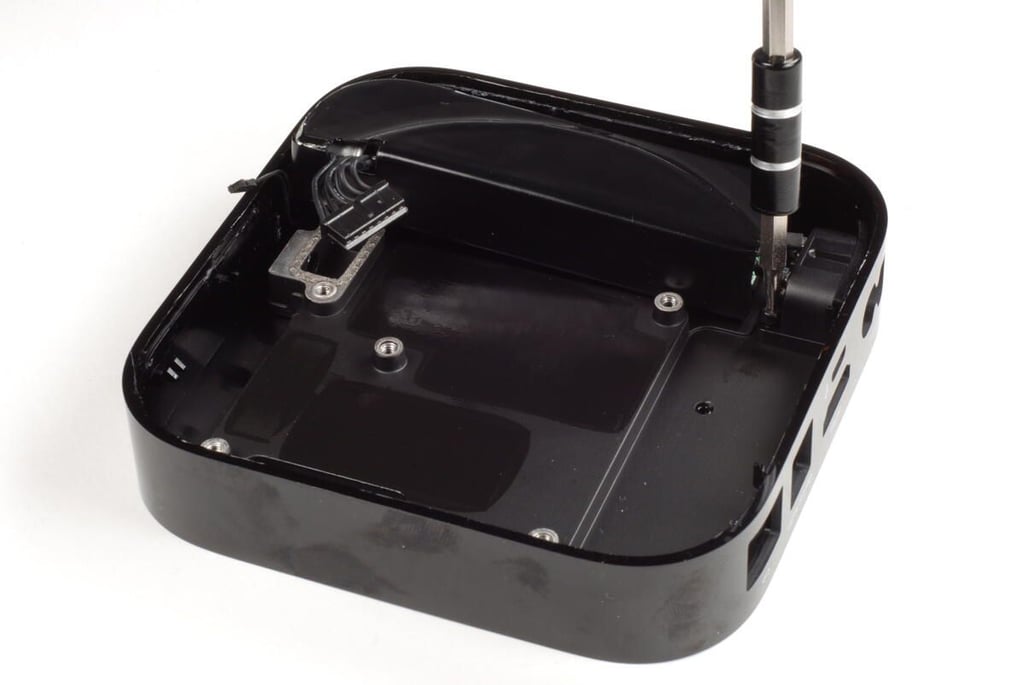
Photo by: Bill Detwiler / TechRepublic
Caption by: Bill Detwiler
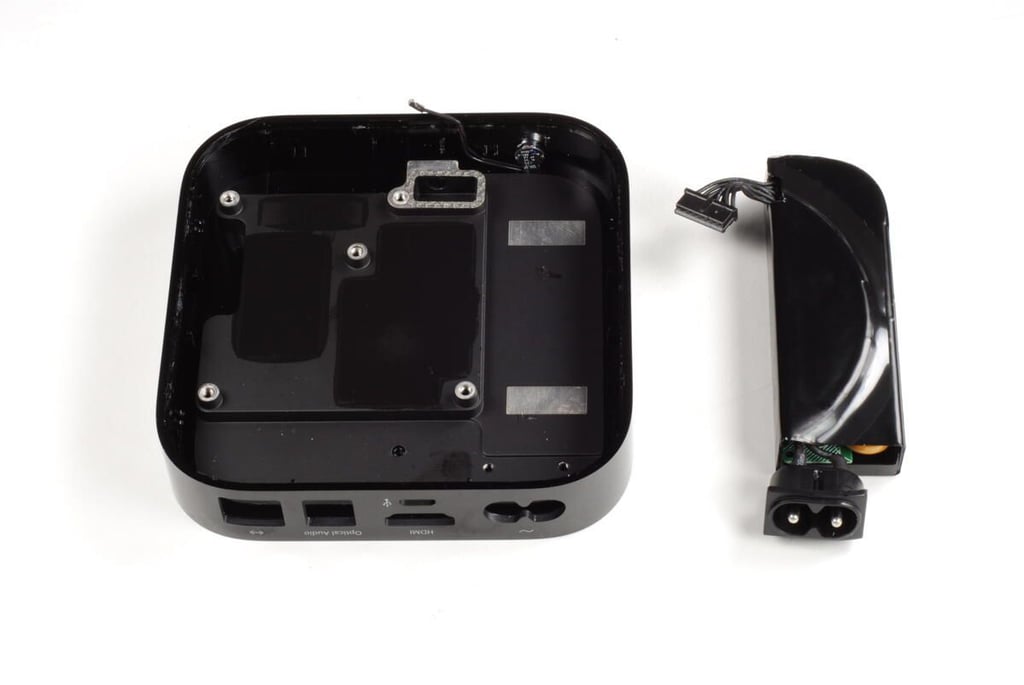
With the two Torx T6 screws removed, you can lift the power supply away from the 2nd generation Apple TV’s case. A small amount of adhesive holds the power supply to the case, but supply should come free with minimal force.
Photo by: Bill Detwiler / TechRepublic
Caption by: Bill Detwiler
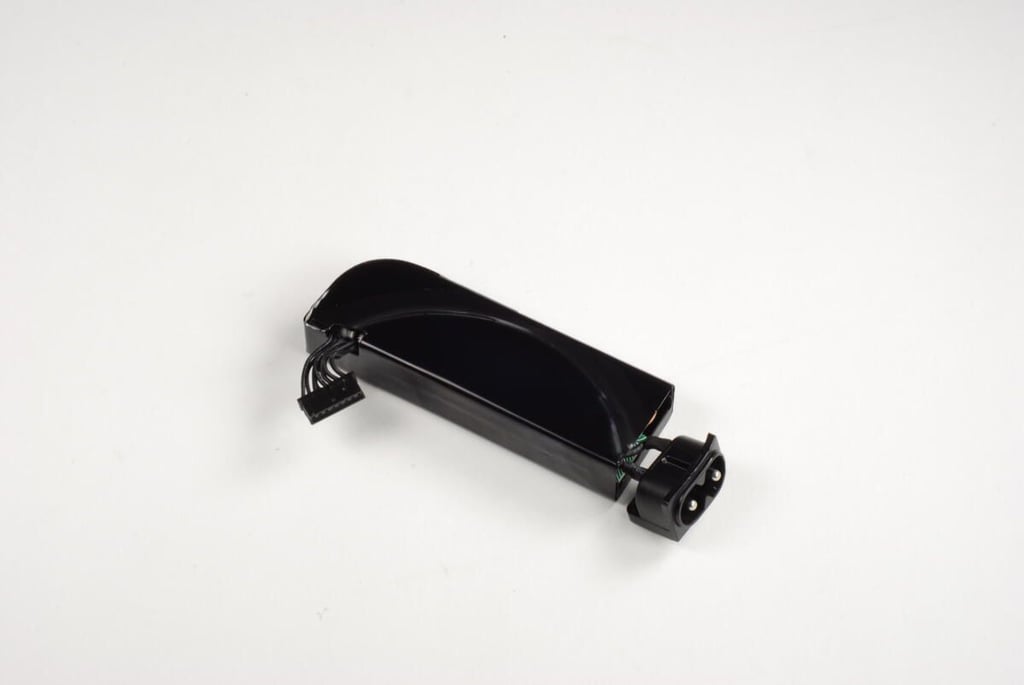
According to Apple’s technical specifications, the 2nd generation Apple TV uses a 6-watt power supply.
Photo by: Bill Detwiler / TechRepublic
Caption by: Bill Detwiler
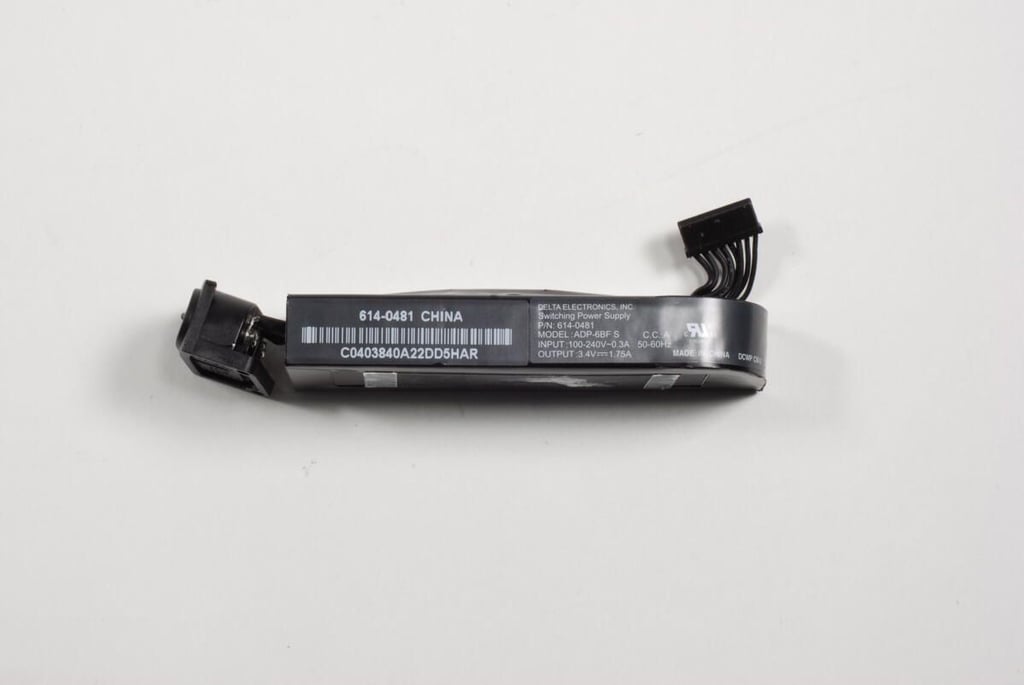
The power supply’s markings show it’s rated for and output of 3.4V
Photo by: Bill Detwiler / TechRepublic
Caption by: Bill Detwiler
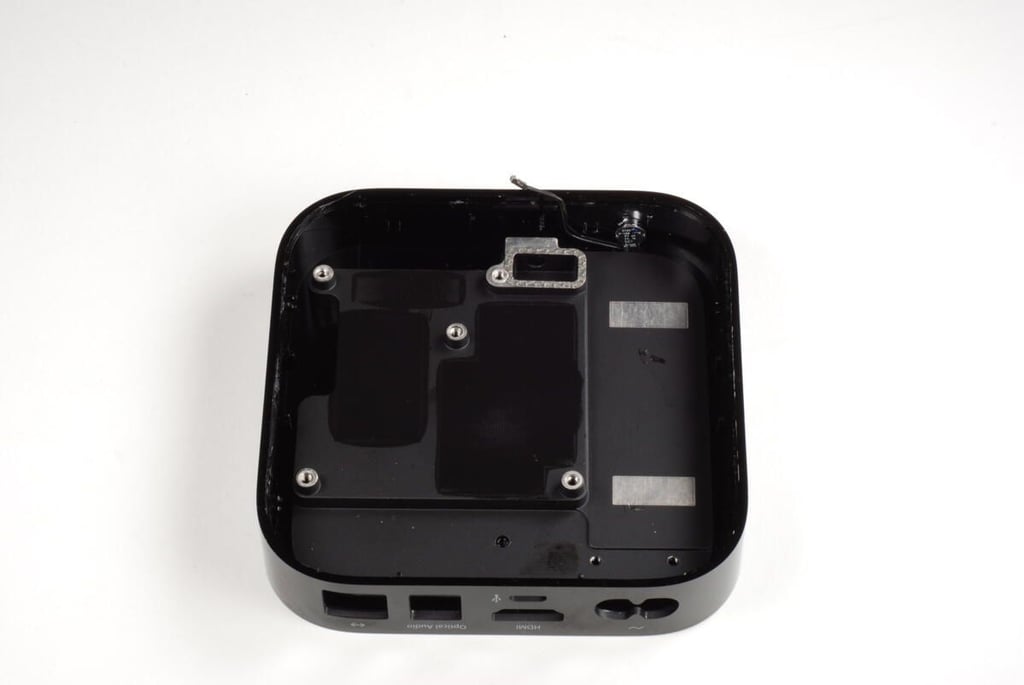
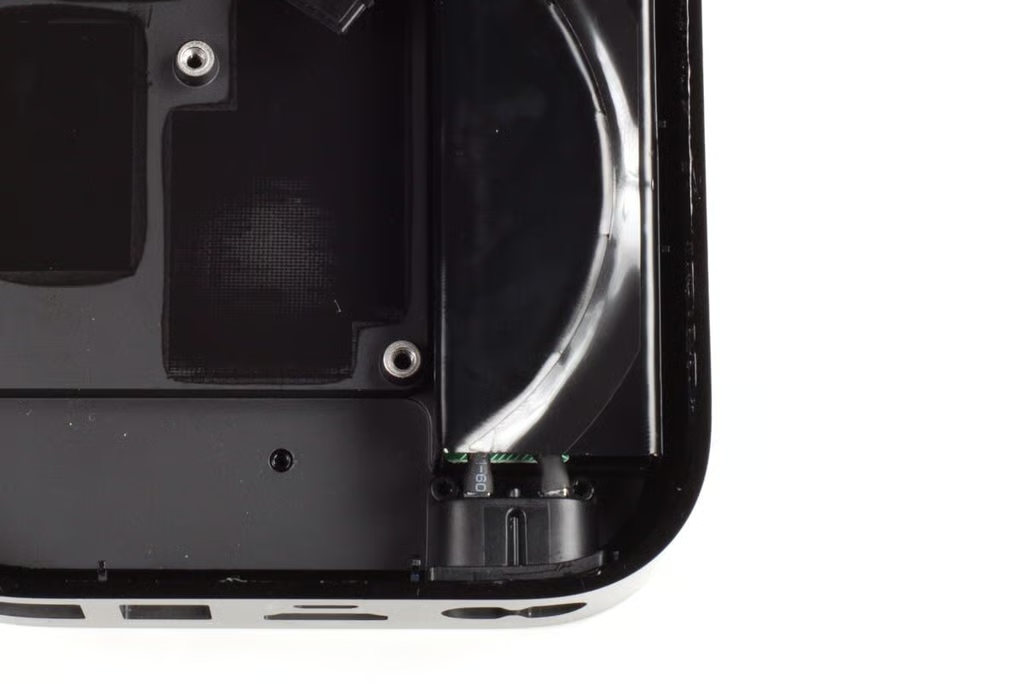
With the PCB and power supply removed, all only the LED status light remains in the case. Unfortunately, it is glued to the case. As I want to reassemble and use this Apple TV, I’m going to leave it in place.
Photo by: Bill Detwiler / TechRepublic
Caption by: Bill Detwiler
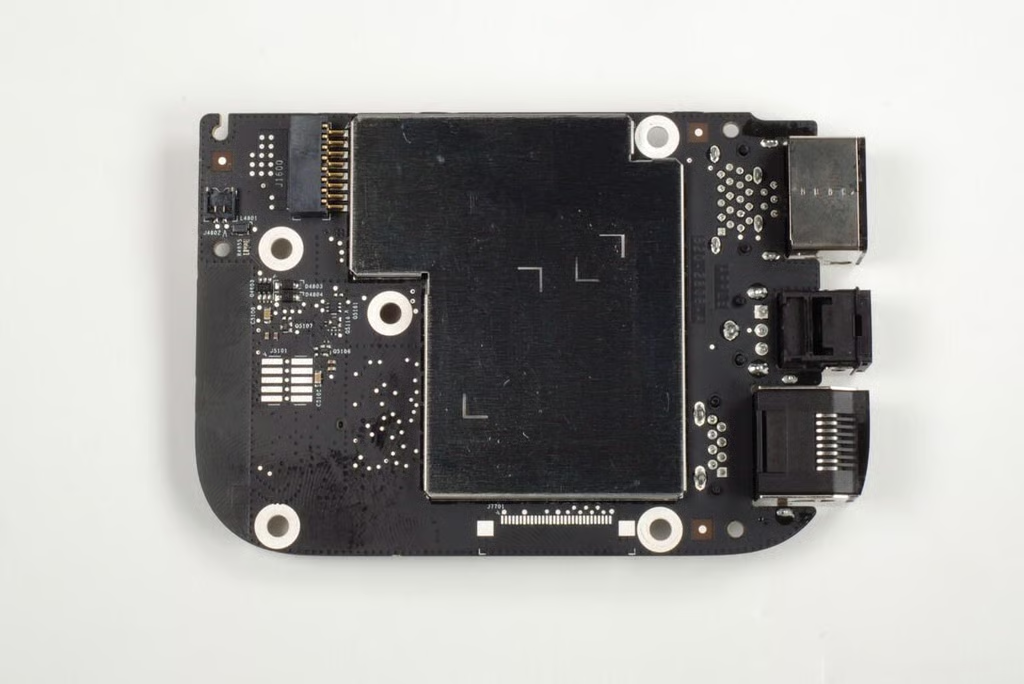
A single, large EMI shield hides the chips on the bottom of the PCB.
Photo by: Bill Detwiler / TechRepublic
Caption by: Bill Detwiler
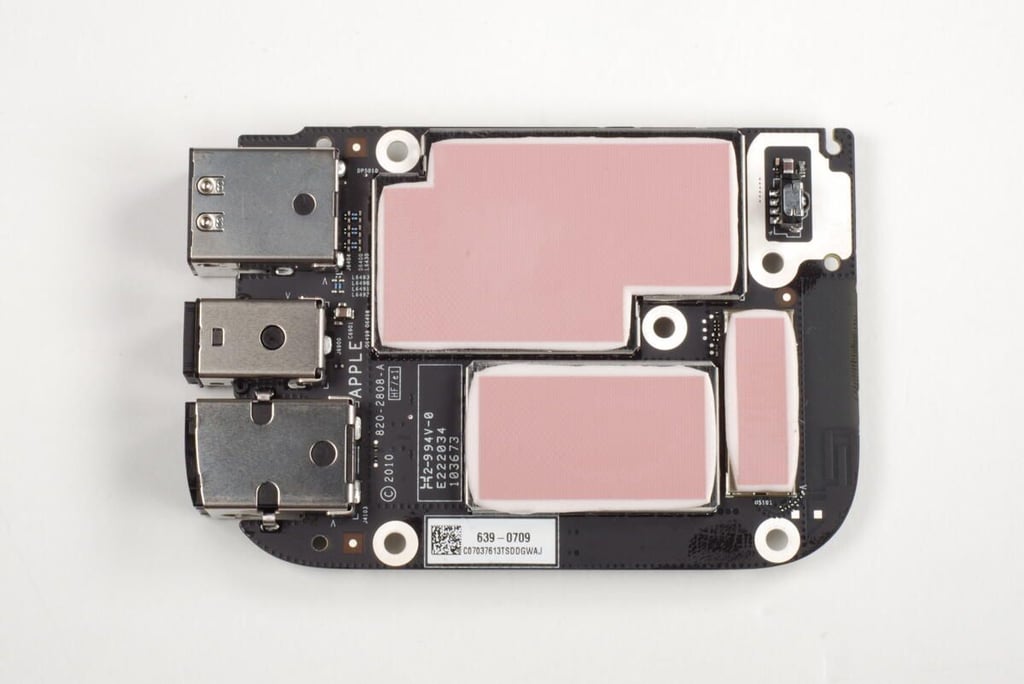
The chips on the top of the 2nd generation Apple TV’s PCB are hidden beneath three separate EMI shields–each with its own thermal pad.
Photo by: Bill Detwiler / TechRepublic
Caption by: Bill Detwiler
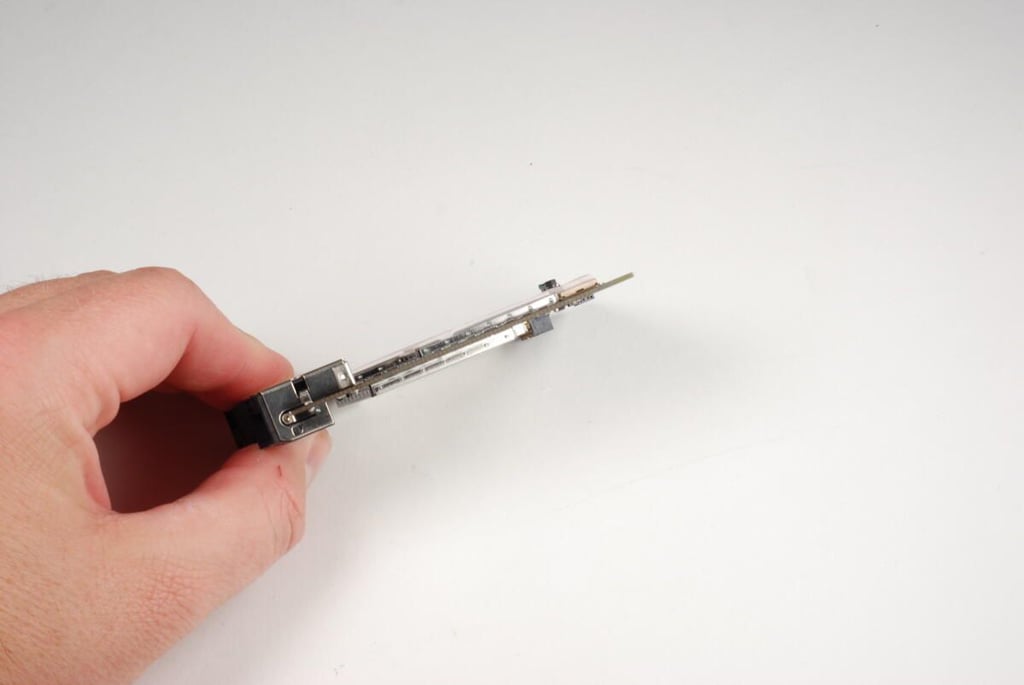
Photo by: Bill Detwiler / TechRepublic
Caption by: Bill Detwiler
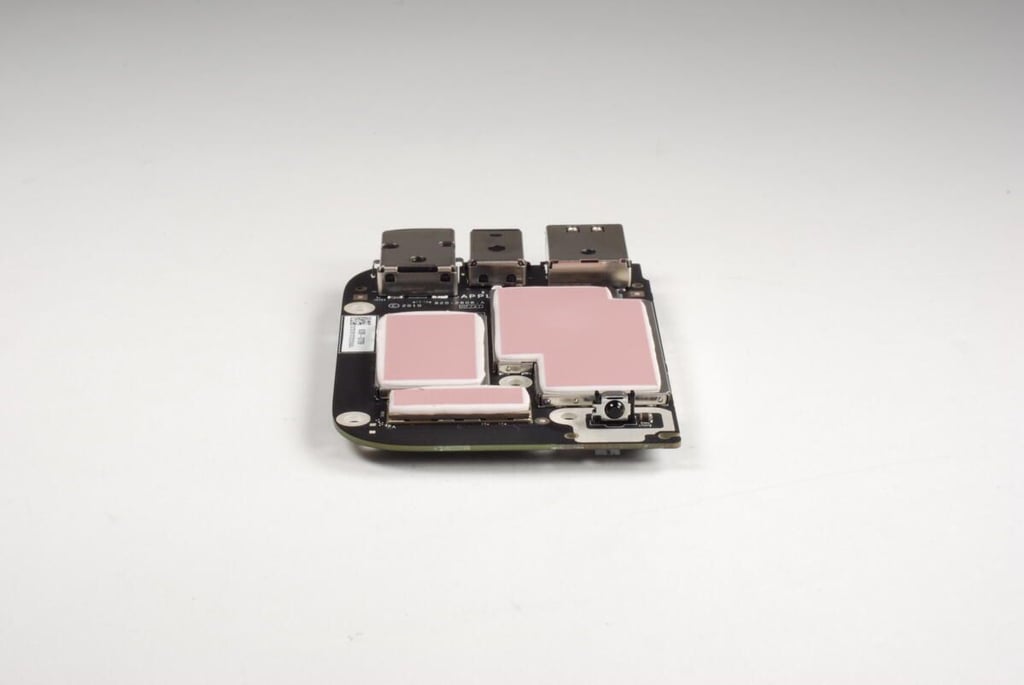
The raised sensor on the right side of the PCB in this photo is the IR receiver for the Apple Remote.
Photo by: Bill Detwiler / TechRepublic
Caption by: Bill Detwiler
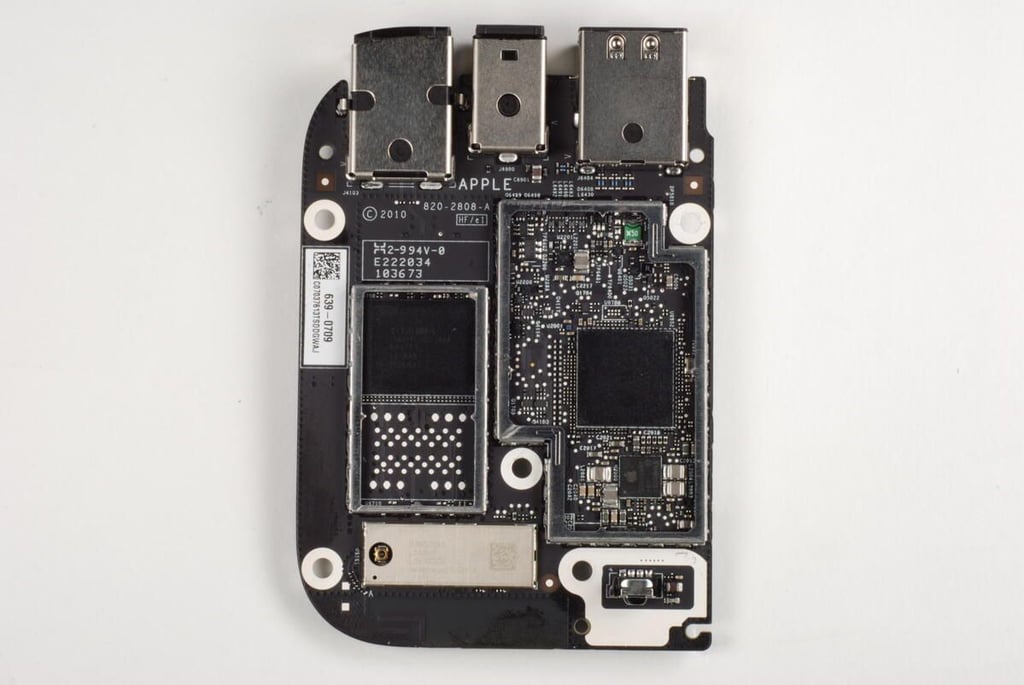
With the thermal pads, and two large EMI shields removed from the top of the PCB, we can see several of the 2nd generation Apple TV’s main chips. The small EMI shield that covers the wireless chips appeared to be soldered to the small circuit board on which the chips were mounted. As I don’t to damage any of the internal components, I’m going to leave the shield in place.
Photo by: Bill Detwiler / TechRepublic
Caption by: Bill Detwiler
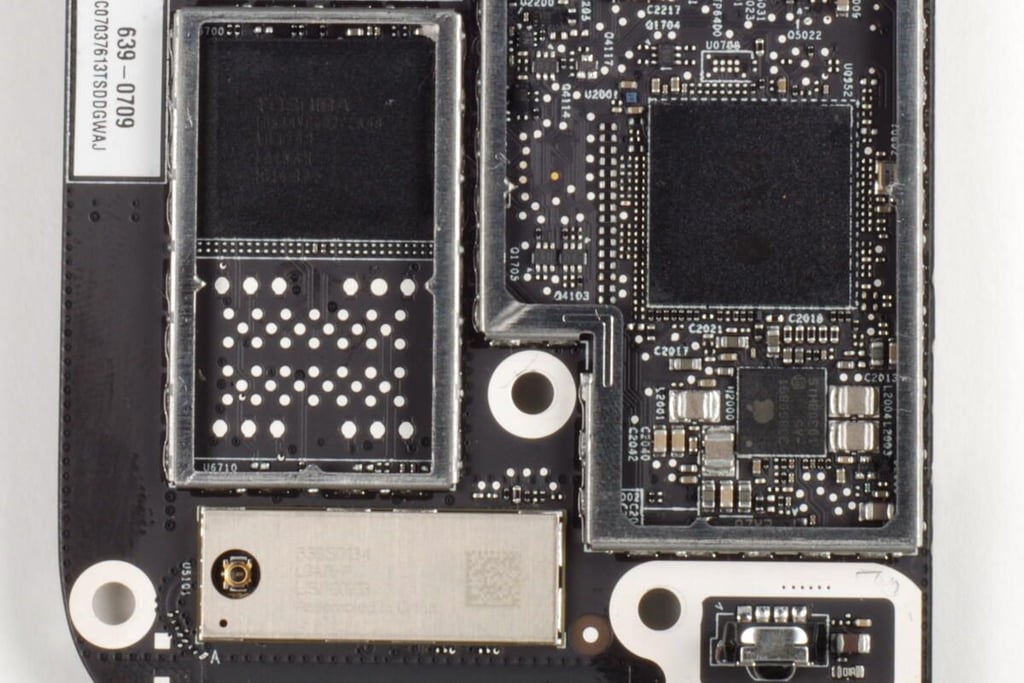
The large chip on the left is an 8GB Toshiba NAND Flash module. The large chip of the right is the Apple A4 processor. The small chip beneath the processor bears the markings Apple 338S0891. The EMI shield covering the wireless chips has the markings 339S0134 LGA76-P USI 100903.
Interestingly, there appears to be space on the PCB bellow the current NAND flash chip for a second one.
Photo by: Bill Detwiler / TechRepublic
Caption by: Bill Detwiler
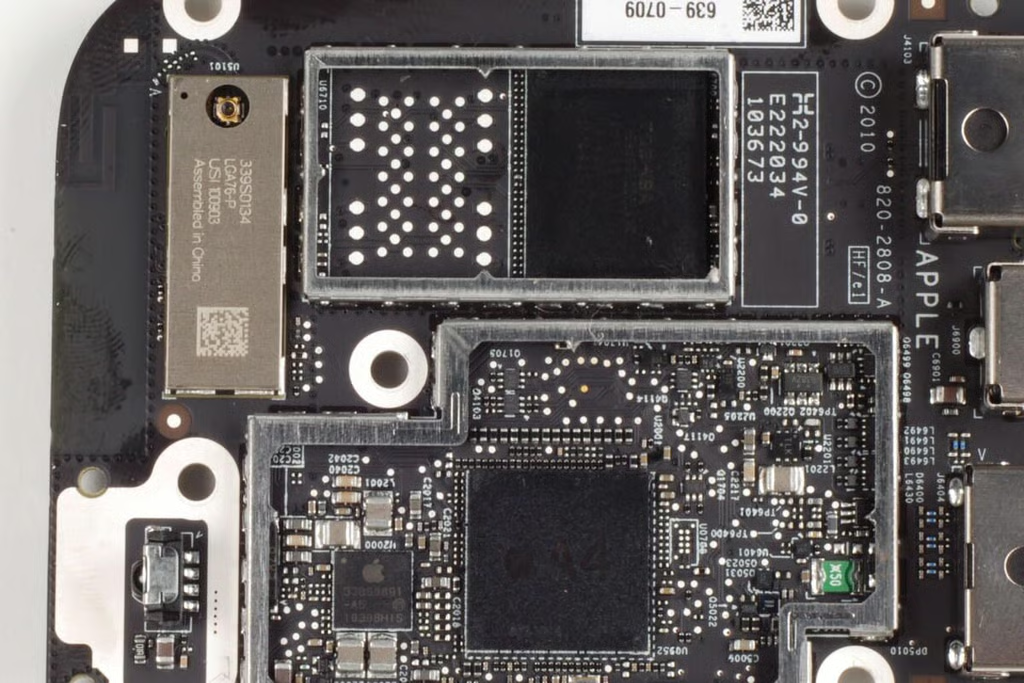
Photo by: Bill Detwiler / TechRepublic
Caption by: Bill Detwiler
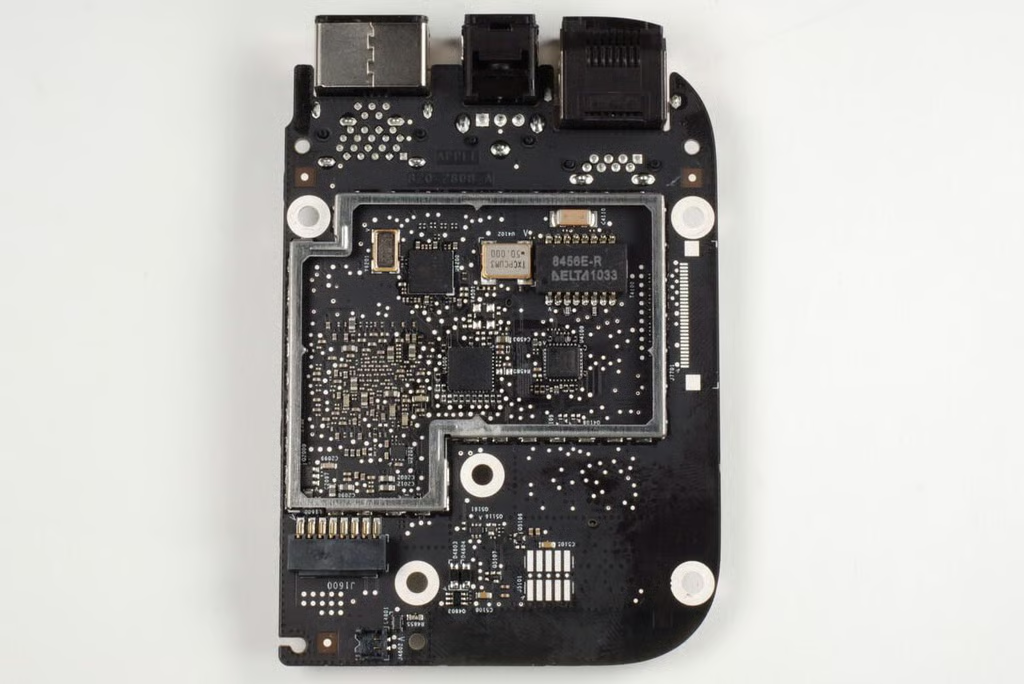
One the bottom of the PCB, we find several chips.
Photo by: Bill Detwiler / TechRepublic
Caption by: Bill Detwiler
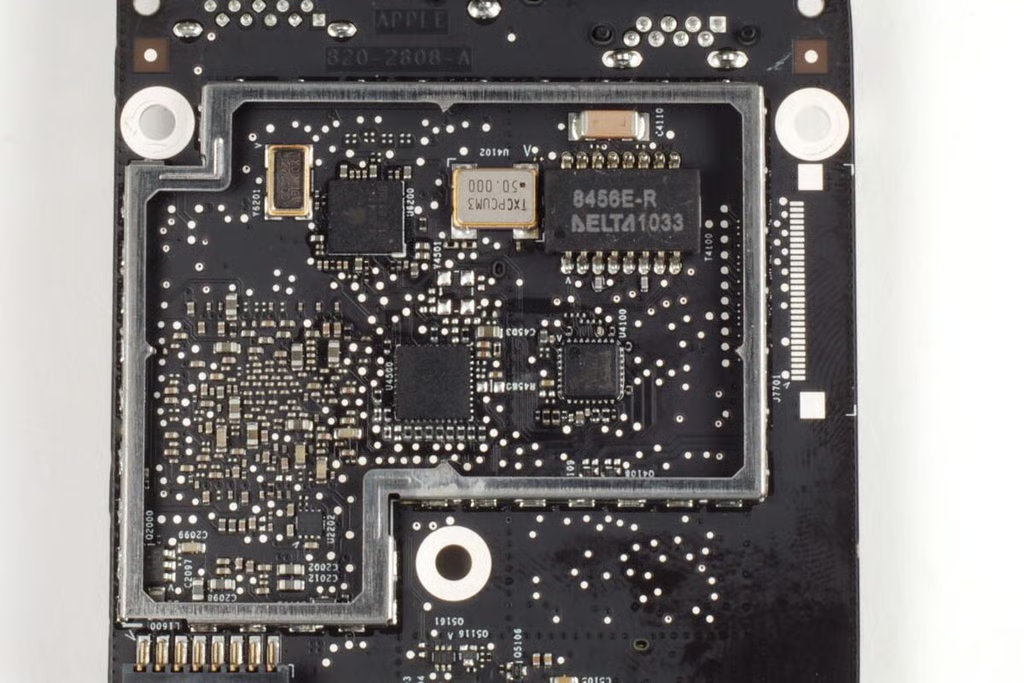
Unfortunately, the markings on most of these chips are either too faint or blurred to be read.
Photo by: Bill Detwiler / TechRepublic
Caption by: Bill Detwiler
Bill Detwiler is the Editor for Technical Content and Ecosystem at Celonis. He is the former Editor in Chief of TechRepublic and previous host of TechRepublic's Dynamic Developer podcast and Cracking Open, CNET and TechRepublic's popular online show. Previously, Bill was an IT manager in the social research and energy industries. He has bachelor's and master's degrees from the University of Louisville, where he has also lectured on computer crime and crime prevention.


