No matter how small the Exchange implementation, the data needs to be backed up. Many Exchange shops (particularly smaller ones) have relied on the ubiquitous Windows Server Backup utility to protect their Exchange environments against disaster. Although there was a period of time when Exchange and Windows Server Backup didn’t work together, with Windows Server 2008 R2 and Exchange 2010, this is not the case, and the backup and recovery of Exchange using this tool is a relatively simple process.
For the demonstration in this tutorial, I’ll back up a single Exchange 2010 mailbox database that exists on a server named MAIL3. At Westminster College, we’re currently in a pilot phase for an Exchange 2010 rollout, and we’re using Windows Server Backup during this phase. Once we’re in full production, we’ll move to our normal enterprise backup application.
This TechRepublic gallery is also available as a Servers and Storage blog post.
How to use Windows Server Backup with Exchange 2010
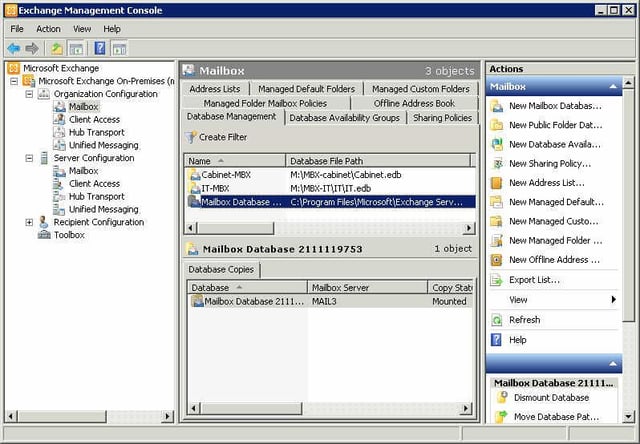
This screen gives you a look at the Exchange Management Console view of this database. The other two databases you see reside on a different Exchange server.
All screenshots by Scott Lowe for TechRepublic.
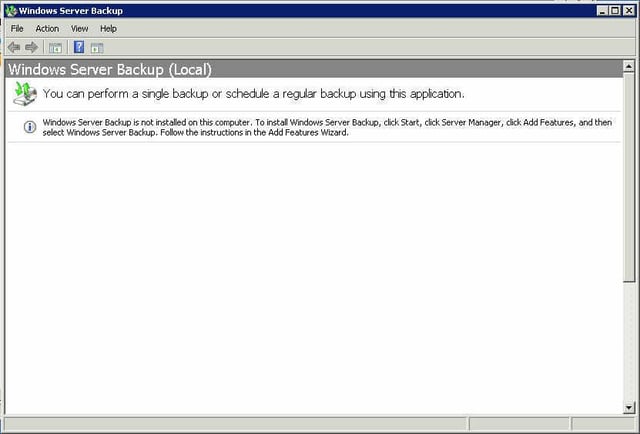
Start the Windows Server Backup tool by going to Start | All Programs | Accessories | System Tools | Windows Server Backup. More than likely, you’ll end up with a screen like this one that tells you the backup tool is not yet installed on your server.
All screenshots by Scott Lowe for TechRepublic.
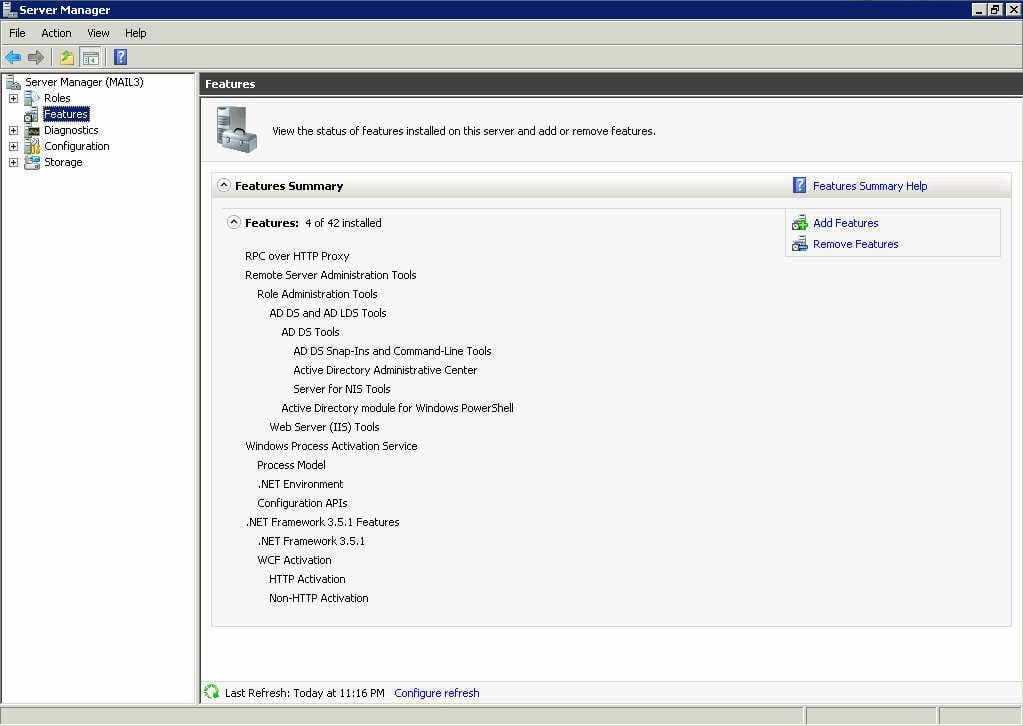
To add the Windows Server Backup bits to your Windows Server 2008 R2 server, open Server Manager, navigate to the Features item, and click the Add Features link.
All screenshots by Scott Lowe for TechRepublic.
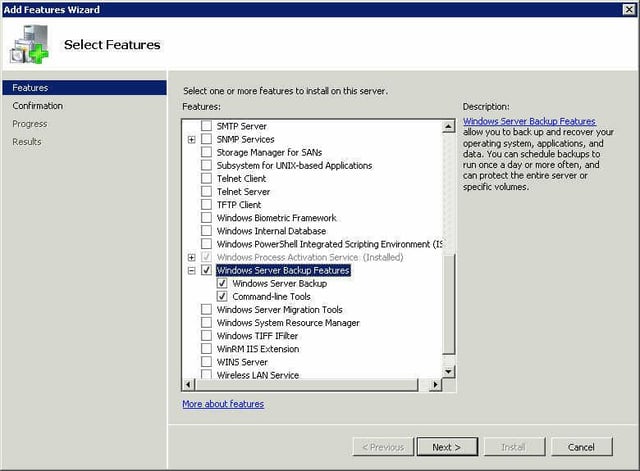
On the Select Features page, locate the Windows Server Backup Features option and select it. Although it’s not required, it’s also recommended that you install the Command-Line Tools so that you can script backup jobs if you like.
All screenshots by Scott Lowe for TechRepublic.
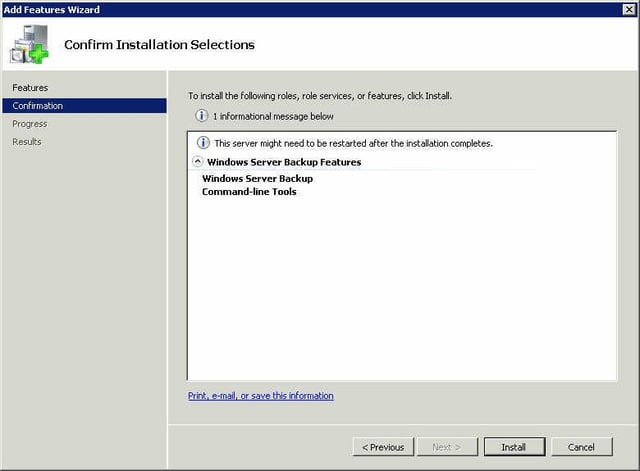
When you get to the Confirm Installation Selections page, look over your selections and click the Install button to add the features.
All screenshots by Scott Lowe for TechRepublic.
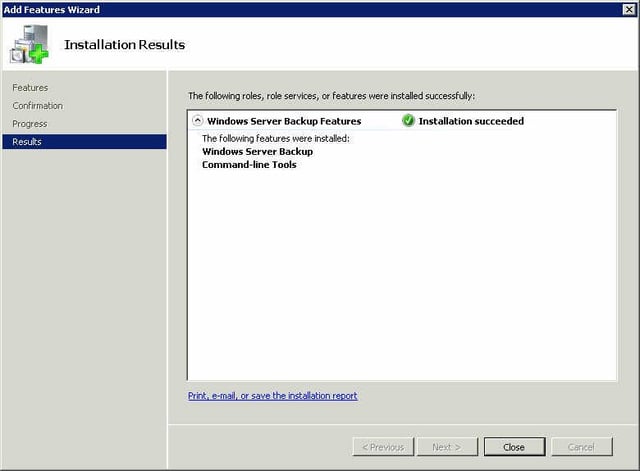
At the end of the process, you will receive the results screen shown here.
All screenshots by Scott Lowe for TechRepublic.
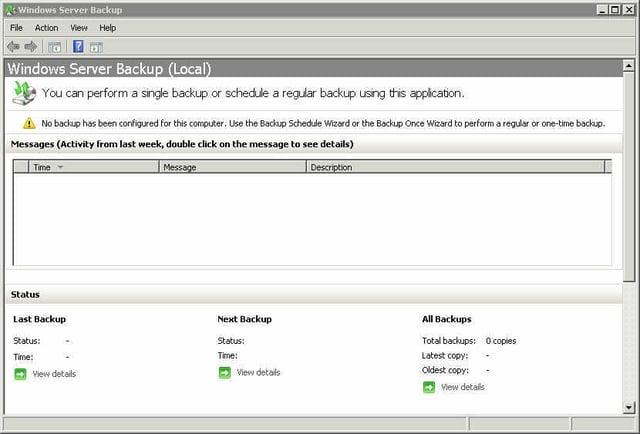
Now that Windows Server Backup is installed, when you restart the utility, you’ll be greeted with a screen like this one. At the top of the window, Windows Server Backup will tell you that there are no current backups configured, and all of the informational areas of the window will be blank since there is no detail to share until after an initial backup is run.
All screenshots by Scott Lowe for TechRepublic.
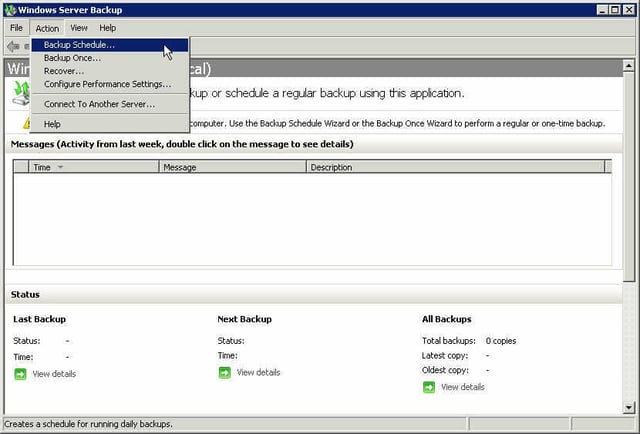
I’ll jump right into creating a backup schedule in order to schedule a regular backup of this Exchange Server database. To start the process, go to the Action menu and choose Backup Schedule.
All screenshots by Scott Lowe for TechRepublic.
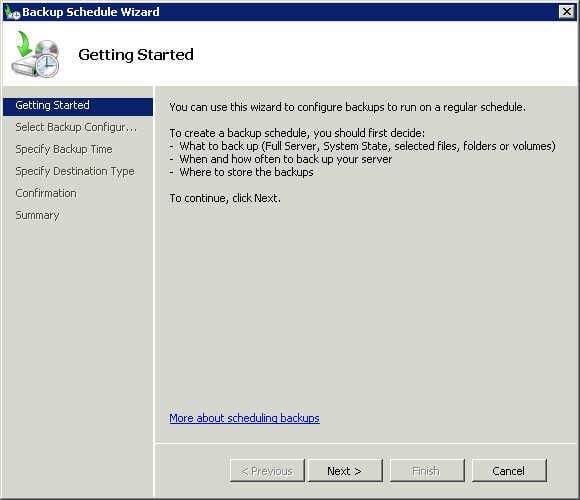
Starting the backup schedule kicks off a wizard that begins with a welcome screen that outlines what decisions you need to make. For the purposes of this tutorial, I’ll stick mostly with defaults.
All screenshots by Scott Lowe for TechRepublic.
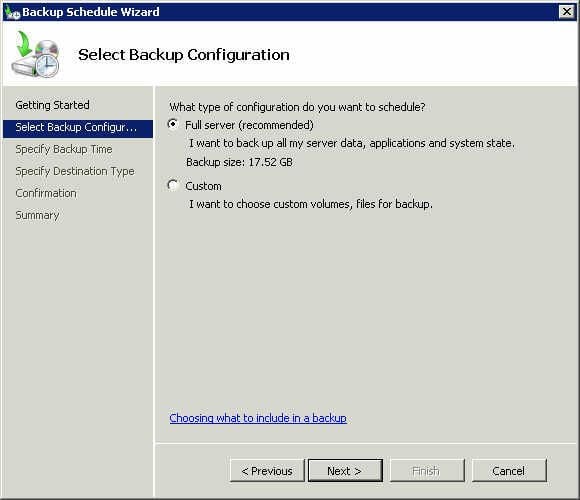
On the next page of the wizard, you’re asked to decide what you’d like to back up. You can choose to back up the entire server (this includes all data, applications, and system state), or you can choose to perform a custom backup, which allows you to make granular options about what to back up. You see in this figure that I’m performing a full server backup that will use 17.52 GB of space.
All screenshots by Scott Lowe for TechRepublic.
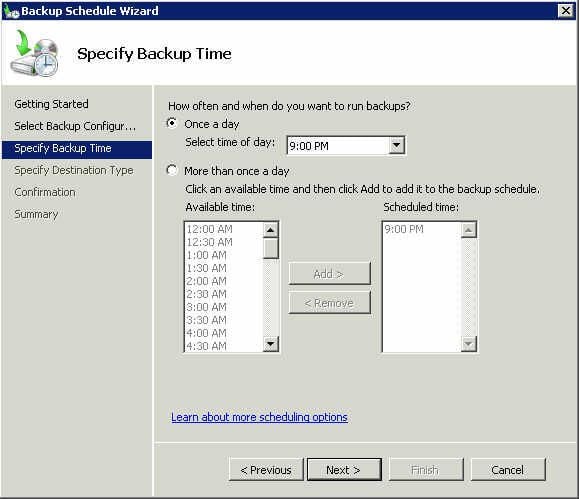
Although the backup default is to run every day at 9:00 P.M., you can choose to run the backup at a different time or, if you need a shorter recovery period, can choose to run multiple backups each day. To add additional daily backups, select the button next to More Than Once A Day, specify the times you’d like, and click the Add button. After you make your choices, click the Next button.
All screenshots by Scott Lowe for TechRepublic.
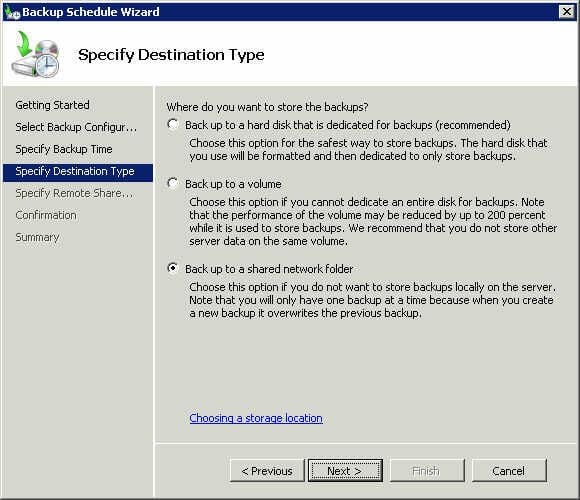
With the “what” and the “when” out of the way, it’s time to consider the “where”; specifically, you need to make sure to back up your information to a location that can survive a server failure.
You can choose to back data up to a hard drive that you’ve dedicated to this purpose. Ideally, this would be a removable drive of some kind that you can store away from the server. If you can’t do this, you can back data up to an existing server volume, although you may take a performance hit and, if the server is lost in a disaster, recovery won’t be possible. The option that I prefer is to back data up to a volume on a separate server. In my case, this second server resides in a different building.
All screenshots by Scott Lowe for TechRepublic.
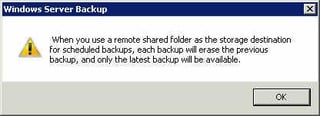
When you choose the remote location option, you’re told that each backup will overwrite previous backups and only the latest backup will be available. If you need multiple backups to be available, consider other backup options.
All screenshots by Scott Lowe for TechRepublic.
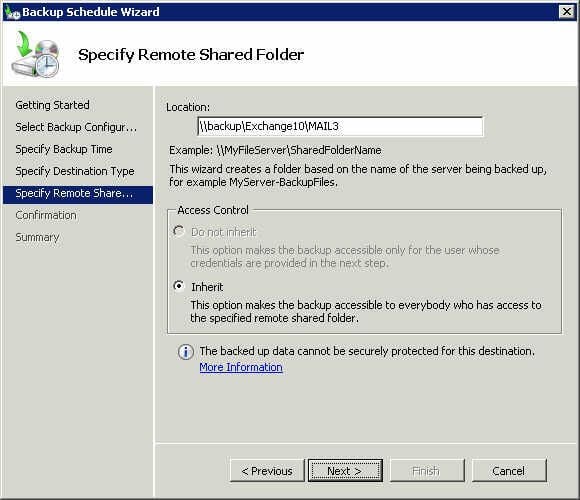
When you choose the remote backup option, you need to specify where the backup should be saved. On this screen, you’ll note that backups are being written to a server named Backup and to a folder named MAIL3 on a share named Exchange10. In the Access Control section of the window, the Inherit option is selected, indicating that anyone who has access to the shared folder also has access to the backup file. As such, set carefully controlled share and NTFS permissions on the resource.
All screenshots by Scott Lowe for TechRepublic.
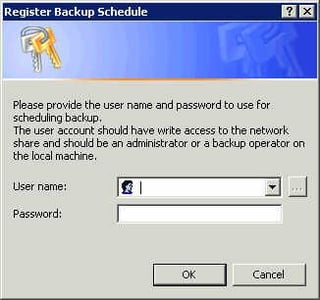
For a remote share, you need to provide a user name and a password that has access to the backup destination.
All screenshots by Scott Lowe for TechRepublic.
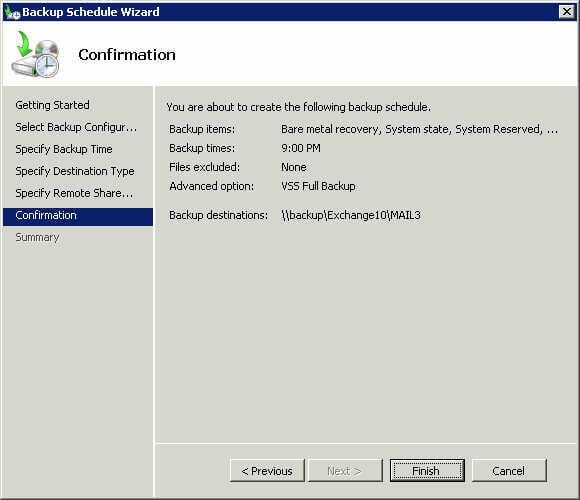
Finally, the confirmation page appears, providing you with an opportunity to review your backup selections. When you’re done, click the Finish button.
All screenshots by Scott Lowe for TechRepublic.
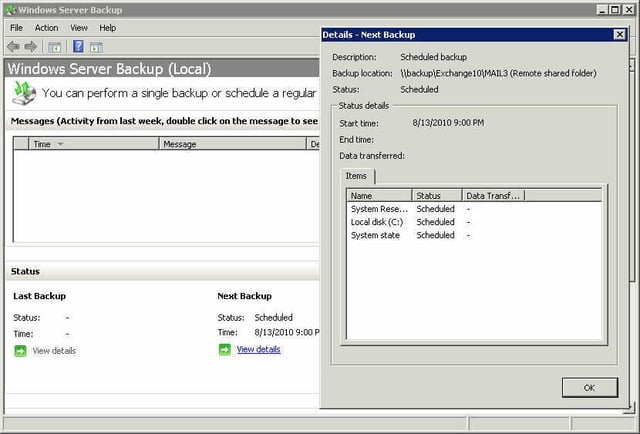
When you get back to the backup console, you can click the View Details link under Next Backup to see details about your pending backup. This screen shows this detail window for the backup we just created.
All screenshots by Scott Lowe for TechRepublic.
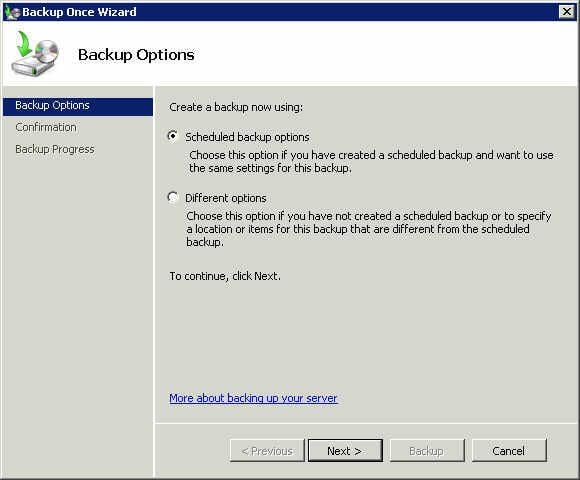
If you’d like to kick off a manual backup before the next scheduled backup, go to Action | Backup Once. On the first page of the Backup Once Wizard, you’re asked how you want to run the backup. Do you want to use the same options you used for your scheduled backup, or do you want to choose different backup options?
All screenshots by Scott Lowe for TechRepublic.
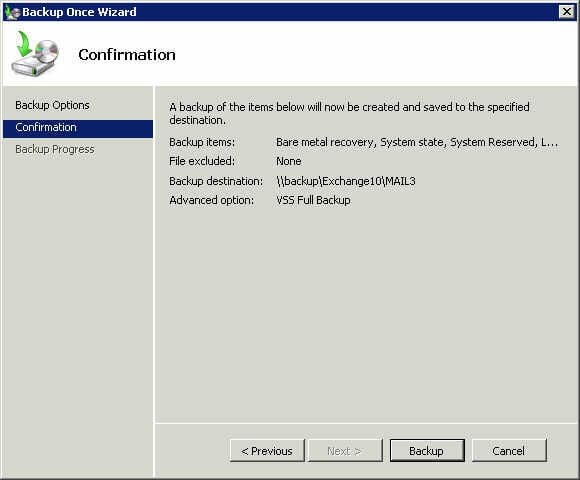
The Backup Once Wizard provides you with a summary page. Click the Backup button to begin the backup process.
All screenshots by Scott Lowe for TechRepublic.
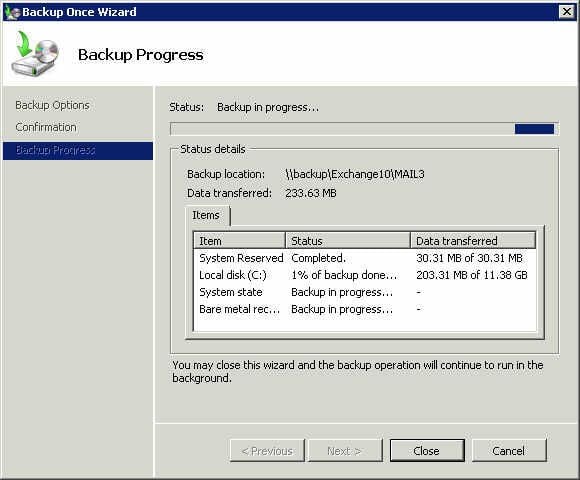
During the backup process, this window will display on the screen so that you can watch backup progress.
All screenshots by Scott Lowe for TechRepublic.
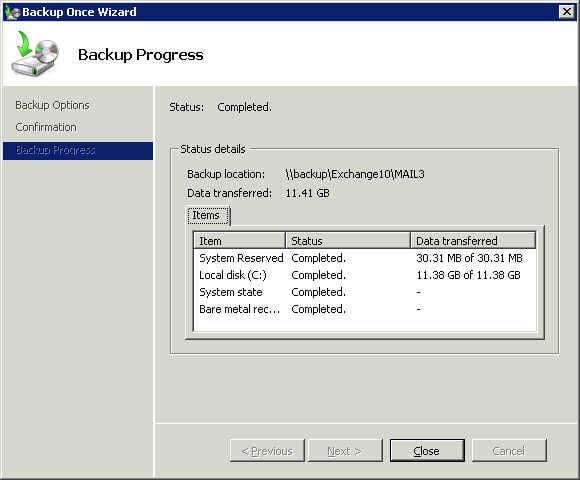
At the end of the process, you’ll see a final completion page.
All screenshots by Scott Lowe for TechRepublic.
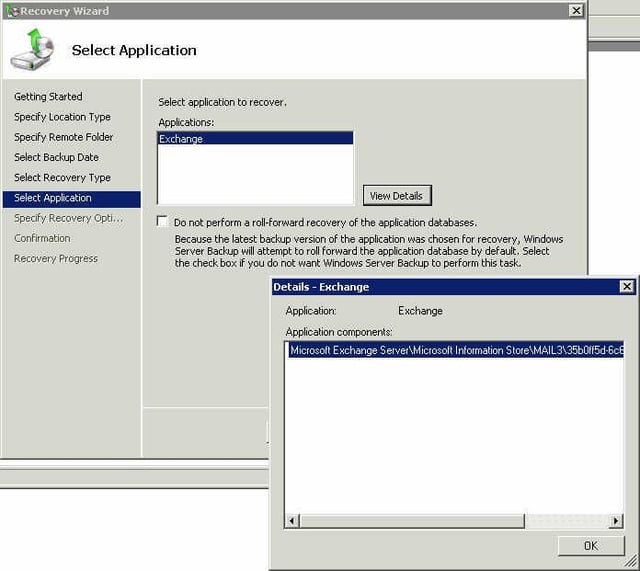
Proof
How do you actually know that Exchange was appropriately backed up? That’s revealed during the restore process. Although I’m not covering restores here, I will share this screen; it shows that the Exchange application was backed up and that, specifically, the database on the server named MAIL3 was the one that was saved.
Summary
While suitable mostly for small organizations and those running pilots, the Windows Server Backup utility can be a great way to back up your Exchange 2010 server without having to invest more dollars in software.
All screenshots by Scott Lowe for TechRepublic.


