Visit one of the many providers offering barebones kits. Select a box, choose a motherboard and remaining components and voila; after surrendering your credit card number the boxes arrive.
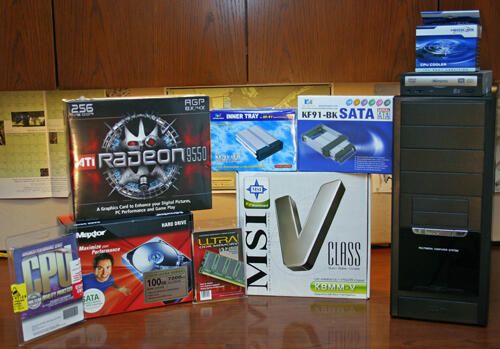
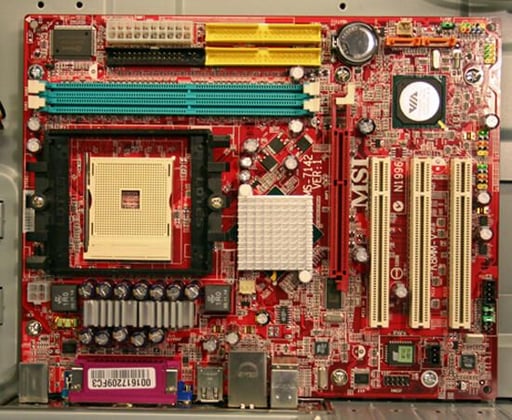
Erik Eckel built his sub-$500 Vista box using a Just4PC ATX mid tower case, an MSI K8MM-V Socket 754 Motherboard, an AMD Athlon 64 3000+ Newcastle Core Socket 754 CPU, an ATI Radeon 9550 video card, Ultra 512MB PC3200 DDR 400MHz RAM and a Fanner Tech AMD K8 Cooler Fan. As the machine will also be used to test other operating systems, Erik sprang for a Kingwin KF-91 black aluminum SATA mobile rack with an extra KF-91 mobile rack tray. He chose to recycle a Memorex DVD burner and Maxtor SATA hard disk.
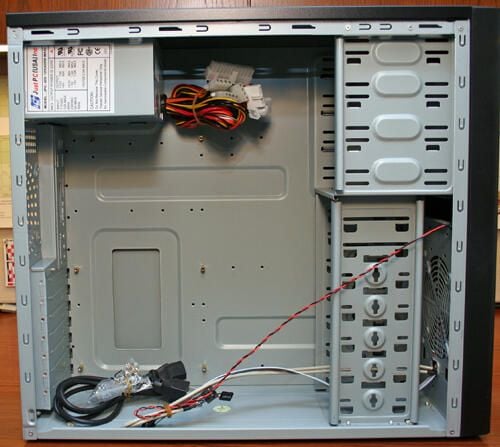
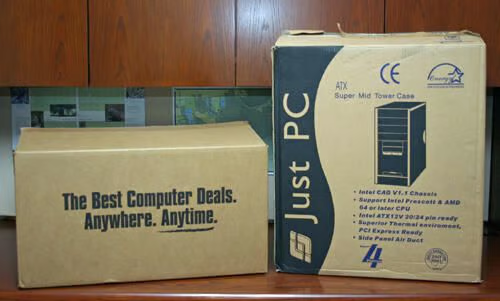
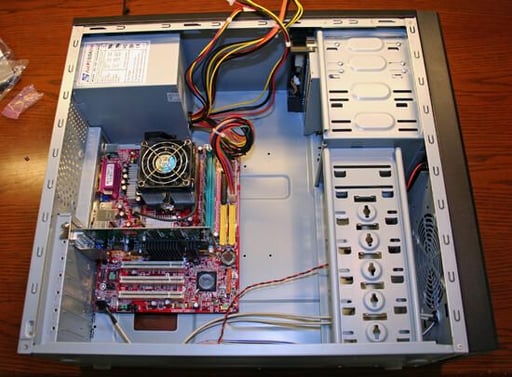
To build the Vista system, begin by opening the case. This Just4PC ATX mid tower case included its own 425-watt power supply. Also inside the case were the power cord and screws for attaching required components.

Remove the motherboard from its static wrapping. Take care to ensure you’re grounded and don’t accidentally discharge static electricity when handling the board.
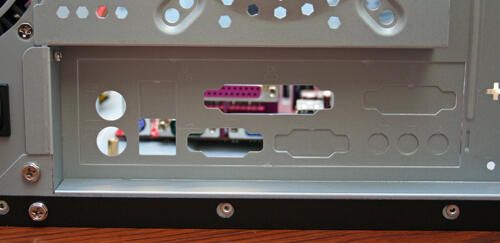
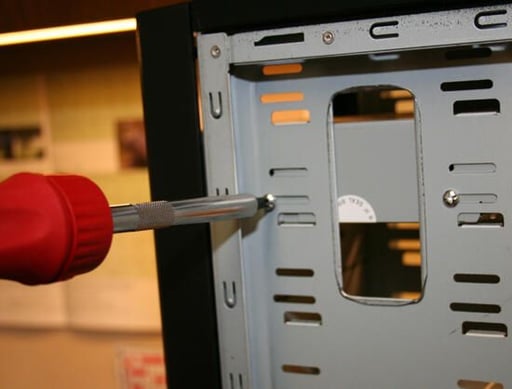
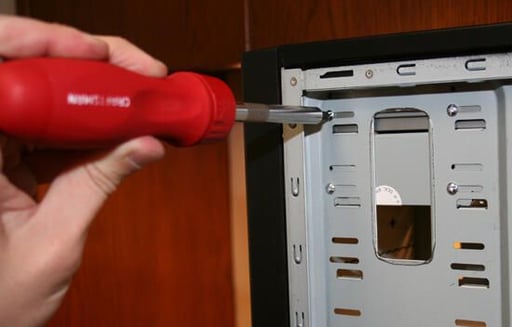
Locate the ports knockout plate on the rear of the case. If the ports don’t align with the motherboard you purchased, use the plate provided by the motherboard manufacturer.
The MSI motherboard’s ports didn’t align well with the Just4PC case, so the original plate needed to be removed. Bend the edges back to gain room to work, then remove the original.
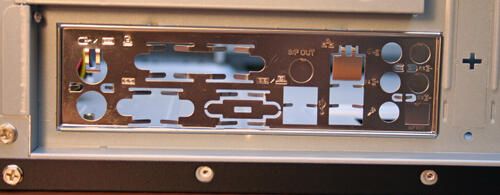
Snap the new plate into place, then knock out its blanks as required.
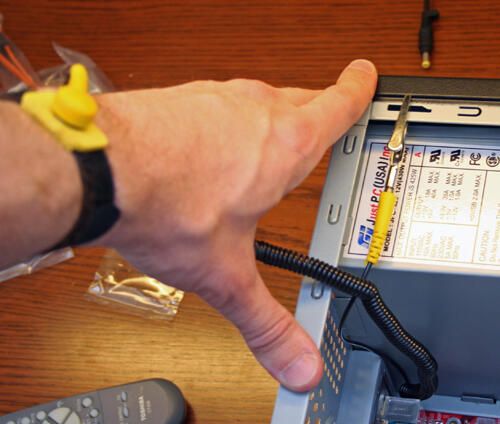
While many debate the usefulness of an antistatic wrist strap, they can’t hurt. Ground yourself to the case prior to installing the motherboard.
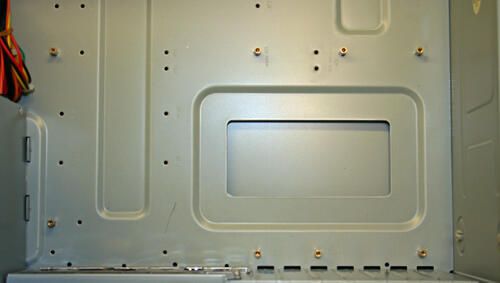
Next, identify the bolt locations inside the PC case to ensure they match up with the motherboard’s precut holes.
Then, install the motherboard using the screws provided by the PC case manufacturer. Here you can see the six silver screws used to secure the motherboard to the case.
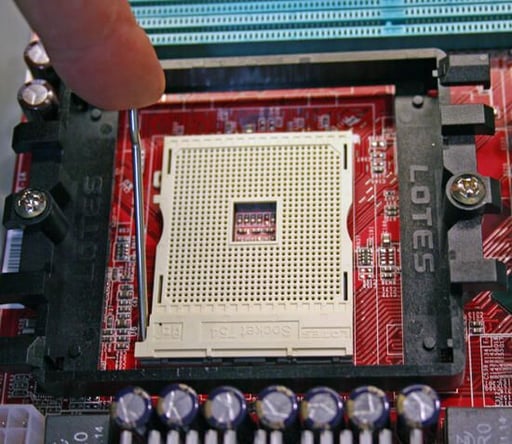
Once the motherboard installation is complete, locate the CPU socket (shown here). Open the lever to prepare for CPU insertion.
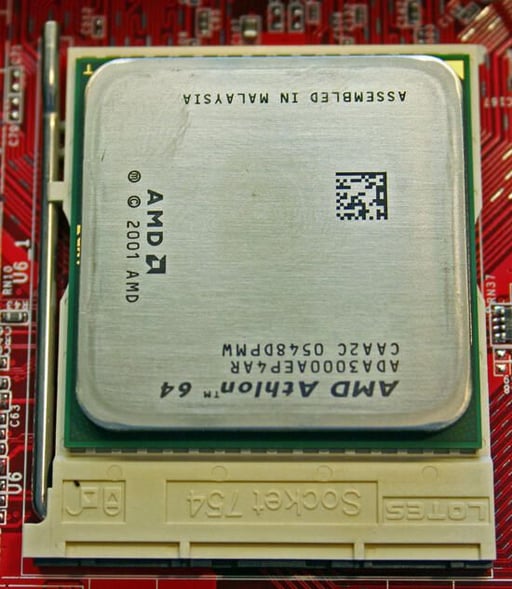
Insert the CPU (align it with the CPU socket gently ? never force the CPU onto its seat) and close the lever and place it in the locked position.
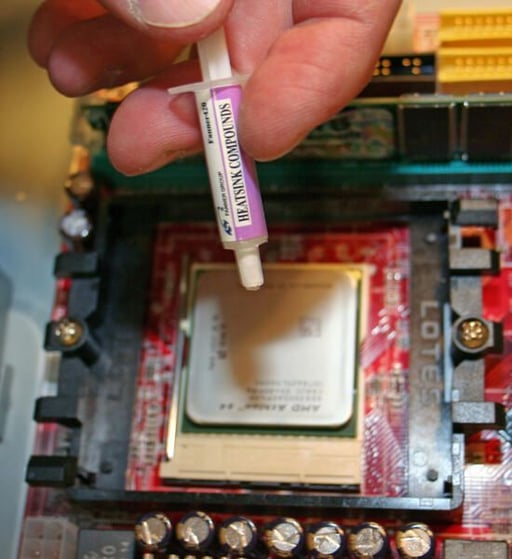
To ensure proper CPU cooling, it’s important to apply a layer of heatsink compound directly to this AMD CPU.
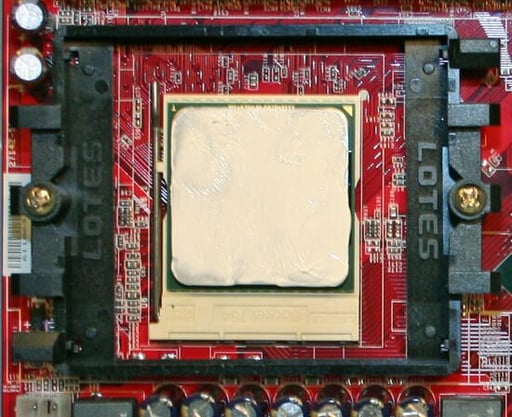
Spread the heatsink compound evenly across the entire CPU.
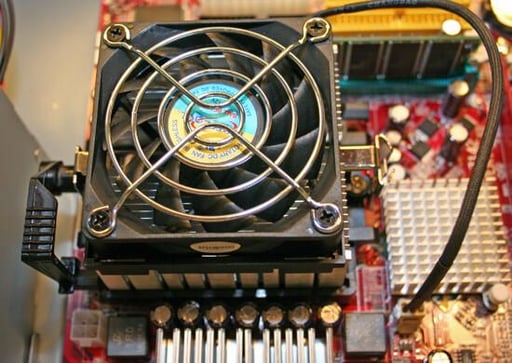
Once the heatsink compound is applied, install the CPU cooling fan according to the manufacturer’s directions. In this case, the fan attaches to clips mounted to the motherboard and is tightened by flipping the lever (on the left) to the closed position. Once the cooling fan is locked in place, attach its power cord to the motherboard’s CPU fan power outlet.
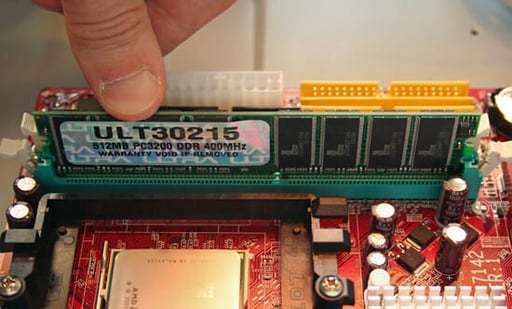
Seat the RAM chip next in the DDR1 slot. While many often try inserting one end, then another, this RAM installs best when pressed straight down.
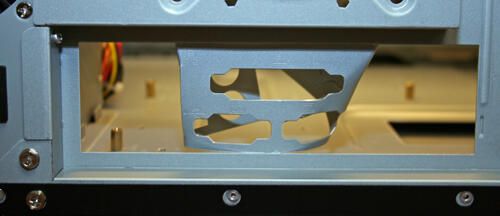
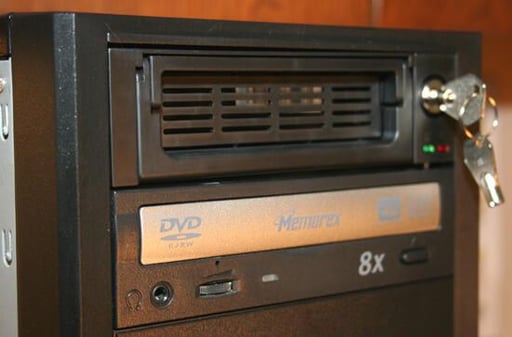
Carefully swing the case around for the next step, in which decorative plates must be removed from the front of the case. The first slot is removed to make room for swappable hard disk trays; the second slot is removed to accommodate the DVD burner.
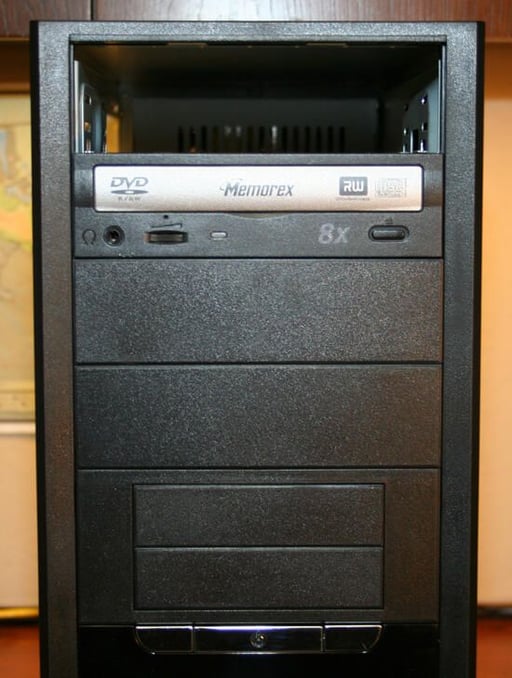
Insert the DVD drive in the prepared slot.
Once the DVD drive is inserted in its bay, secure it with two screws on each side.
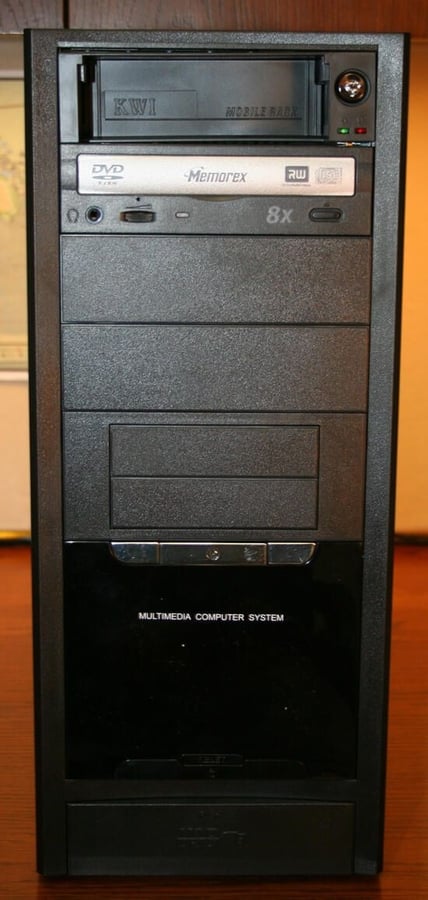
Once the DVD drive is secure, slide the mobile hard disk tray into its bay. In this case, the swappable hard disk tray was placed on top the DVD drive.
Install the screws for any additional disk drives using the same procedure.
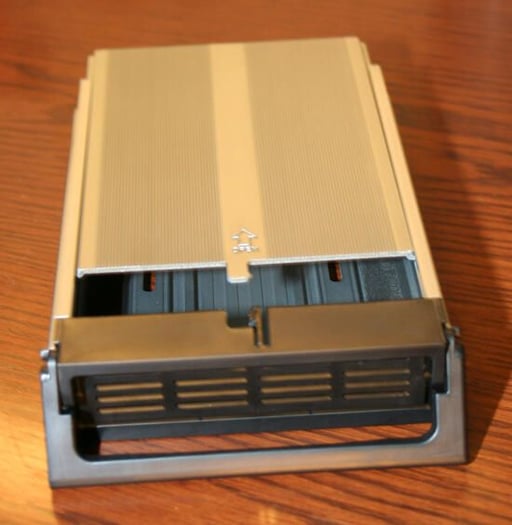
Open the mobile tray. Different models open various ways, but almost all typically make use of clips depressed using your thumbs.
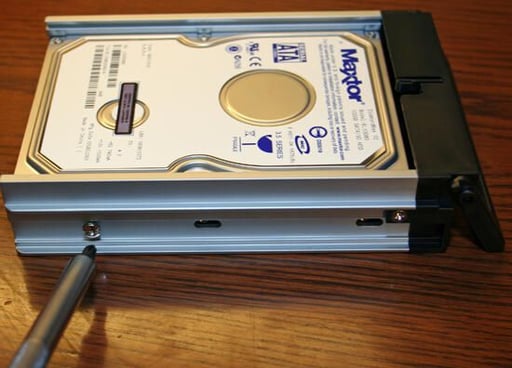
Insert the SATA drive in the mobile rack and secure it with screws to ensure its data and power connections mate properly with the mobile rack already installed in the PC case.
An easy step to forget, ensure that you lock the mobile rack after inserting the tray containing the hard disk. If you forget to lock the drive, odds are the disk won’t receive power or be recognized by the system upon booting.
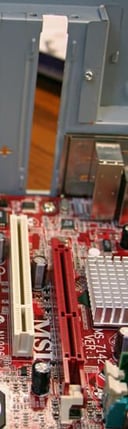
For the next step, return your attention inside the case. Identify the AGP slot. Be sure to remove the blank plate at the rear of the machine.
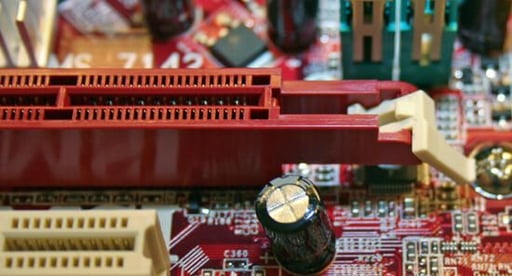
Also, be sure to open the AGP slot’s clip to ensure the video card will seat properly.

Insert the AGP video card by pushing it firmly straight down onto its motherboard slot, then secure the video card using a screw supplied by the PC case manufacturer.
Proceed with your sub-$500 Vista box creation by straightening the power supply connections. Organize them according to the locations where they’ll run.
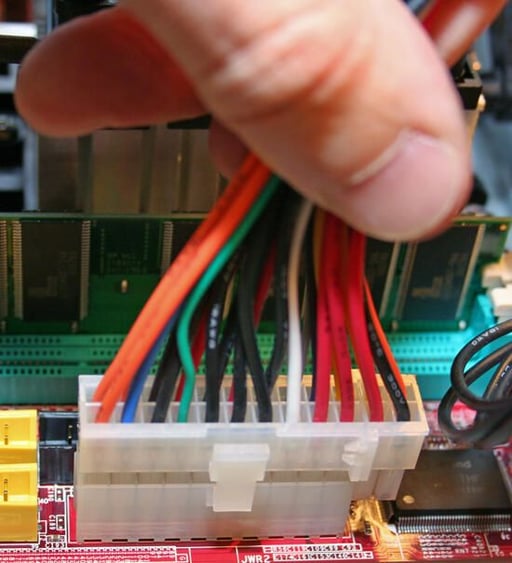
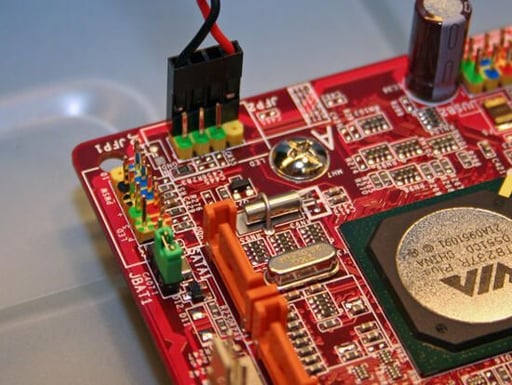
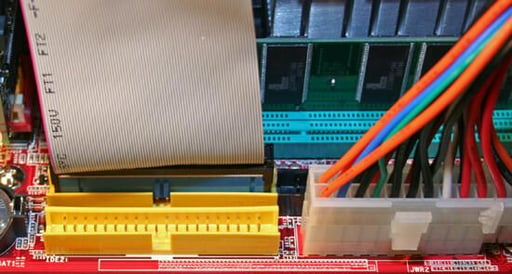
Begin connecting power supply connections starting with the motherboard. The JWR2 connector is shown here.
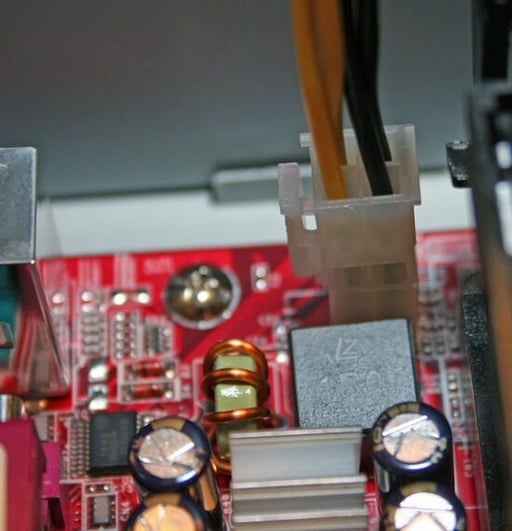
Don’t overlook the 12-volt power connection (JPW1) for the CPU, which receives its own electrical supply.
Next attach the USB connectors. In this case, these plugs supply the USB ports located on the PC’s front face.
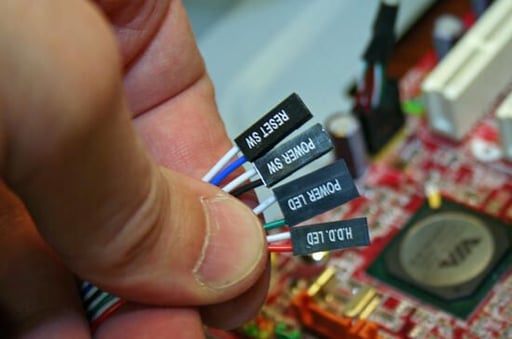
Organize remaining power connectors for such items as the LED that displays hard disk activity and the reset switch. The outlets for these plugs are typically labeled on the motherboard, and the motherboard’s documentation should provide further information for making these connections.
Connect the remaining power connections. Typically, almost all of the items (power switch, reset button, hard disk activity light, etc.) accessed from a PC’s front face plug into the same general area of the motherboard.
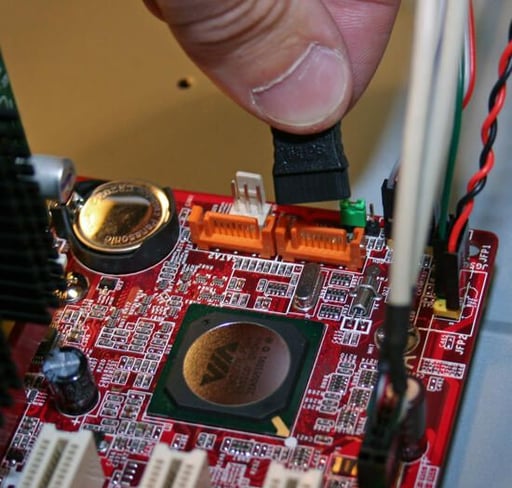
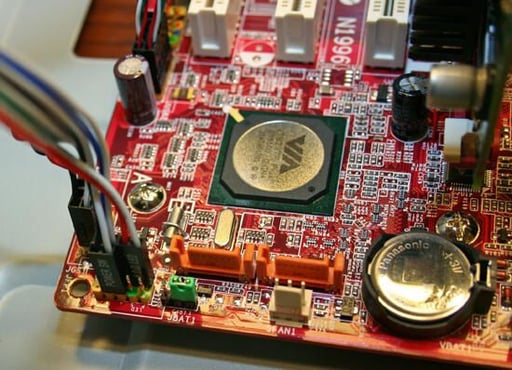
Now it’s time to plug one end of the SATA data cable to the motherboard.
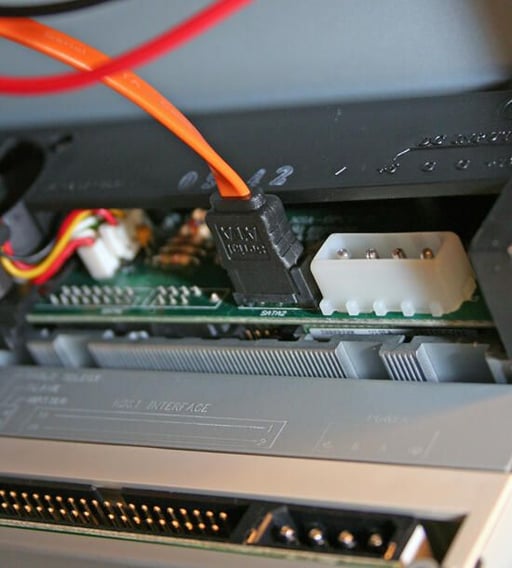
Plug the opposite end of the SATA cable to the SATA hard disk. In this case, the SATA data cable is attached to the SATA data plug on the rear of the mobile hard disk tray.
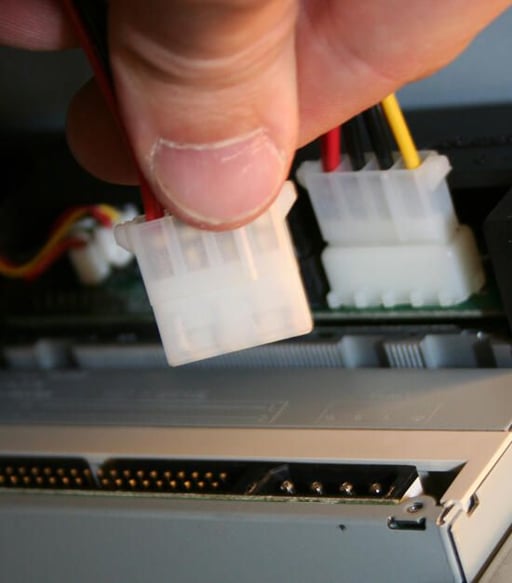
The SATA drive requires its own power supply; connect four-pin Molex plugs to both the SATA drive and the DVD drive.
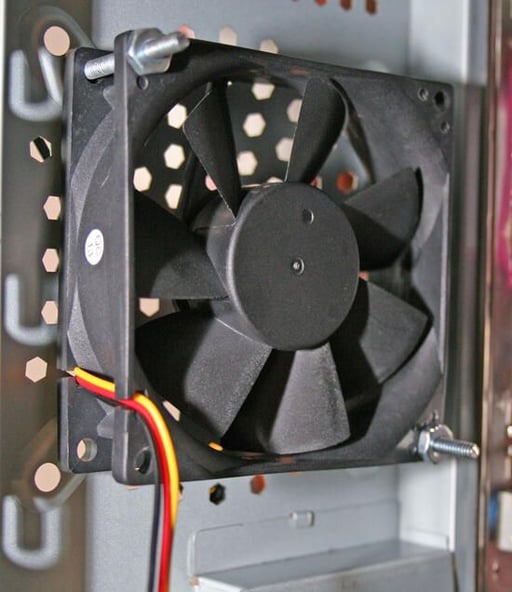
Attach an exhaust fan if the case you purchase doesn’t include one by default. Heat, of course, is a critical issue, and these sub five-dollar fans do more than pull their weight.
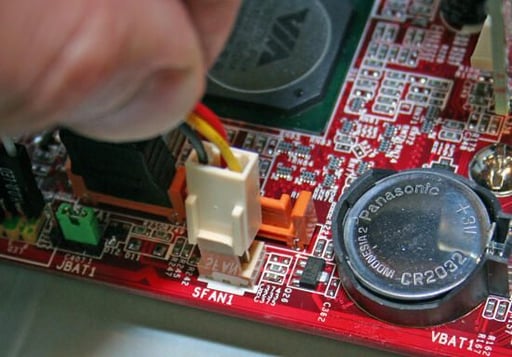
Be sure to connect the case fan’s power supply to the motherboard’s SFFAN outlet.
Connect the data cable for the DVD drive next. Use the ribbon cable with the header-pin connector provided by the motherboard manufacturer. Insert the data cable in the motherboard’s IDE1 or IDE2 slot.
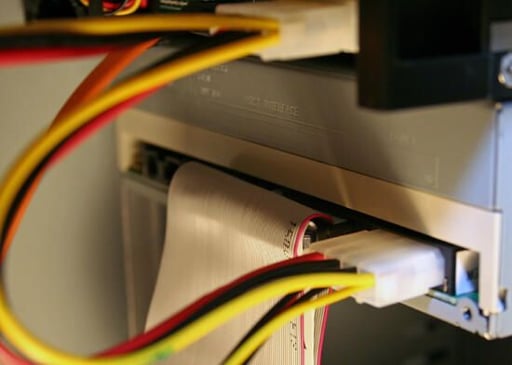
Connect the other end of the IDE data cable to the DVD drive.
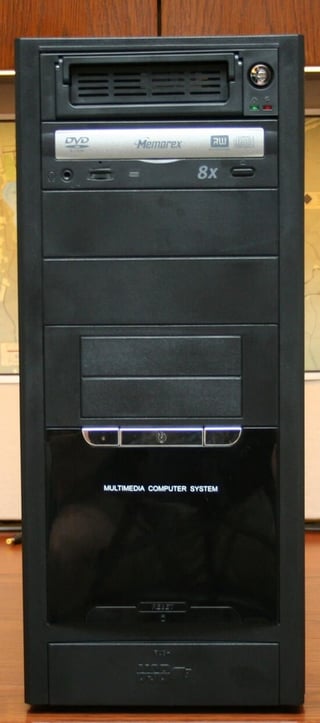
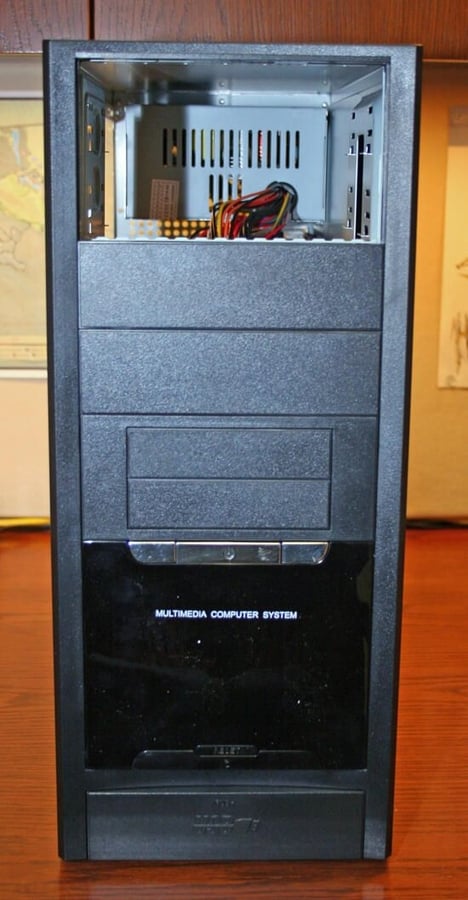
Reattach the sides and you’re done. Your Vista box is ready for action.
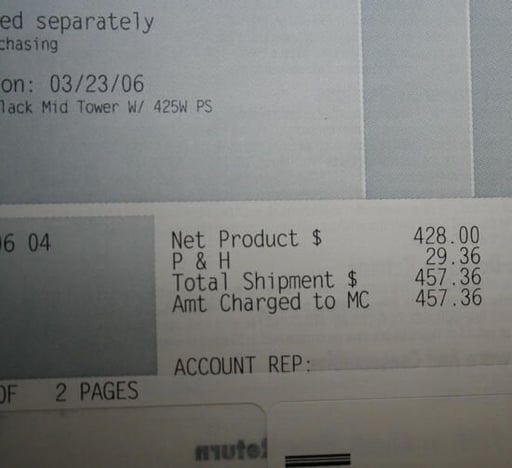
Total cost? Less than $500. The receipt shown here included an additional $31 for tools that were purchased on the same order. Add in an additional $105 total for the DVD, floppy and SATA drives, subtract $75 in ever-present and actual rebates, and you’re left with a final real-world cost of $456.
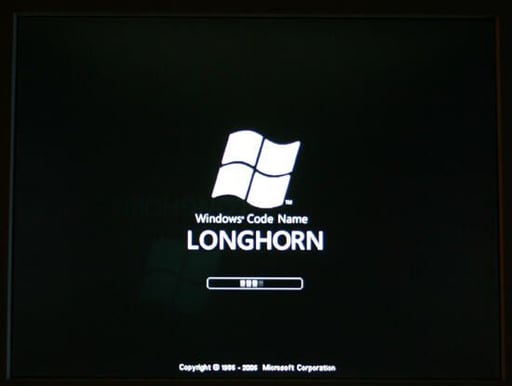
Obtain a copy of the Windows Vista Community Technology Preview and load it up.
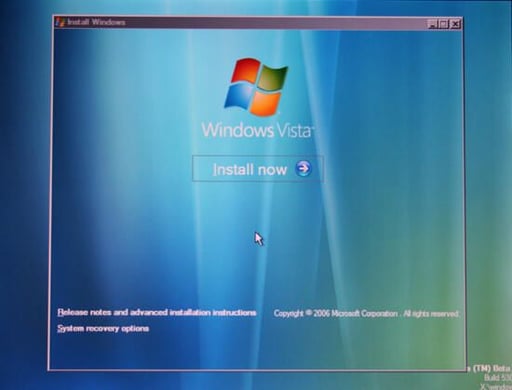
The new sub-$500 system is ready to run Windows Vista and boasts sufficient strength to power the new graphically intensive Glass interface.
Bill Detwiler is the Editor for Technical Content and Ecosystem at Celonis. He is the former Editor in Chief of TechRepublic and previous host of TechRepublic's Dynamic Developer podcast and Cracking Open, CNET and TechRepublic's popular online show. Previously, Bill was an IT manager in the social research and energy industries. He has bachelor's and master's degrees from the University of Louisville, where he has also lectured on computer crime and crime prevention.


