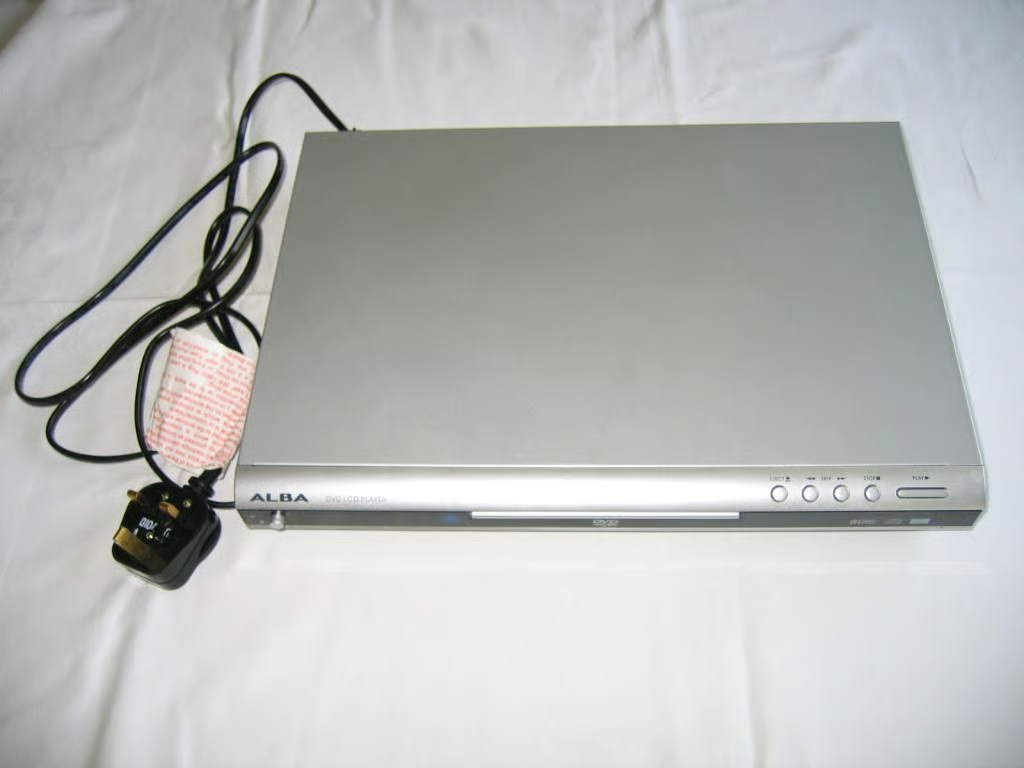
This is my old DVD Player. It cost the grand sum of about \u00a325. The machine eventually blew up, and I replaced some components. Unfortunately, the player has lost the will to output all colors. Instead throwing the unit away, I decided to crack it open.
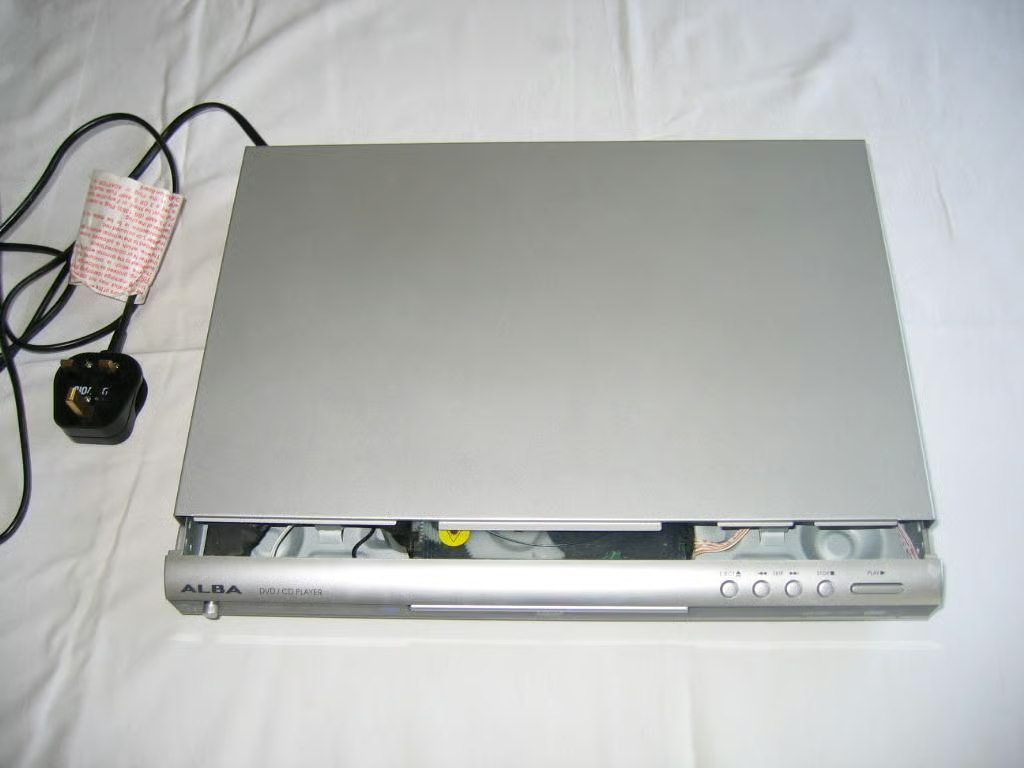
With the screws removed, the cover will slide back.
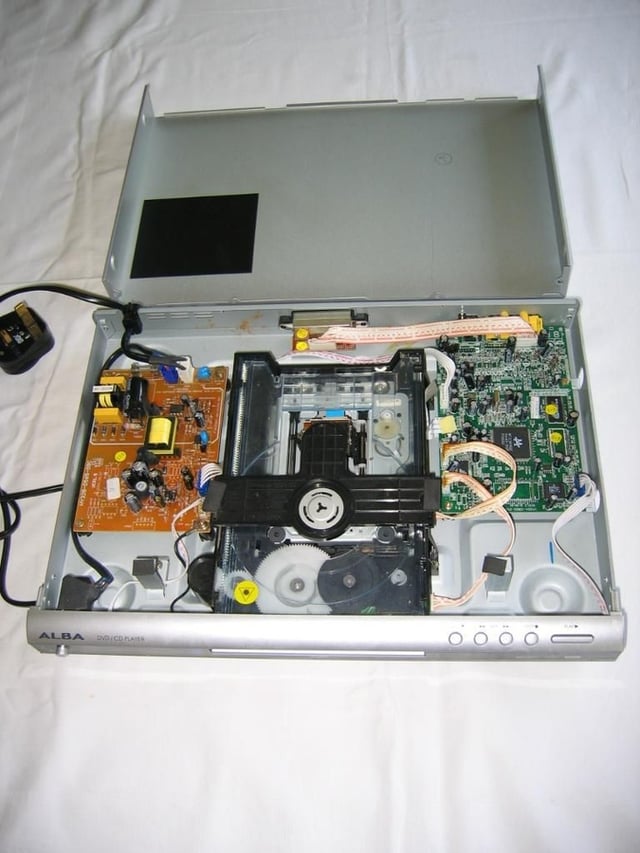
Lift the cover off the DVD player to reveal the internal circuitry.
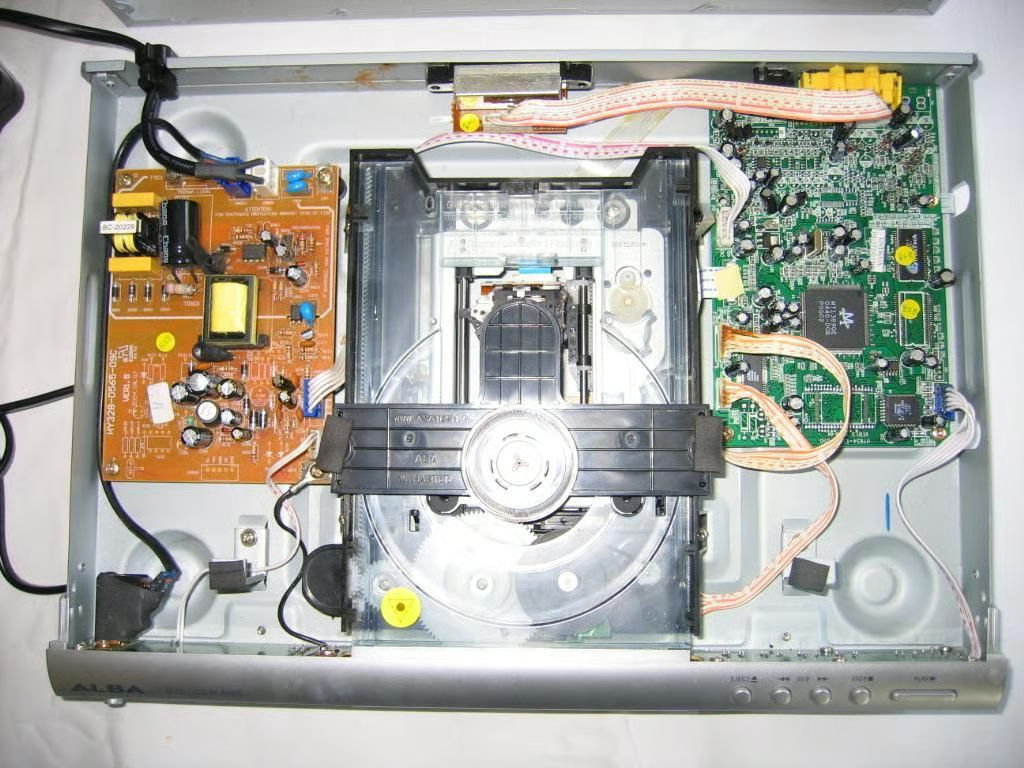
The DVD Player has a simple modular design and is broken down into four sections. The 240V AC comes into the unit in the top corner straight to a Power Supply PCB. This feeds off to a Processing and Output PCB, which is connected to the CD/DVD drive and the Front Panel PCB (green PCB just visible at the front).
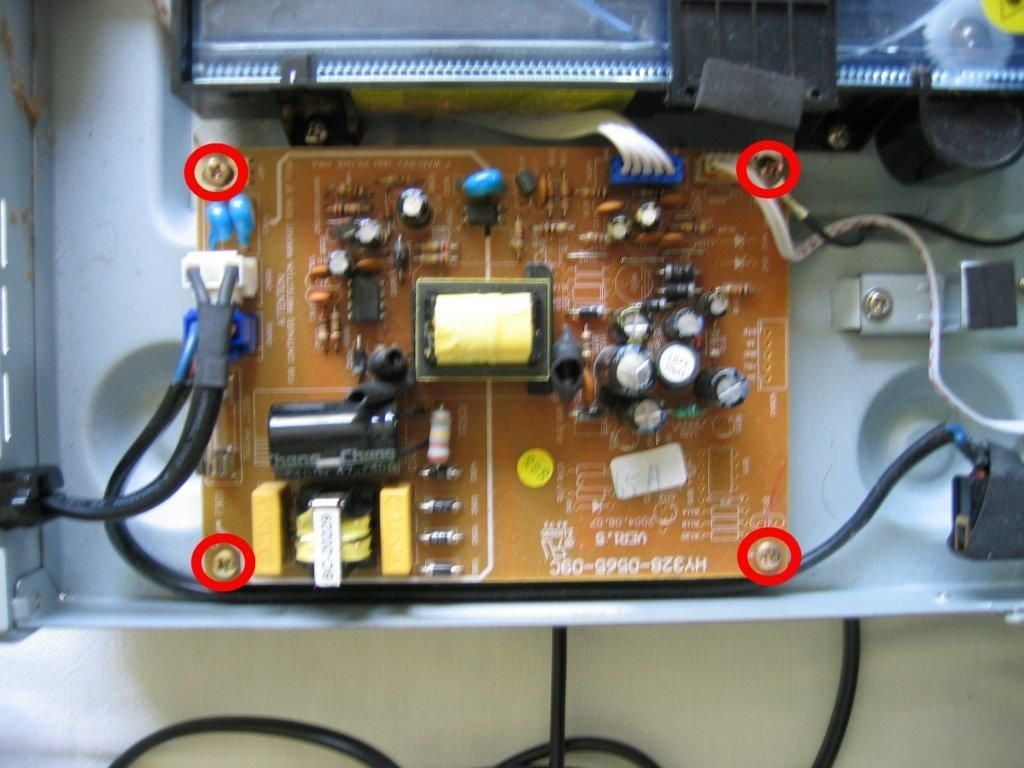
The Power Supply PCB can be freed by removing the four screws circled in this photo. The power switch on the Front Panel PCB connects here, and breaks the mains supply to turn the unit off. The 240V AC section of the circuit is marked out on the PCB with a white line, across which there is electrical isolation in the form of a transformer (yellow block in the centre). The power supply converts 240V AC to Ground, 3.3V, 5V & /-12V DC used to run the Front Panel PCB, Processing and Output PCB and CD/DVD drive. Note that the PCB has space for extra components. From the look of the board, these seem to exist to provide a soft-off or standby mode on other models. It is also worth noting the large 47 uF capacitor (possibly to absorb mains supply noise), and the yellow/white component at the bottom of the board which is likely to be a choke (also noise suppression).
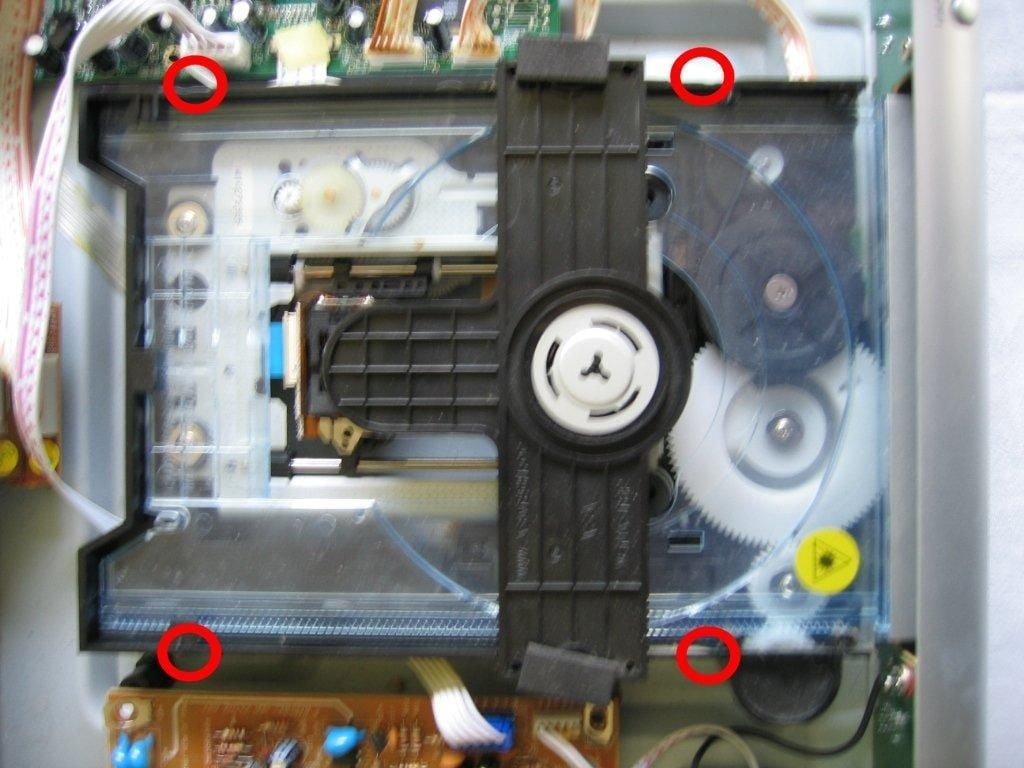
The drive is held in with one screw at each corner. Remove this to free the drive.
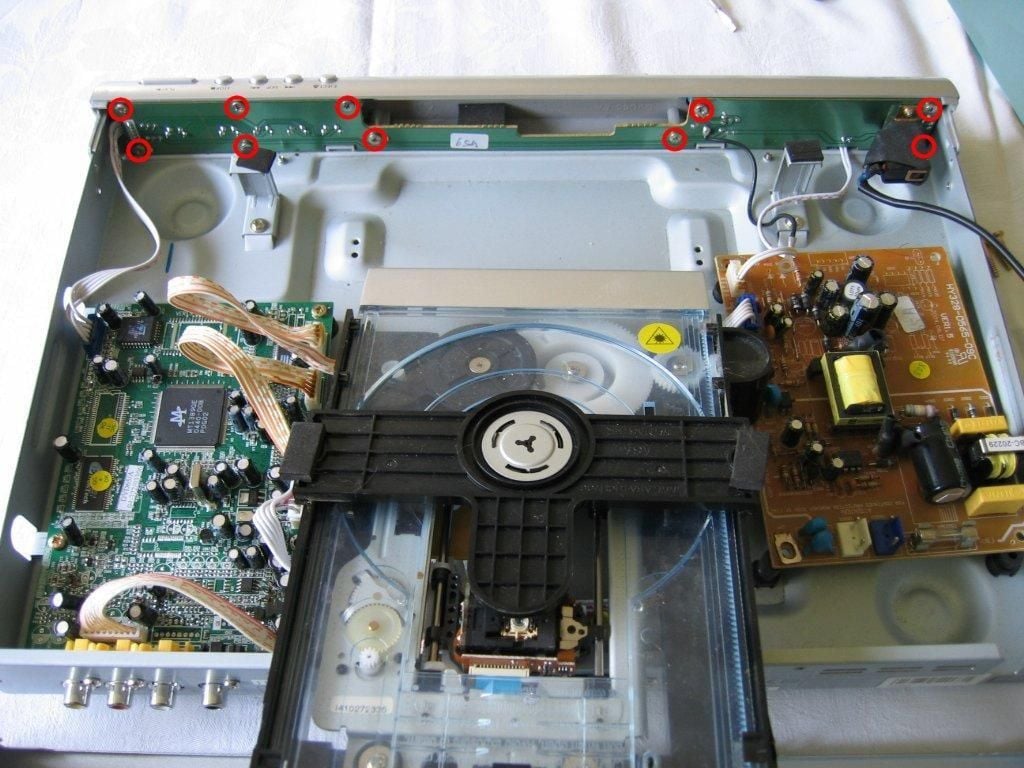
The free drive can be lifted from its placement lugs and slid back to allow easy access to the ten screws (ringed in the photo) that secure the Front Panel PCB.
This PCB runs along the front of the unit and provides basic controls for the user. The sticky pad in the center has to be carefully eased away from the front of the casing to avoid cracking the PCB.
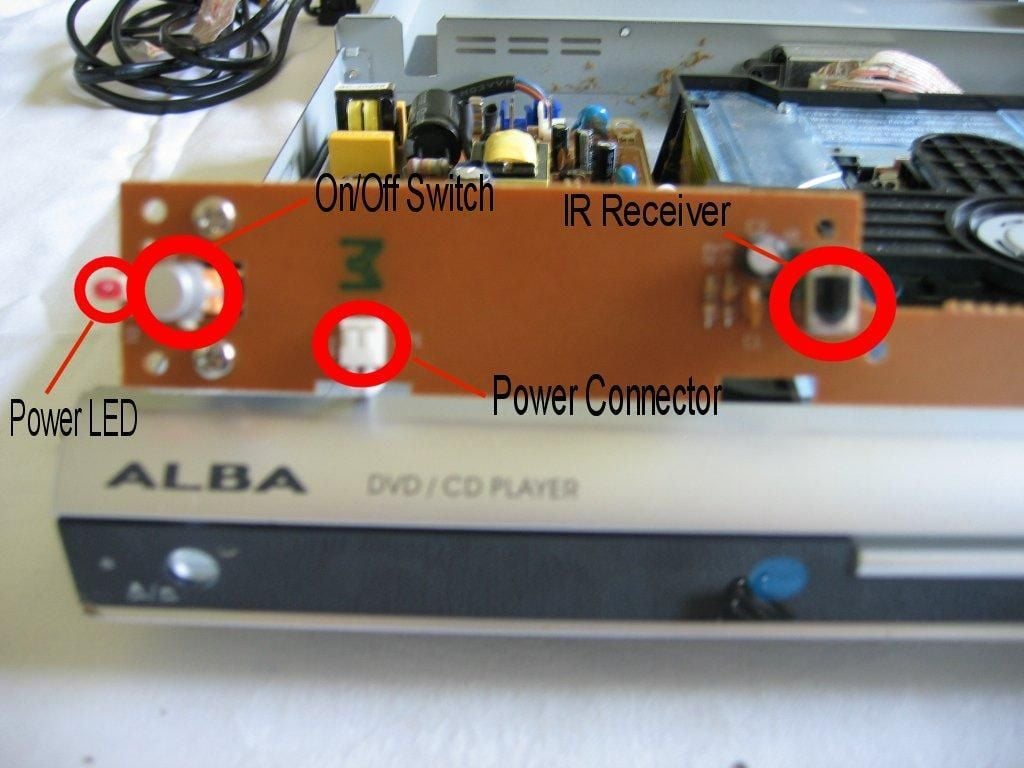
The left side of the PCB is home to the Power On LED, On/Off switch, power connector (Ground & 5V) and Infra Red receiver (for signals from the remote control).
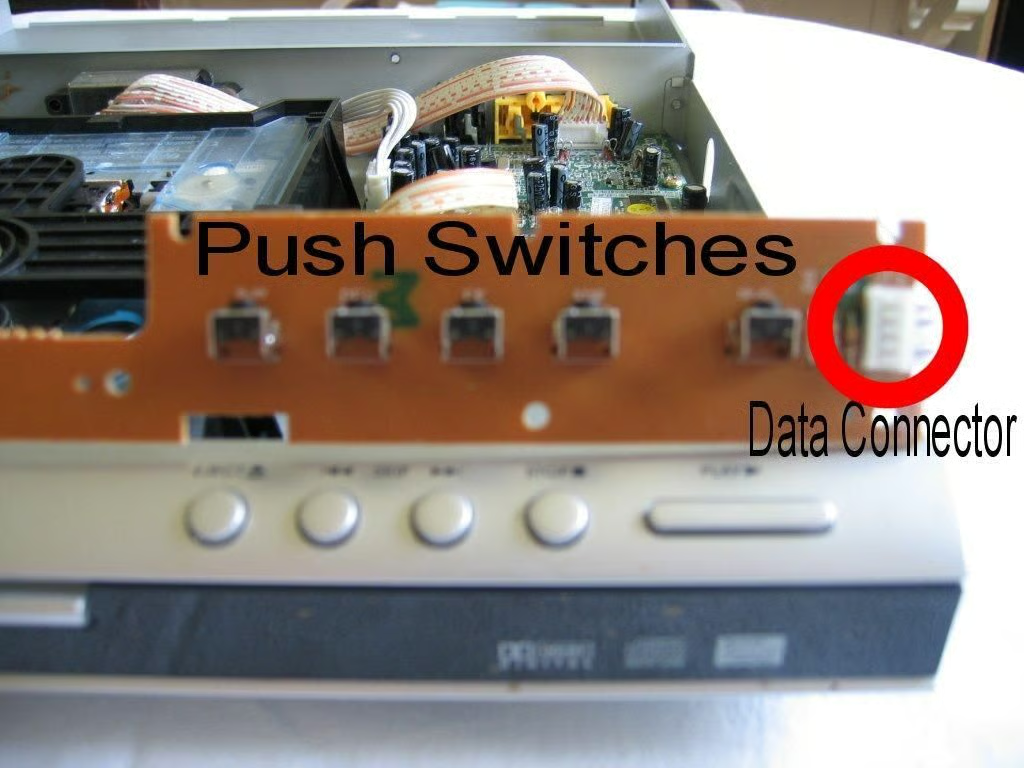
The right side is home to the front panel push button controls (play, reverse, fast forward, stop and open/close disc tray), and to the data connector to transfer control signals to the Processing and Output PCB.
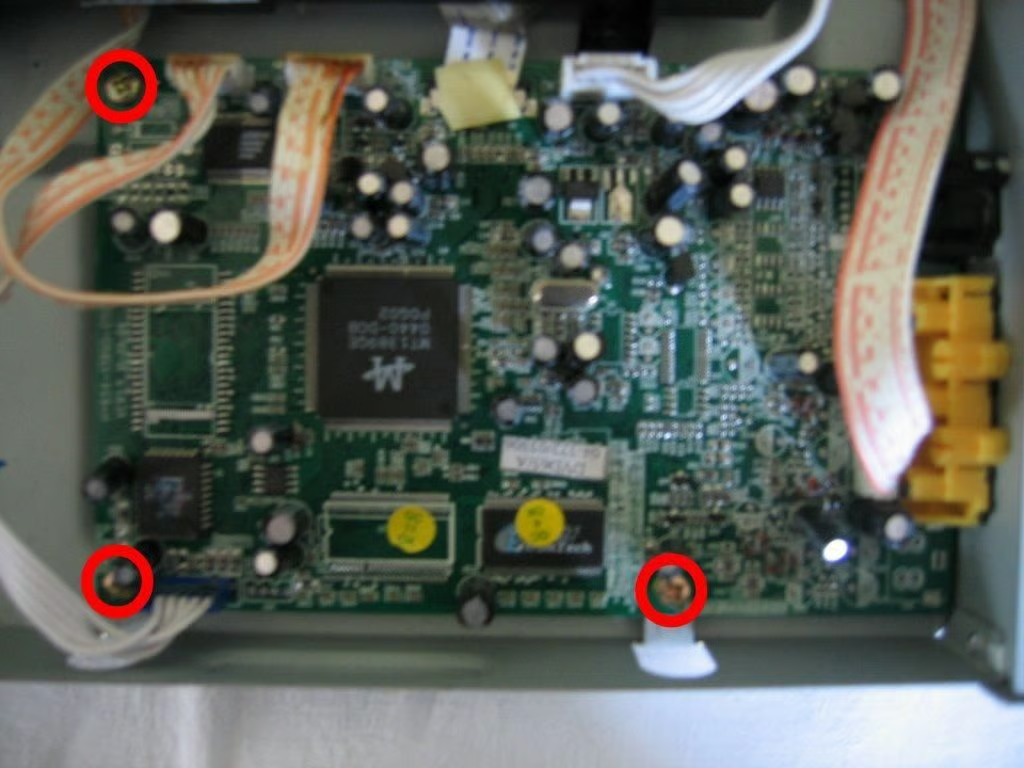
This is the heart of the unit, controlling the drive, decoding the data read from the disc, and outputting various audio and video signals. There are three screws (ringed) holding this PCB to the base, and a further 5 holding the AV ports to the back panel.
There are three screws (ringed) holding the AV outputs firmly to the back panel. Removing these and the screws on the PCB will allow the Processing and Output PCB to be lifted out slightly. An additional two screws must be removed to completely detach the Processing and Output PCB.
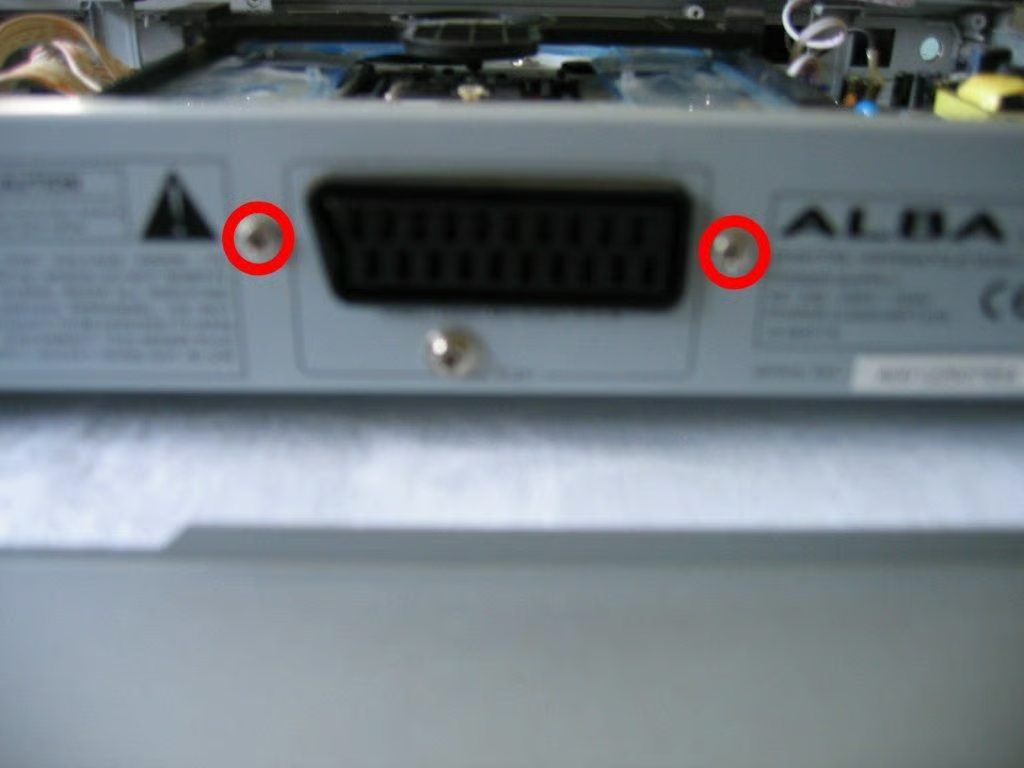
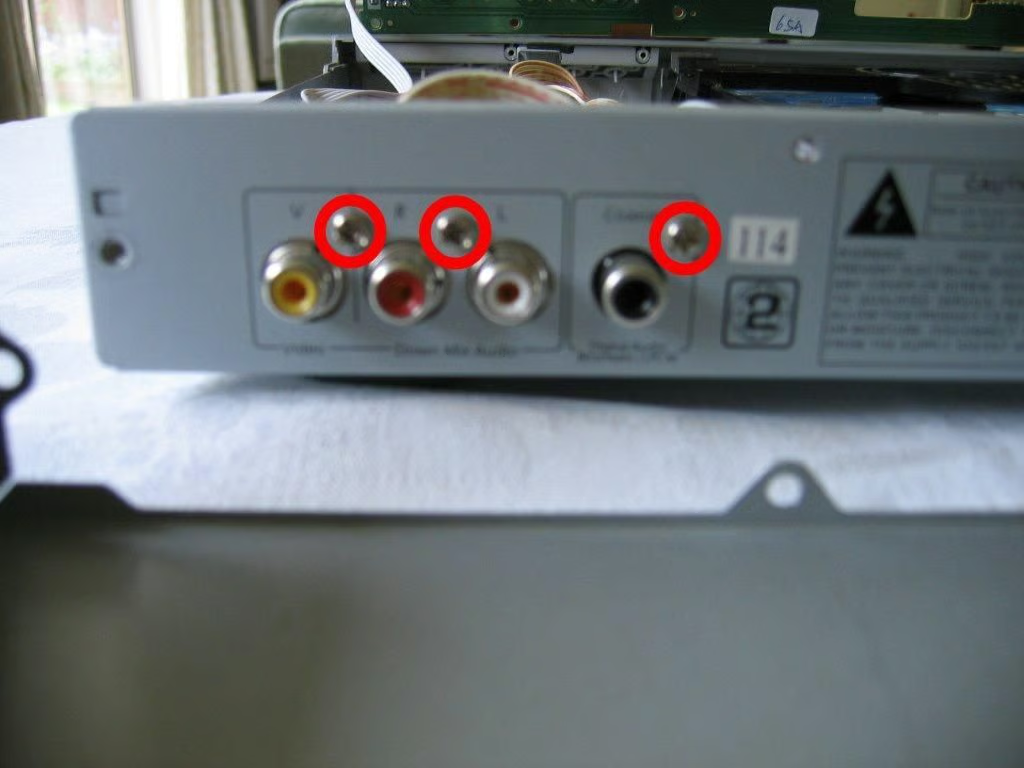
This is the most commonly used connector for average European DVD & Video players. Removing the two screws (ringed) at either side of the socket allows the socket to be removed. The third screw below attaches the rear panel to the casing.
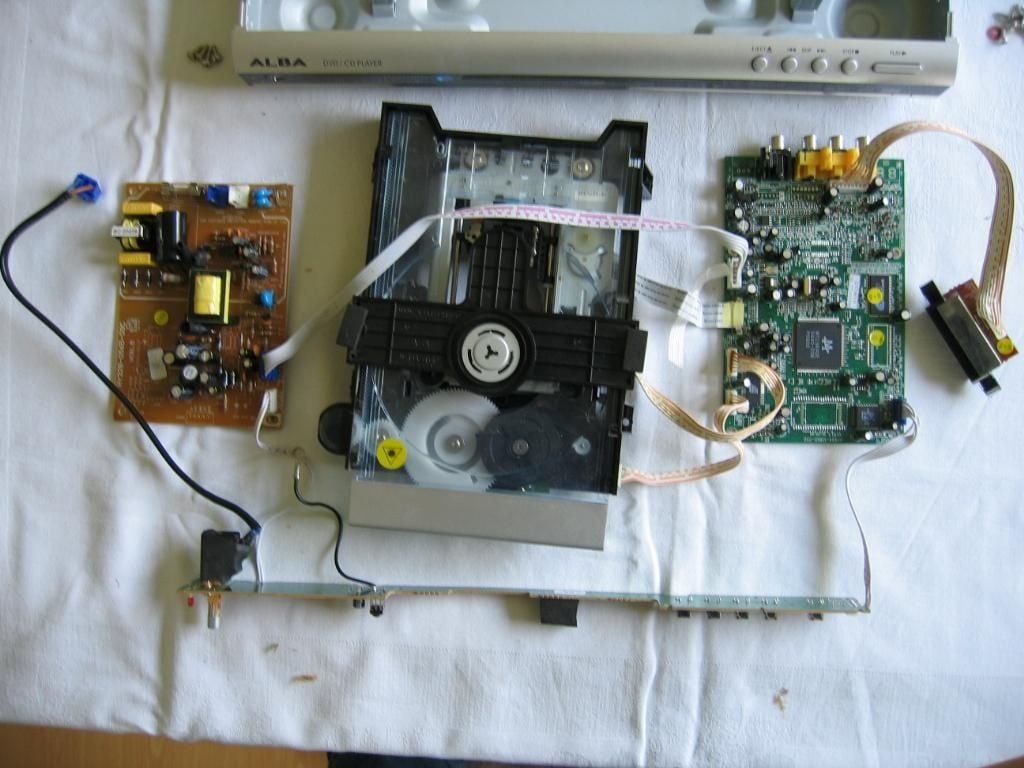
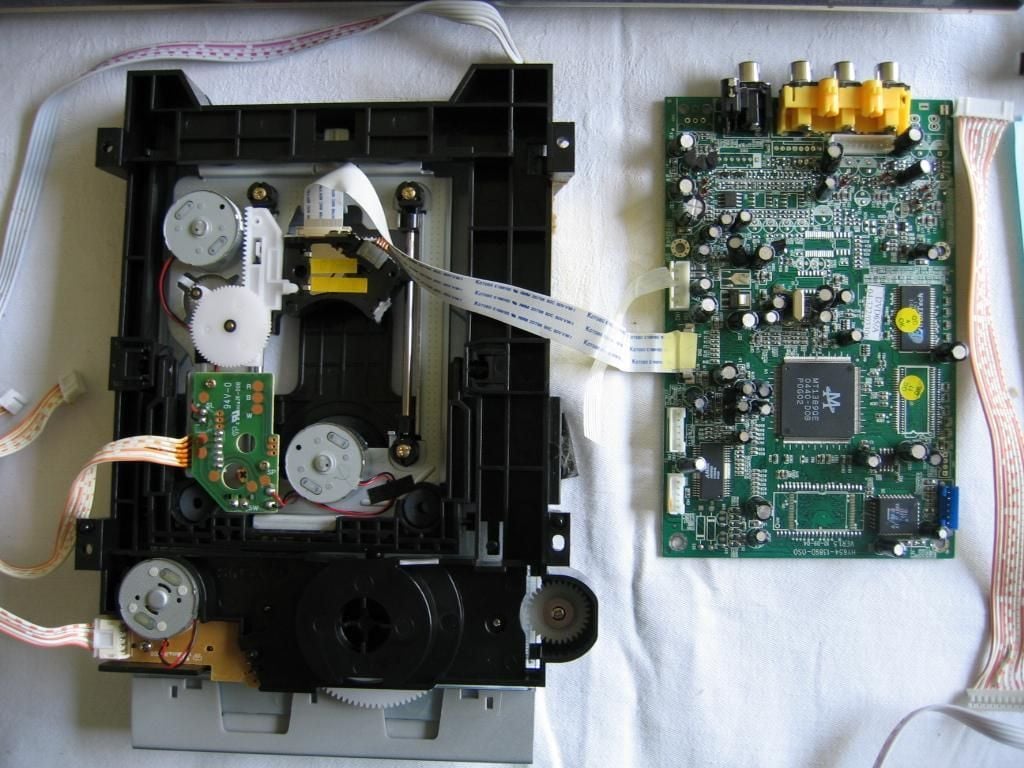
The drive and three PCBs can now be lifted out of the casing.
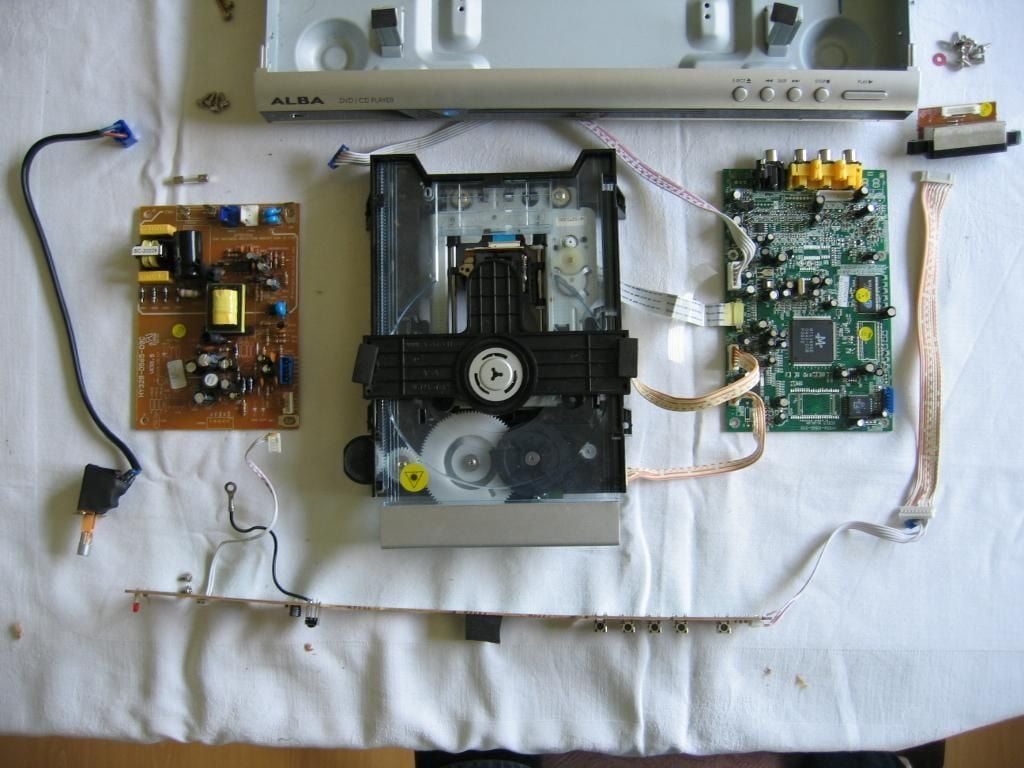
The cables push onto the PCB connectors and are secured with glue. Using a small screwdriver, carefully pry them off. The Power Supply PCB has also had the internal fuse removed. And the Processing & Output PCB has had the SCART socket disconnected, leaving just three cable connections between the PCB and drive.
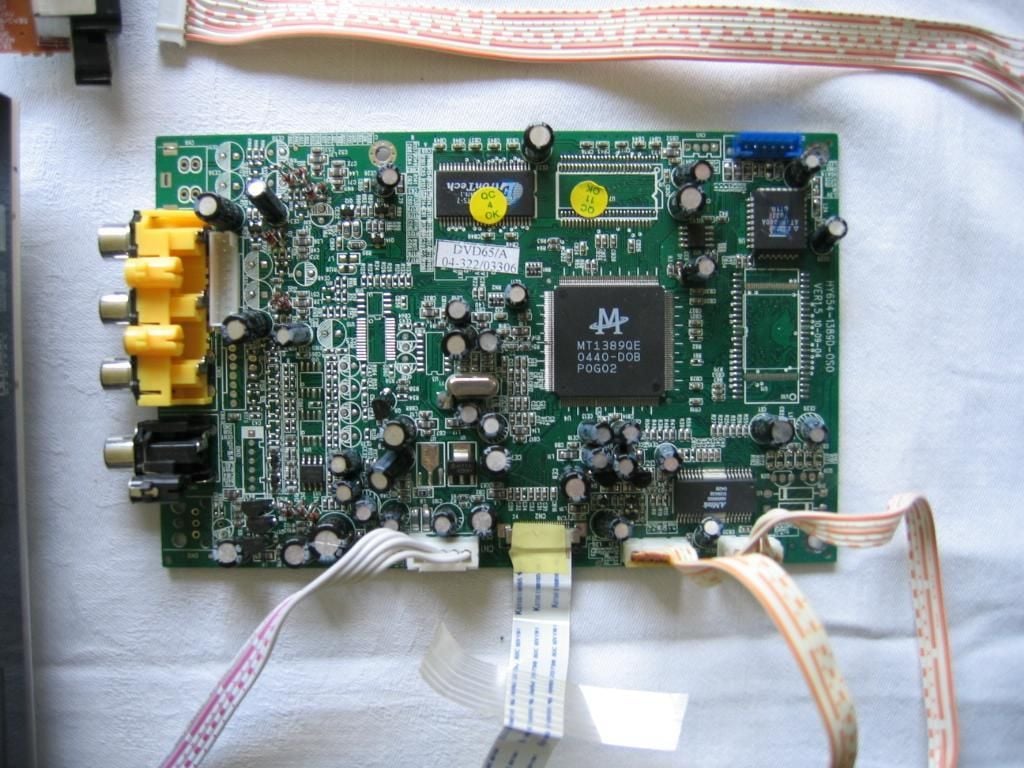
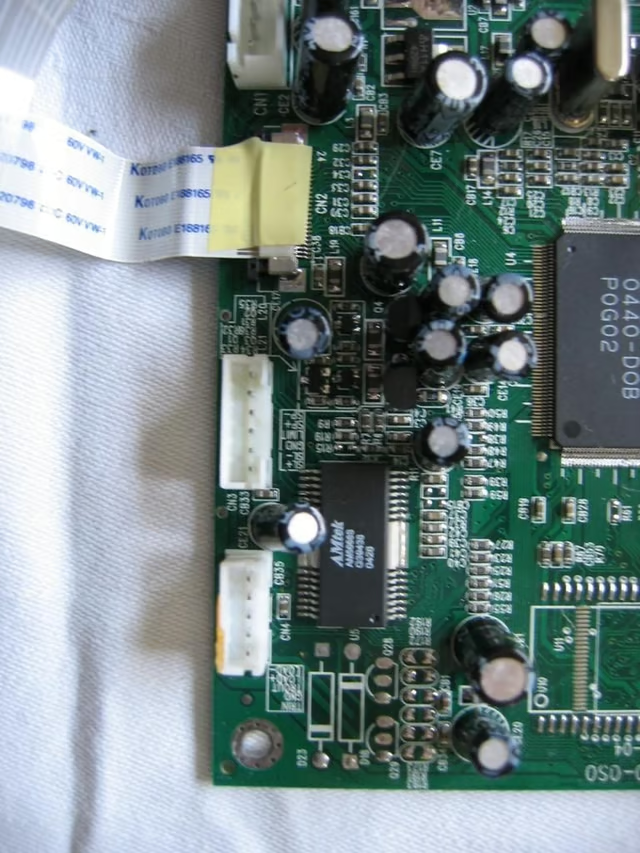
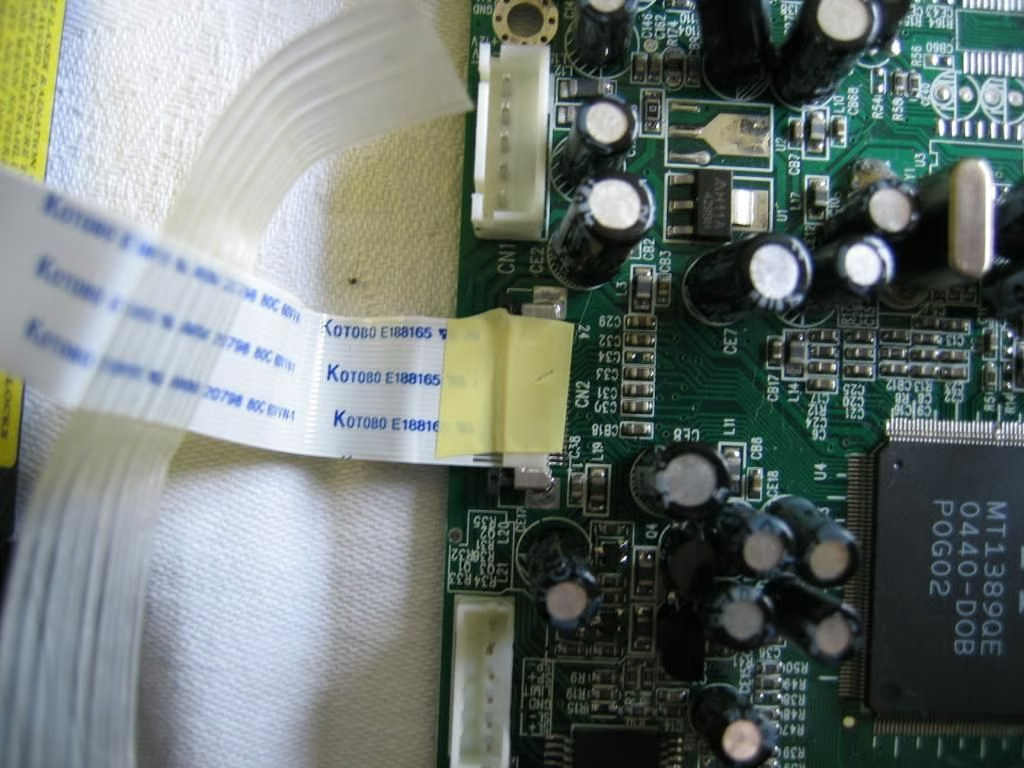
There are spaces around the connectors on the left edge of the PCB for extra output connectors. There is also some space for extra components and two more ICs, probably used to support the extra outputs in higher models.
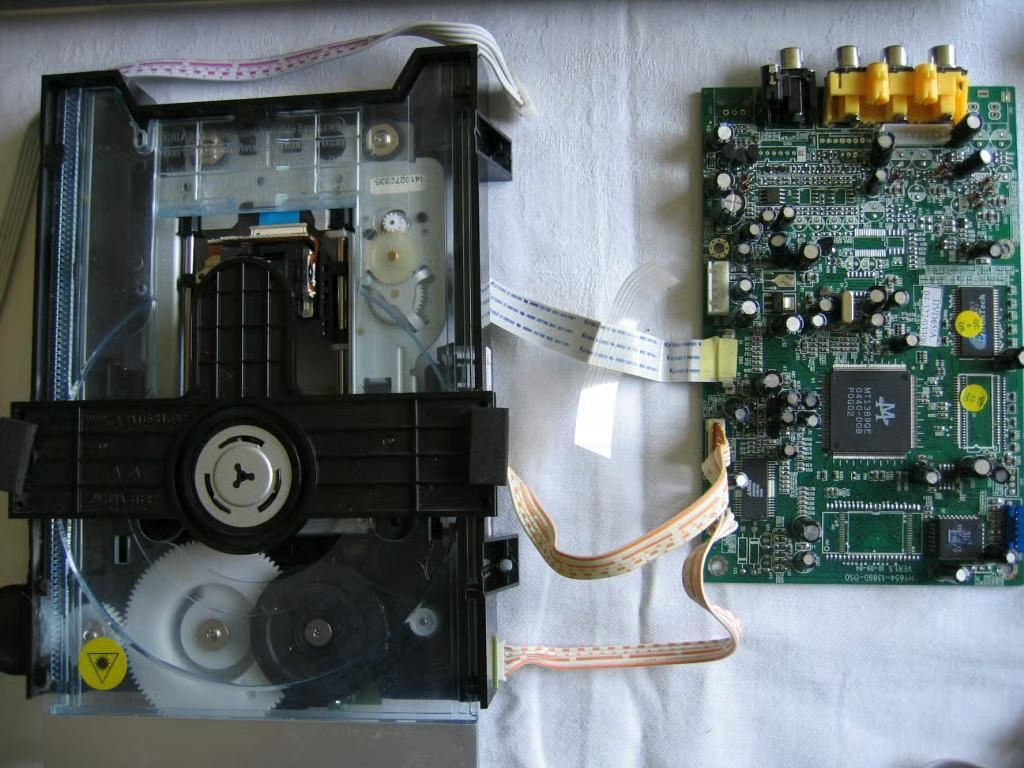
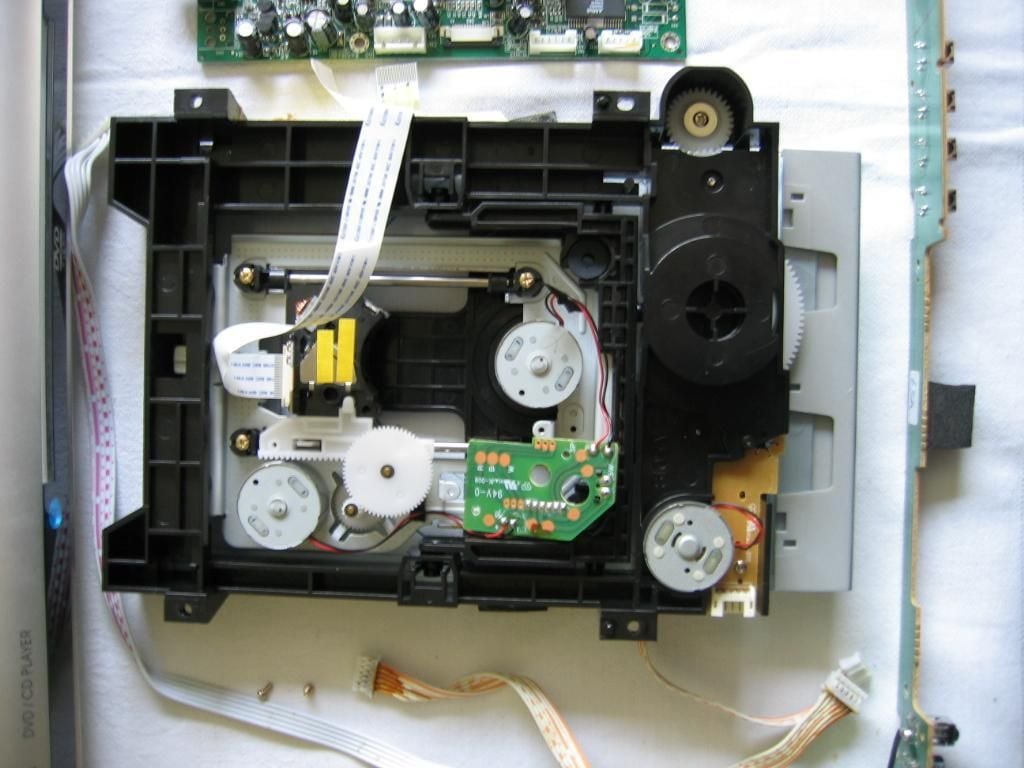
Here we see the three cables used to control the drive functions and transfer data read from the disc.
Unplugging the lower two cables, and looking closely, each pin on on the two connectors is identified. The lower connector is identified: TRIN, GND, TROUT, LOAD & LOAD-. These control the tray and loading mechanism. The connector above it is identified: SL , SL-, GND, LIMIT, SP & SP-. These control the position of the lens and the spindle.
When the drive is turned over, three motors are visible (the grey circular things). The one top left moves the laser/lens carriage across the disc. The one in the center is connected to the spindle and spins the disc. The one bottom left is used to move the drive tray and raise/lower the spindle and laser/lens carriage. The very thin data transfer cable is also seen connecting the laser/lens carriage to the PCB.
At first glance the data cable appears to be attached with a small piece of yellow sticky tape!

Removing the tape reveals a cunning little connector with small black plastic push-in clips to secure the data cable. Pull these clips out and the cable will slide out easily.
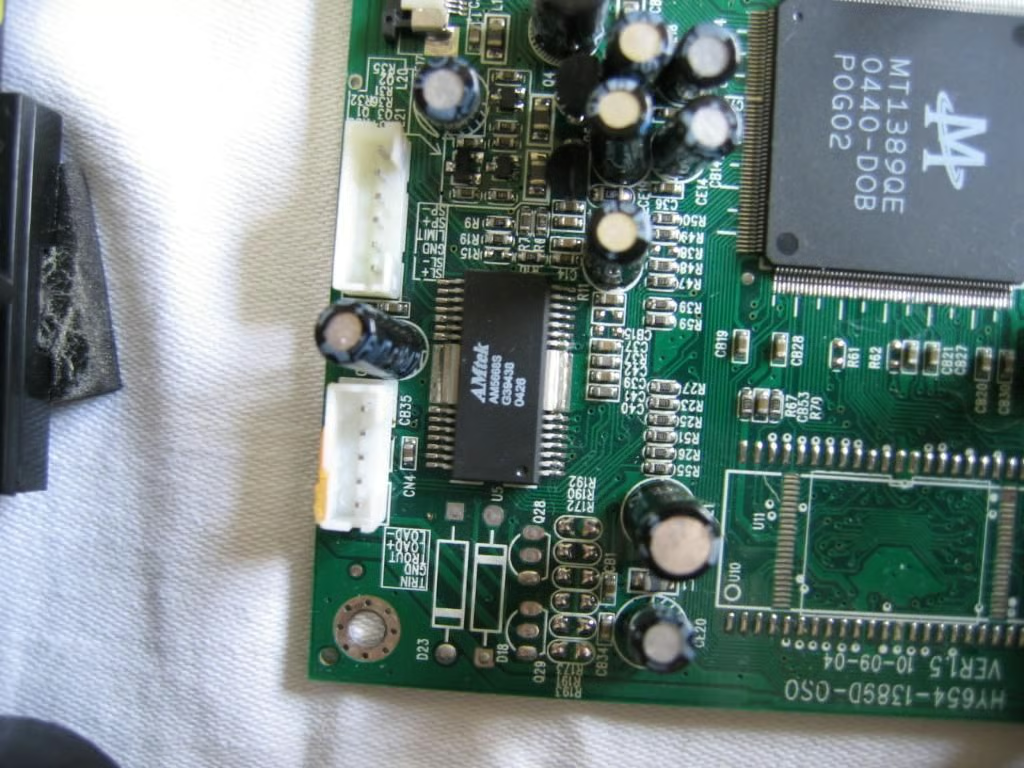
The IC seen in the centre of this photo is an AMtek AM5668S ‘5-channel BTL Driver for DVD player’ used to control the reading of the disc.
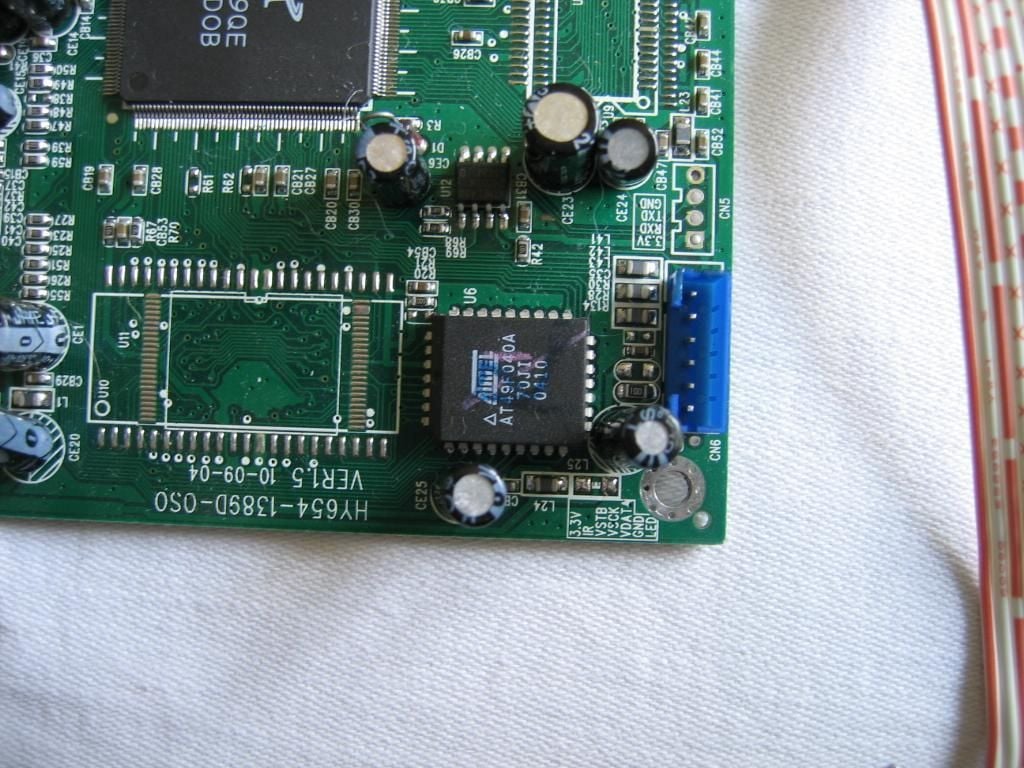
The IC seen here is an ATMEL AT49F040A four megabit flash ROM. More information can be found at http://shorterlink.co.uk/12550 or www.atmel.com and search for ‘AT49F040A’. There are two marks on this IC which are probably due to part of the quality control process.
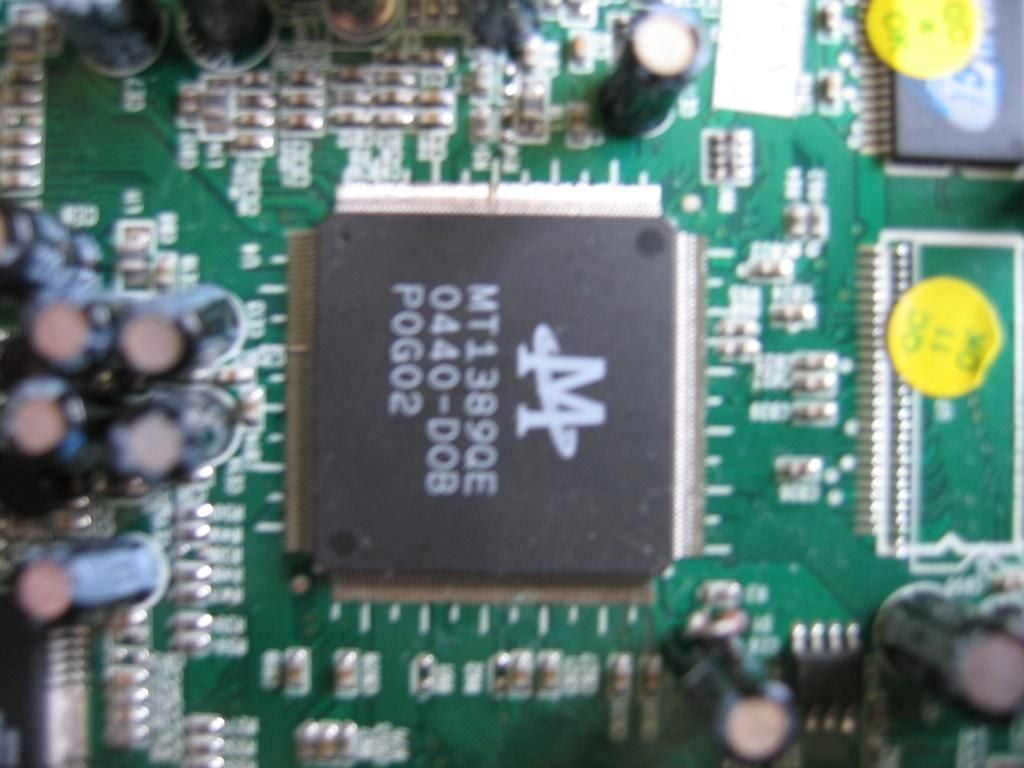
The IC seen here is the MediaTek MT1389QE DVD Player Chipset. This little IC does all the heavy work, decoding and processing the CD/DVD data, and turning it into signals which go to the AV outputs (via some kind of buffer/power amplifier). The MediaTek Web site does not have this IC listed but similar chipsets can be found under the ‘DVD Player Chipset’ link. A pin out for this chip can be found here, and some interesting information in the MediaTek press room in article 20031212_en_Divx.pdf, suggesting it can do many more wondrous things than it’s set up to do such as DivX decoding.
Here we can clearly see the motors mentioned earlier and the cogs and gears they drive to operate the CD/DVD Drive.
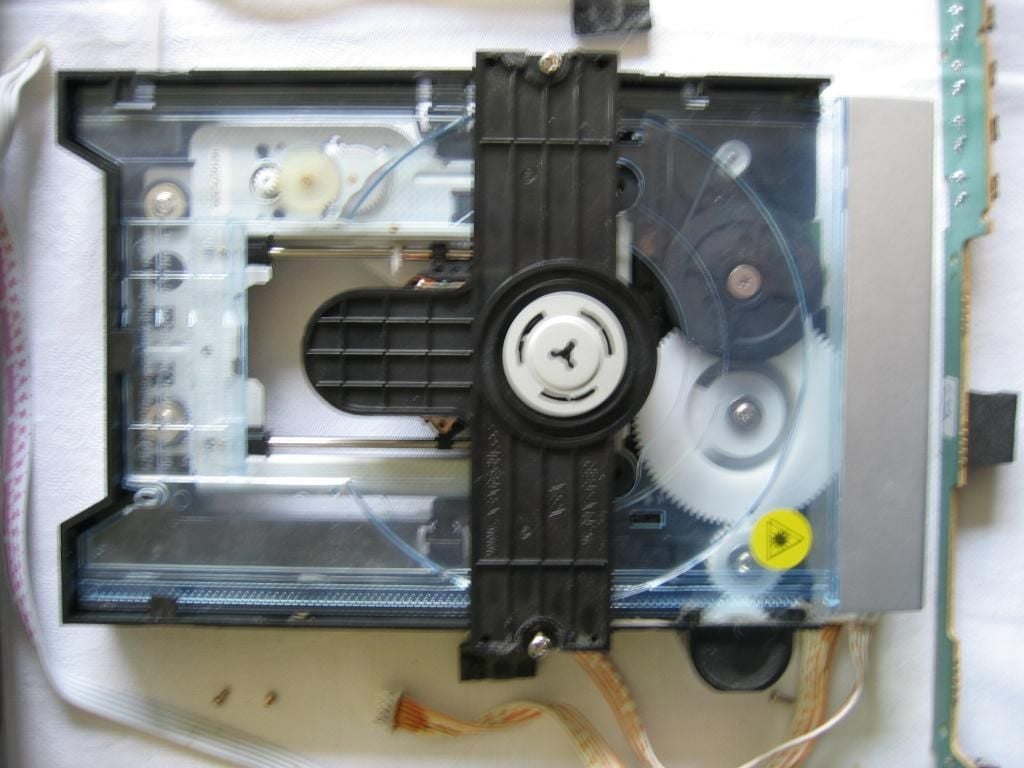
This photo is slightly blurred, but the inner workings of the drive can be glimpsed through the clear plastic disc tray.
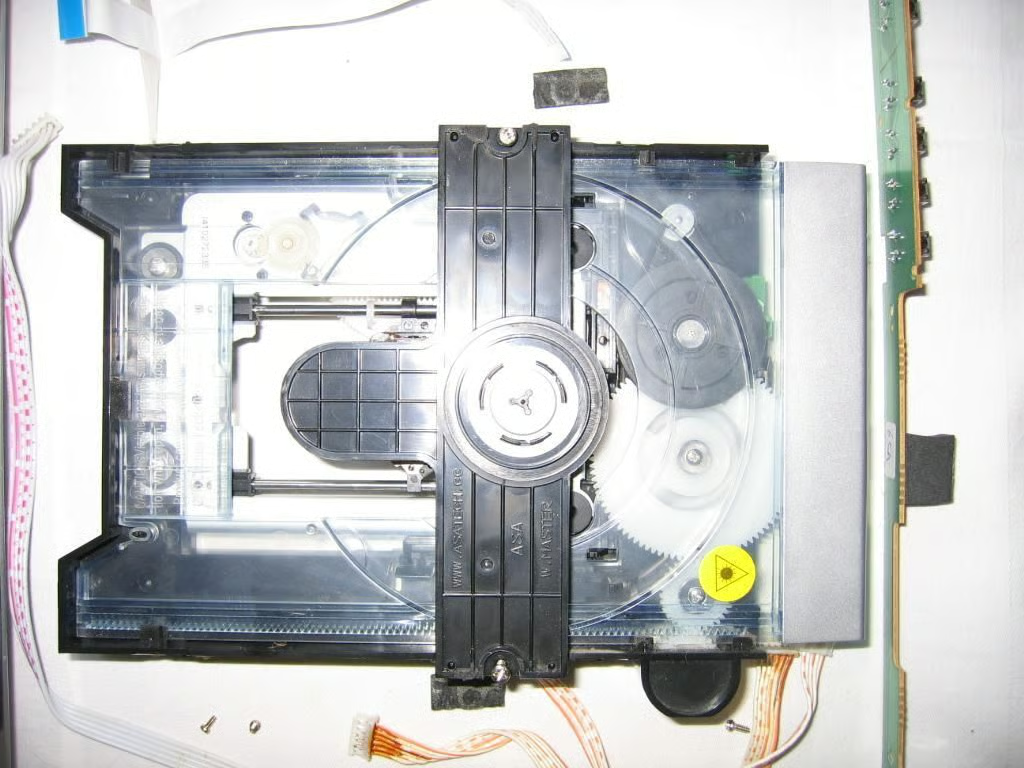
This is a sharper picture. The black plastic bar across the top has www.asatech.cc written on it, suggesting that this drive is bought in. A quick browse of the ASA Tech site and a model number 8105 stamped on the drive reveals these product specs. The plastic bar has a screw at the top and the bottom and removing these allows the bar to lift off. This plastic bar covers the laser/lens and contains a freely rotating disc, used to clamp the CD/DVD when the spindle moves up into the lock position.
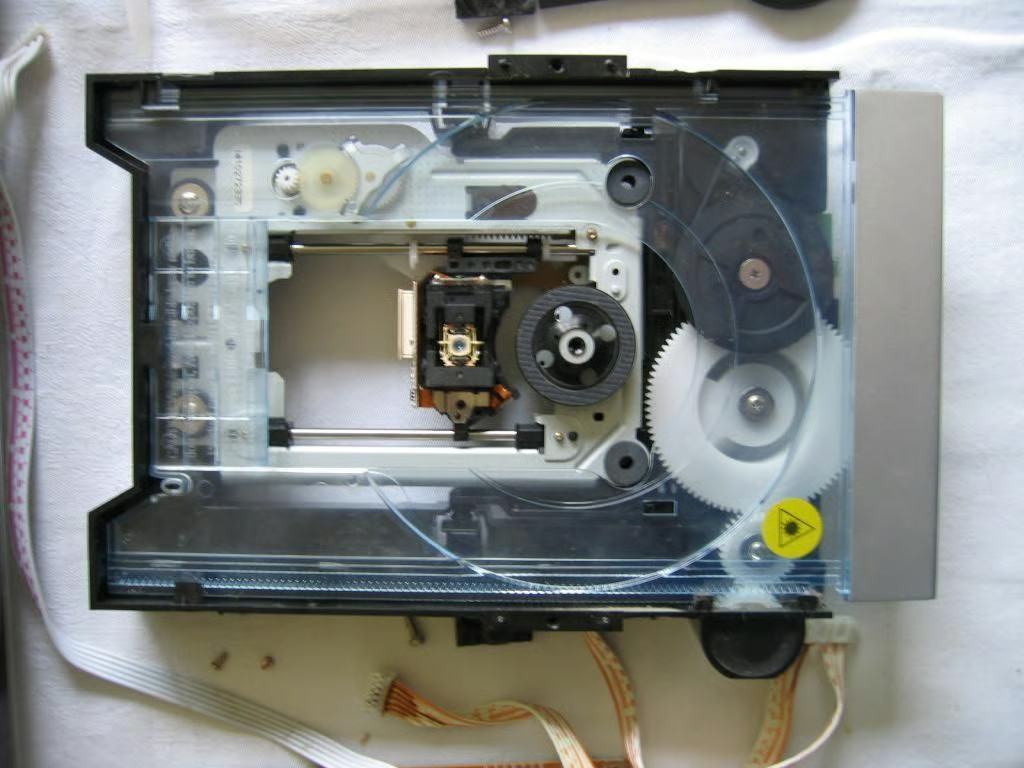
Removing the plastic guard reveals the laser/lens and the spindle.
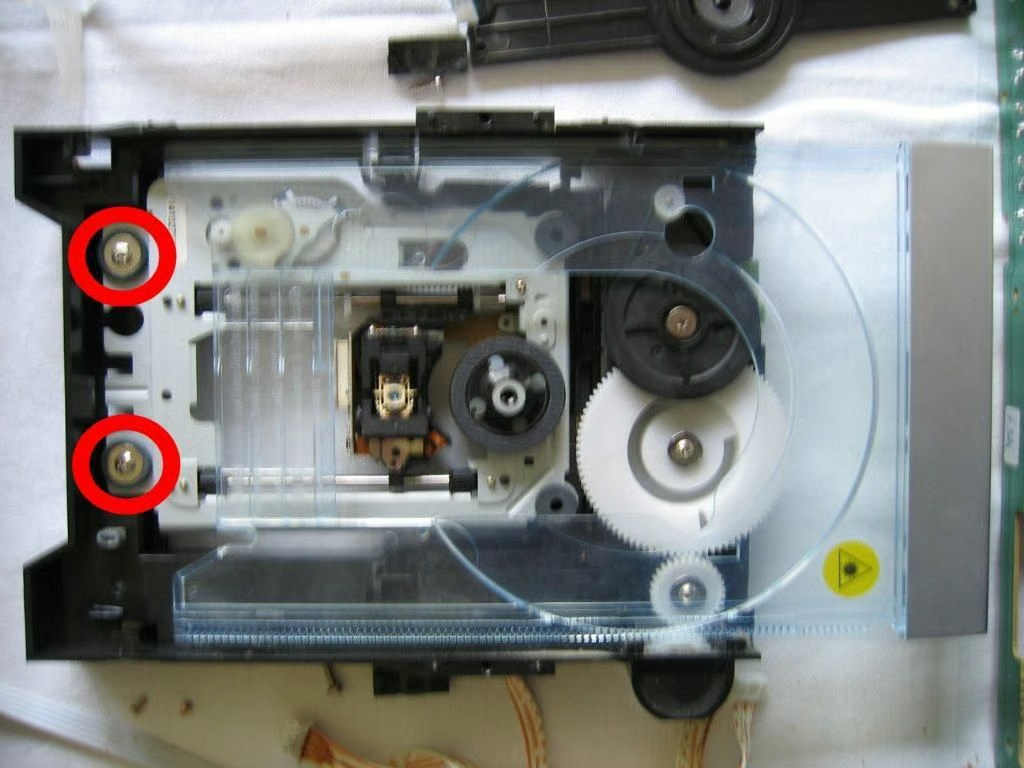
Before the disc tray opens, the spindle and laser/lens carriage drop slightly to release the disc, then the tray starts to slide out. Once the tray closes fully again, the laser/lens carriage and spindle will move up into a locked position. The two screws (ringed) holding this part of the mechanism have rubber dampers, which absorb small shocks and vibrations.
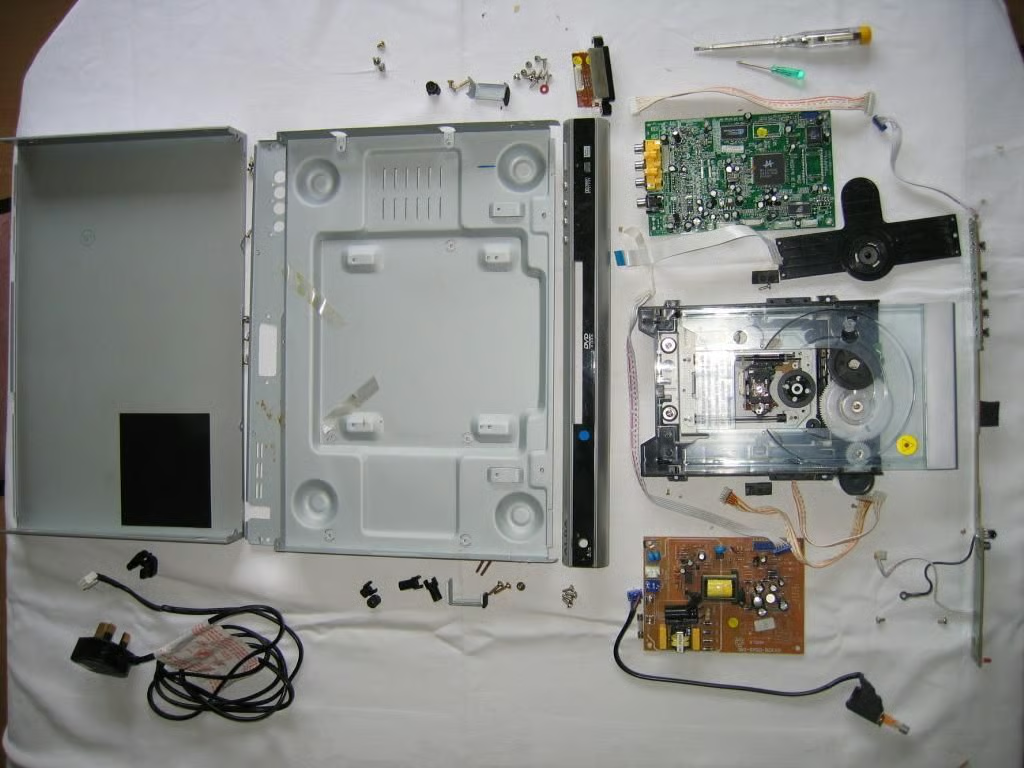
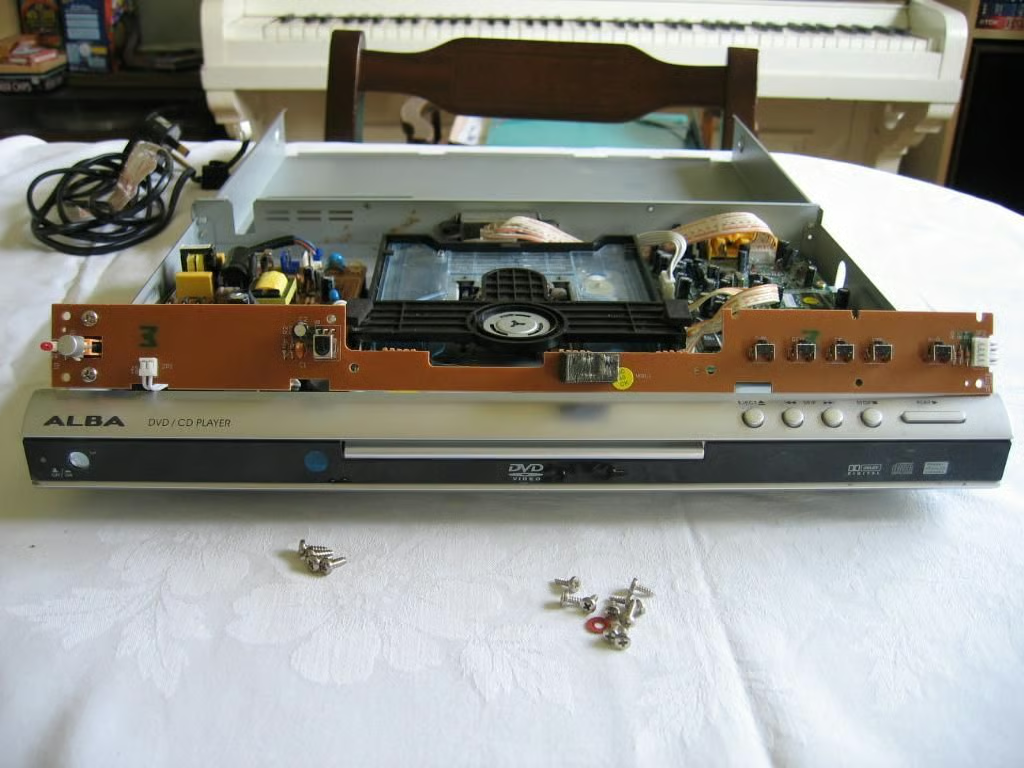
Here is the fully dismantled DVD player. I have also dropped the rear panel on the casing and the plastic front which is held in by a clip either side and two screws at the bottom. The isolating PCB supports also pop out from the bottom of the case. This entire job has been completed using a standard electrical screw driver and a special small Phillips screw driver (used on the CD/DVD drive) available from all good Christmas crackers!
The DVD player’s design makes it reasonably easy to dissect, which is handy for repair (i.e. swapping in a new PCB if it fails under warranty). Its modular form means that it is very versatile, and various PCBs and front & rear panels can be attached to quickly and cheaply to produce one of a range of models, which is one reason why a DVD player can now be picked up for less than \u00a320!
So, now we’ve reached the end of my gallery, I hope you’ve enjoyed reading it as much as I have enjoyed producing it!
Bill Detwiler is the Editor for Technical Content and Ecosystem at Celonis. He is the former Editor in Chief of TechRepublic and previous host of TechRepublic's Dynamic Developer podcast and Cracking Open, CNET and TechRepublic's popular online show. Previously, Bill was an IT manager in the social research and energy industries. He has bachelor's and master's degrees from the University of Louisville, where he has also lectured on computer crime and crime prevention.


