\n\tKeyboard-Video-Monitor switches enable many technology professionals to share a single keyboard, mouse and monitor among multiple computers. Learn how one popular Belkin model is put together as we take it apart.
\n\t
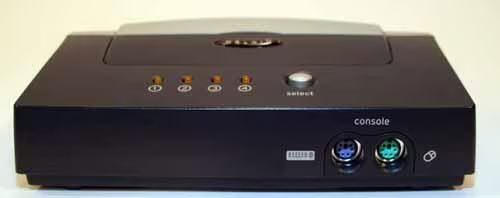
\n\tBelkin’s OmniView E Series KVM Switch (model number F1DB104P) supports connecting four computers to a single keyboard, mouse and monitor.
\n\t
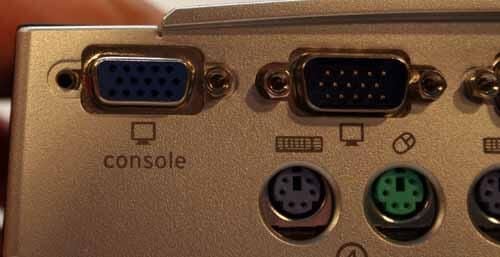
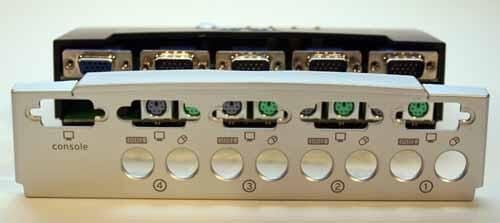
\n\tCable connections for the four computers, and the video port for the console’s display, are located on the back of the unit. The console’s keyboard and mouse PS/2 ports, meanwhile, are located on the device’s front face.
\n
\n\t\n\n
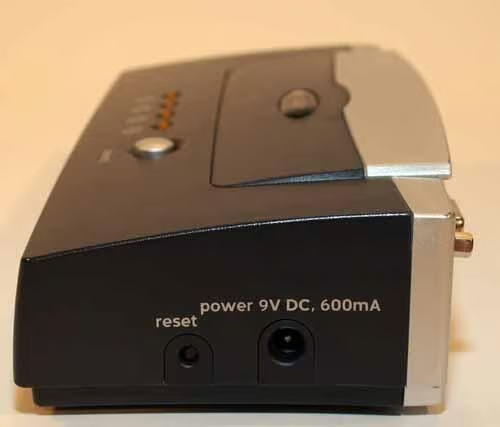
The OmniView’s right-side casing contains a reset button for the KVM switch, as well as a 9-volt DC port.
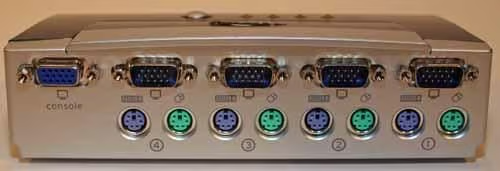
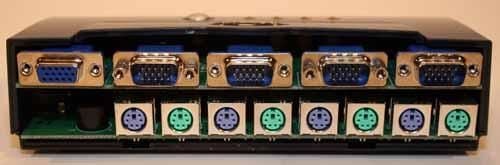
The Belkin OmniView’s back panel contains the ports for connecting computers to the KVM switch.
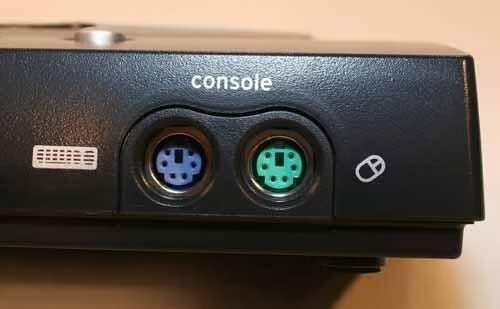
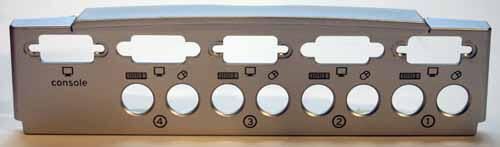
Although the console’s video port is located on the rear of the OmniView KVM switch, the PS/2 ports for connecting the mouse and keyboard are located on the front of the device.

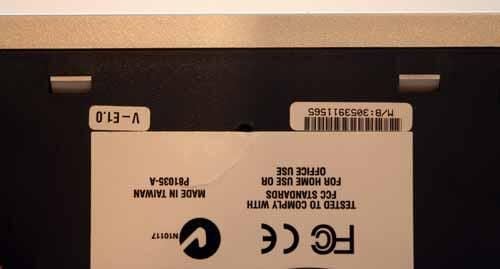
The OmniView’s underside is plain and pedestrian.
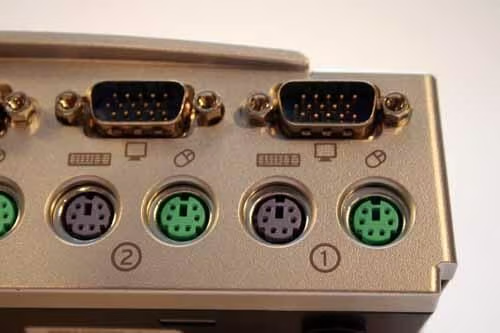
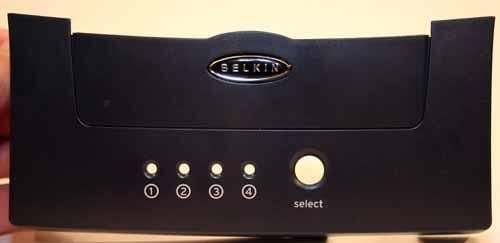
Each of the OmniView Series E’s ports are clearly labeled.
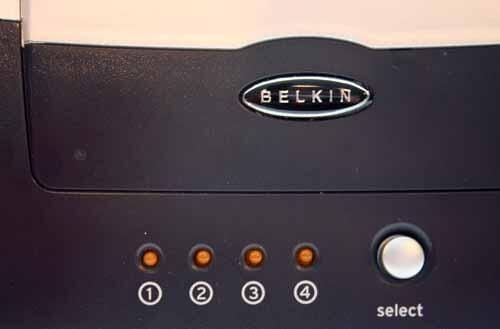
Four LEDs indicate which computer is currently being controlled, while the Select button enables simple switching between connected computers.
Before the KVM switch’s plastic cover can be removed, these two gray plastic tabs must be depressed.
Several of the bolts used to secure VGA connections must be removed to enable separating the OmniView’s two plastic halves. In this image, the left bolt for the console’s VGA port has already been removed.
Once the two plastic tabs are depressed and the VGA connecting bolts are removed the rear cover slips off the unit.
Here’s how the Belkin’s rear cover removed from the KVM switch.
Here’s the Belkin OmniView KVM switch without its rear cover.
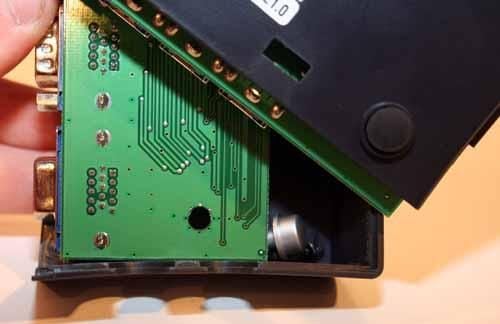
At this stage of disassembly, the KVM switch’s top and bottom halves must be rotated to provide access to two Philips head screws that connect the VGA circuit board to the unit’s other circuit board and bottom plastic shell. Here you can see the screw has been removed.
Here’s another view of the Belkin OmniView’s top plastic half (after being removed from the rest of the unit).
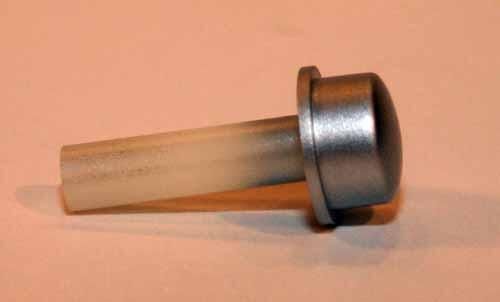
Here’s a close up of the Selector switch used to switch between systems connected to the KVM device.
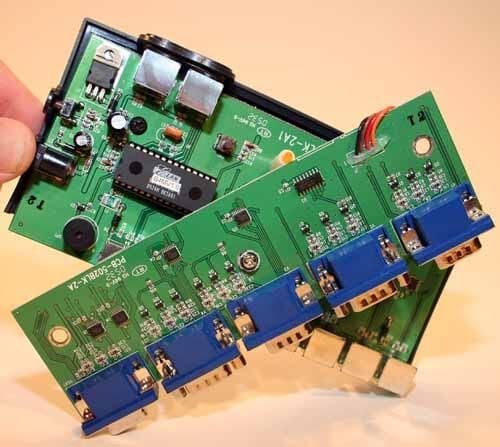
Setting aside the top plastic half reveals the two printed circuit boards, shown here.
Removing the single Philips head screw that connects the Belkin’s two circuit boards (one processes VGA signals while the other manages mouse and keyboard input) enables separating the two boards.
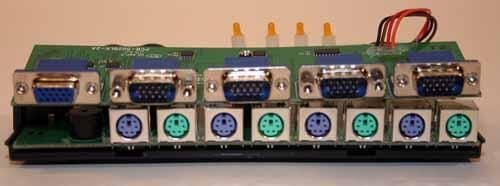
Here’s one last look at the Belkin’s two circuit boards (VGA on top and PS/2 controls on bottom) before they’re separated.

Before the two boards are separated, the power connector that links the top (VGA) board with the main (bottom) board must be disconnected.
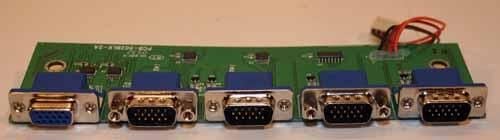
Once the VGA board is disconnected from the main circuit board, it can be removed from the unit.
Note, the reason five VGA ports appear on this four-port KVM switch is one VGA port is required for powering the user’s monitor.

Here’s another view of the VGA board once it’s been removed from the KVM switch.
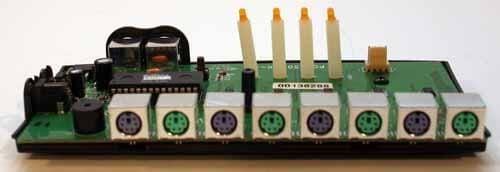
The PS/2 Board, once separated from the VGA board, is still connected to the KVM switch’s bottom plastic case.
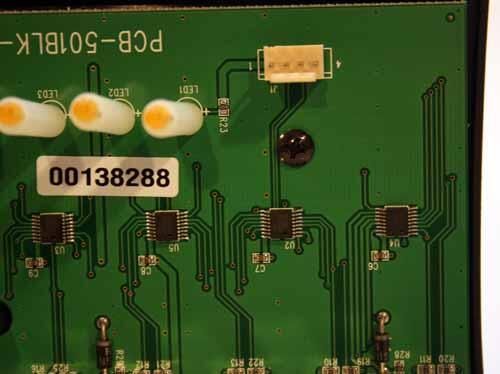
Here’s a top-down view of the OmniView’s PS/2 board, which manages the keyboard and mouse responsibilities of the KVM switch.
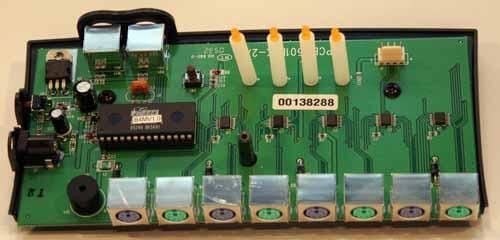
To remove the PS/2 circuit board from the KVM switch’s bottom casing, two Philips head screws must be removed.

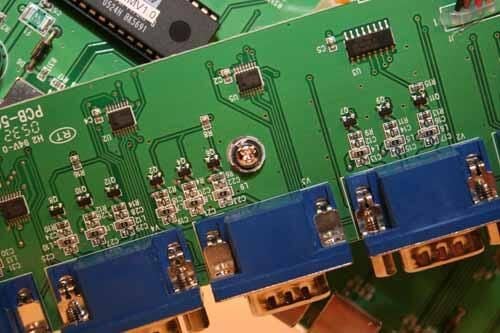
Here’s a close up view of the LED lamps that indicate which of four connected systems are currently being controlled by the OmniView switch.
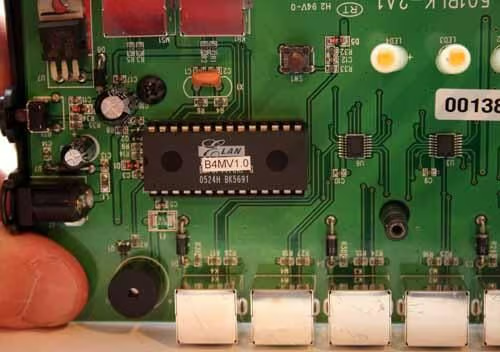
This ELAN Microelectronics Corp. 8-bit microcontroller assists in enabling users to control the mouse and keyboard inputs of four different computers using a single keyboard and mouse.
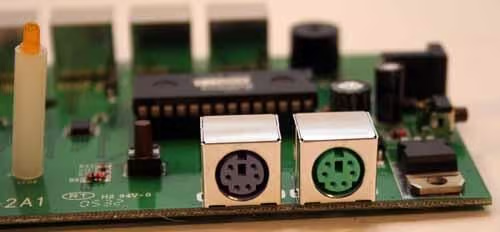
The console’s PS/2 ports are physically connected to the main printed circuit board, as you can see here.
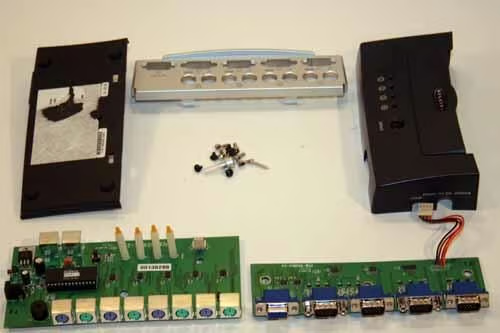
The OmniView E Series KVM switch, disassembled.

Erik Eckel is a managing partner at Louisville Geek and president of Eckel Media Corp. He previously served as Executive Editor at TechRepublic. He received Microsoft Engineer accreditation from Sullivan University and earned his Bachelor's Degree in English from the University of Louisville. He's earned Network+, Windows NT 4.0 MCP+I and MCSE, and Windows 2000 Professional MCP accreditations.


