Cracking Open an APC battery backup - TechRepublic

Cracking Open an APC battery backup

  • IMG_2693.jpg

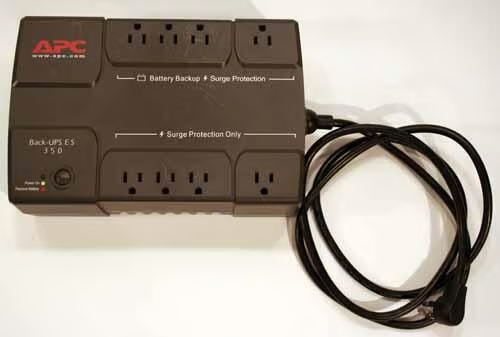
    The APC Back-UPS ES 350

    \n\tThe APC Back-UPS ES 350 is among one of the most popular SOHO battery backups. Inexpensively priced, this model provides basic battery backup and surge protection for simple workstations.
    \n\t
    \n\tDiscover how this devices is built and designed in this Cracking Open image gallery.

    \n

    \n\t\n\n

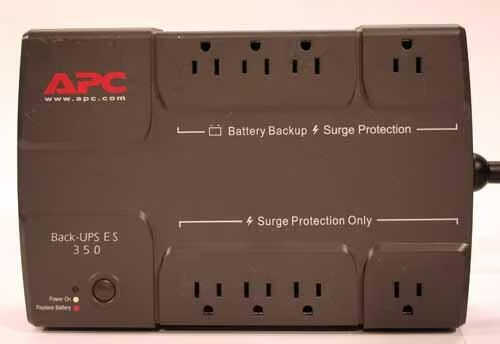
  • The APC Brand

    APC’s products are among the most trusted power protection and battery backup models. The company claims some 30 million of its devices are currently in place.

  • Four Battery Backup Outlets

    The APC Back-UPS ES 350 provides four battery backup outlets (on the top row). The bottom four electrical outlets, meanwhile, provide surge protection.

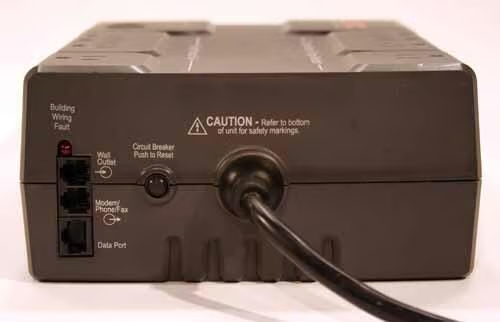
  • Network Protection

    The APC Back-UPS ES 350 also provides network protection. PC users can connect a DSL line to the APC and then complete the data connection by connecting a cable from the battery backup to a DSL modem. Such a configuration helps protect sensitive network equipment (including PCs and servers) from lightning strikes and other electrical surges that commonly enter a network via a high-speed DSL circuit.

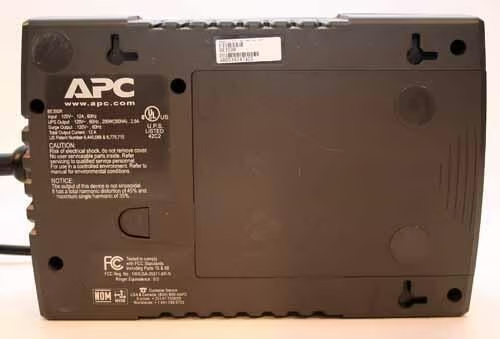
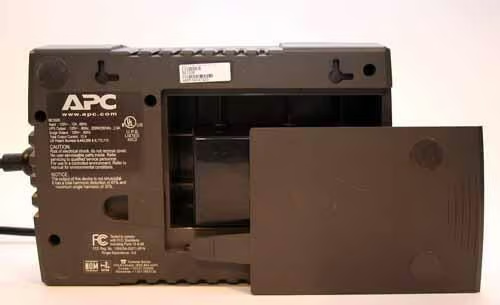
  • APC UPS - Bottom View

    The Back-UPS ES 350’s battery is located within a compartment found on the bottom of the device.

  • APC Battery Compartment

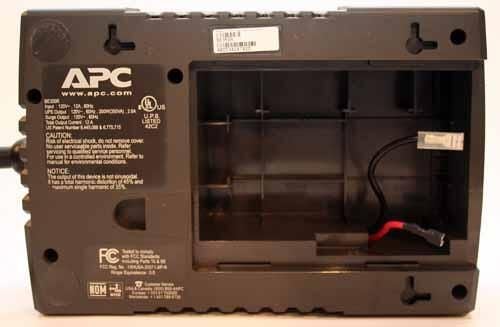
    Removing the bottom cover reveals the internal compartment that contains the APC’s battery.

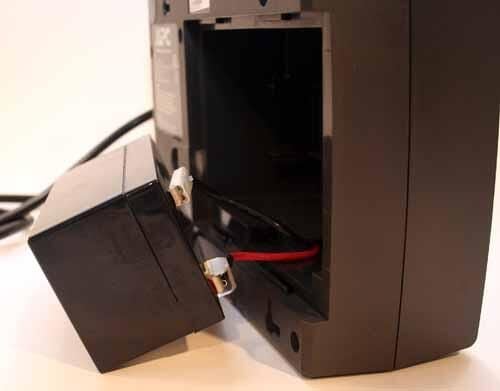
  • The APC Battery

    Before removing the APC’s battery, you must first remove the positive (red) and negative (black) cables.

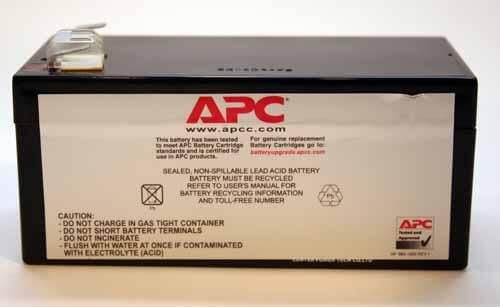
  • The APC Battery

    This battery (a sealed model) powers the APC Back-UPS ES 350. UPS batteries such as this one should be recycled (not just thrown in the trash), as they contain lead and acids that can contaminate the environment.

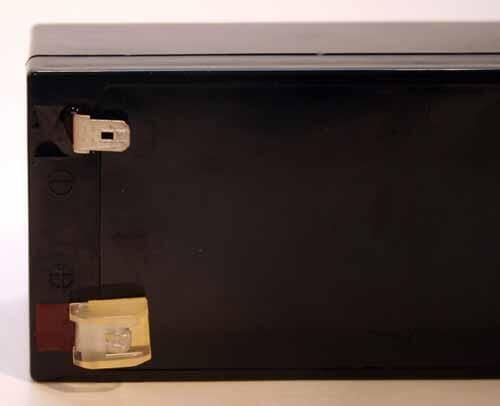
  • The Battery Connectors

    These tabs connect the battery to the UPS device. A red (positive) cable attaches to the positive terminal on the bottom, while a black (negative) cable attaches to the negative terminal on top.
  • APC Unit Minus Battery

    Here’s a picture of the APC Back-UPS ES 350 without the battery installed.

  • Disassembling The Battery Backup

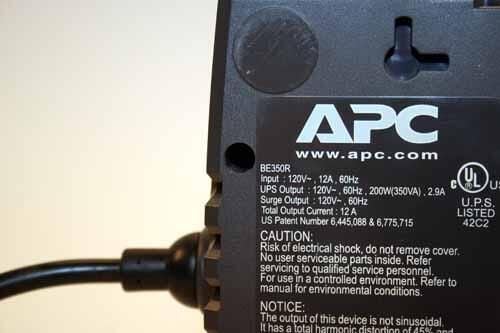
    The APC Back-UPS ES 350’s case essentially consists of two molded plastic halves: a top shell and a bottom casing. Removing five Phillips-head screws (each buried in its own circular depression as shown here next to the BE350R notation on the label) enable us to separate the two halves.
  • The Bottom Case

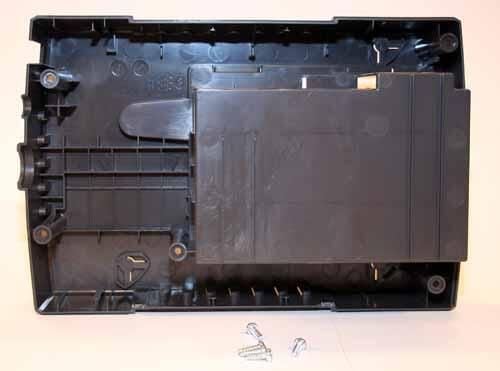
    Once the five screws are removed, the APC’s bottom case (shown here) slides cleanly away.

  • Wire Plumbing

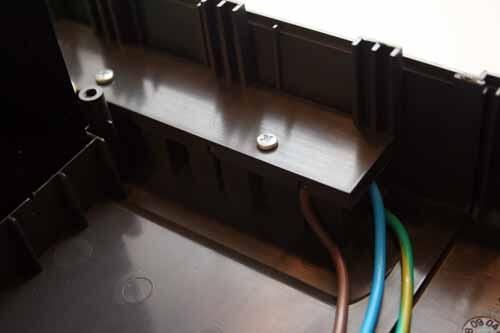
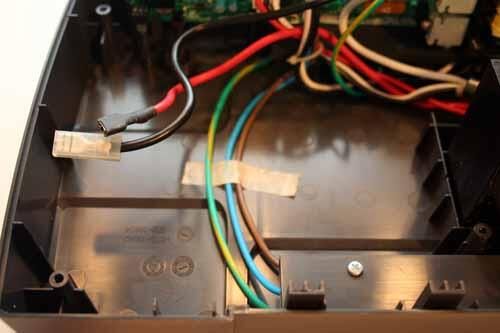
    Here you can see some of the wire plumbing used to transfer electrical current from the battery backup’s circuit board to the UPS’ power outlets.

  • The APC's Circuit Board

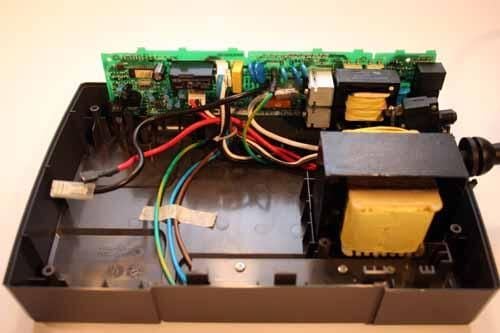
    Here’s a head-on view of the APC’s circuit board (and the battery backup’s two transformers).

  • Positive And Negative Cables

    Here are the positive and negative cables that were seen earlier connected to the APC’s battery. The negative cable (the black one) connects the battery to the APC’s circuit board, while the positive (red) cable connects the battery to the device’s largest transformer.

  • Circuit Breaker Reset

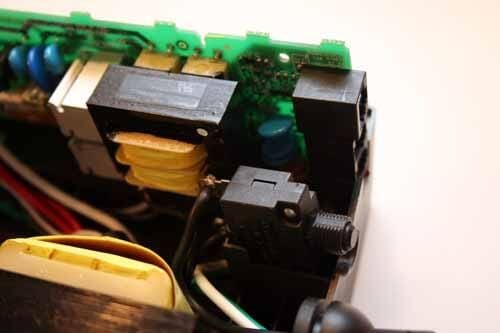
    Here’s a closeup of the Circuit Break reset switch.

  • Network Protection Ports

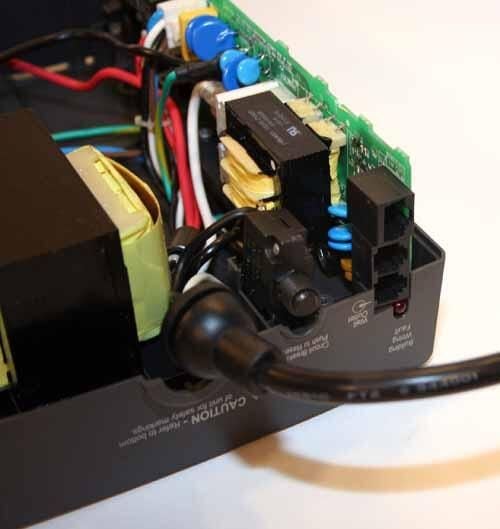
    The APC’s network protection ports are connected directly to the UPS’ circuit board, as can be seen here. The circuit board itself is manufactured by APC (model number 640-0640-REV05).

  • Inside The APC Back-UPS ES 350

    Here’s another view inside the Back-UPS ES 350.

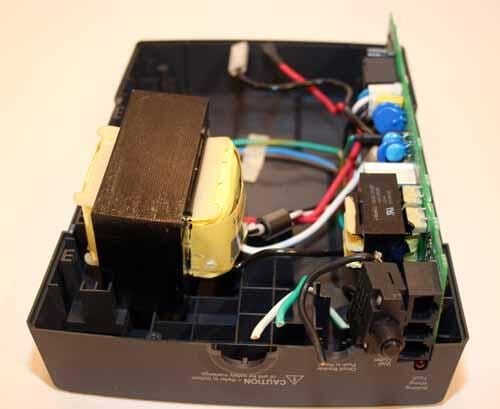
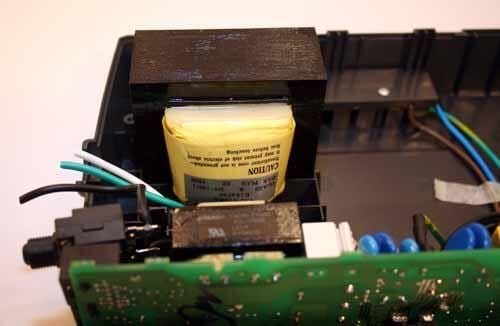
  • Transformer Close Up

    The transformer can be seen clearly (and prominently) in this image. The transformer is the component composed of a large square black box with the yellow-wrapped core.

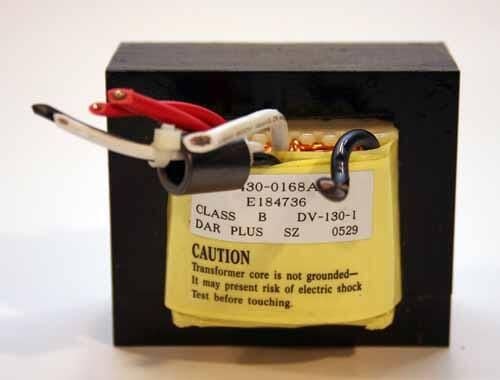
  • APC Transformer

    Here’s a close-up view of one of the APC battery backup’s two transformers.

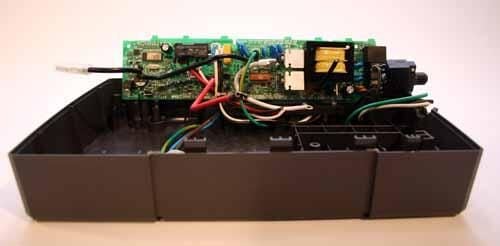
  • The APC Circuit Board

    With the main transformer removed, the entire APC circuit board is becomes visible when viewing the top cover from the side.

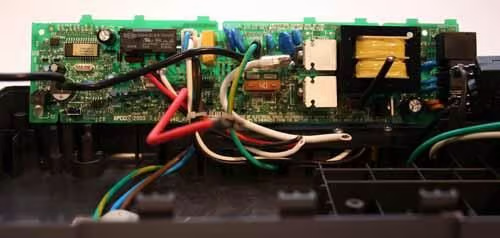
  • The APC Circuit Board

    Here’s a closer look at the APC circuit board. In this image, you can make out a 40-amp fuse, as well as a secondary Class B transformer.

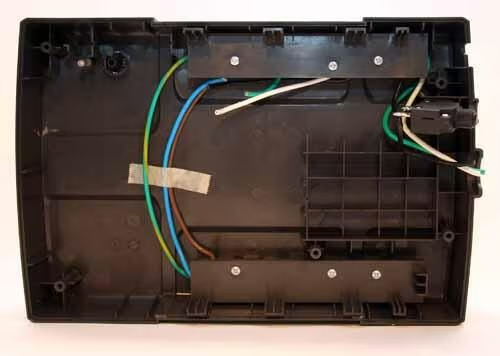
  • APC Top Cover

    With the circuit board and transformer removed, the APC top cover is virtually empty. All that remains is the circuit reset switch and a few wires (cut to enable removing various components throughout the disassembly).

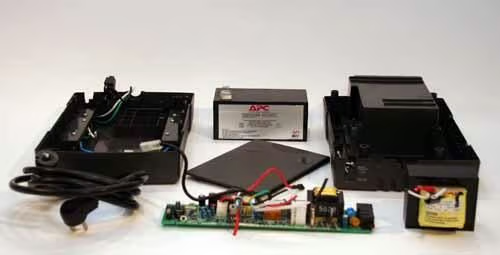
  • The APC Back-UPS ES 350: Disassembled

    Here are all the components that compose the APC Back-UPS ES 350. The circuit board is front center, with the transformer sitting bottom right. The two halves are on the left (top half) and right (bottom case), while the batter sits at the top center.

1 of 24
Erik Eckel

Erik Eckel is a managing partner at Louisville Geek and president of Eckel Media Corp. He previously served as Executive Editor at TechRepublic. He received Microsoft Engineer accreditation from Sullivan University and earned his Bachelor's Degree in English from the University of Louisville. He's earned Network+, Windows NT 4.0 MCP+I and MCSE, and Windows 2000 Professional MCP accreditations.