Skip to content

TechRepublic

  • Top Products Lists
  • Developer
  • 5G
  • Security
  • Cloud
  • Artificial Intelligence
  • Tech & Work
  • Mobility
  • Big Data
  • Innovation
  • Cheat Sheets
  • TechRepublic Academy
  • CES
  • TechRepublic Premium
  • Top Products Lists
  • Developer
  • 5G
  • Security
  • Cloud
  • Artificial Intelligence
  • Tech & Work
  • Mobility
  • Big Data
  • Innovation
  • Cheat Sheets
  • TechRepublic Academy
  • CES
  • See All Topics
  • Sponsored
  • Newsletters
  • Forums
  • Resource Library
TechRepublic Premium
Join / Sign In
After Hours

Cracking Open Shocking Fun’s Shocking Tanks

By kenkeesling November 25, 2007, 12:13 AM PST

Image
1
of 33

DSC02787_640x480.jpg
Cracking Open Shocking Fun’s Shocking Tanks

Tank & Controller

Tank & Controller

By Ken Keesling

Last week, I reviewed Shocking Fun’s Shocking Tanks as part of TechRepublic’s Geek Gift series. The Shocking Tanks scored very well–four points out of a possible five on fun factor alone. But the real fun, for this geek, is in cracking them apart.

Let’s see what’s inside.

Read my Geek Gift review of Shocking Fun’s Shocking Tanks.

Cracking Open Shocking Fun’s Shocking Tanks

Tank

Tank

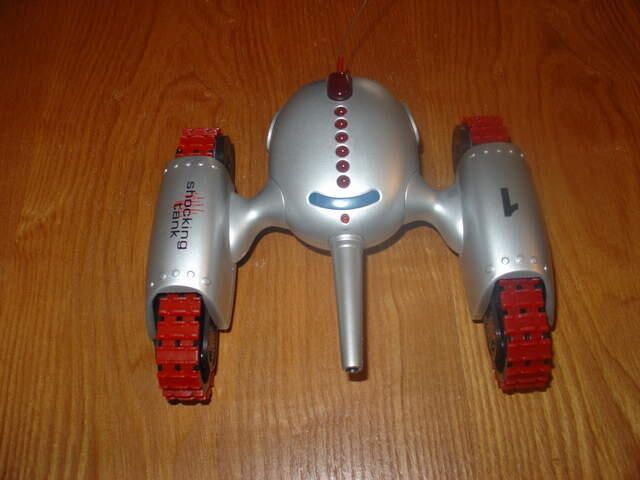
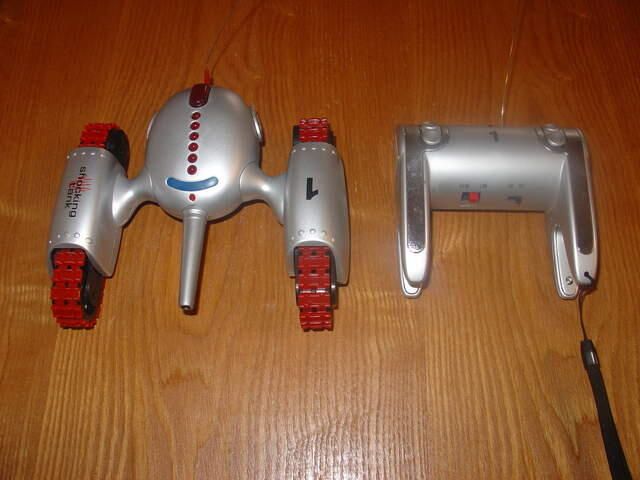
I started with the tank.

Cracking Open Shocking Fun’s Shocking Tanks

Bottom of tank

Bottom of tank

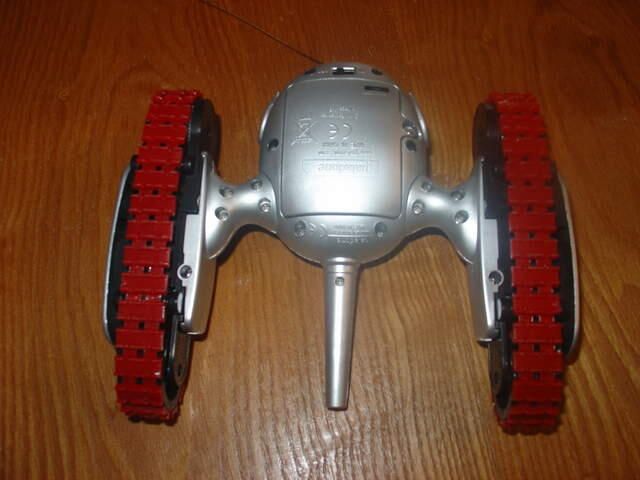
There’s only one screw to take out to remove battery cover.

Cracking Open Shocking Fun’s Shocking Tanks

Batteries removed

Batteries removed

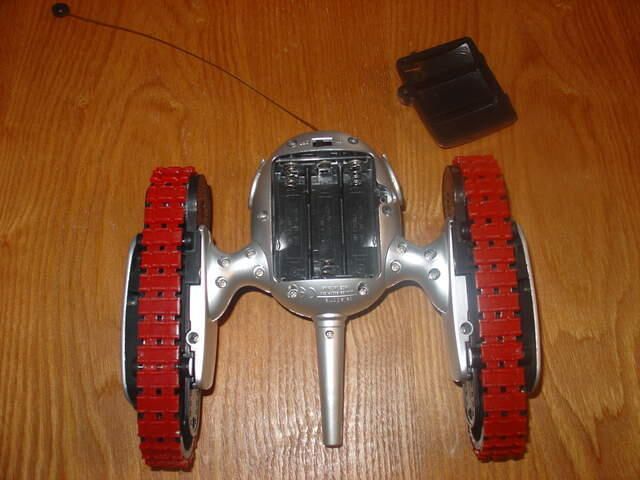
After the batteries are removed you can start taking screws out. There are around twenty screws on the bottom.

Cracking Open Shocking Fun’s Shocking Tanks

Top off the body

Top off the body

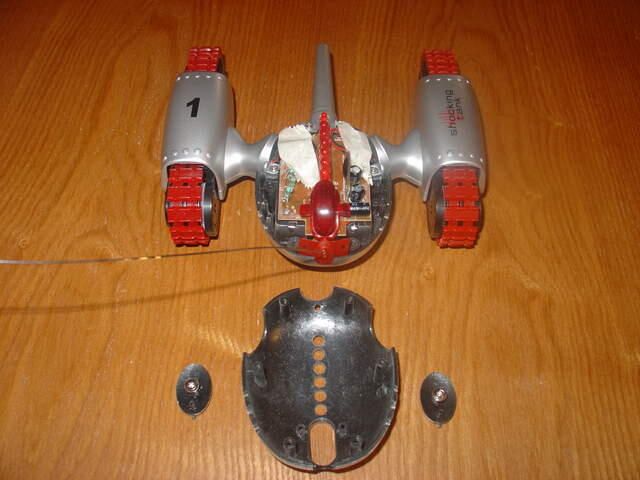
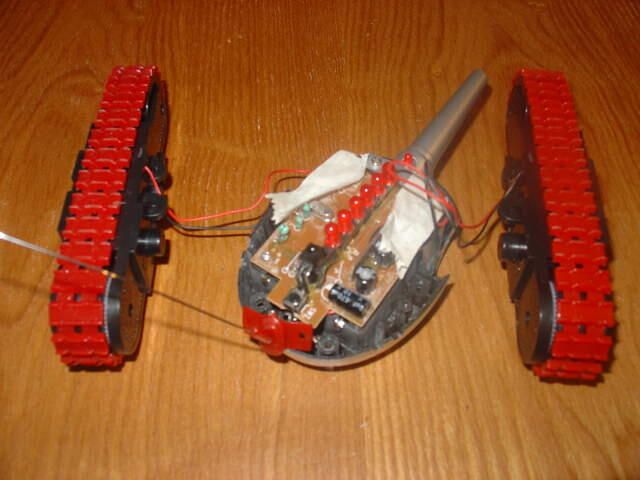
The top pried off fairly easily, exposing the circuit board. The two silver ovals, seen here, just slide off.

Cracking Open Shocking Fun’s Shocking Tanks

Close-up of the circuit board

Close-up of the circuit board

Here’s a closer look at the circuit board. You can also see the remaining two screws (one on each side) holding the tank’s tracks in place.

Cracking Open Shocking Fun’s Shocking Tanks

Detached tracks

Detached tracks

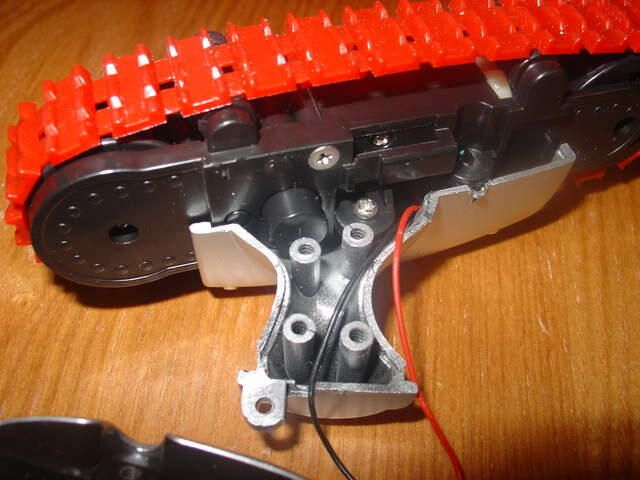
With the top off the body of the tank and the last two screws removed I was able to easily pull the tank’s tracks away from the body. Now they are only attached by two small wires on each side. These wires are soldered in place on both ends, but not very well. I broke three solder points taking it apart.

Cracking Open Shocking Fun’s Shocking Tanks

Screws holding cannon

Screws holding cannon

There are four screws holding the cannon on. In this pic, I have already taken out one screw from the bottom that held the two halves of the cannon together.

Cracking Open Shocking Fun’s Shocking Tanks

Inside of cannon

Inside of cannon

After removing the four screws attaching the cannon to the body, I pried the cannon apart. There were four tabs at the tip of the cannon that were glued together, so I had to break them to get it apart. Should be easy enough to glue it back together.

Here you can see the inside of the cannon.

Cracking Open Shocking Fun’s Shocking Tanks

Removing antenna

Removing antenna

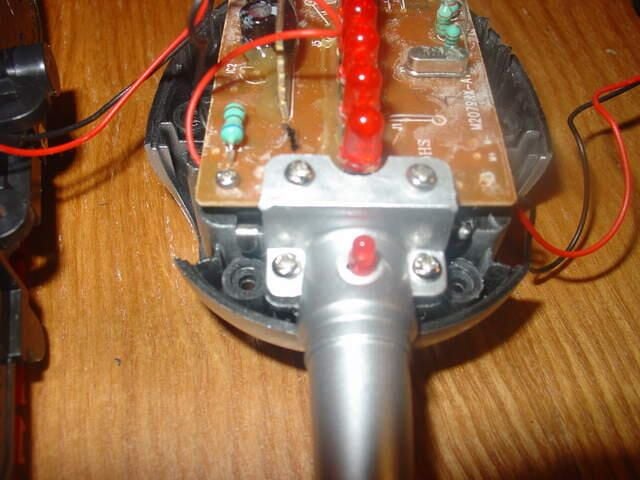
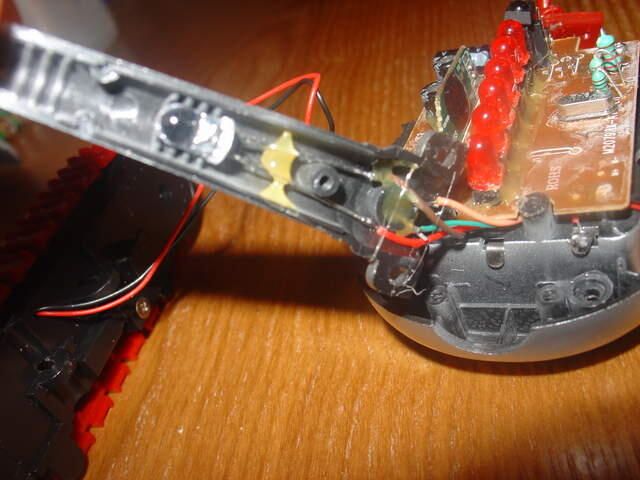
One screw and the antenna was off.

Cracking Open Shocking Fun’s Shocking Tanks

Bottom of circuit board

Bottom of circuit board

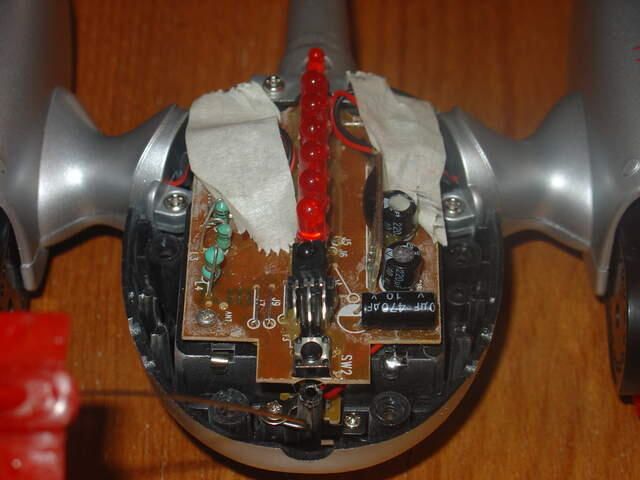
There were only two screws holding the circuit board in place. Here we can see the bottom side of the circuit board.

Cracking Open Shocking Fun’s Shocking Tanks

Plastic off the bottom of tank's tracks

Plastic off the bottom of tank's tracks

Prying the plastic off the bottom of the tank’s tracks reveals one more screw that we need to remove to get the rest of the cover off.

Cracking Open Shocking Fun’s Shocking Tanks

Covers off the tracks

Covers off the tracks

Here we have the covers off both of the tank’s tracks.

Cracking Open Shocking Fun’s Shocking Tanks

Tread off tracks

Tread off tracks

Next I removed the tread from the tracks. They pull off very easily.

You can also see the three screws I have to remove next.

Cracking Open Shocking Fun’s Shocking Tanks

Little wheels

Little wheels

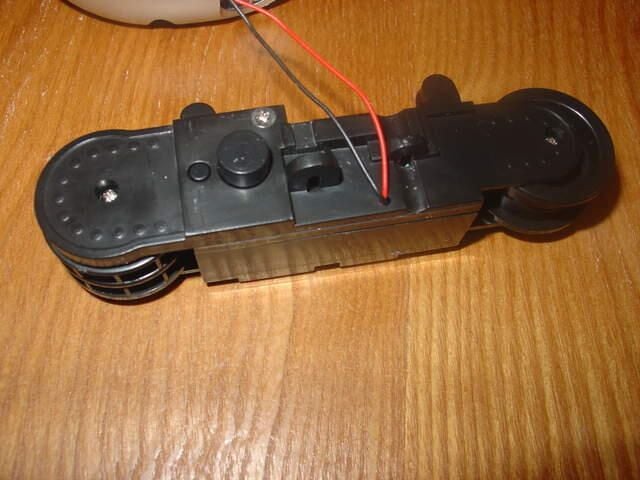
The two little sets of wheels closer to the center of the tracks will fall out when the inside is pulled off.

Cracking Open Shocking Fun’s Shocking Tanks

Inside taken off of track

Inside taken off of track

After the inside of the track is taken off you can see the gearbox and the motor.

Cracking Open Shocking Fun’s Shocking Tanks

Track taken apart.

Track taken apart.

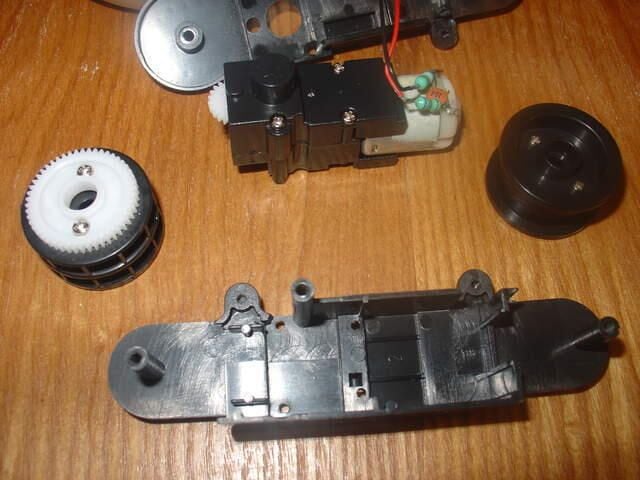
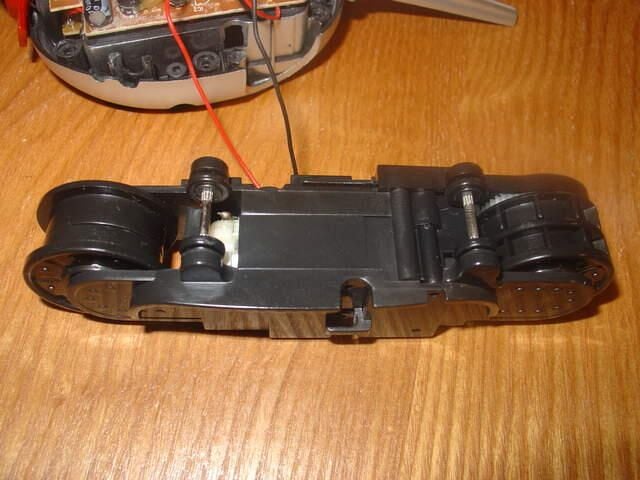
The wheels, gearbox, and motor slip right out of the outside casing of the track.

Cracking Open Shocking Fun’s Shocking Tanks

Gearbox parts

Gearbox parts

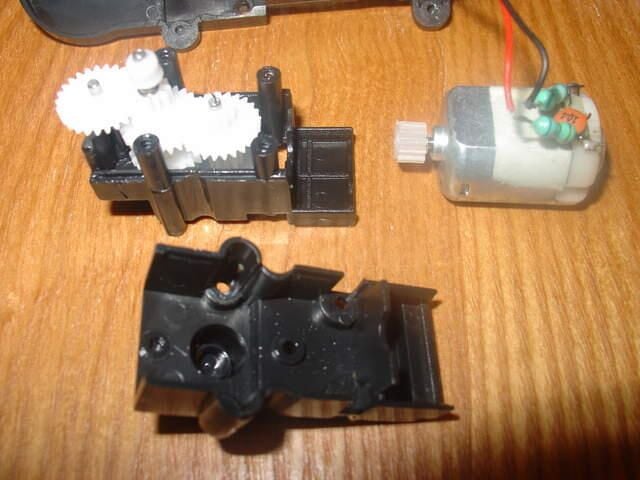
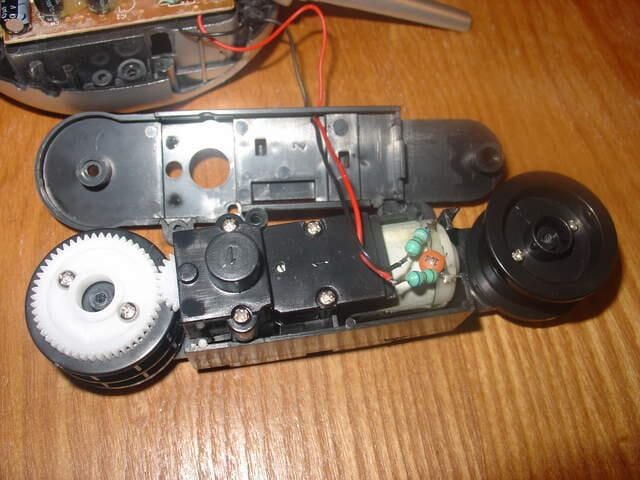
After removing four small screws the top of the gearbox could be removed. Here you can see the gearbox, gearbox top, and motor.

Cracking Open Shocking Fun’s Shocking Tanks

Gearbox disassembly

Gearbox disassembly

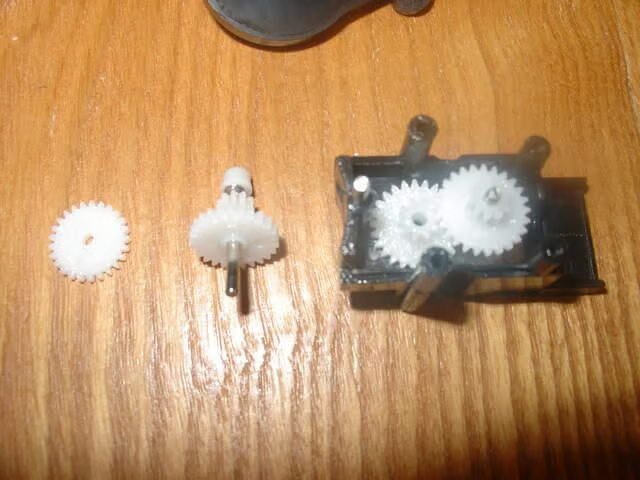
Here I was taking apart the gearbox

Cracking Open Shocking Fun’s Shocking Tanks

Gearbox disassembled

Gearbox disassembled

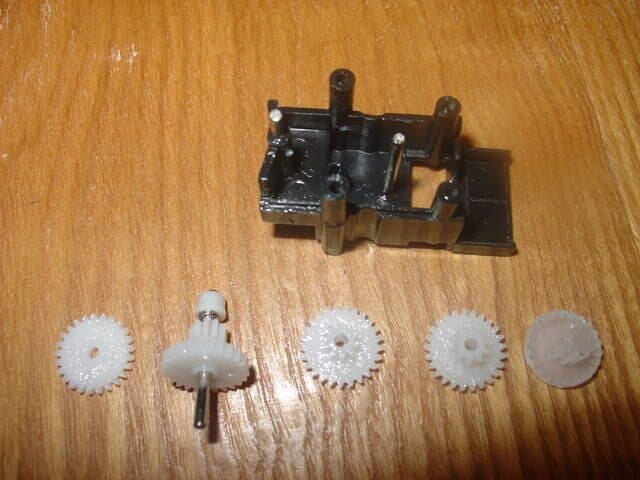
Here is the gearbox completely disassembled.

Cracking Open Shocking Fun’s Shocking Tanks

Tank - completely disassembled

Tank - completely disassembled

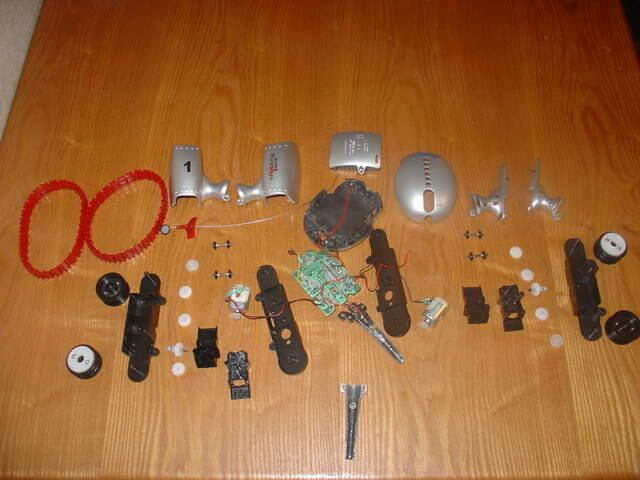
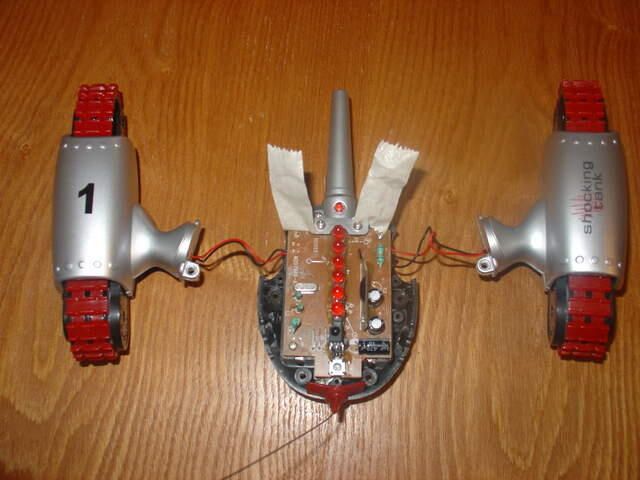
And the whole tank is disassembled.

I broke a few solder points along the way, but everything should go back together easily as soon as I get my hands on a soldering iron. I will let you know how it goes in the comments.

Cracking Open Shocking Fun’s Shocking Tanks

Screwdriver and screws

Screwdriver and screws

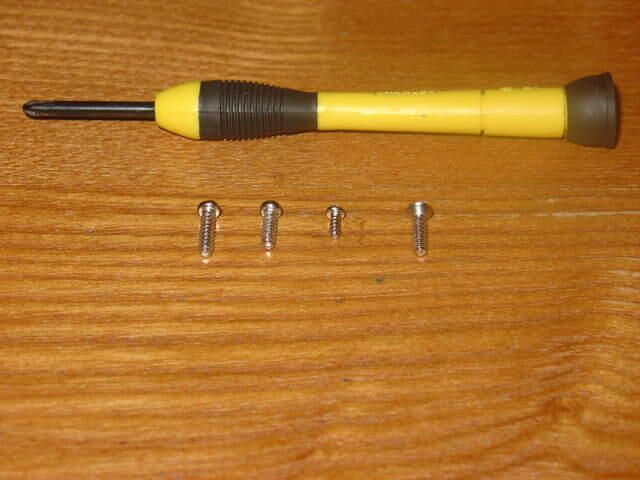
Reassembly should be easy, since there were mainly three sizes of screws. There were only two of the screw on the far right.

I used this screwdriver for all of the screws. I used a similar, but flat-edged, screwdriver for prying.

Cracking Open Shocking Fun’s Shocking Tanks

Back of controller

Back of controller

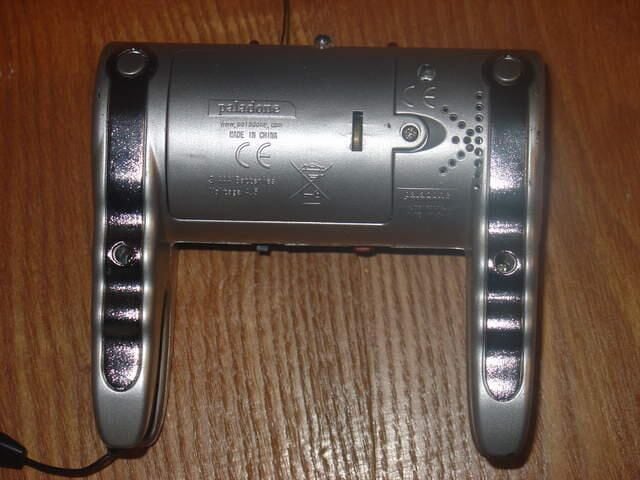
Like on the tank, the battery cover is held in place with one screw.

Cracking Open Shocking Fun’s Shocking Tanks

Battery cover off

Battery cover off

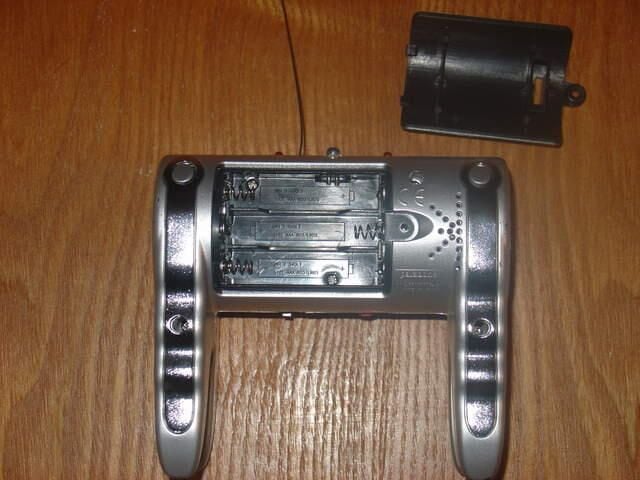
After the batteries were removed I could see that there were two more screws in addition to the three I could already see on the back.

Cracking Open Shocking Fun’s Shocking Tanks

Controller open

Controller open

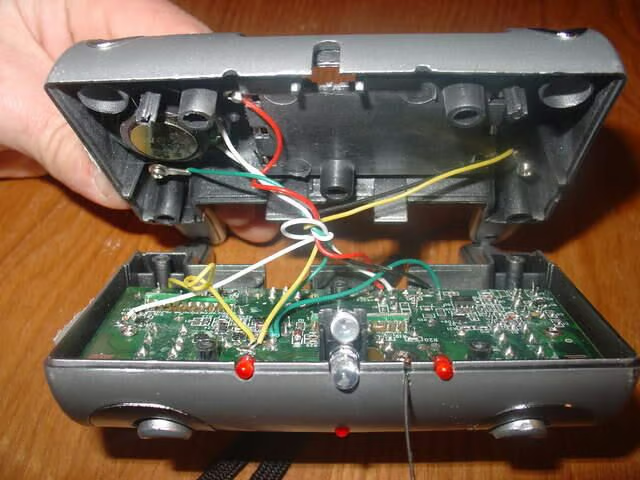
After the screws on the back were removed I could separate the two halves of the controller. You can see here that there are a number of wires still attached to each half. The yellow and green wires you see go to the metal on the controller to deliver the shock.

Cracking Open Shocking Fun’s Shocking Tanks

Triggers

Triggers

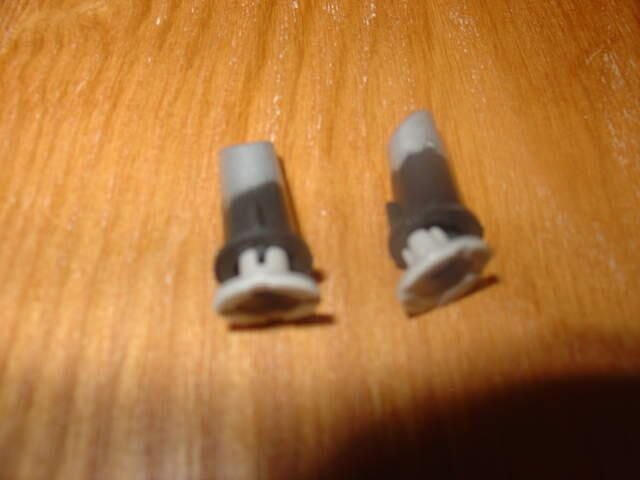
The trigger buttons will fall out when the two halves are separated.

Cracking Open Shocking Fun’s Shocking Tanks

Wire connection

Wire connection

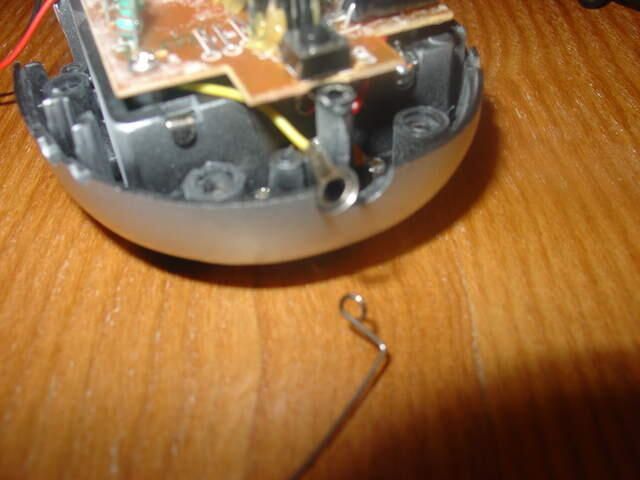
The hole I’m pointing to in this picture (and its counterpart on the other side of the controller) are where the yellow & green wires connect.

Cracking Open Shocking Fun’s Shocking Tanks

Removed metal plates

Removed metal plates

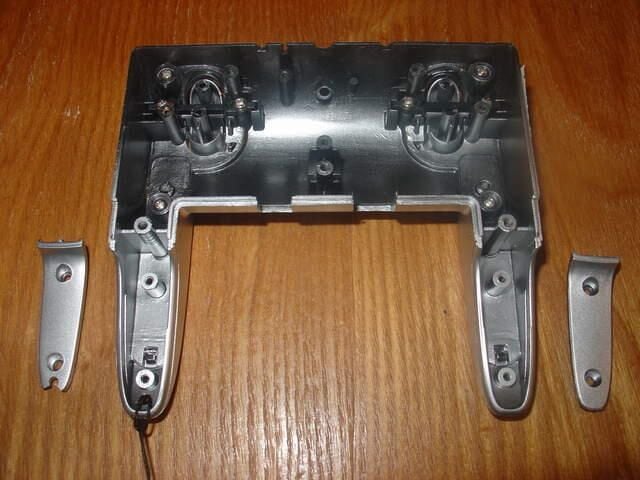
I took out the four screws and removed the metal plates. I also removed the four screws attaching the metal on the front of the controller, as well as the four screws holding the buttons on.

Cracking Open Shocking Fun’s Shocking Tanks

Disassembled controller front

Disassembled controller front

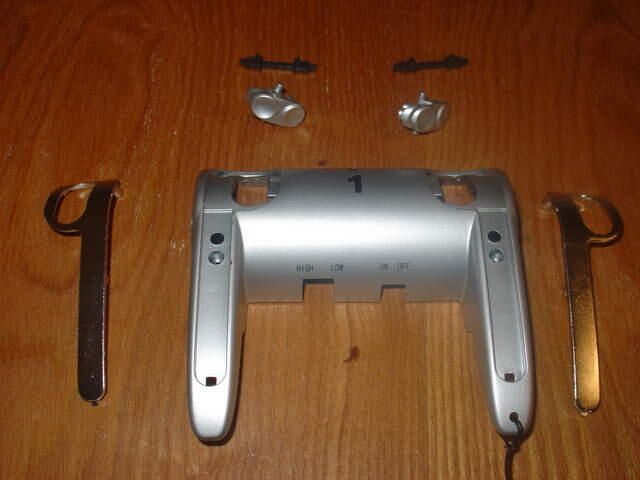
Here we see the entire front of the controller disassembled.

Cracking Open Shocking Fun’s Shocking Tanks

Back of circuit board

Back of circuit board

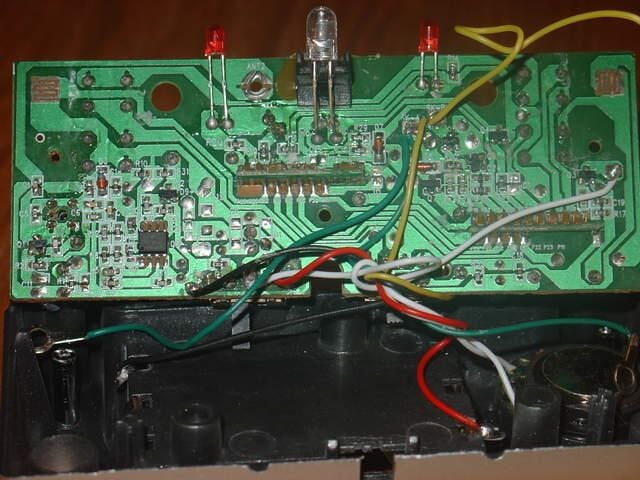
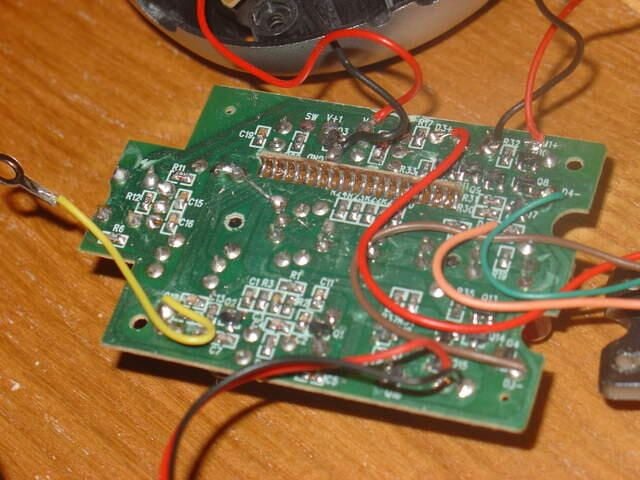
This is the back of the circuit board.

Cracking Open Shocking Fun’s Shocking Tanks

Front of circuit board

Front of circuit board

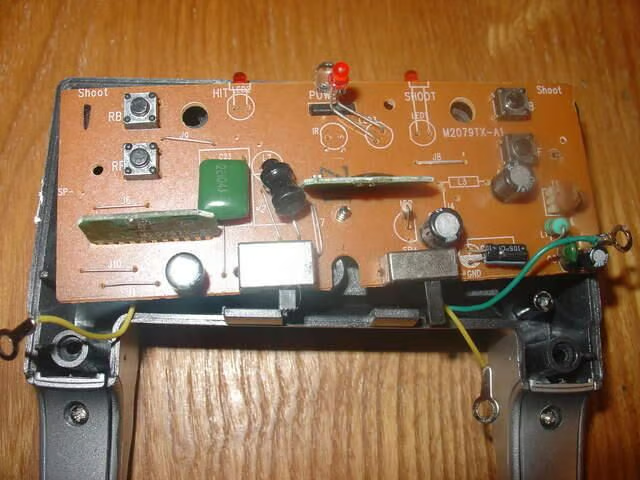
This is the front of the circuit board.

Cracking Open Shocking Fun’s Shocking Tanks

Disassembled controller back

Disassembled controller back

Here I have removed the metal plates on the inside of the controller back. This is as far as I could disassemble it without breaking or cutting the speaker out. No matter — taking the metal off the back would be pretty much the same as on the front.

Cracking Open Shocking Fun’s Shocking Tanks

Total disassembled controller

Total disassembled controller

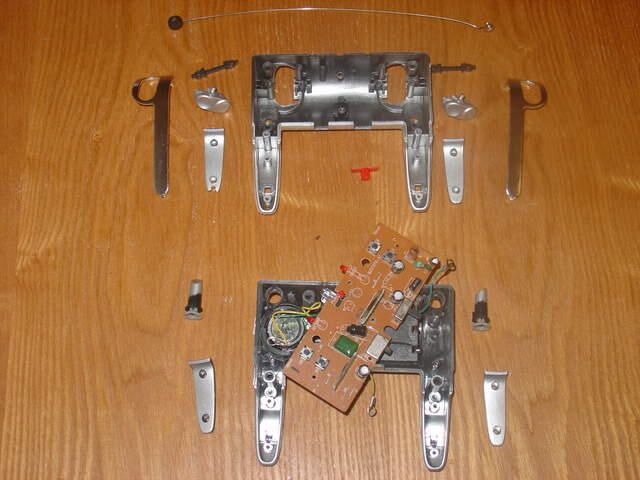
The disassembled controller.

For those who are wondering, I was able to reassemble the controller and it does work.

Read my Geek Gift review of Shocking Fun’s Shocking Tanks.

  • After Hours
  • Account Information

    Share with Your Friends

    Cracking Open Shocking Fun’s Shocking Tanks

    Your email has been sent

Share: Cracking Open Shocking Fun's Shocking Tanks
Image of kenkeesling
By kenkeesling
  • Account Information

    Contact kenkeesling

    Your message has been sent

  • |
  • See all of kenkeesling's content

TechRepublic Premium

  • TechRepublic Premium

    Shadow IT policy

    Shadow IT is a concept whereby an organization’s employees use technology, services or systems without the knowledge of or approval from the IT department. It has arisen due to several reasons: Advances in cloud computing, which involve the usage of applications or sharing of data in public environments previously owned by IT. The evolution of ...

    Published:  February 2, 2023, 11:00 AM EST Modified:  February 3, 2023, 2:00 PM EST Read More See more TechRepublic Premium
  • TechRepublic Premium

    Auditing and logging policy

    Auditing and logging are essential measures for protecting mission-critical systems and troubleshooting problems. This policy outlines the appropriate auditing and logging procedures for computer systems, networks and devices that store or transport critical data. From the policy: Many computer systems, network devices and other technological hardware used in the enterprise can audit and log various ...

    Published:  February 2, 2023, 11:00 AM EST Modified:  February 3, 2023, 3:00 PM EST Read More See more TechRepublic Premium
  • TechRepublic Premium

    Vendor contract renewal planner

    Determining how and when to renew support contracts can be tedious and time-consuming. Our vendor contract renewal planner will help you schedule support renewals and budget the related costs. From the planner: Some companies schedule their support contract renewals to take effect all at once, such as on January 1. This provides a convenient renewal ...

    Published:  February 1, 2023, 11:00 AM EST Modified:  February 2, 2023, 12:00 PM EST Read More See more TechRepublic Premium
  • TechRepublic Premium

    Access management policy

    Without appropriate access management controls, businesses are at significant risk from the loss or theft of both physical and digital assets. Access management controls establish who is allowed the appropriate level of access in order to do their jobs, while reducing the potential for damage or harm to the company. The purpose of this policy ...

    Downloads
    Published:  February 1, 2023, 11:00 AM EST Modified:  February 2, 2023, 4:00 PM EST Read More See more TechRepublic Premium

Services

  • About Us
  • Newsletters
  • RSS Feeds
  • Site Map
  • Site Help & Feedback
  • FAQ
  • Advertise
  • Do Not Sell My Information

Explore

  • Downloads
  • TechRepublic Forums
  • Meet the Team
  • TechRepublic Academy
  • TechRepublic Premium
  • Resource Library
  • Photos
  • Videos
  • TechRepublic
  • TechRepublic on Twitter
  • TechRepublic on Facebook
  • TechRepublic on LinkedIn
  • TechRepublic on Flipboard
© 2023 TechnologyAdvice. All rights reserved.
  • Privacy Policy
  • Terms of Use
  • Property of TechnologyAdvice