By Scott Wolf
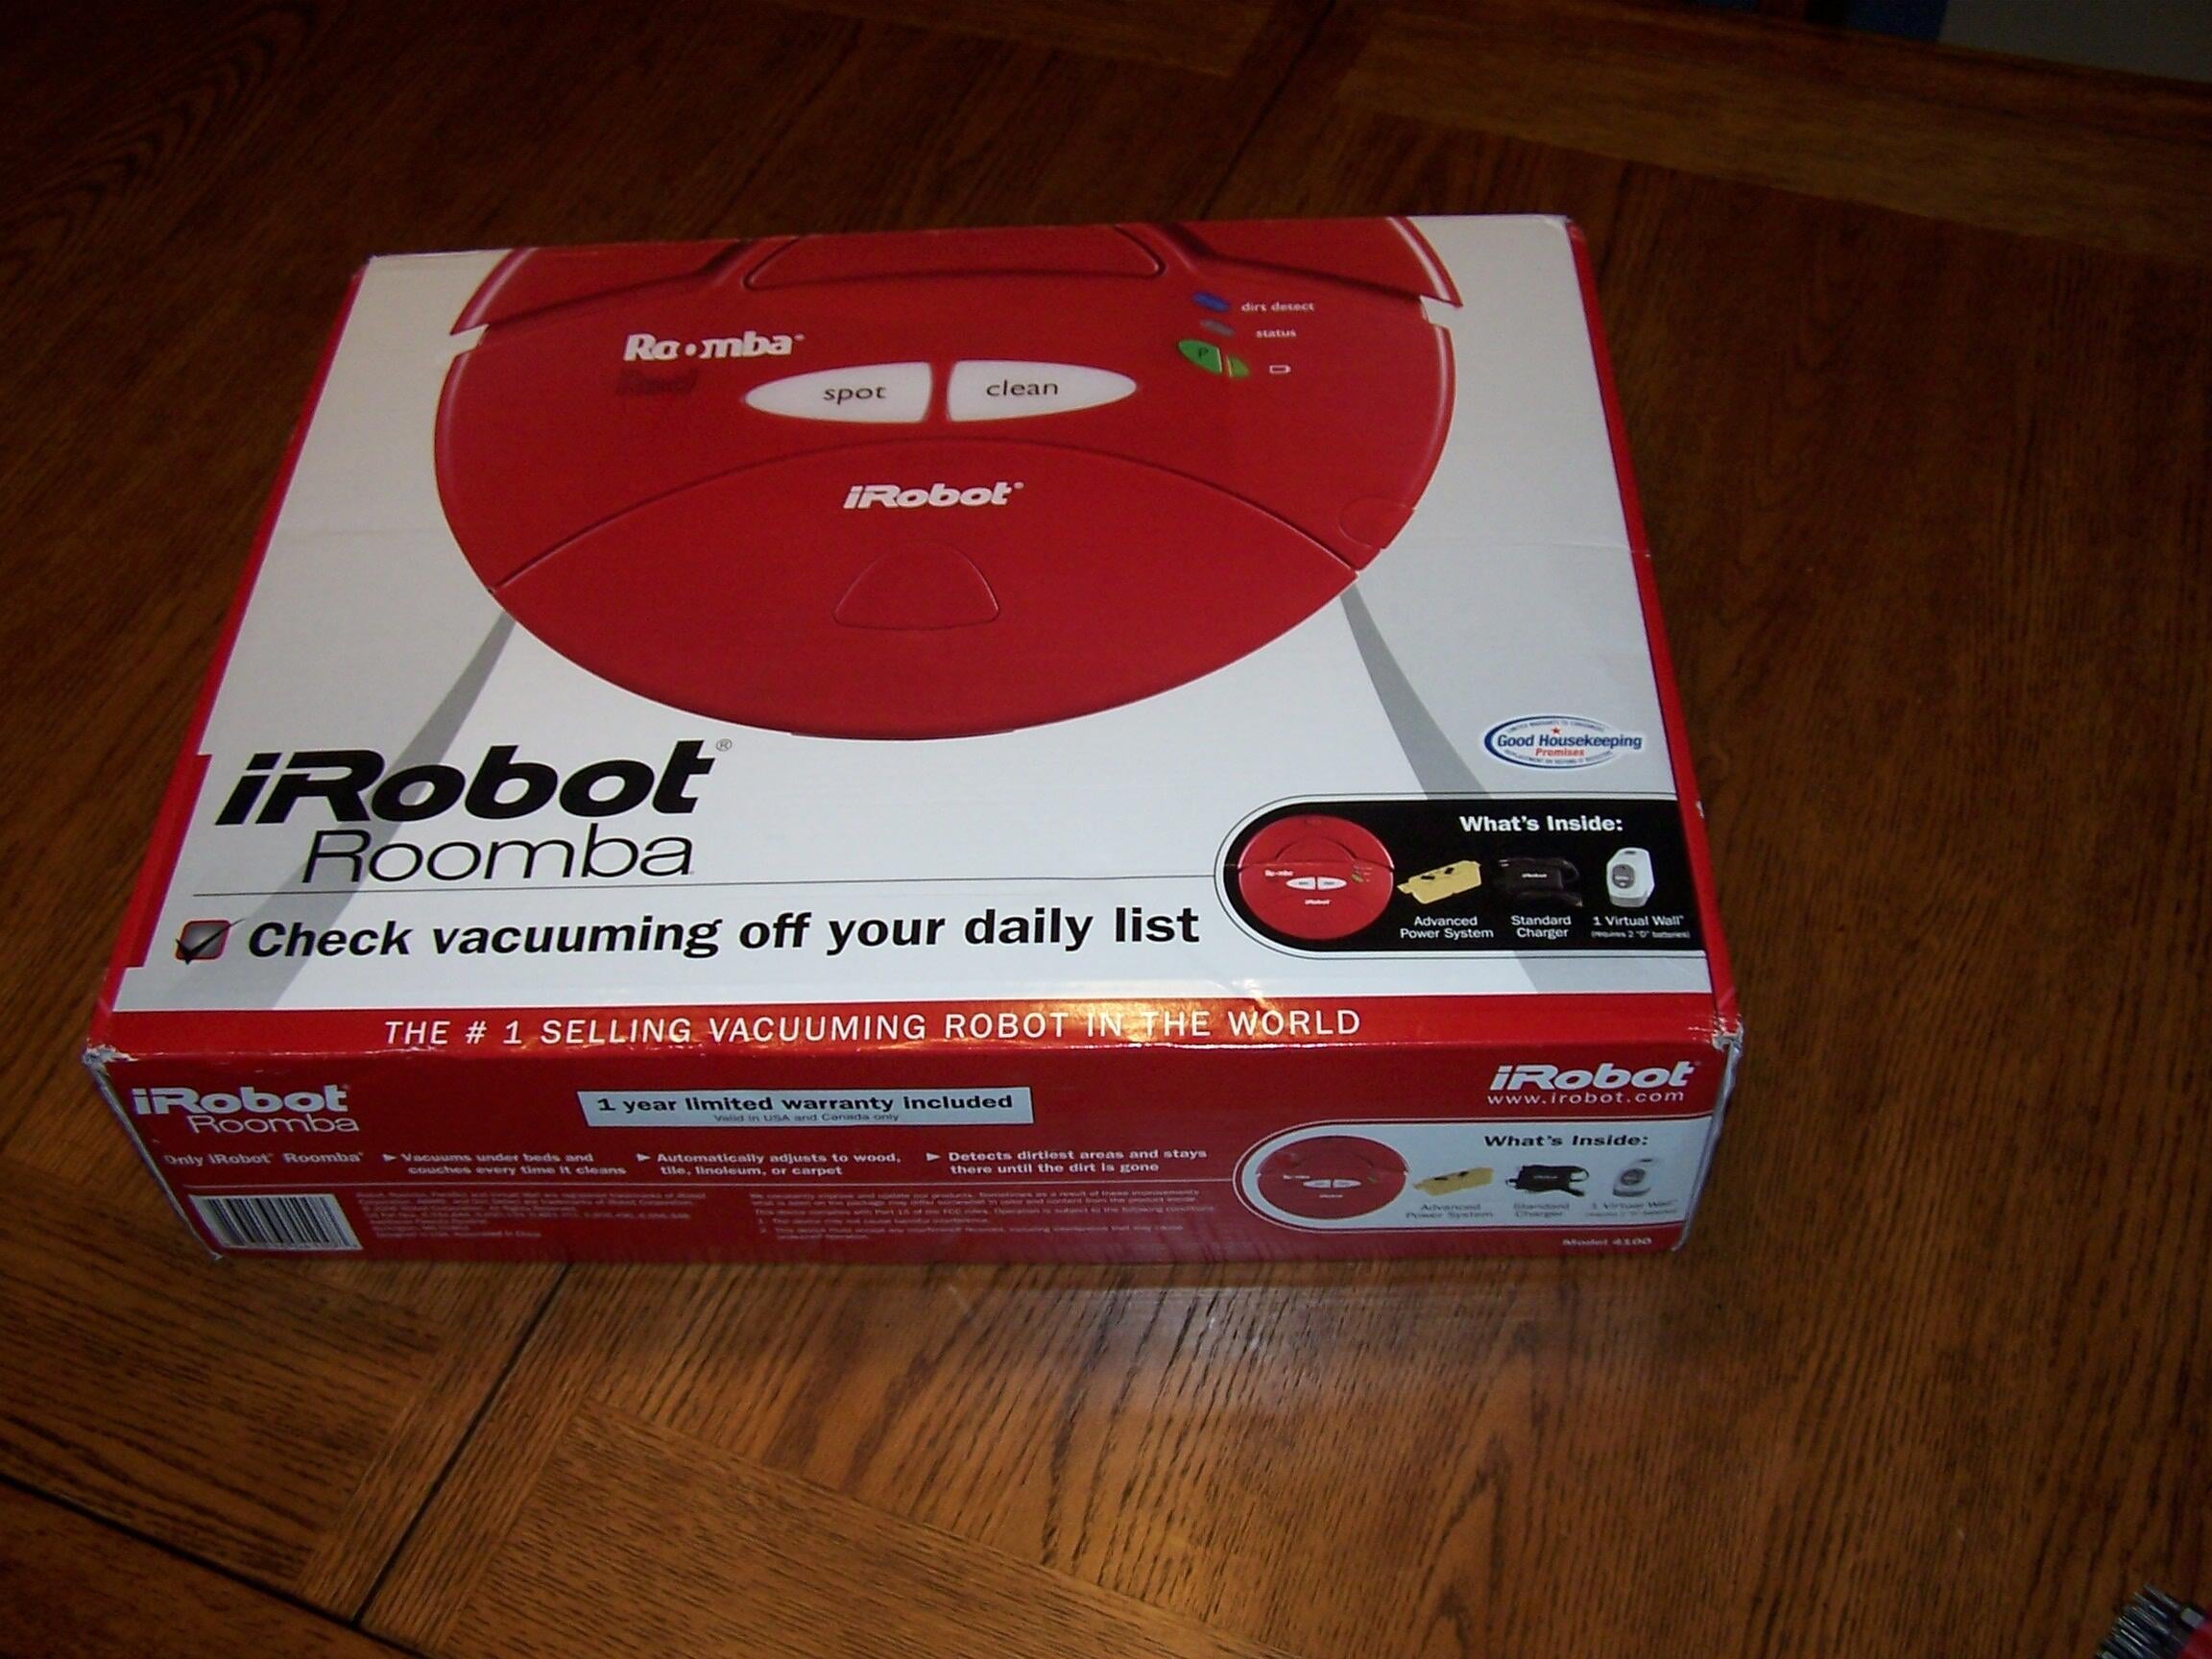
Several TechRepublic members have raved about the iRobot Roomba’s intelligent floor-cleaning prowess and have expressed an interest in seeing one of these innovative gadgets cracked open. Unfortunately, these same members love their own Roombas too much to crack them open. So we cracked open a brand-new Roomba purchased just for this purpose and learned a few things about how the device works.
Read my Geek Gift review of the iRobot Roomba.
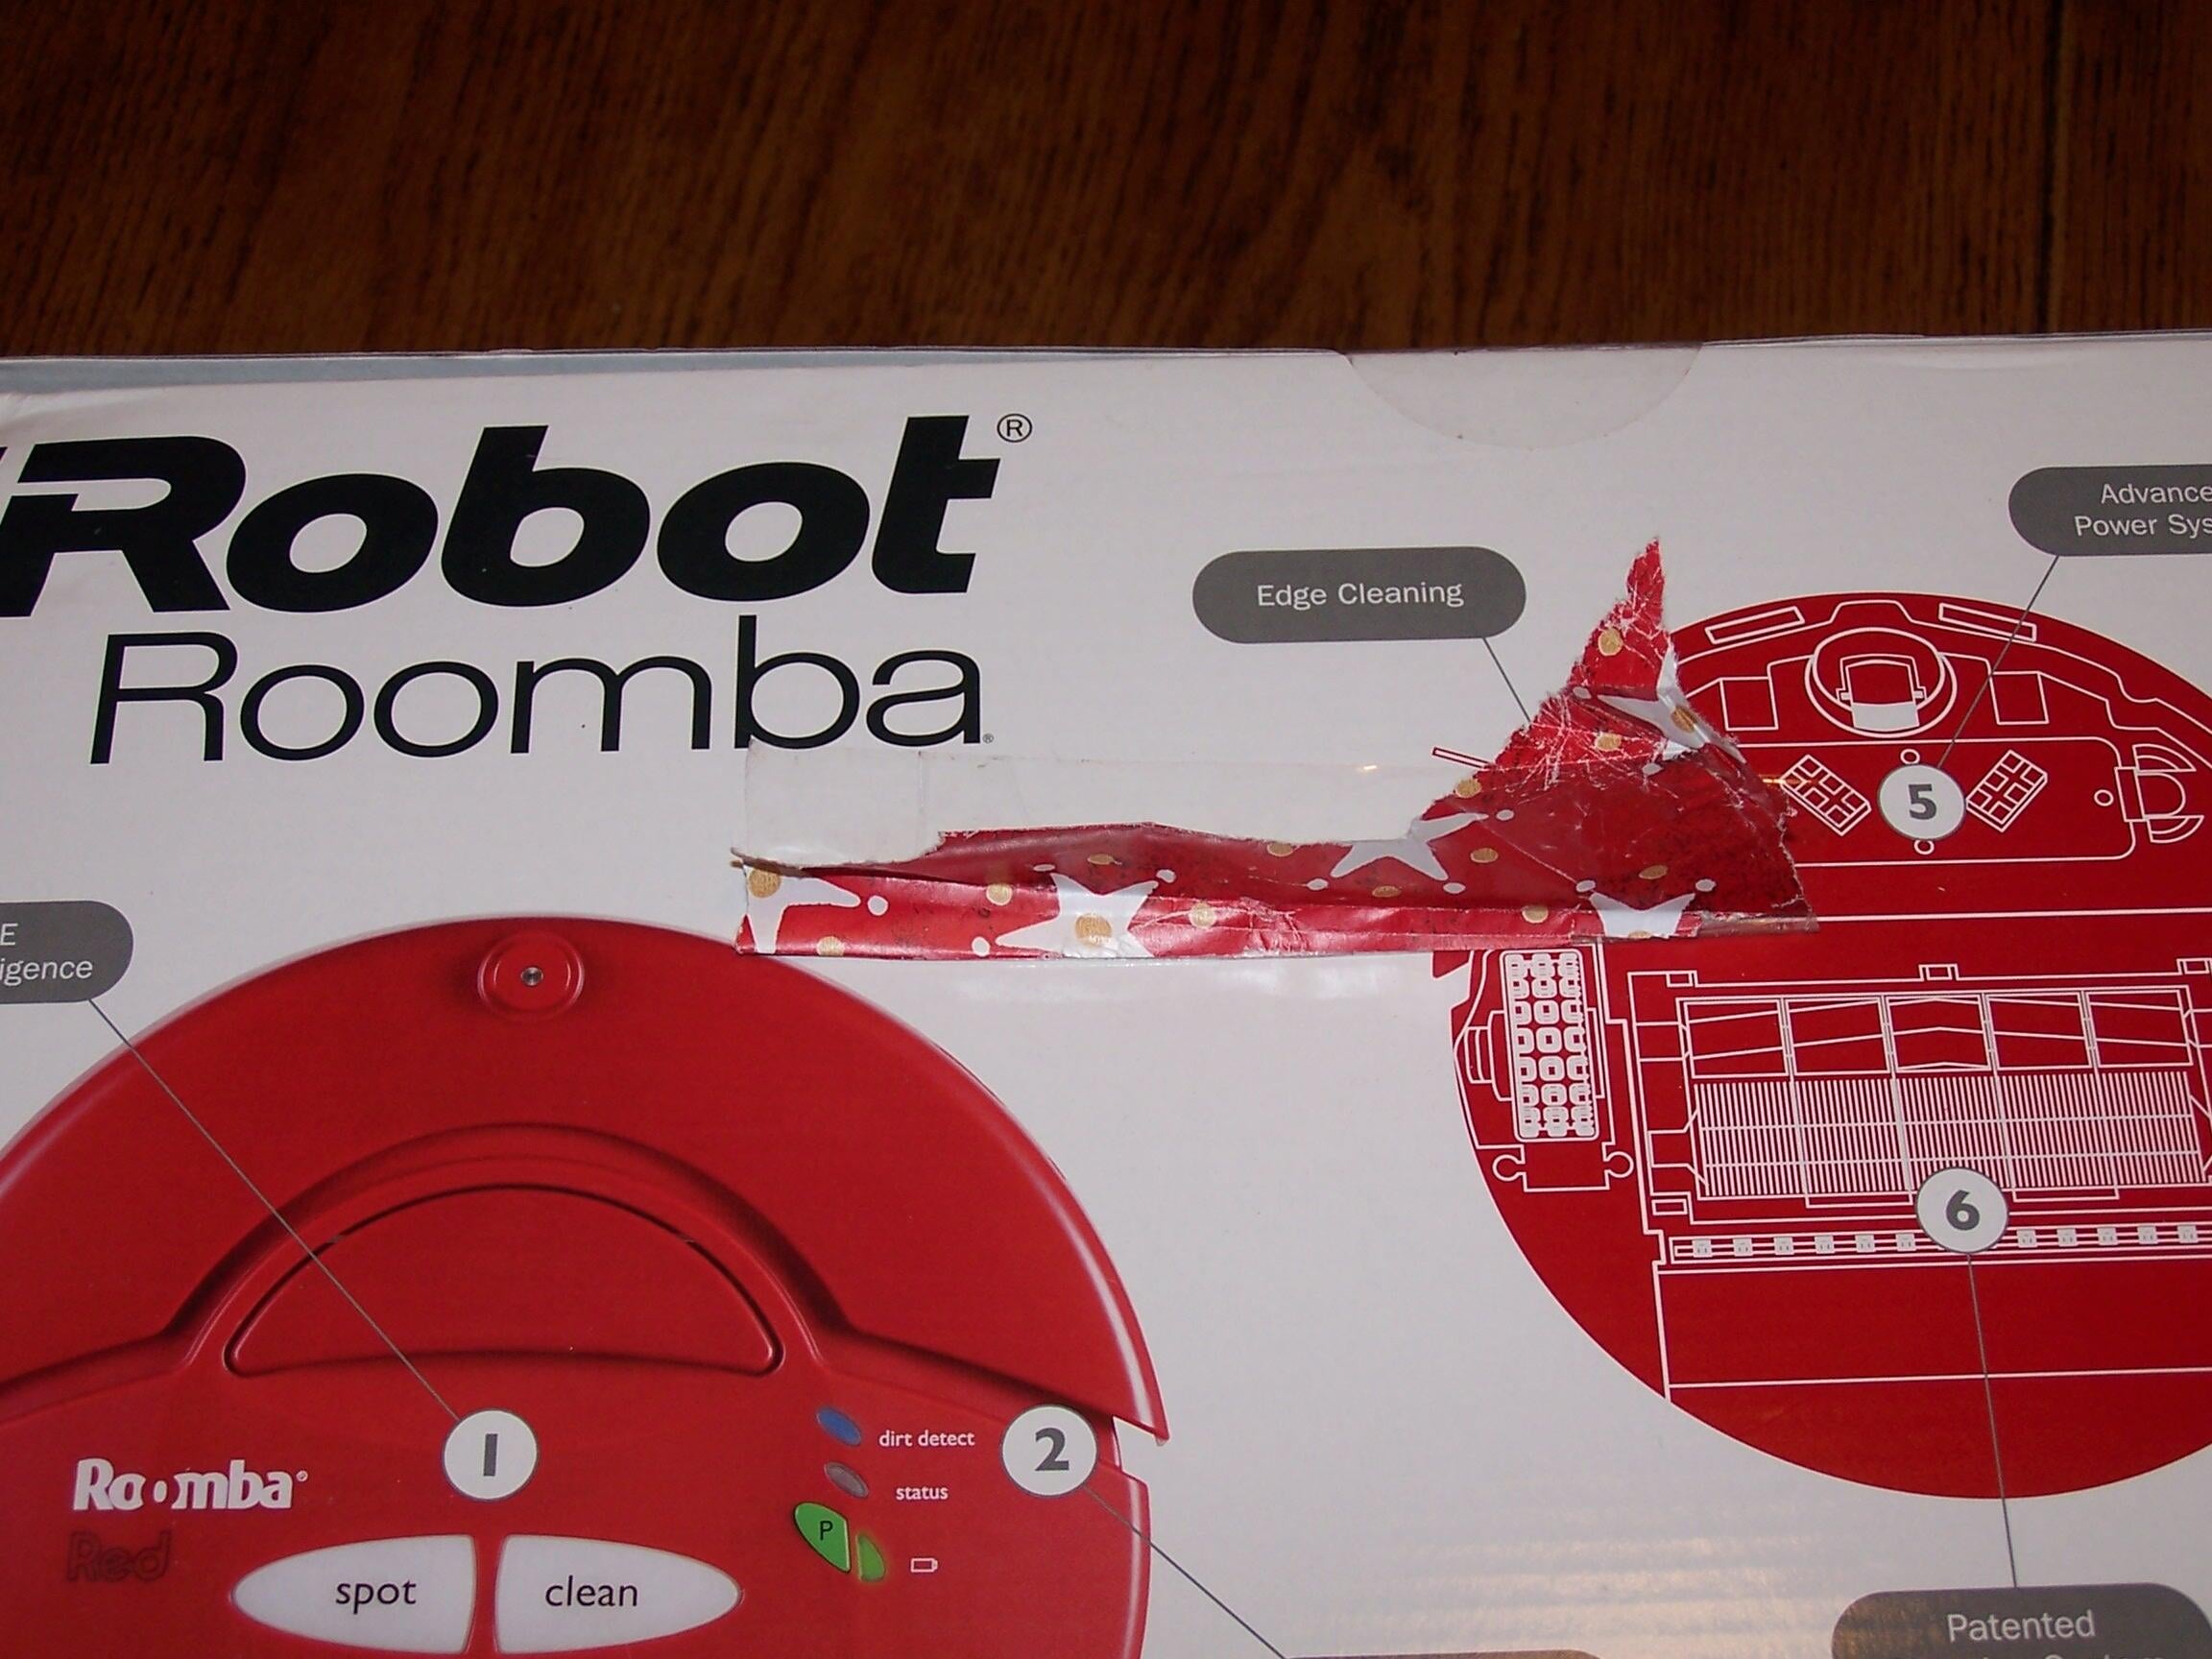
Our sacrificial Roomba even arrived gift-wrapped. Here it is with some wrapping paper remnants still attached. The poor thing has no idea what’s coming.
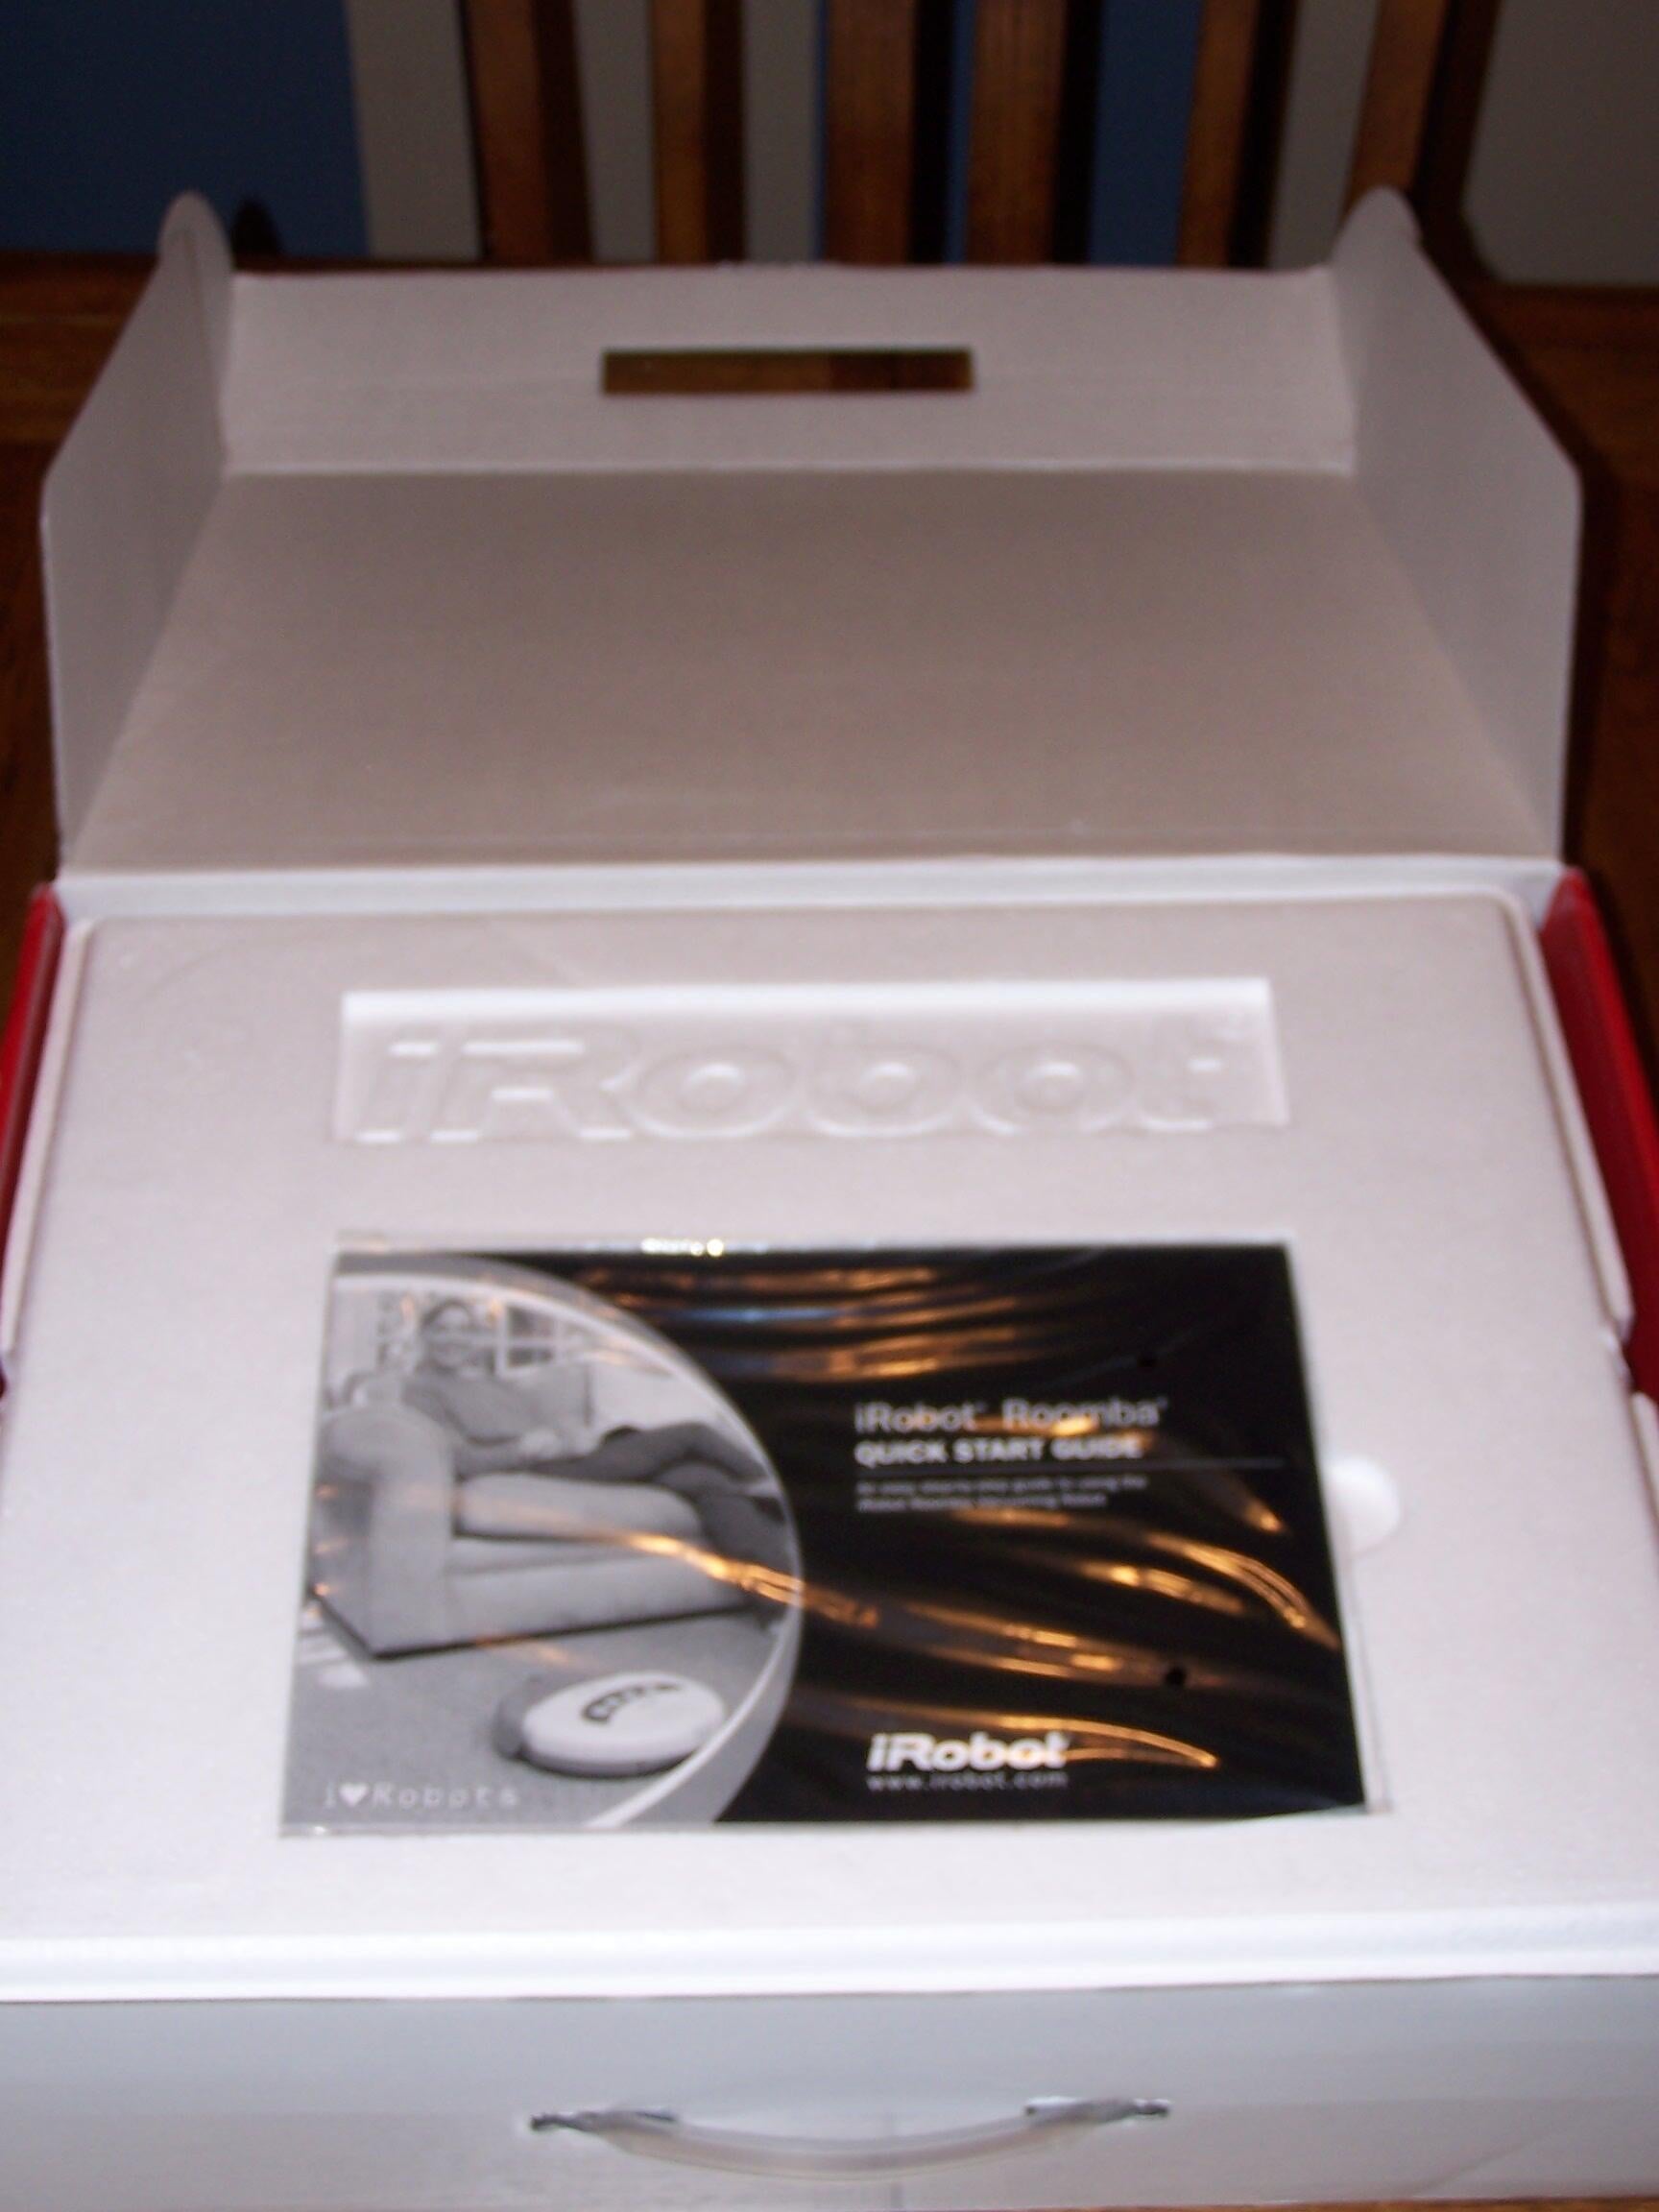
Care to RTFM? It’s right here, first thing you see as soon as you open the box.
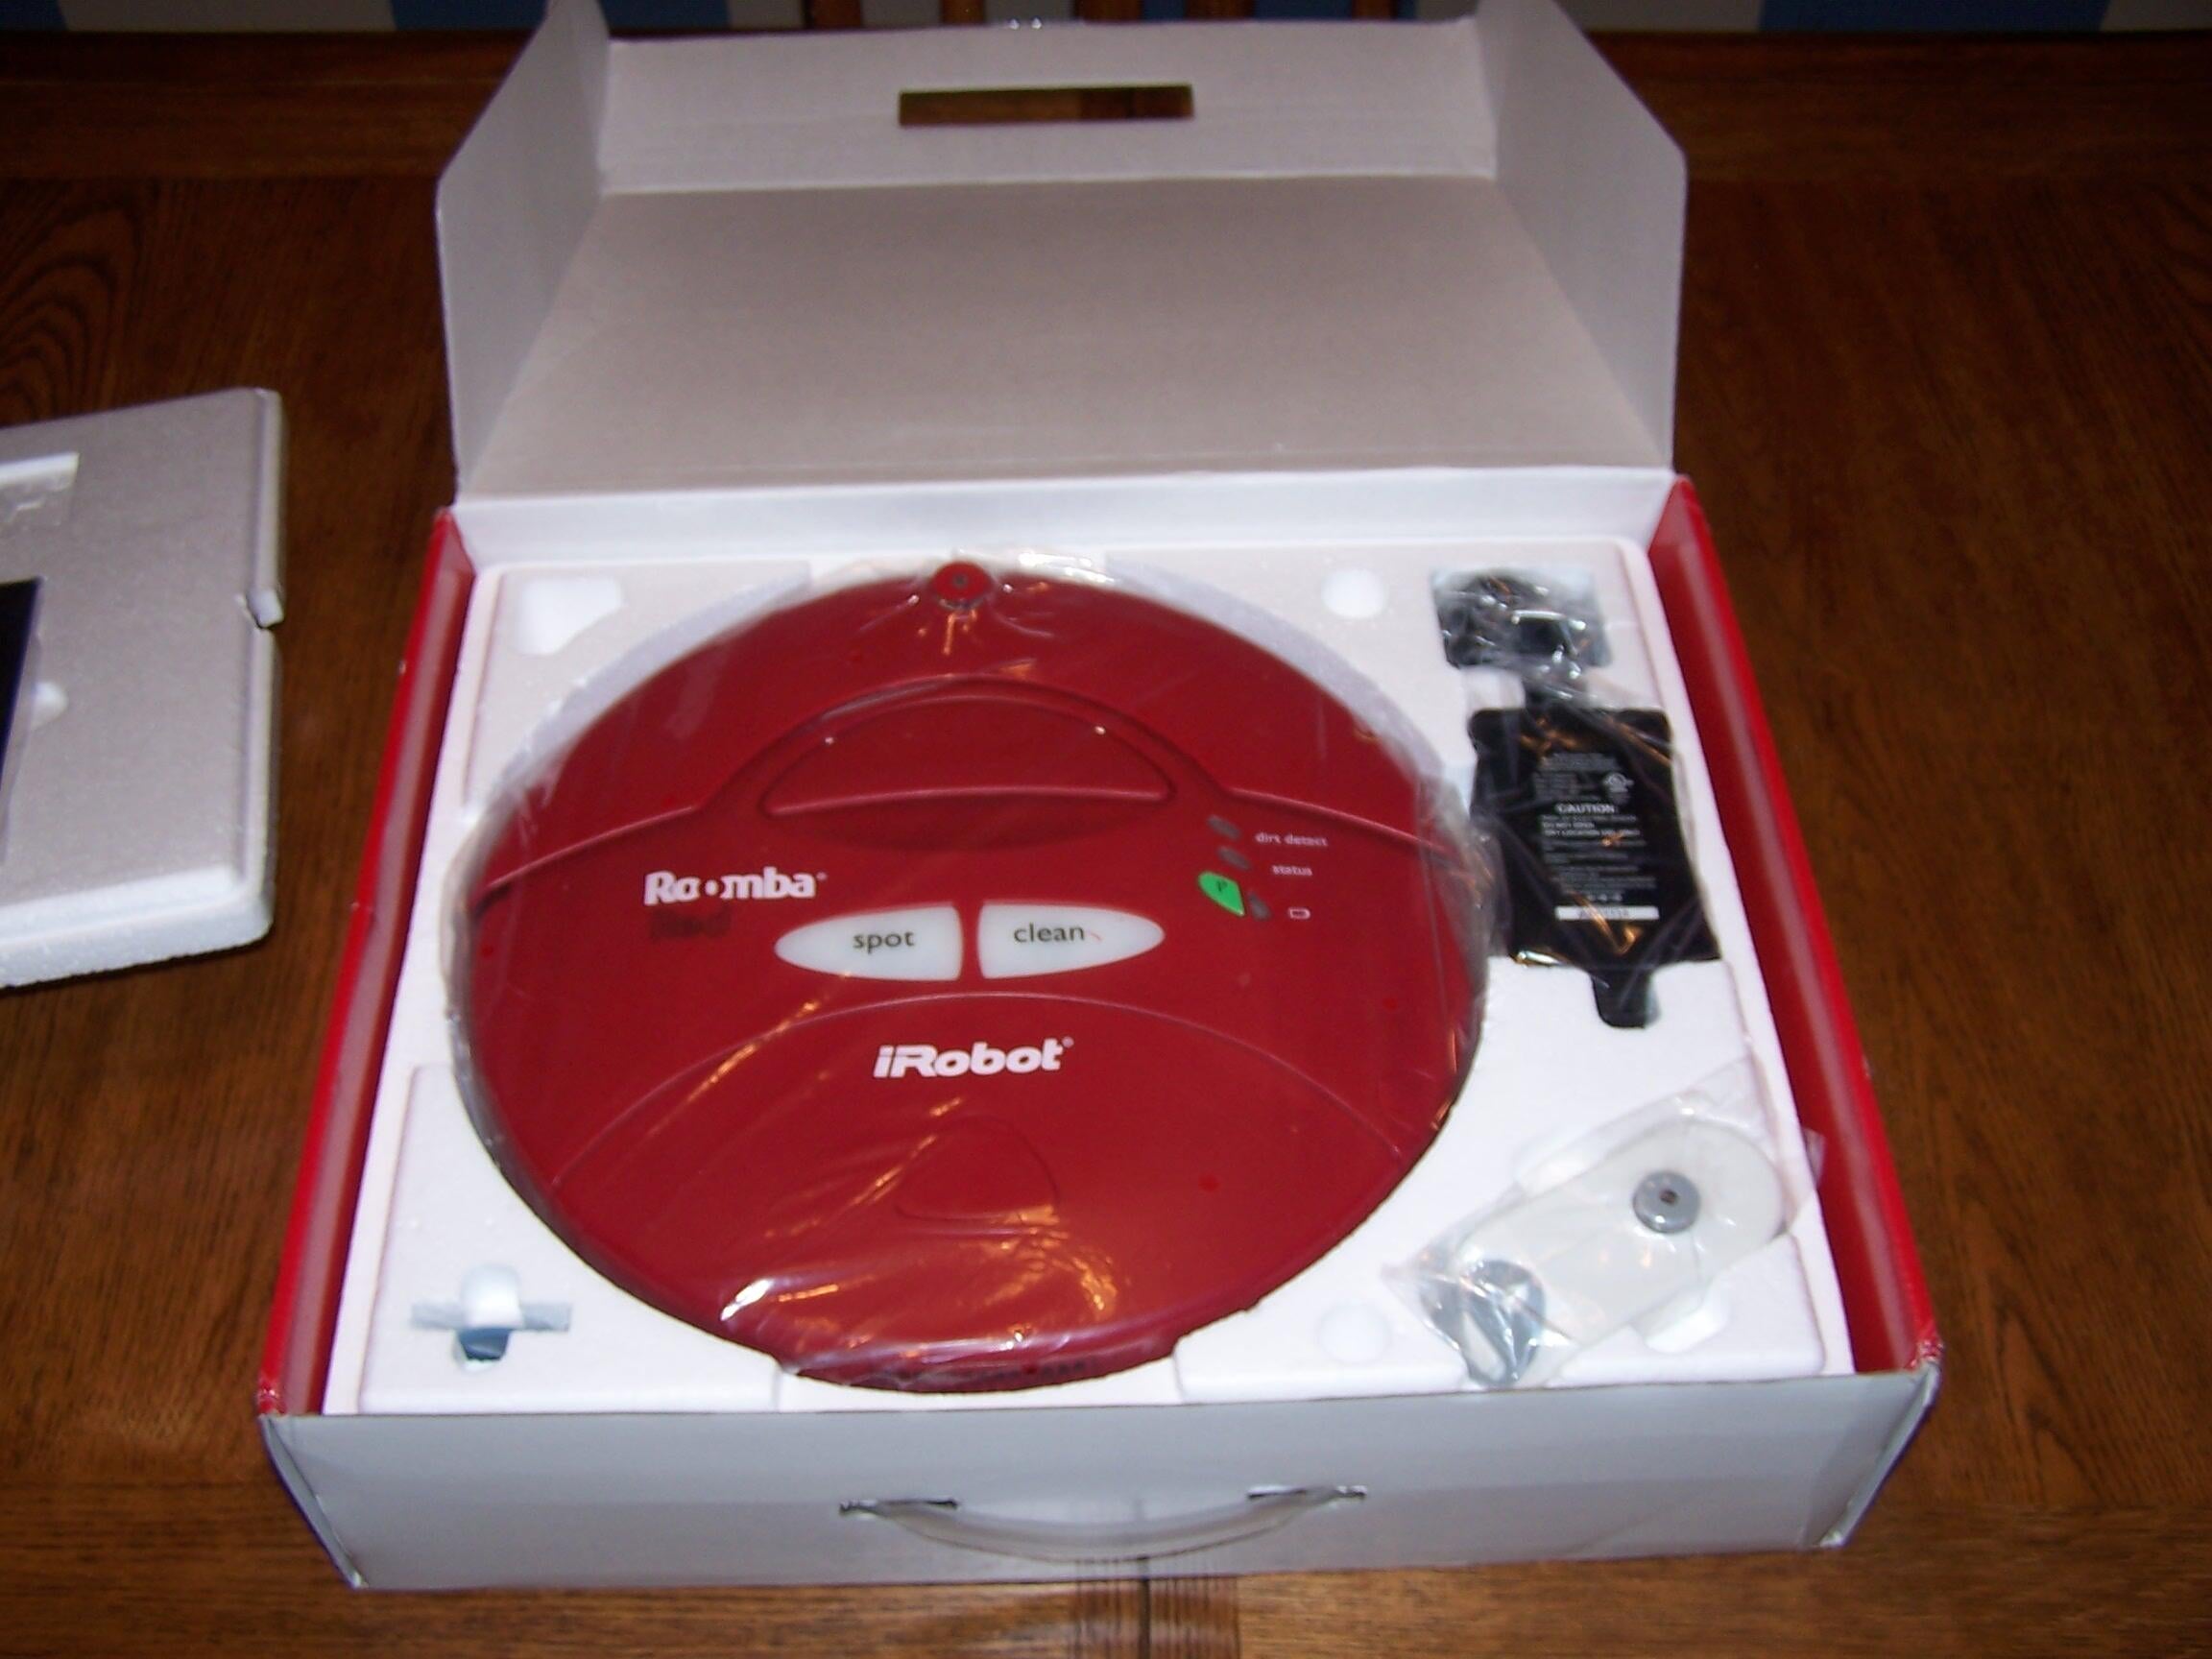
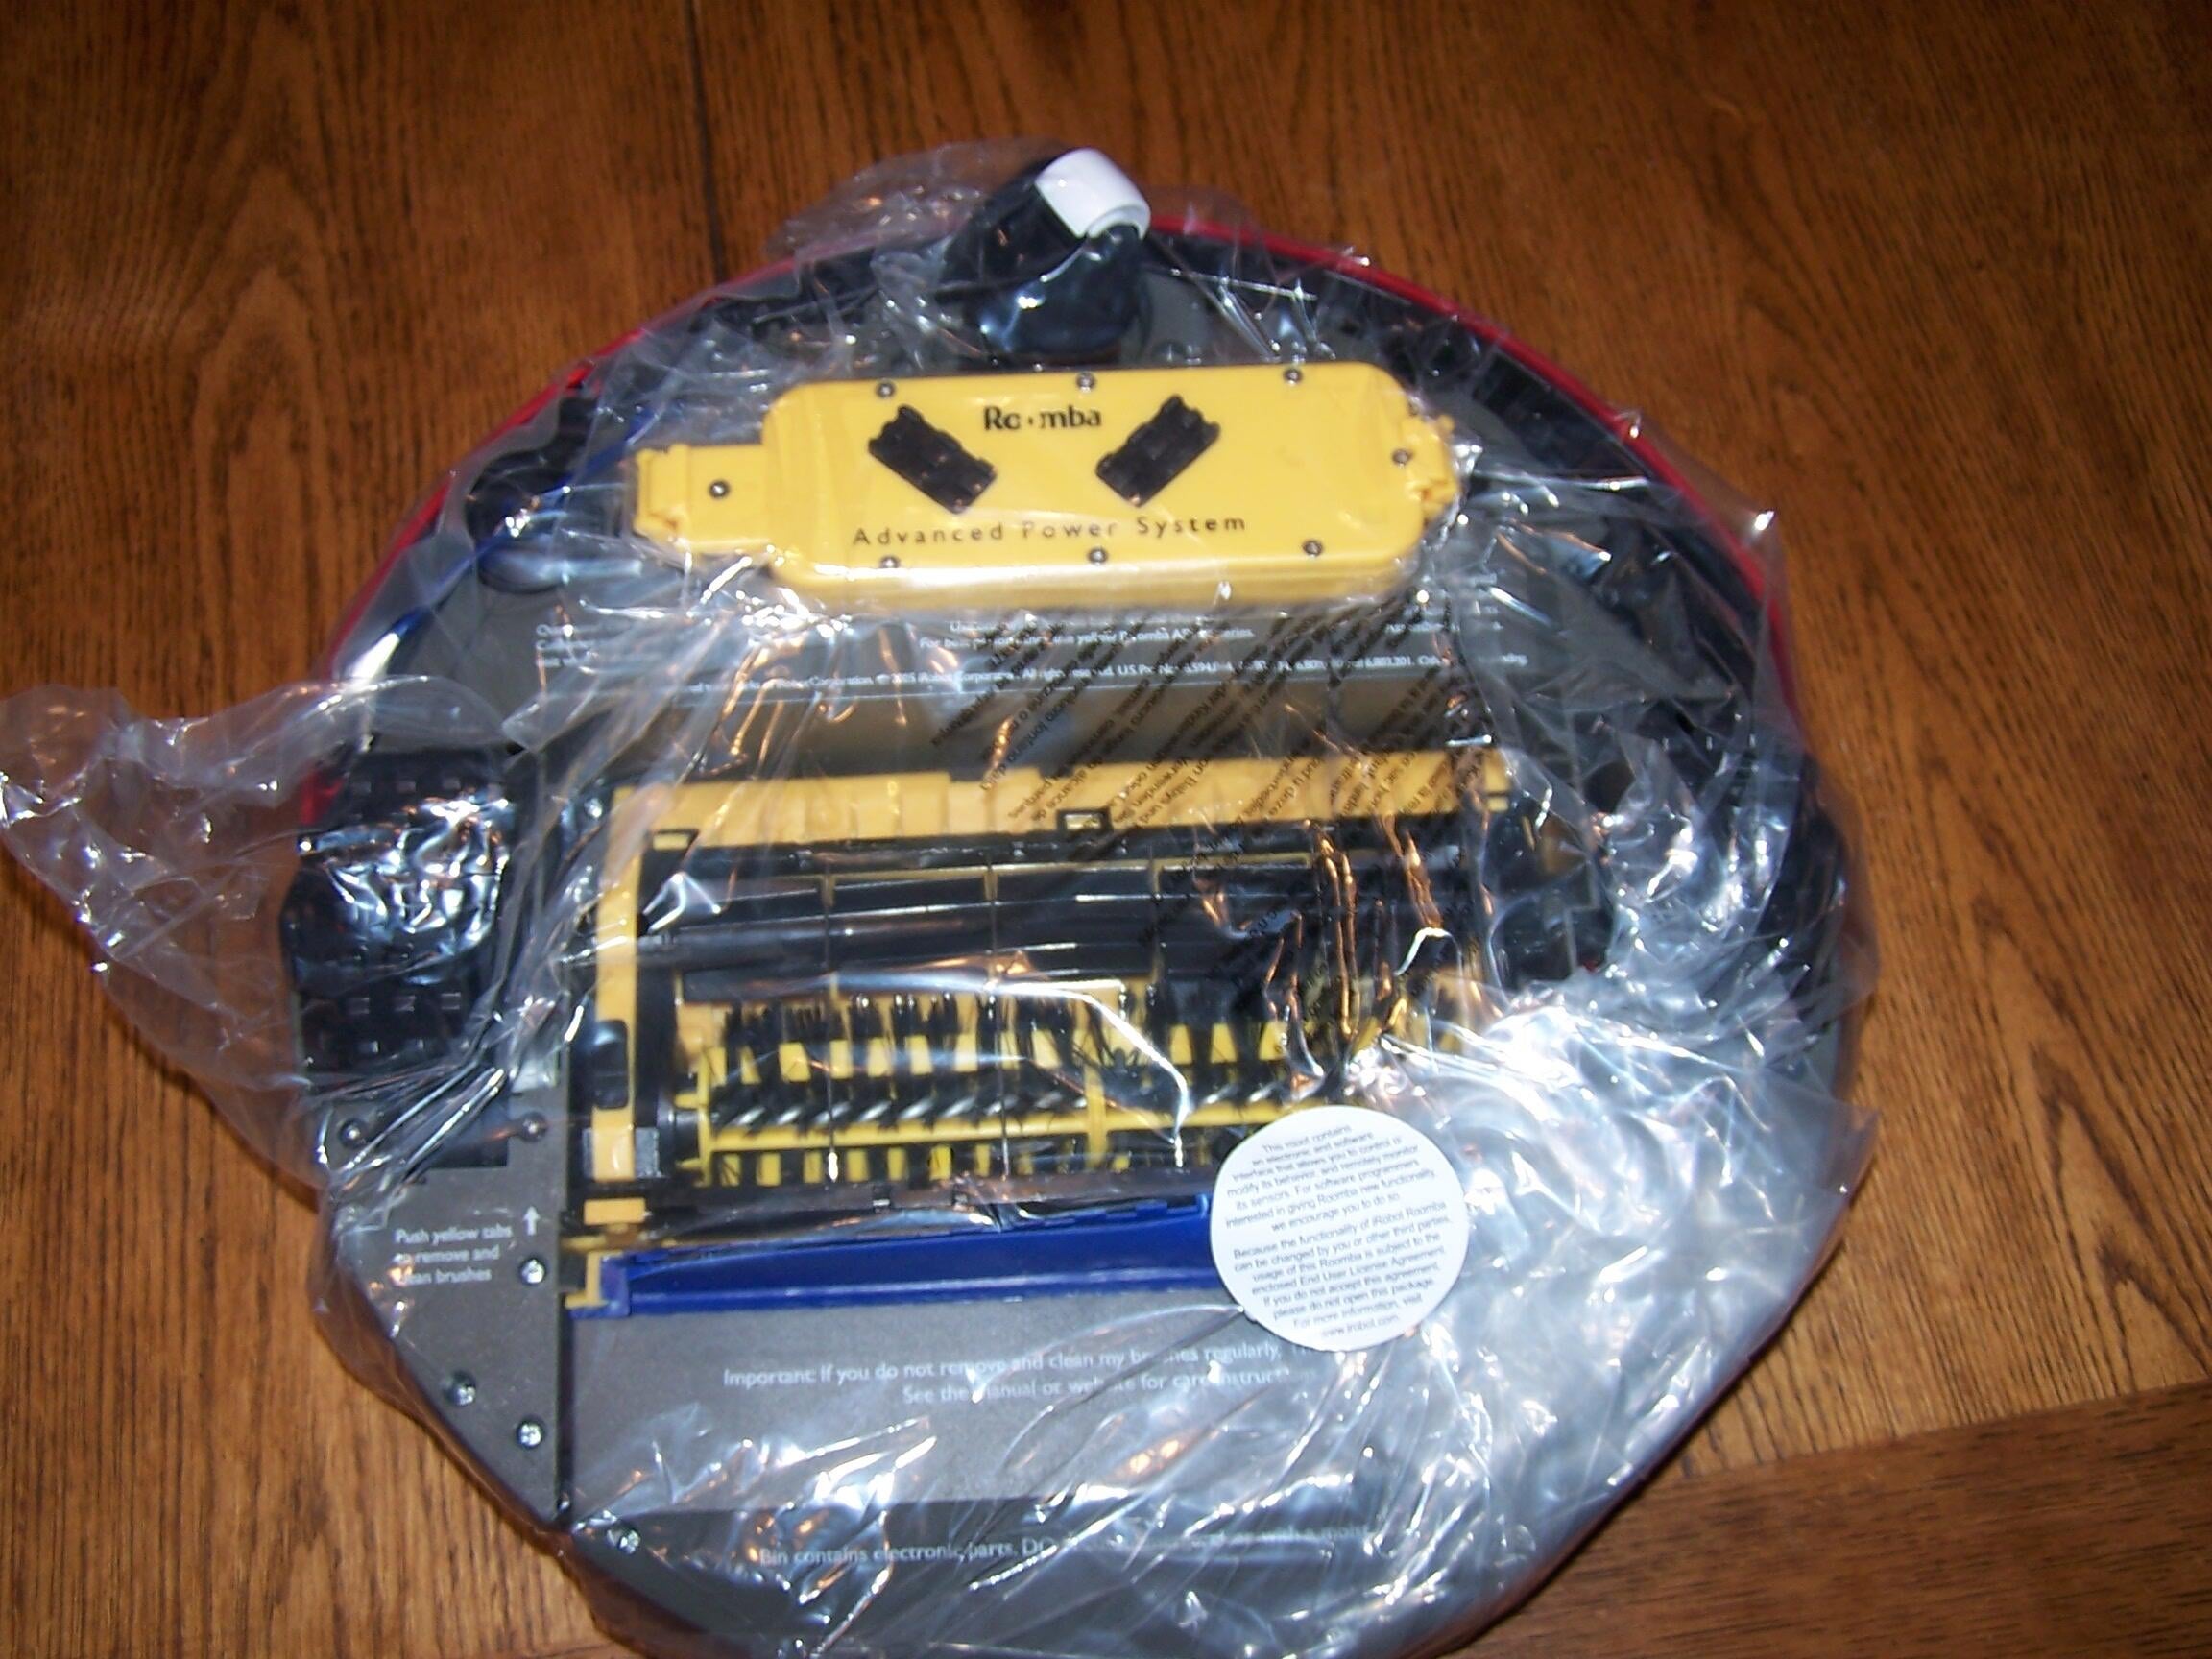
The Roomba certainly comes securely packed.
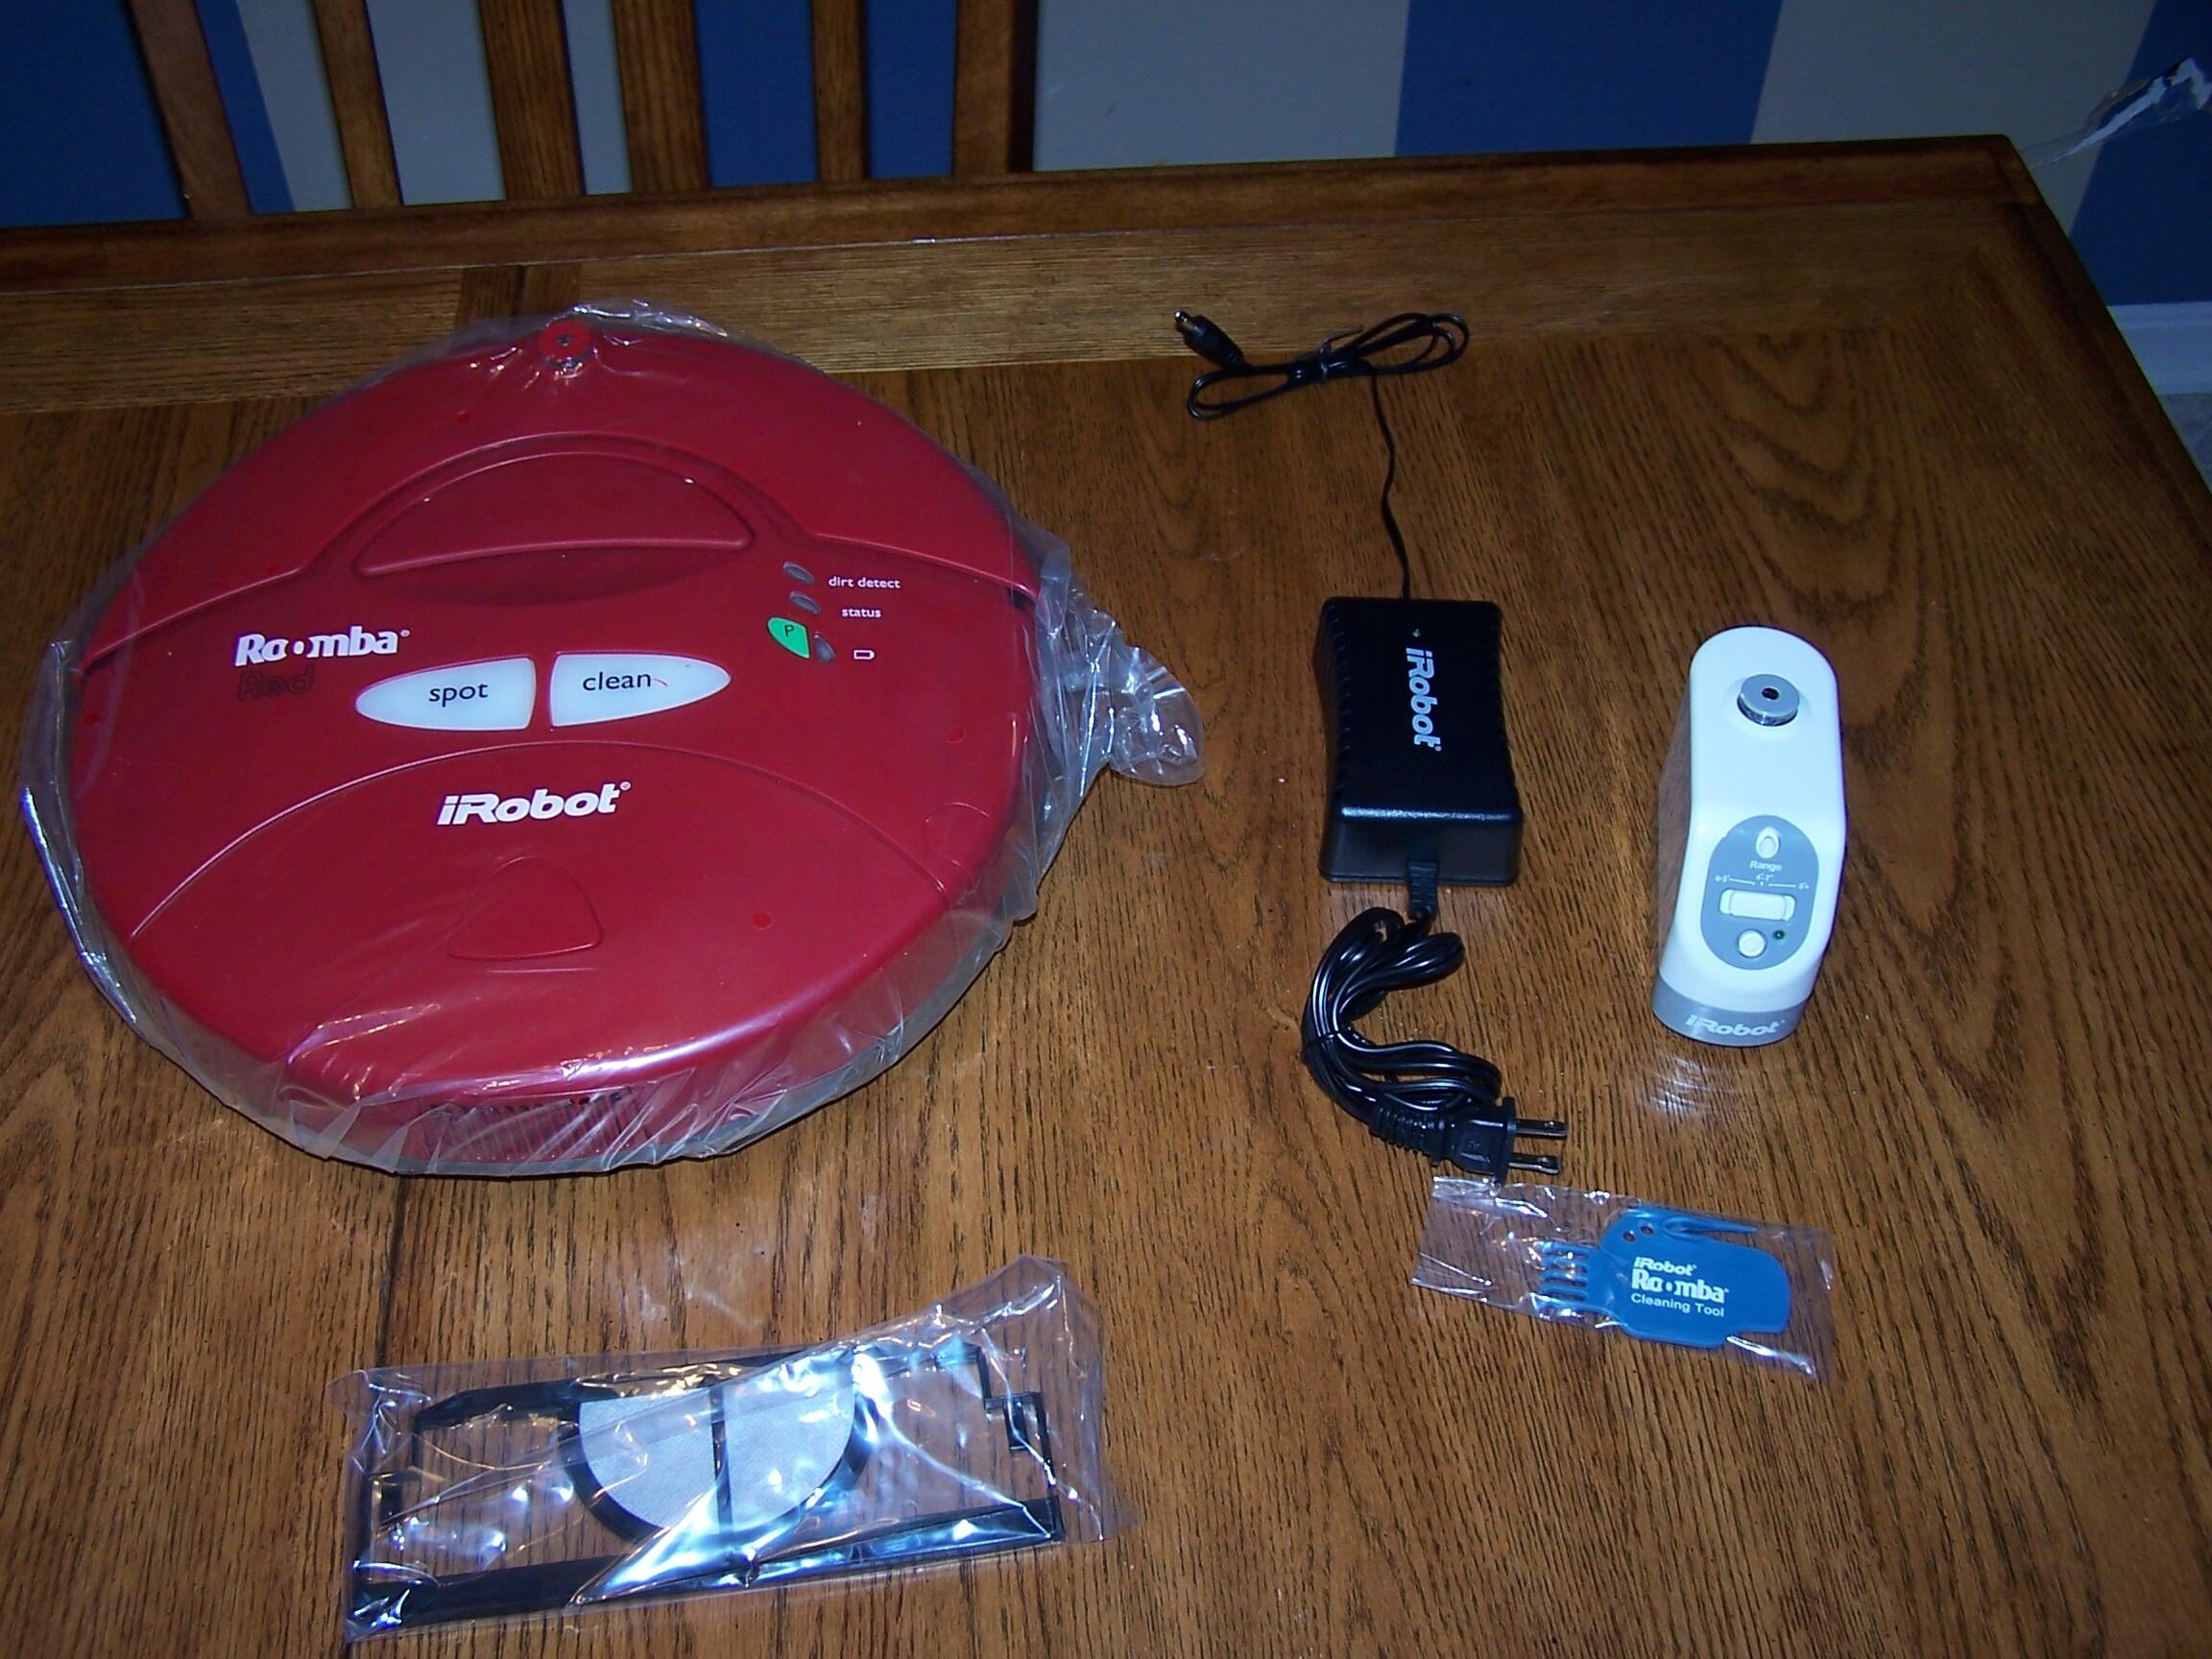
Roomba, charger, base station, virtual wall unit, extra filters.
The battery was wrapped separately so avoid unnecessary discharging.
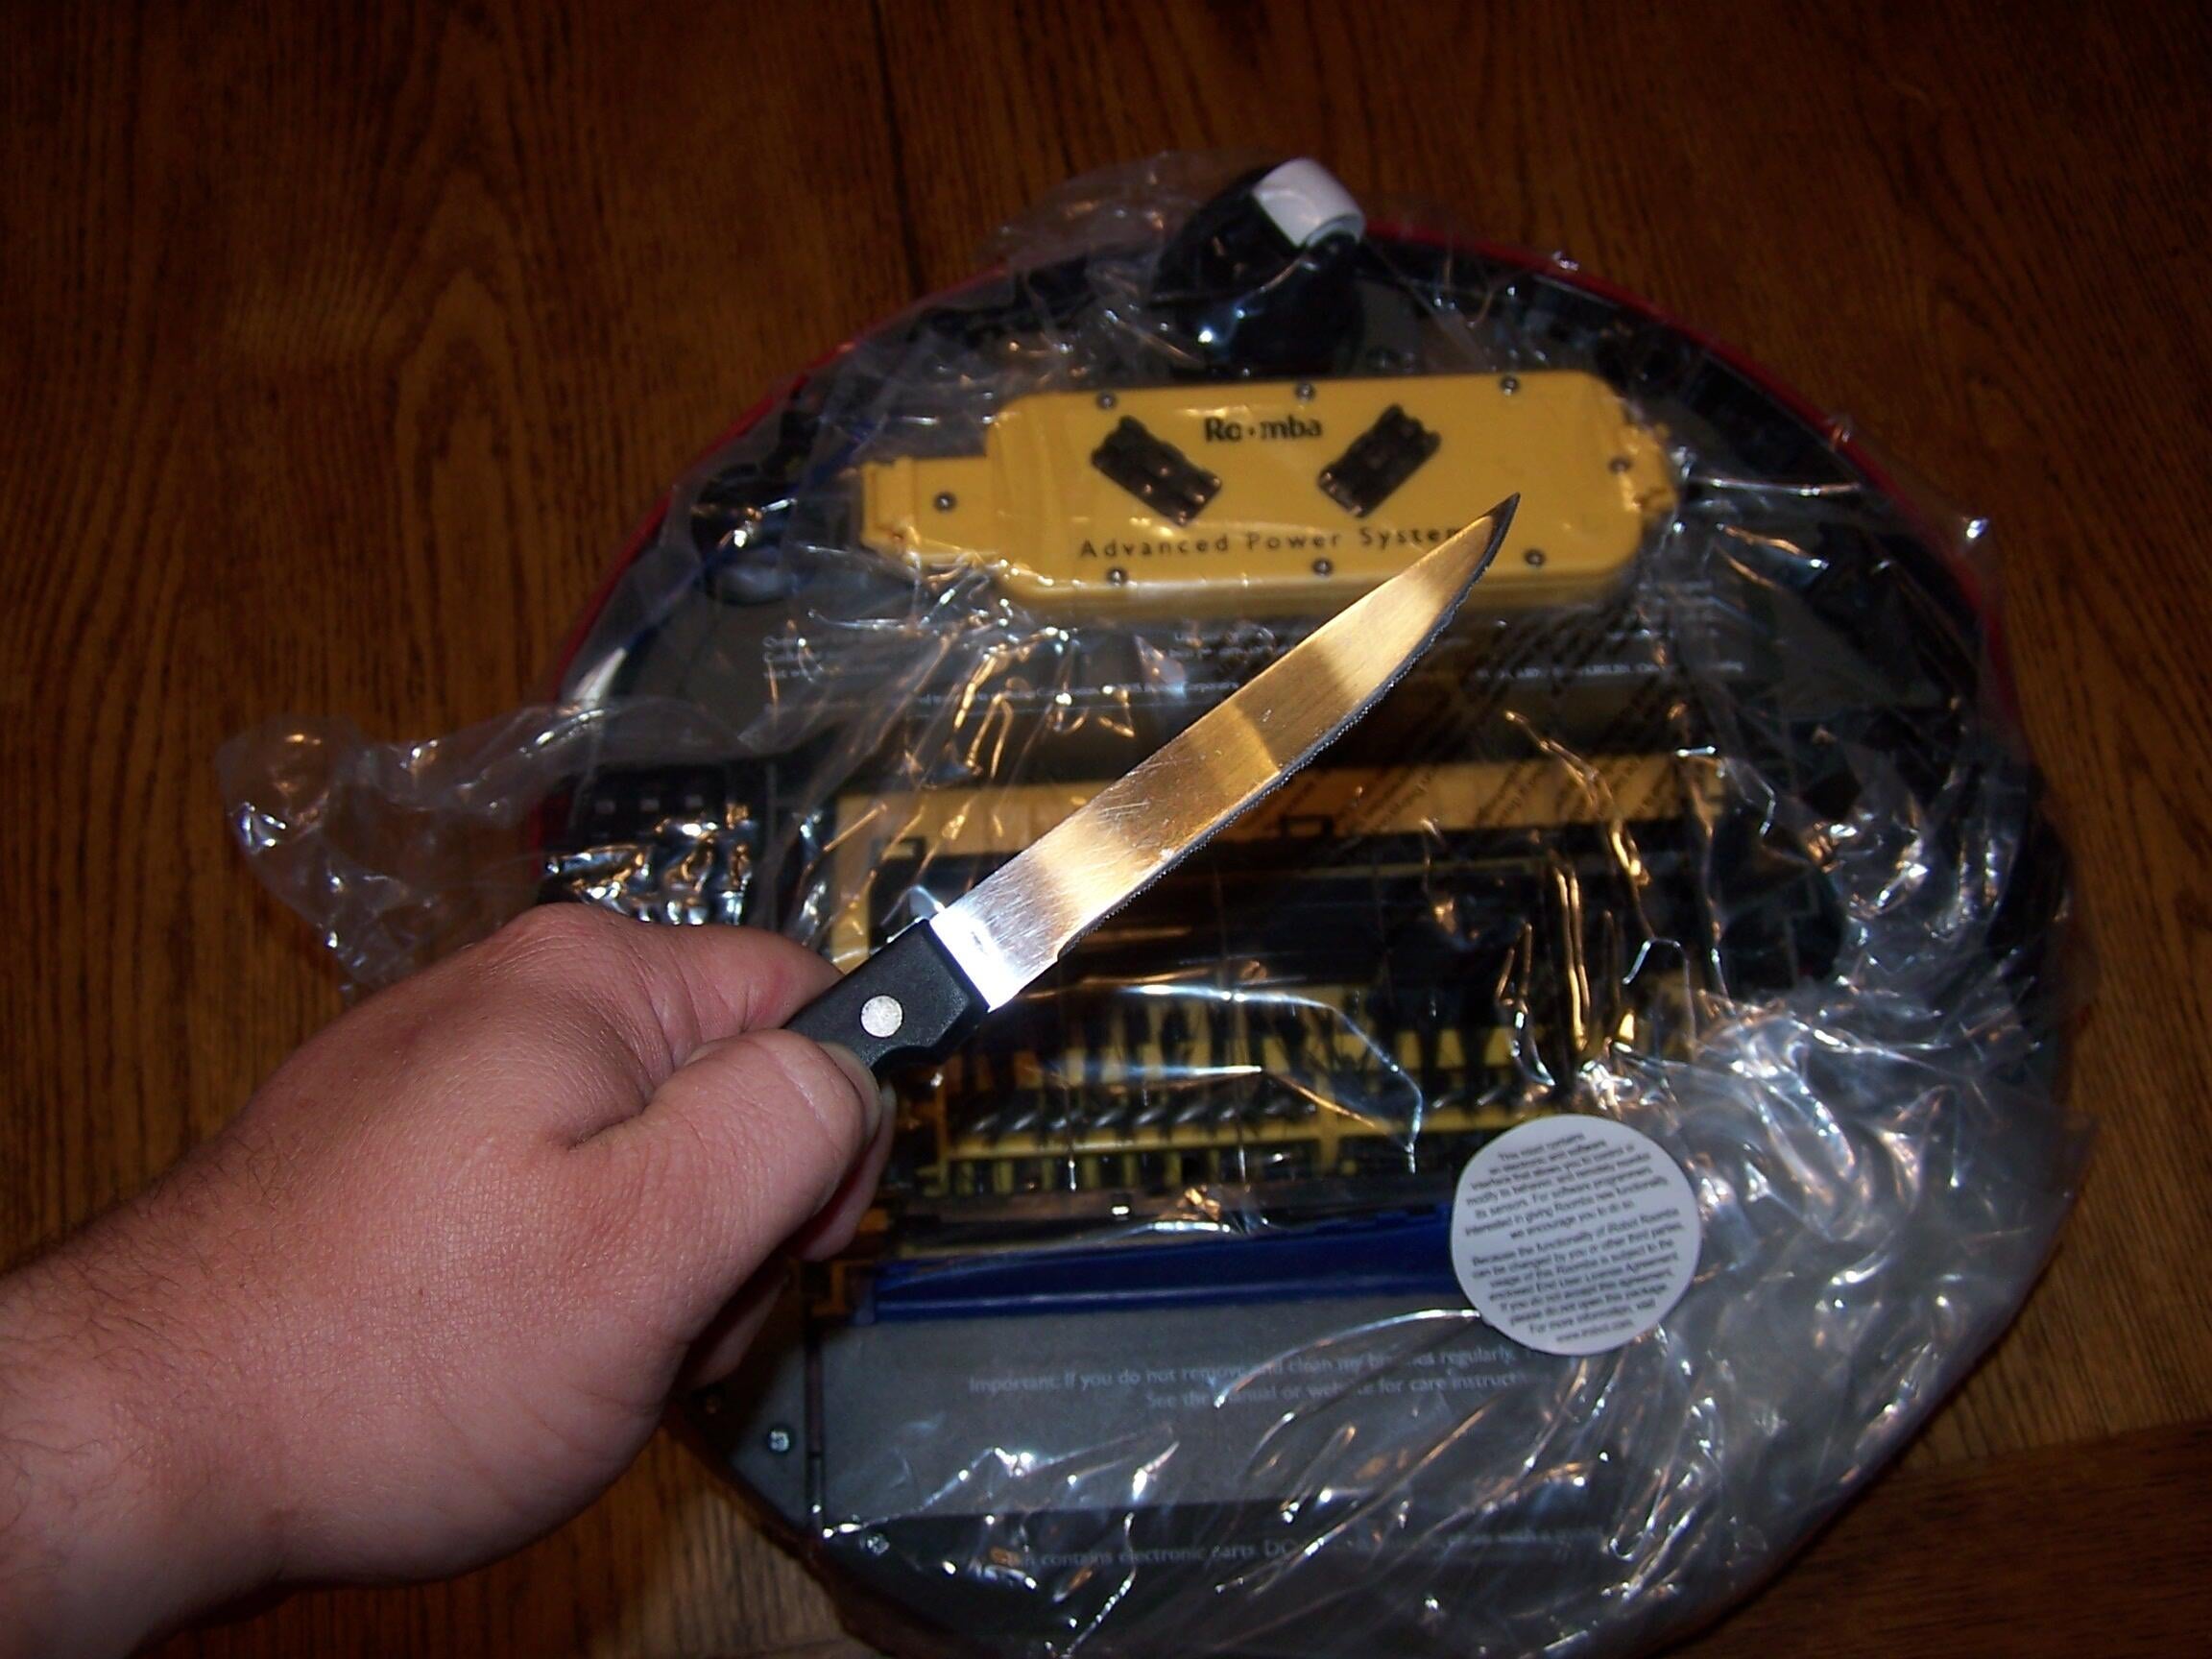
Look out, Roomba. I’ve got a knife and I’m not afraid to use it.
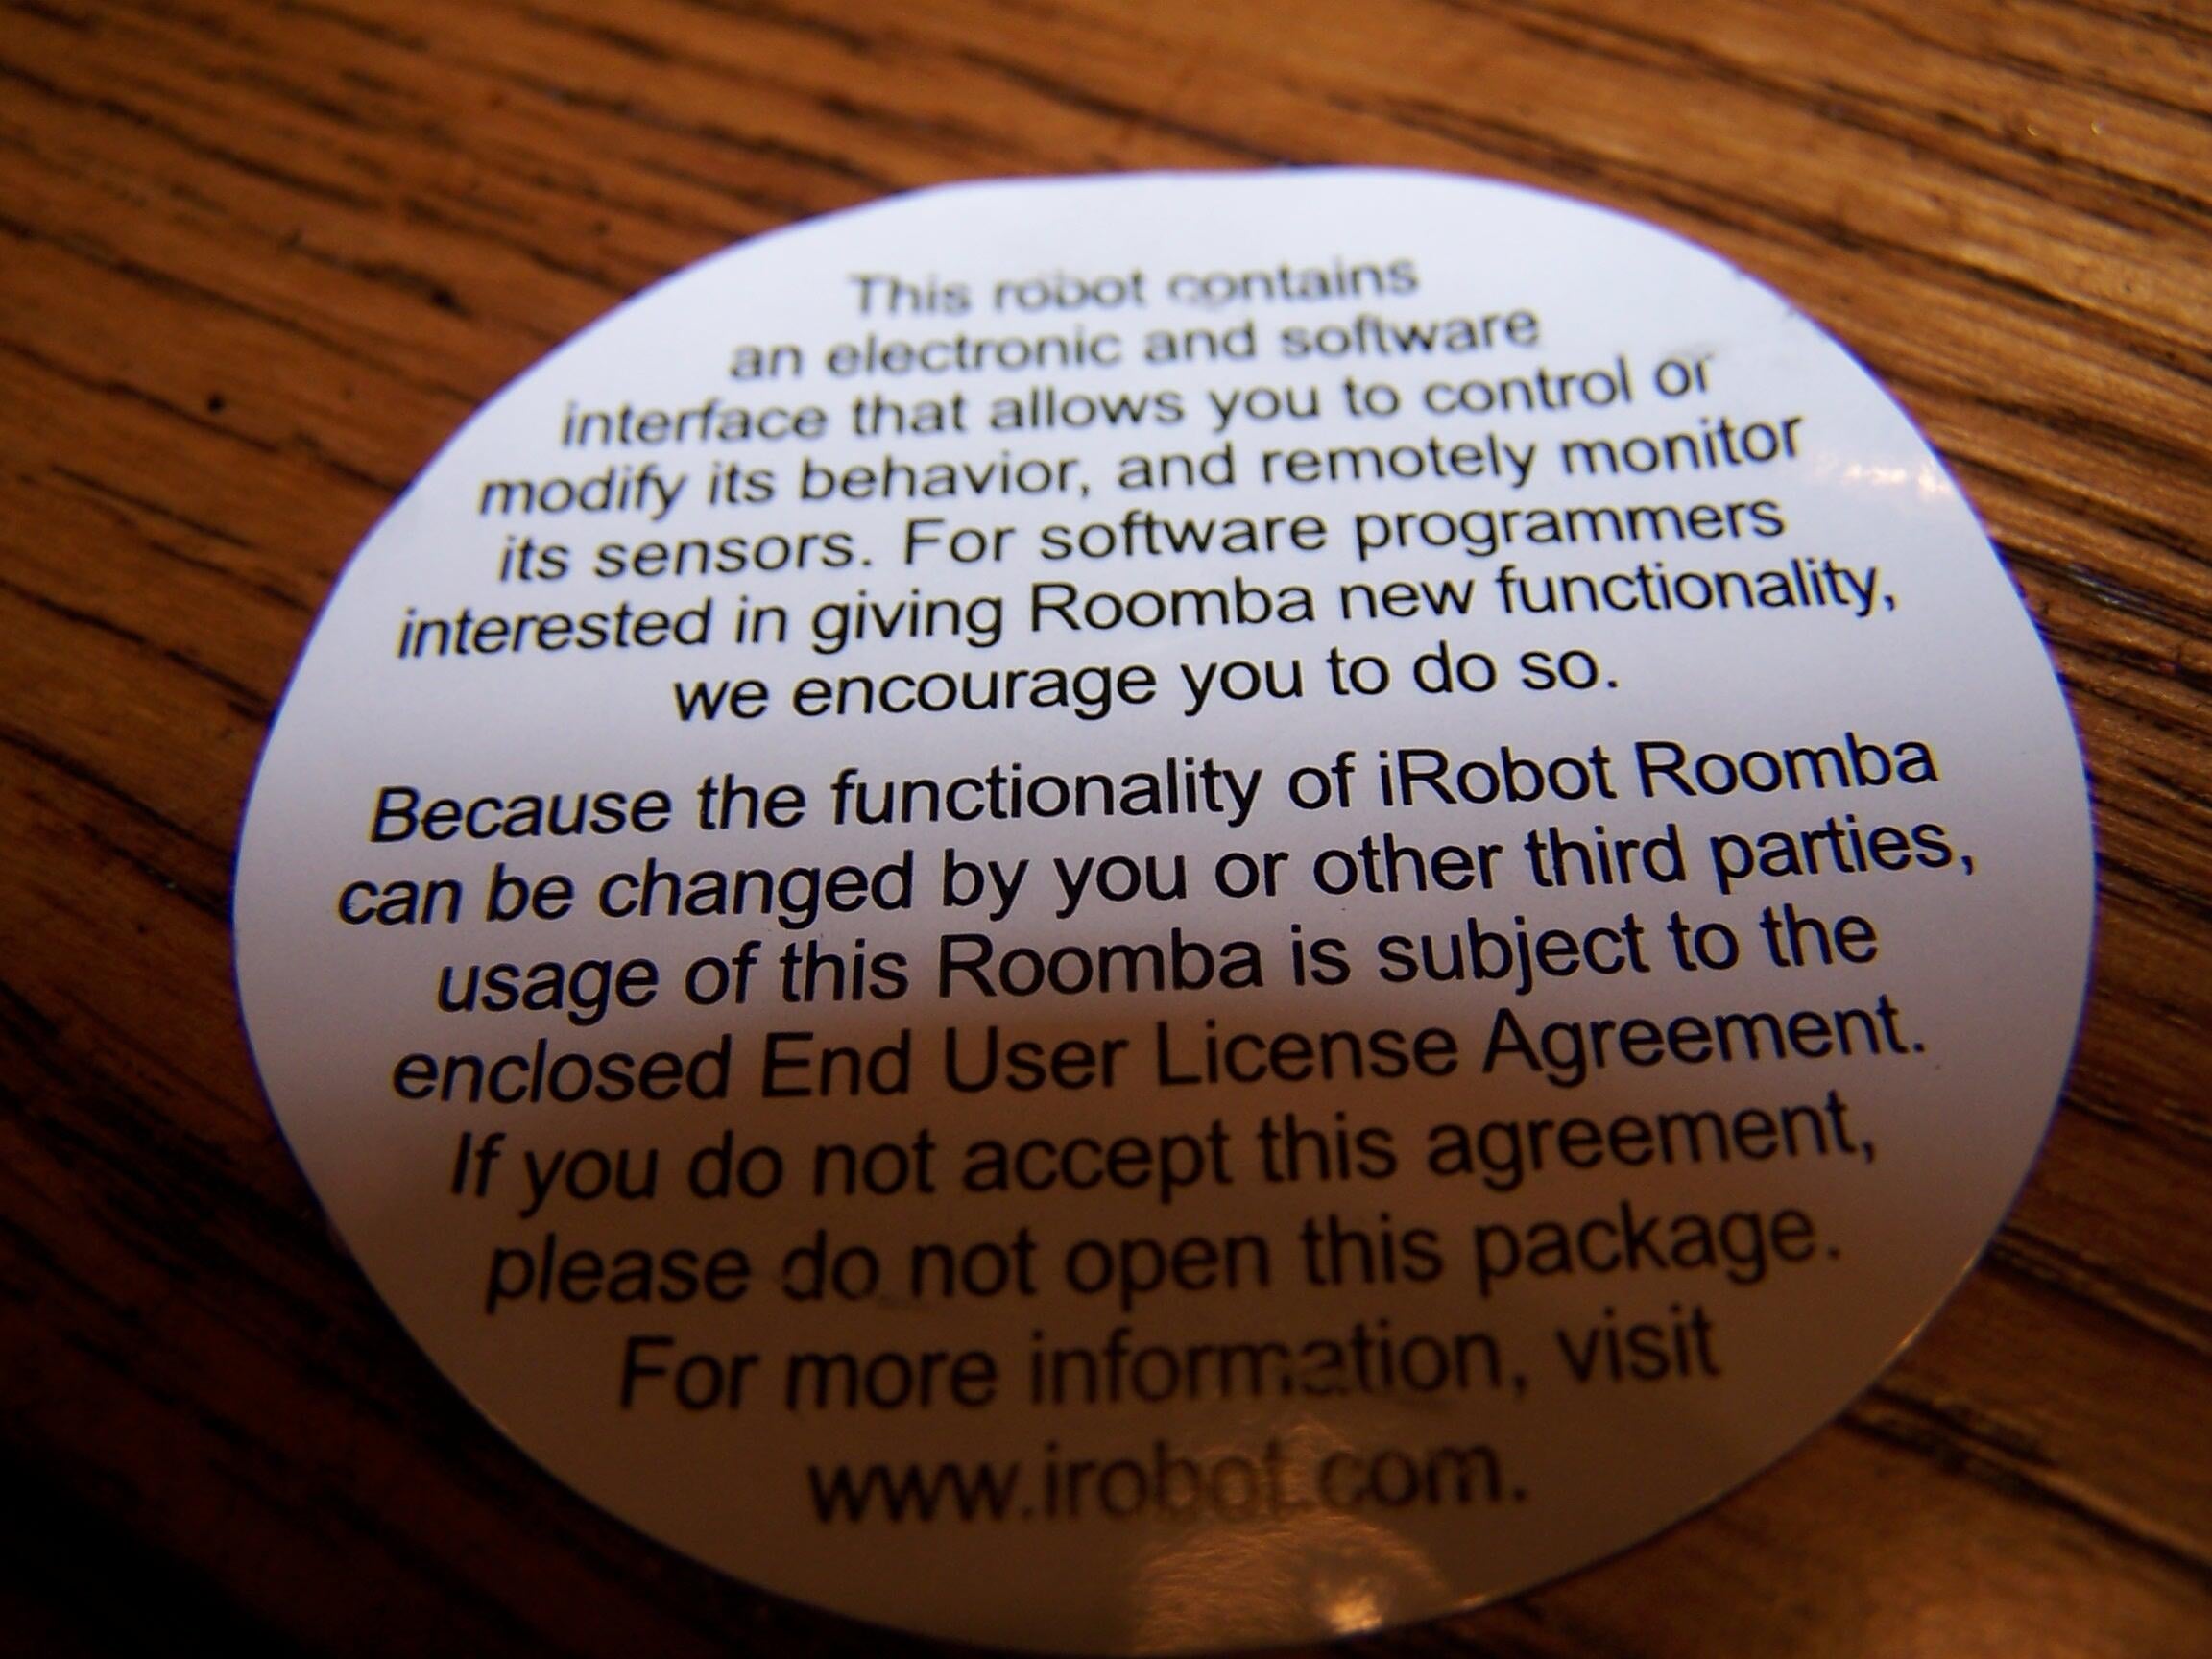
I found this sticker stuck on the box:
“This robot contains an electronic and software interface that allows you to control or modify its behavior, and remotely monitor its sensors. For software programmers interested in giving Roomba new functionality, we encourage you to do so.
Because the functionality of iRobot Roomba can be changed by you or other third parties, usage of this Roomba is subject to the enclosed End User License Agreement, If you do not accept this agreement, please do not open this package.”
I’m not sure what kind of programming I would do to my Roomba. I wonder if I could completely cover my kitchen floor with pepper and program my Roomba to suck up the pepper in a specific pattern, like the logo of my favorite sports team? I bet my wife would love that.
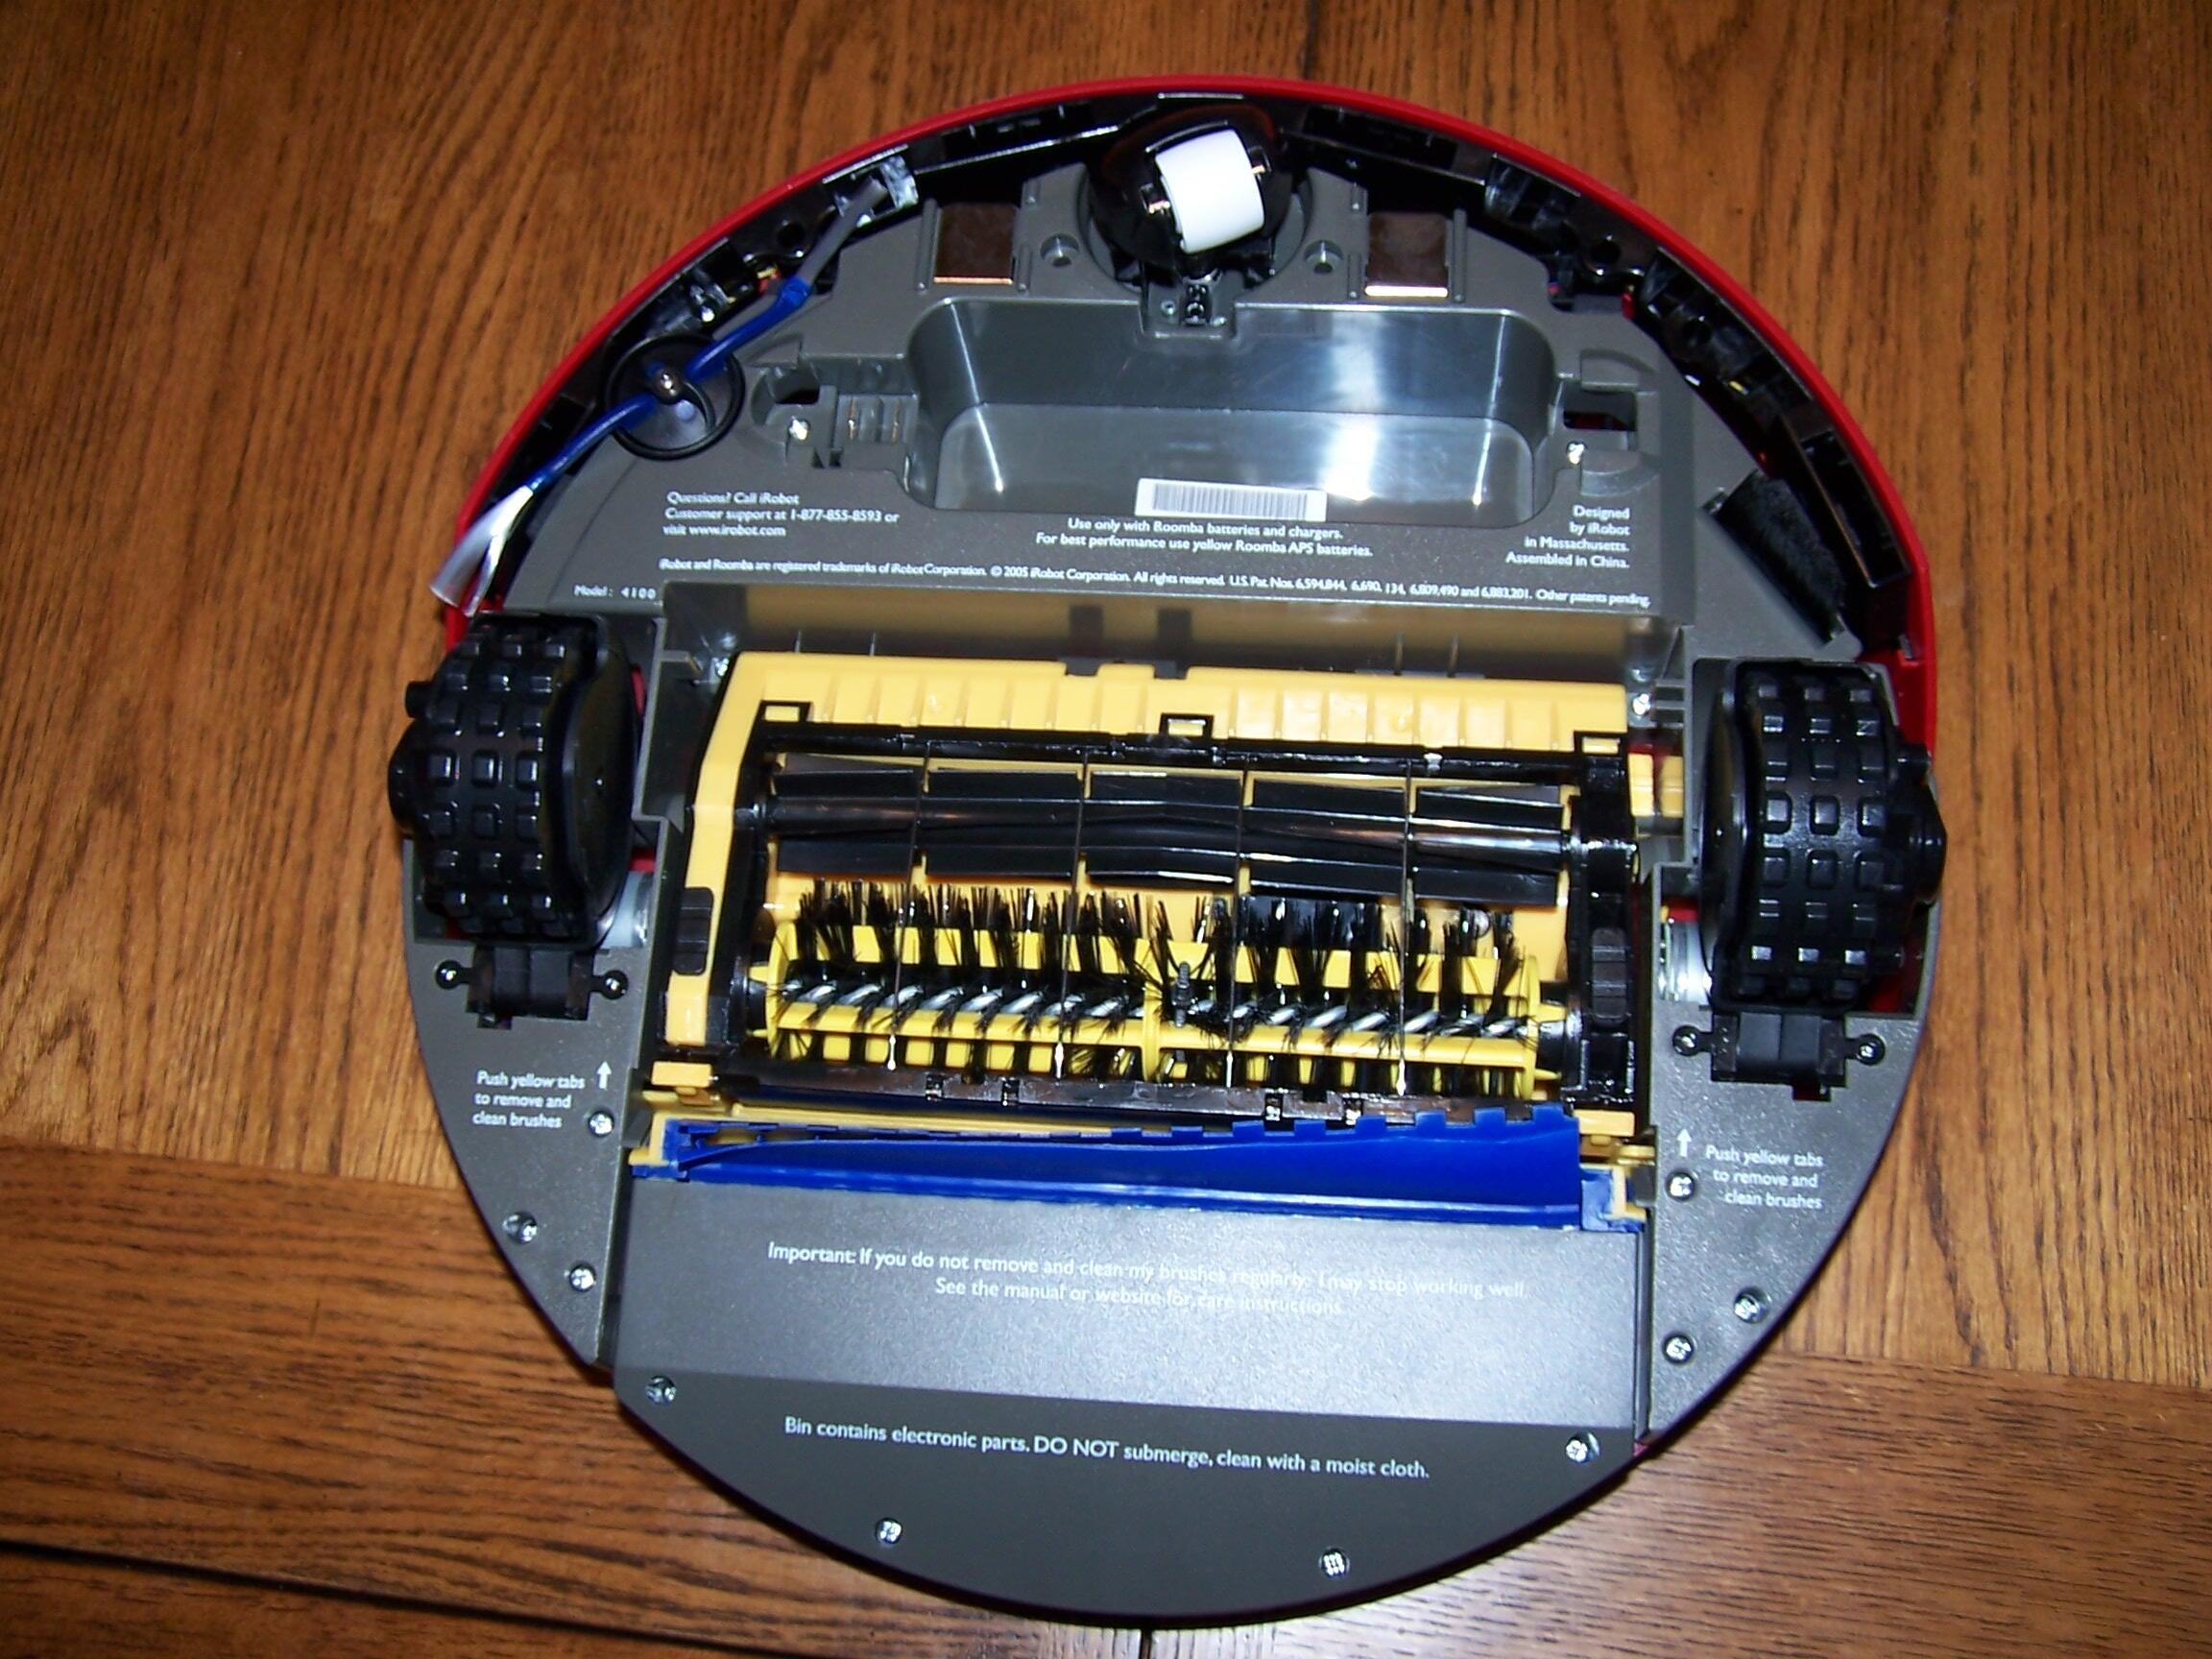
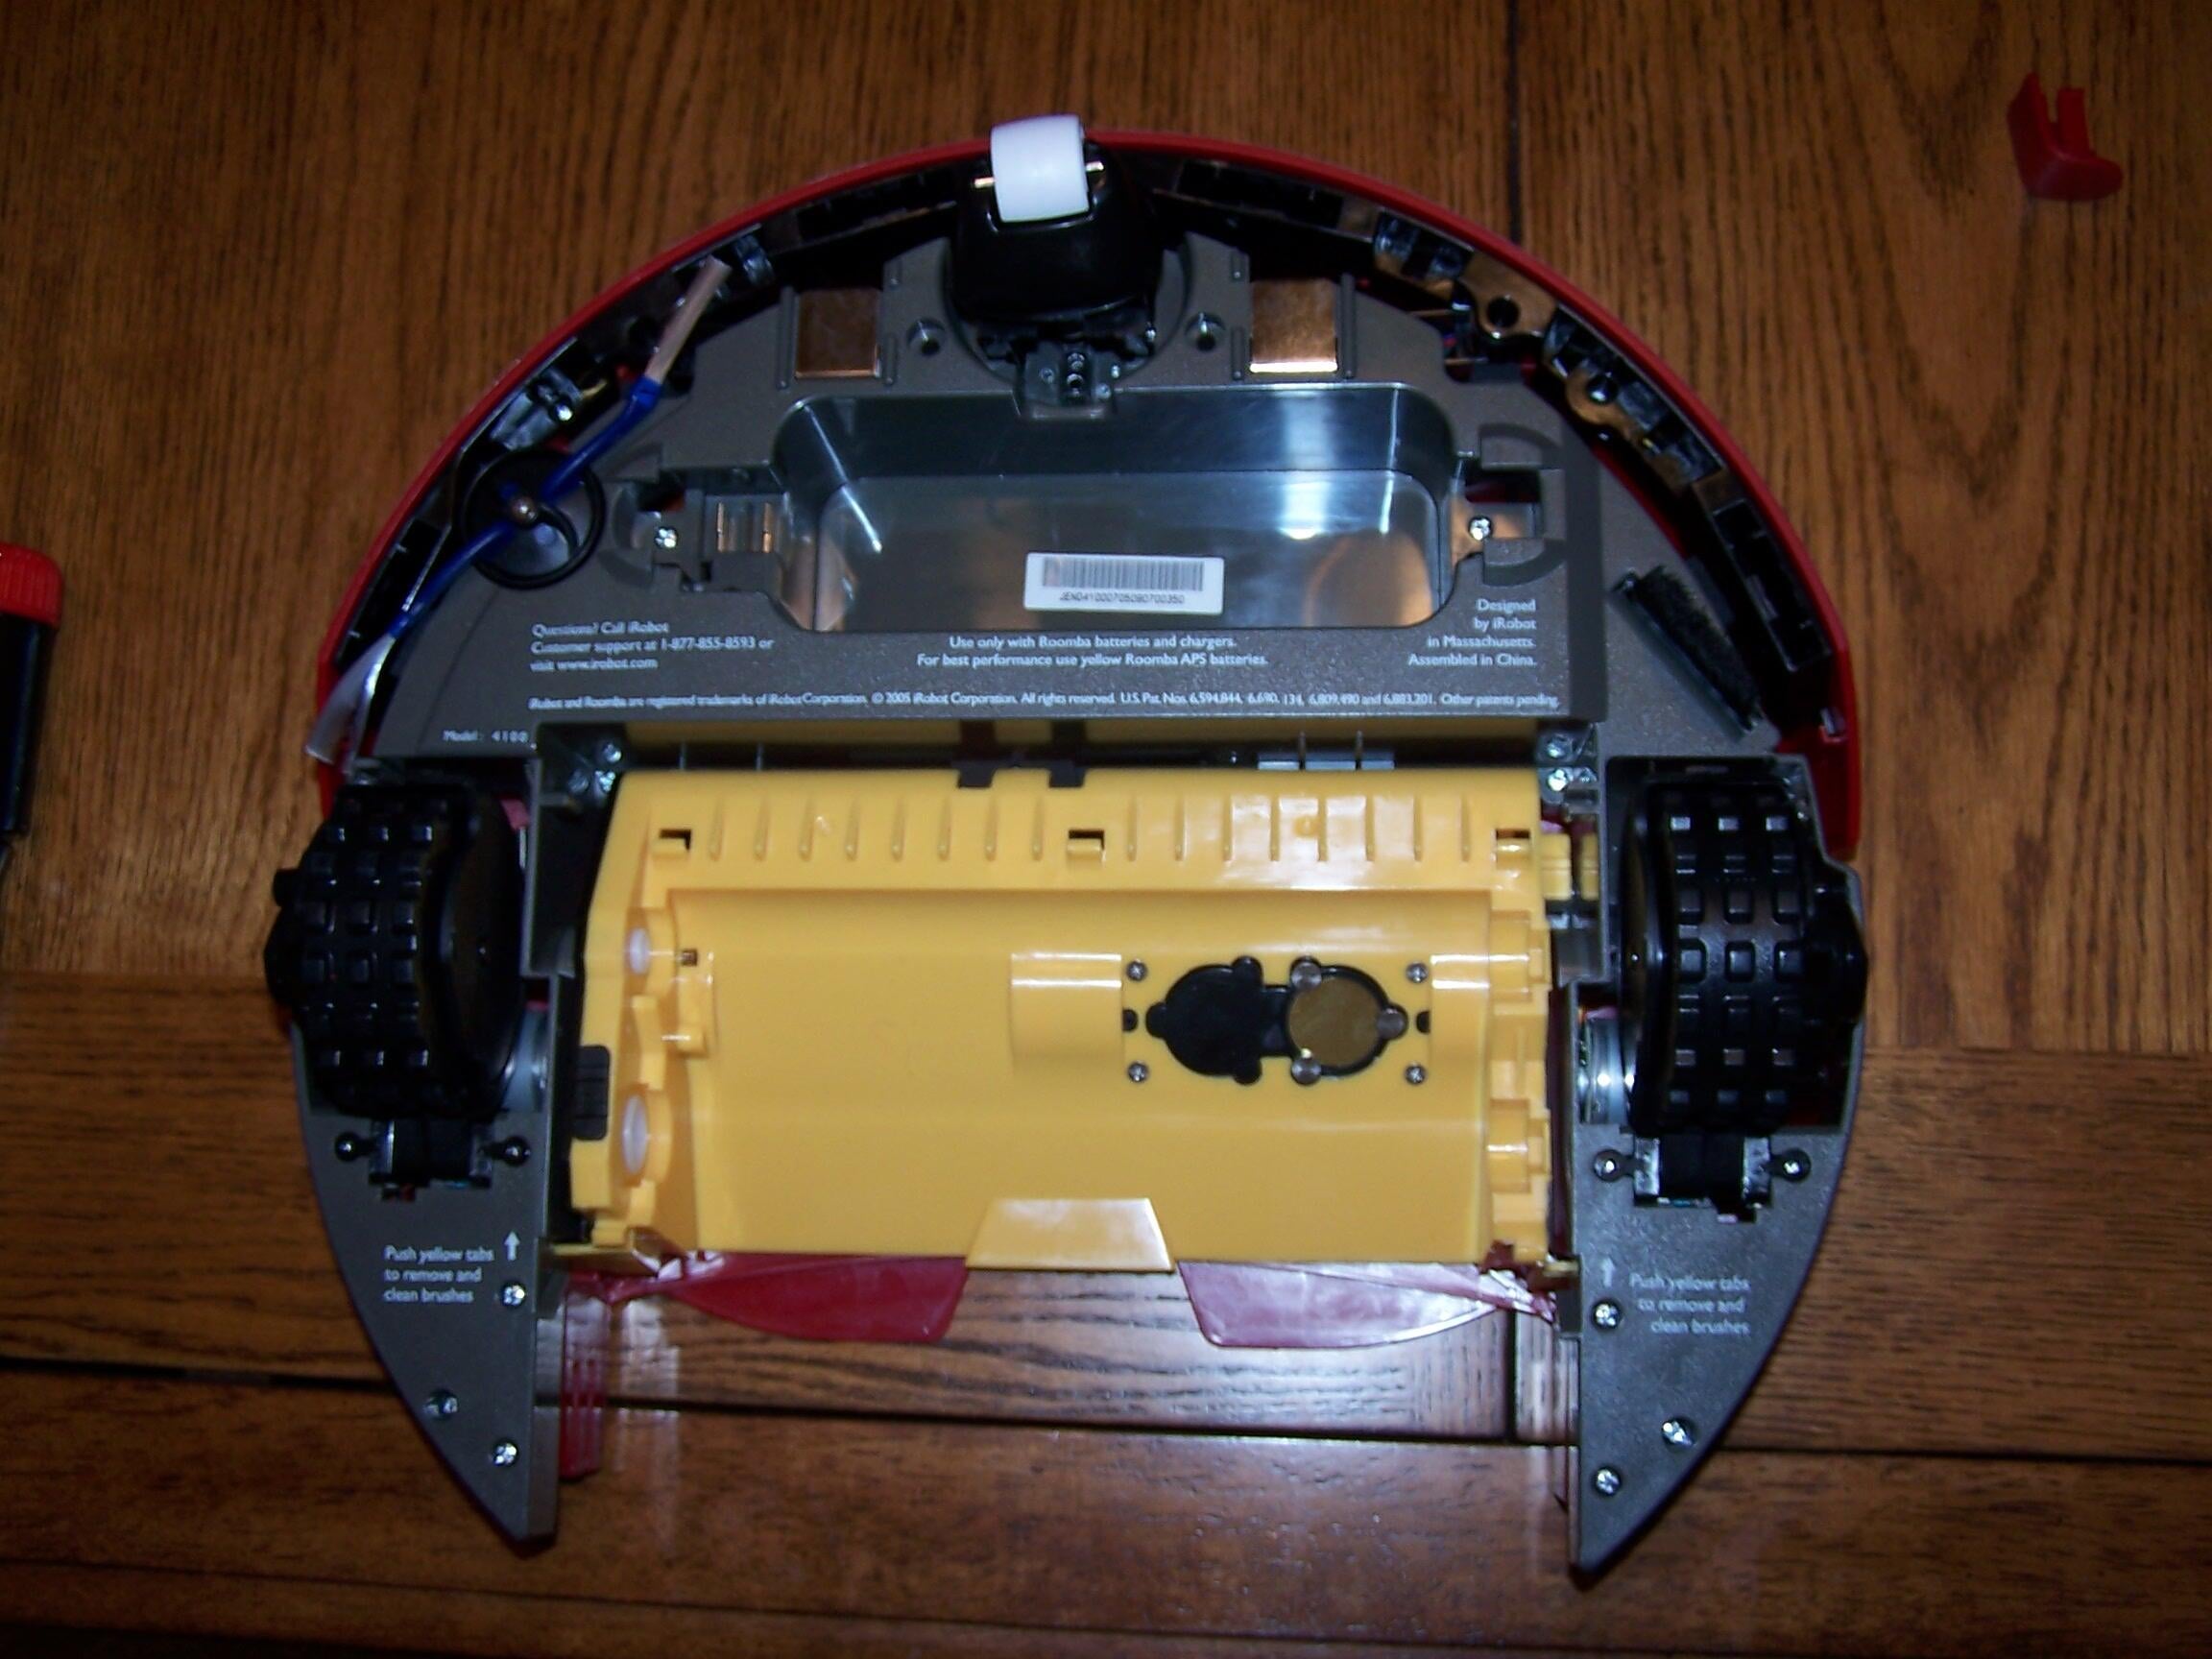
Here is the underside of the Roomba. You can see the battery hole, brushes, rubber wheels, and dirt bin.
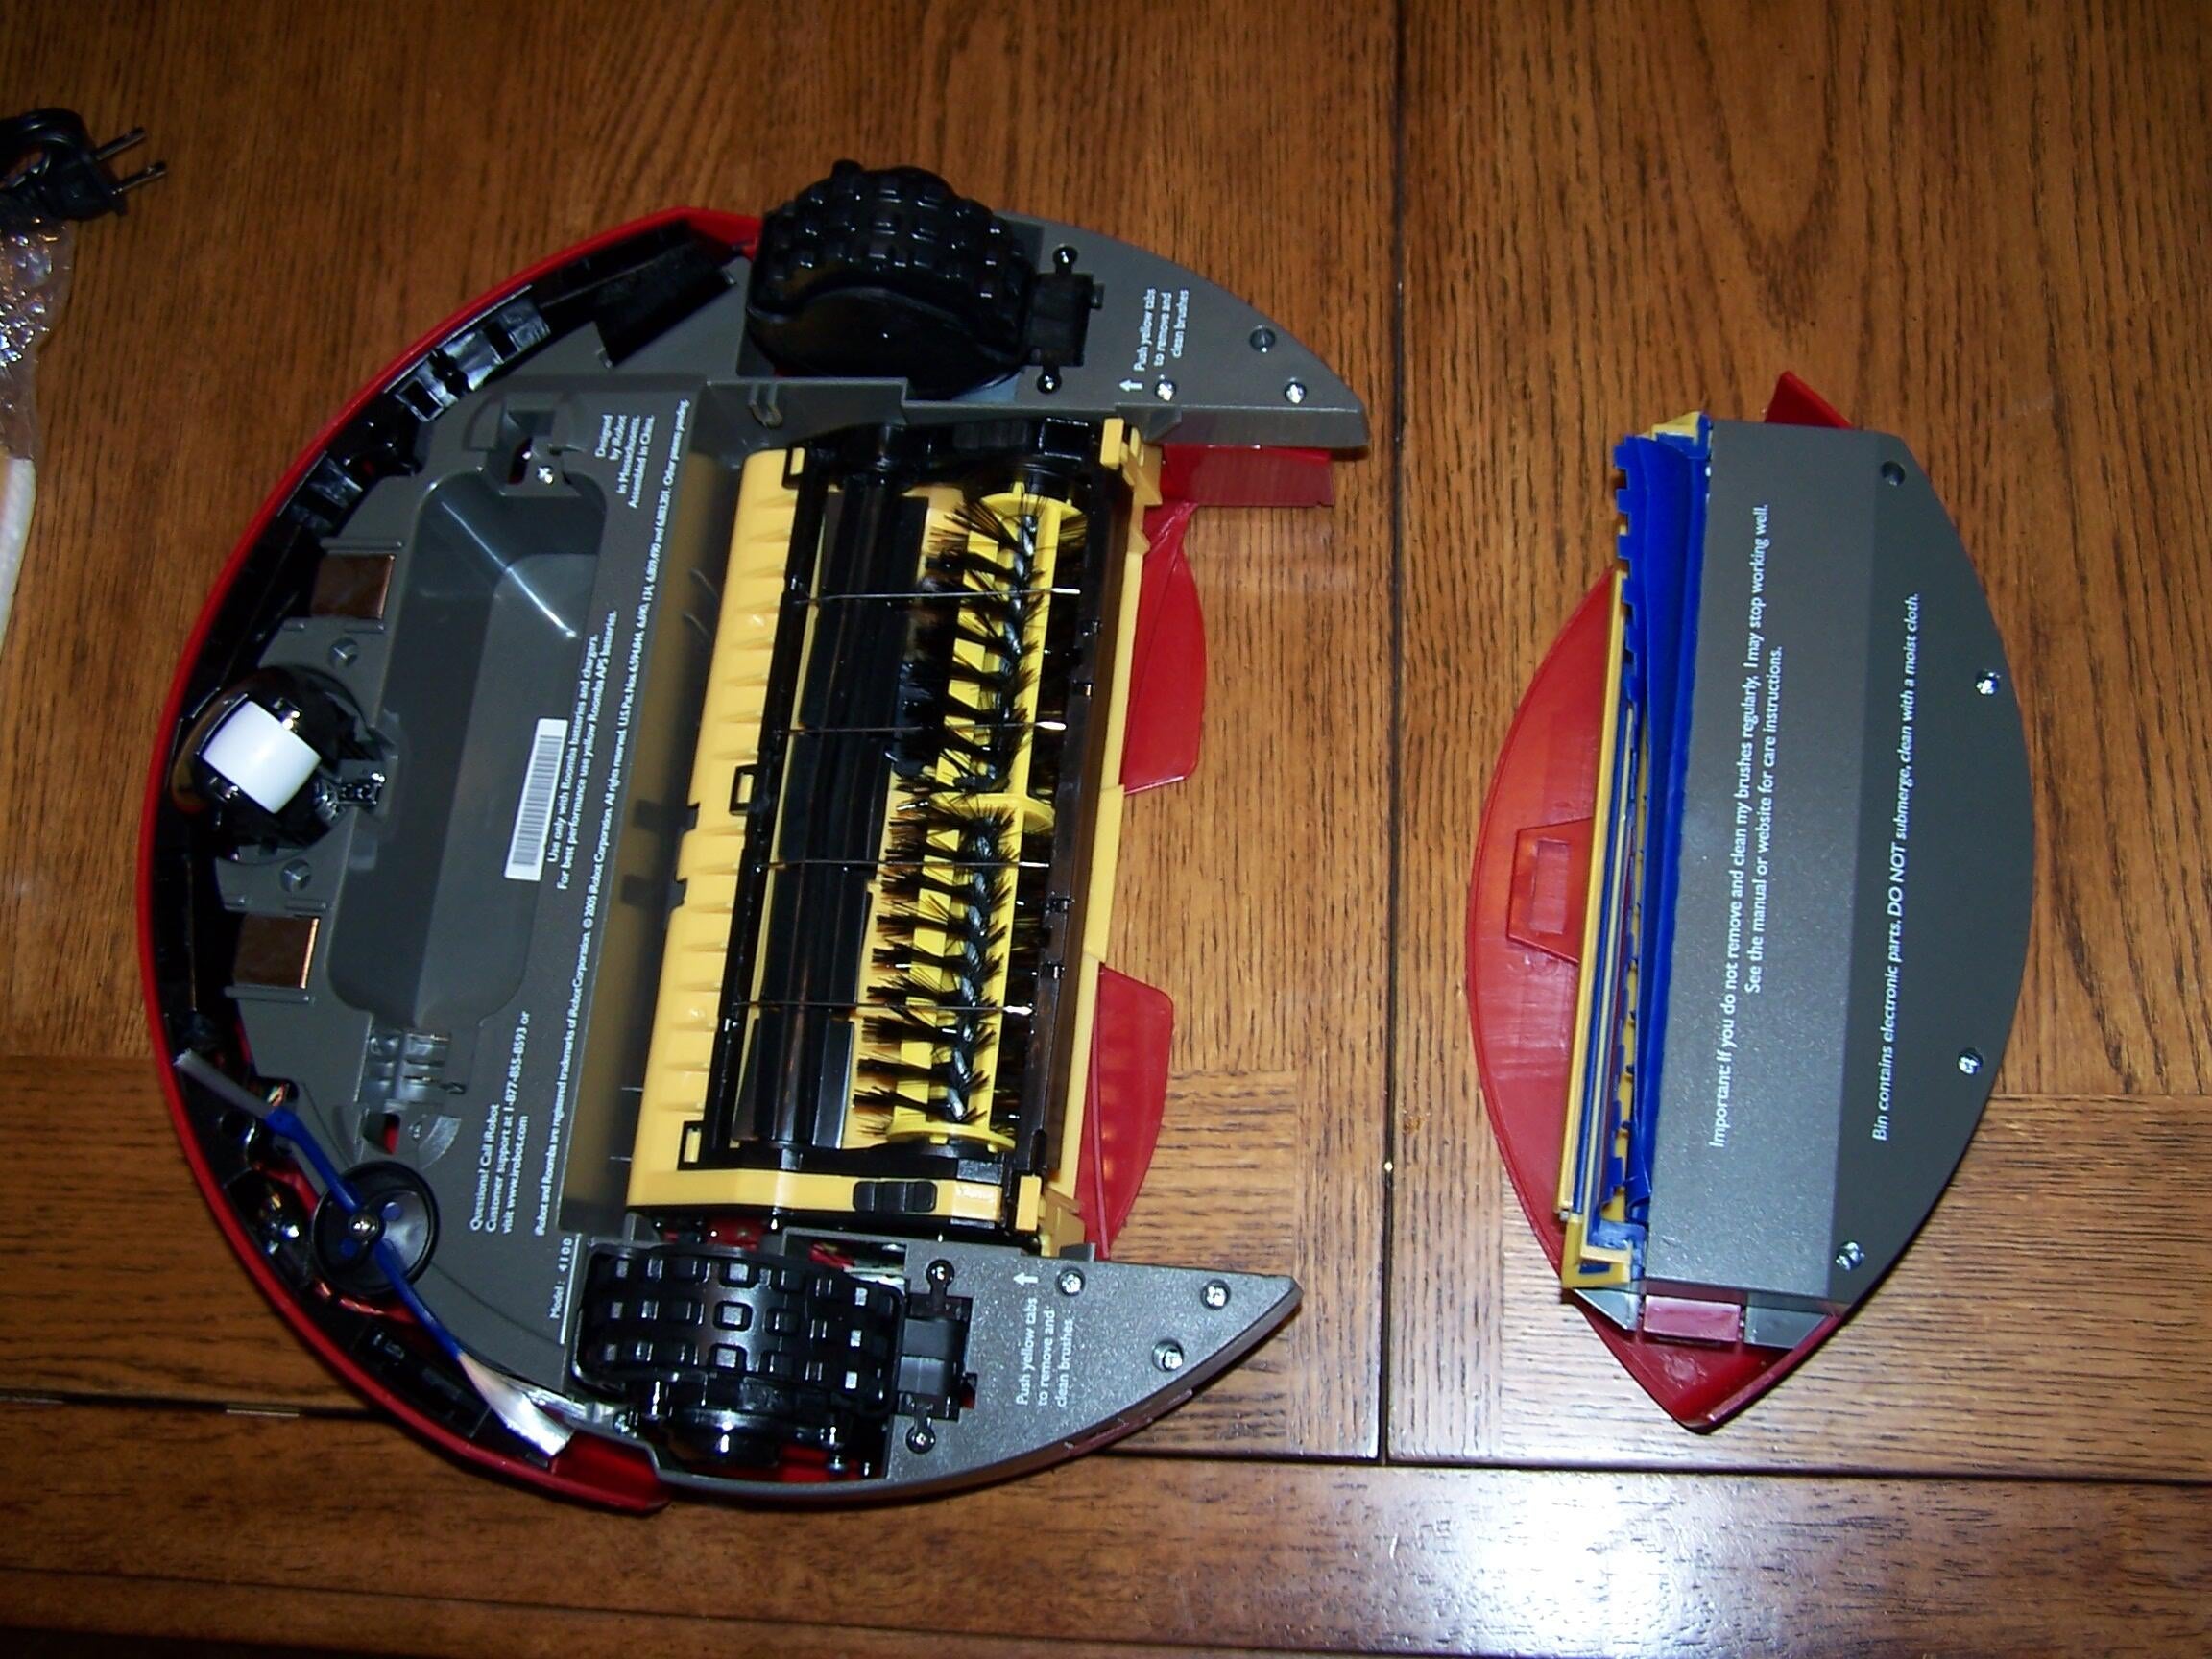
Here’s what it looks like with the dirt bin removed. Nothing too exciting.
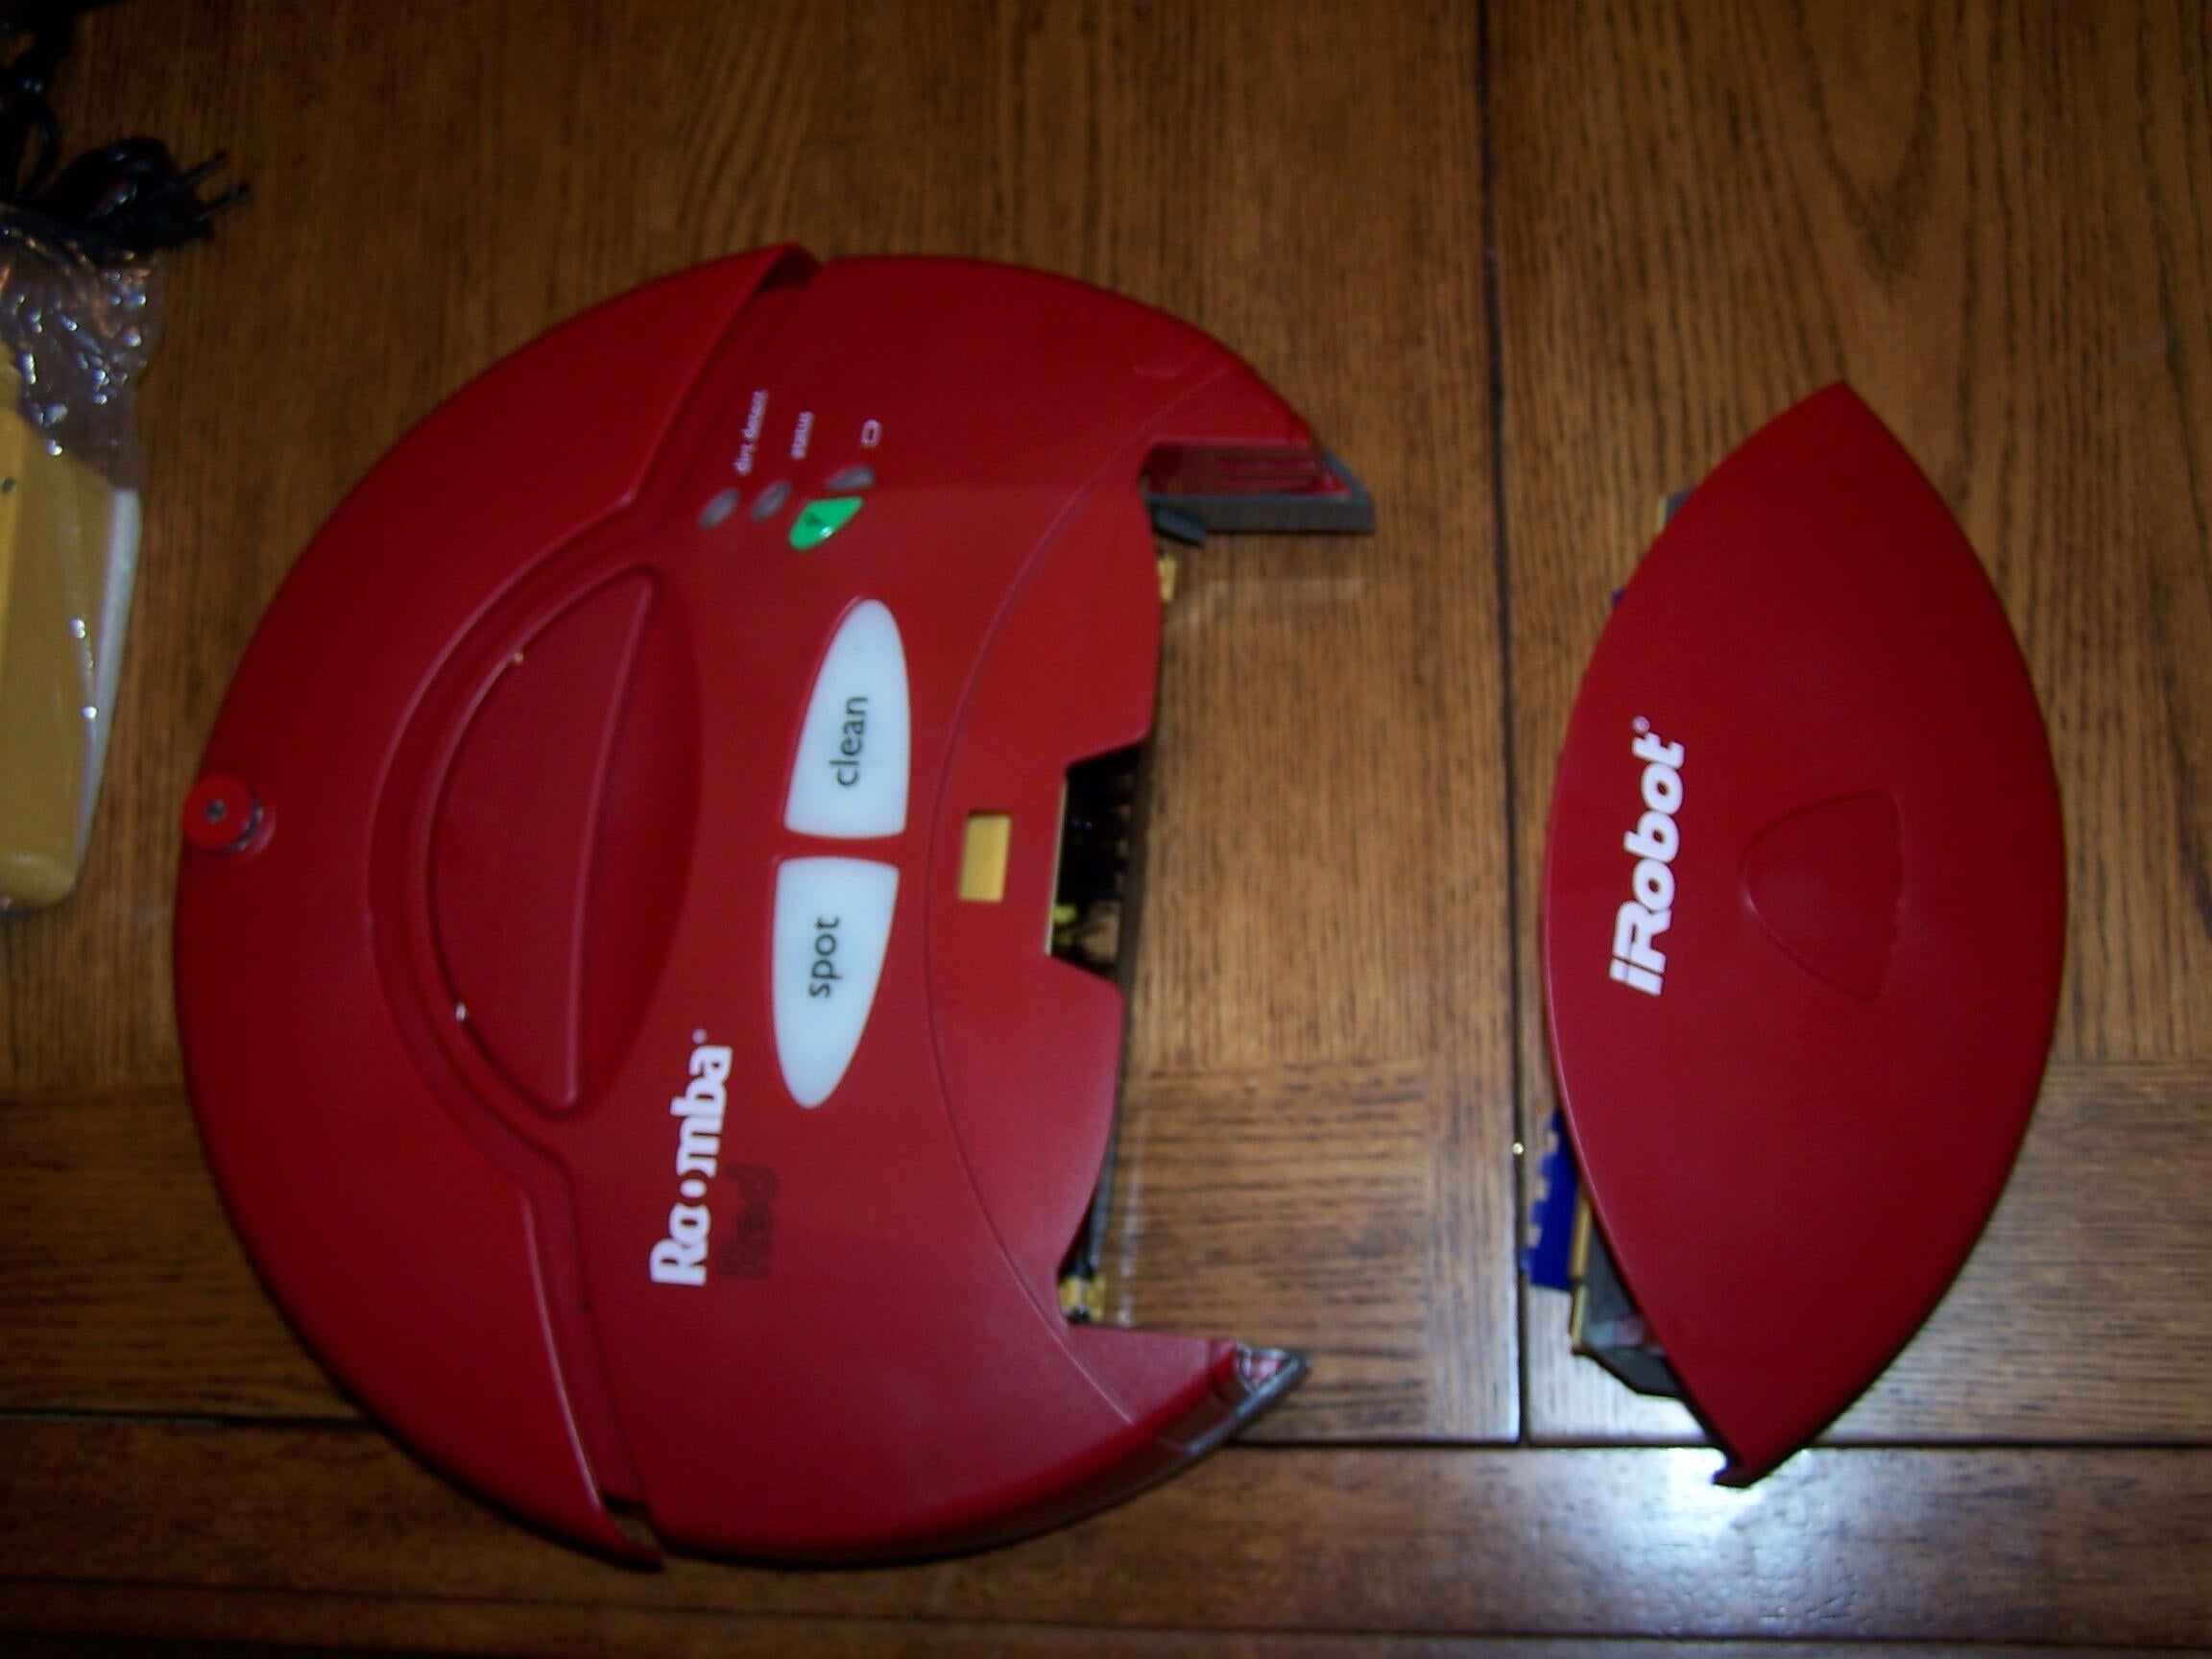
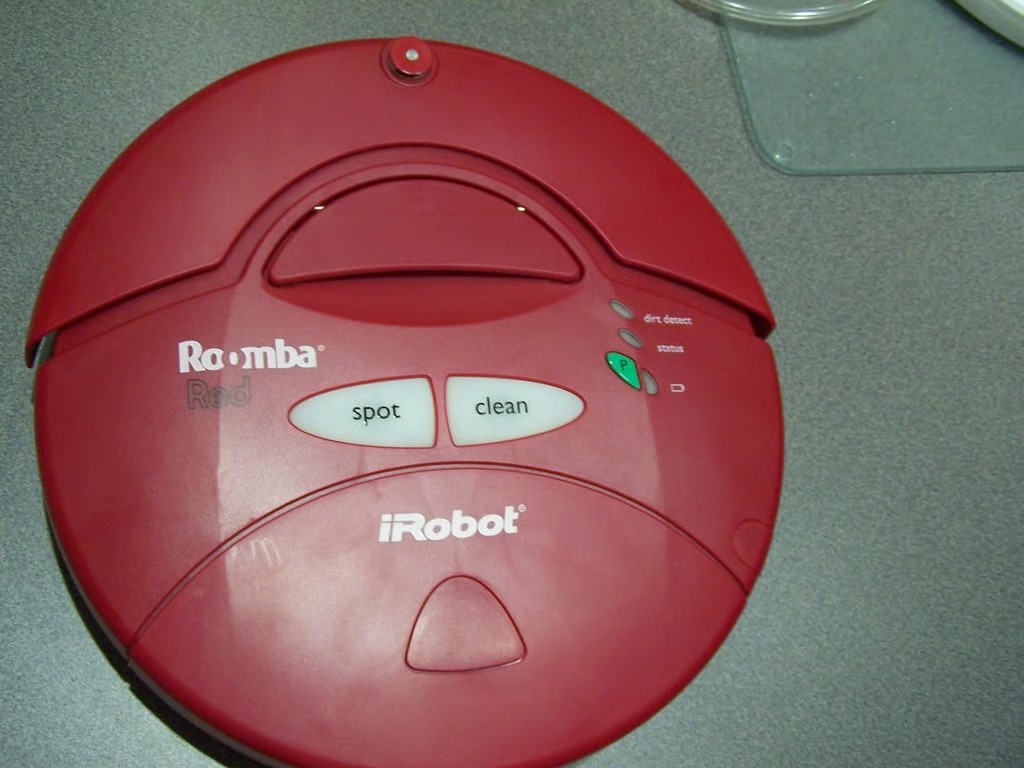
Turn the Roomba right side up and it looks like this.
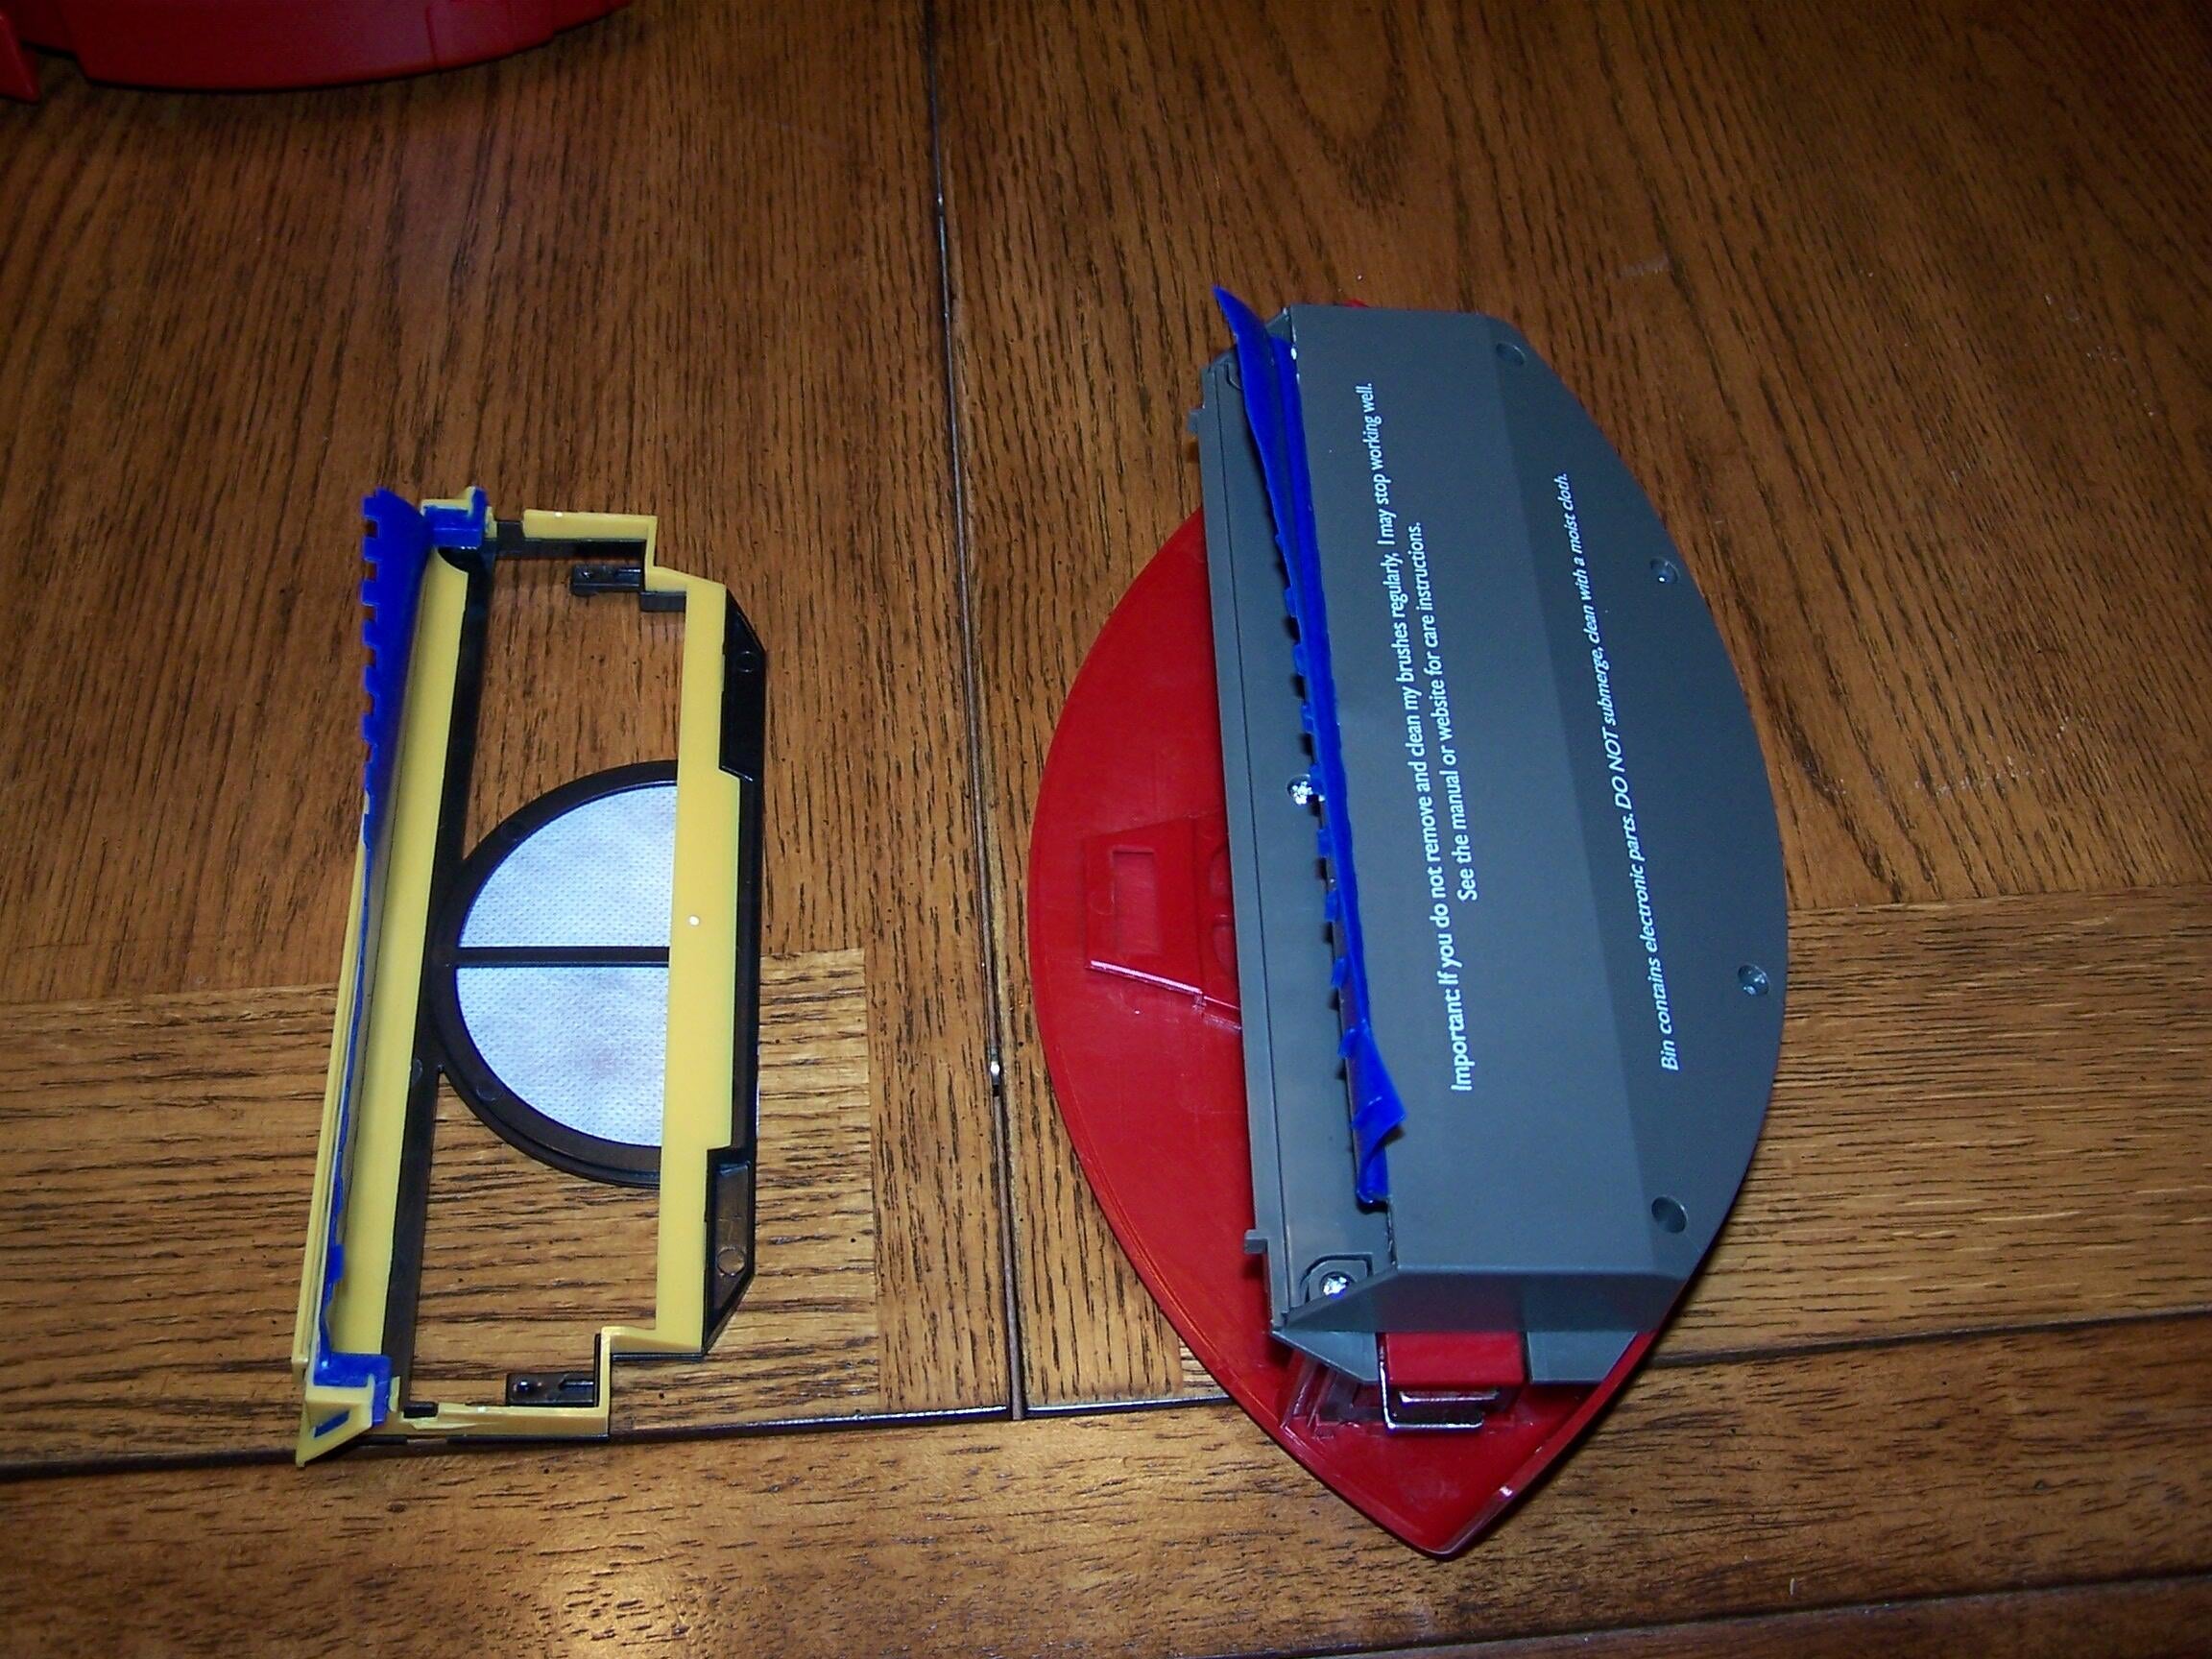
The dirt bin has a filter inside that pulls out. The package comes with this filter and a spare.
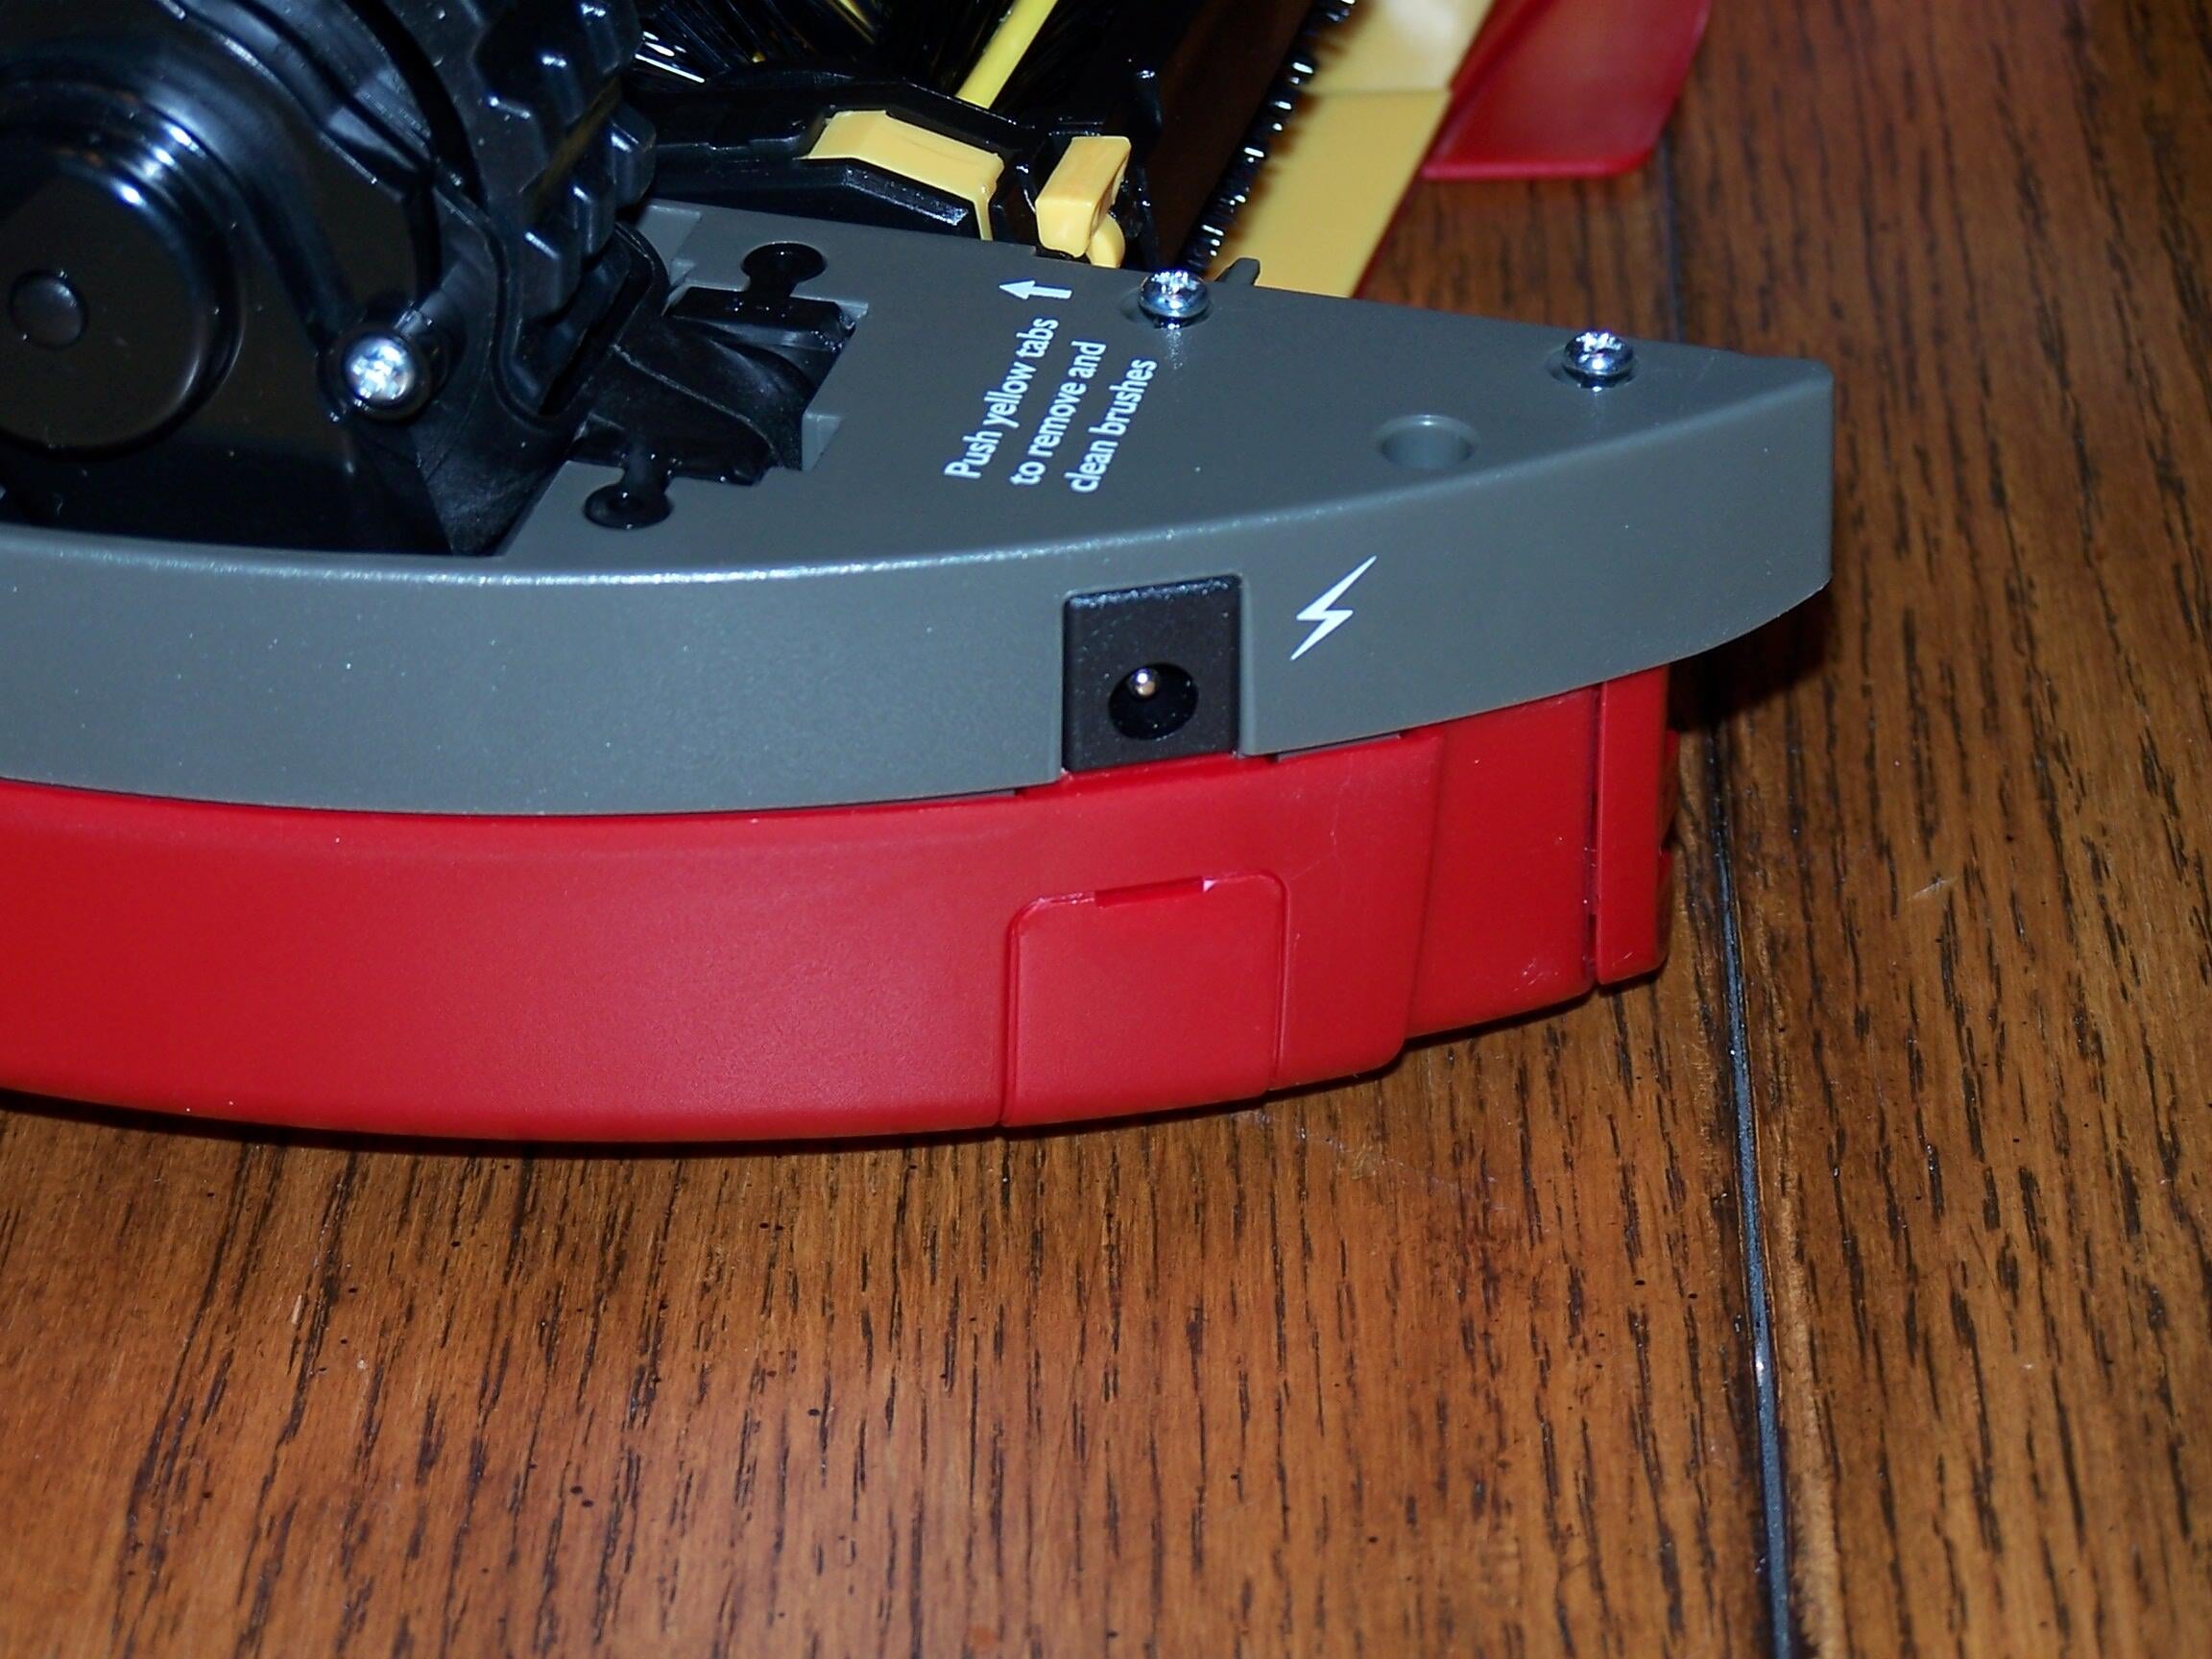
Here you can see the power port and the side of the serial port (for software programming).
Normally, you charge the Roomba via the charging base station. However, you can also charge the Roomba directly.
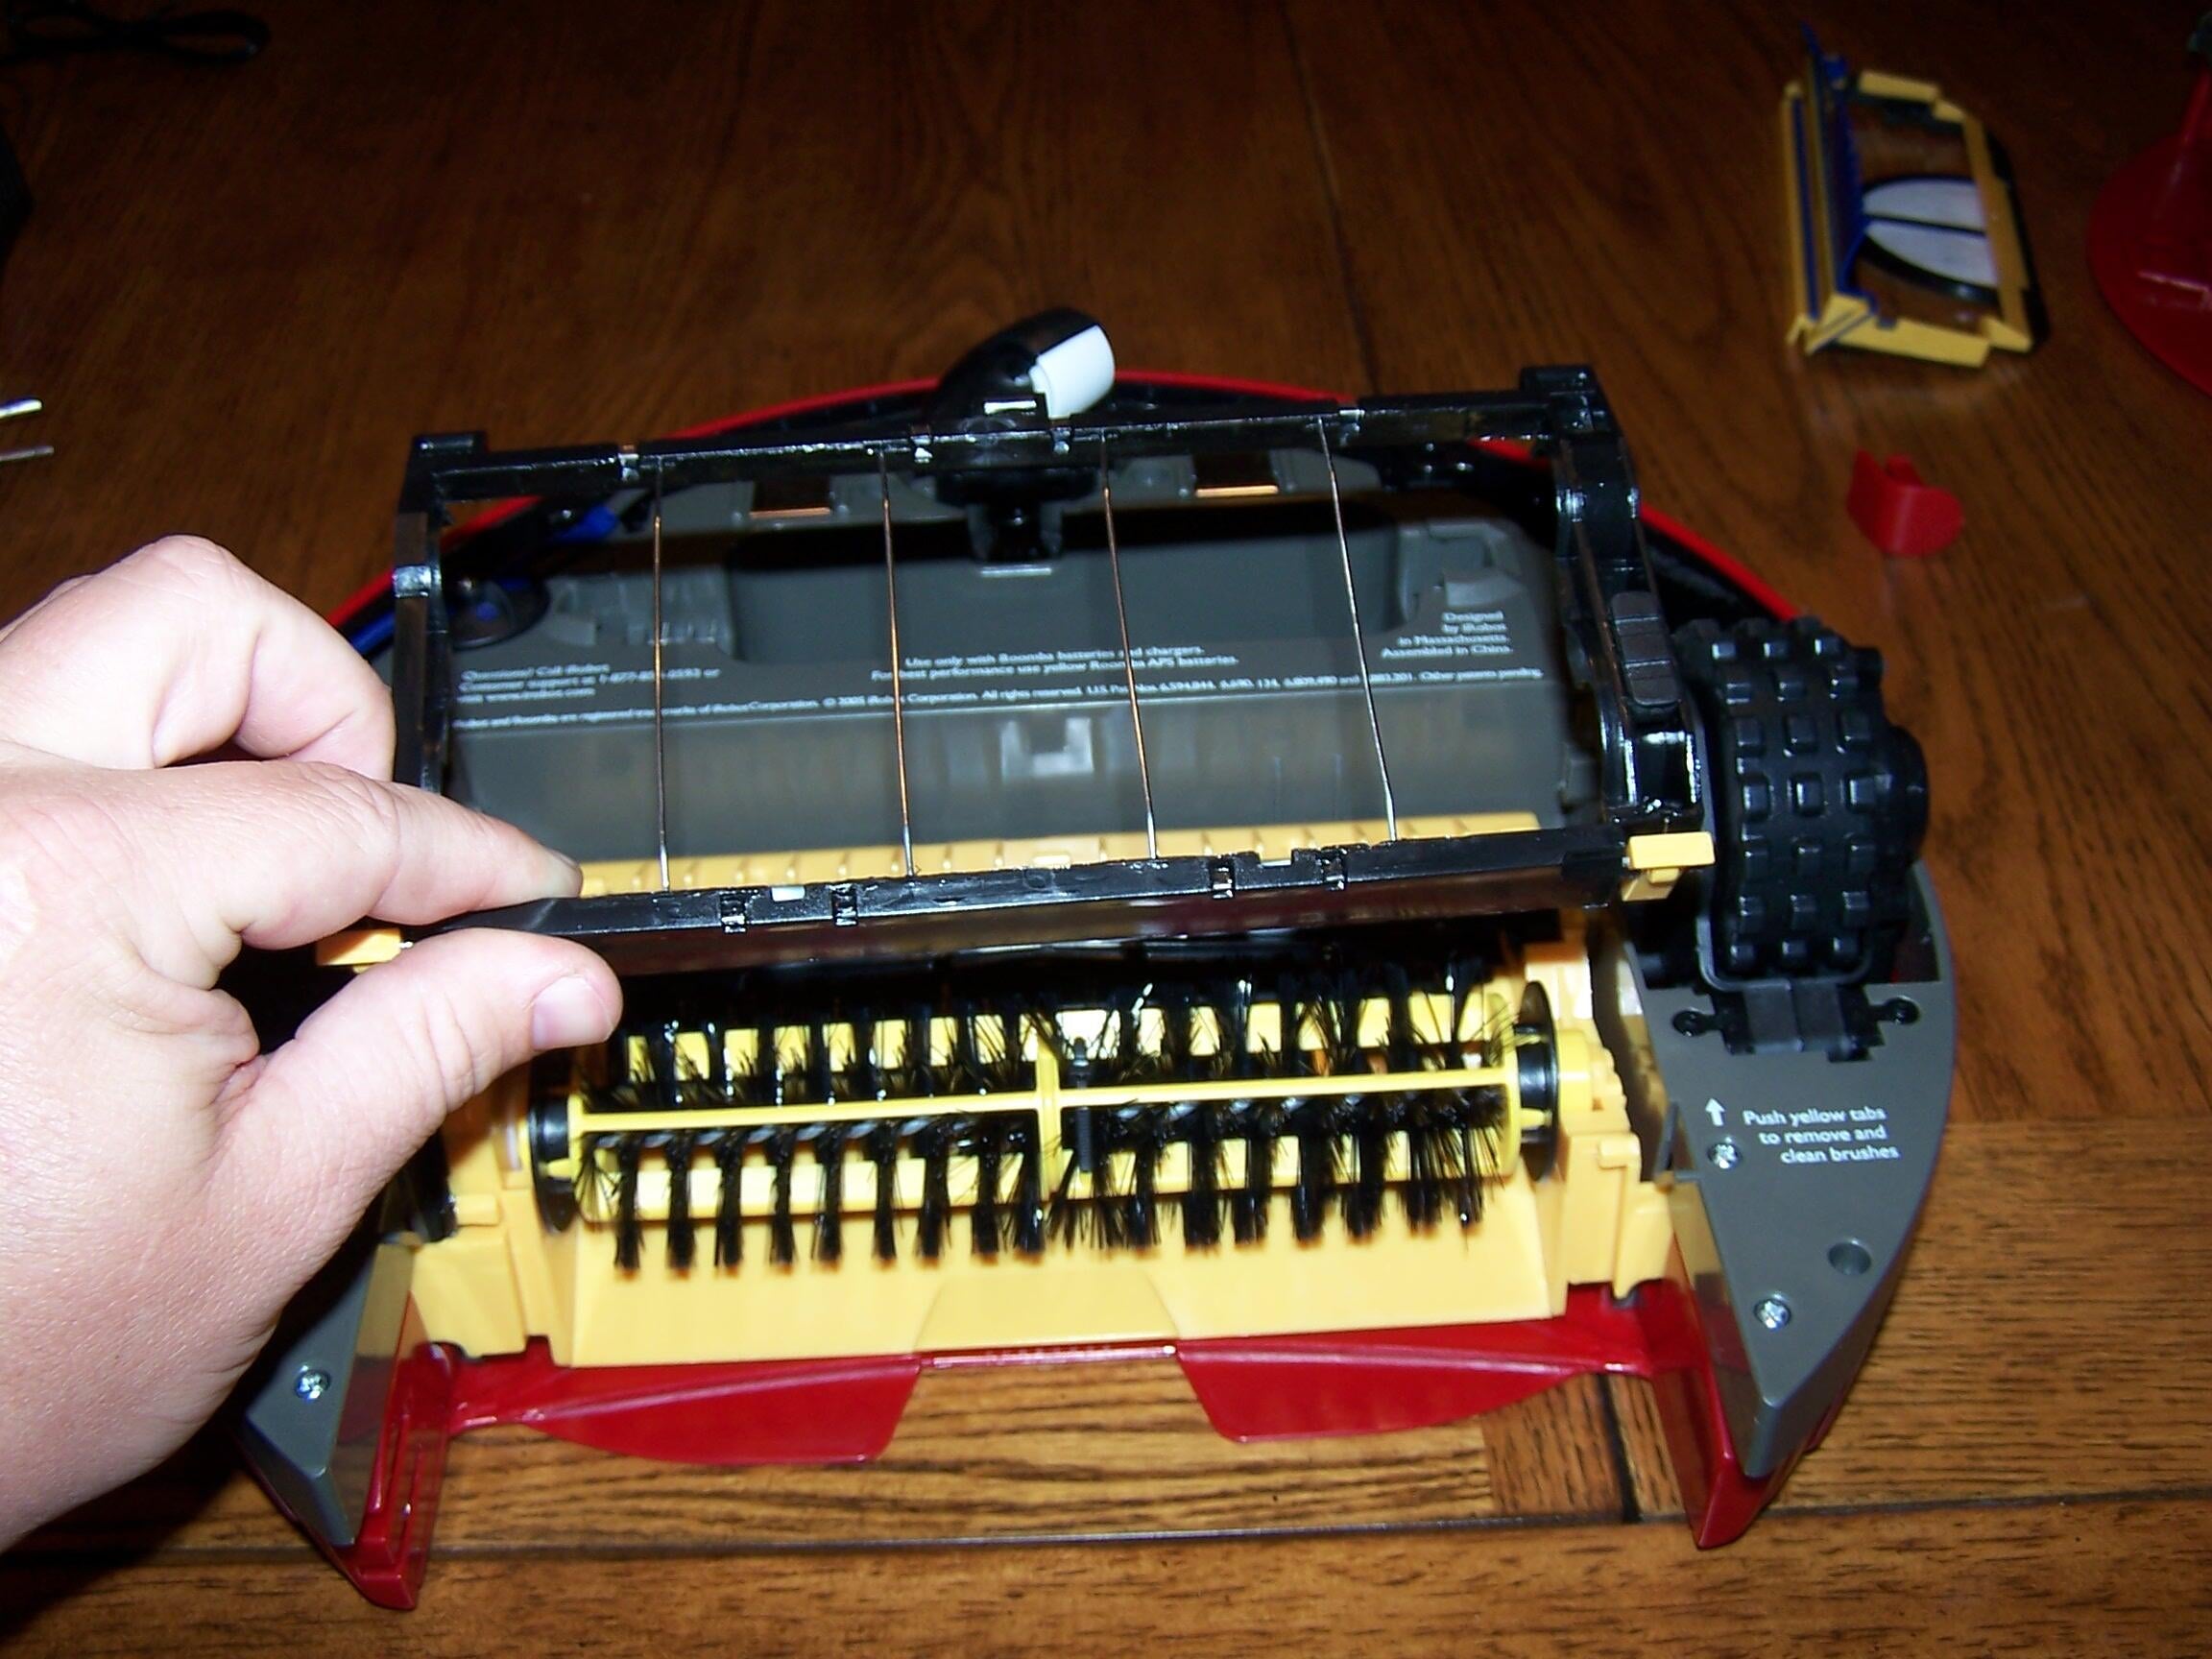
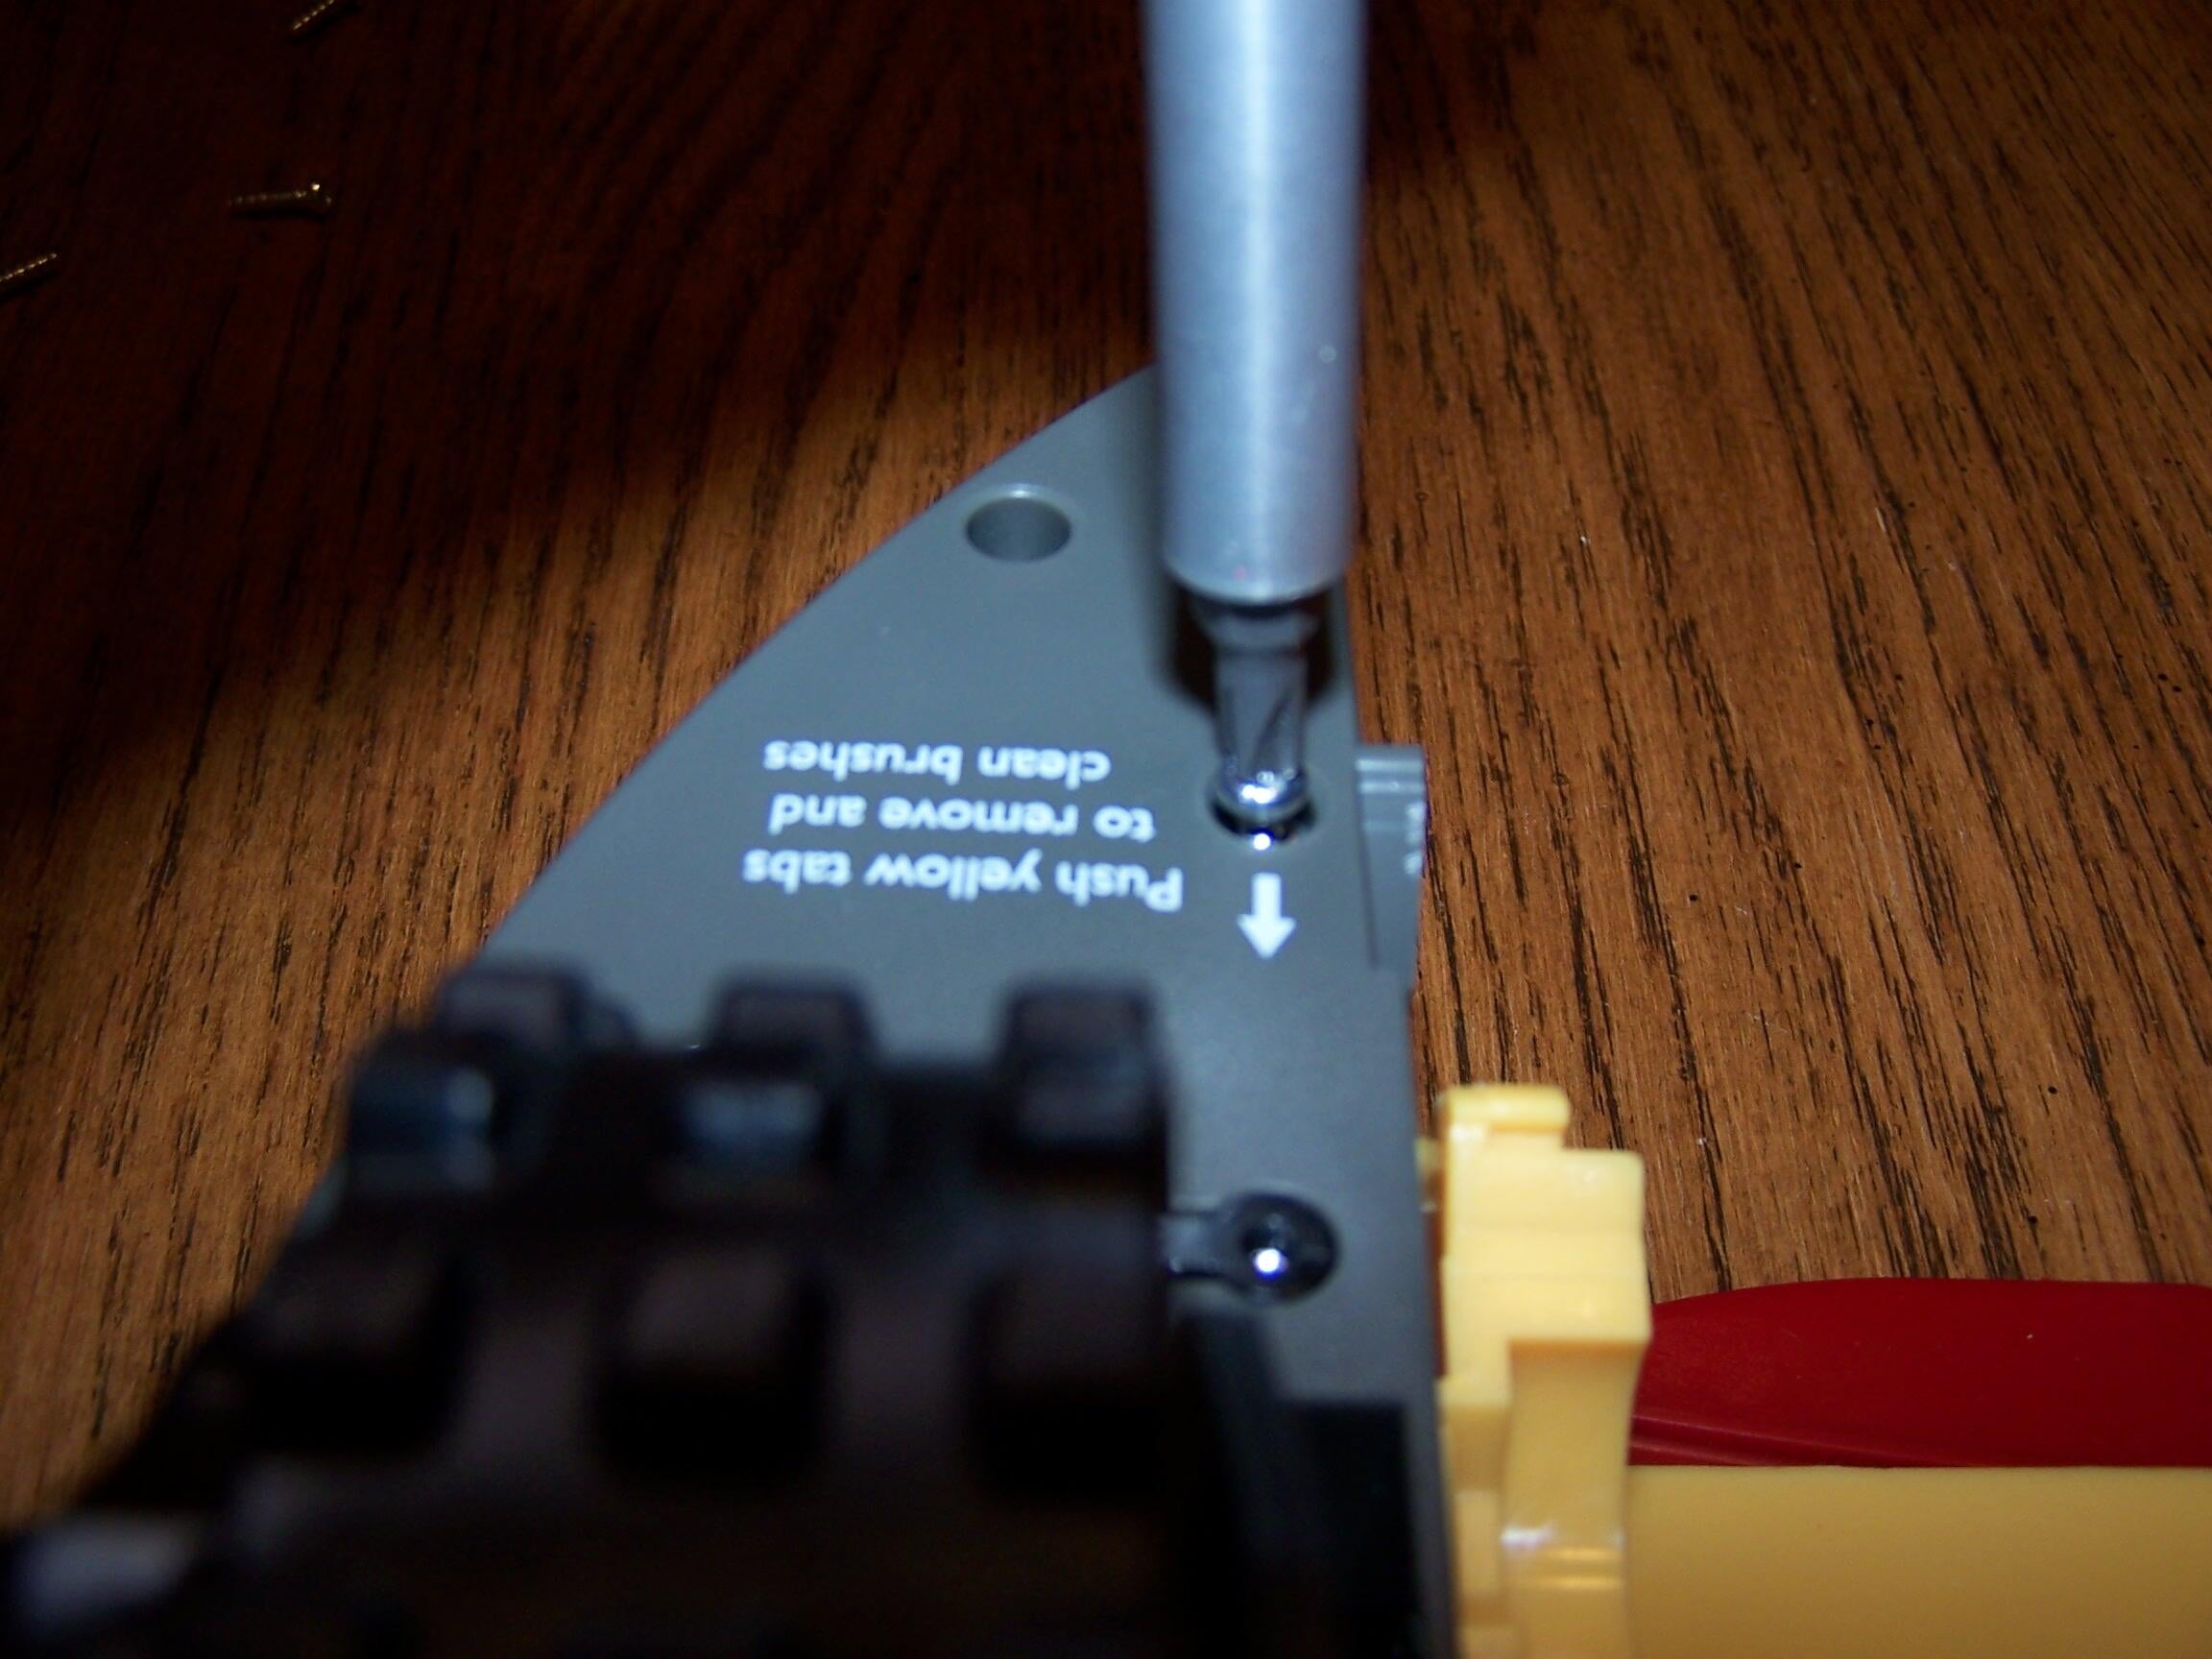
By pressing two yellow tabs, you can release the brush guards that hold the two brushes.
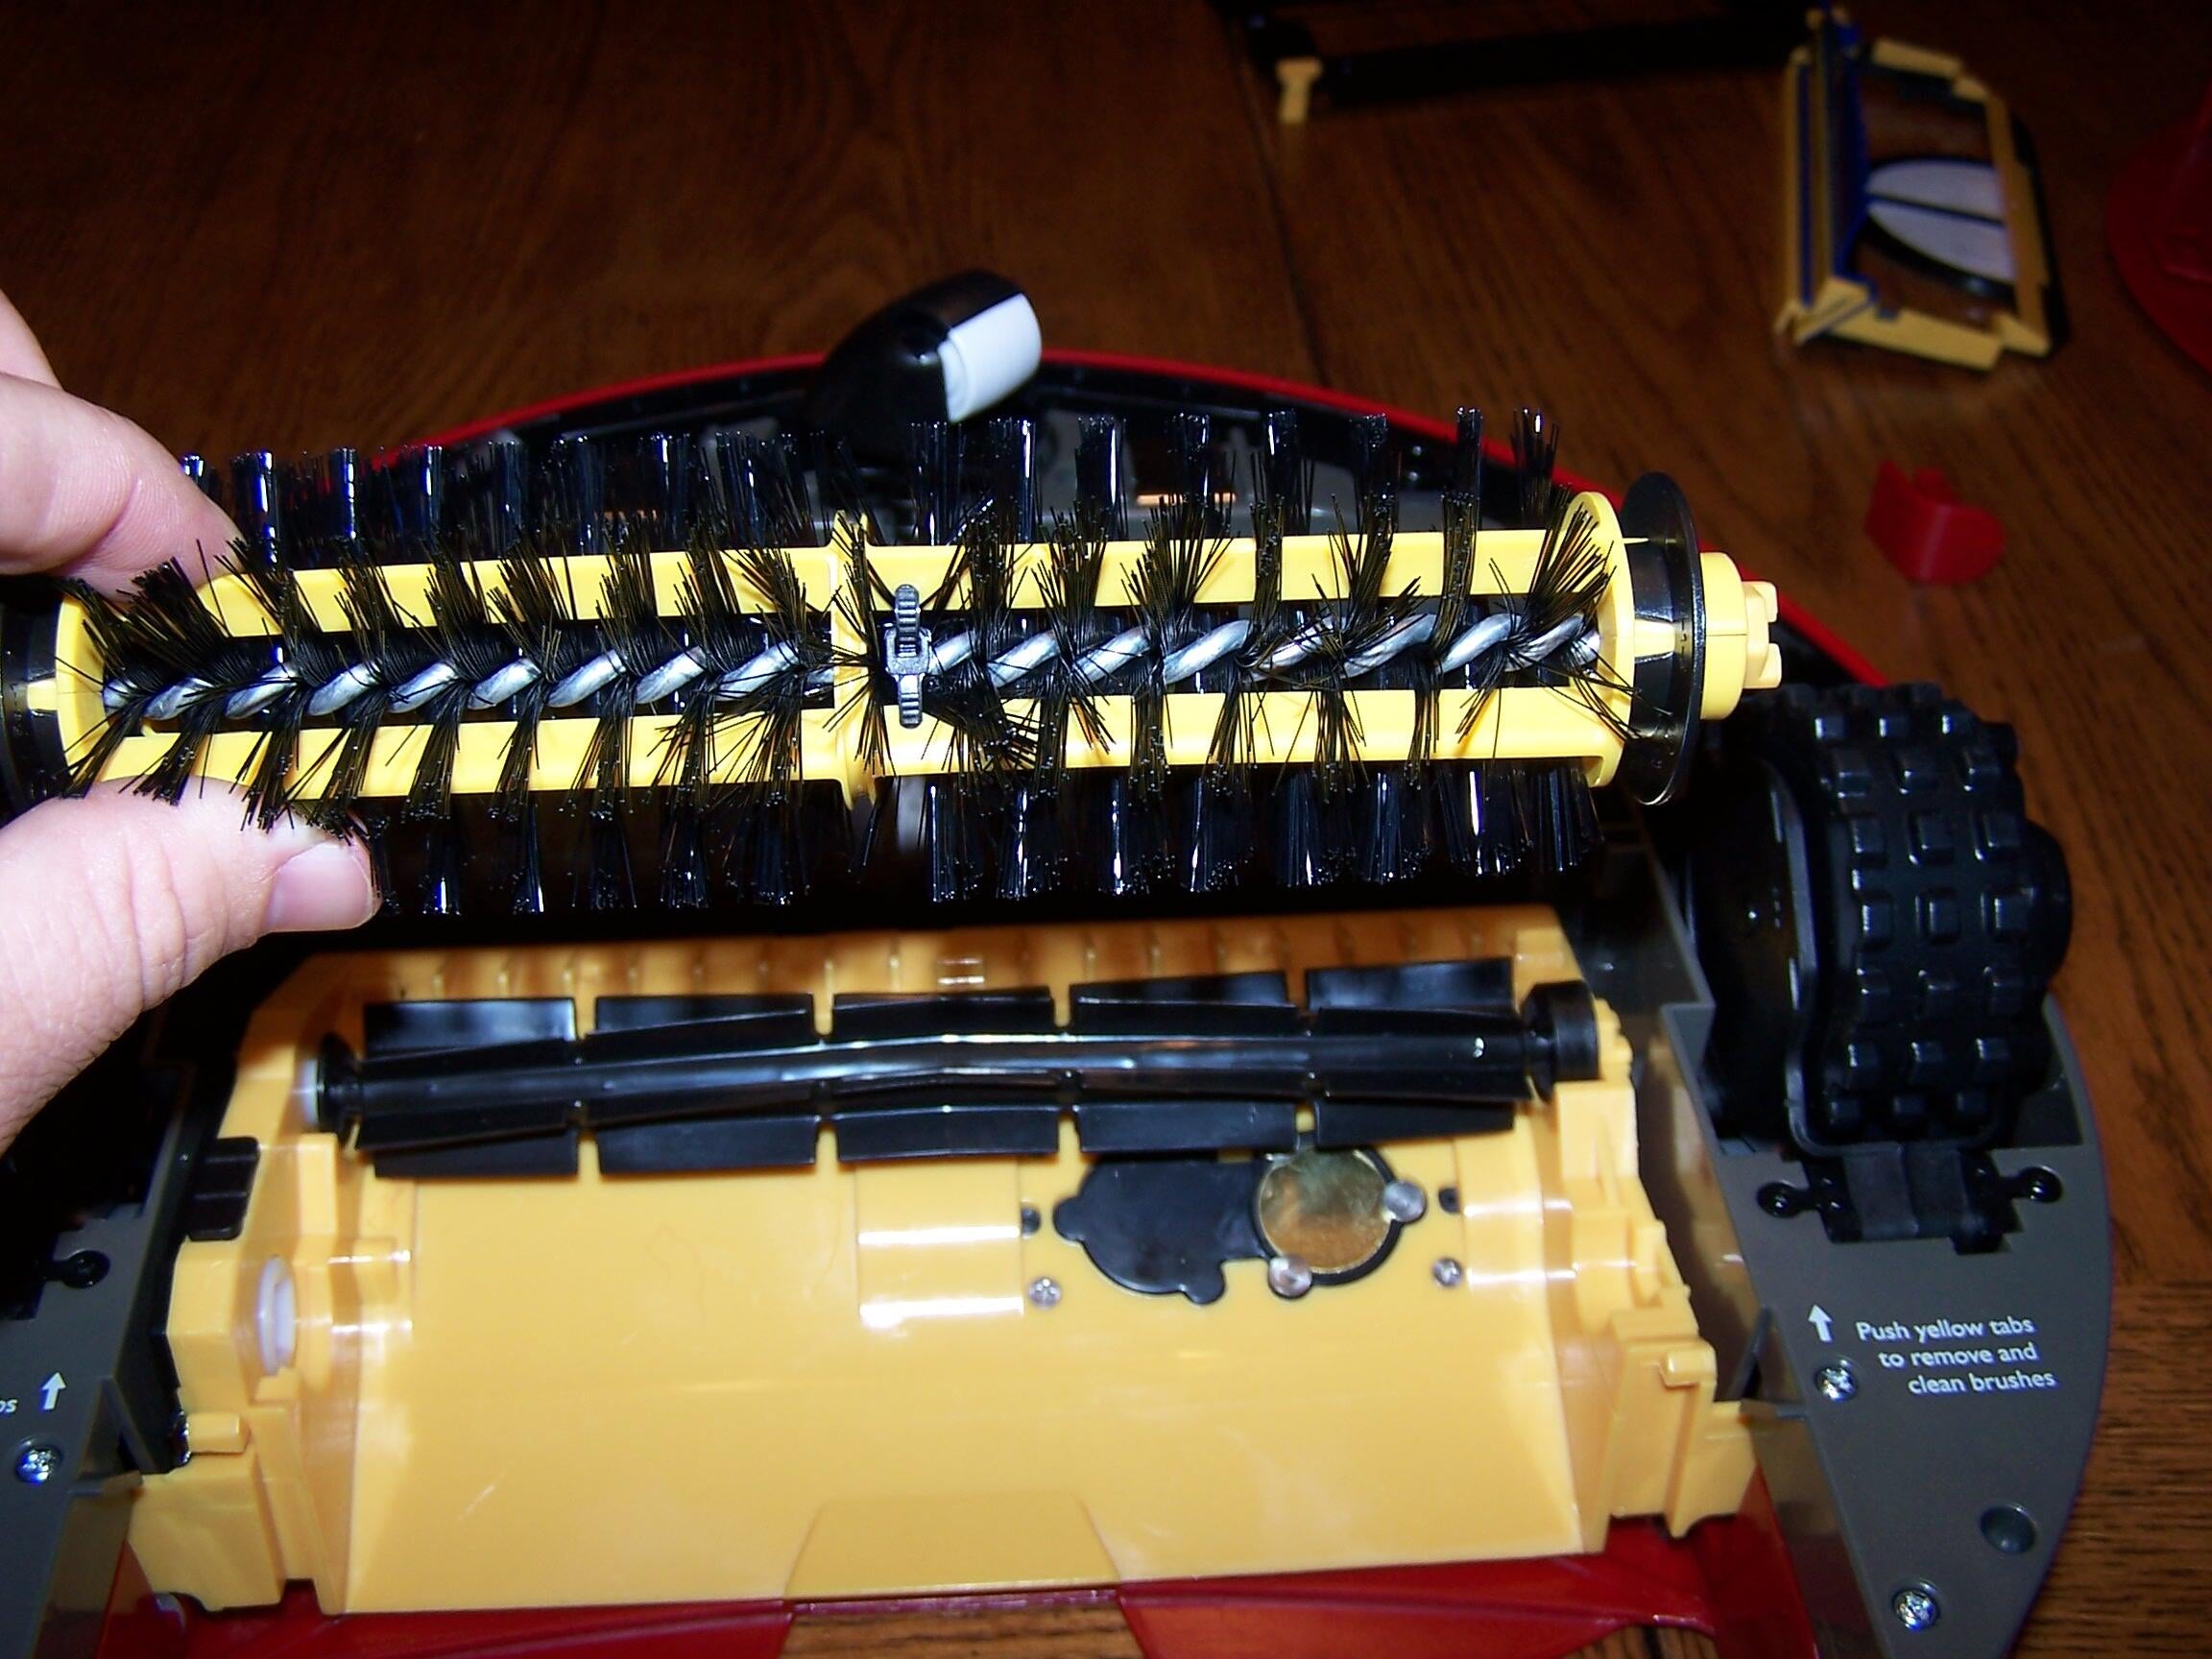
The main brush has one square side (large) that plugs into a socket on the underside.
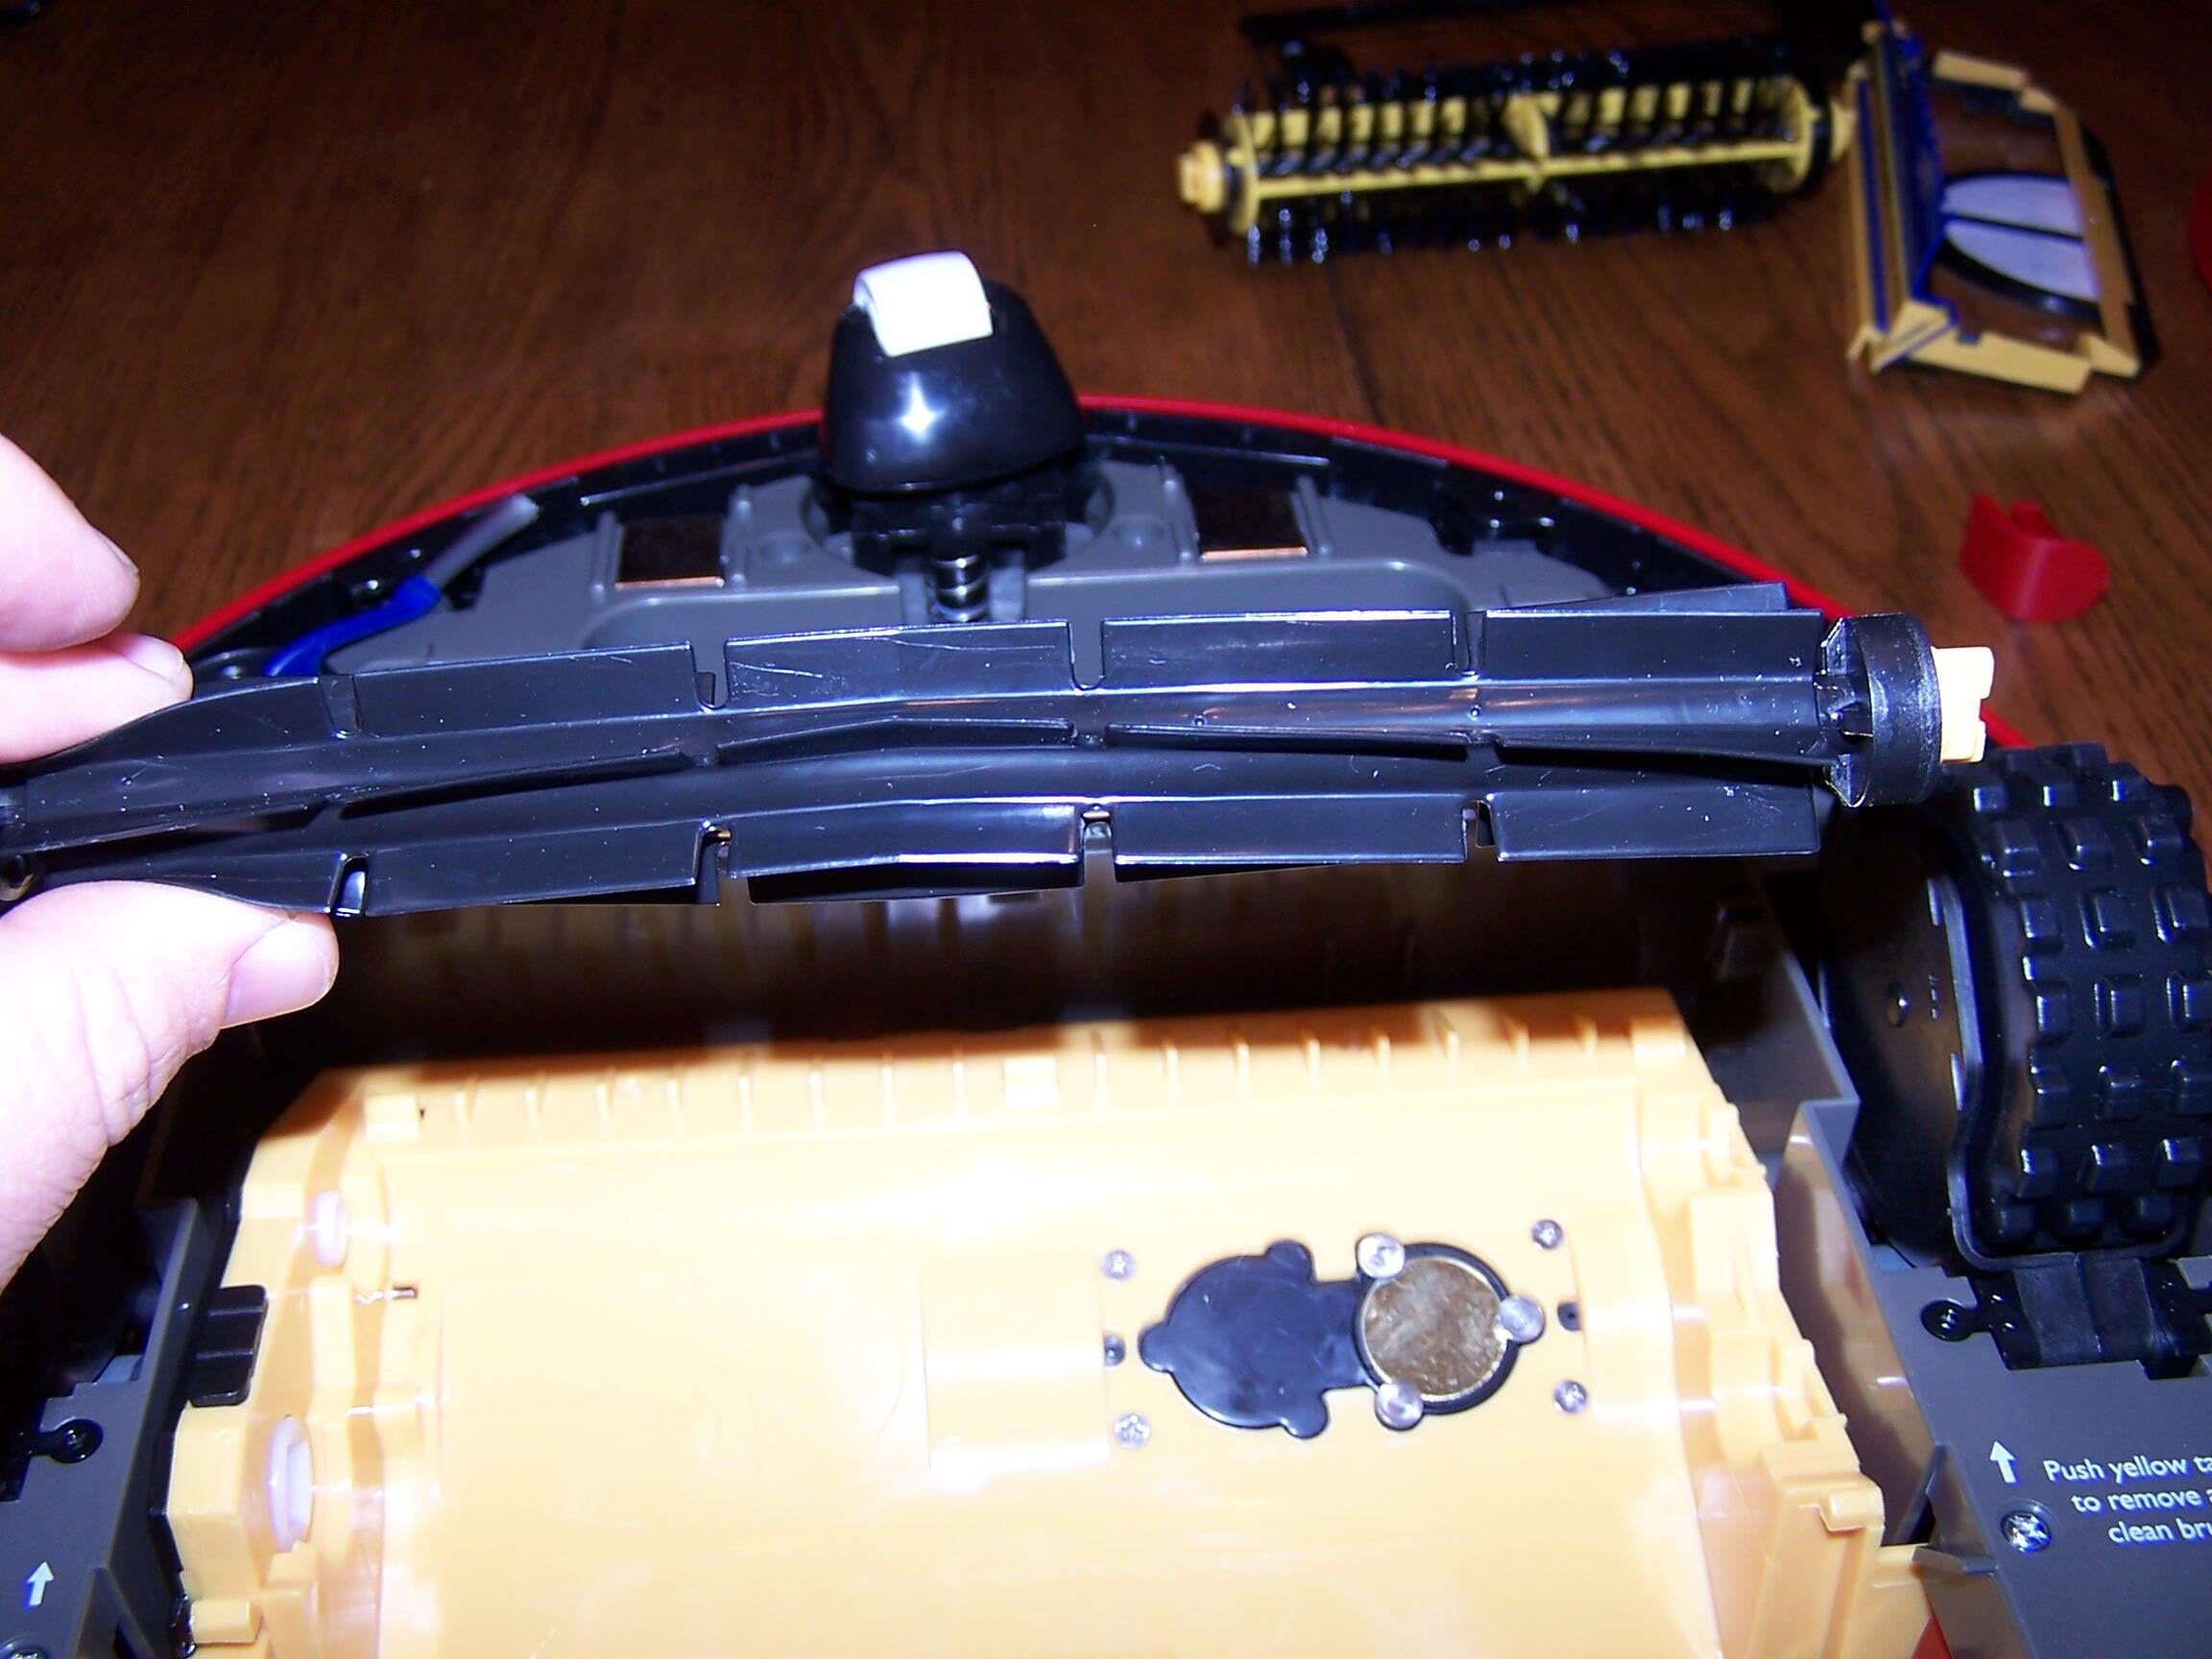
The flexible brush has one square side (small) that plugs into a socket on the underside.
This is the underside of the Roomba without the brushes. Here you can clearly see the dirt detect sensor (gold sensor on right side).
This sensor detects areas of the carpet that need a little extra vacuuming. It detects this state and circles around the area, gathering the excess dirt.
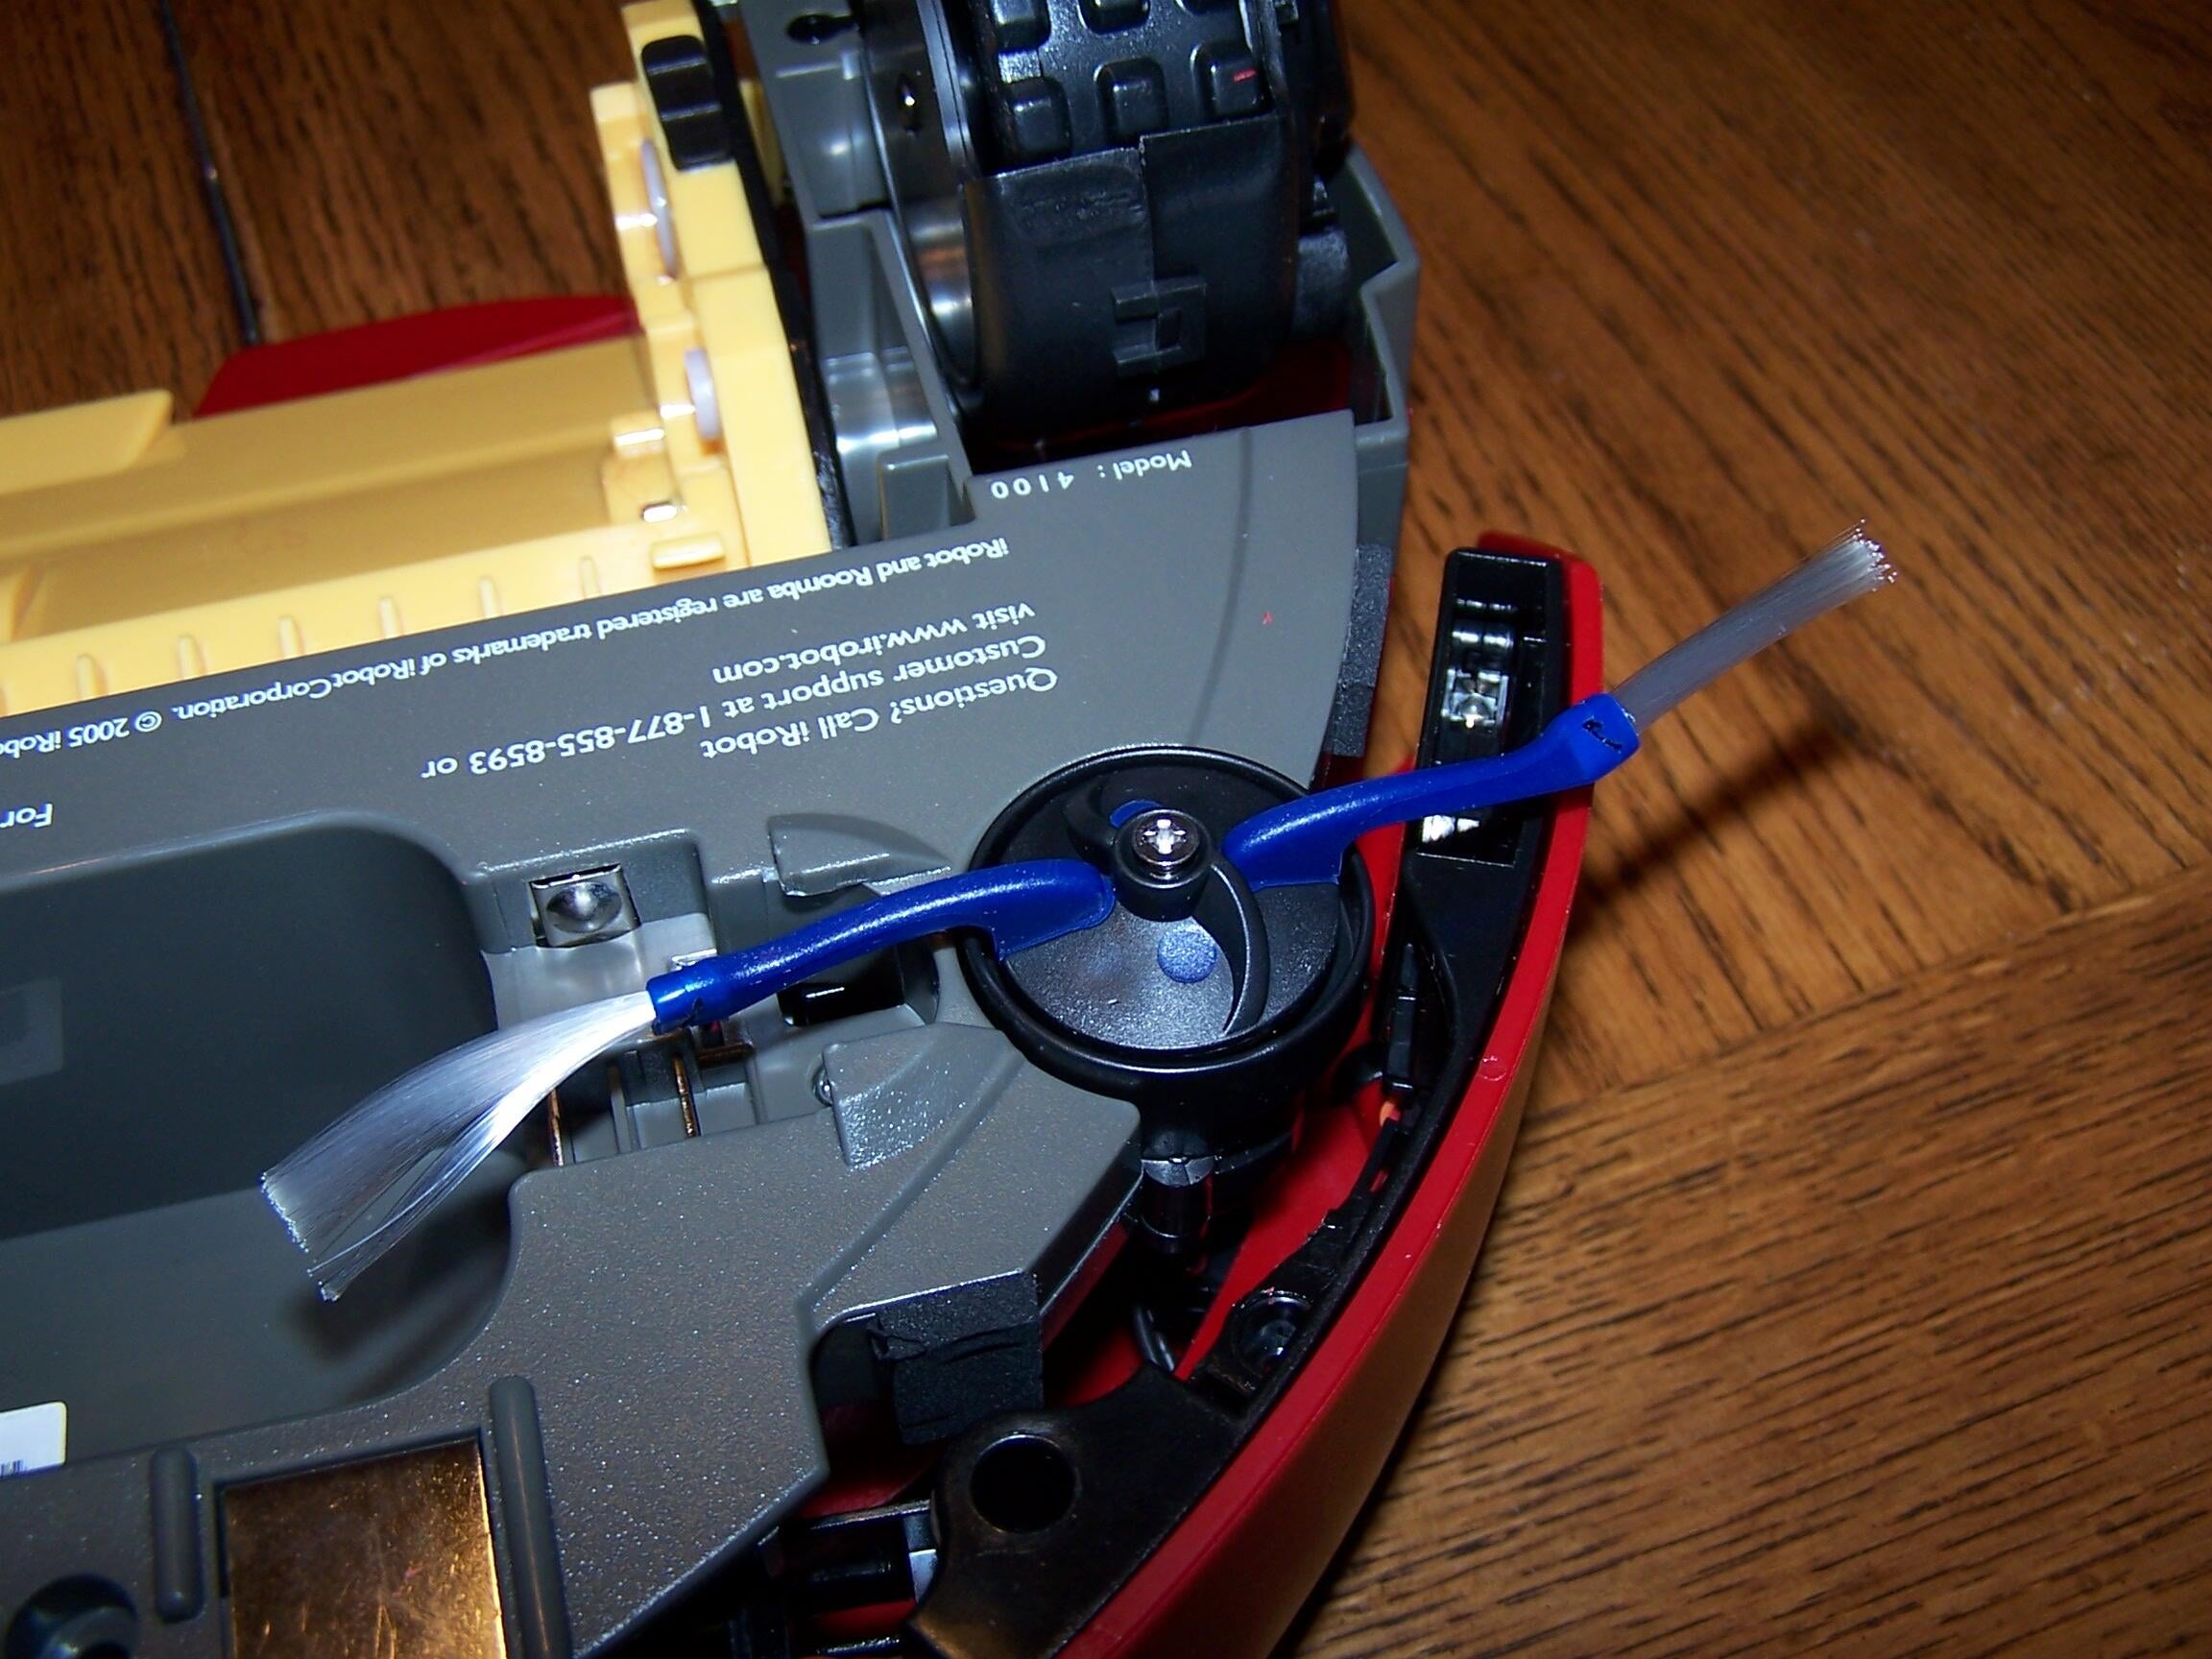
Here you can see the edge cleaning side brush. It’s a simple disc with two brushes. The screw in the middle secures it.
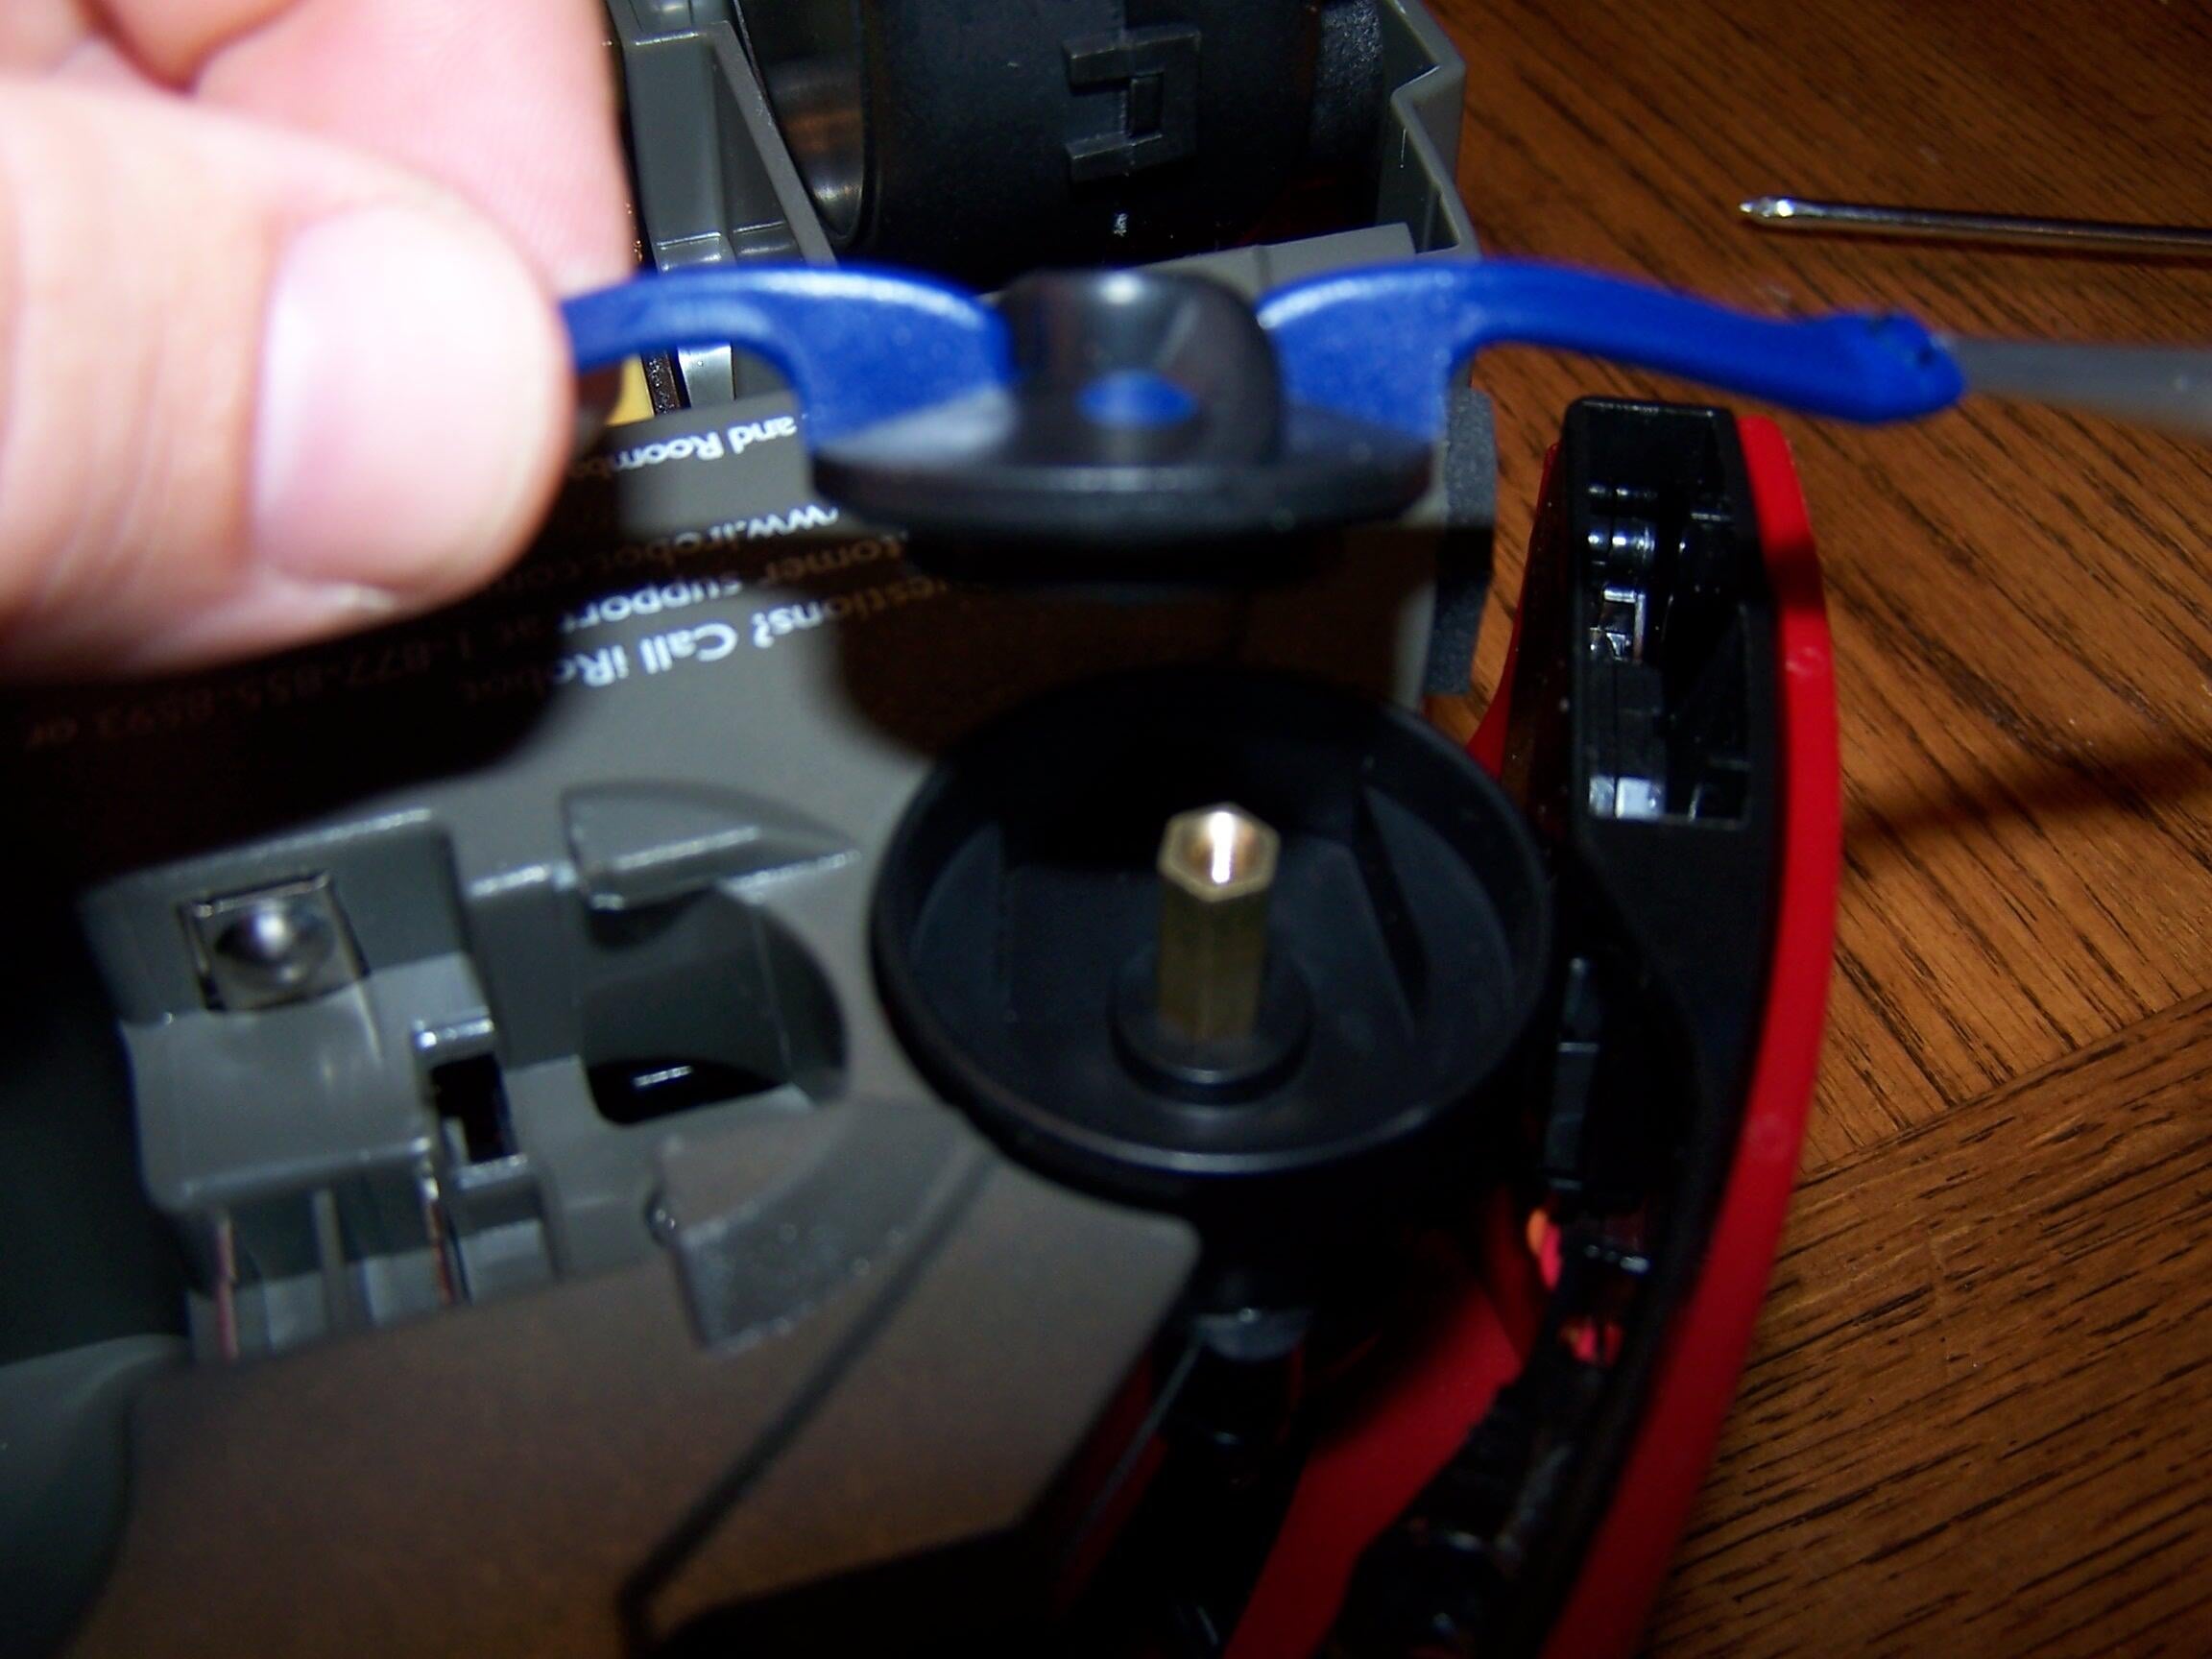
Remove a single screw and the disc comes off easily.
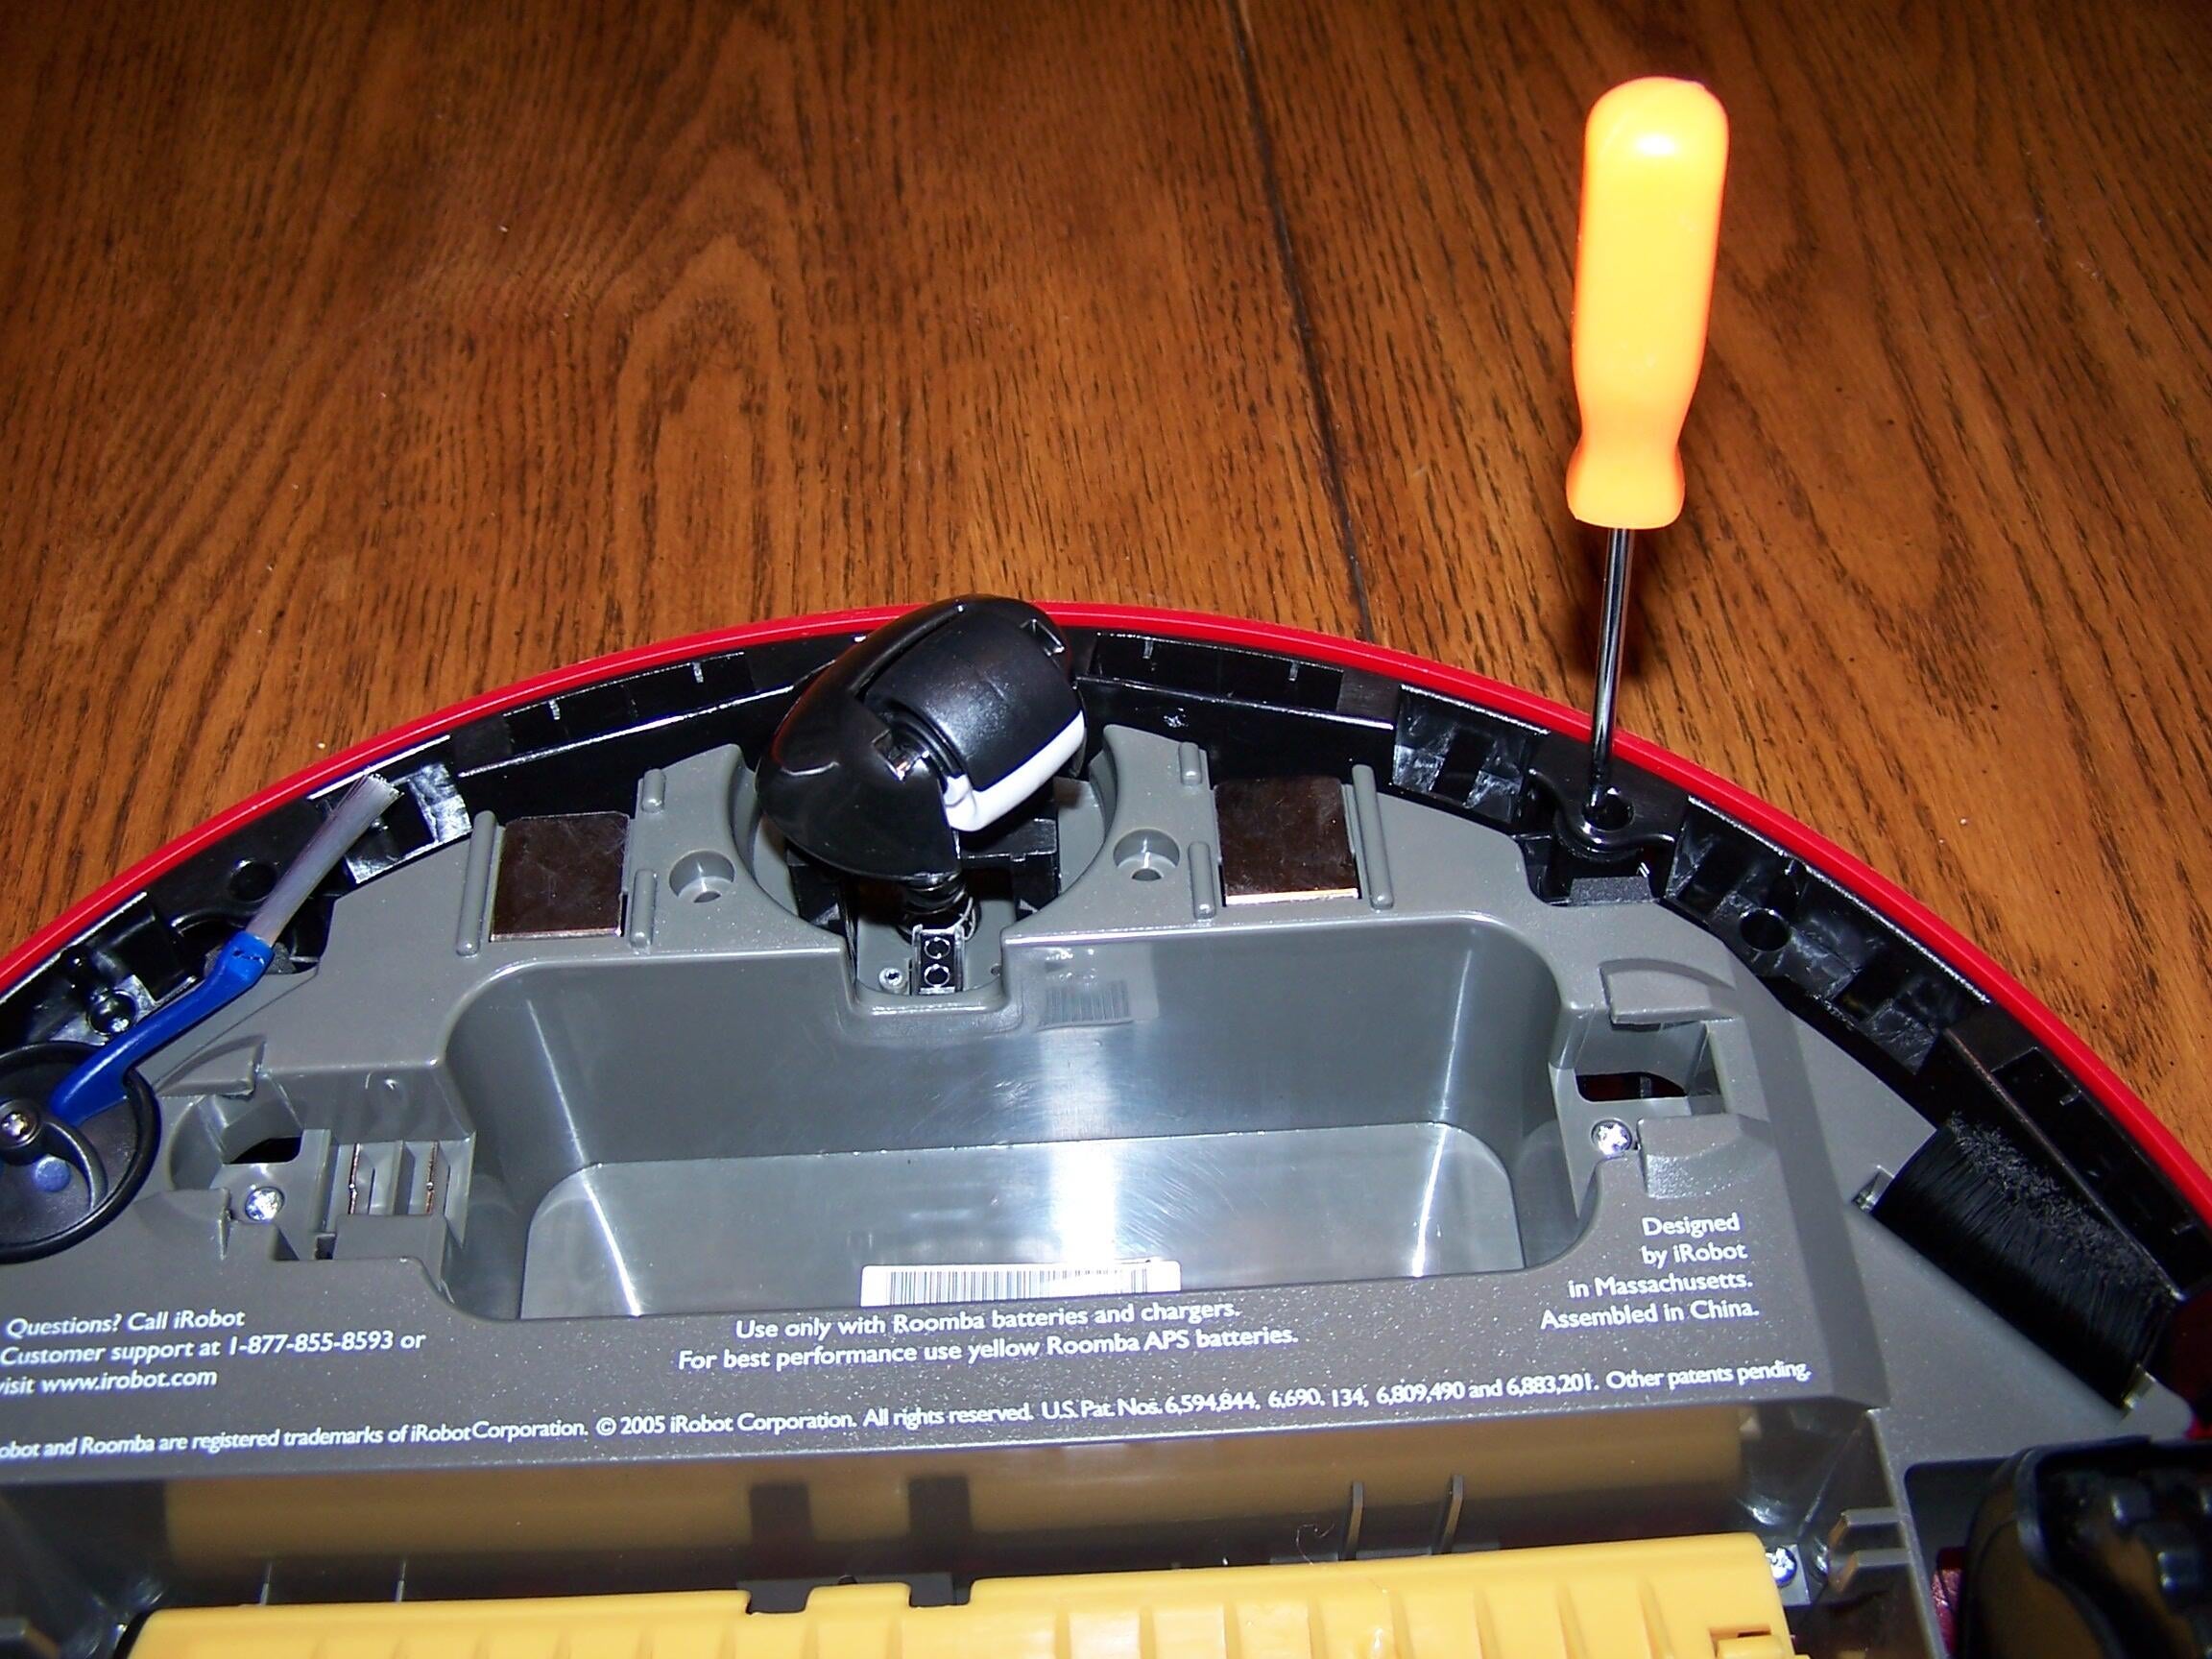
There are 4 screws around the edge of the underside that need to be removed. One of them is marked here with a screwdriver.
These two screws by the center wheel need to be removed.
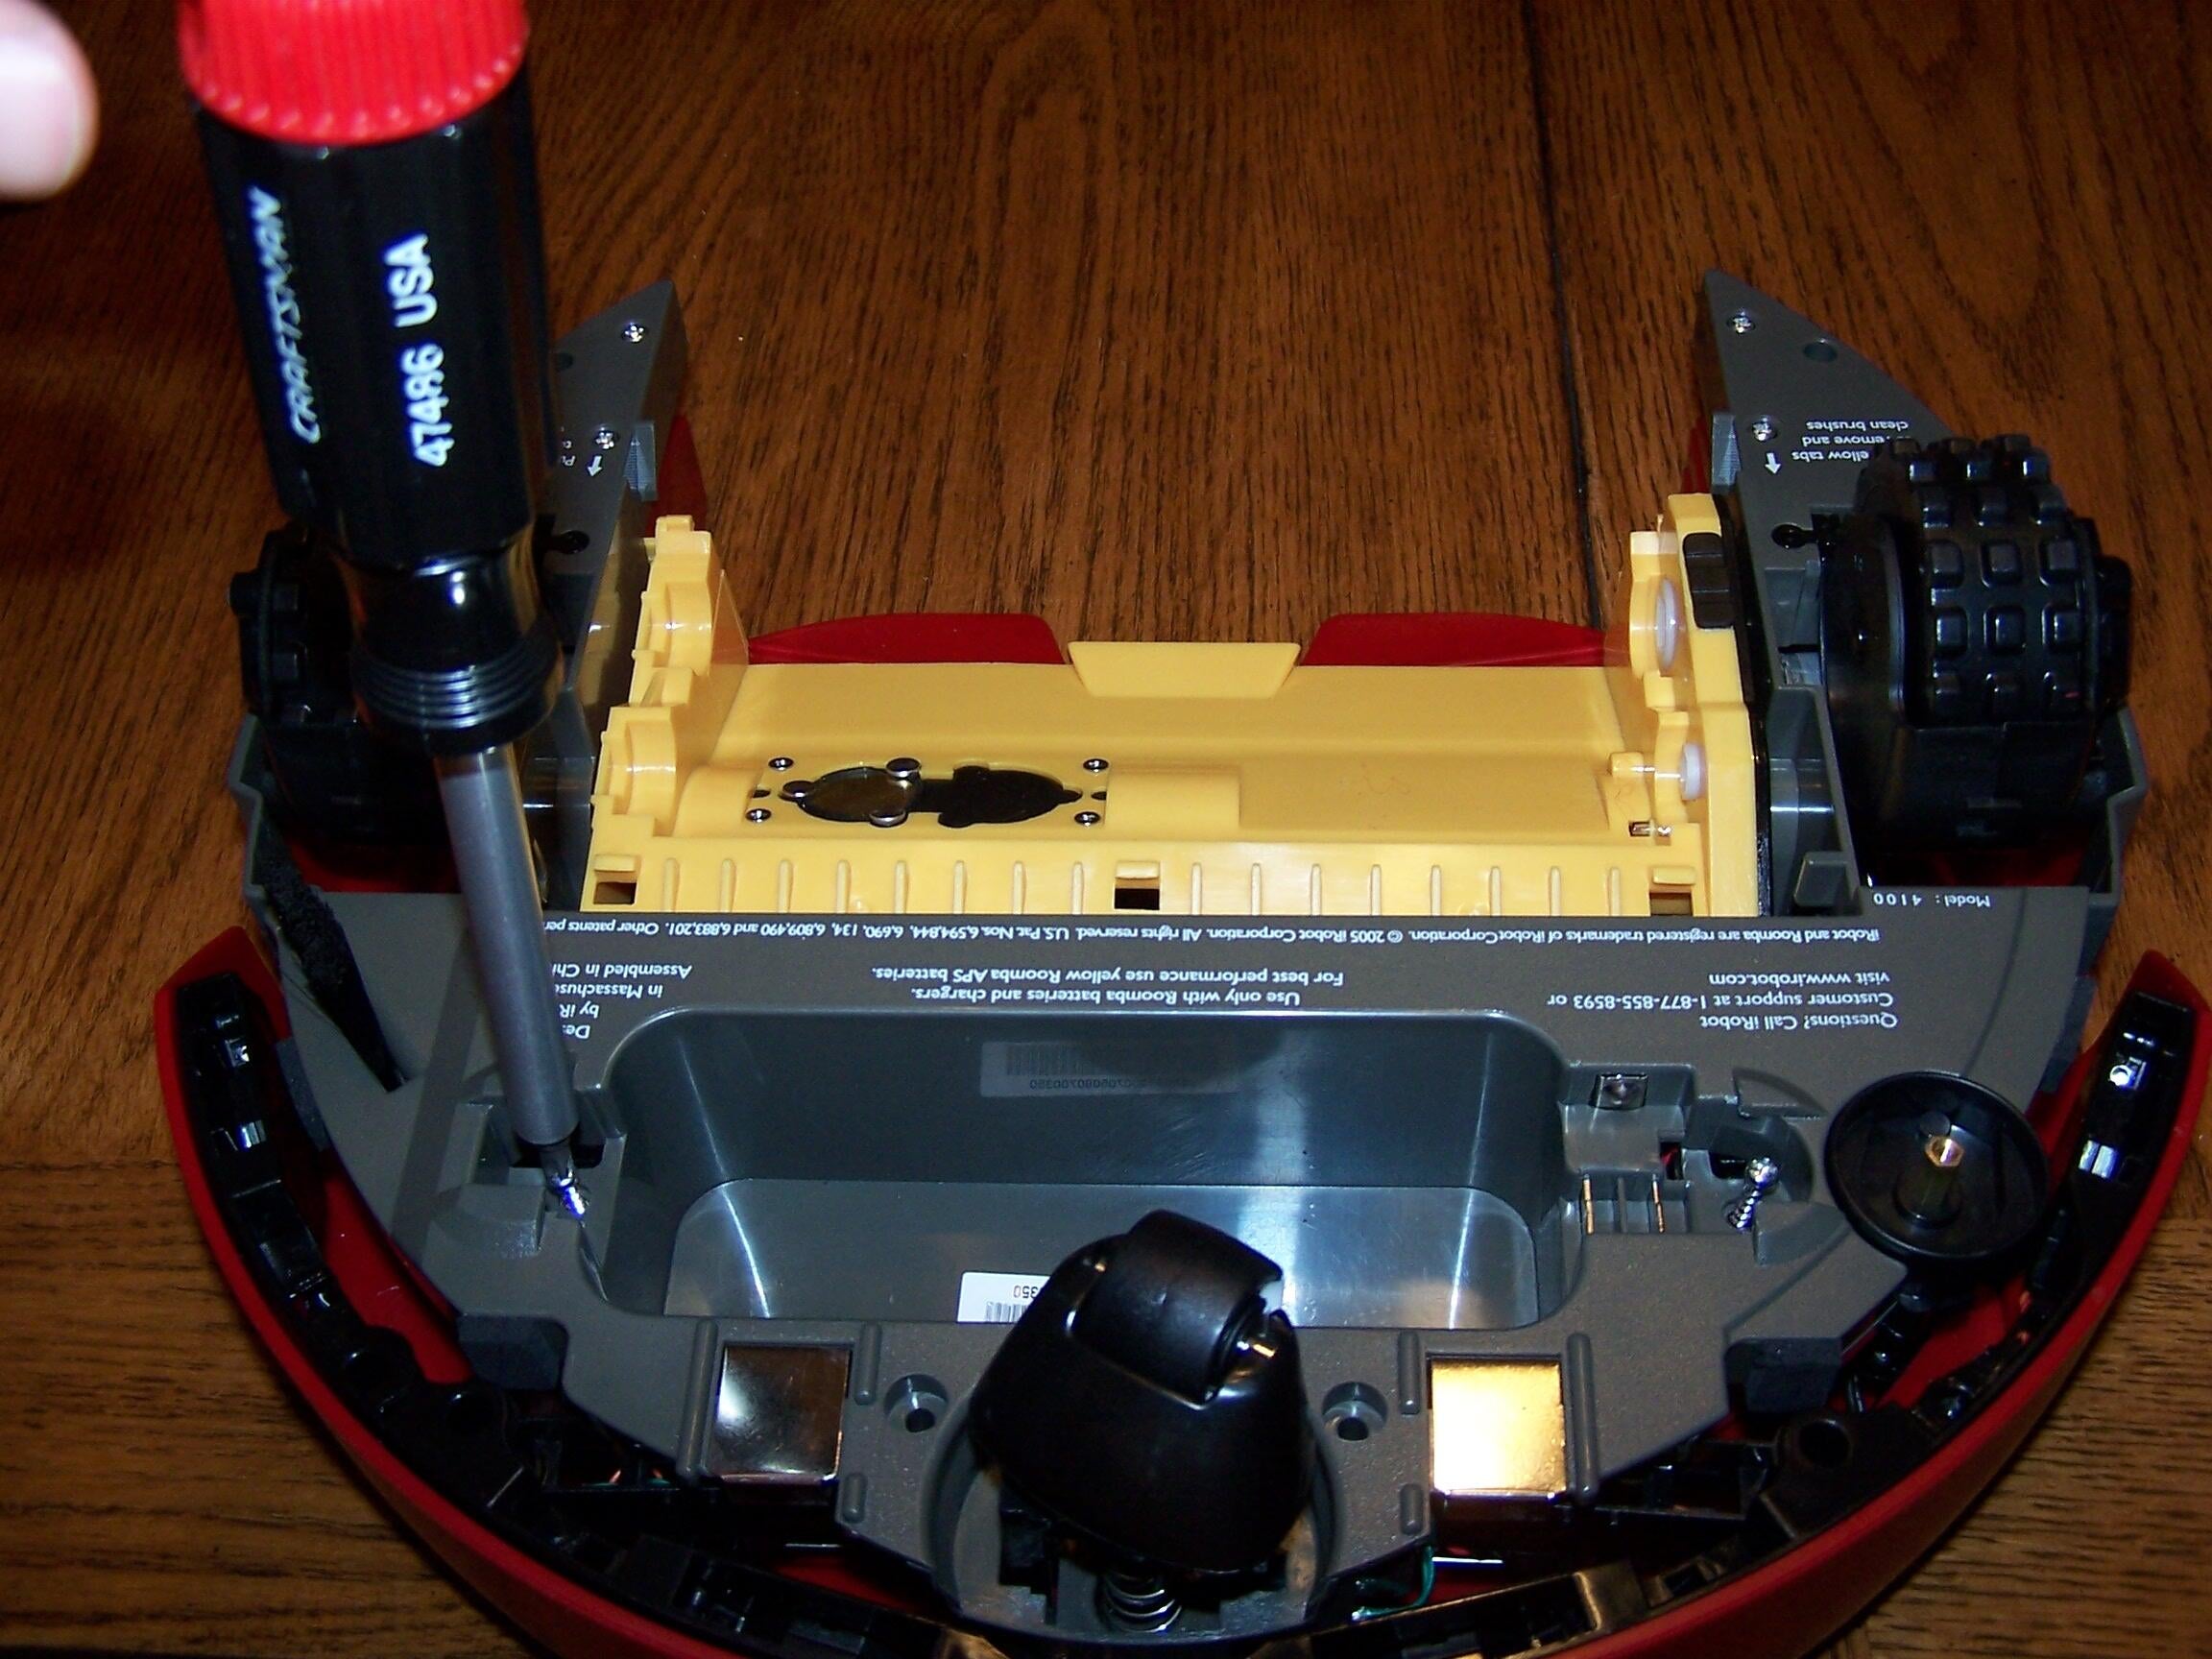
There are 4 screws near the battery cavity that need to be removed. The screwdriver on the left of this photo marks one screw position. The unscrewed screw on the right side of the photo shows another. Underneath each screw placement seen here are two more corresponding screw placements, for a total of four.
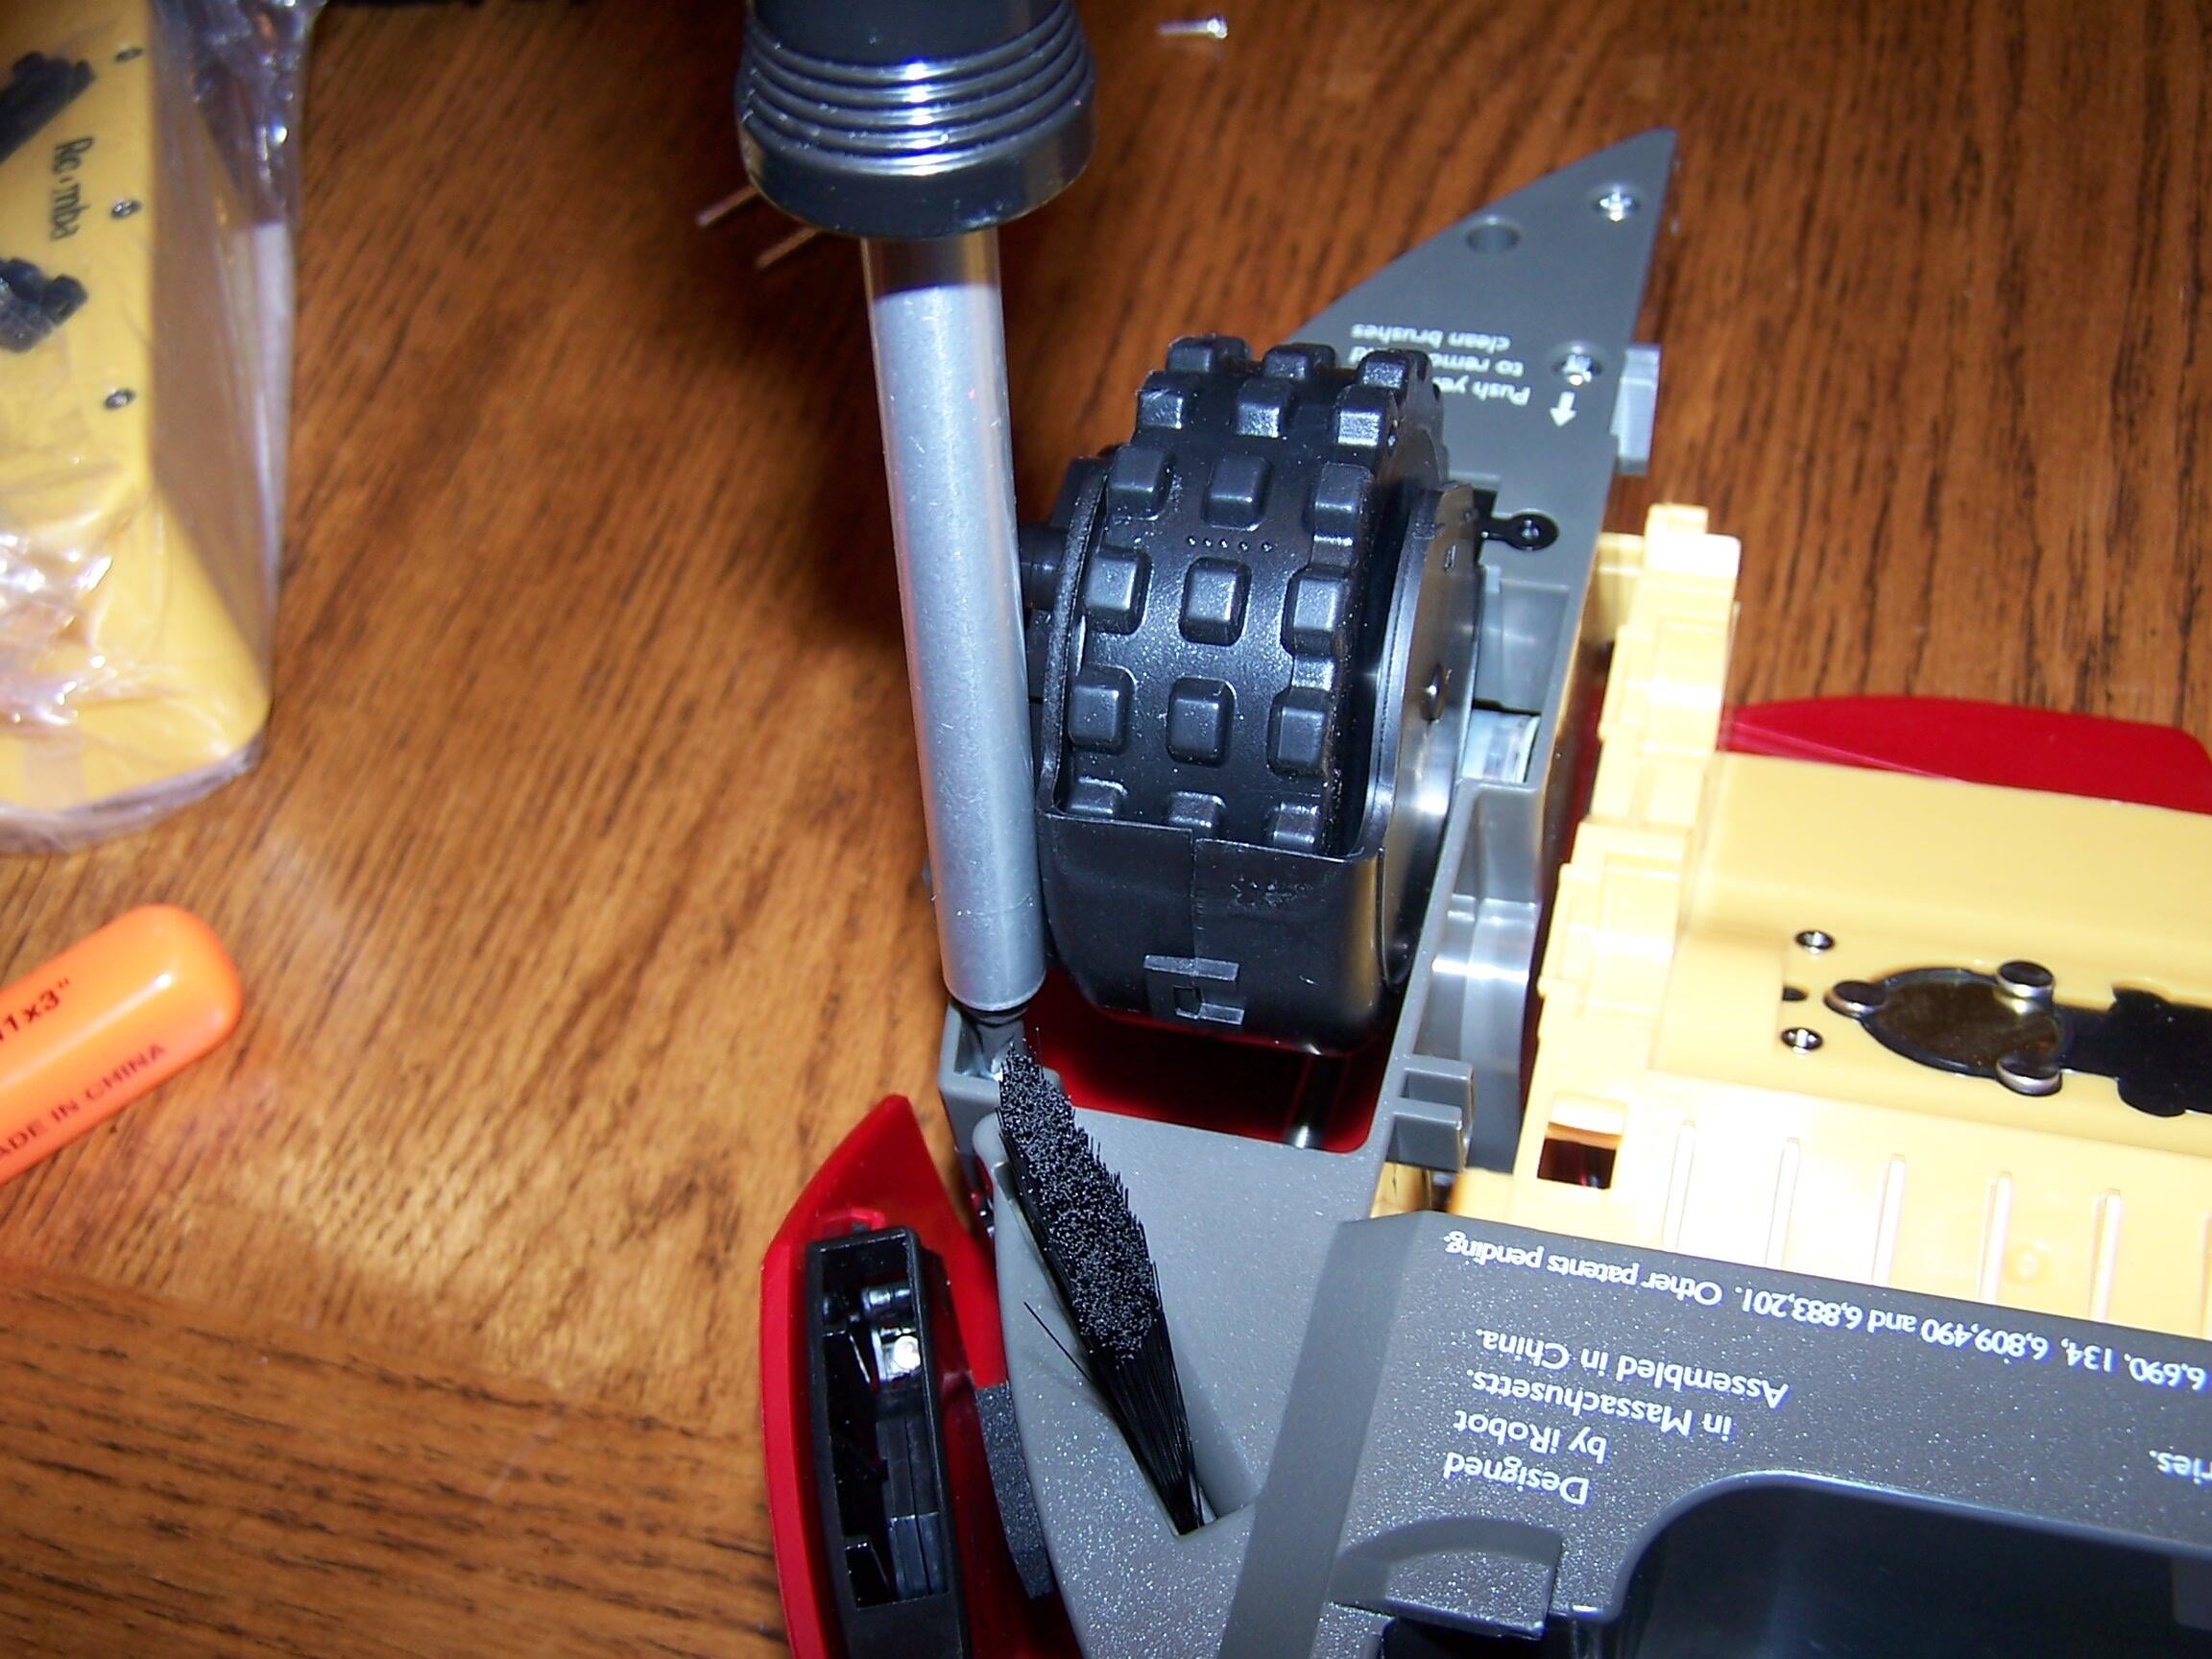
There is one screw in each wheel well that needs to be removed. If you wish to remove the wheel, you have to wait until you get the case open to do that (see later pictures).
Removing three screws near each well, (one set shown here) is the final step necessary to crack the case on this baby.
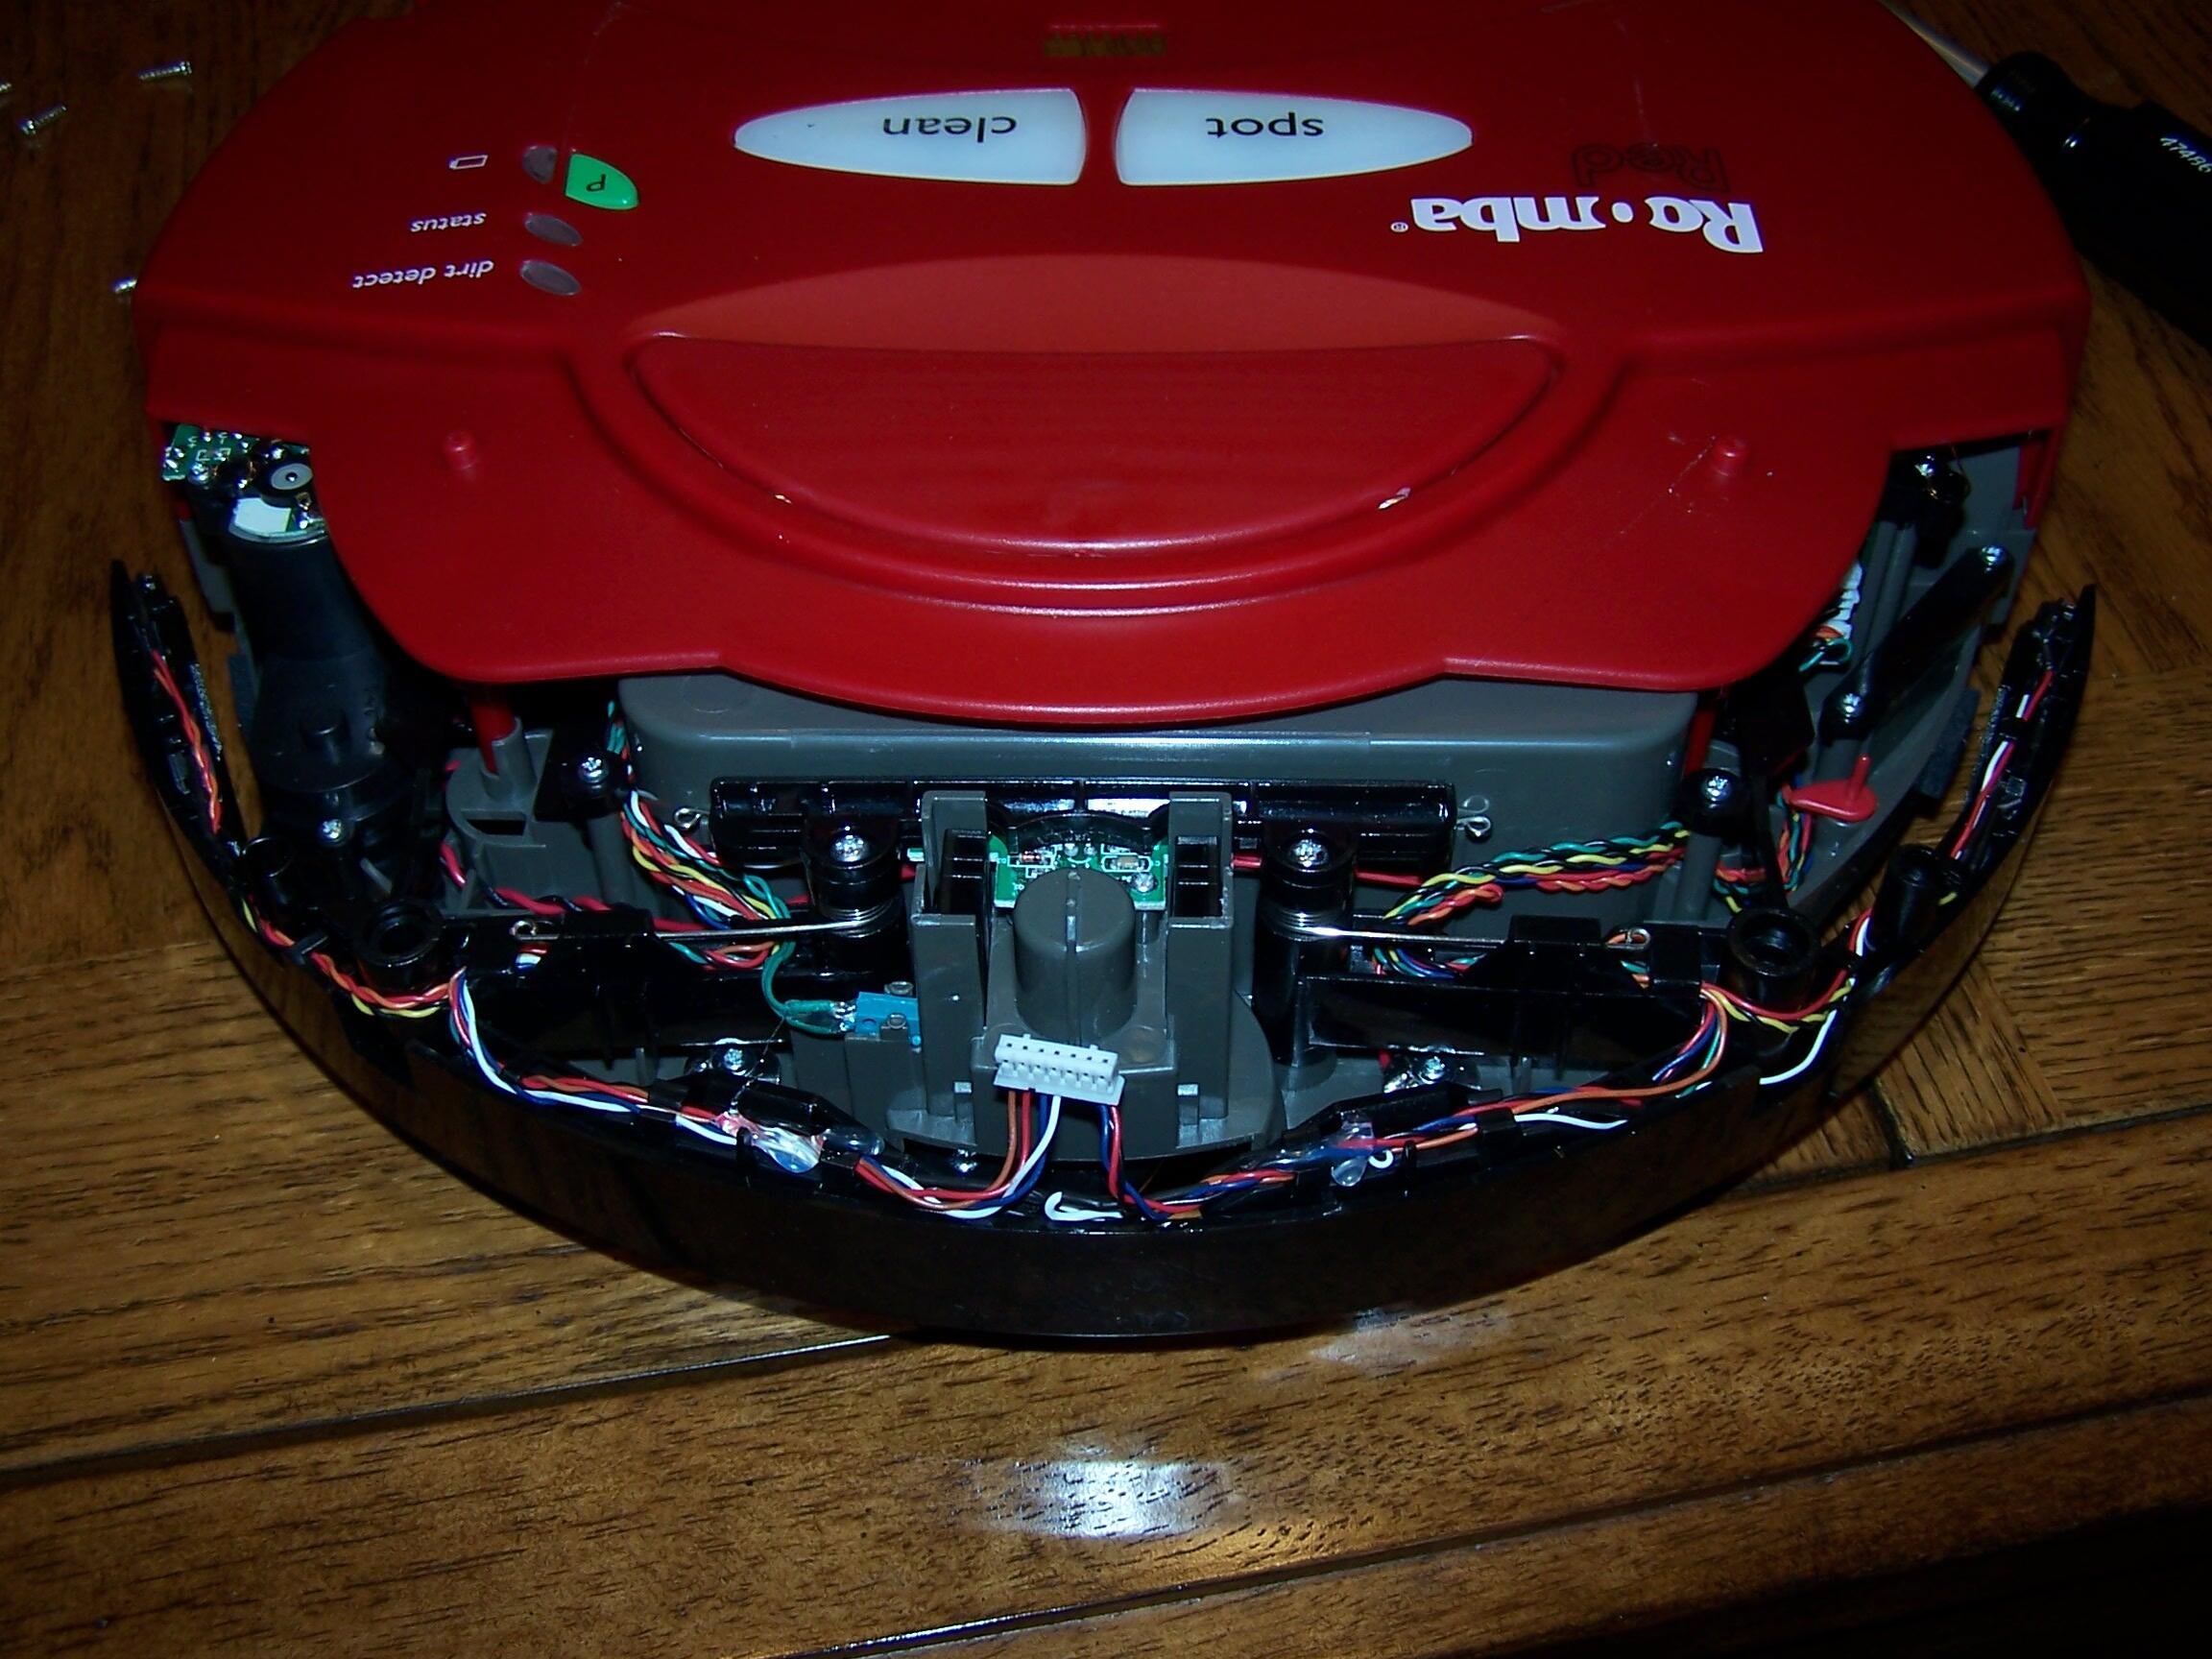
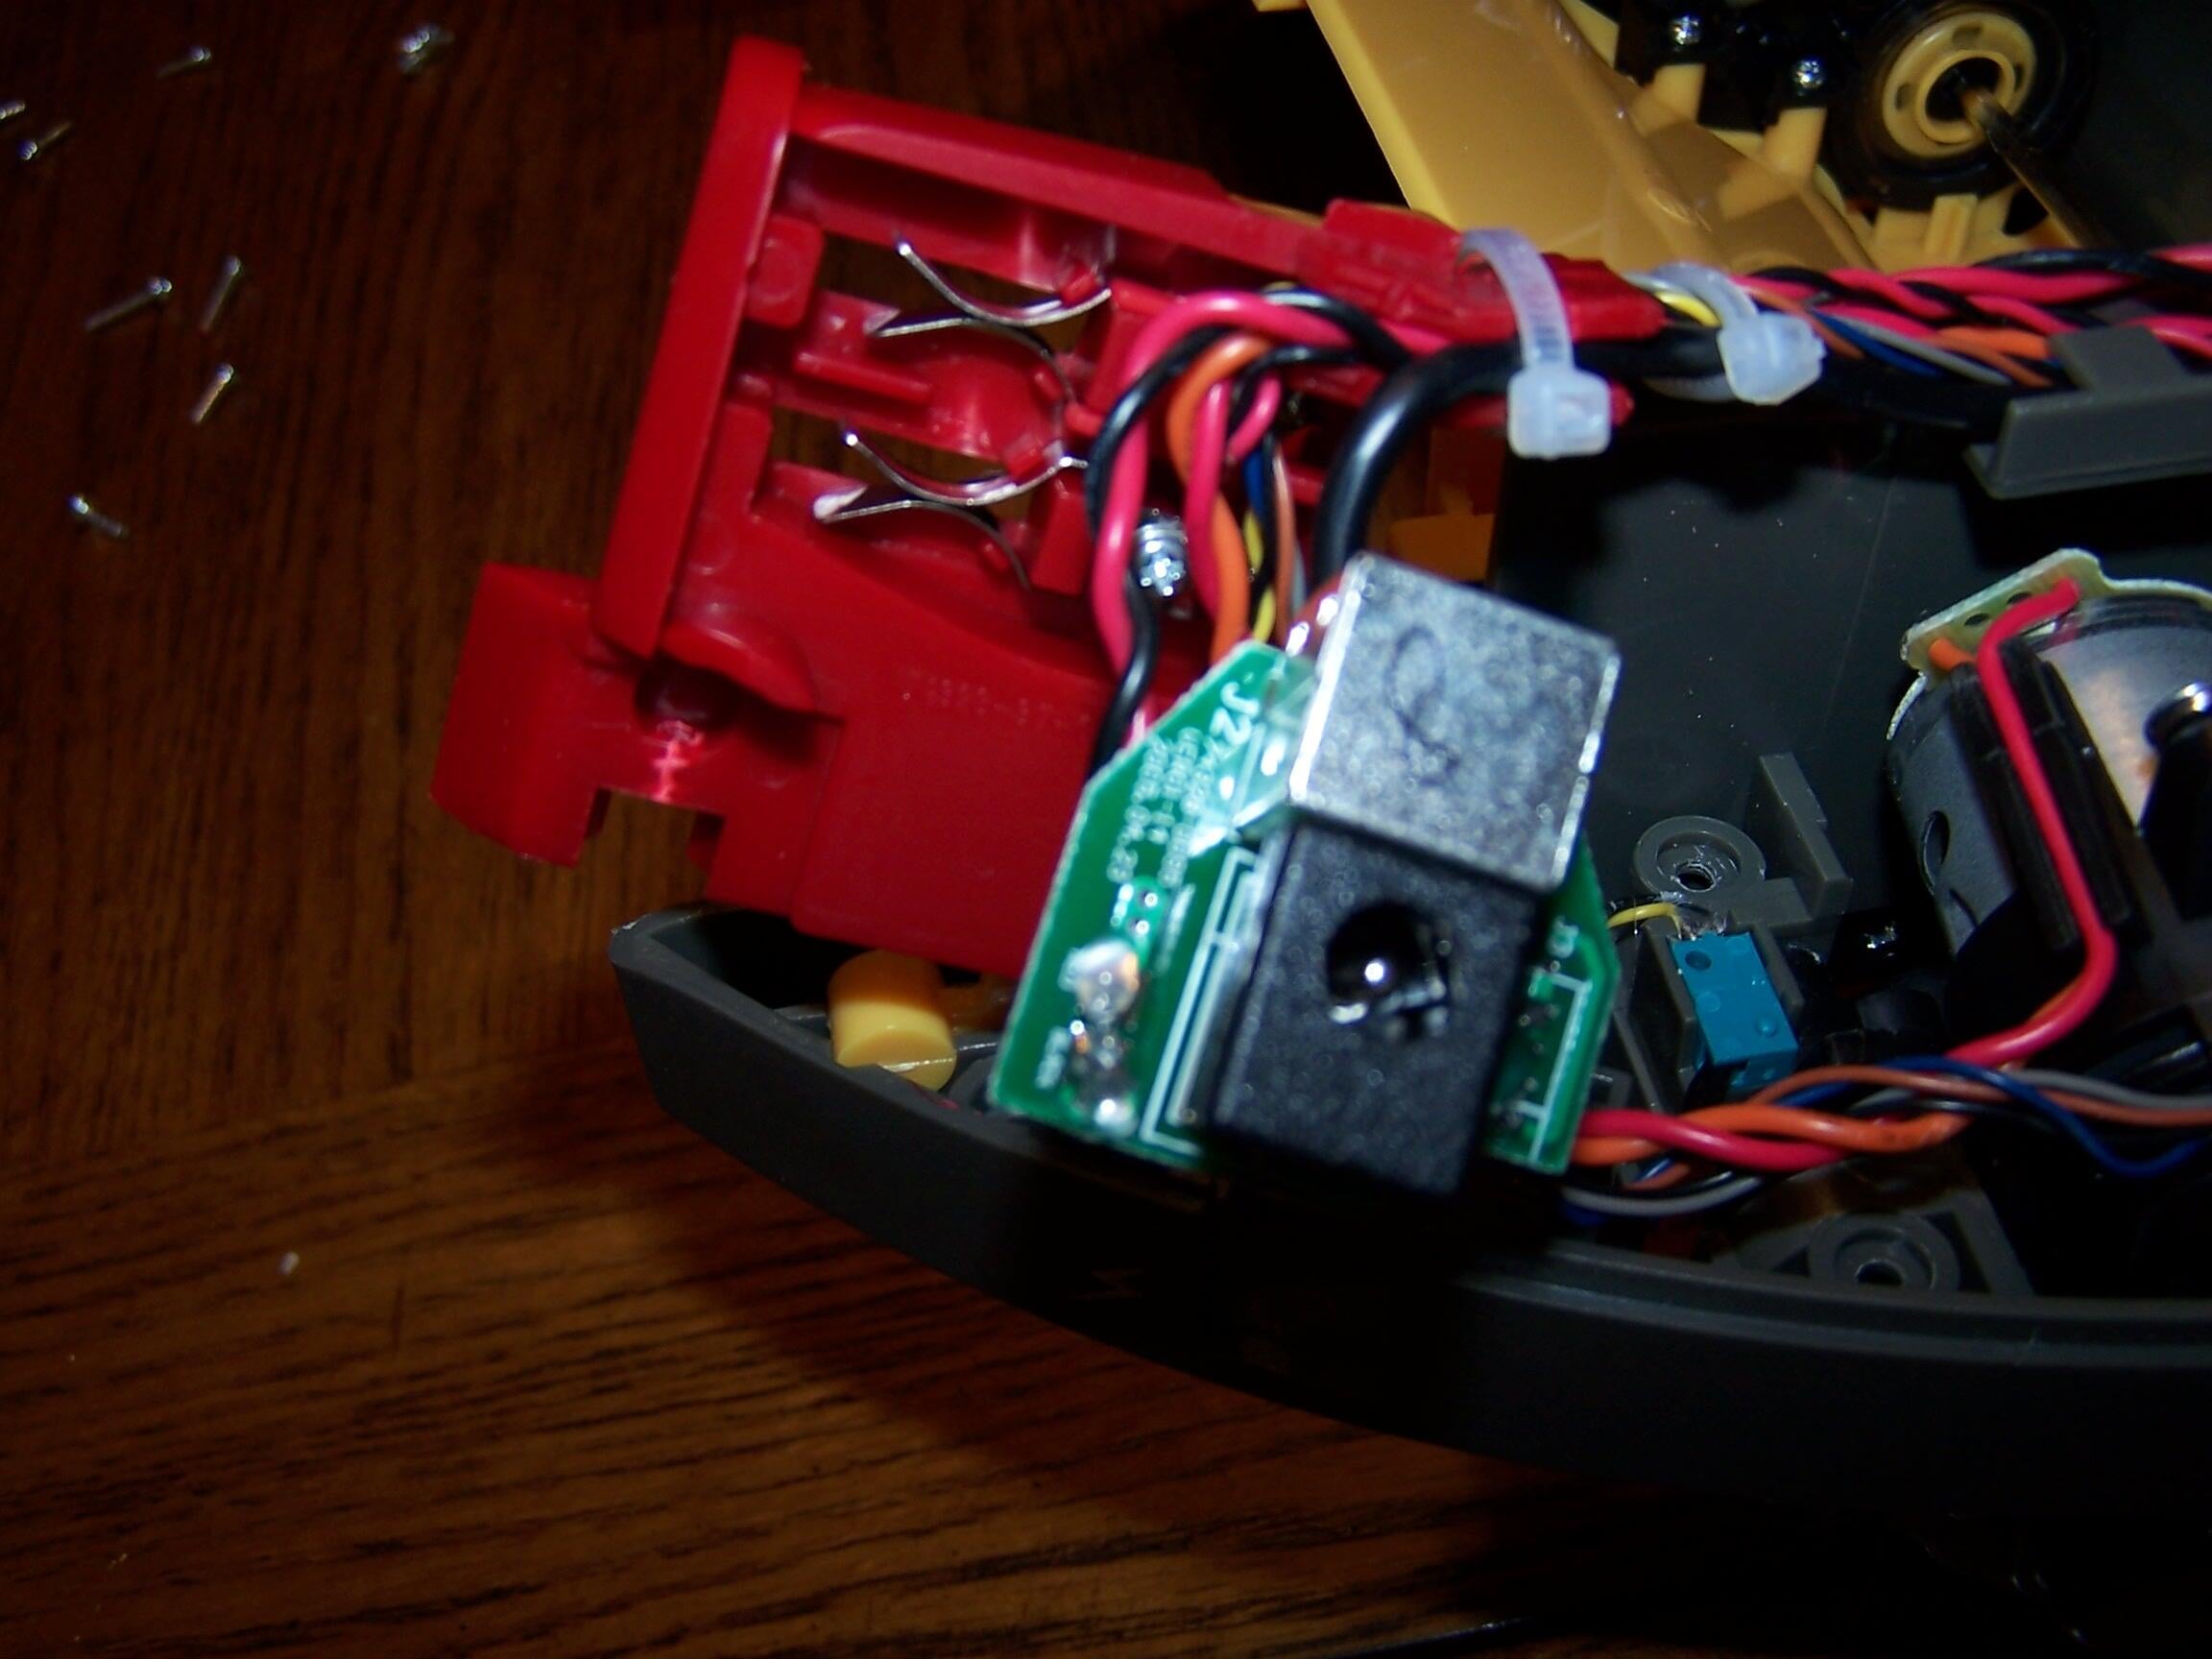
The entire front the Roomba serves to detect when the Roomba hits something. The black semi-circular plastic piece that covers the entire front of Roomba in this picture is a switch that moves inward and informs the Roomba when it has just hit something. The piece that was removed for this picture was the virtual wall sensor. It connected to the white connector you see in the middle of this picture.
The case is unscrewed, but not totally free yet. The buttons that are on top of the Roomba (power, clean and spot, in this instance) are still plugged up. There is not much cable slack, but after a careful plier-pull, the red housing of the Roomba lifted straight off.
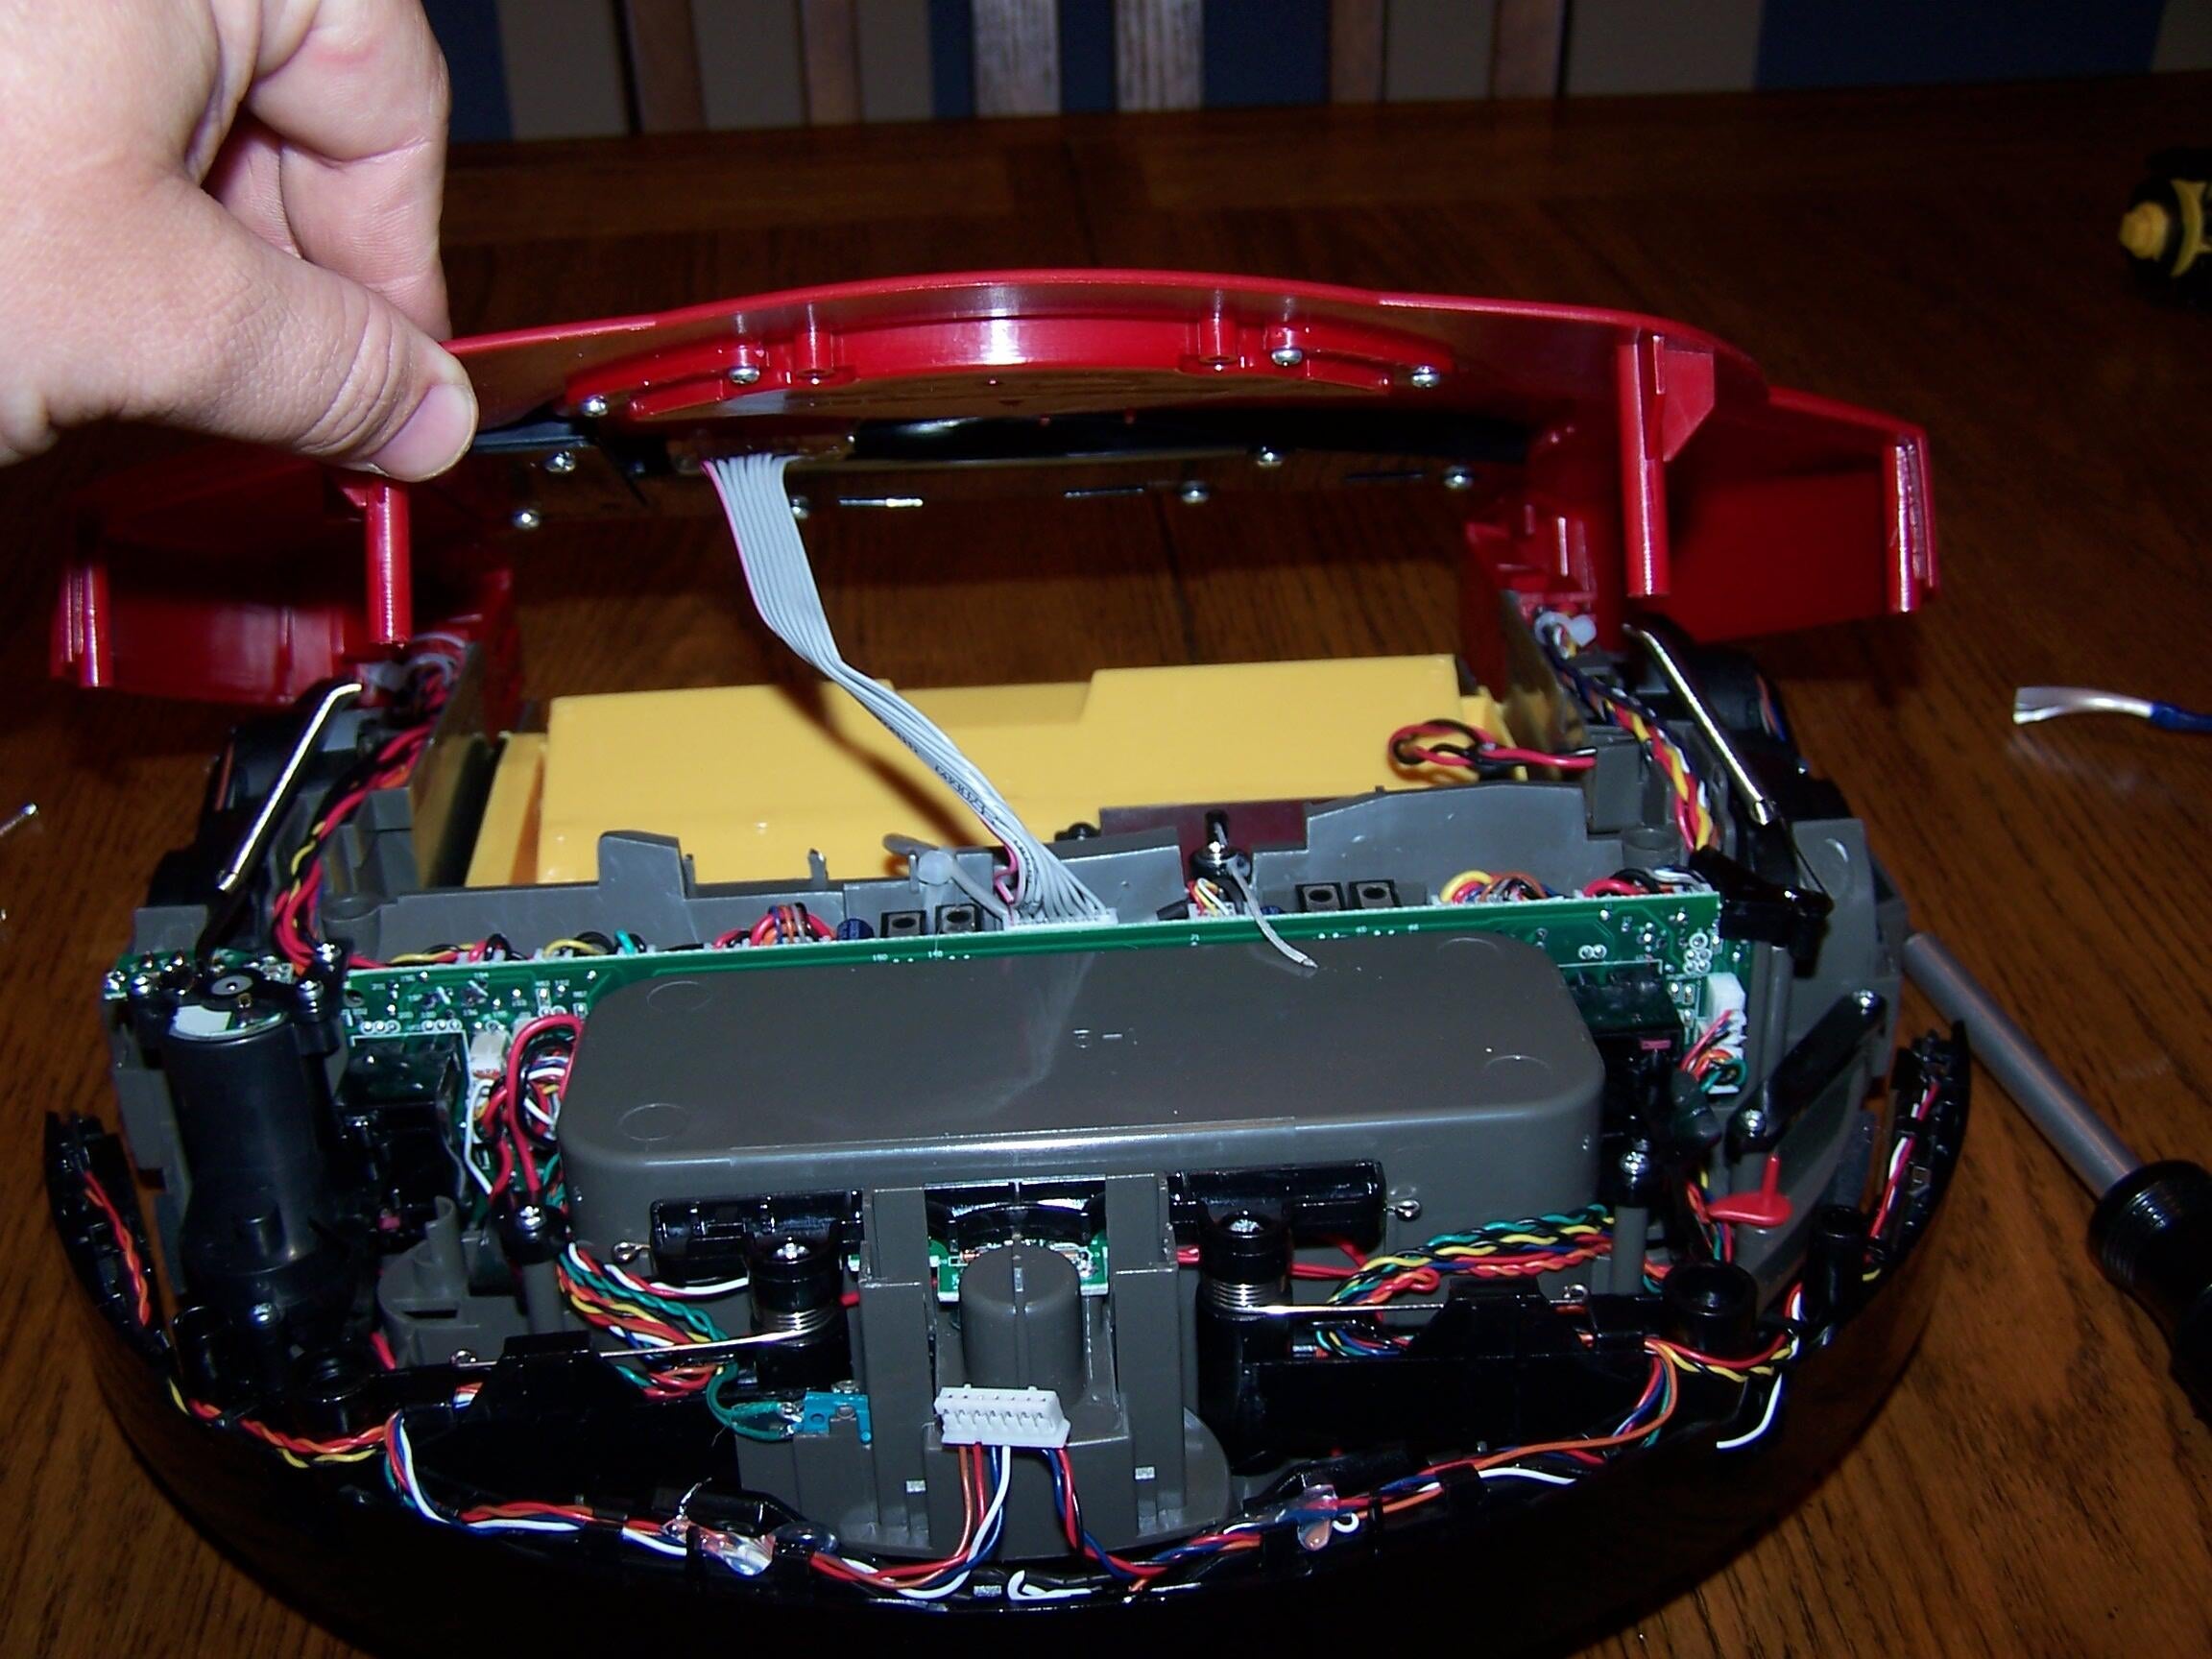
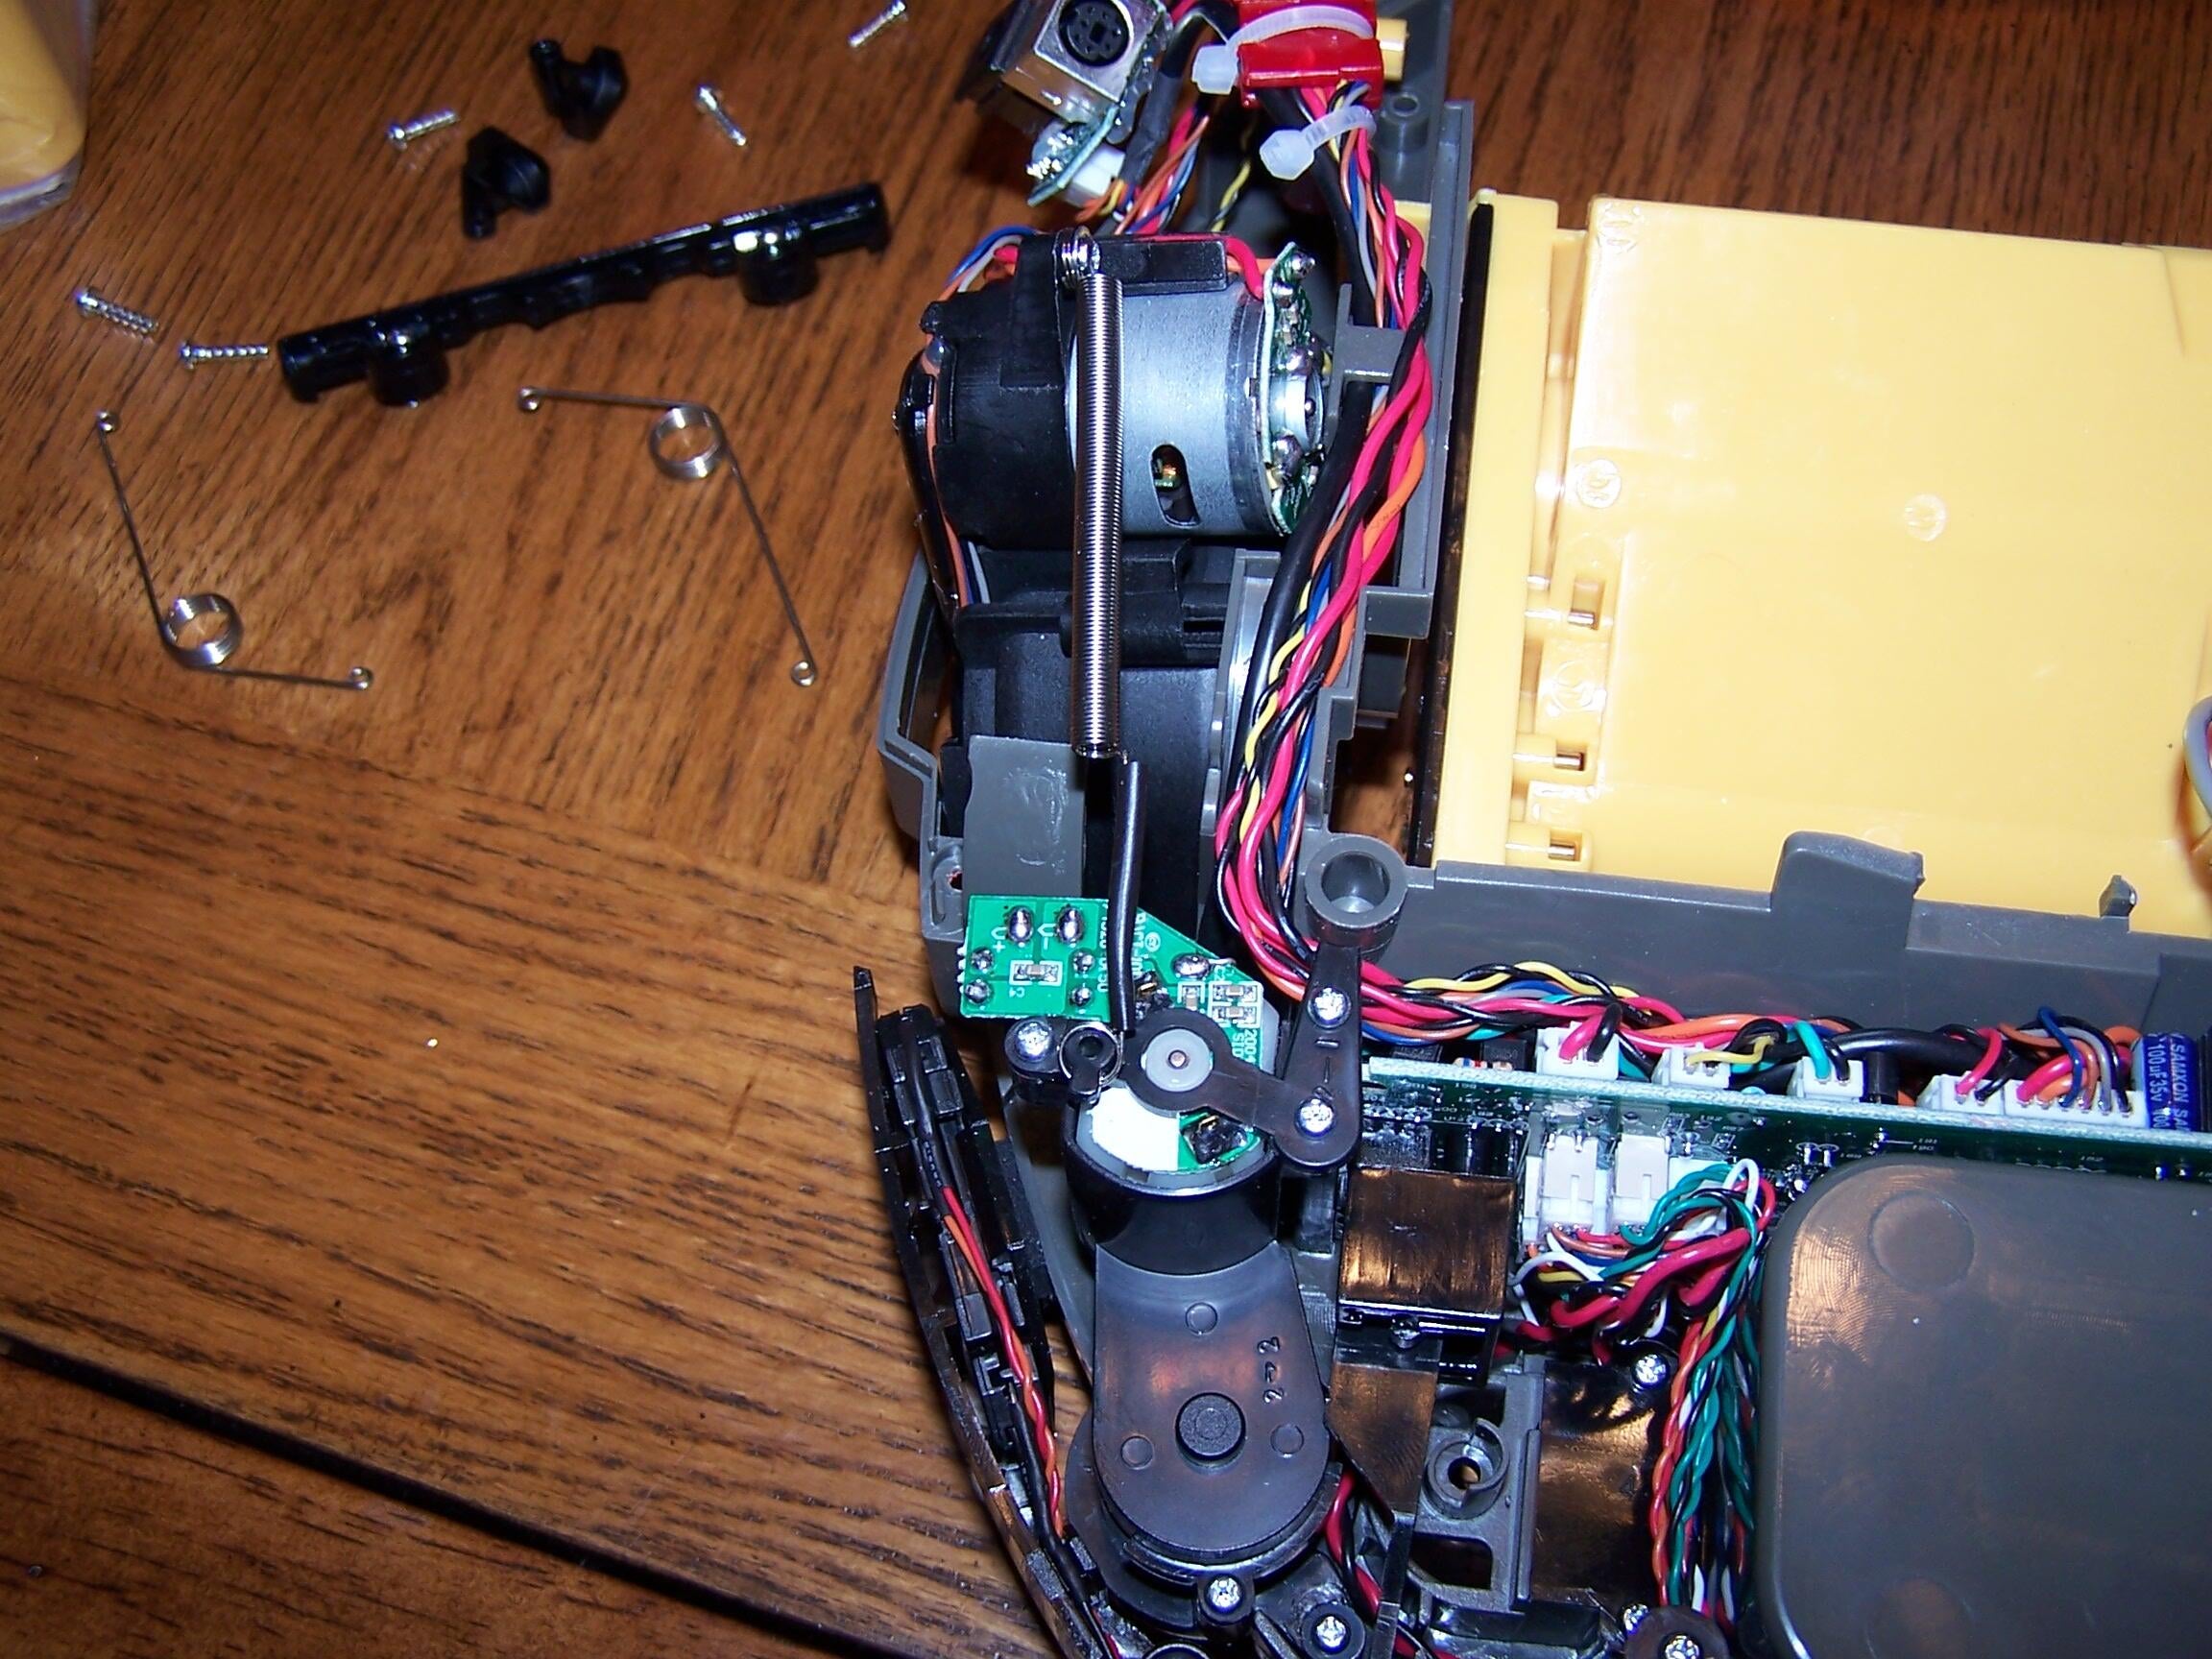
The mainboard of the Roomba is housed in the middle of the unit, mounted vertically. There are several of these connectors positioned throughout.
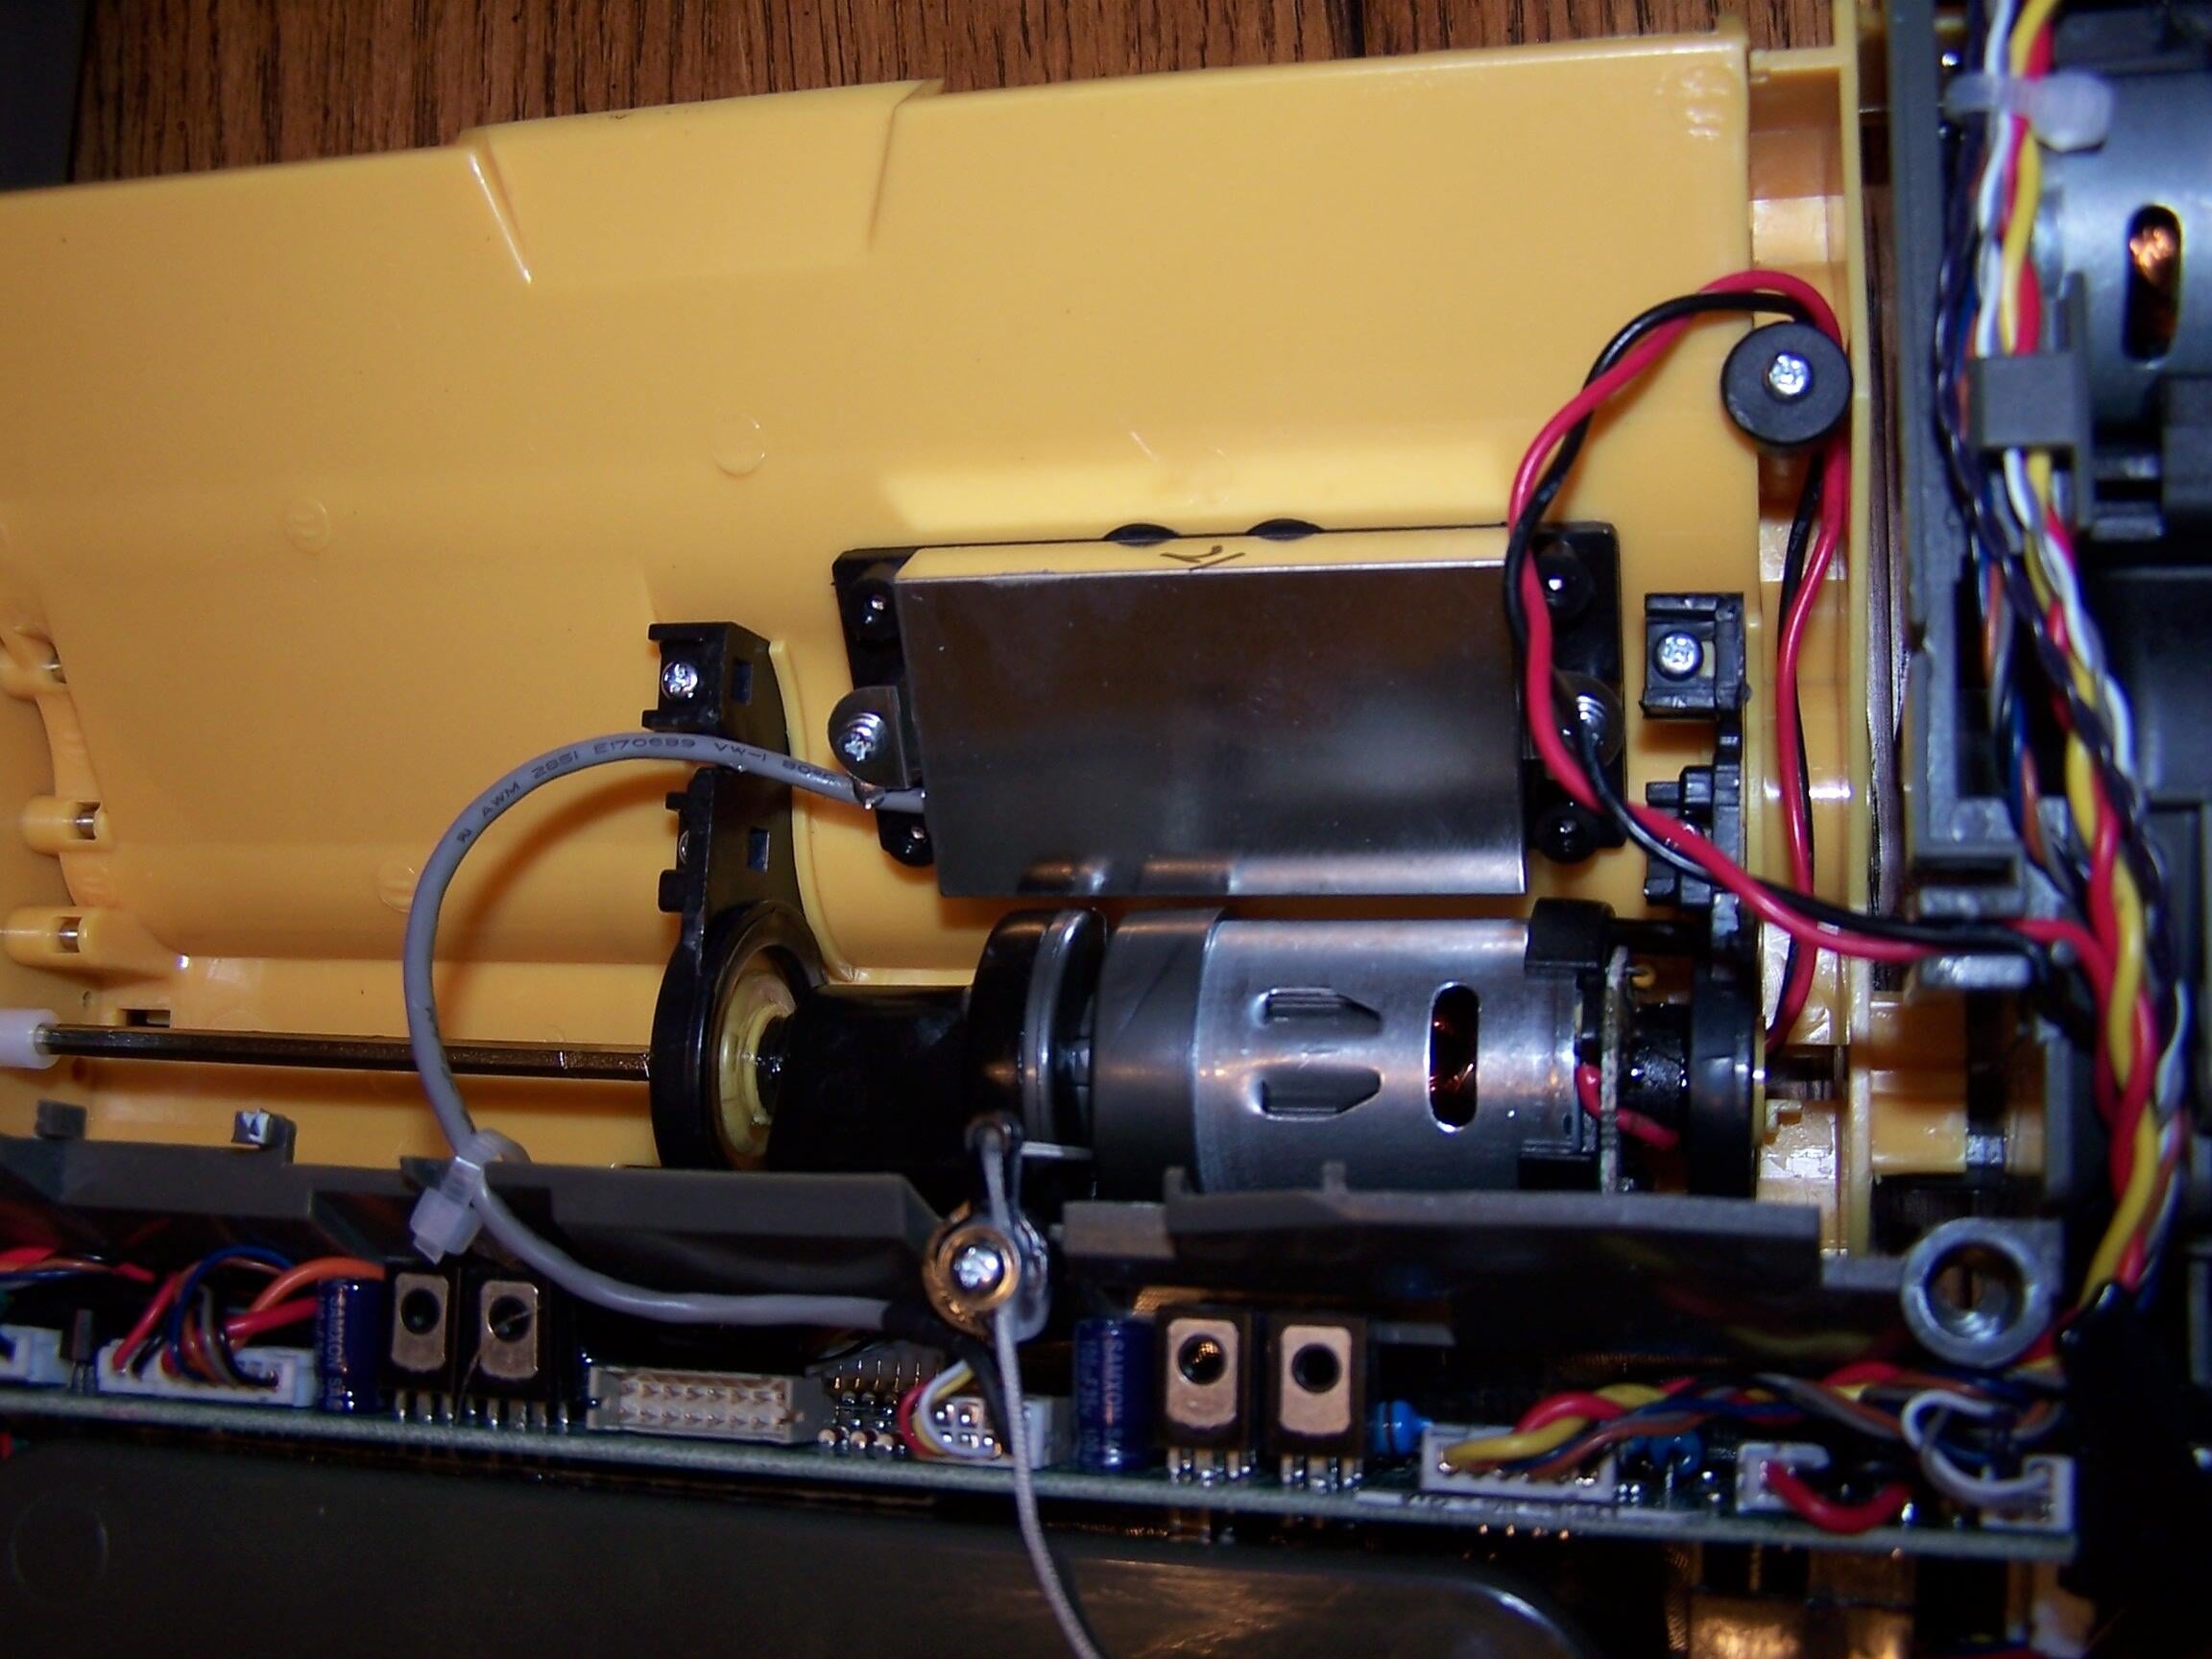
Also worth noting at the bottom of this picture are the motor and rope that cause the brush housing to move up and down.
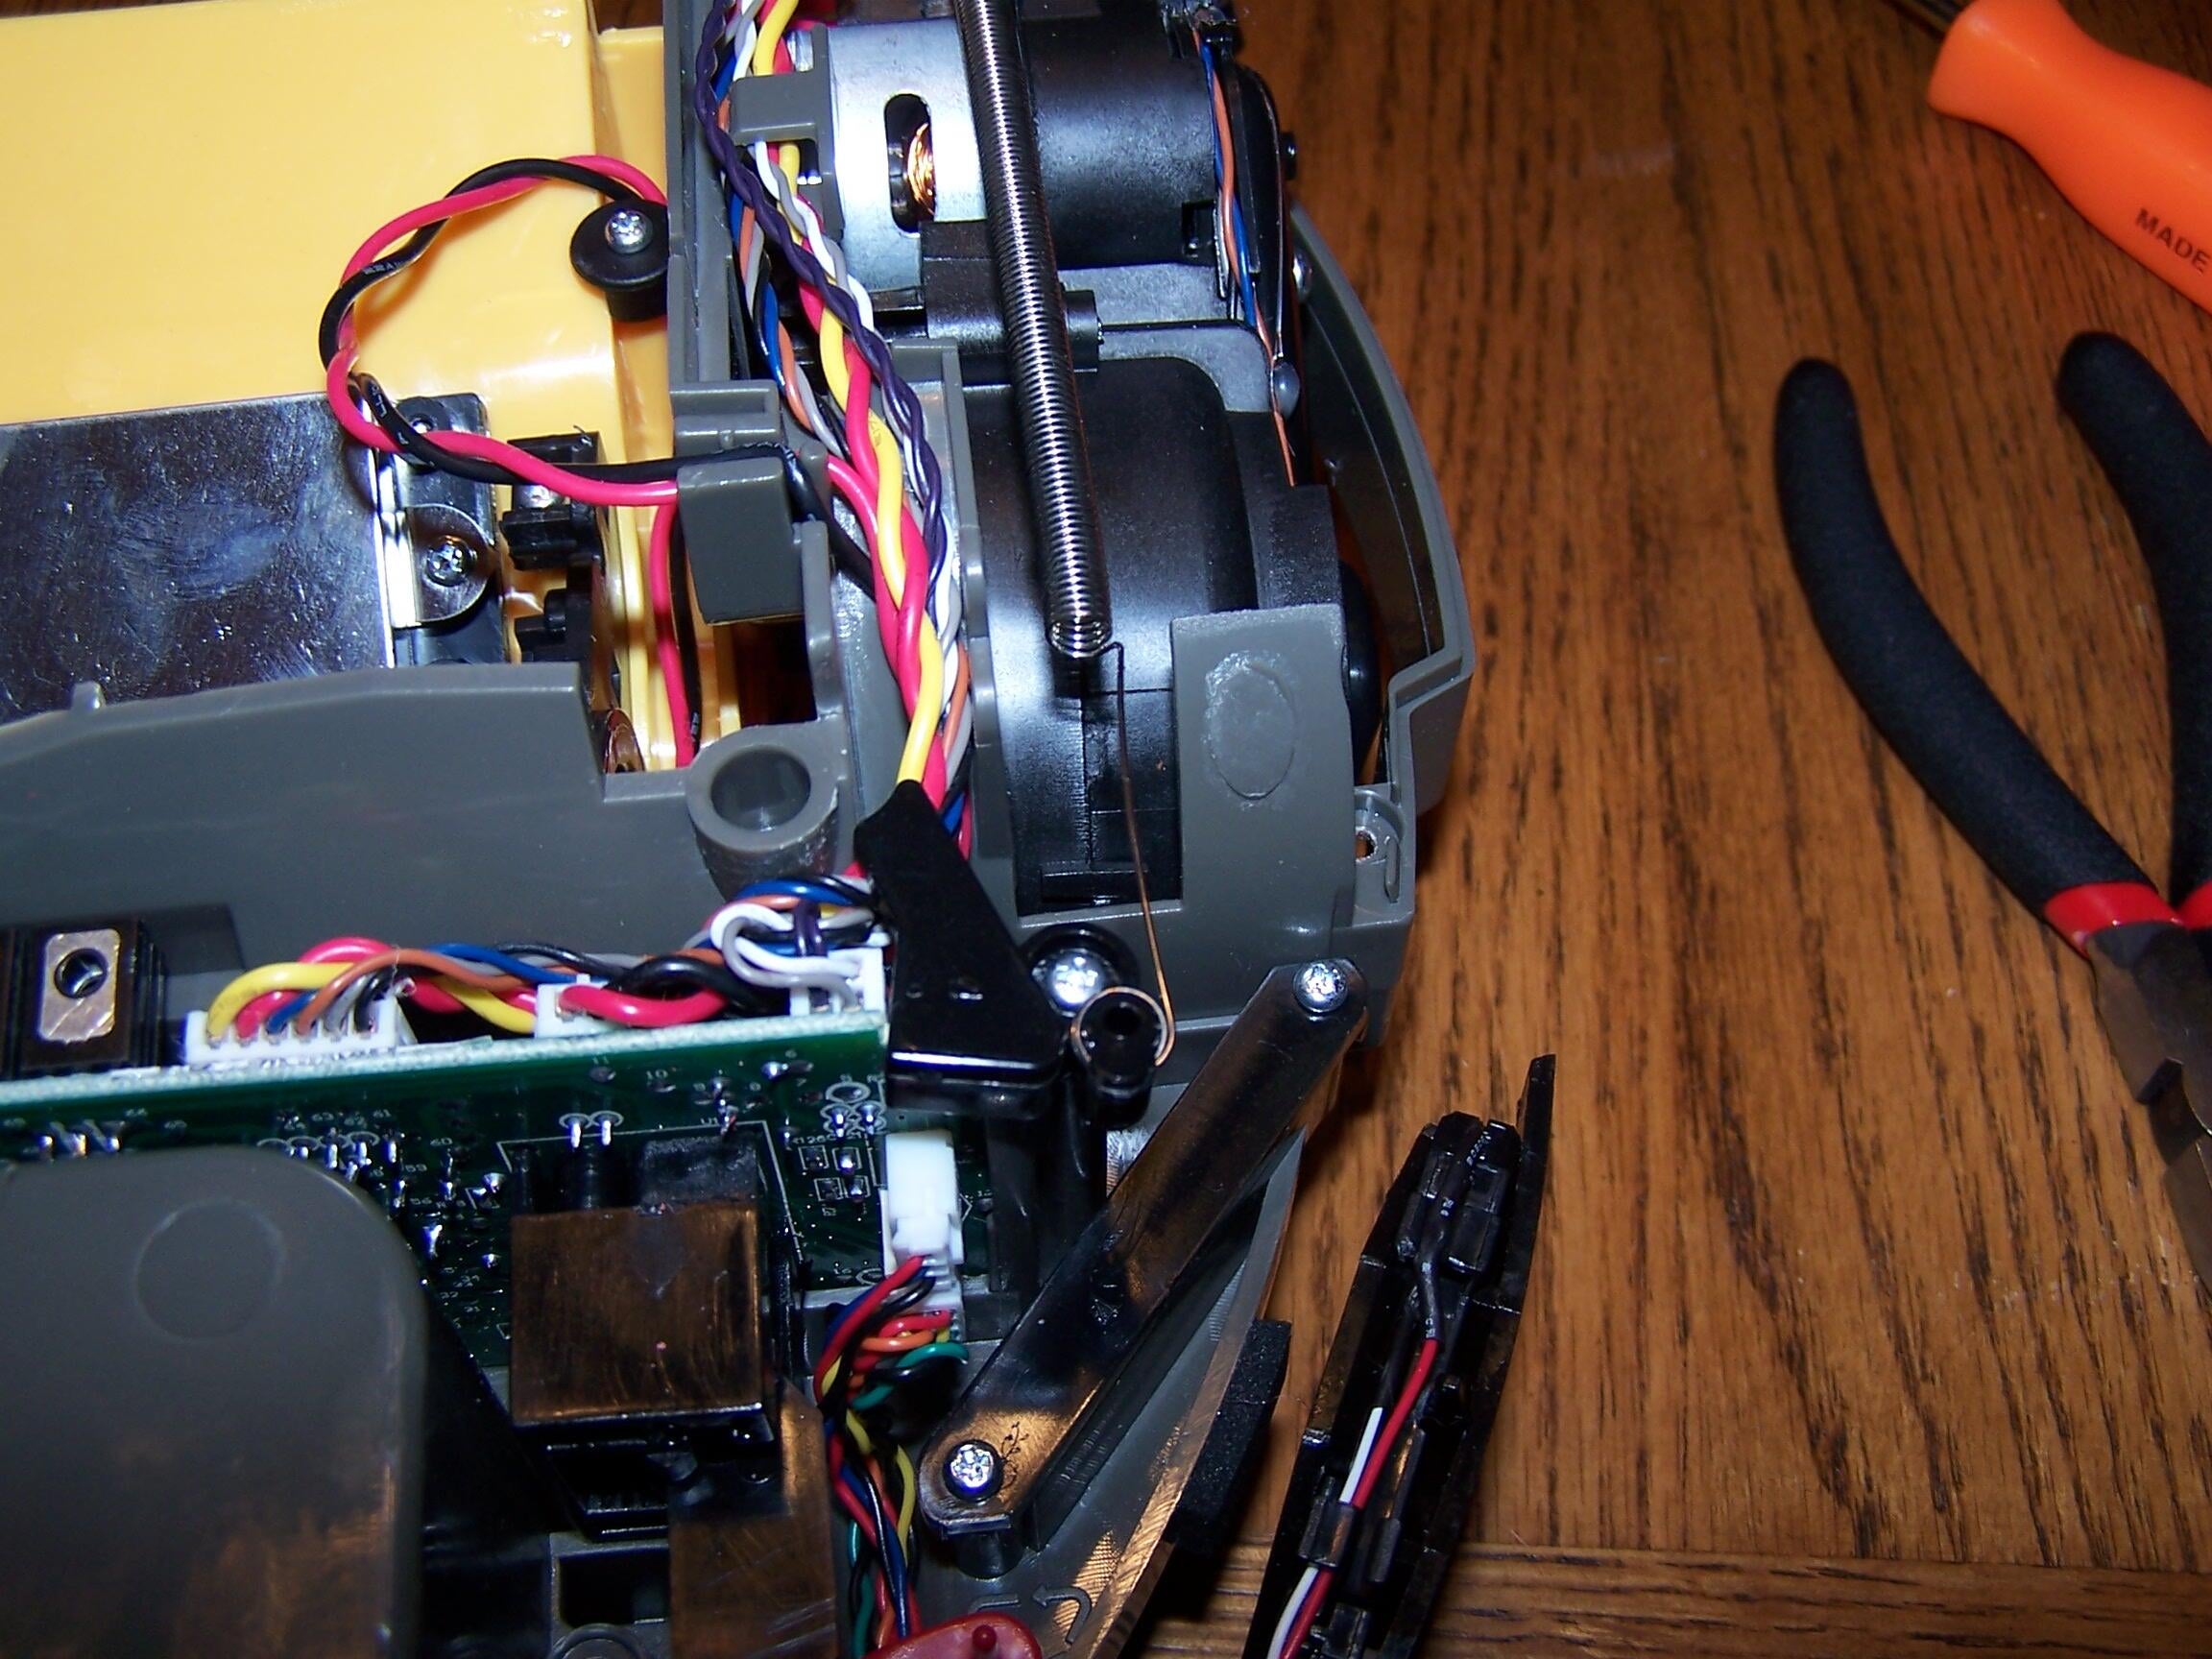
This is a better angle of the mainboard.
Here is a slightly blurry picture of the wheels. What you’re seeing is the top side of the rubber wheel along with the spring that keeps the wheels bouncing back into their proper place.
And here was where I lost the first spring. (My dog found it later, so it’s okay.) This black plastic piece is attached to two springs. These springs are positioned so that they force the center piece out.
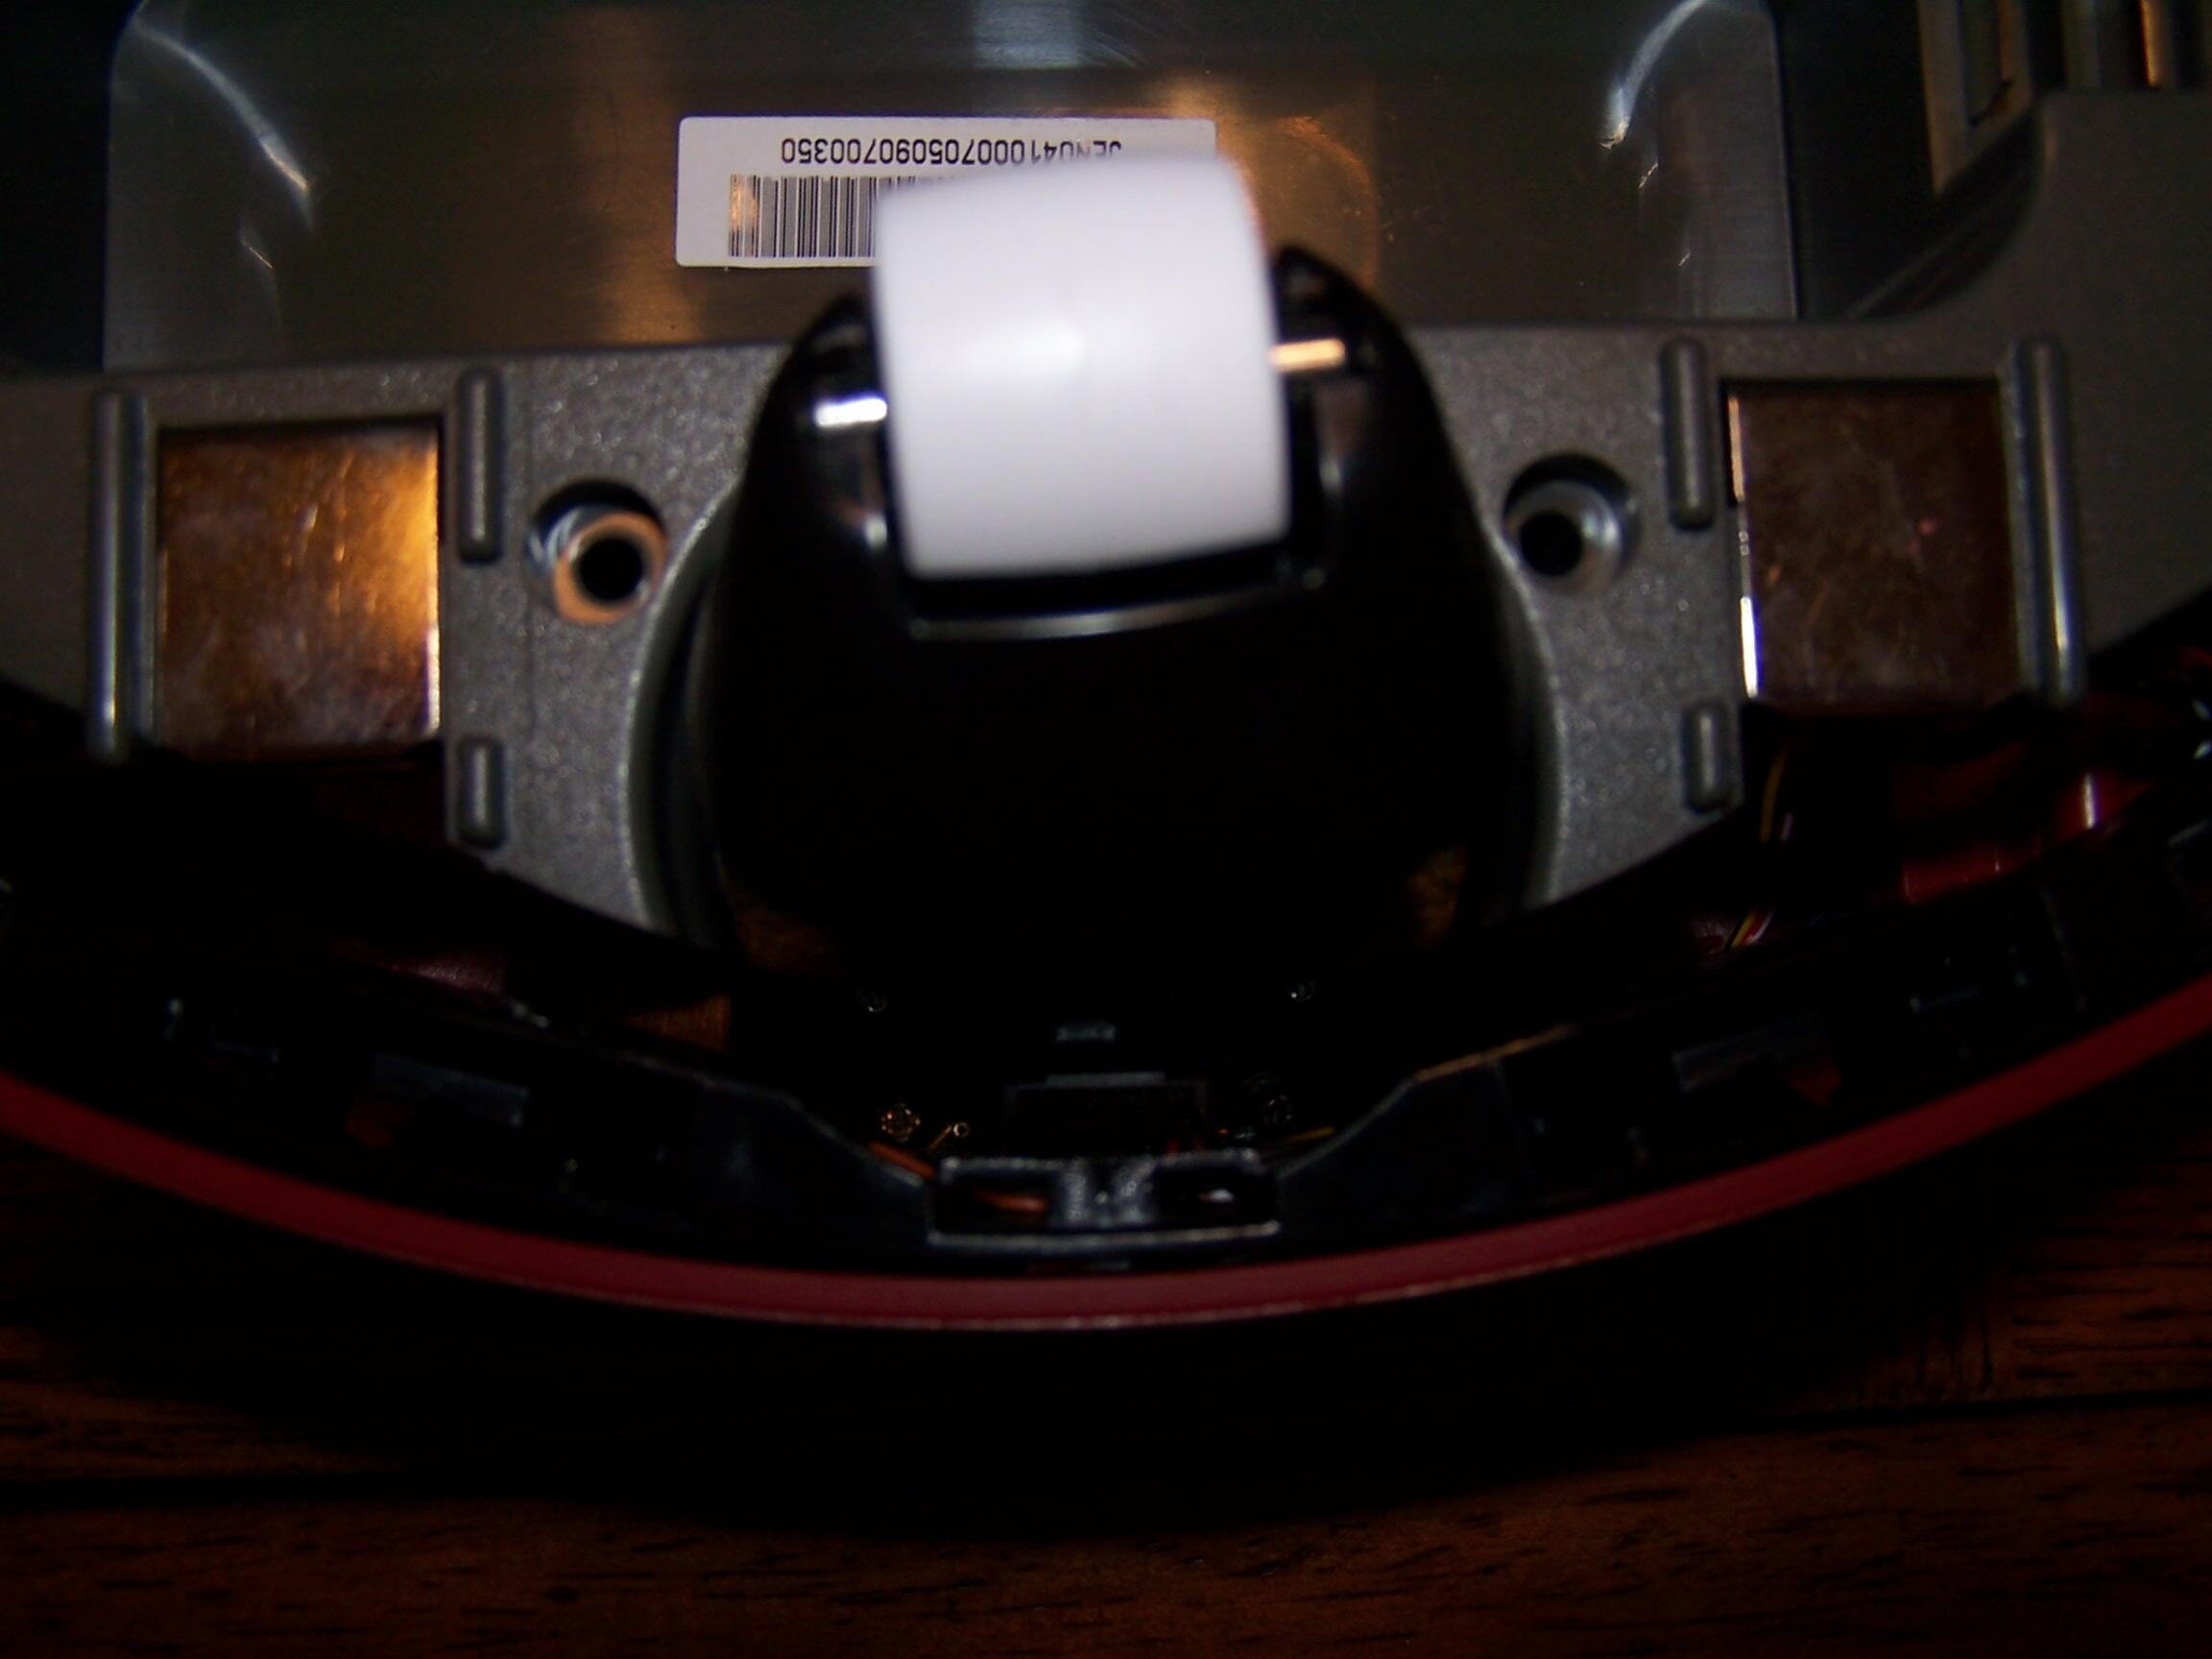
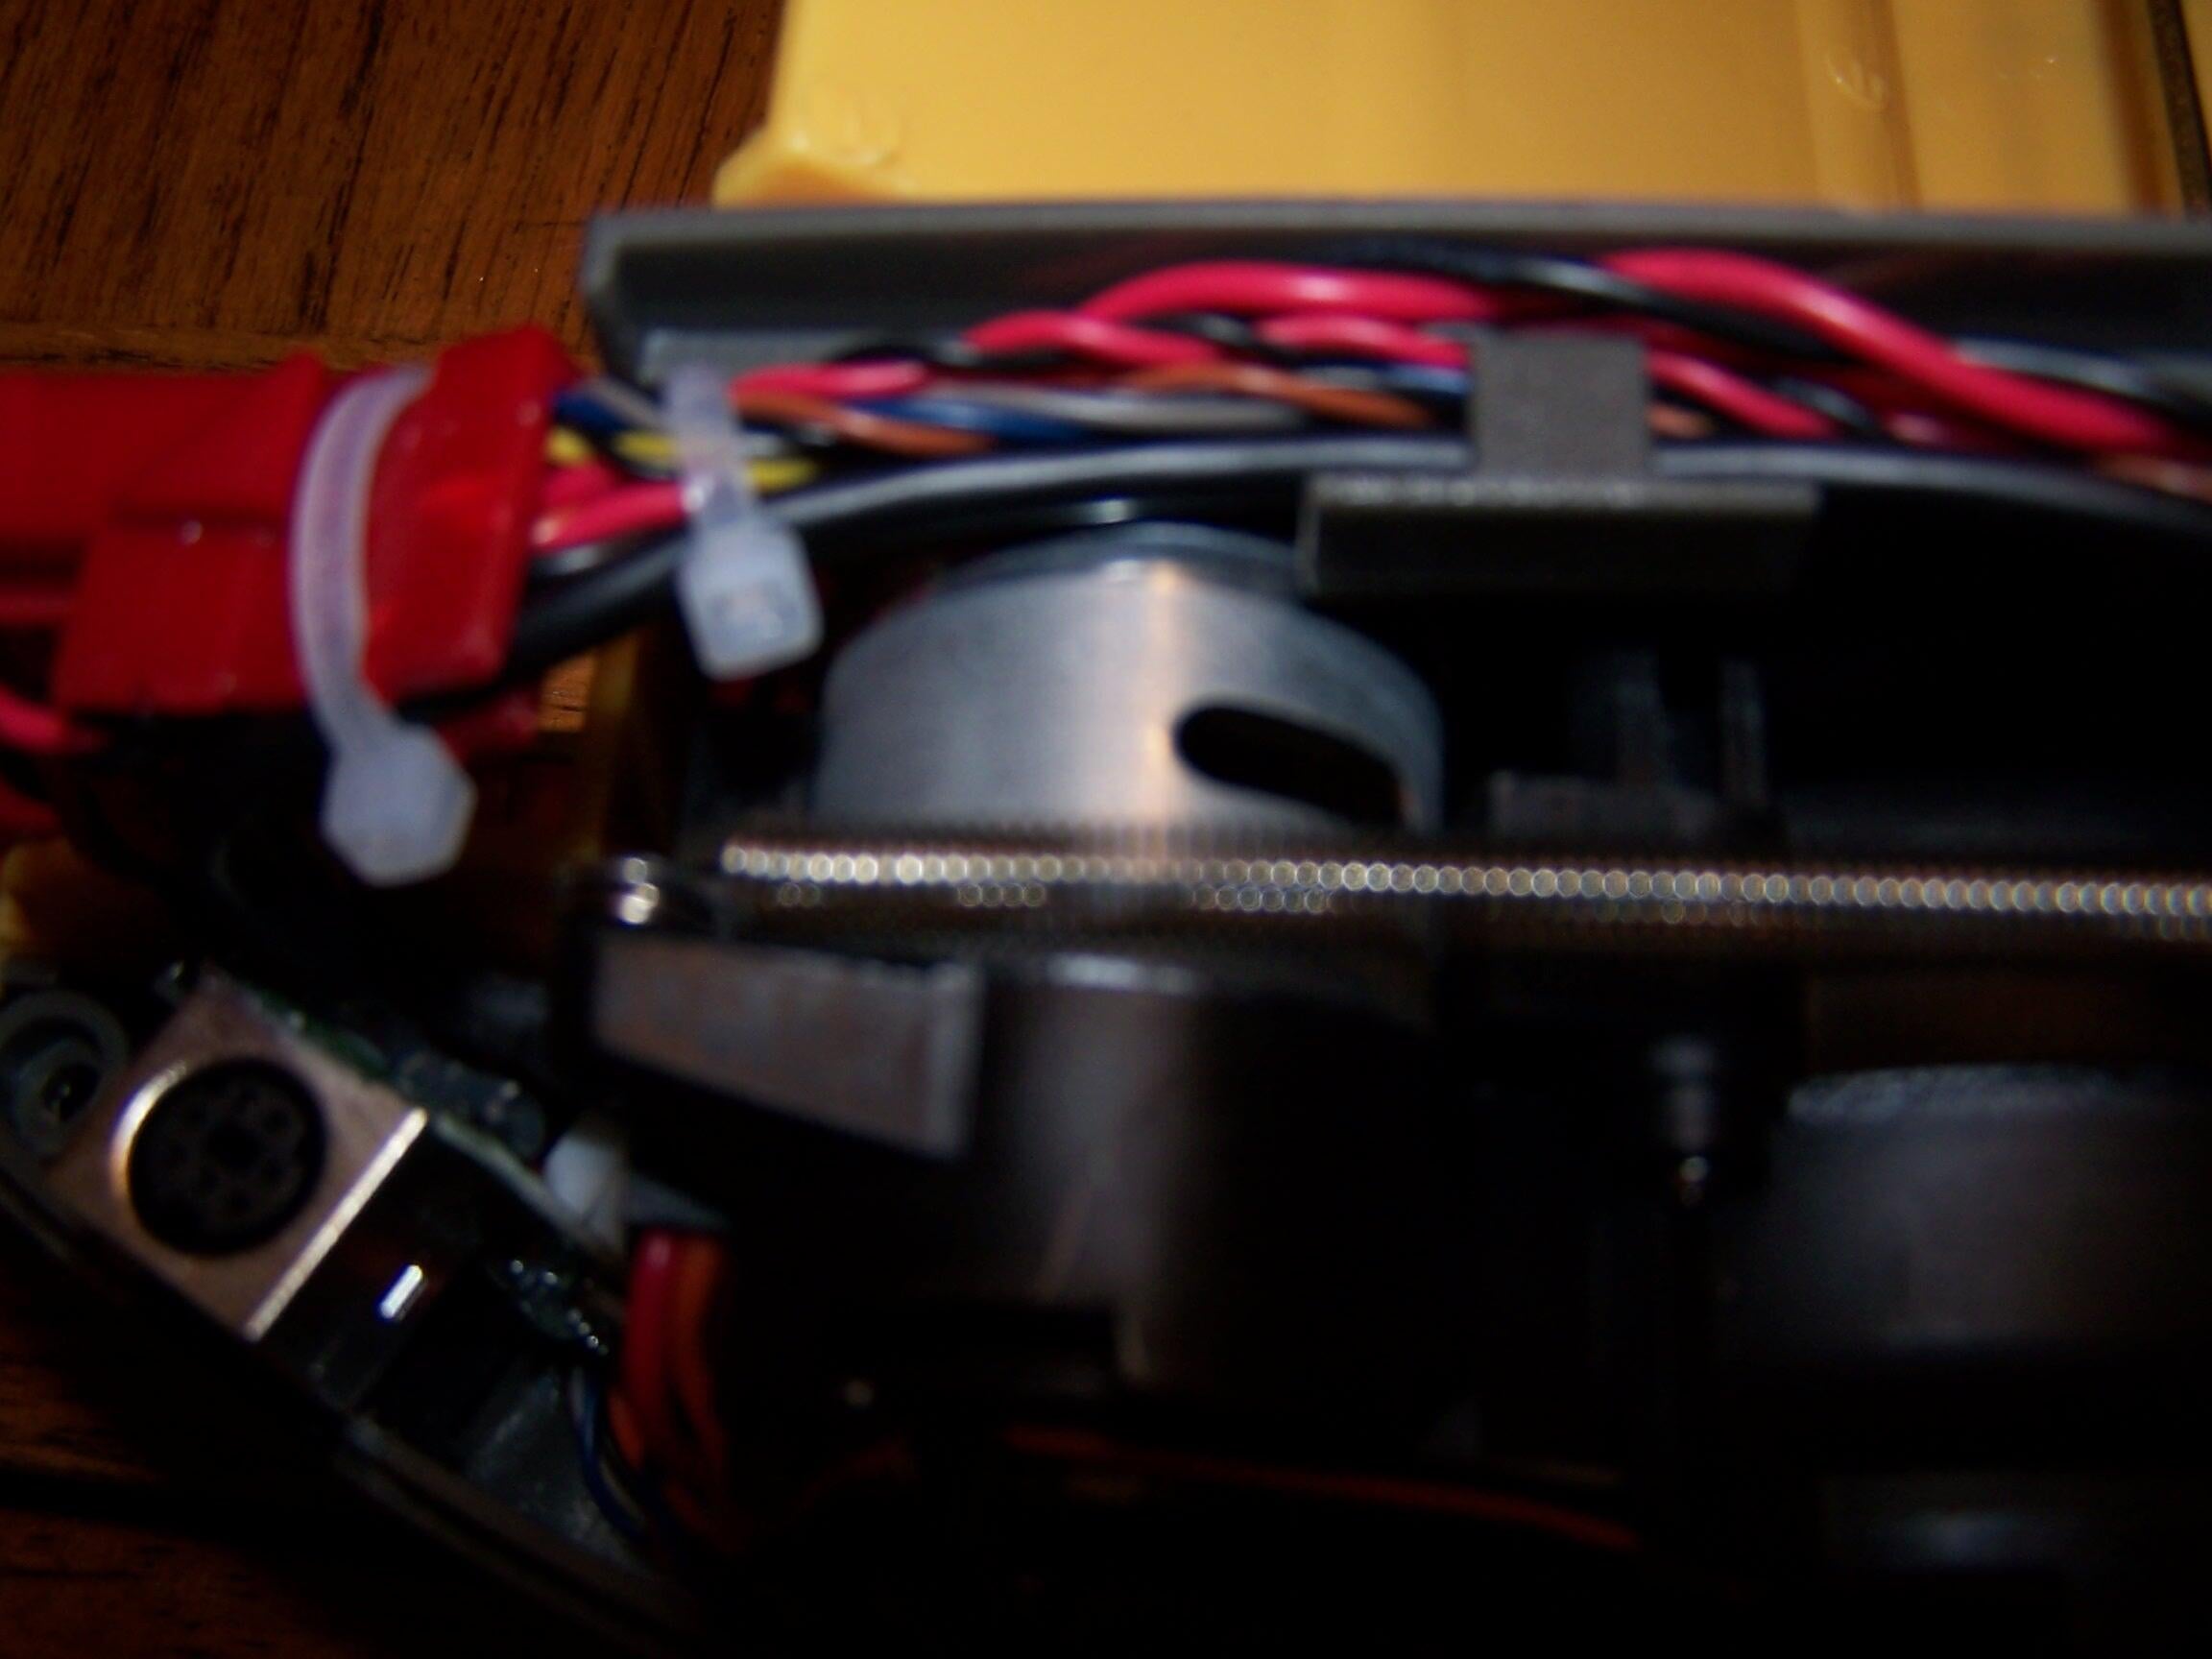
Here you can see the power port. The silver square you see is the side of the serial port (which you can use to program your Roomba to take over the world).
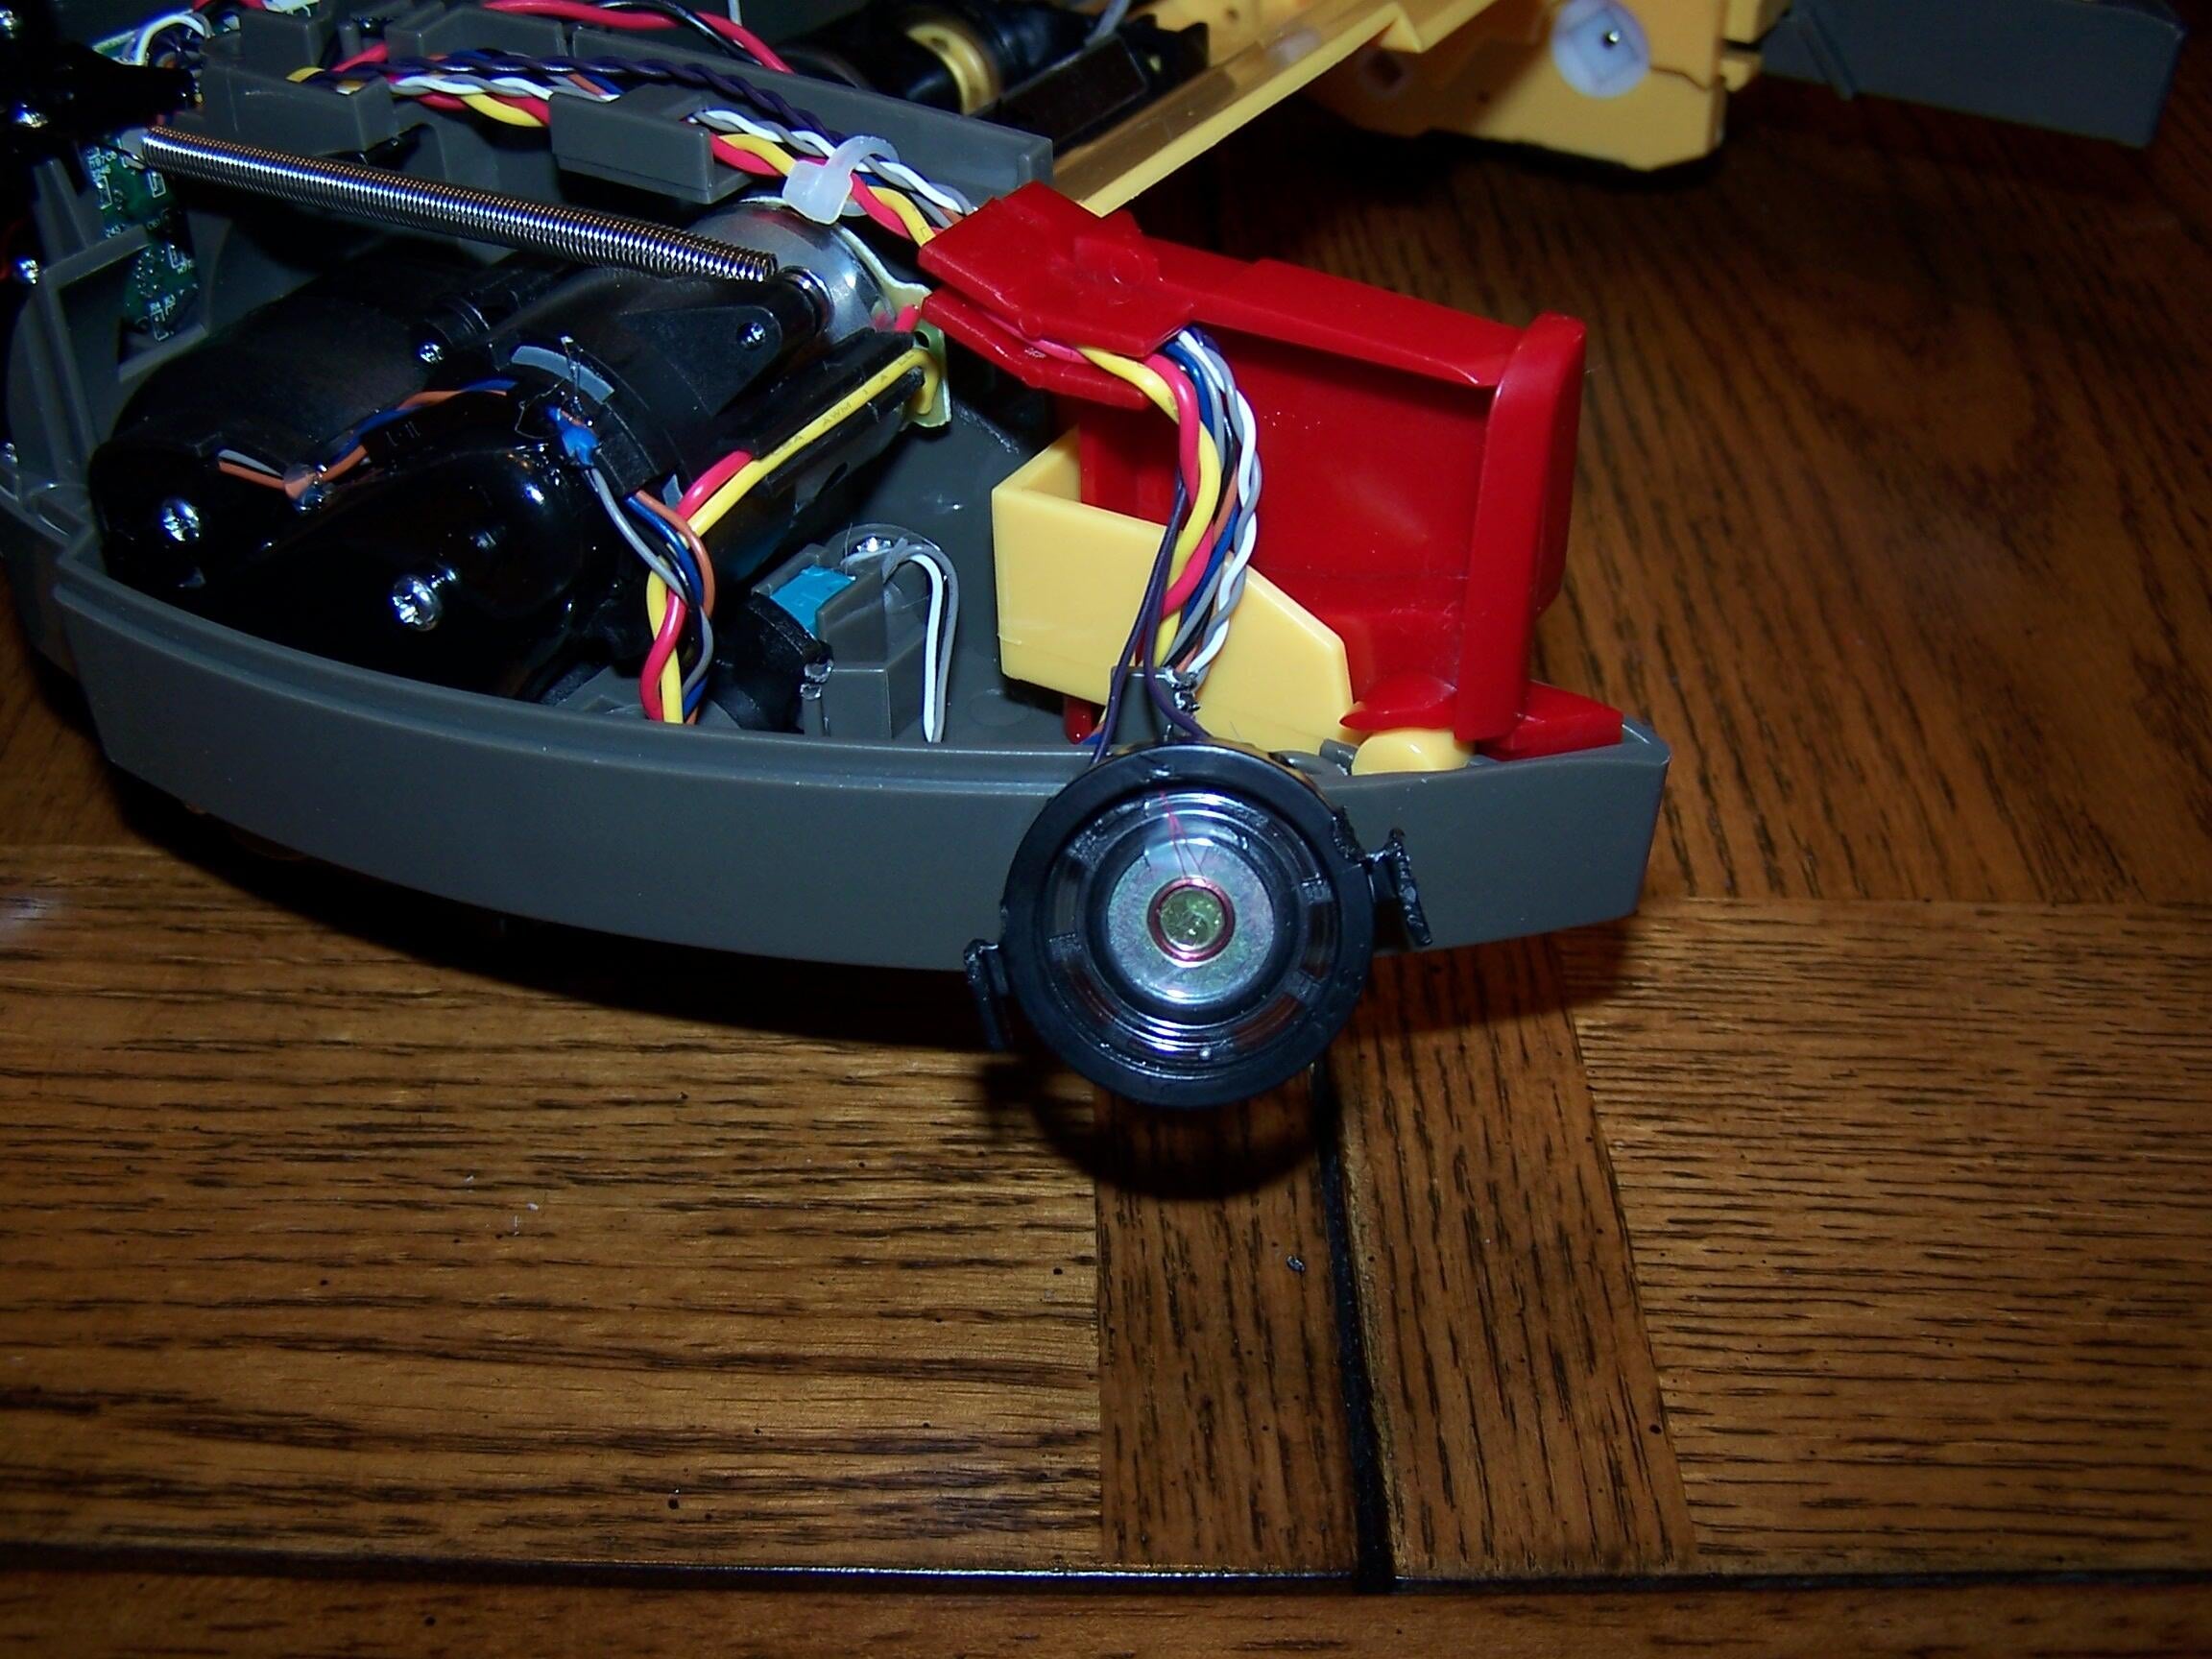
Here’s the speaker responsible for all the chirps and the melodic tone the Roomba produces. The sides are slotted so that it just slides into grooves cut into the body. The speaker pulled out very easily.
This is a decent shot of the wheel. As I lifted the Roomba, the springs attached to this wheel made the wheel want to pull out of place. Earlier, I removed two plastic pieces that held the wheel in place (see previous photo).
Here is a picture of the right side wheel and how the spring is attached.

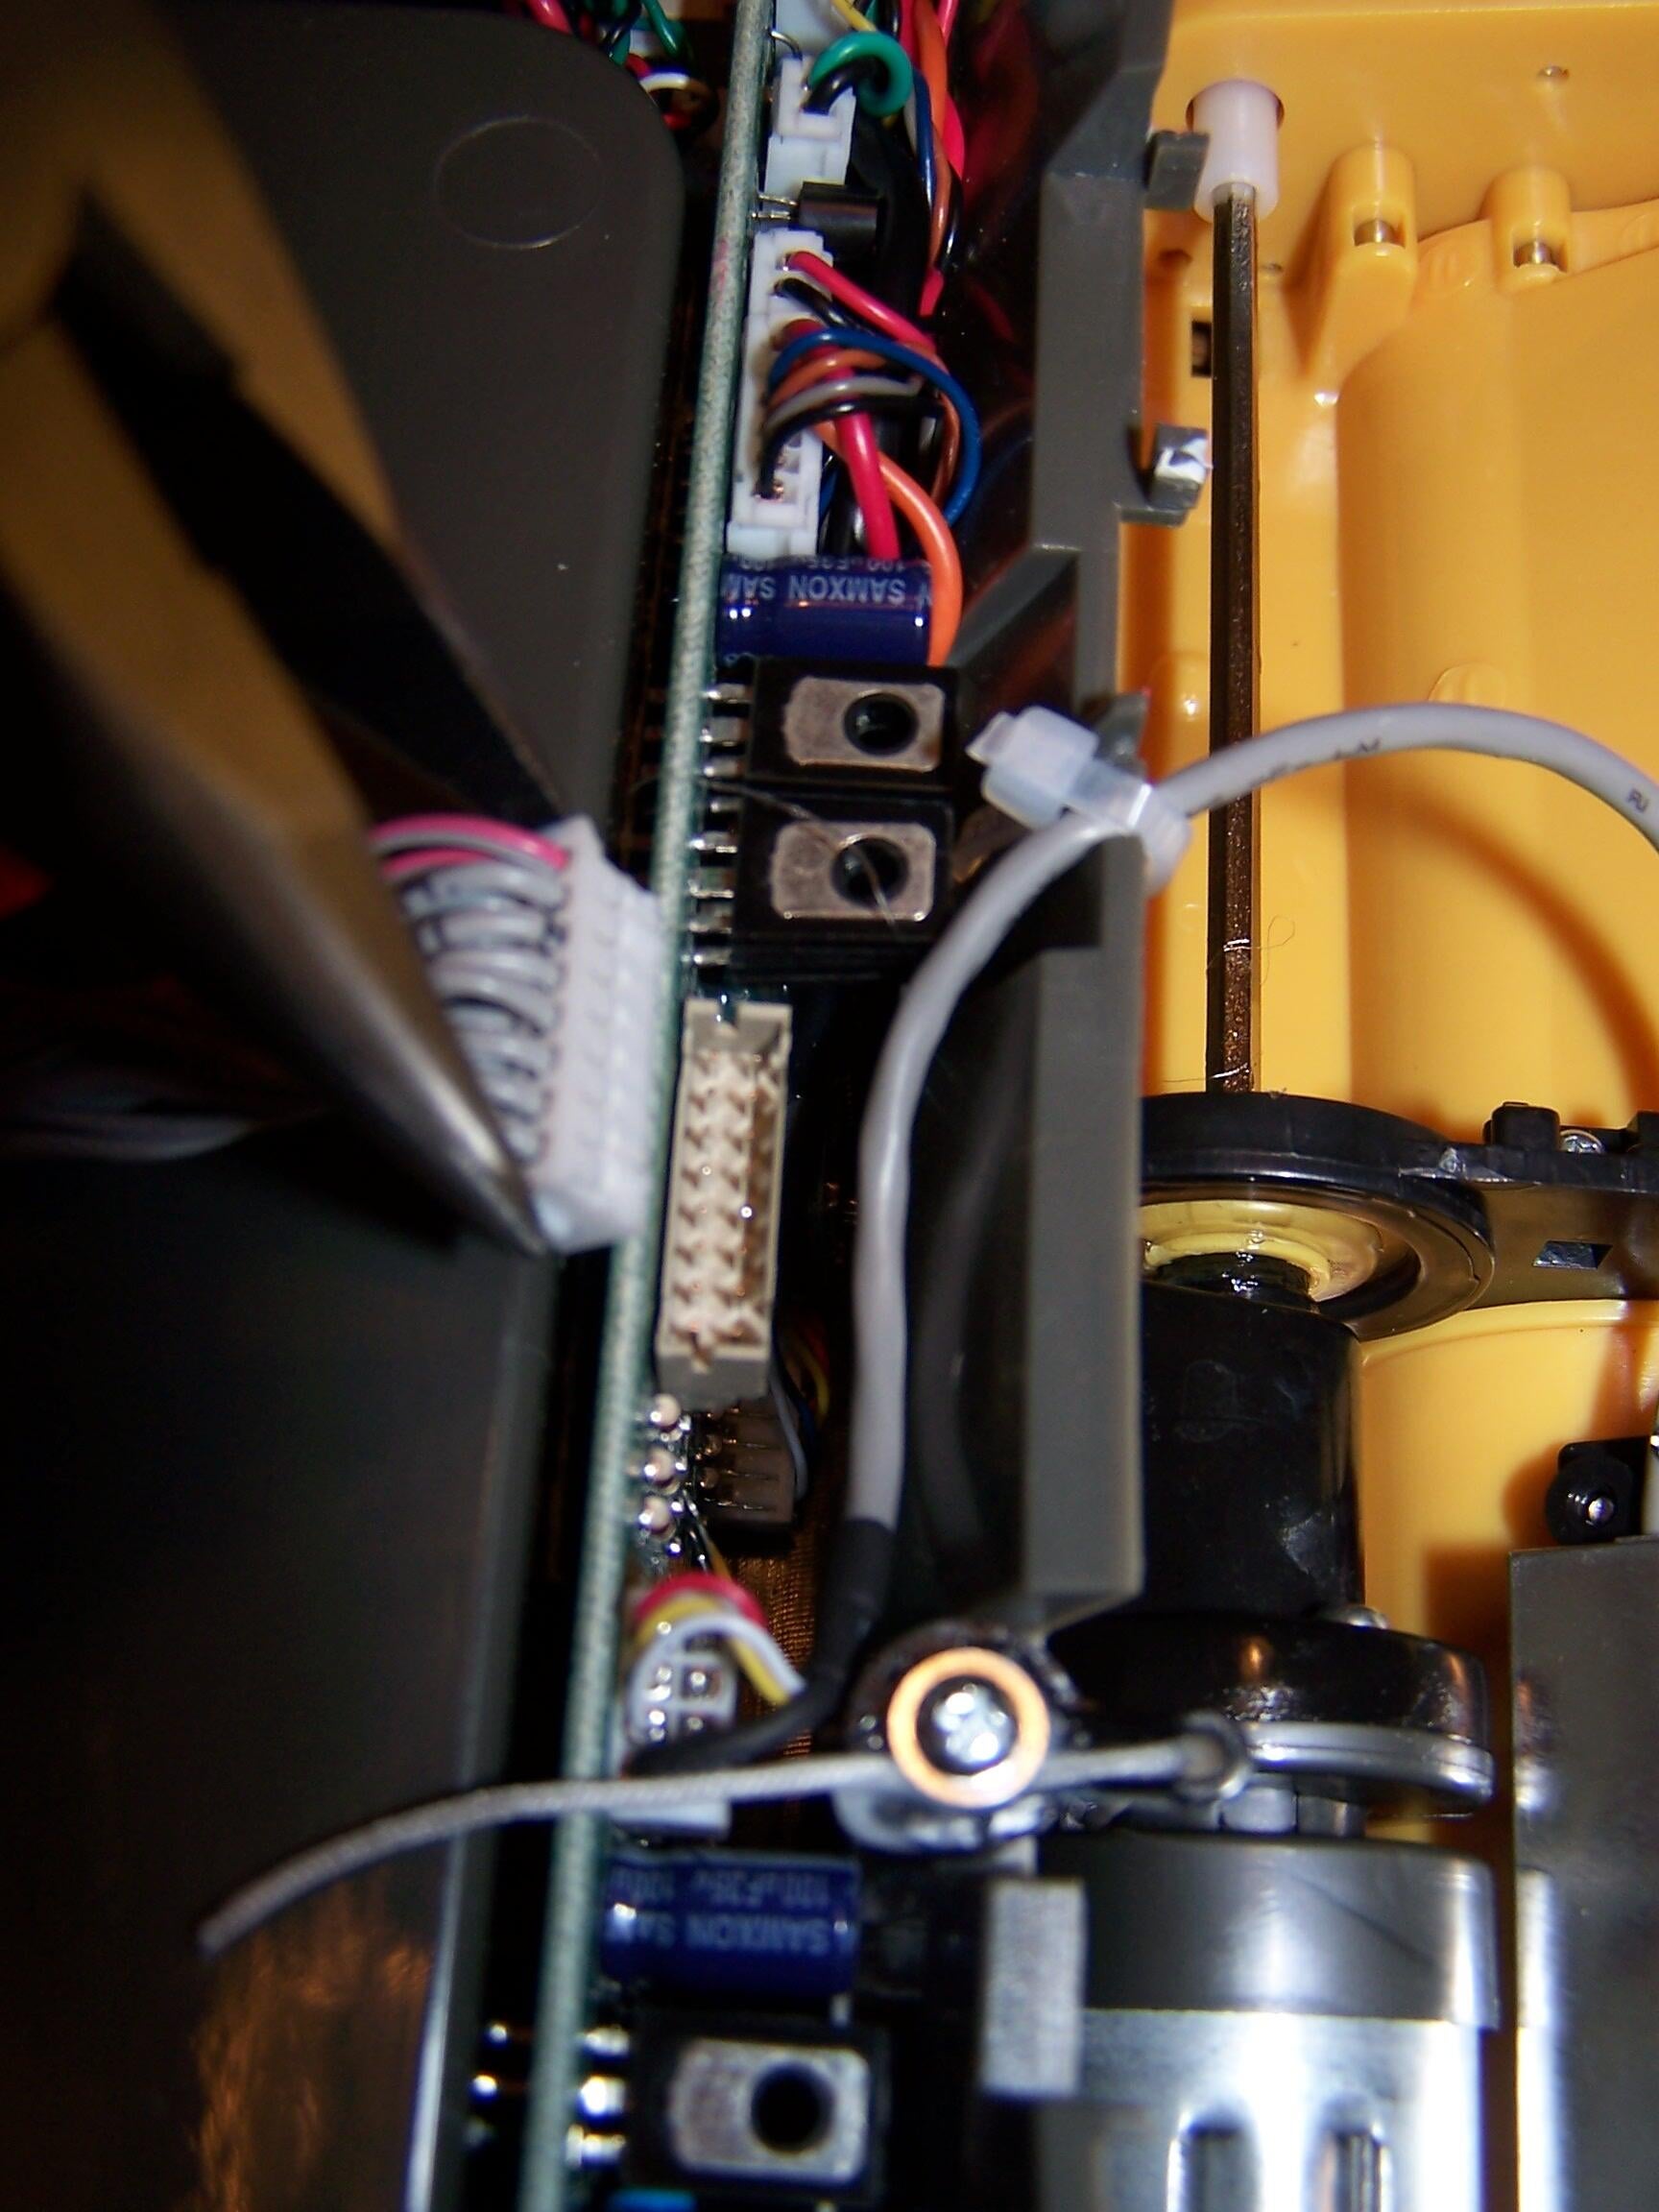
Here’s a picture of the left side of the mainboard. There are at least 6 bundles of cable here. The sockets are keyed.
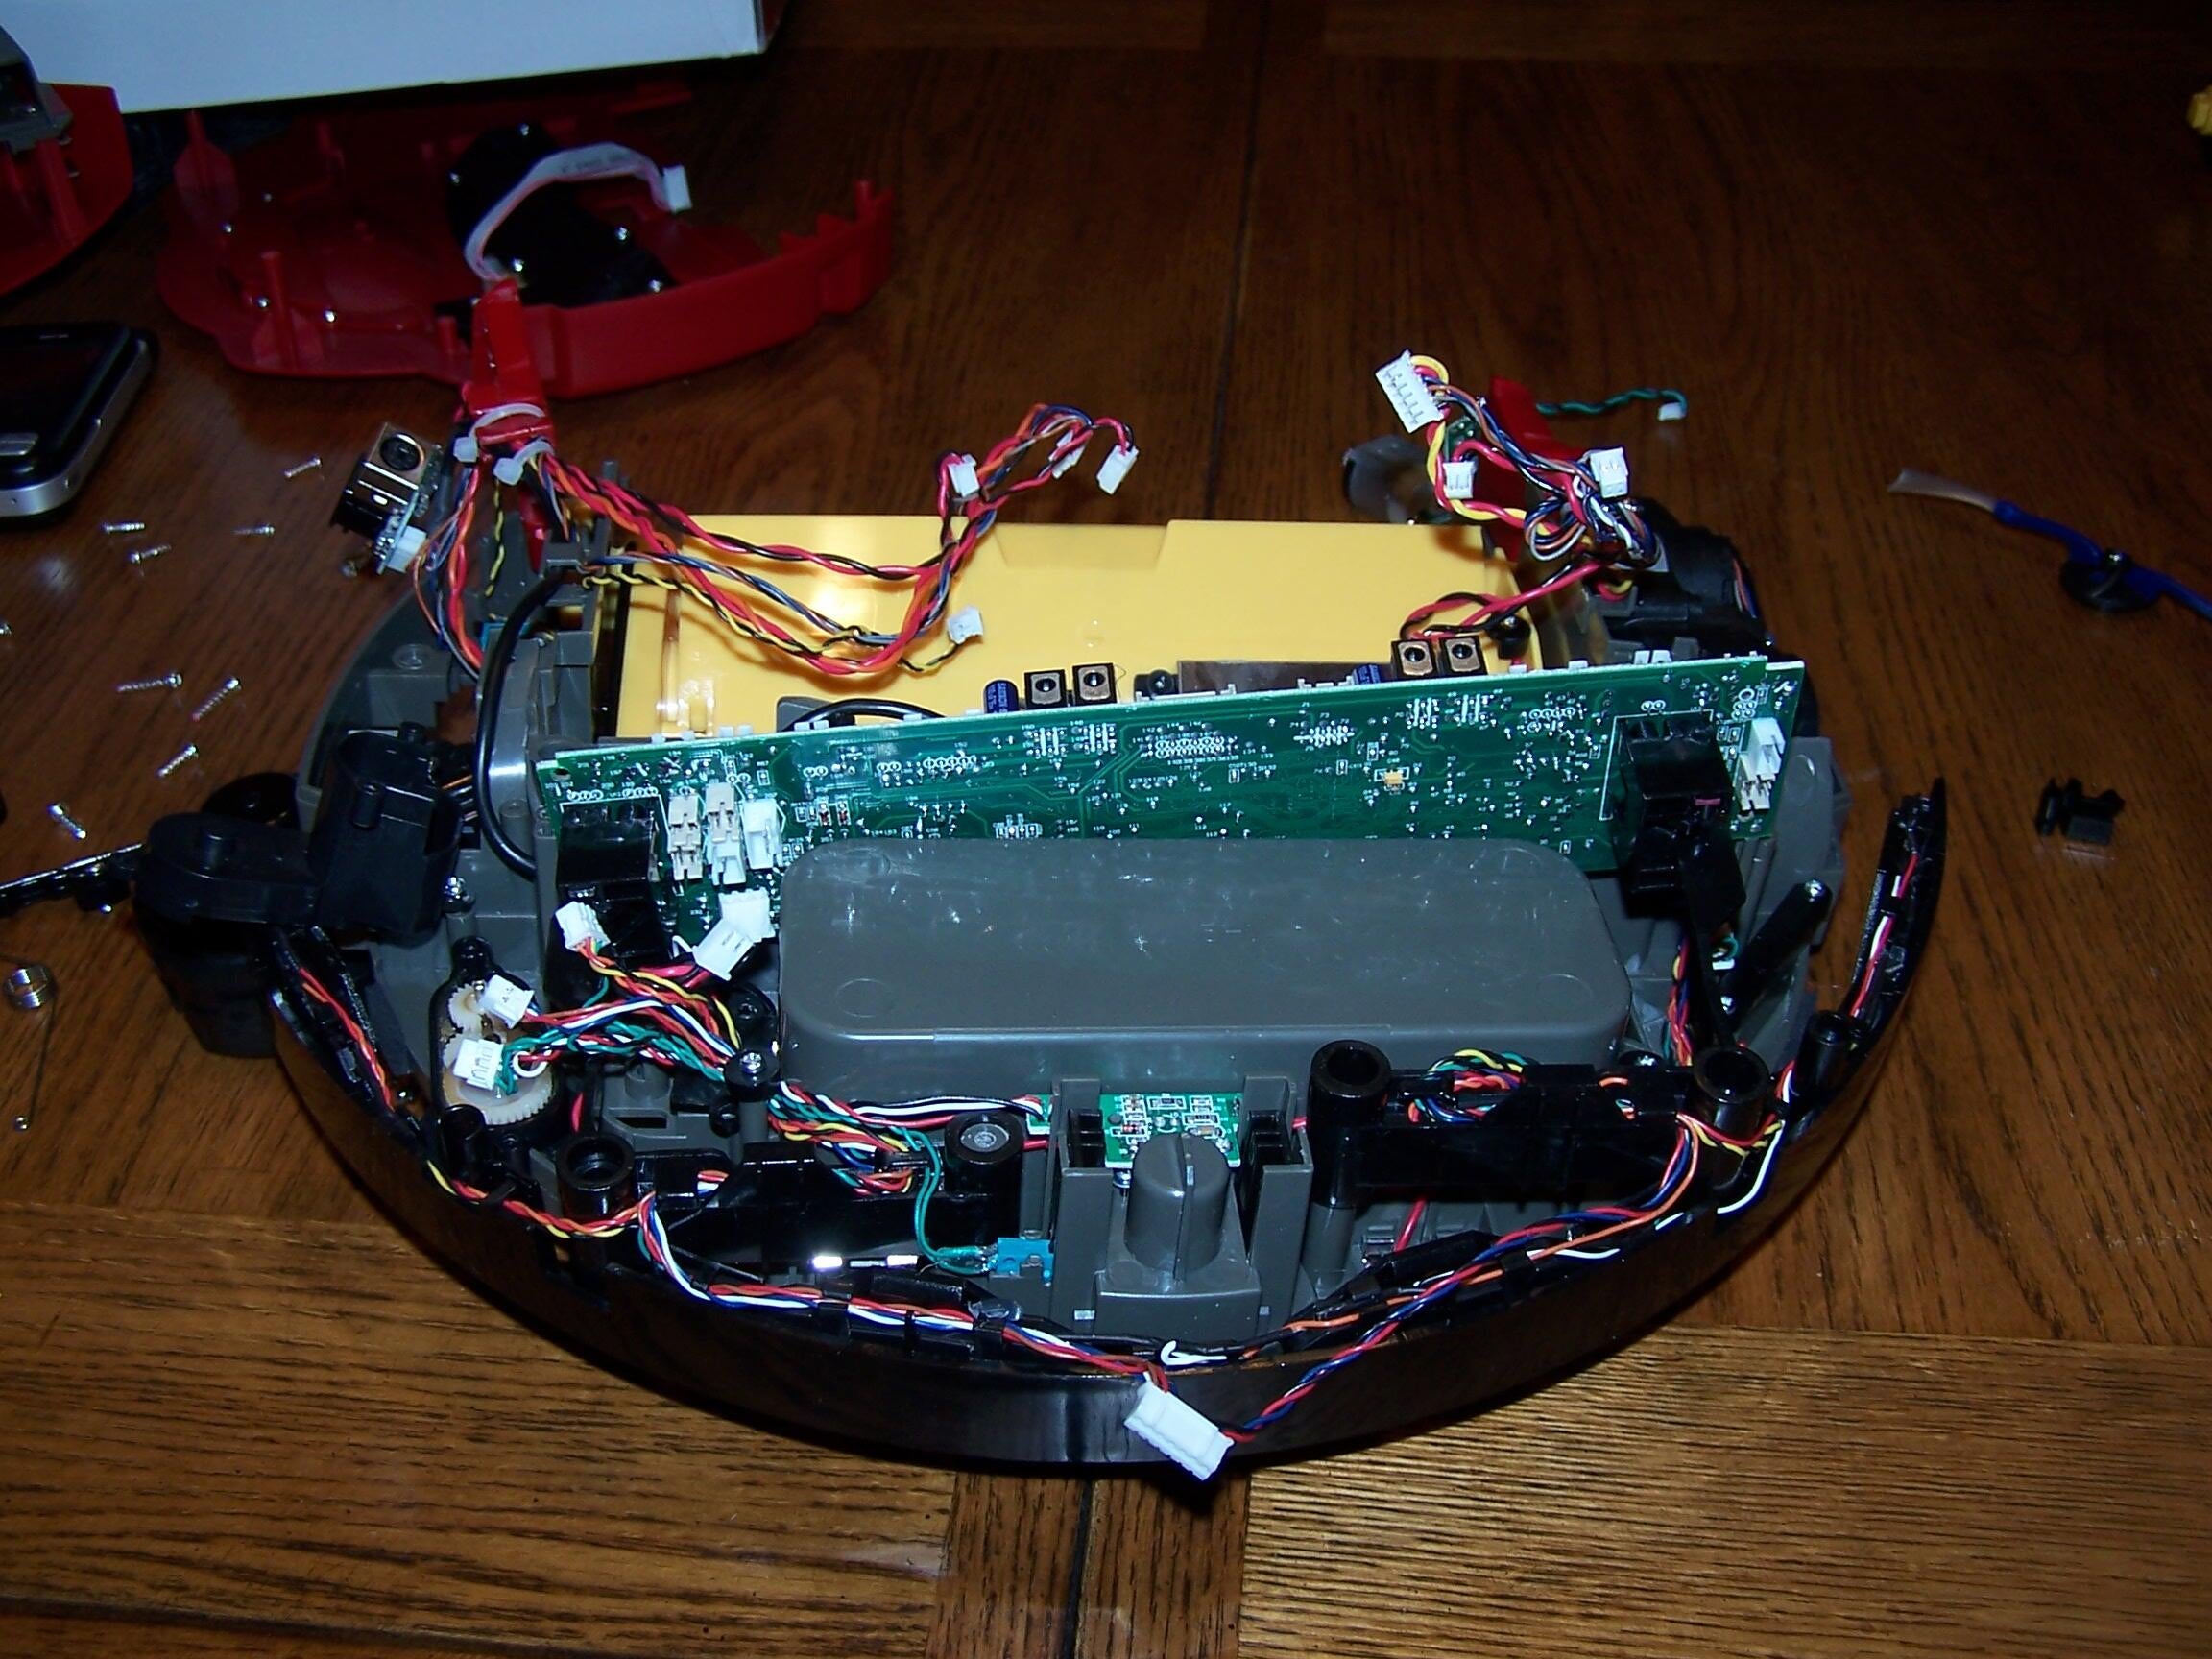
This being my first cracking open gallery, I forgot to trace all of the wire bundles to see where they went and well document them. Sorry.
However I did pull the mainboard out and I know that all of the wire bundles are keyed so it’s impossible to put the wrong bundle into the wrong slot.
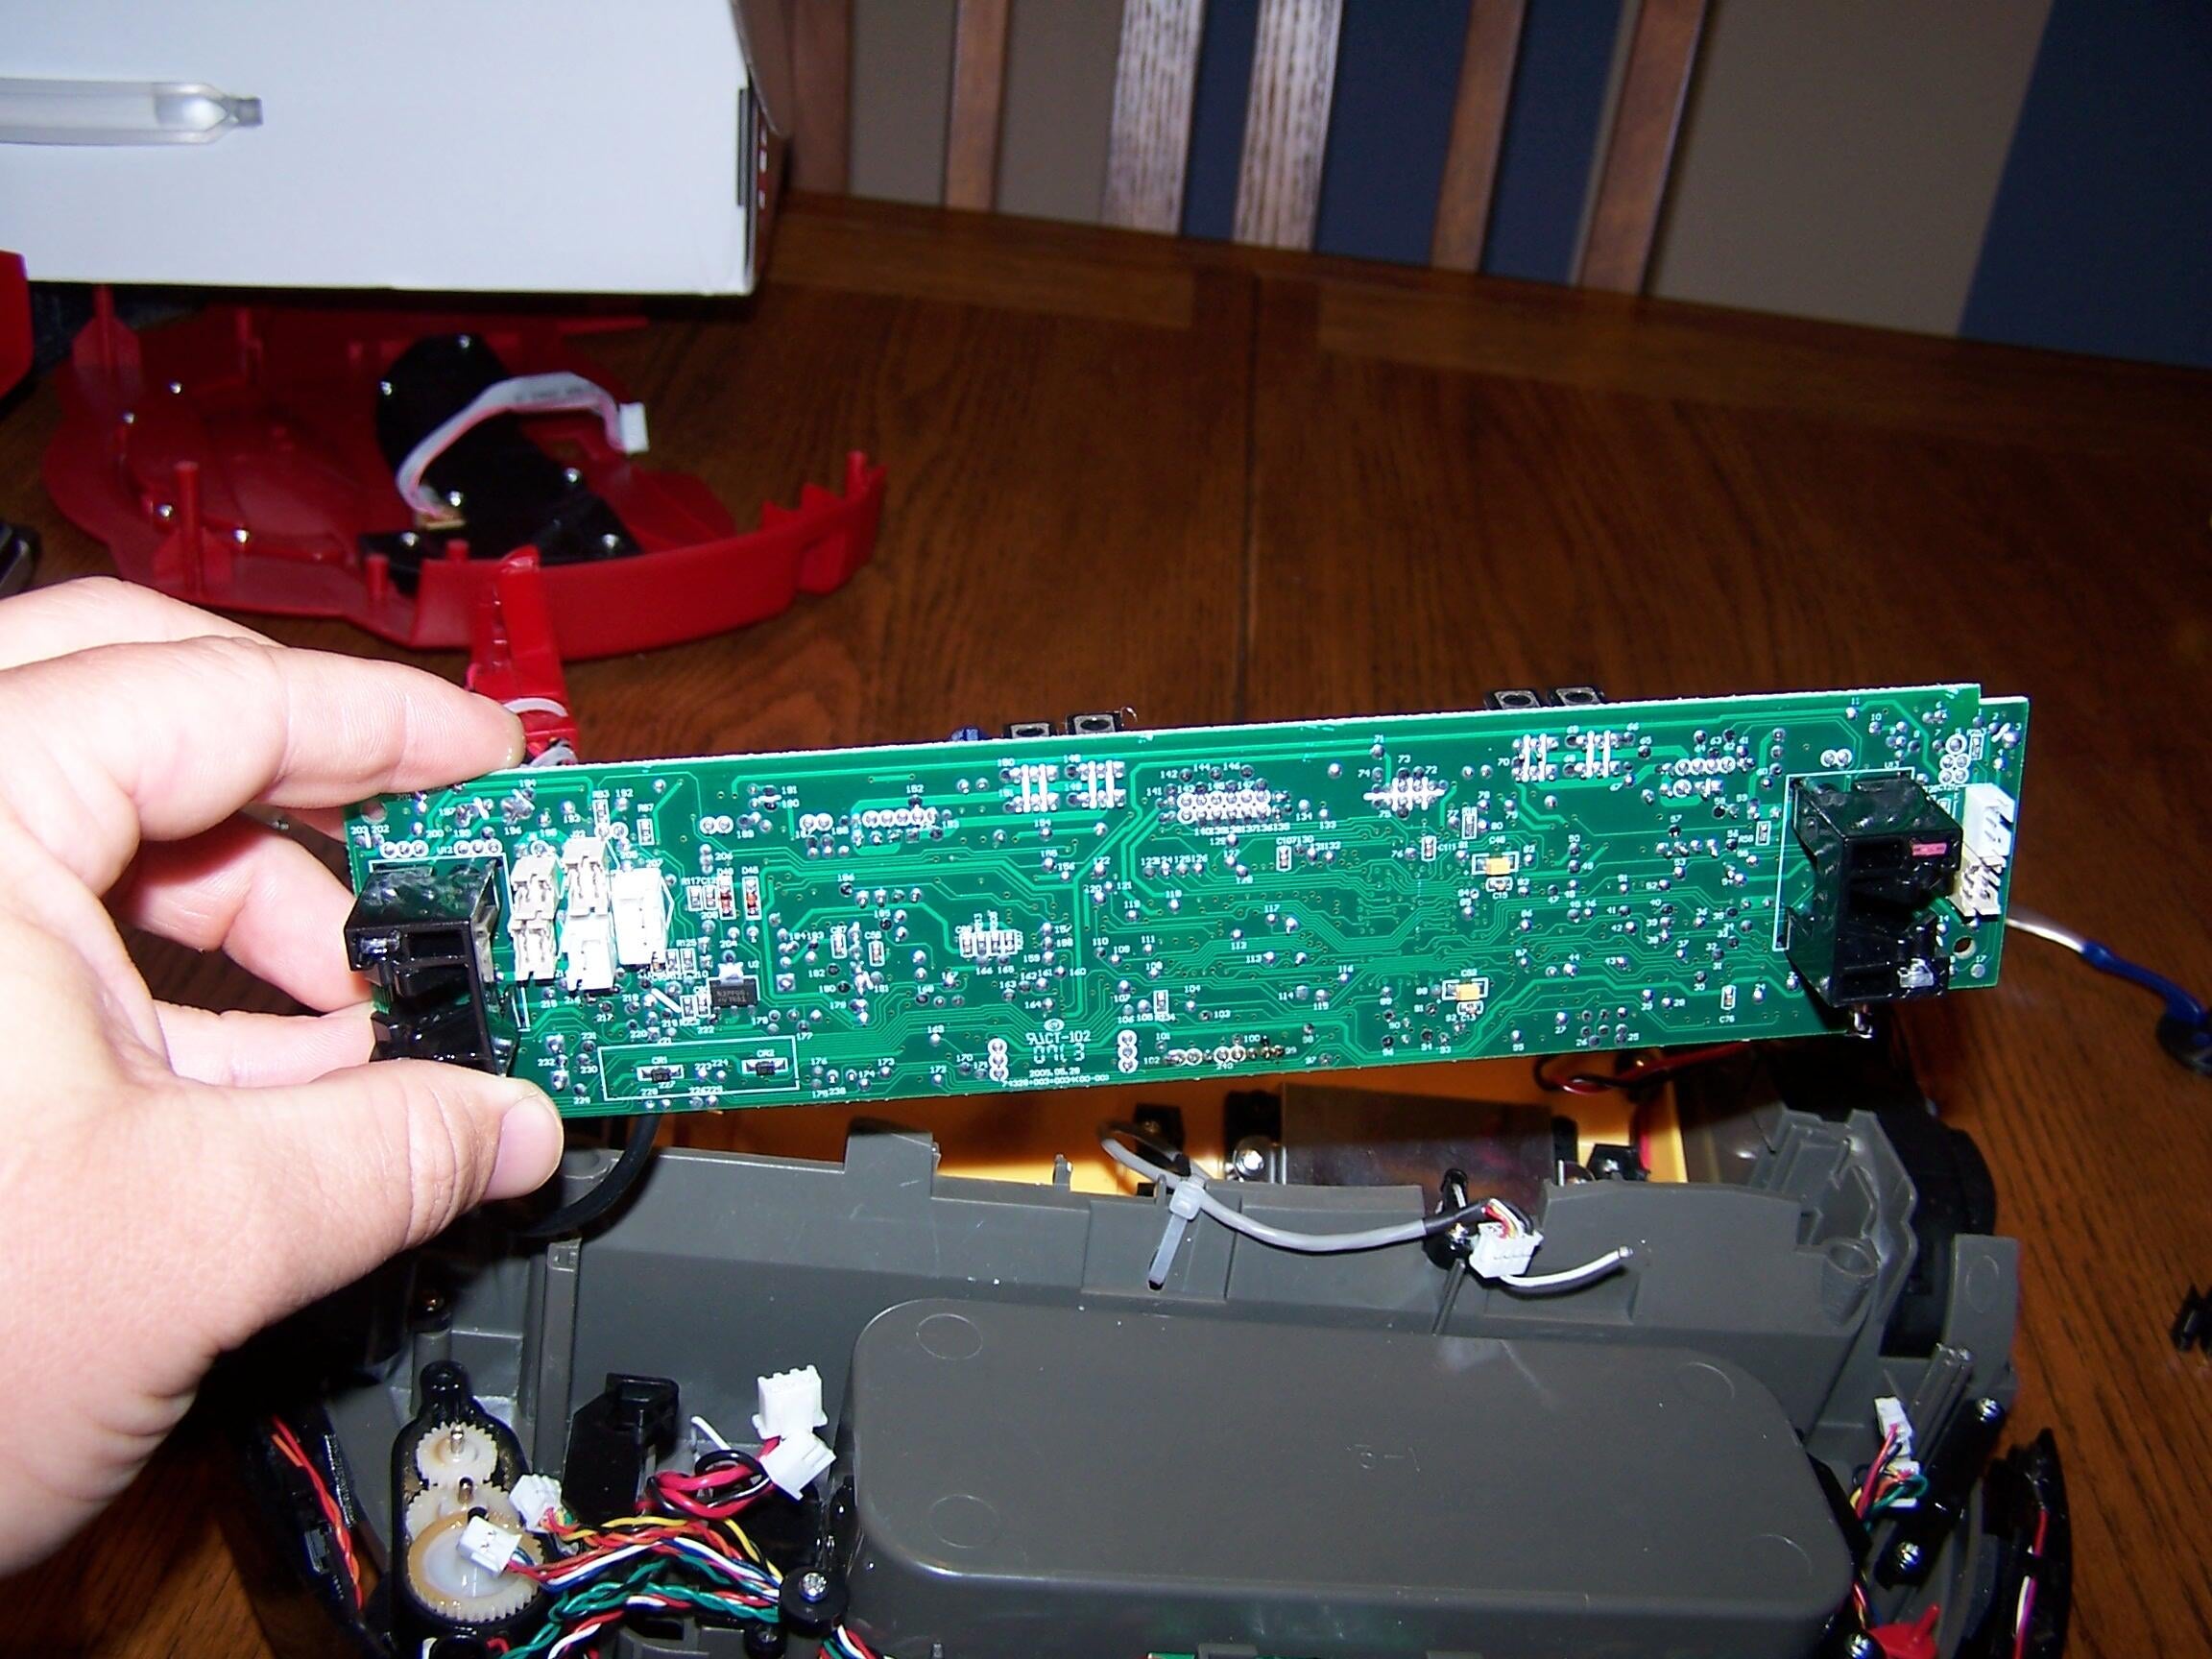
Here is a shot of the mainboard removed. It took a little work to get the arms for the bumper switch out of their housing (see screenshot after next), but as soon as they were out, the mainboard slid out easily.
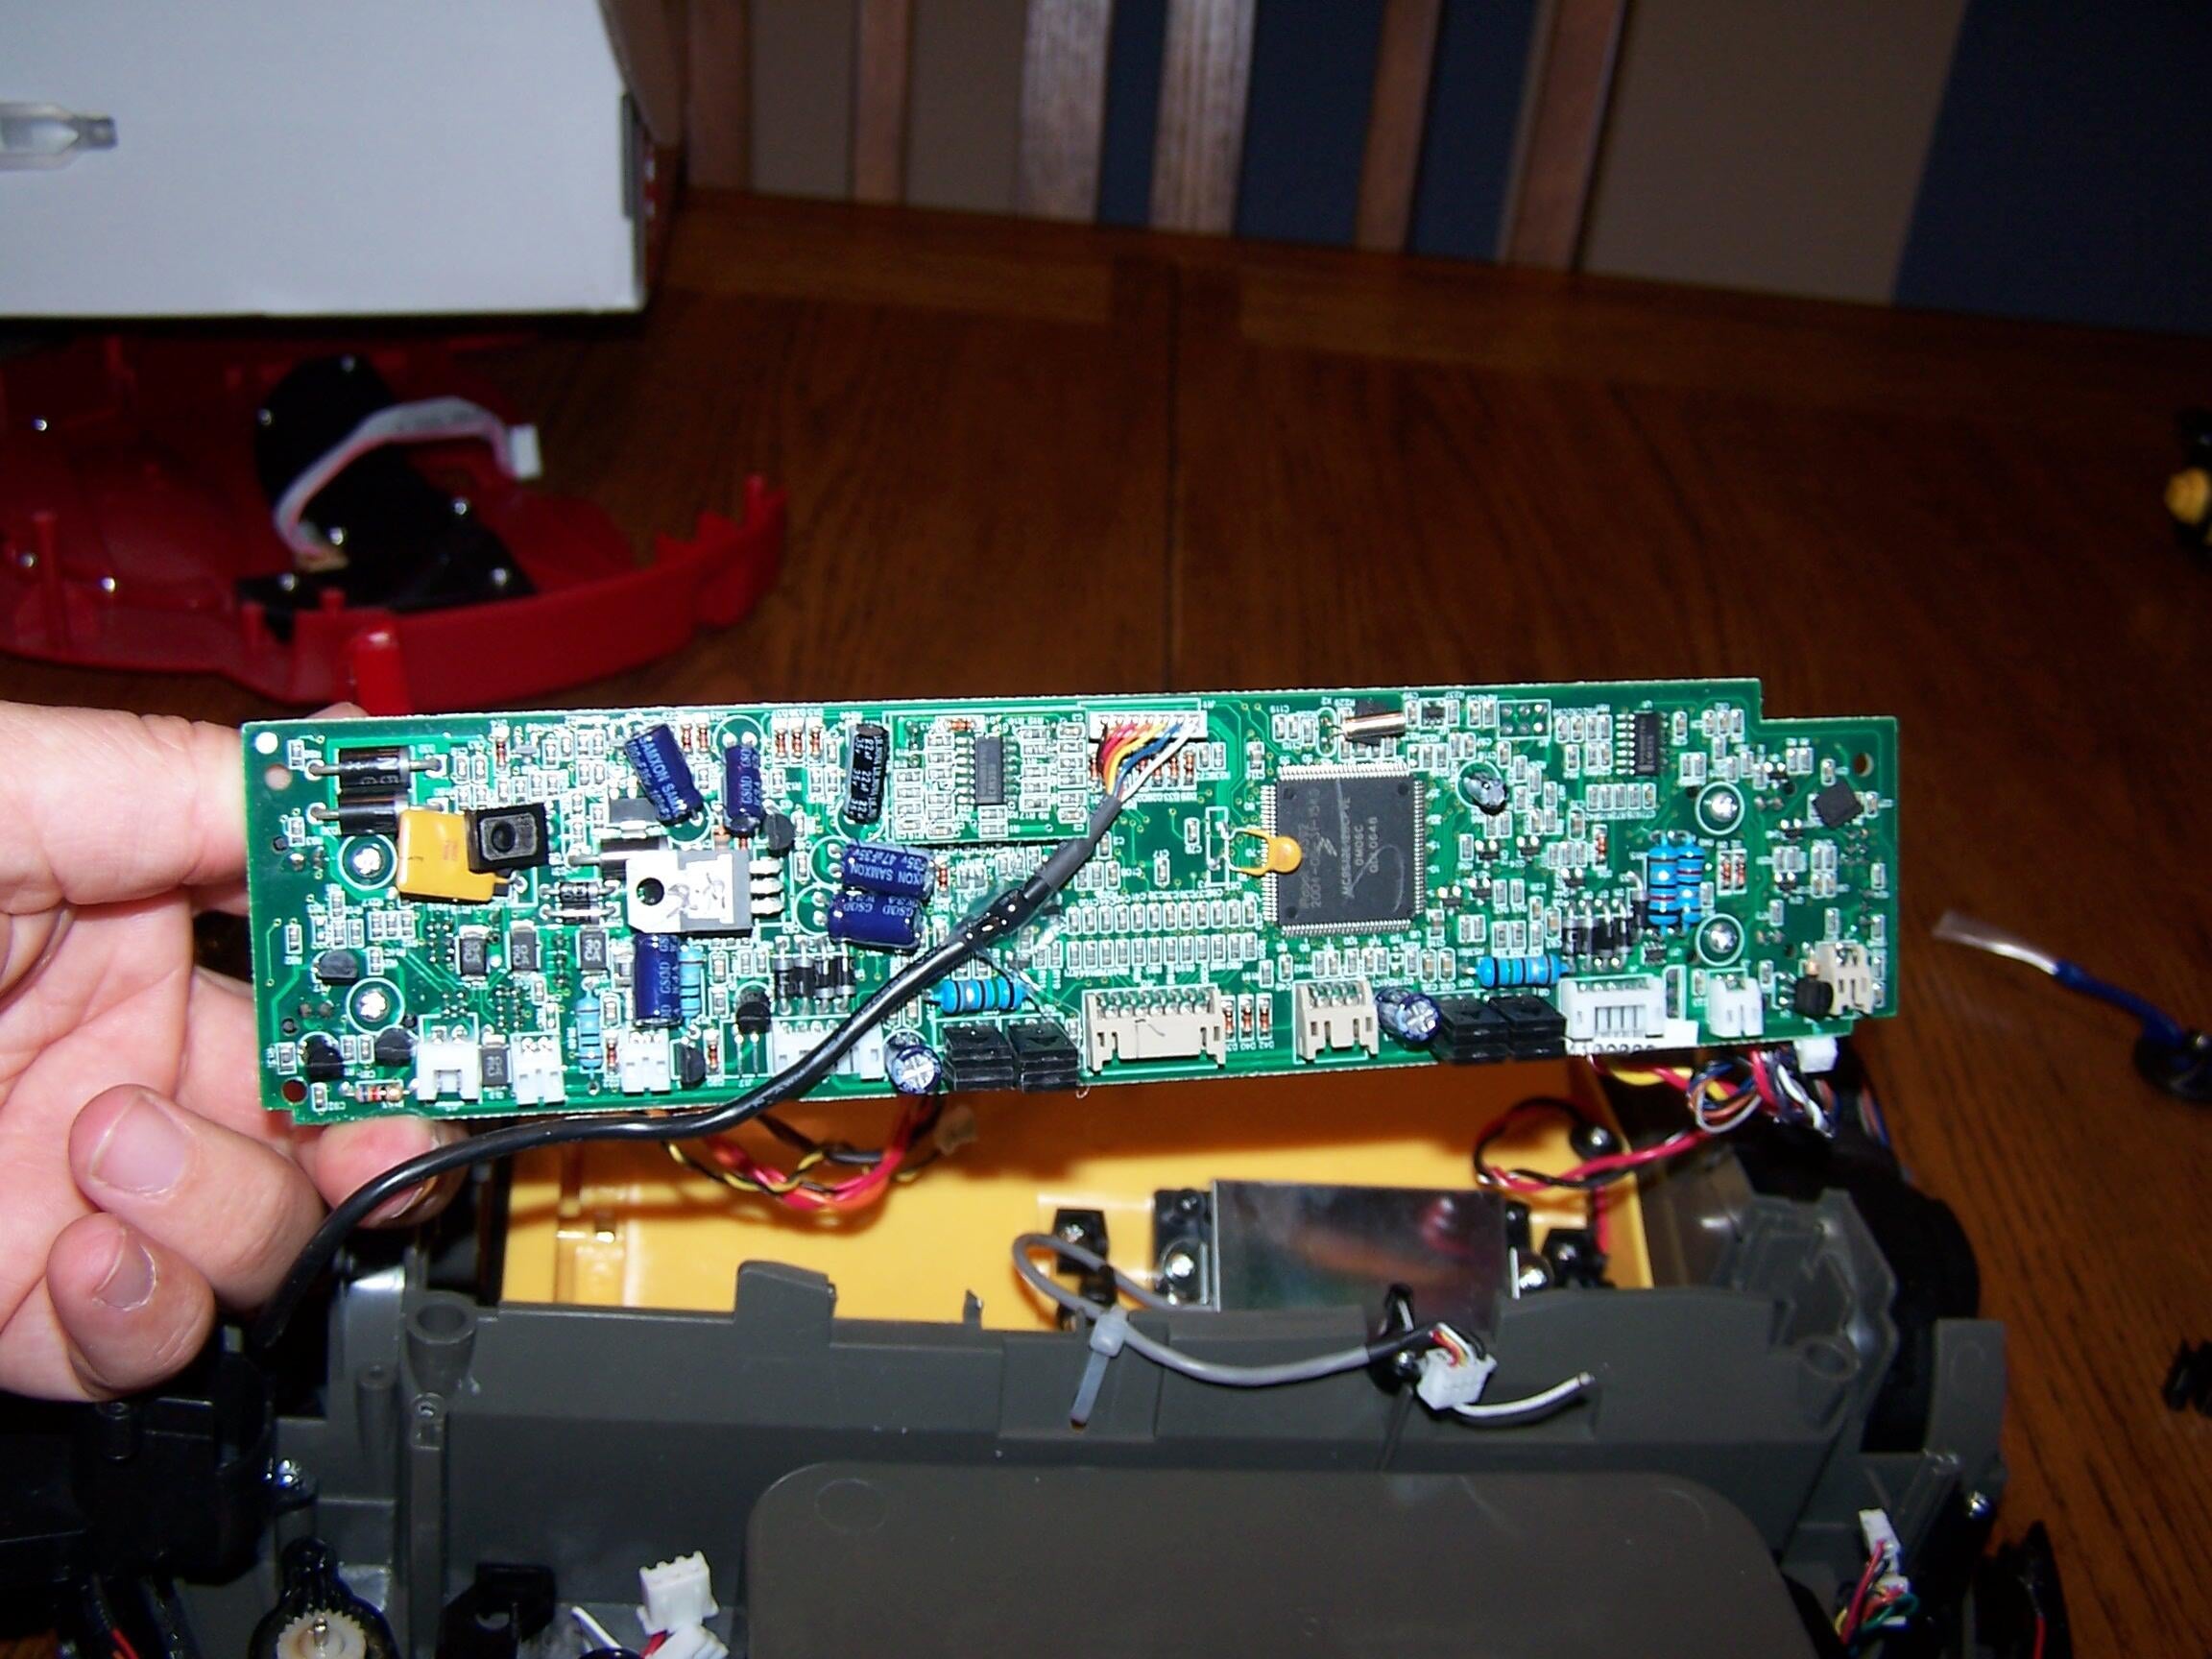
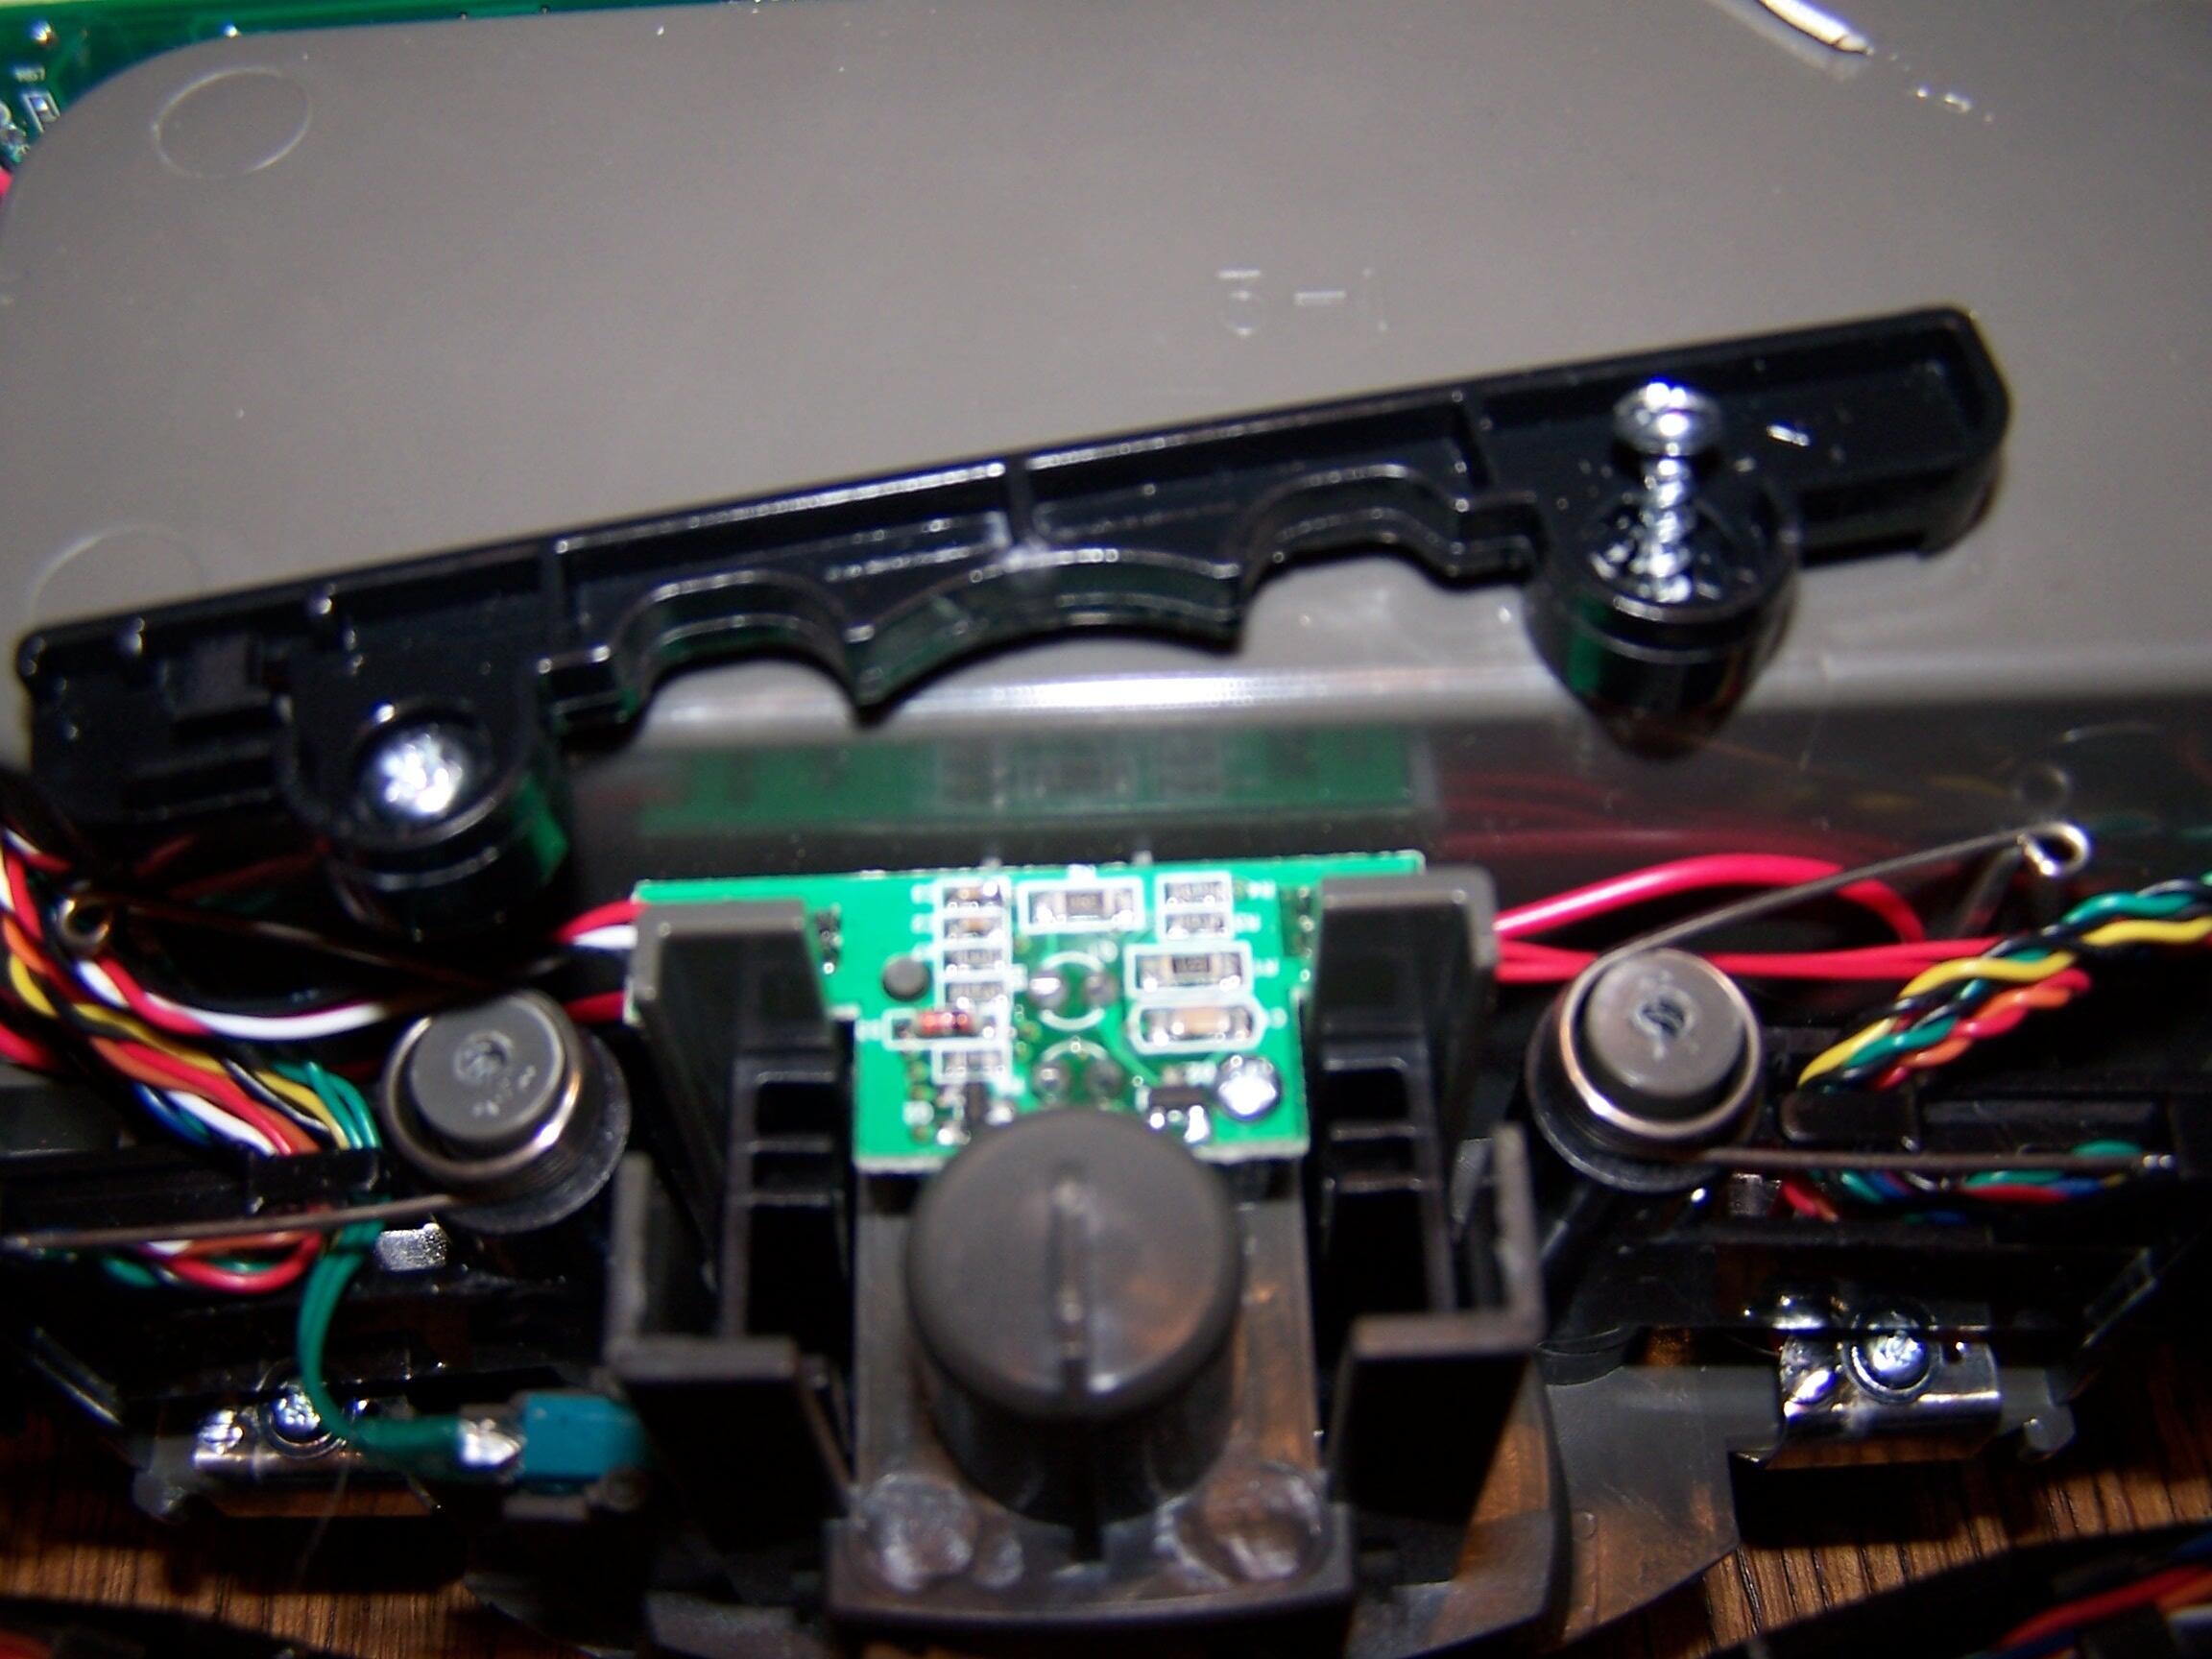
This is a picture of the front of the mainboard. A single processor sits in the middle.
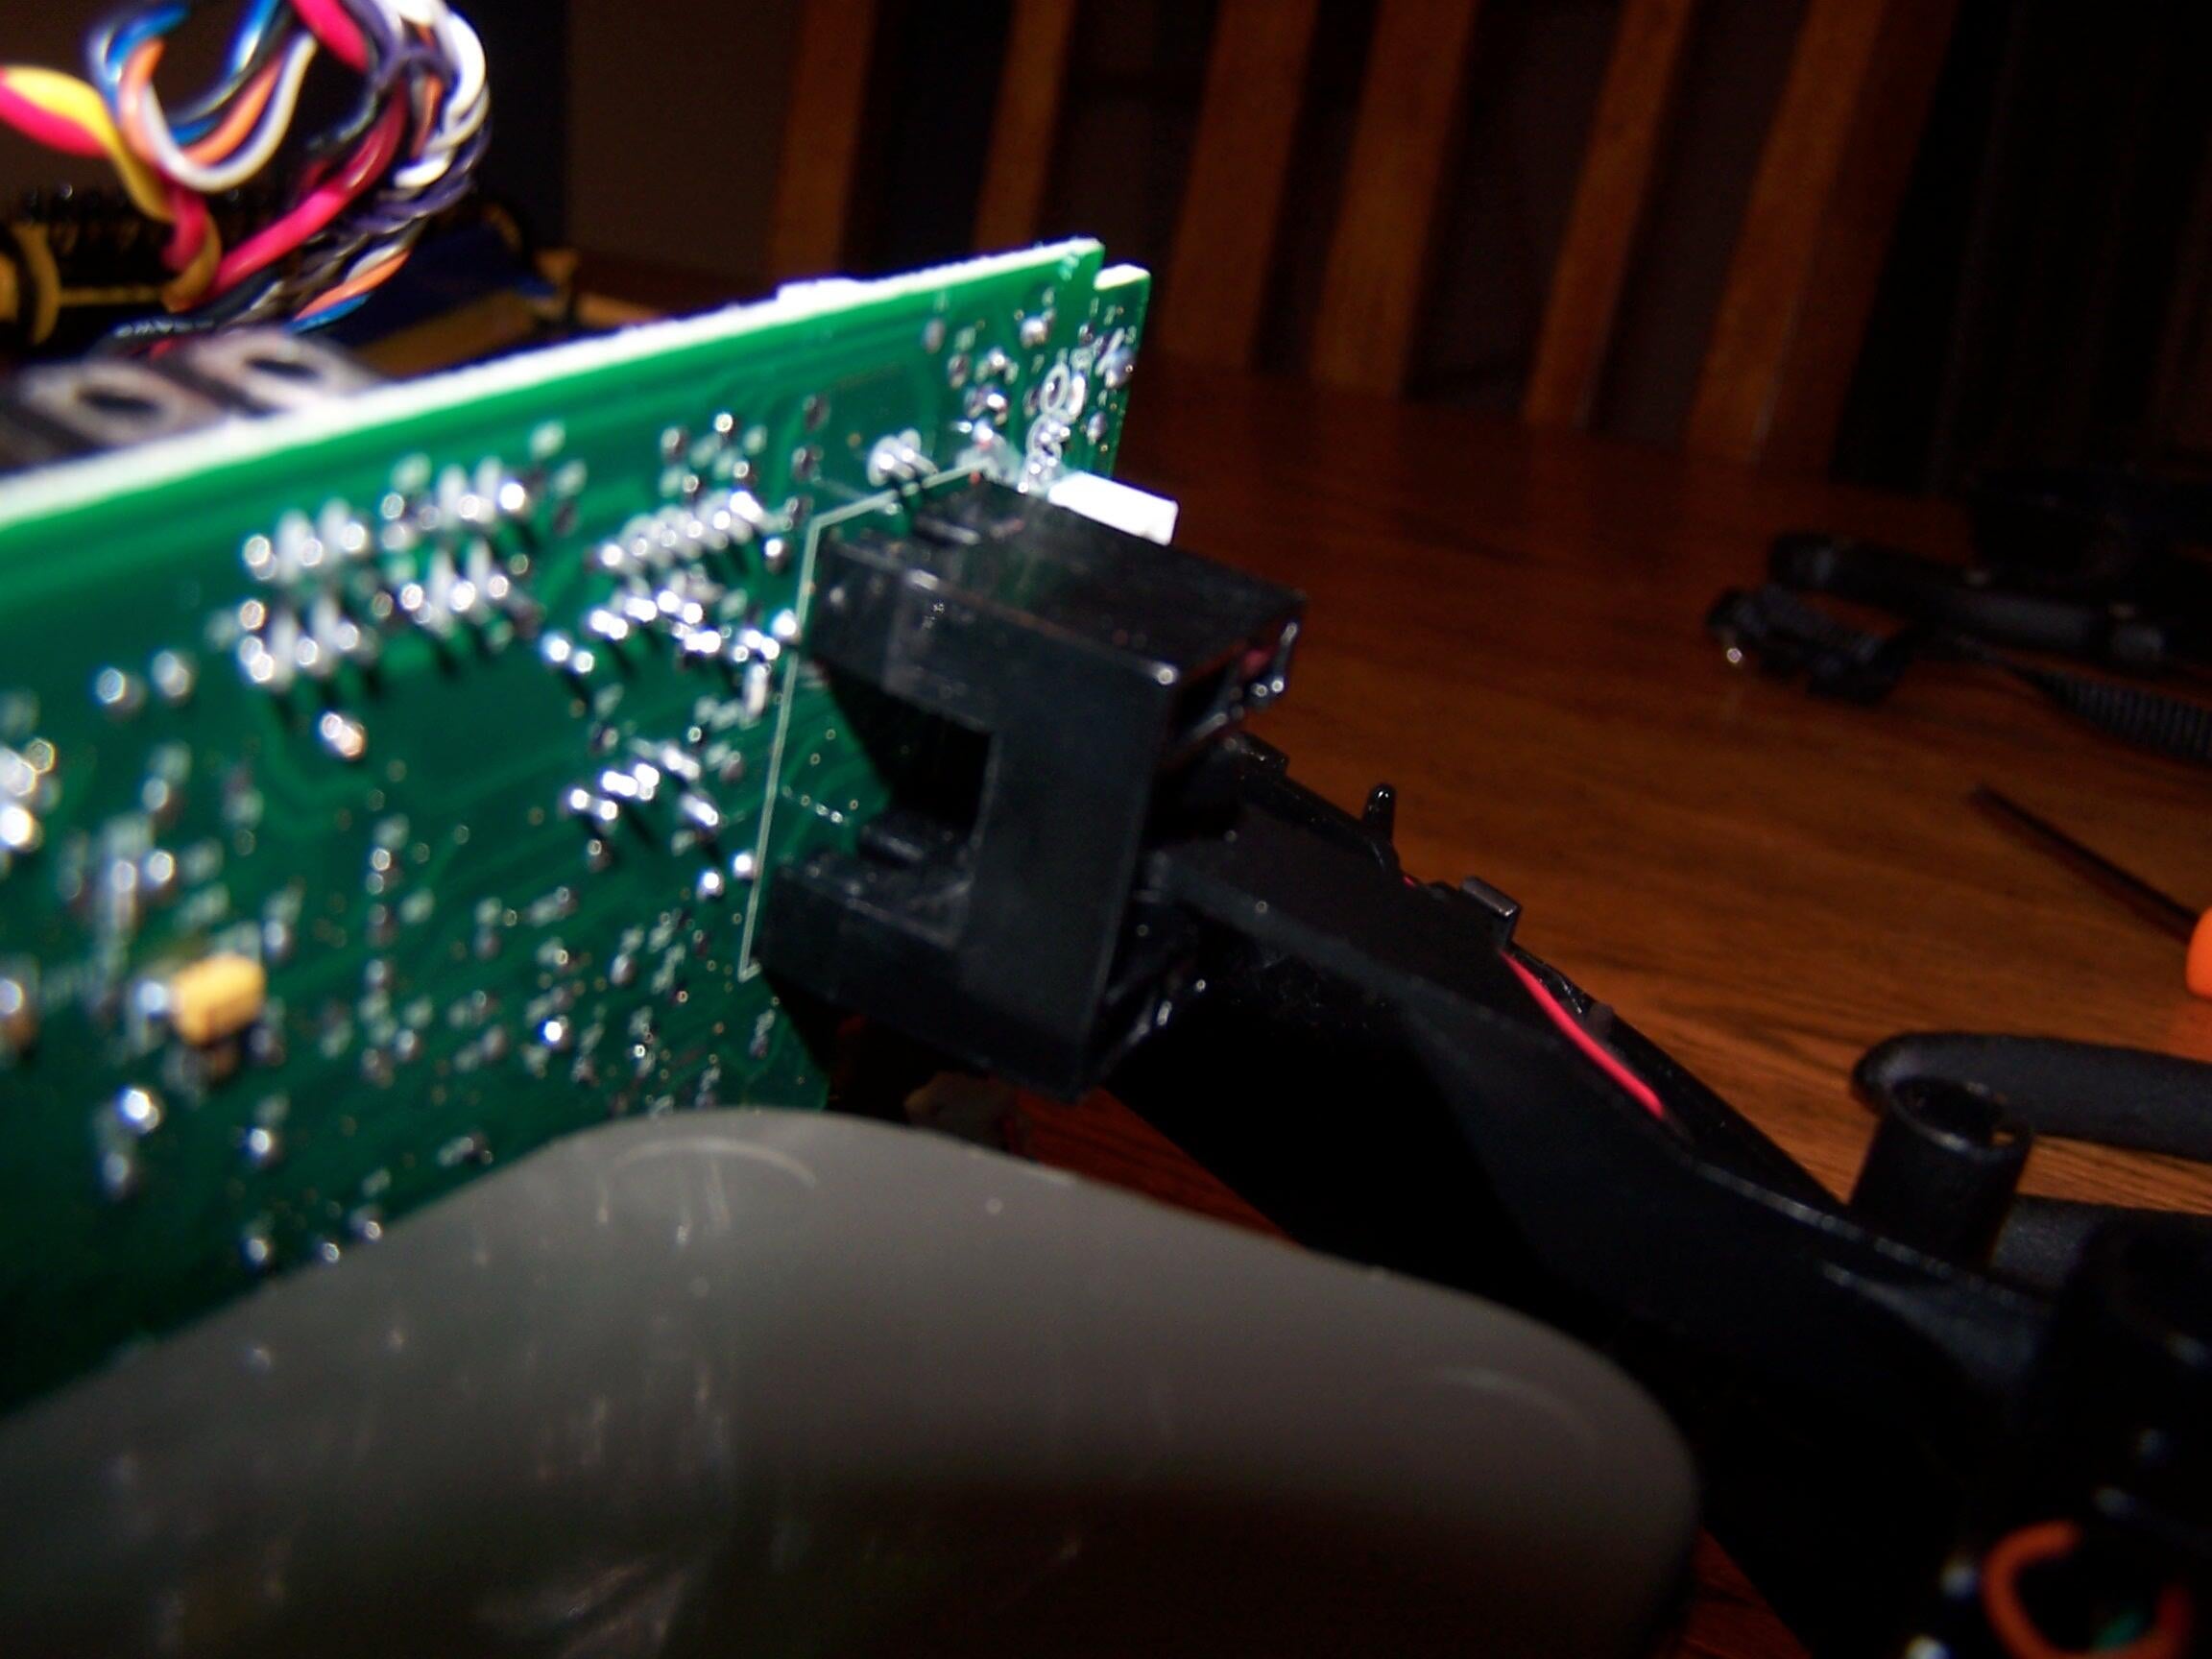
From here you can see where the front bumper switch attaches. Two arms (one on each side) hook into this box which has a switch inside it. When the bumper is activated, the arms are sent inward and the switch is activated, telling the Roomba it just hit something.
I skipped the redundant, putting back together photos. But yes, the reassembled Roomba does work again. I scattered some pepper on the kitchen floor and the Roomba sucked it right up.
Read my Geek Gift review of the iRobot Roomba.


