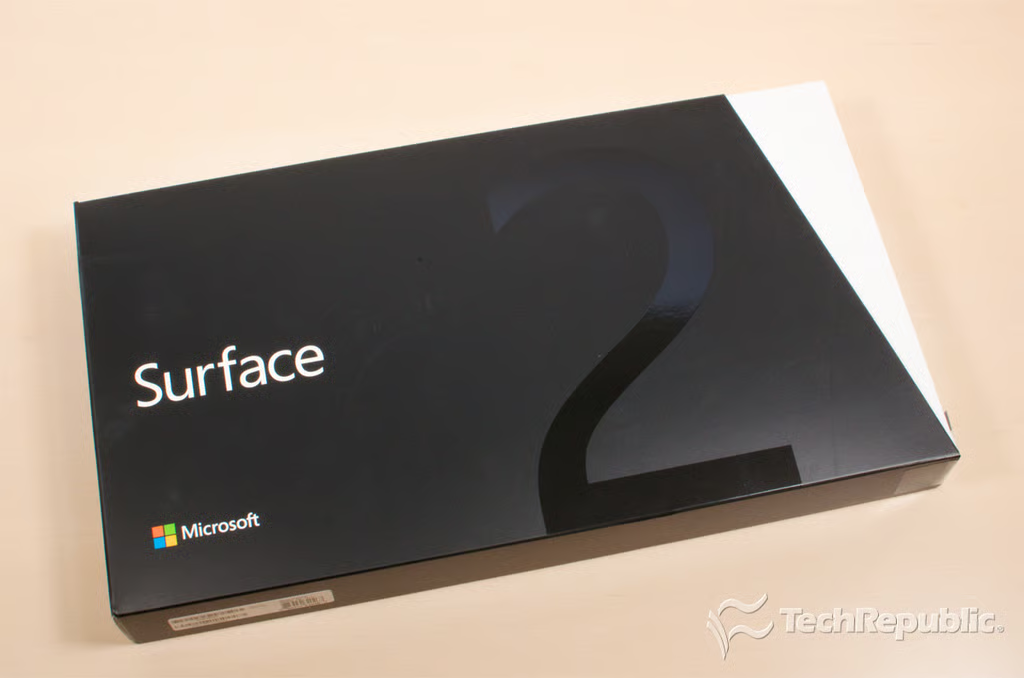
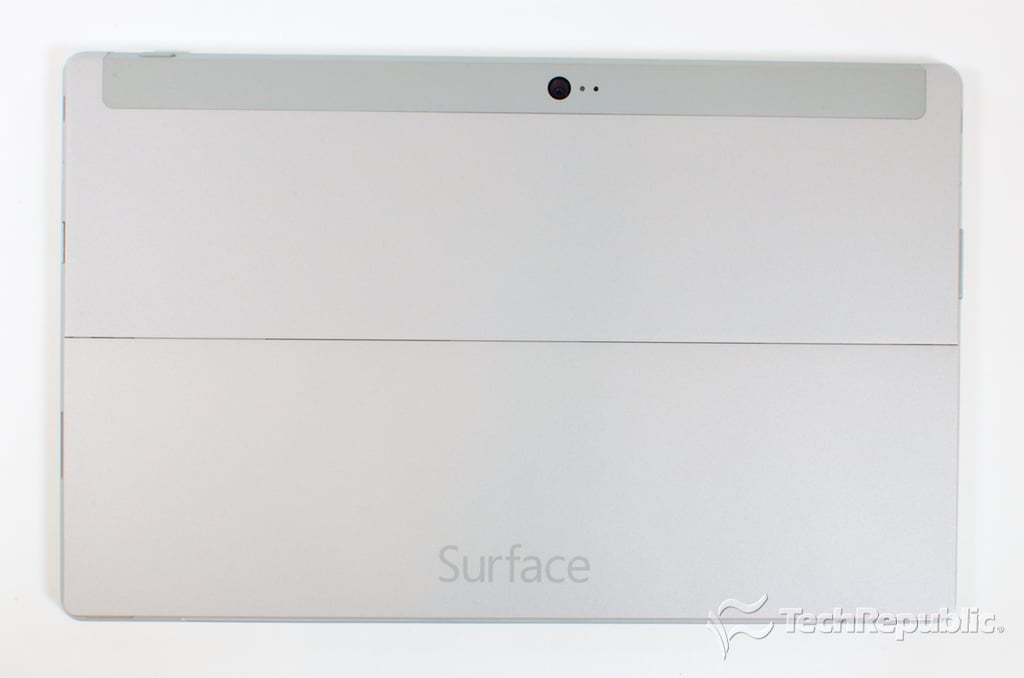
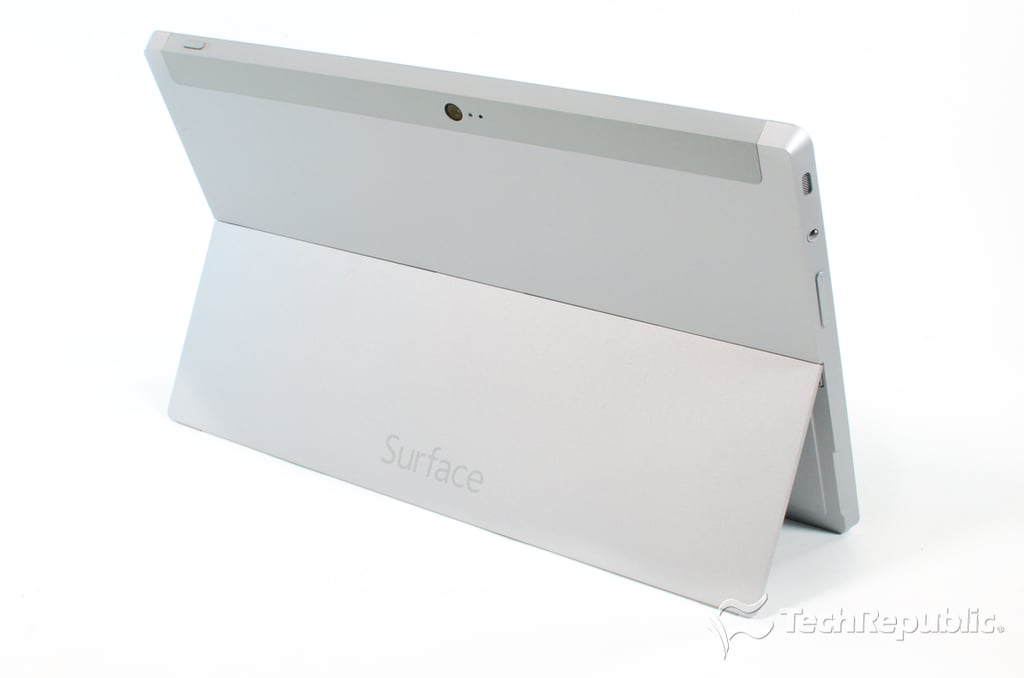
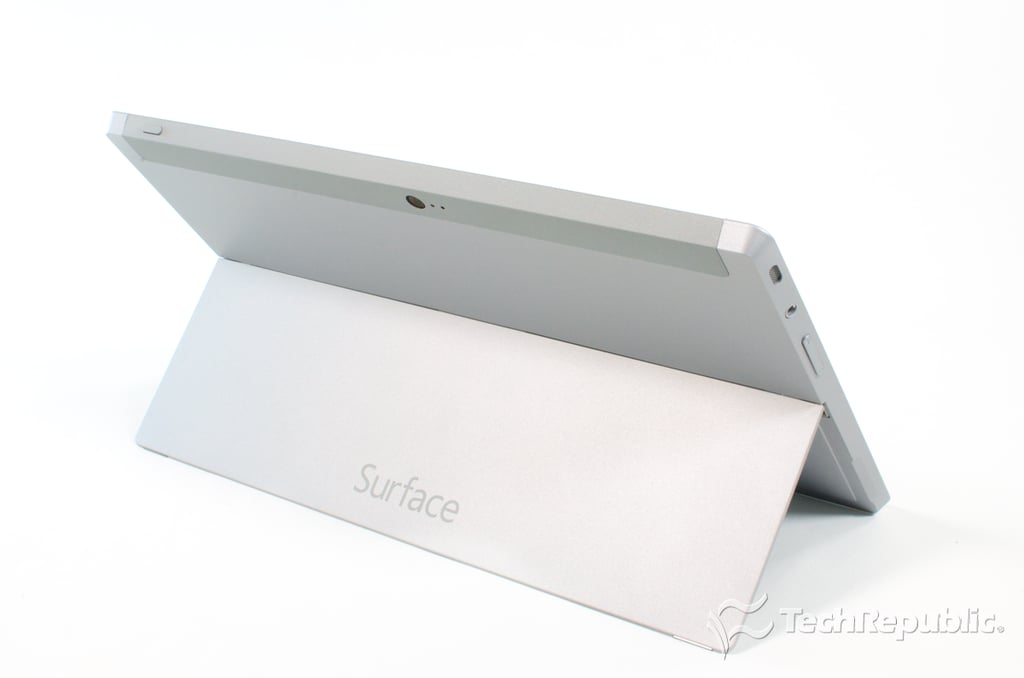
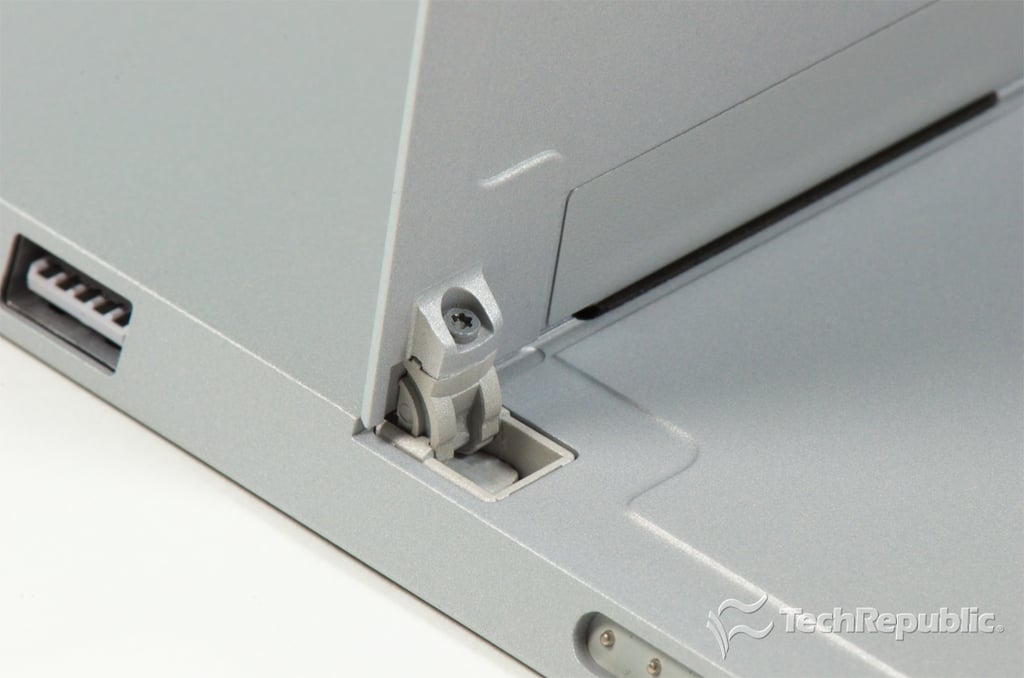
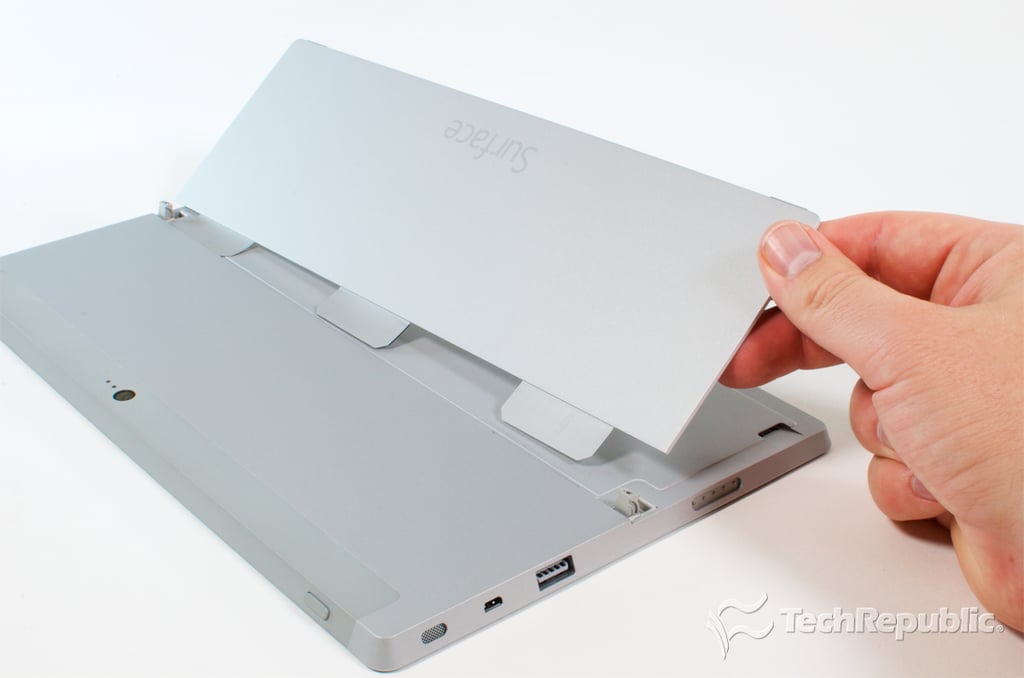
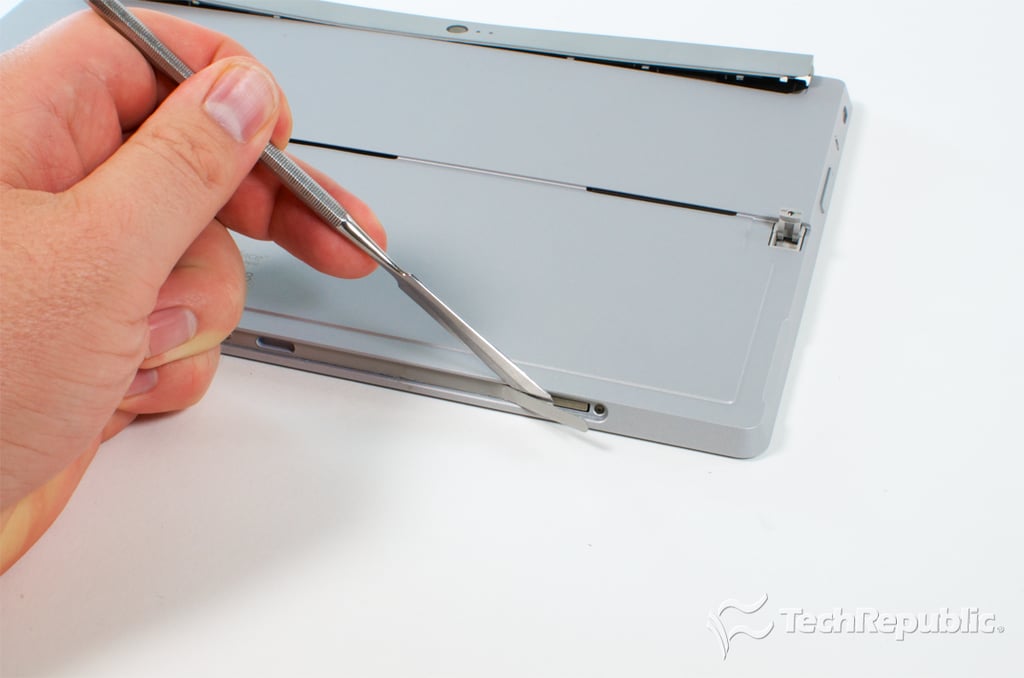
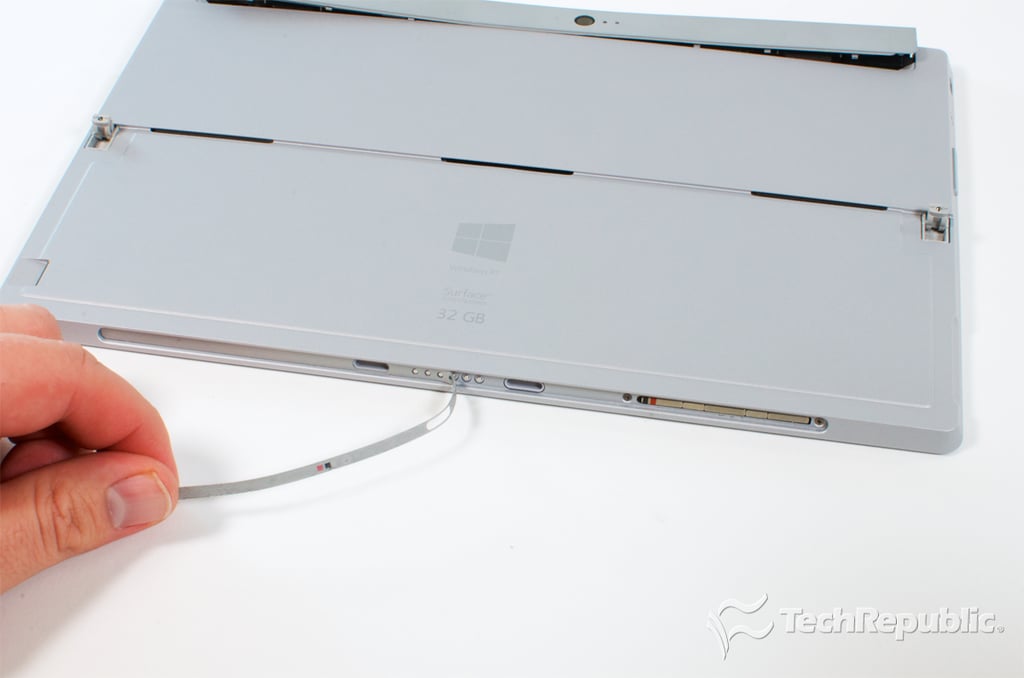
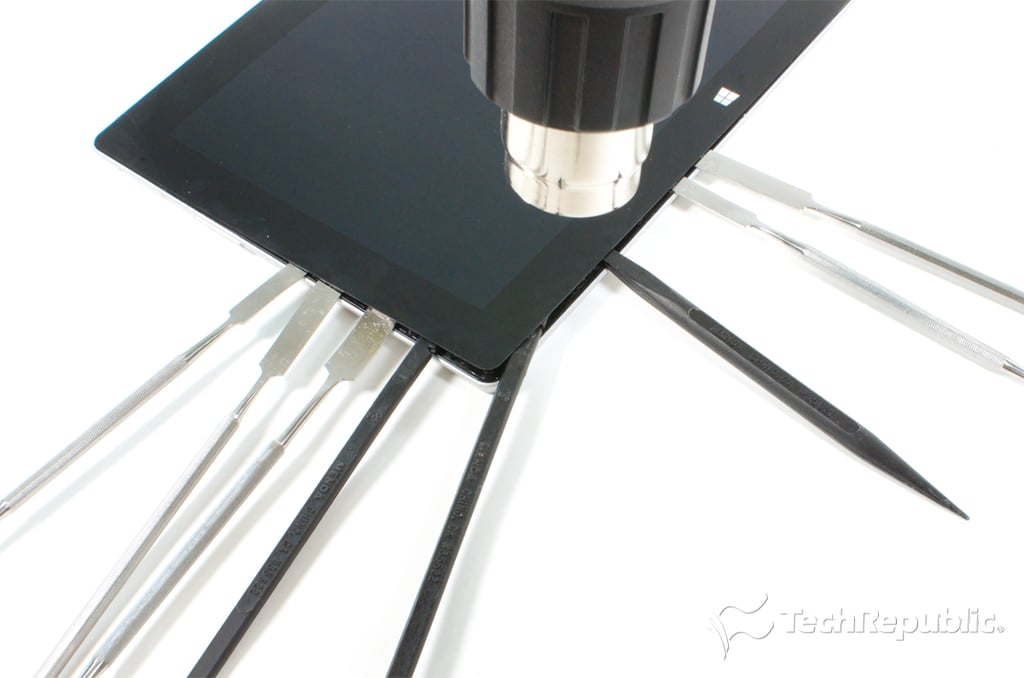
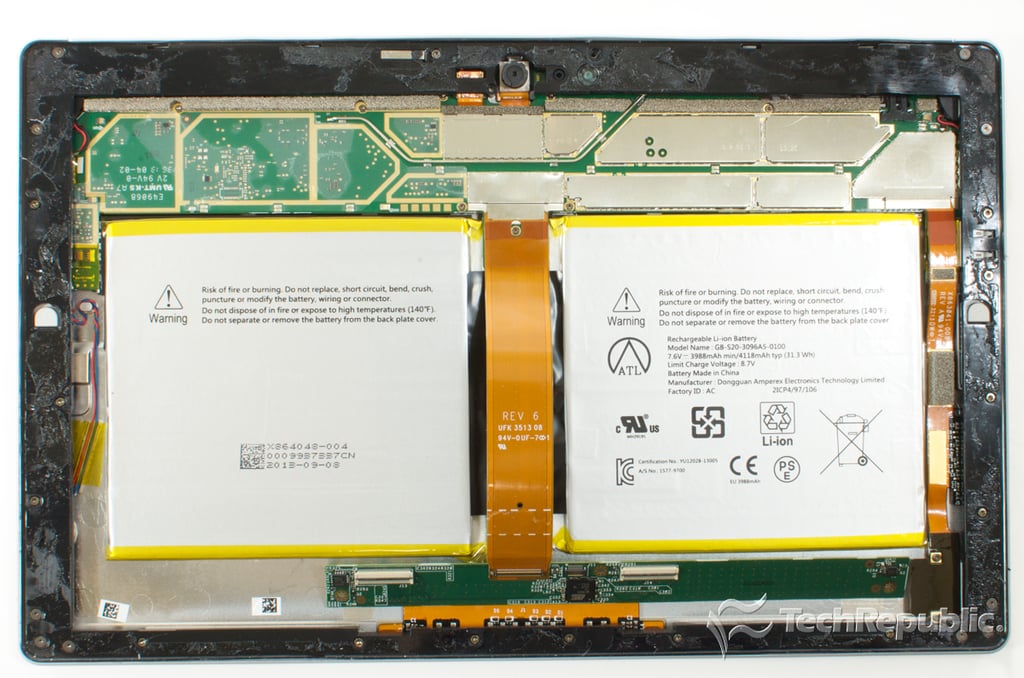
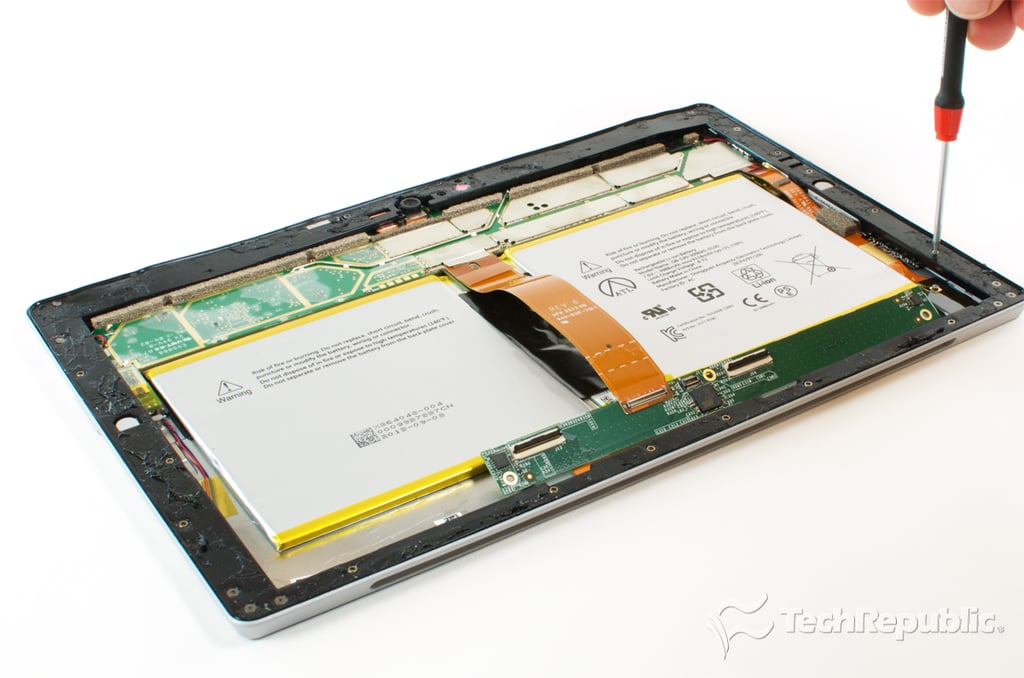
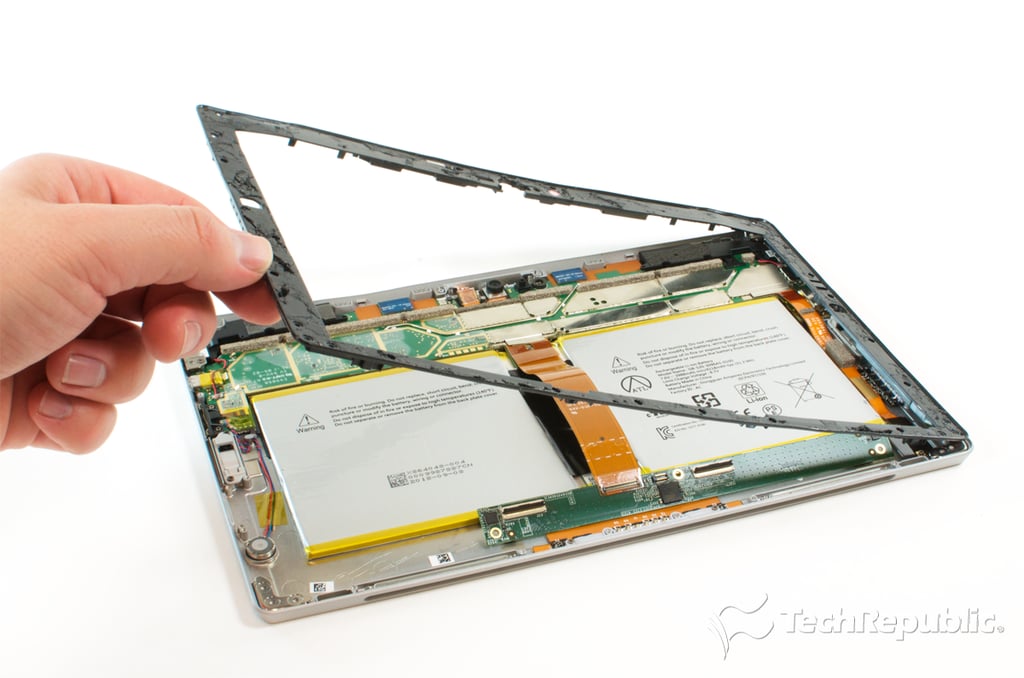
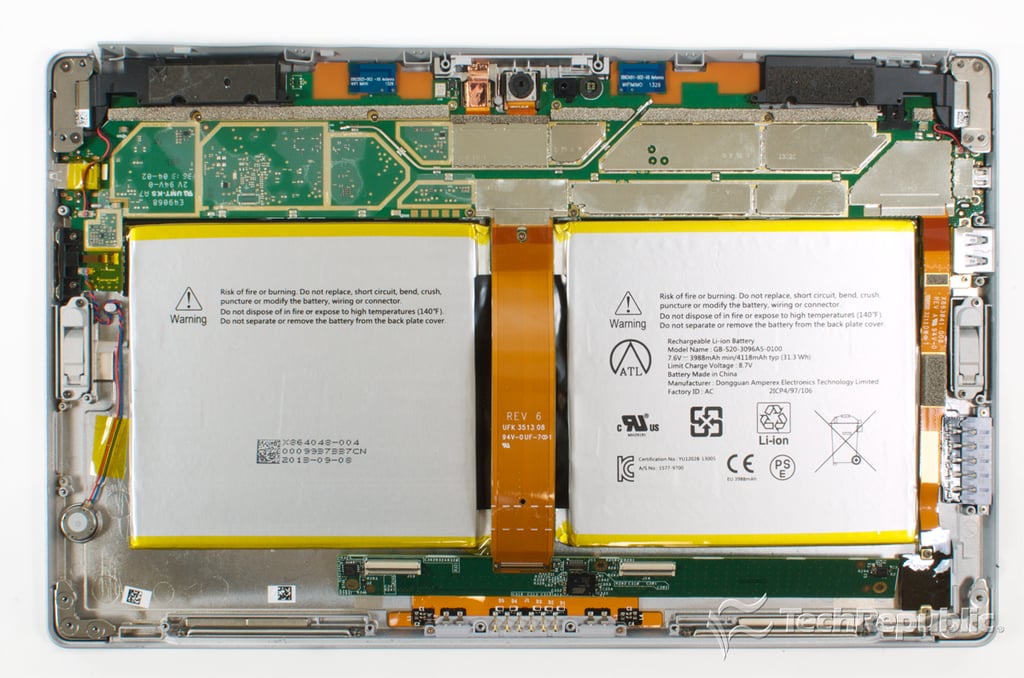
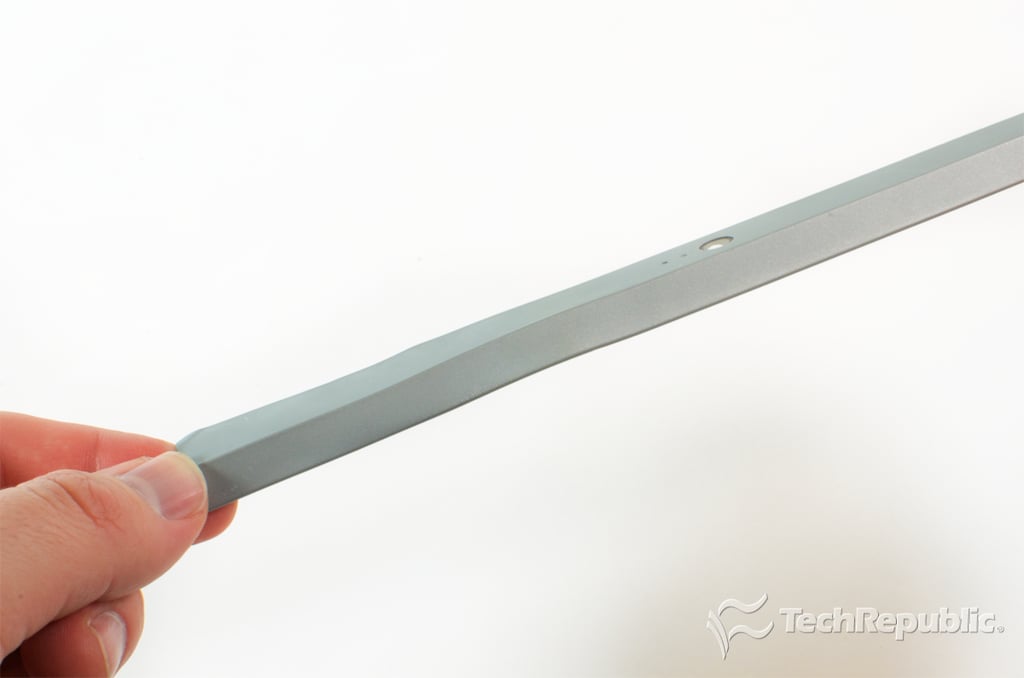
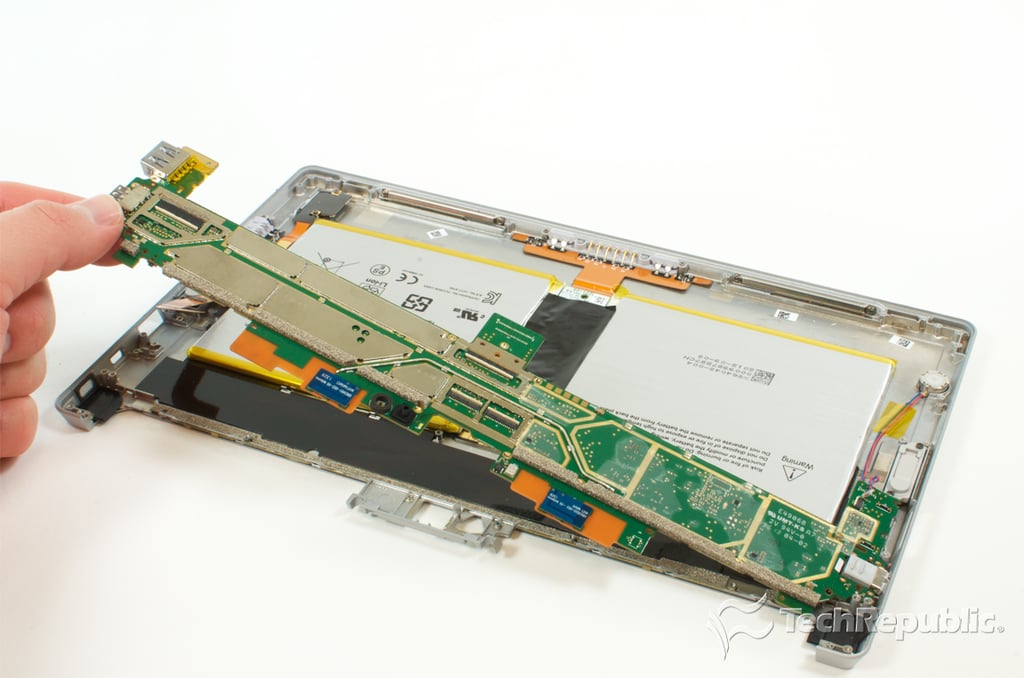
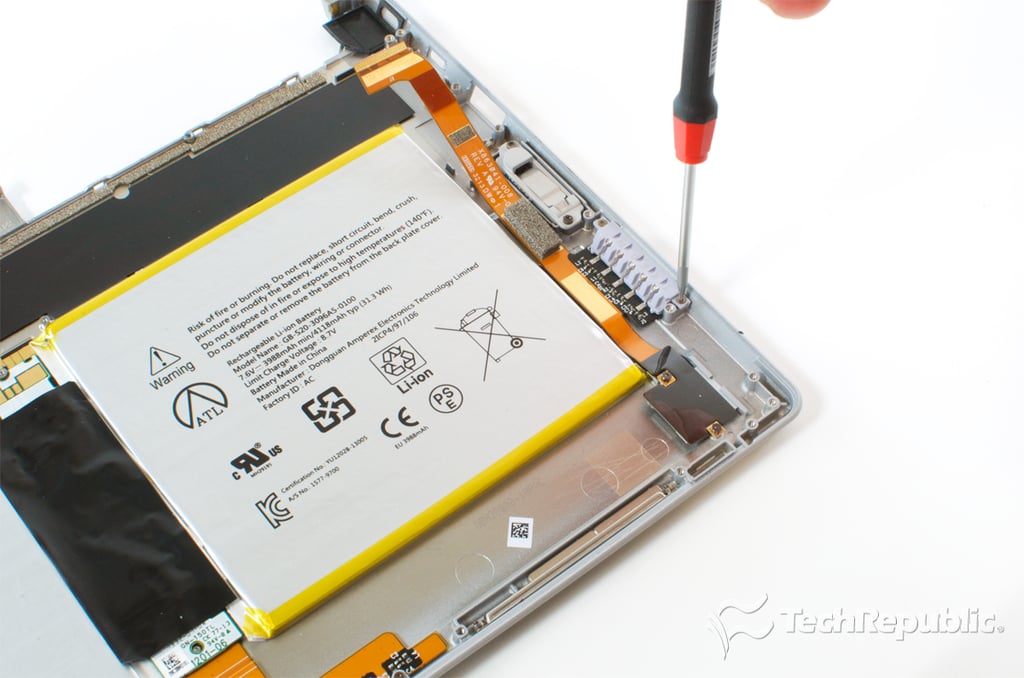
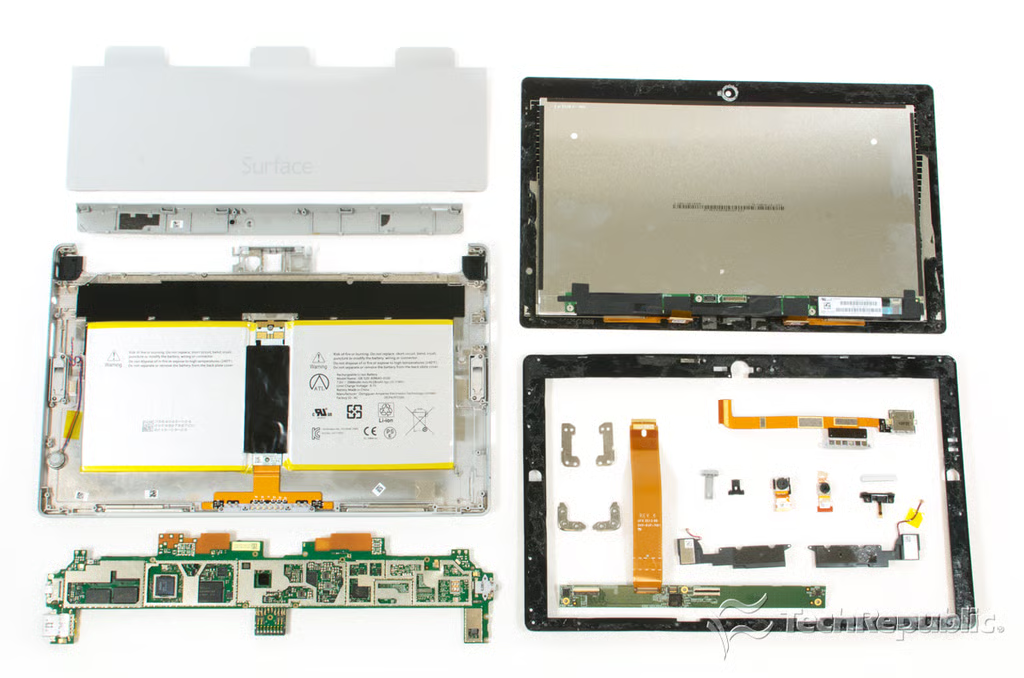
On the outside, the Surface 2 may look like its predecessor, the Surface RT. But Microsoft dramatically changed the tablet’s internal design. And in doing so, made it a real pain to crack open and repair.
\r\n\r\n
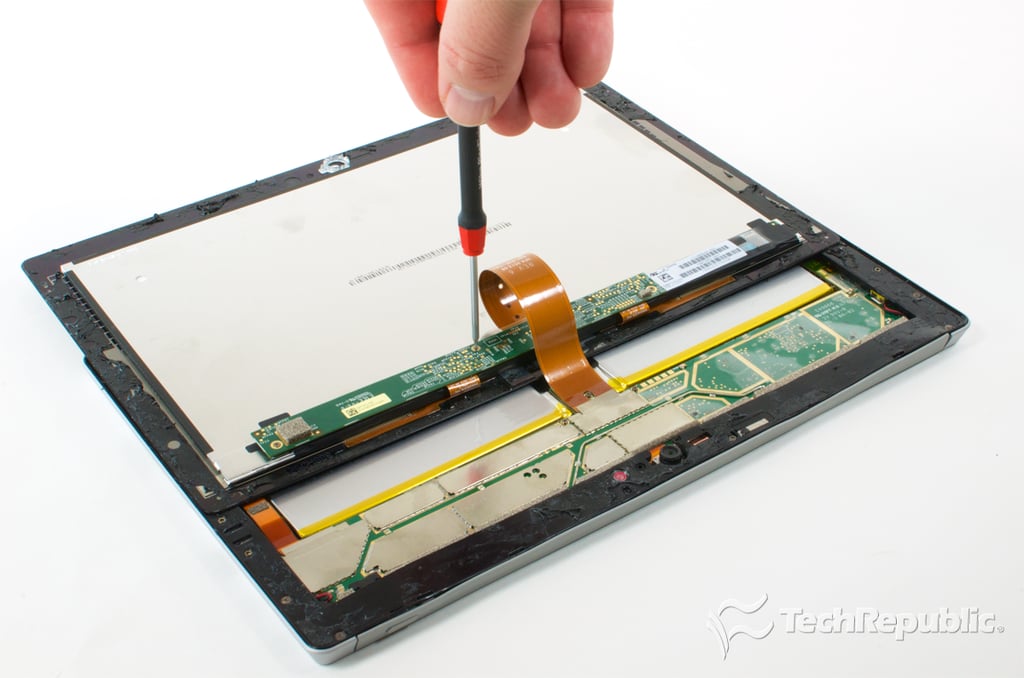
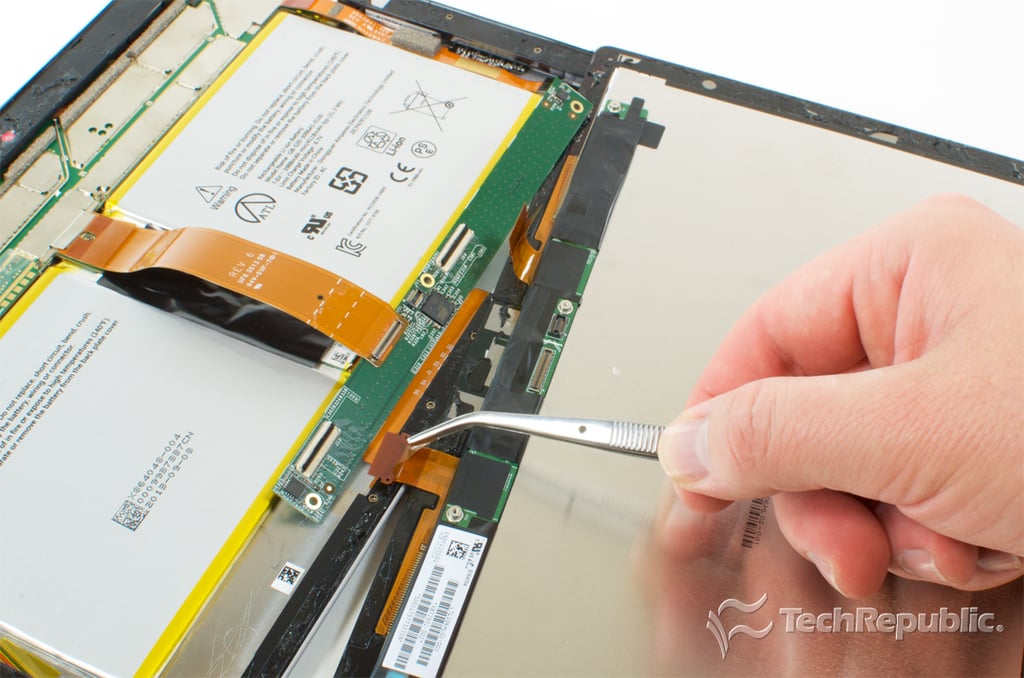
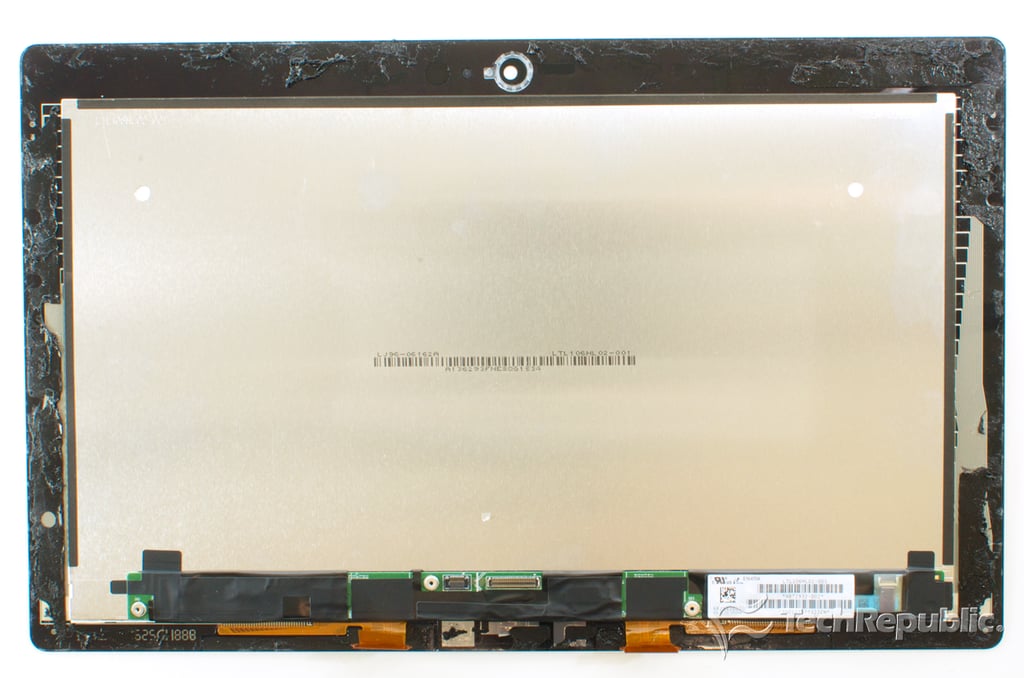
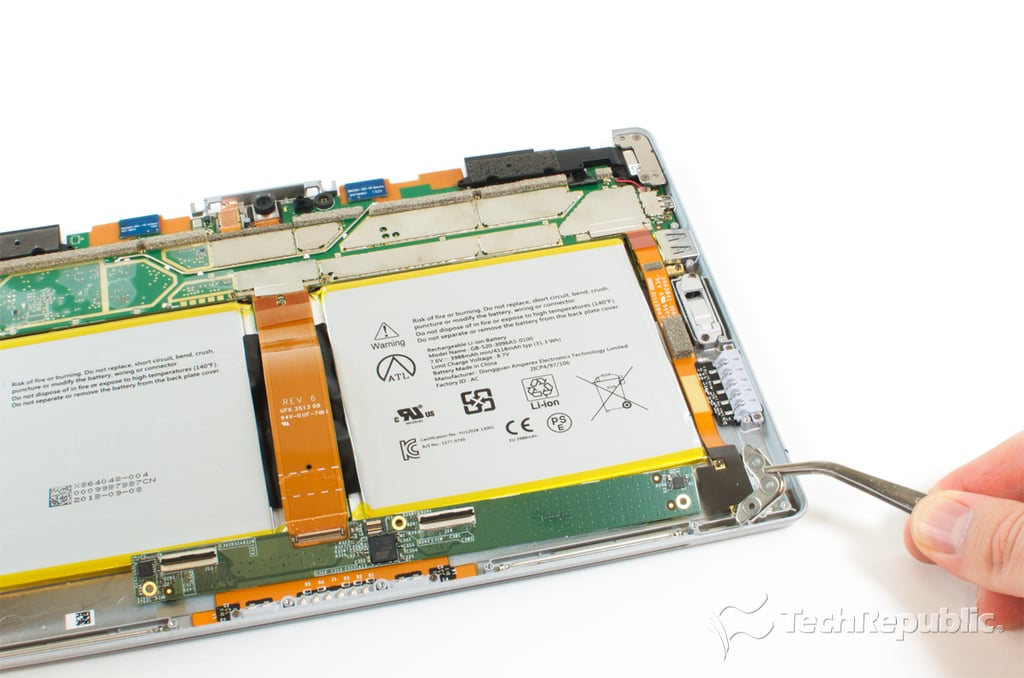
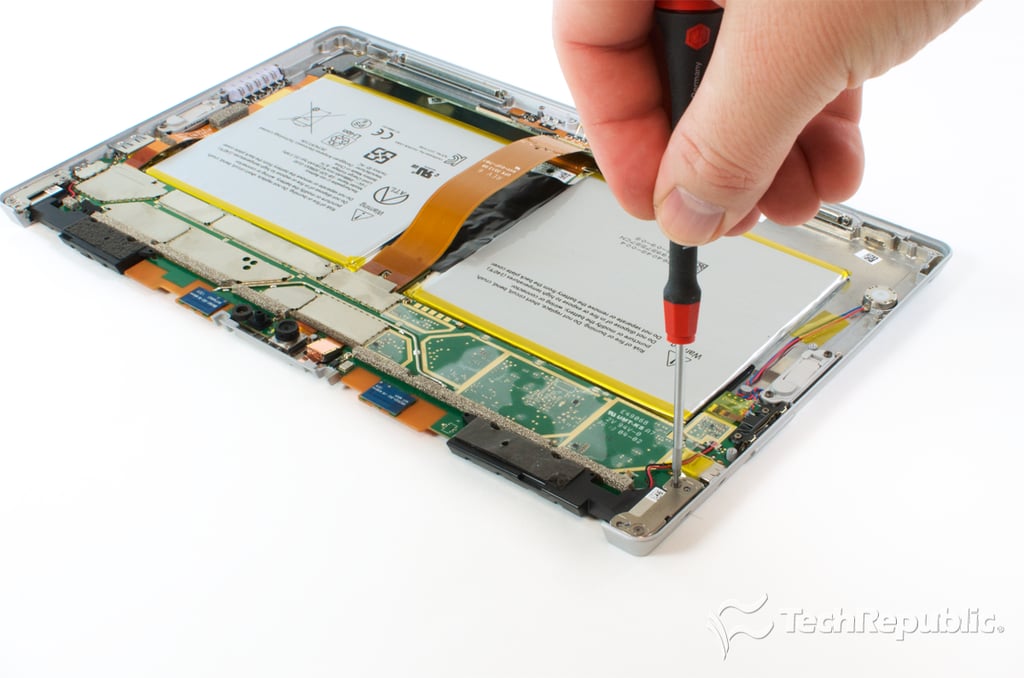
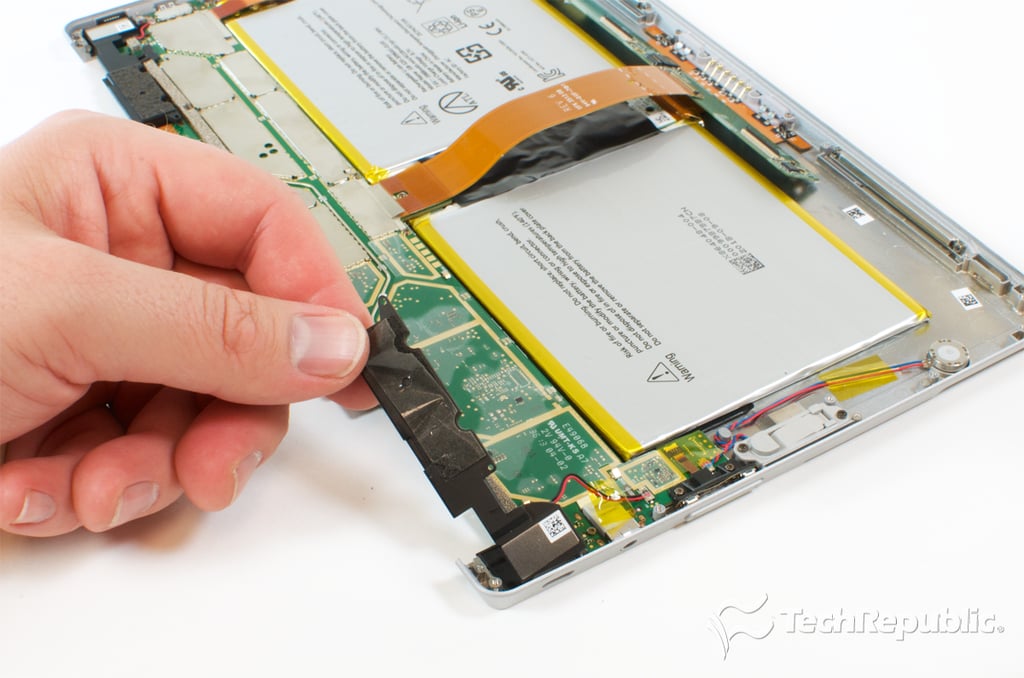
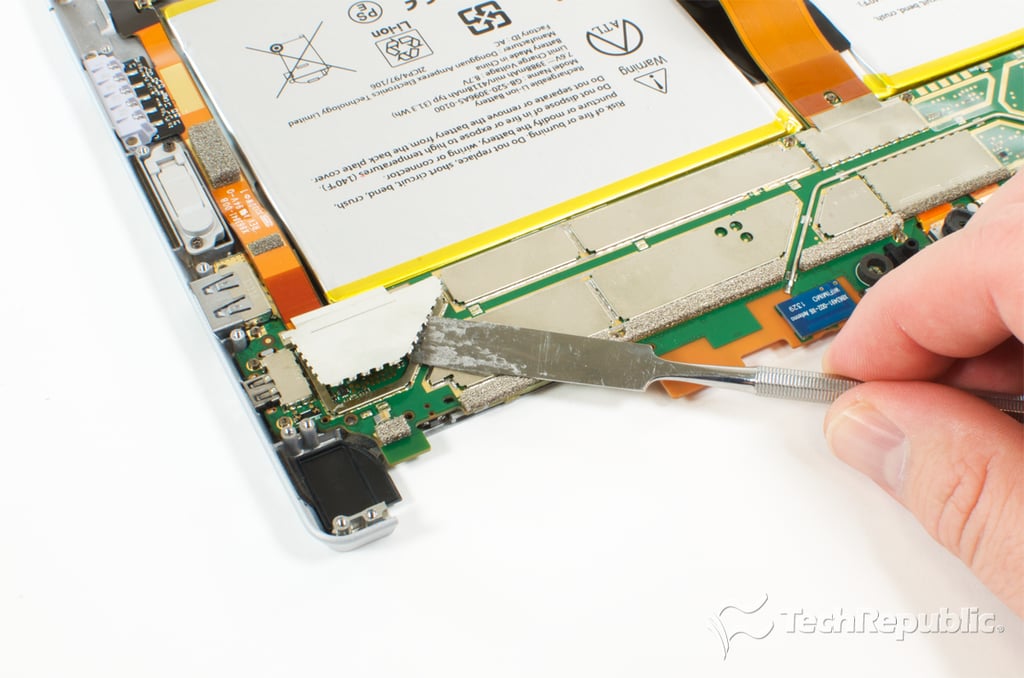
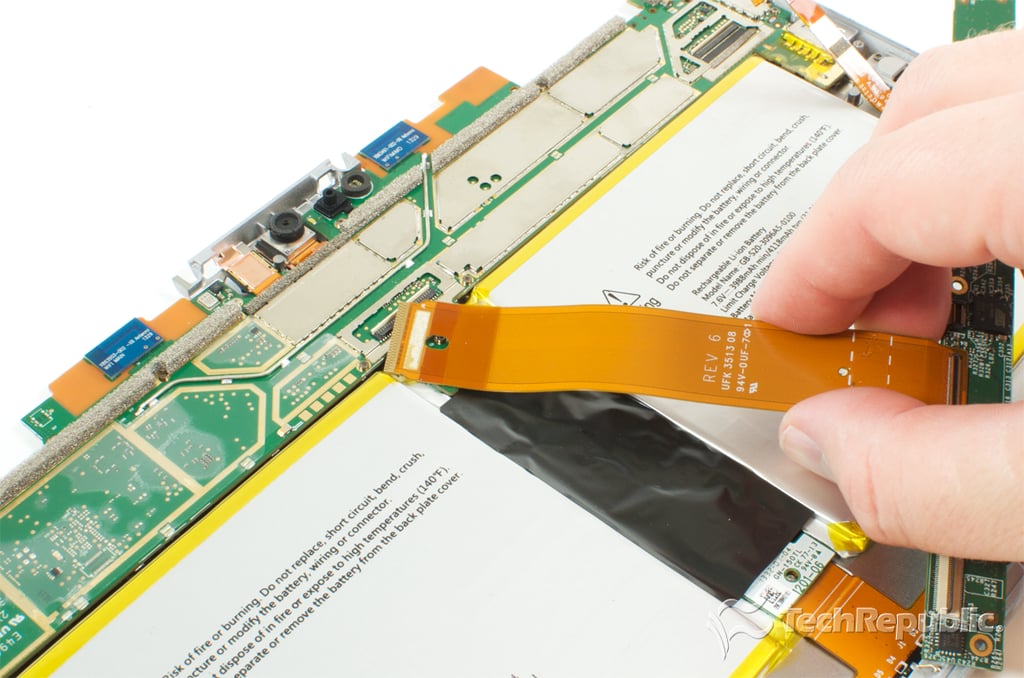
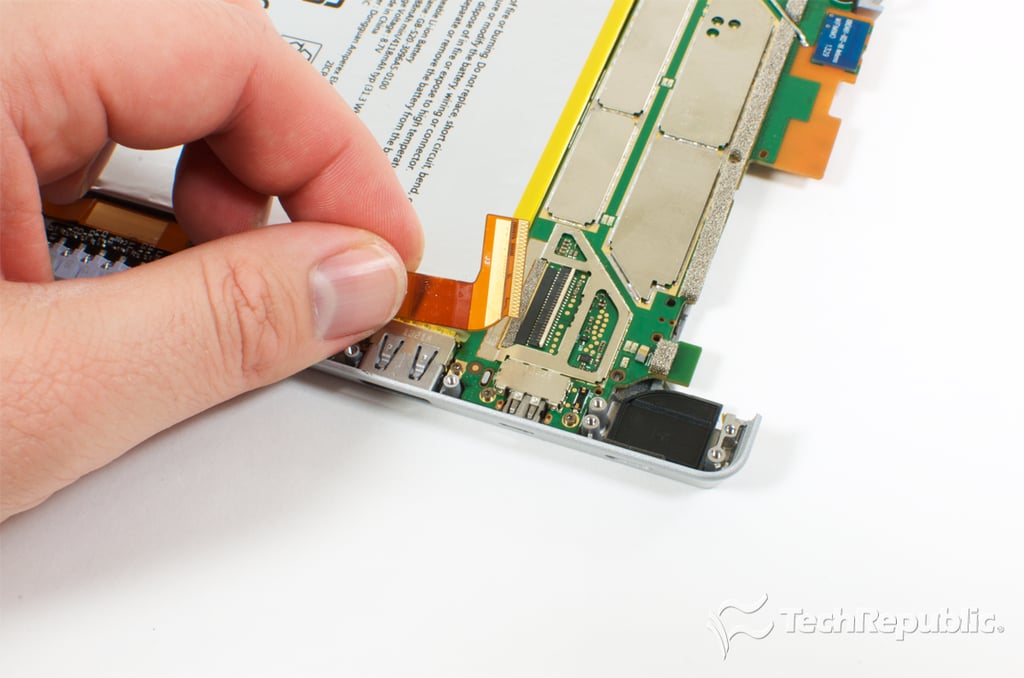
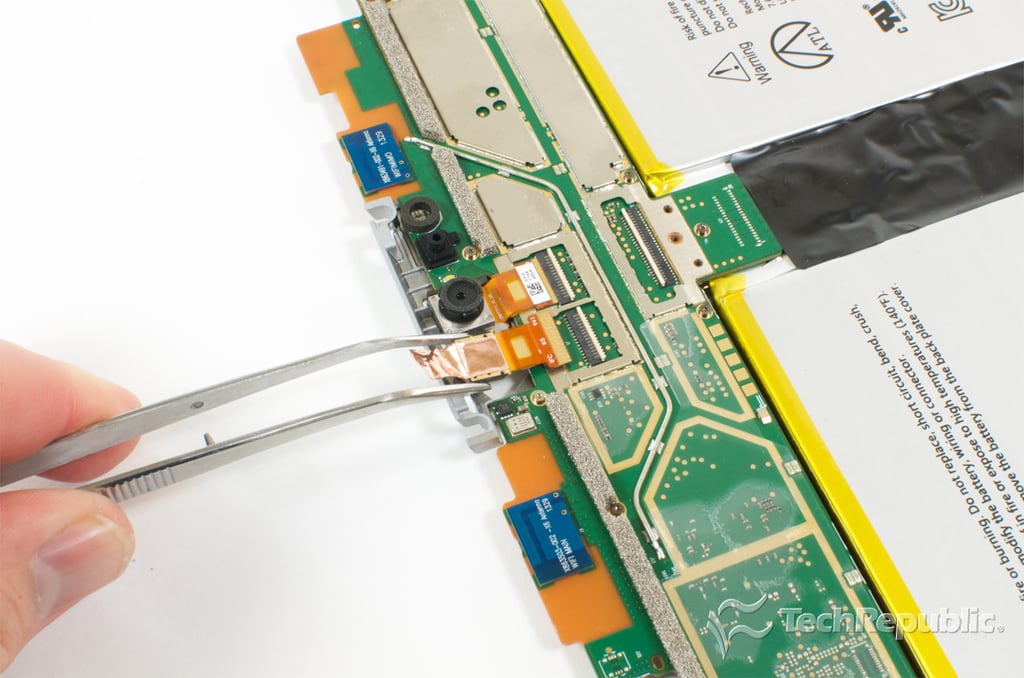
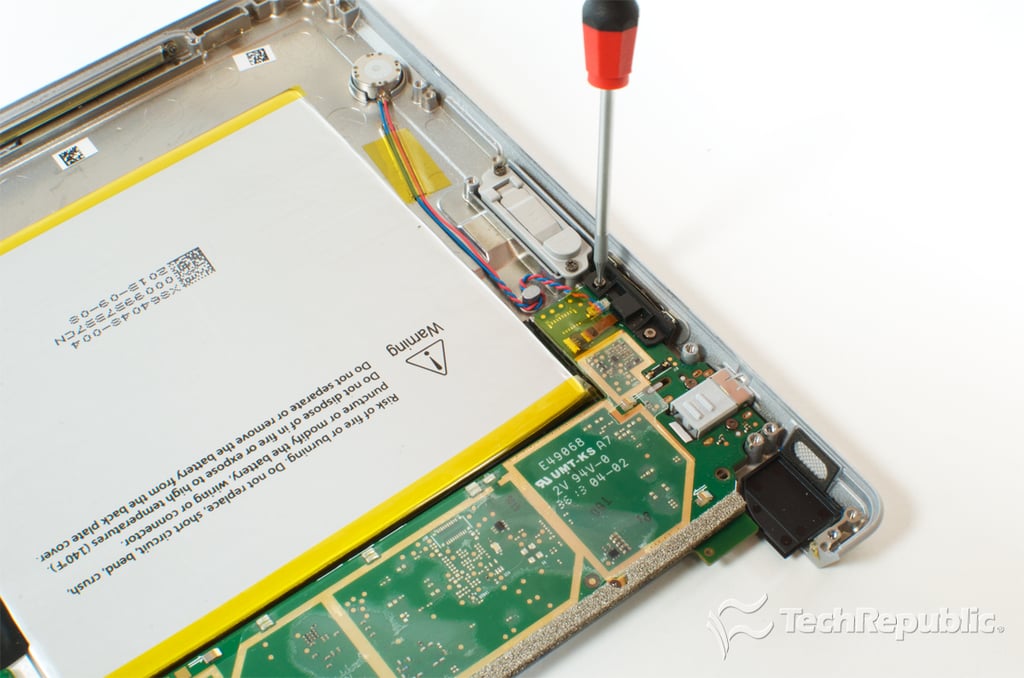
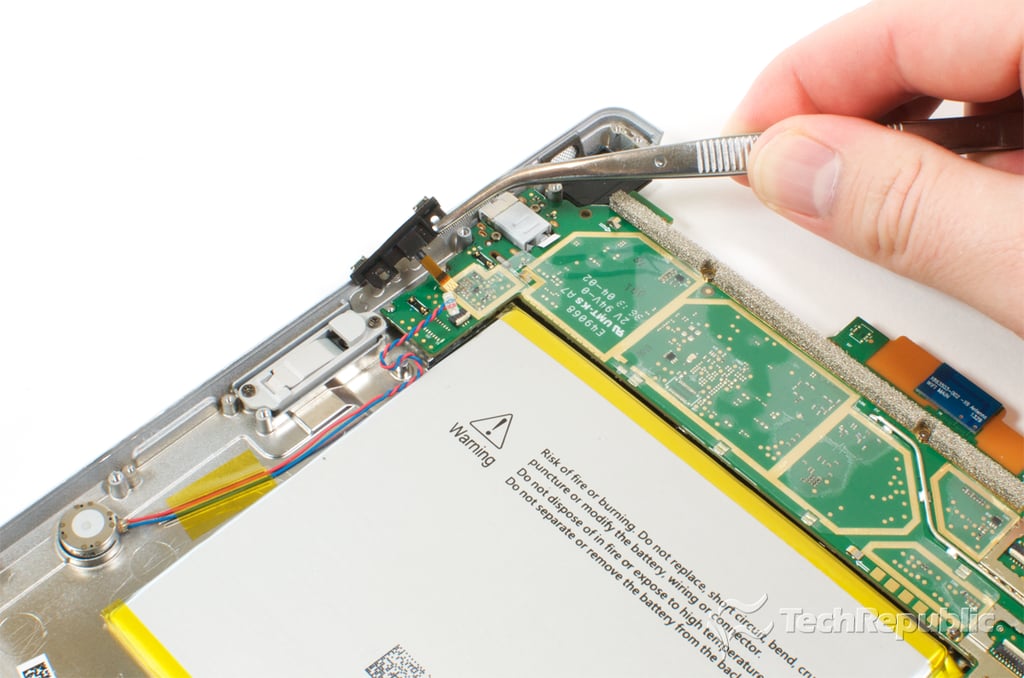
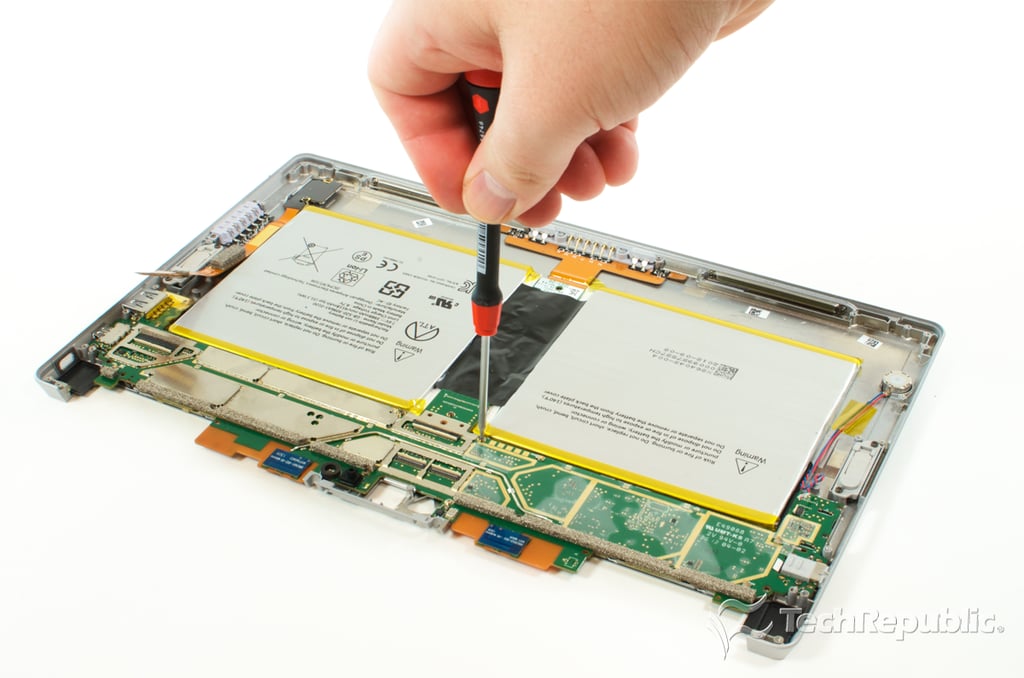
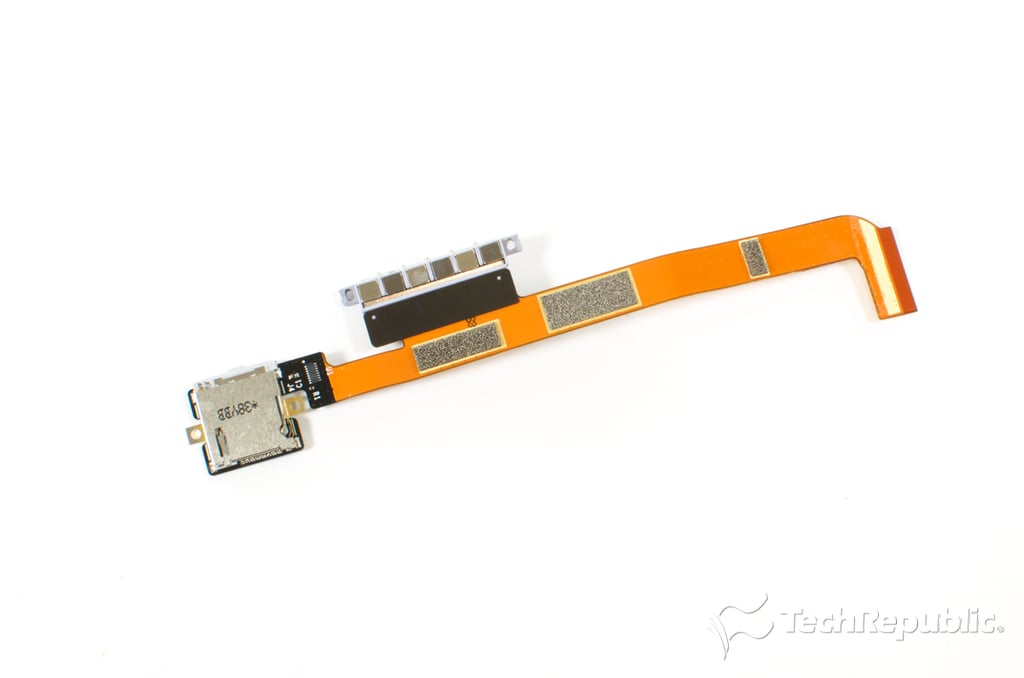
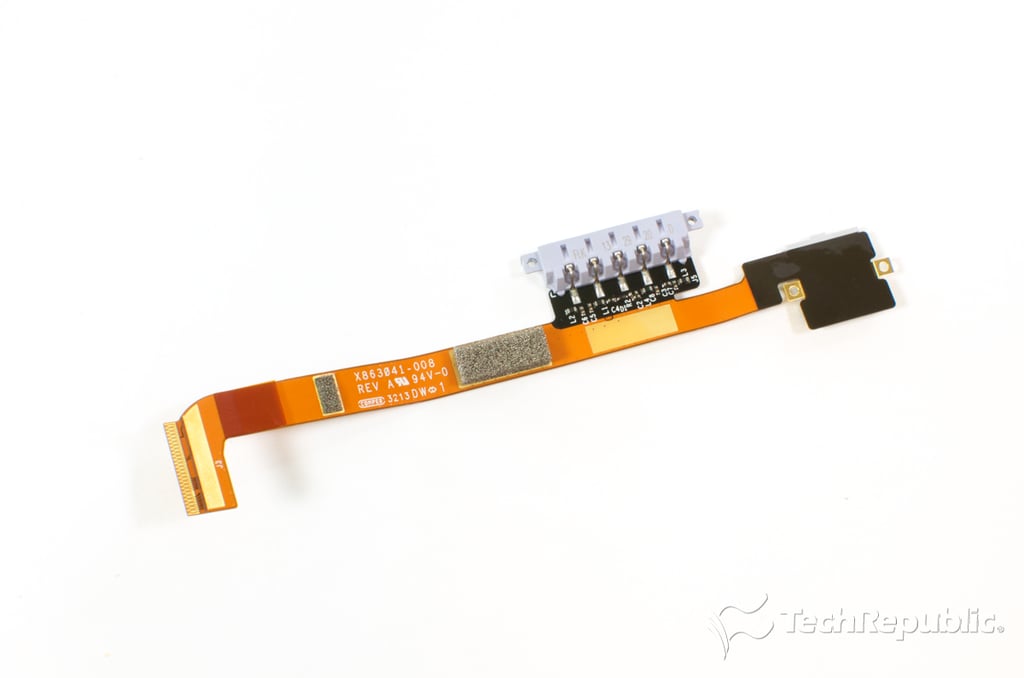
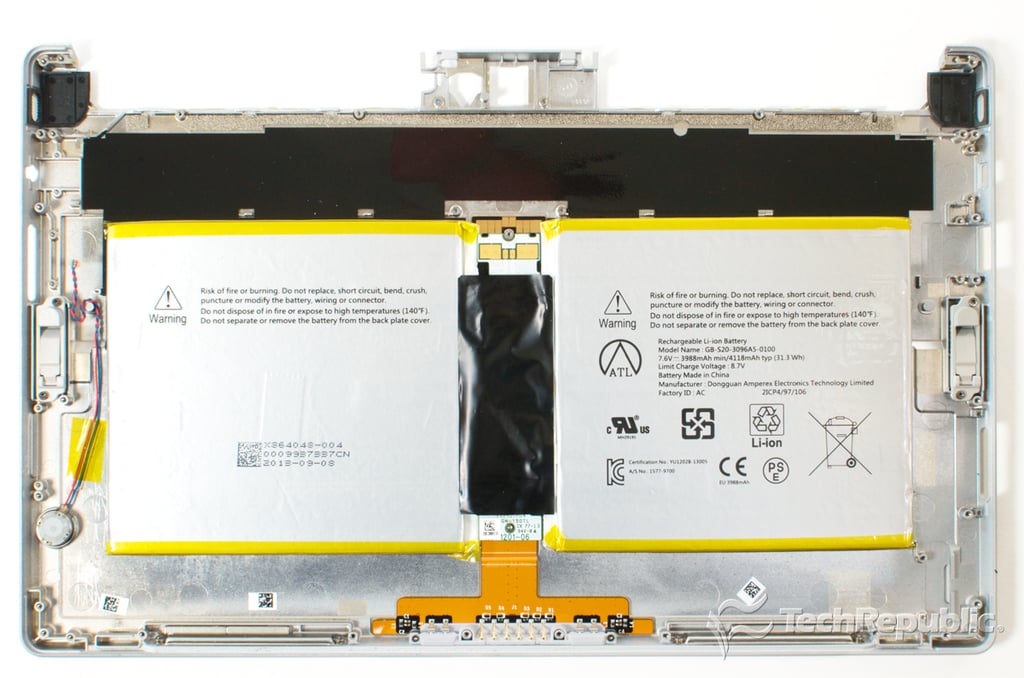
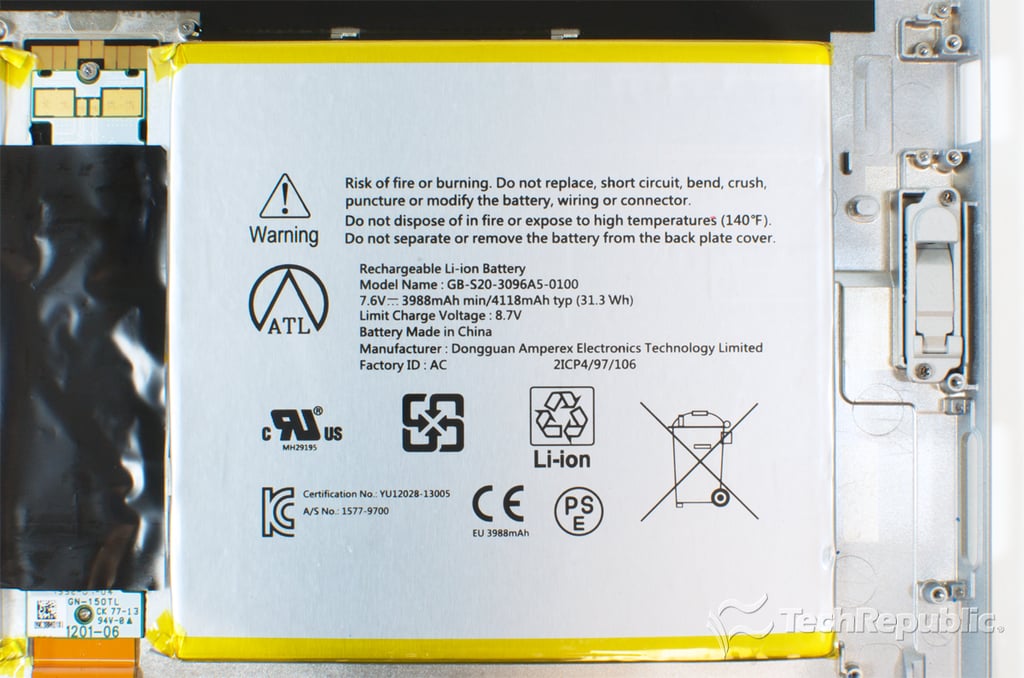
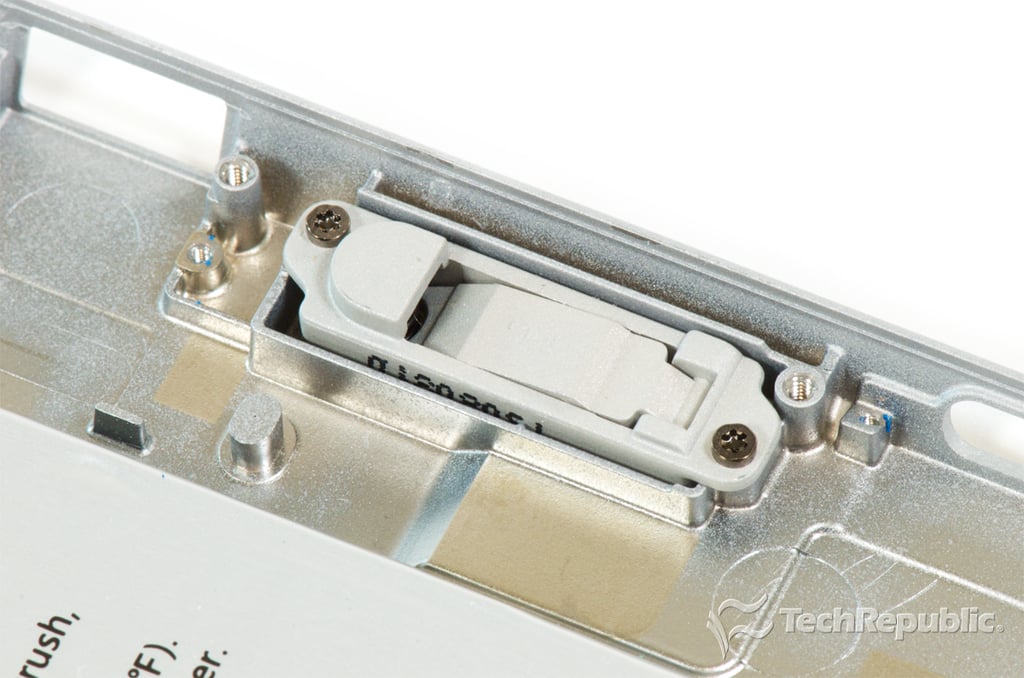
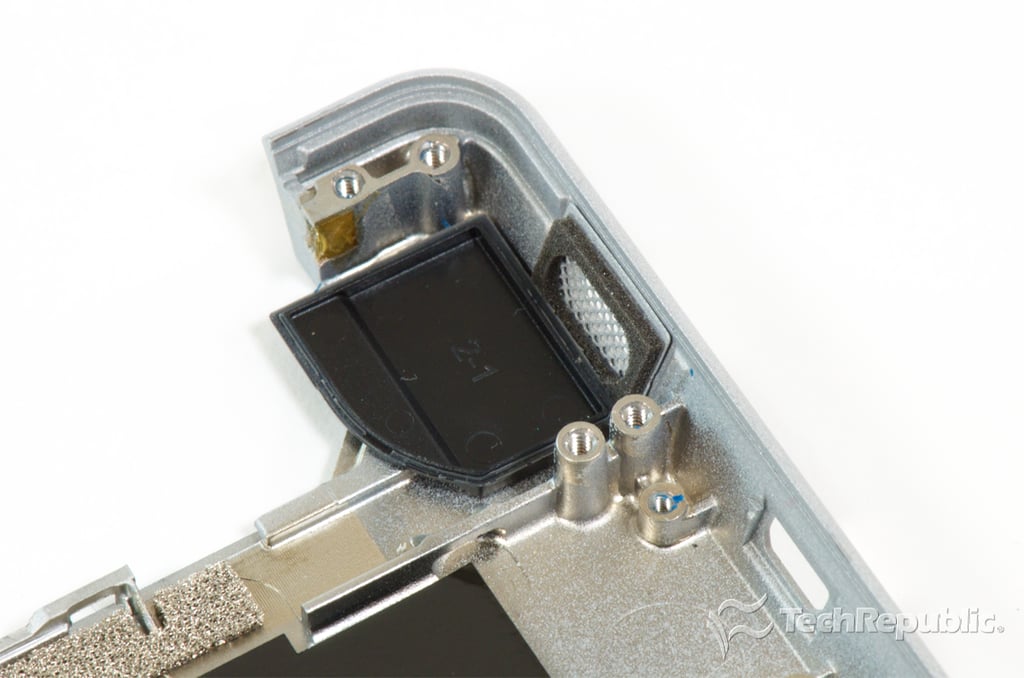
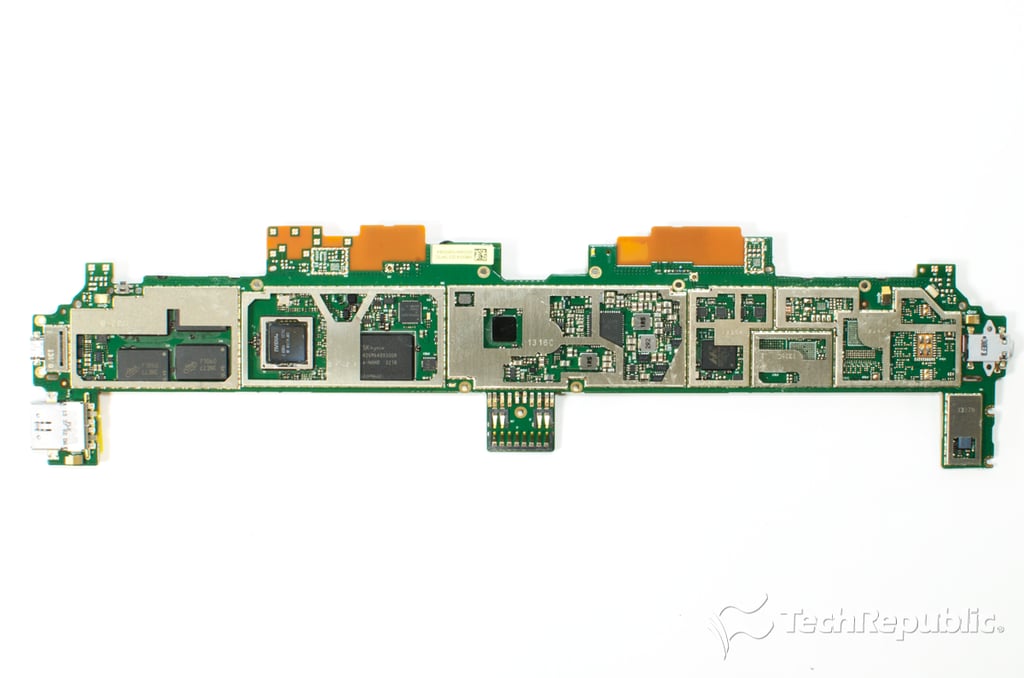
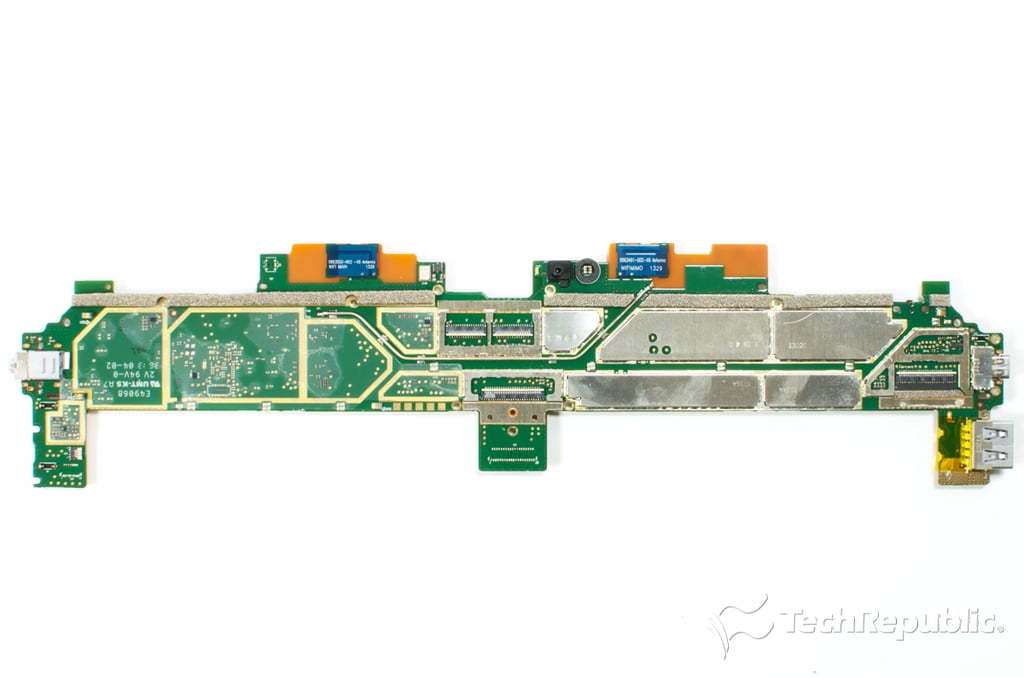
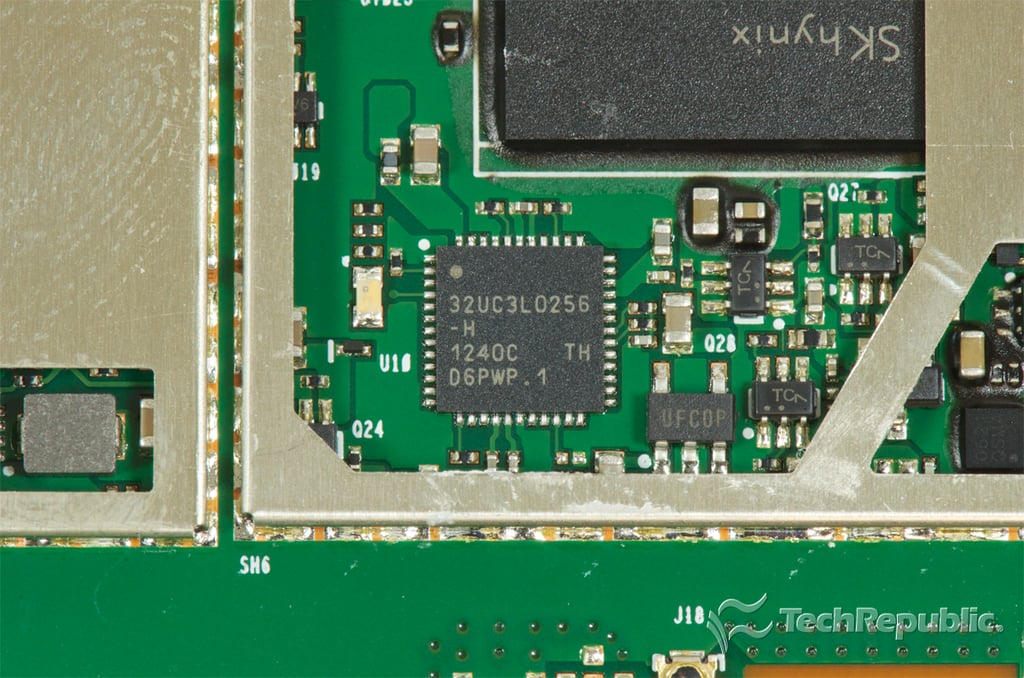
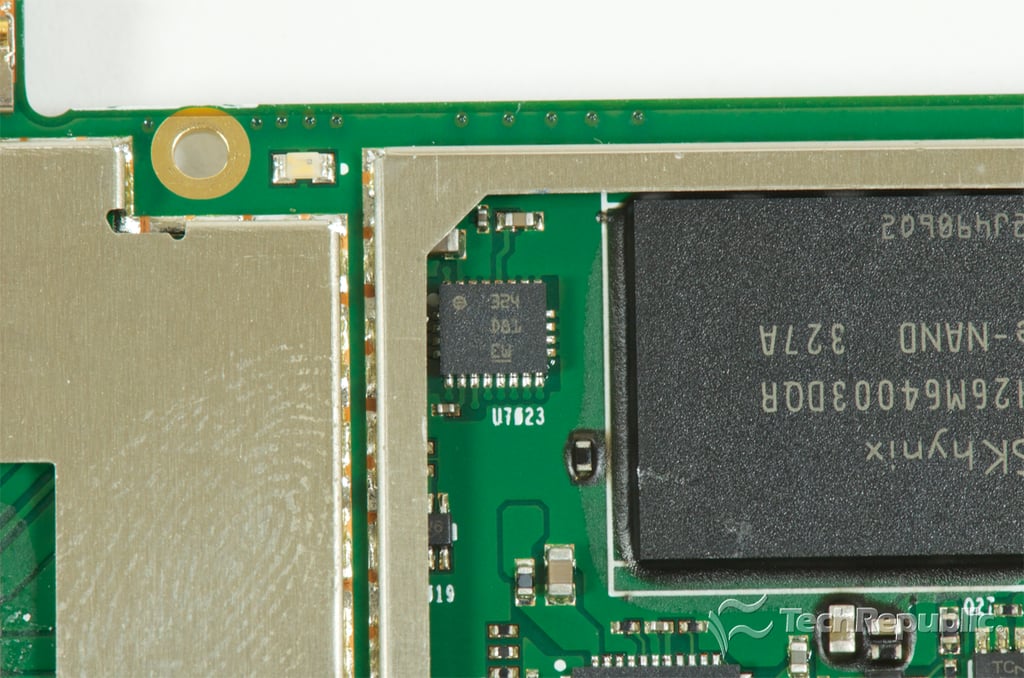
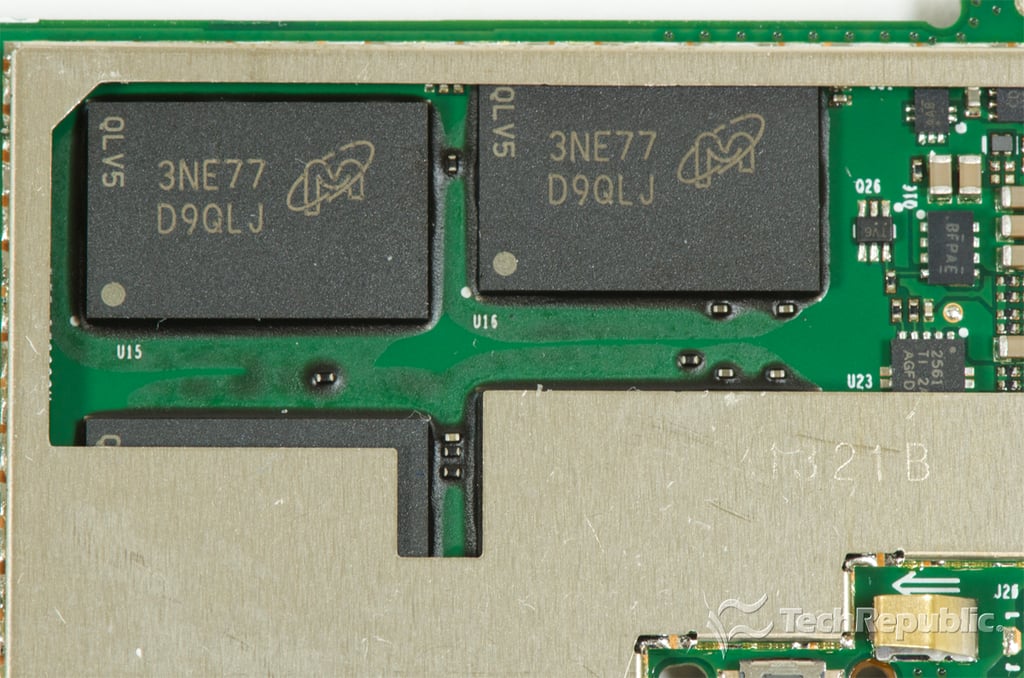
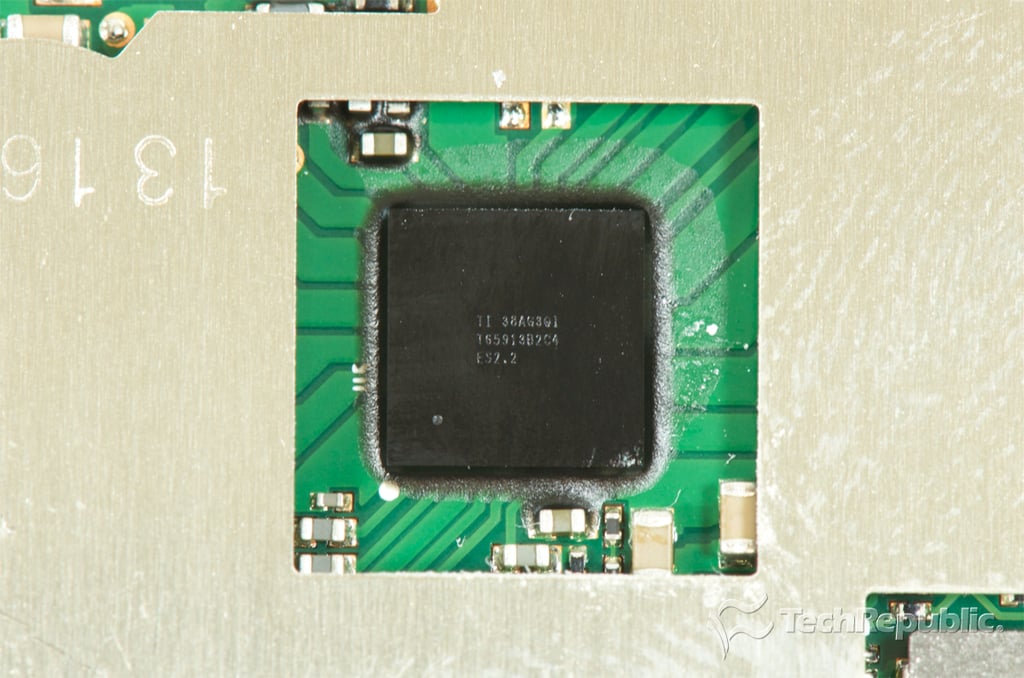
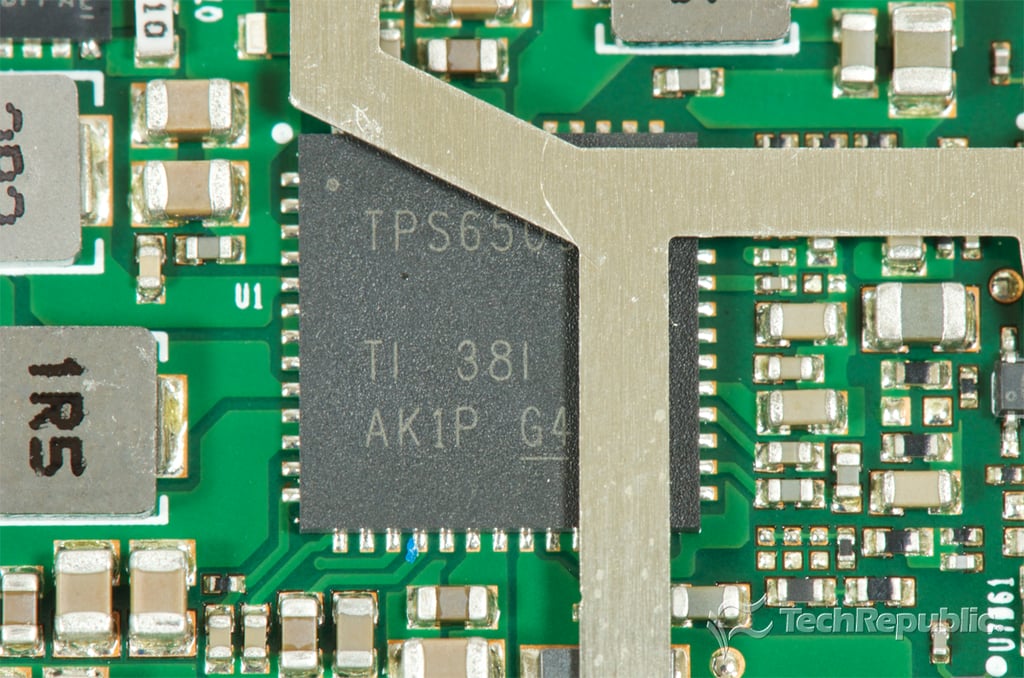
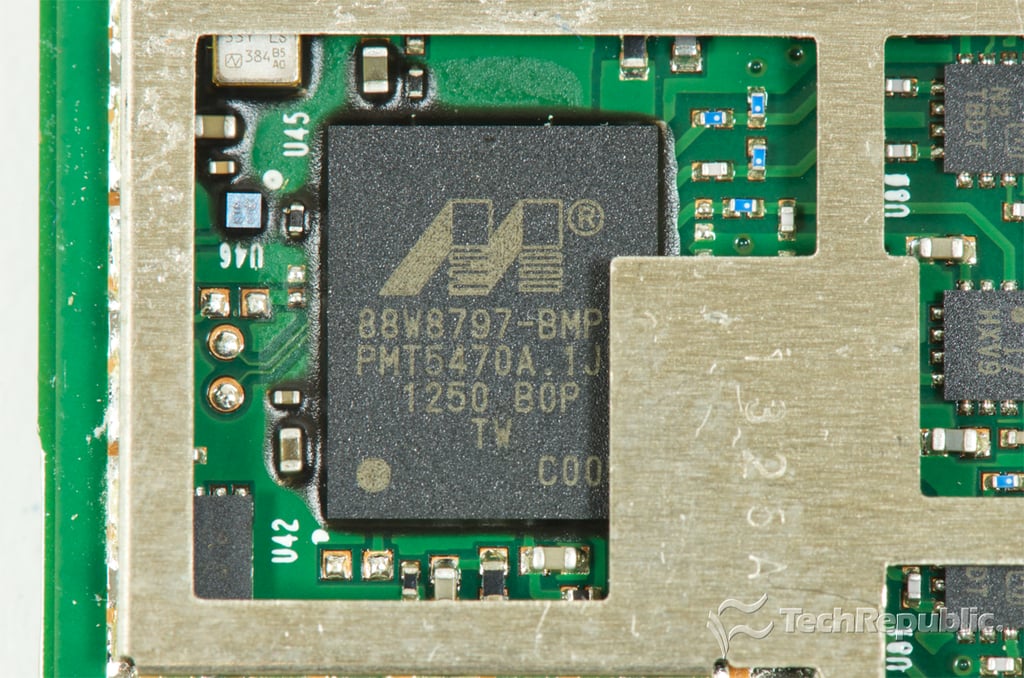
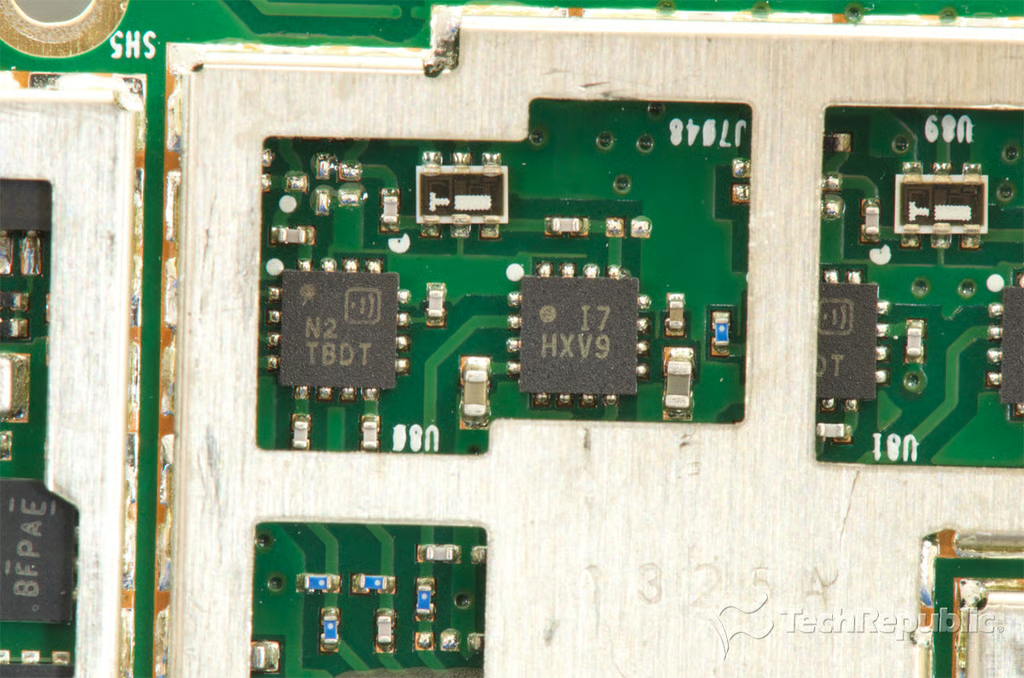
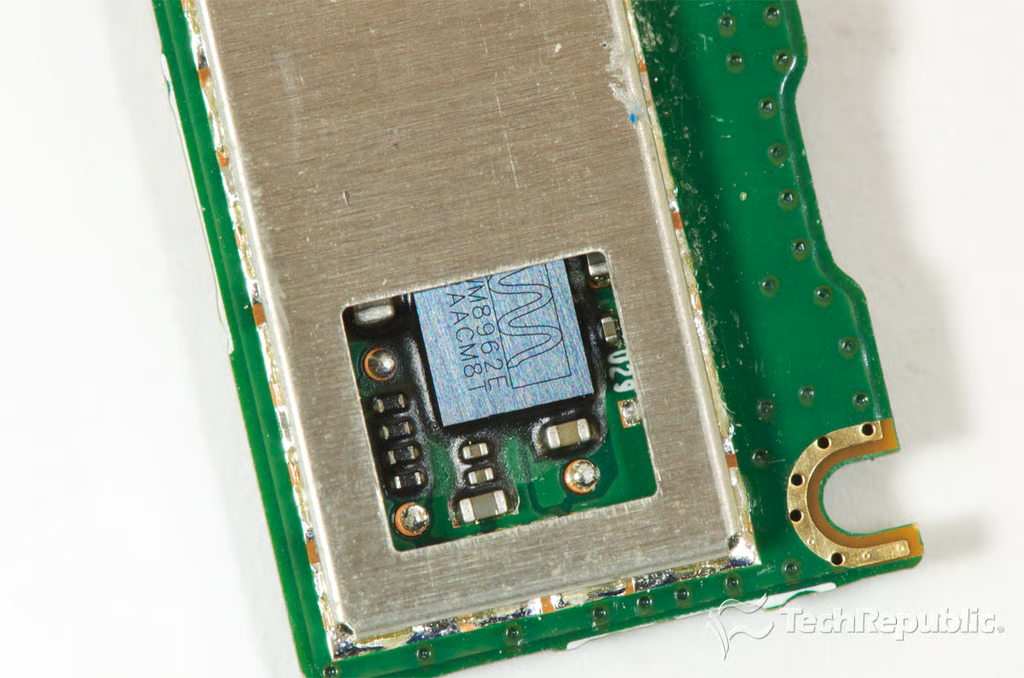
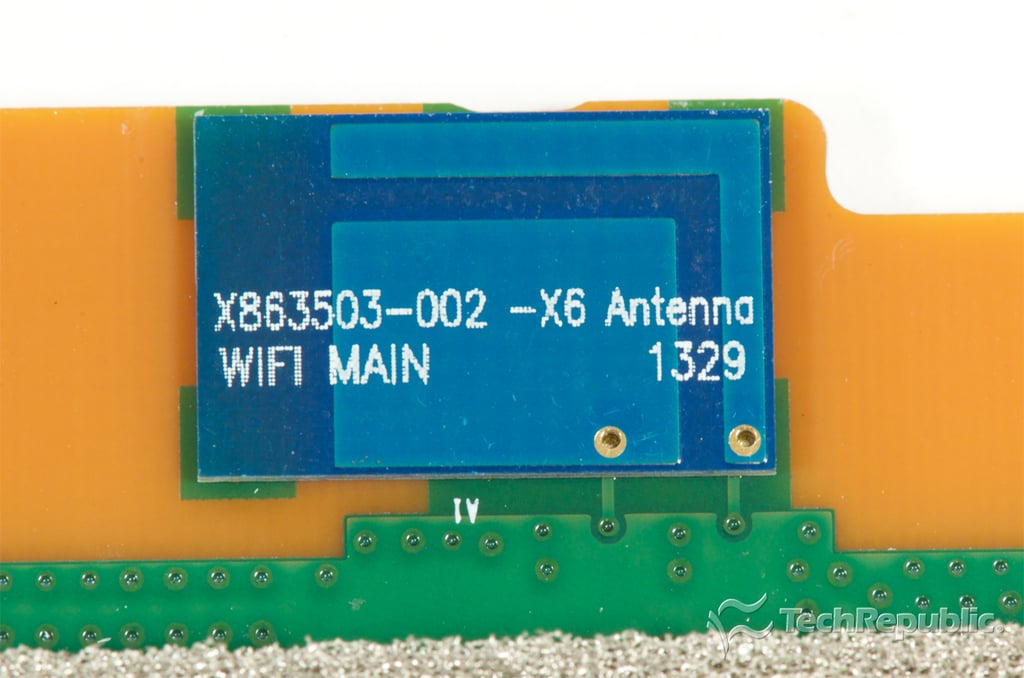
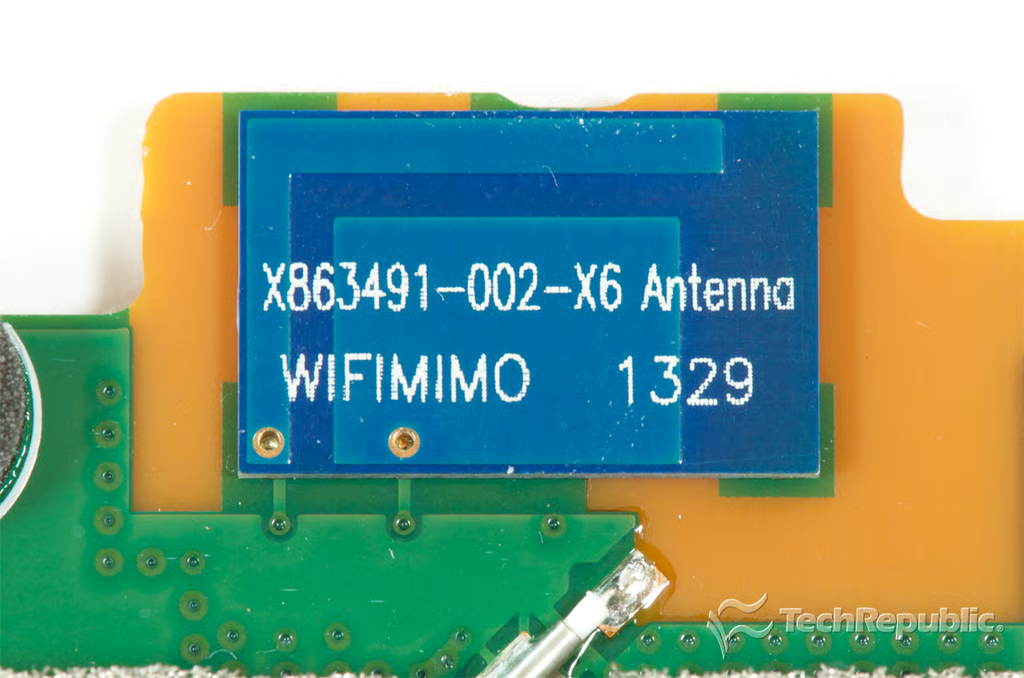
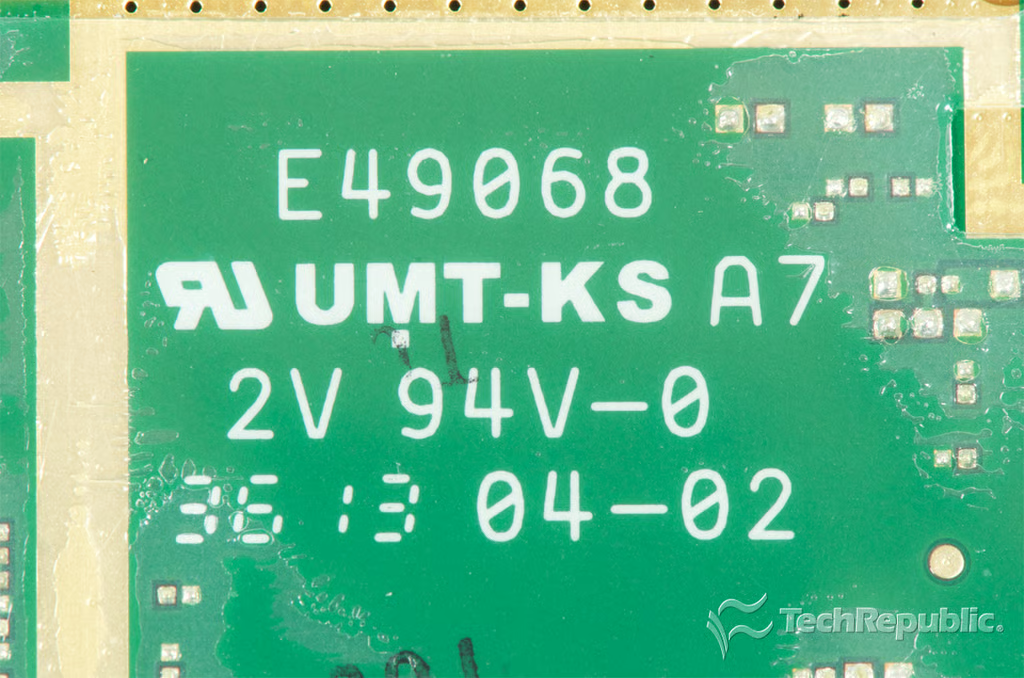
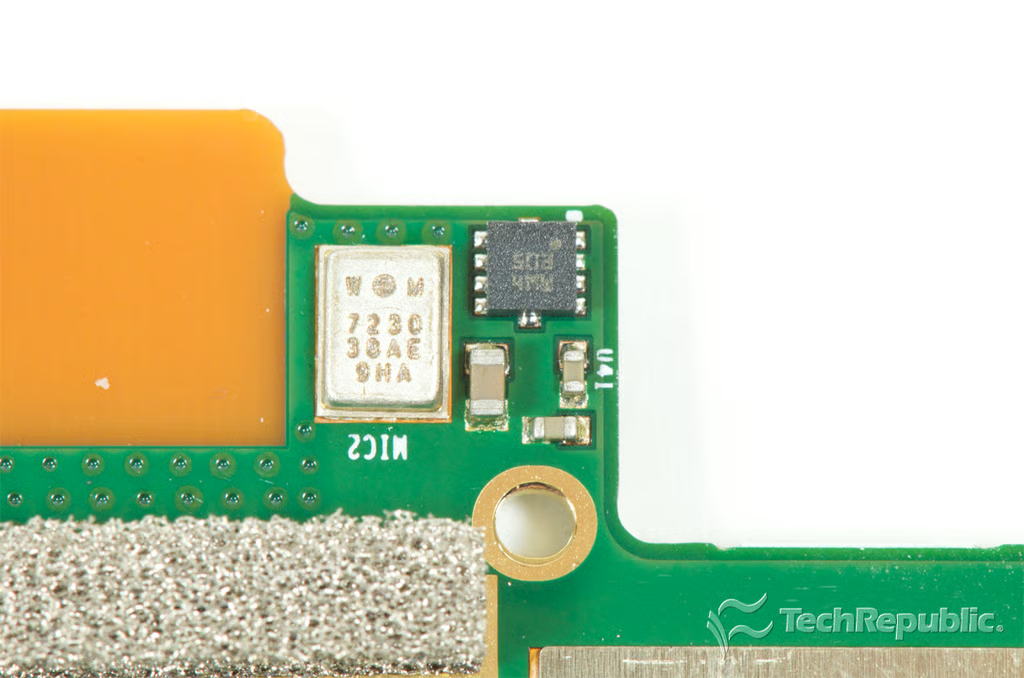
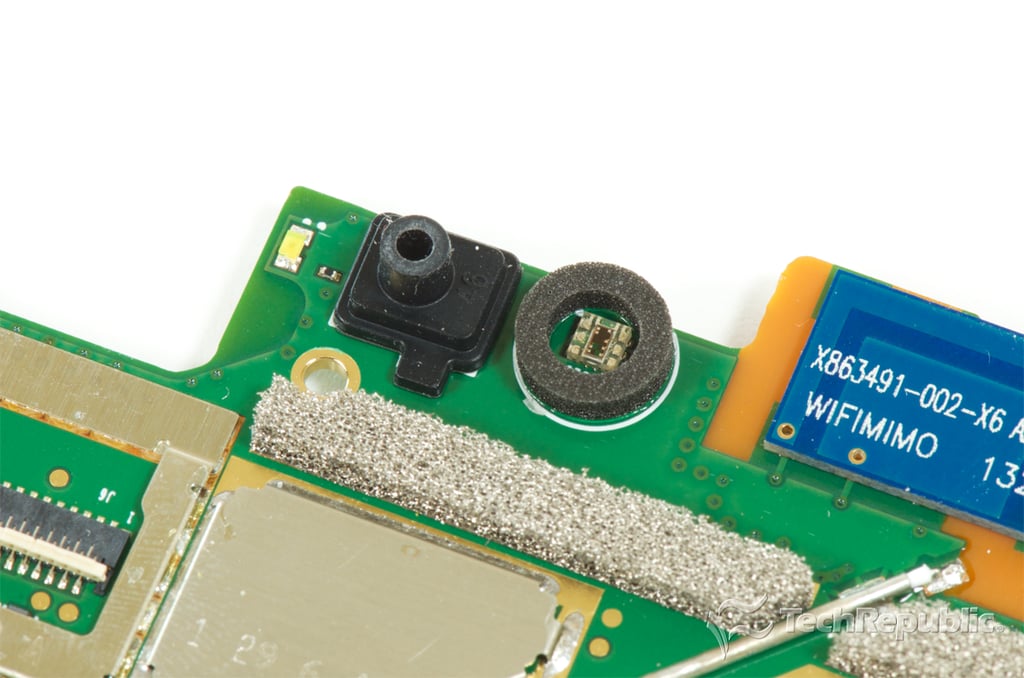
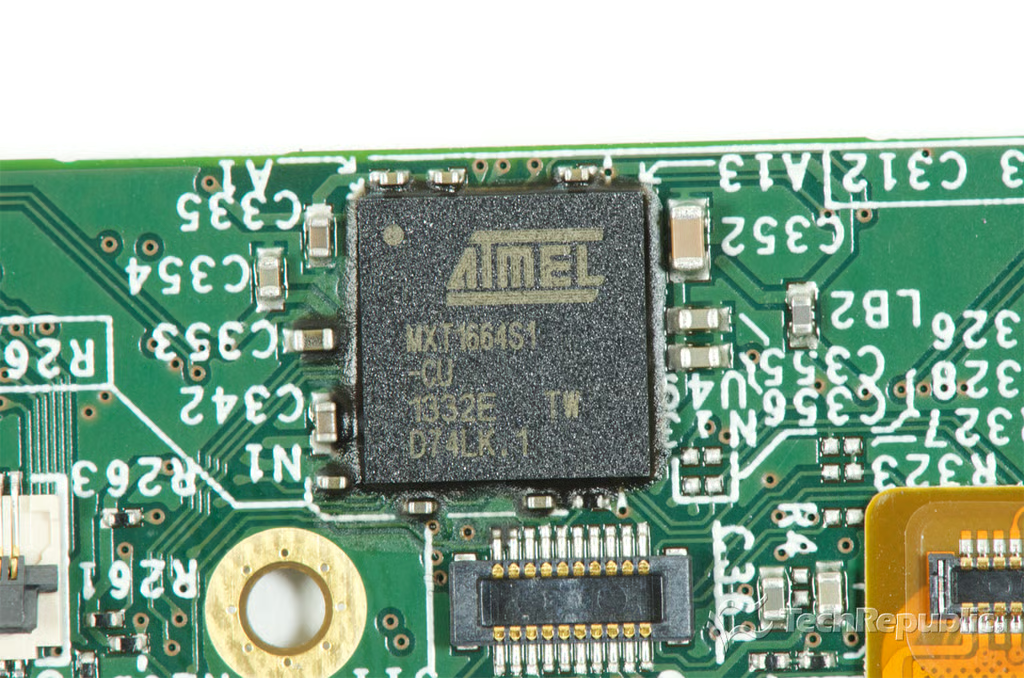
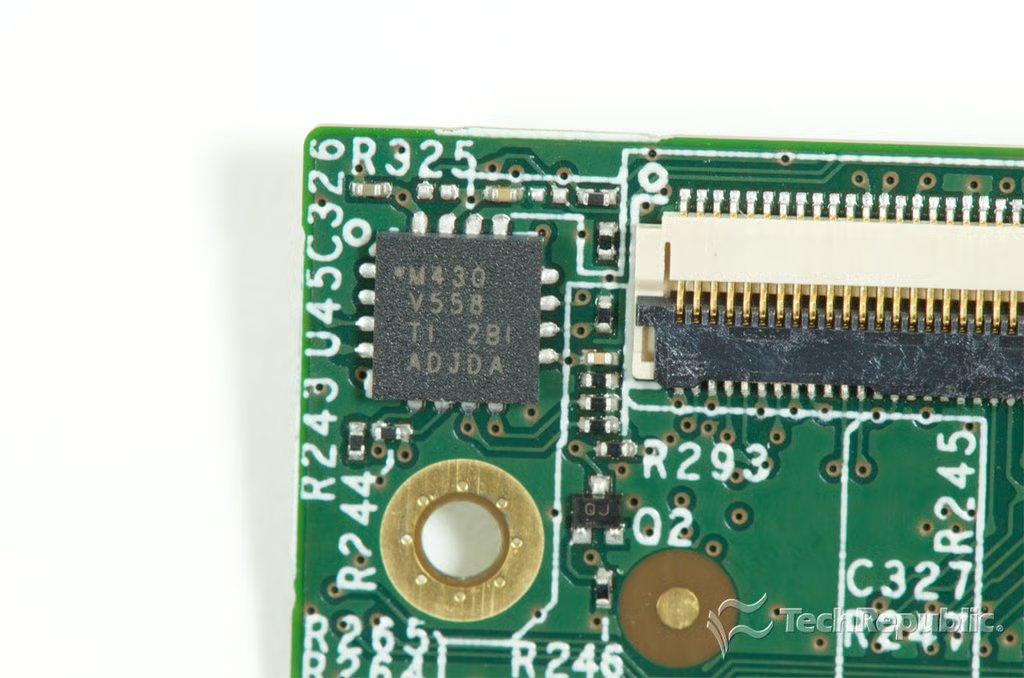
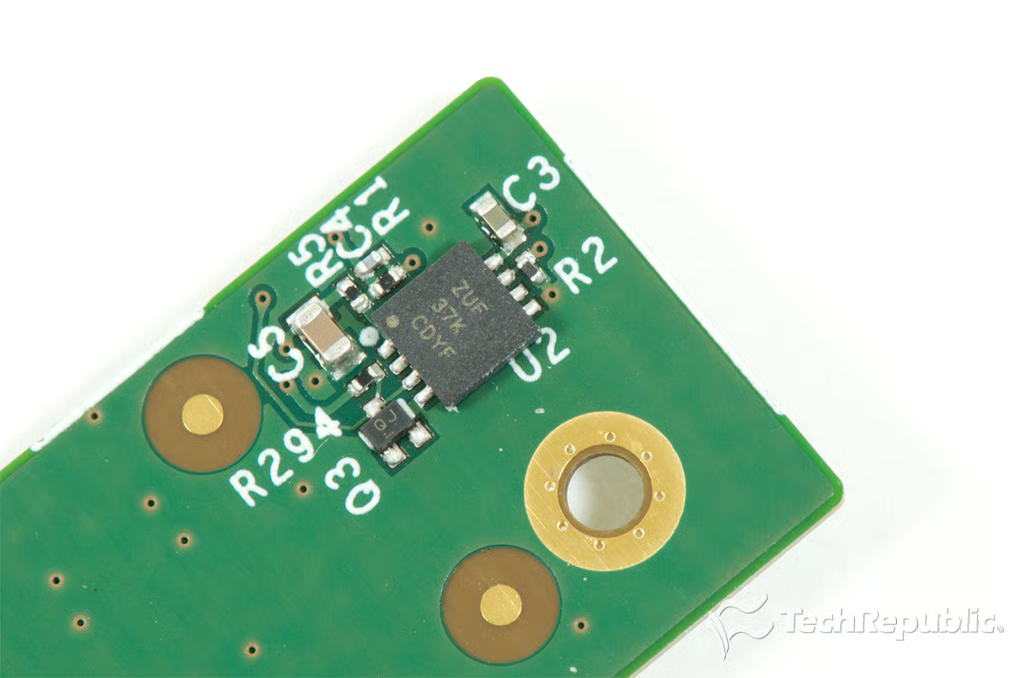
In this Cracking Open gallery, I walk you through the process of disassembling the Surface 2 and give you a tour of the redesigned internal hardware layout. For a detailed analysis of the teardown, check out my article and video, Surface 2 design changes make it more difficult to crack open and repair.
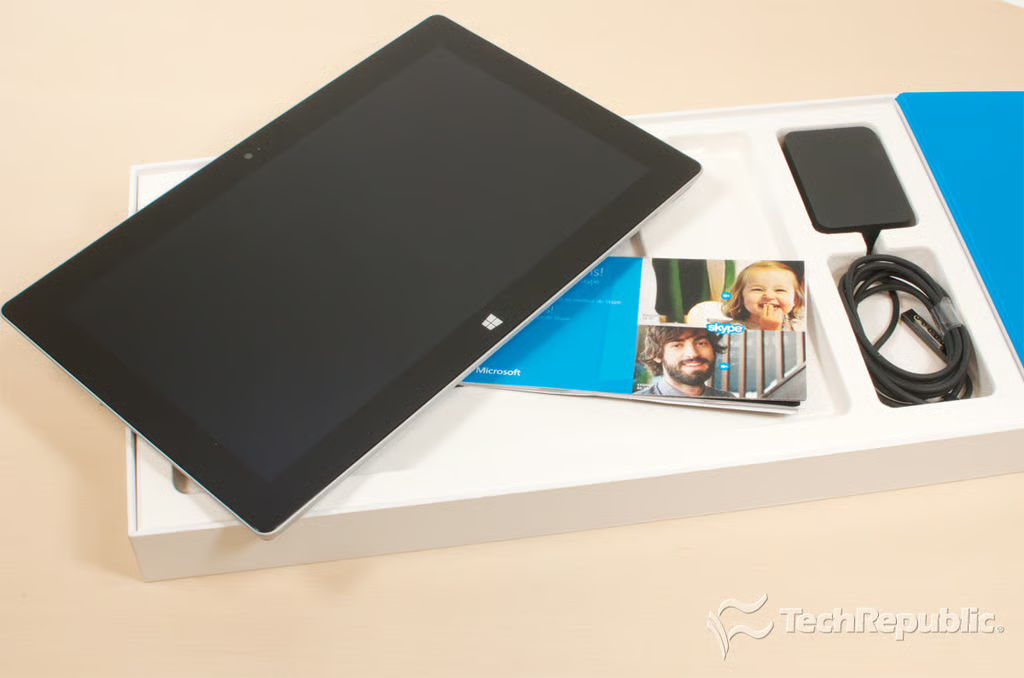
Along with the Surface 2 itself, the box also includes the charger and documentation.
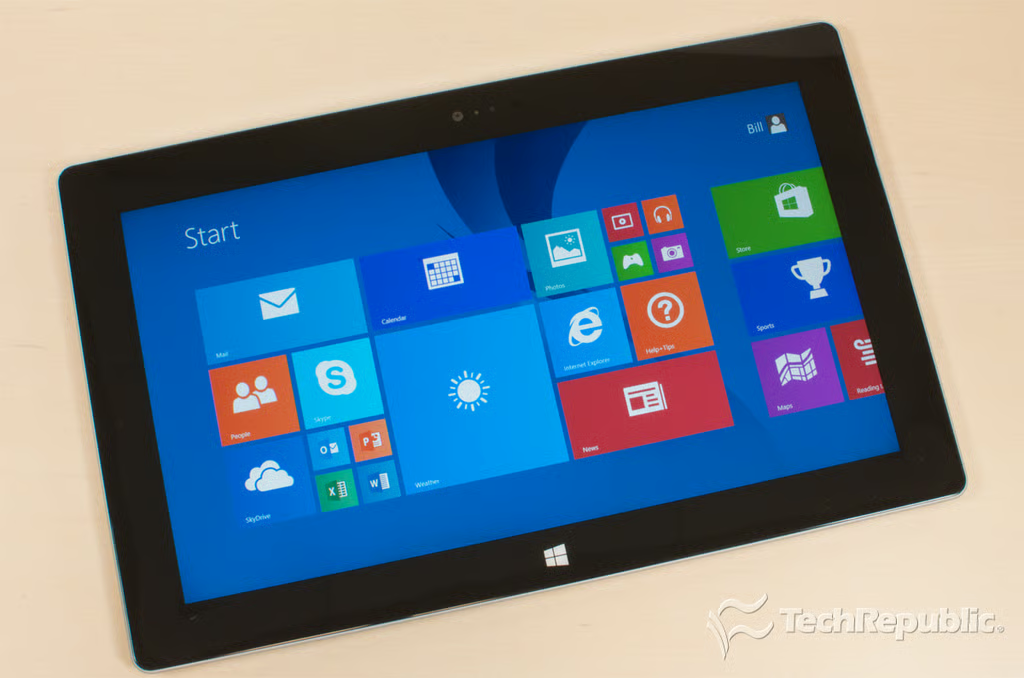
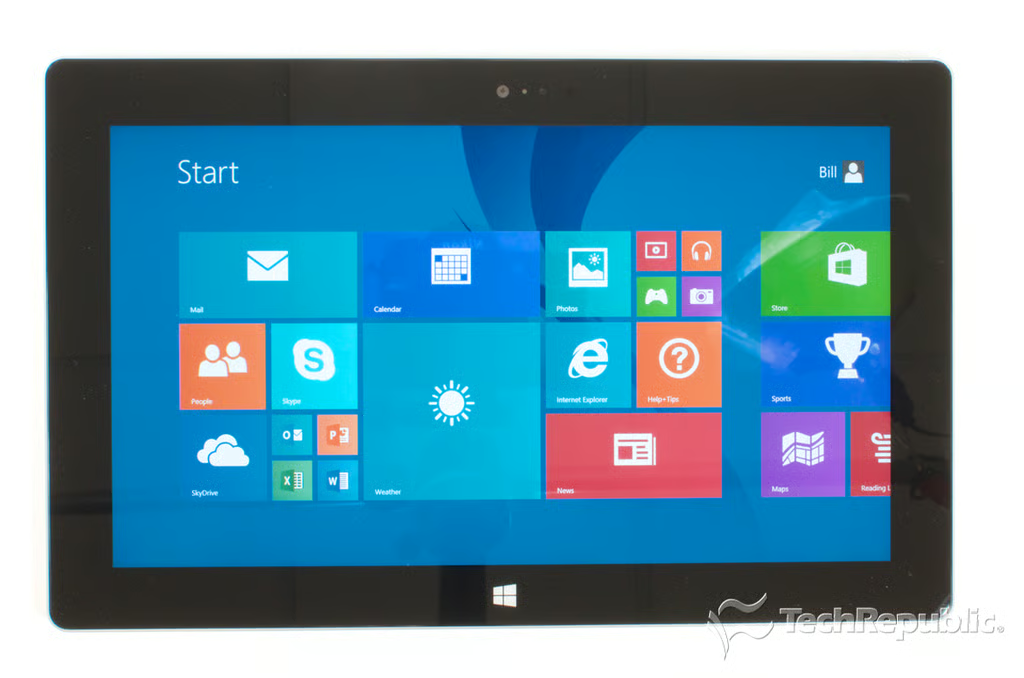
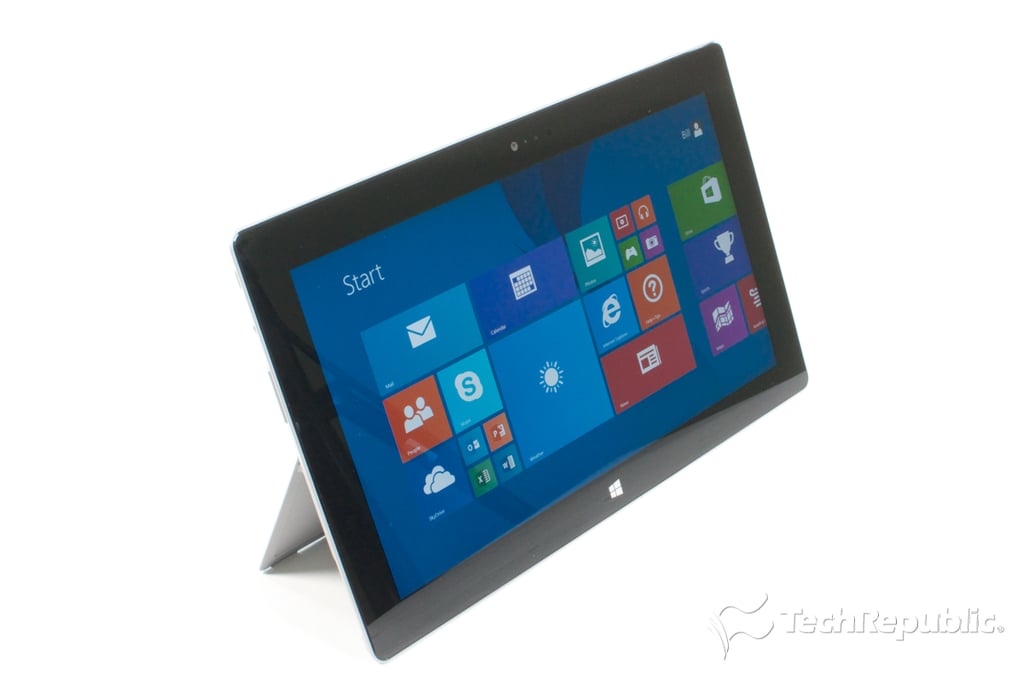
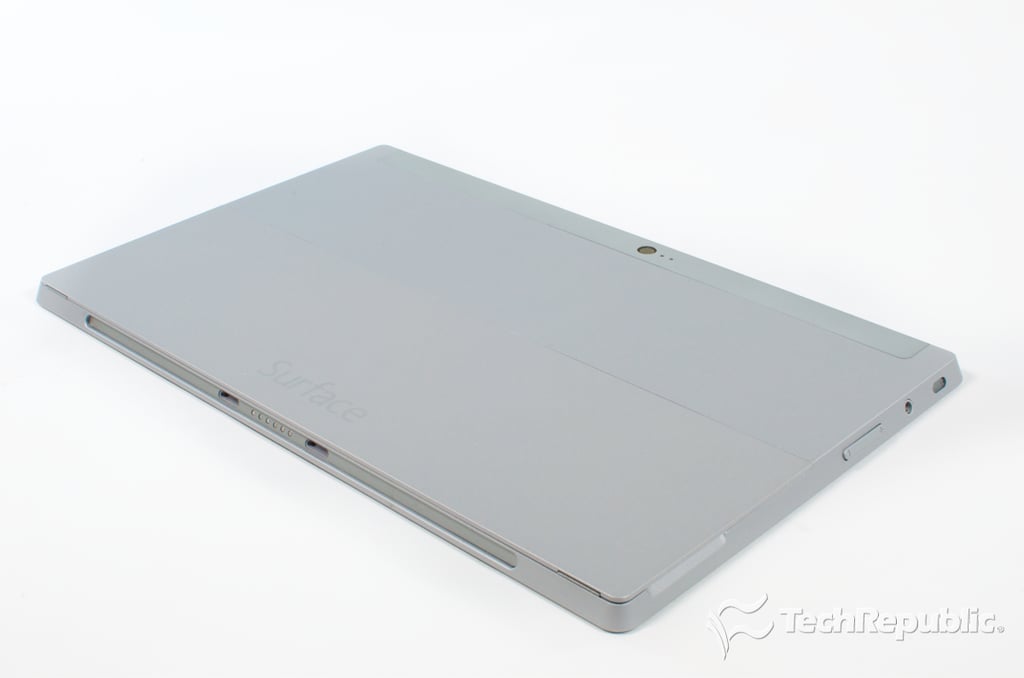
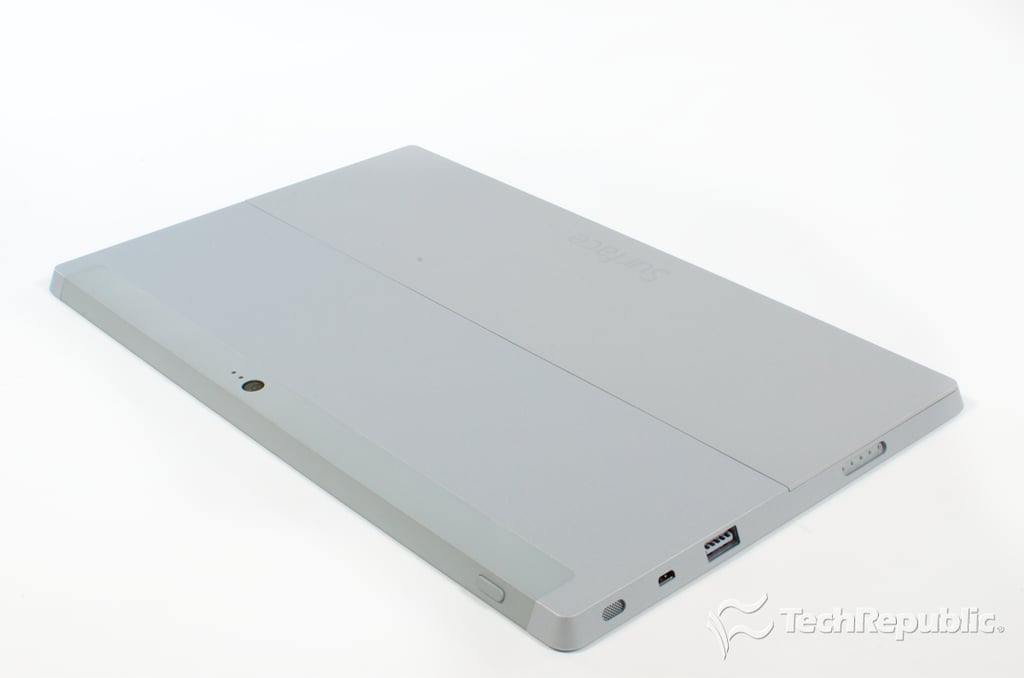
At 10.81 inches wide, 6.79 inches tall, 0.35 inches thick, and weighing 1.49 pounds, the Surface 2 is nearly identical to the Surface RT. It does however, have several hardware upgrades.
\r\n\r\n
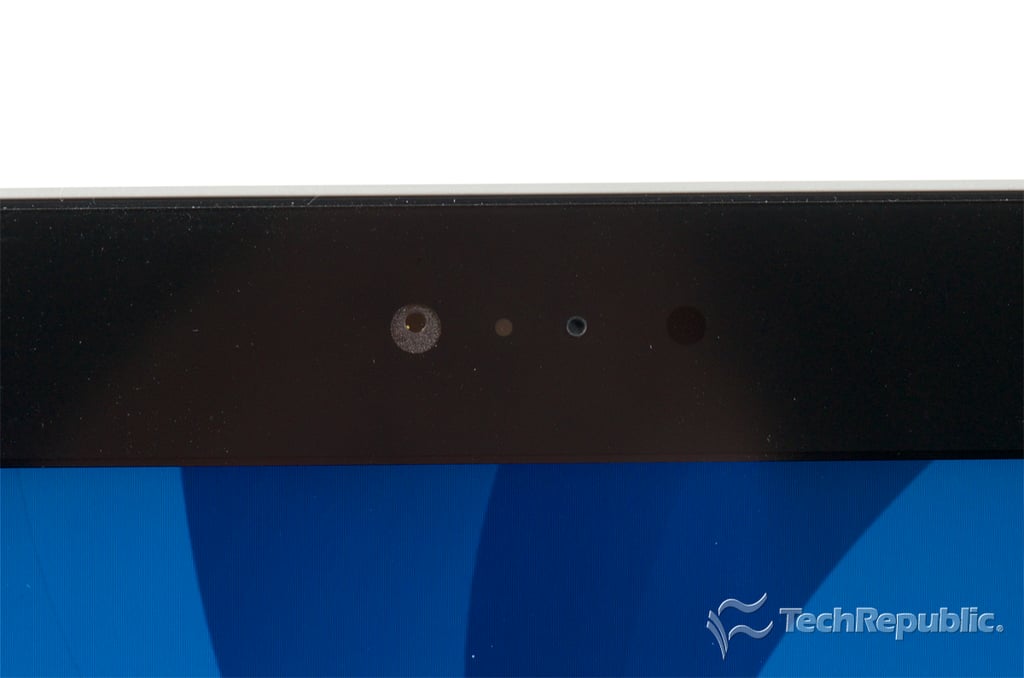
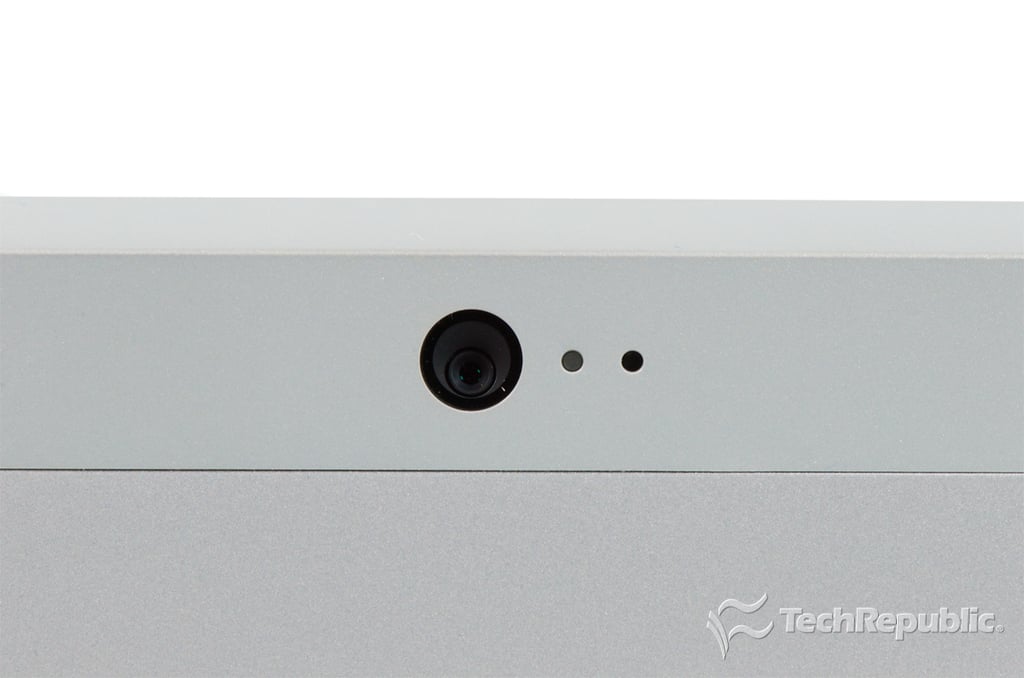
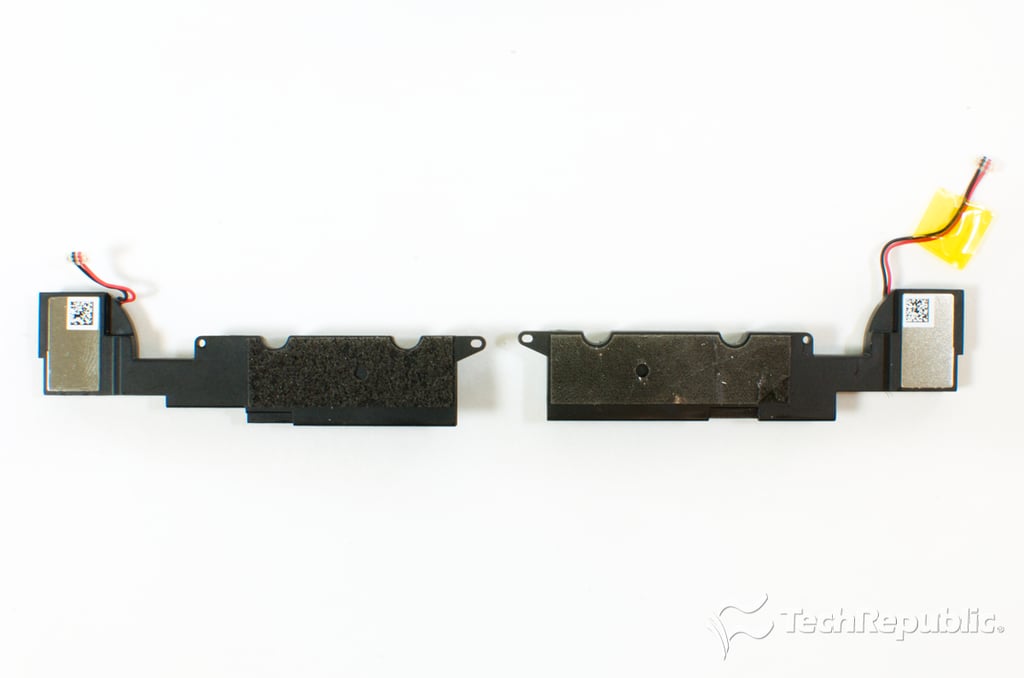
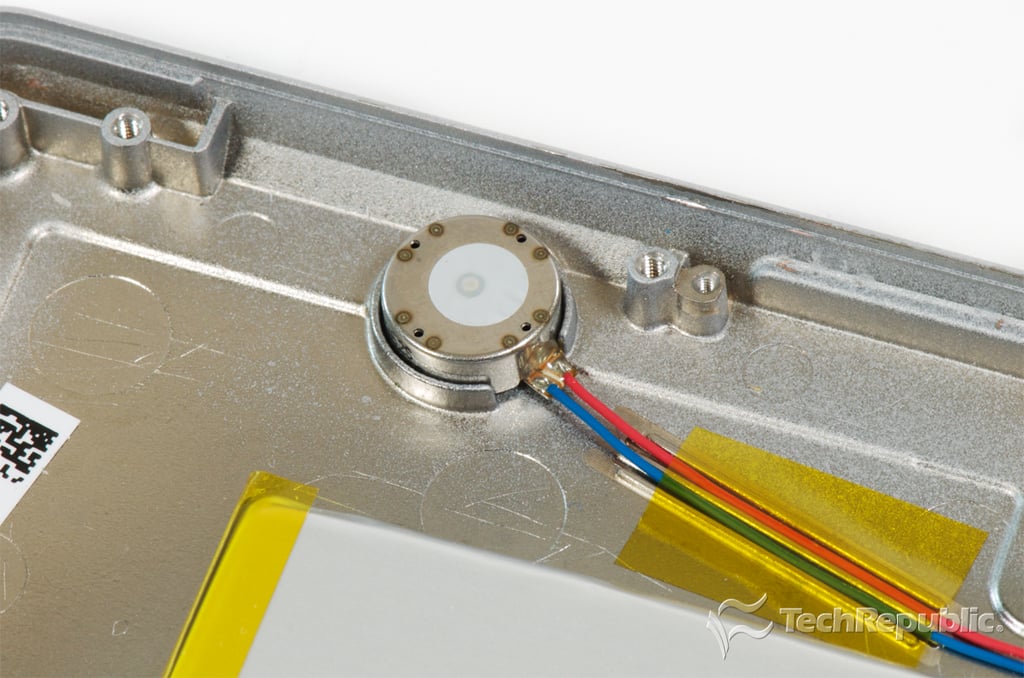
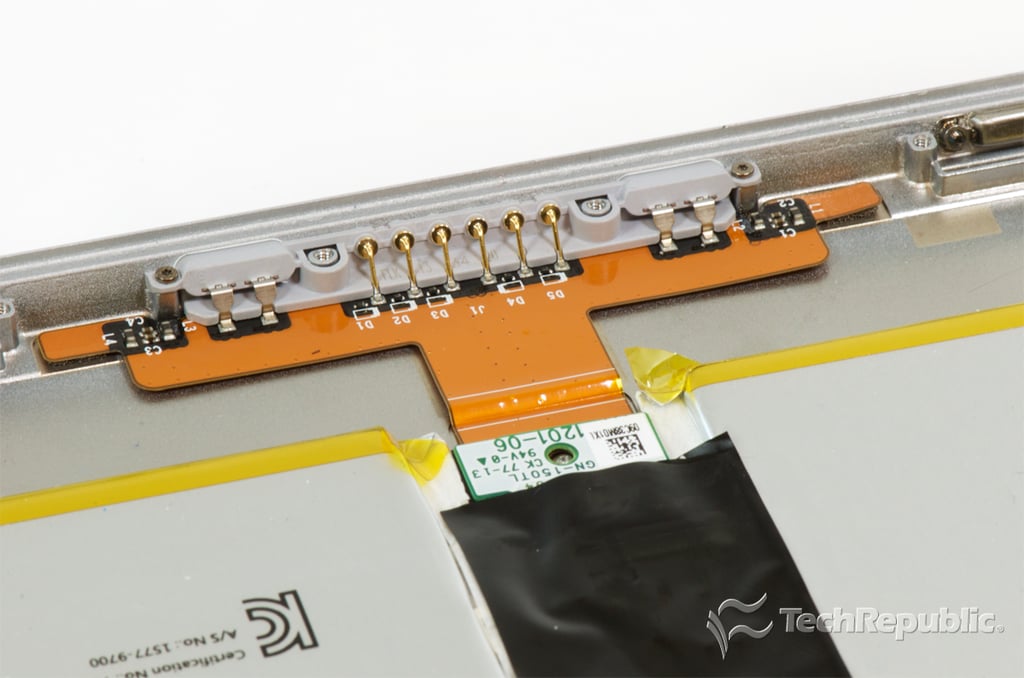
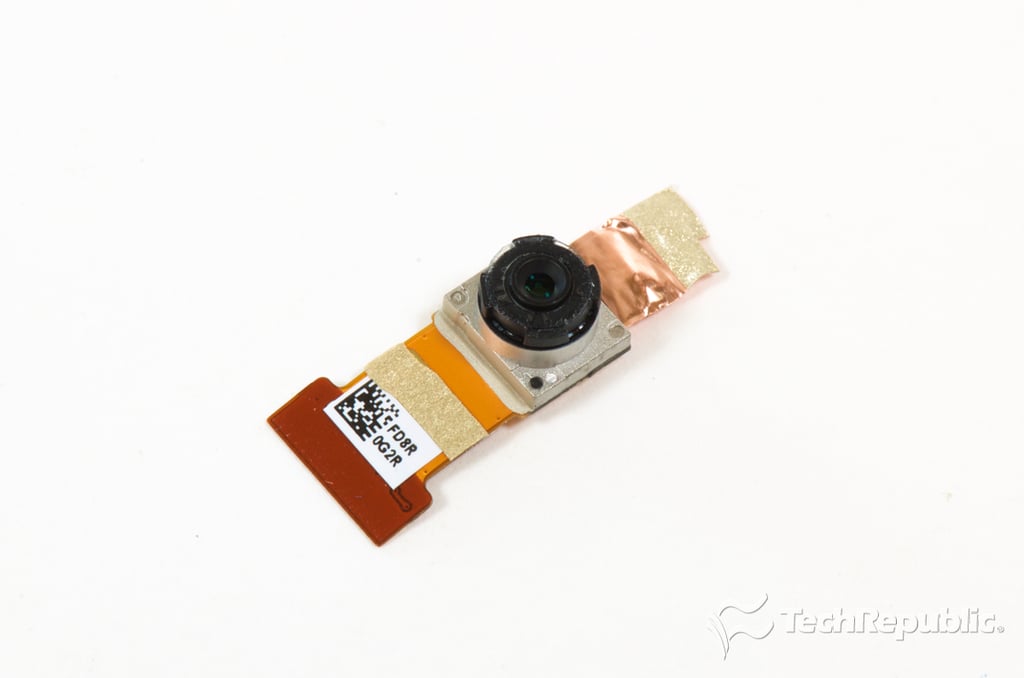
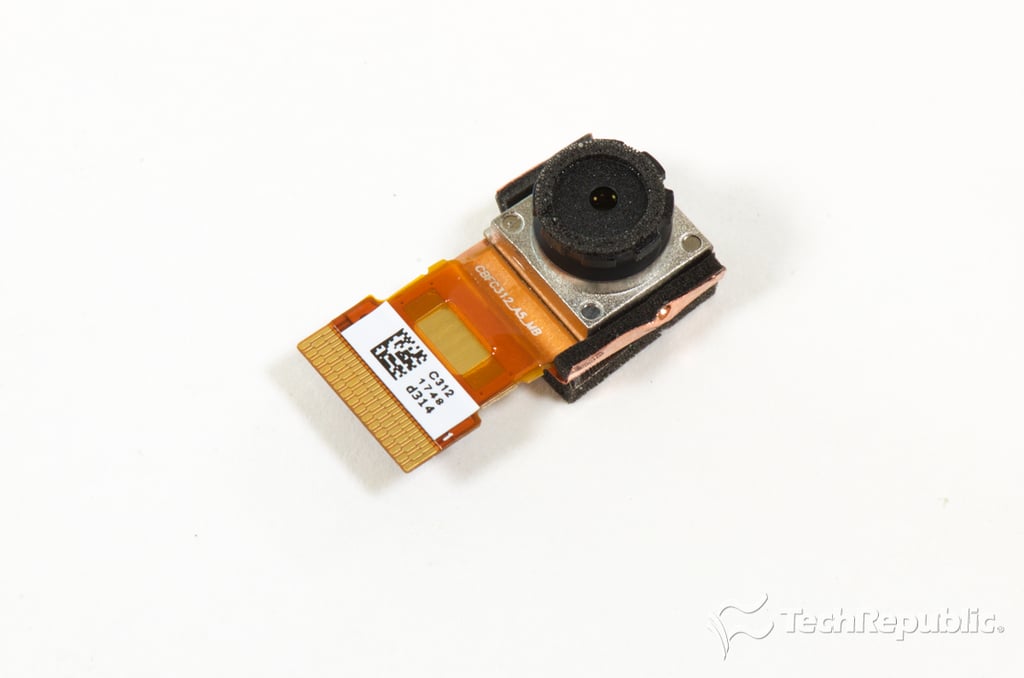
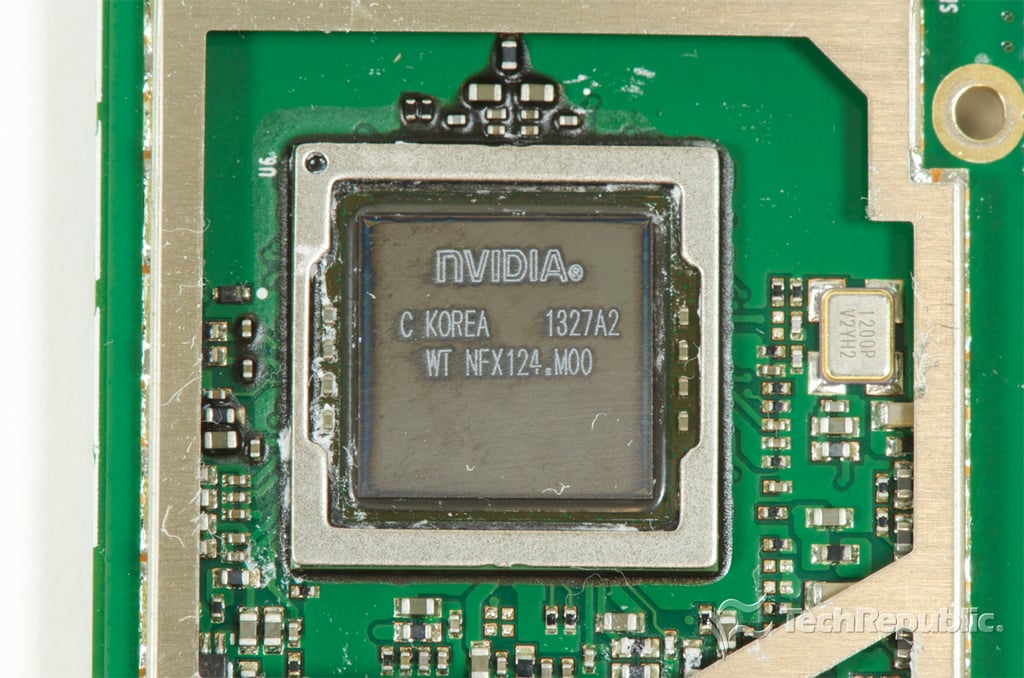
The Surface 2 has two microphones (compared to the Surface RT’s one), stereo speakers, a USB 3.0 port, better front-facing (3.5-megapixel) and rear-facing (5.0-megapixel) cameras, a new 1920×1080 display, and a faster 1.7GHz Tegra 4 processor.
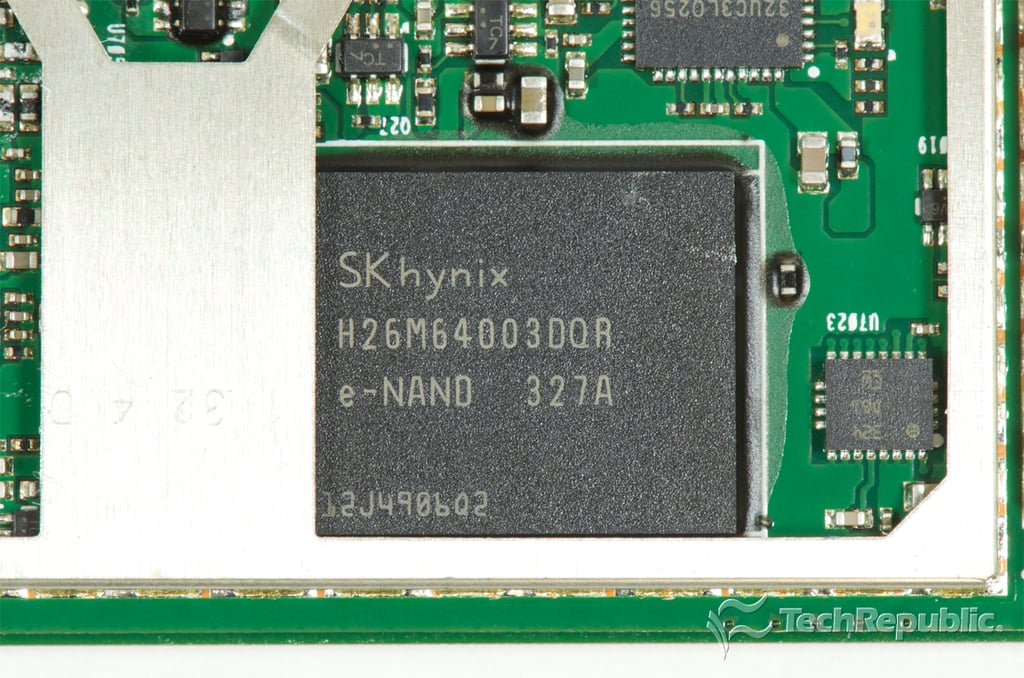
The Surface 2 is available with 32GB ($449) or 64GB ($549) of storage.


Bill Detwiler is the Editor for Technical Content and Ecosystem at Celonis. He is the former Editor in Chief of TechRepublic and previous host of TechRepublic's Dynamic Developer podcast and Cracking Open, CNET and TechRepublic's popular online show. Previously, Bill was an IT manager in the social research and energy industries. He has bachelor's and master's degrees from the University of Louisville, where he has also lectured on computer crime and crime prevention.


