
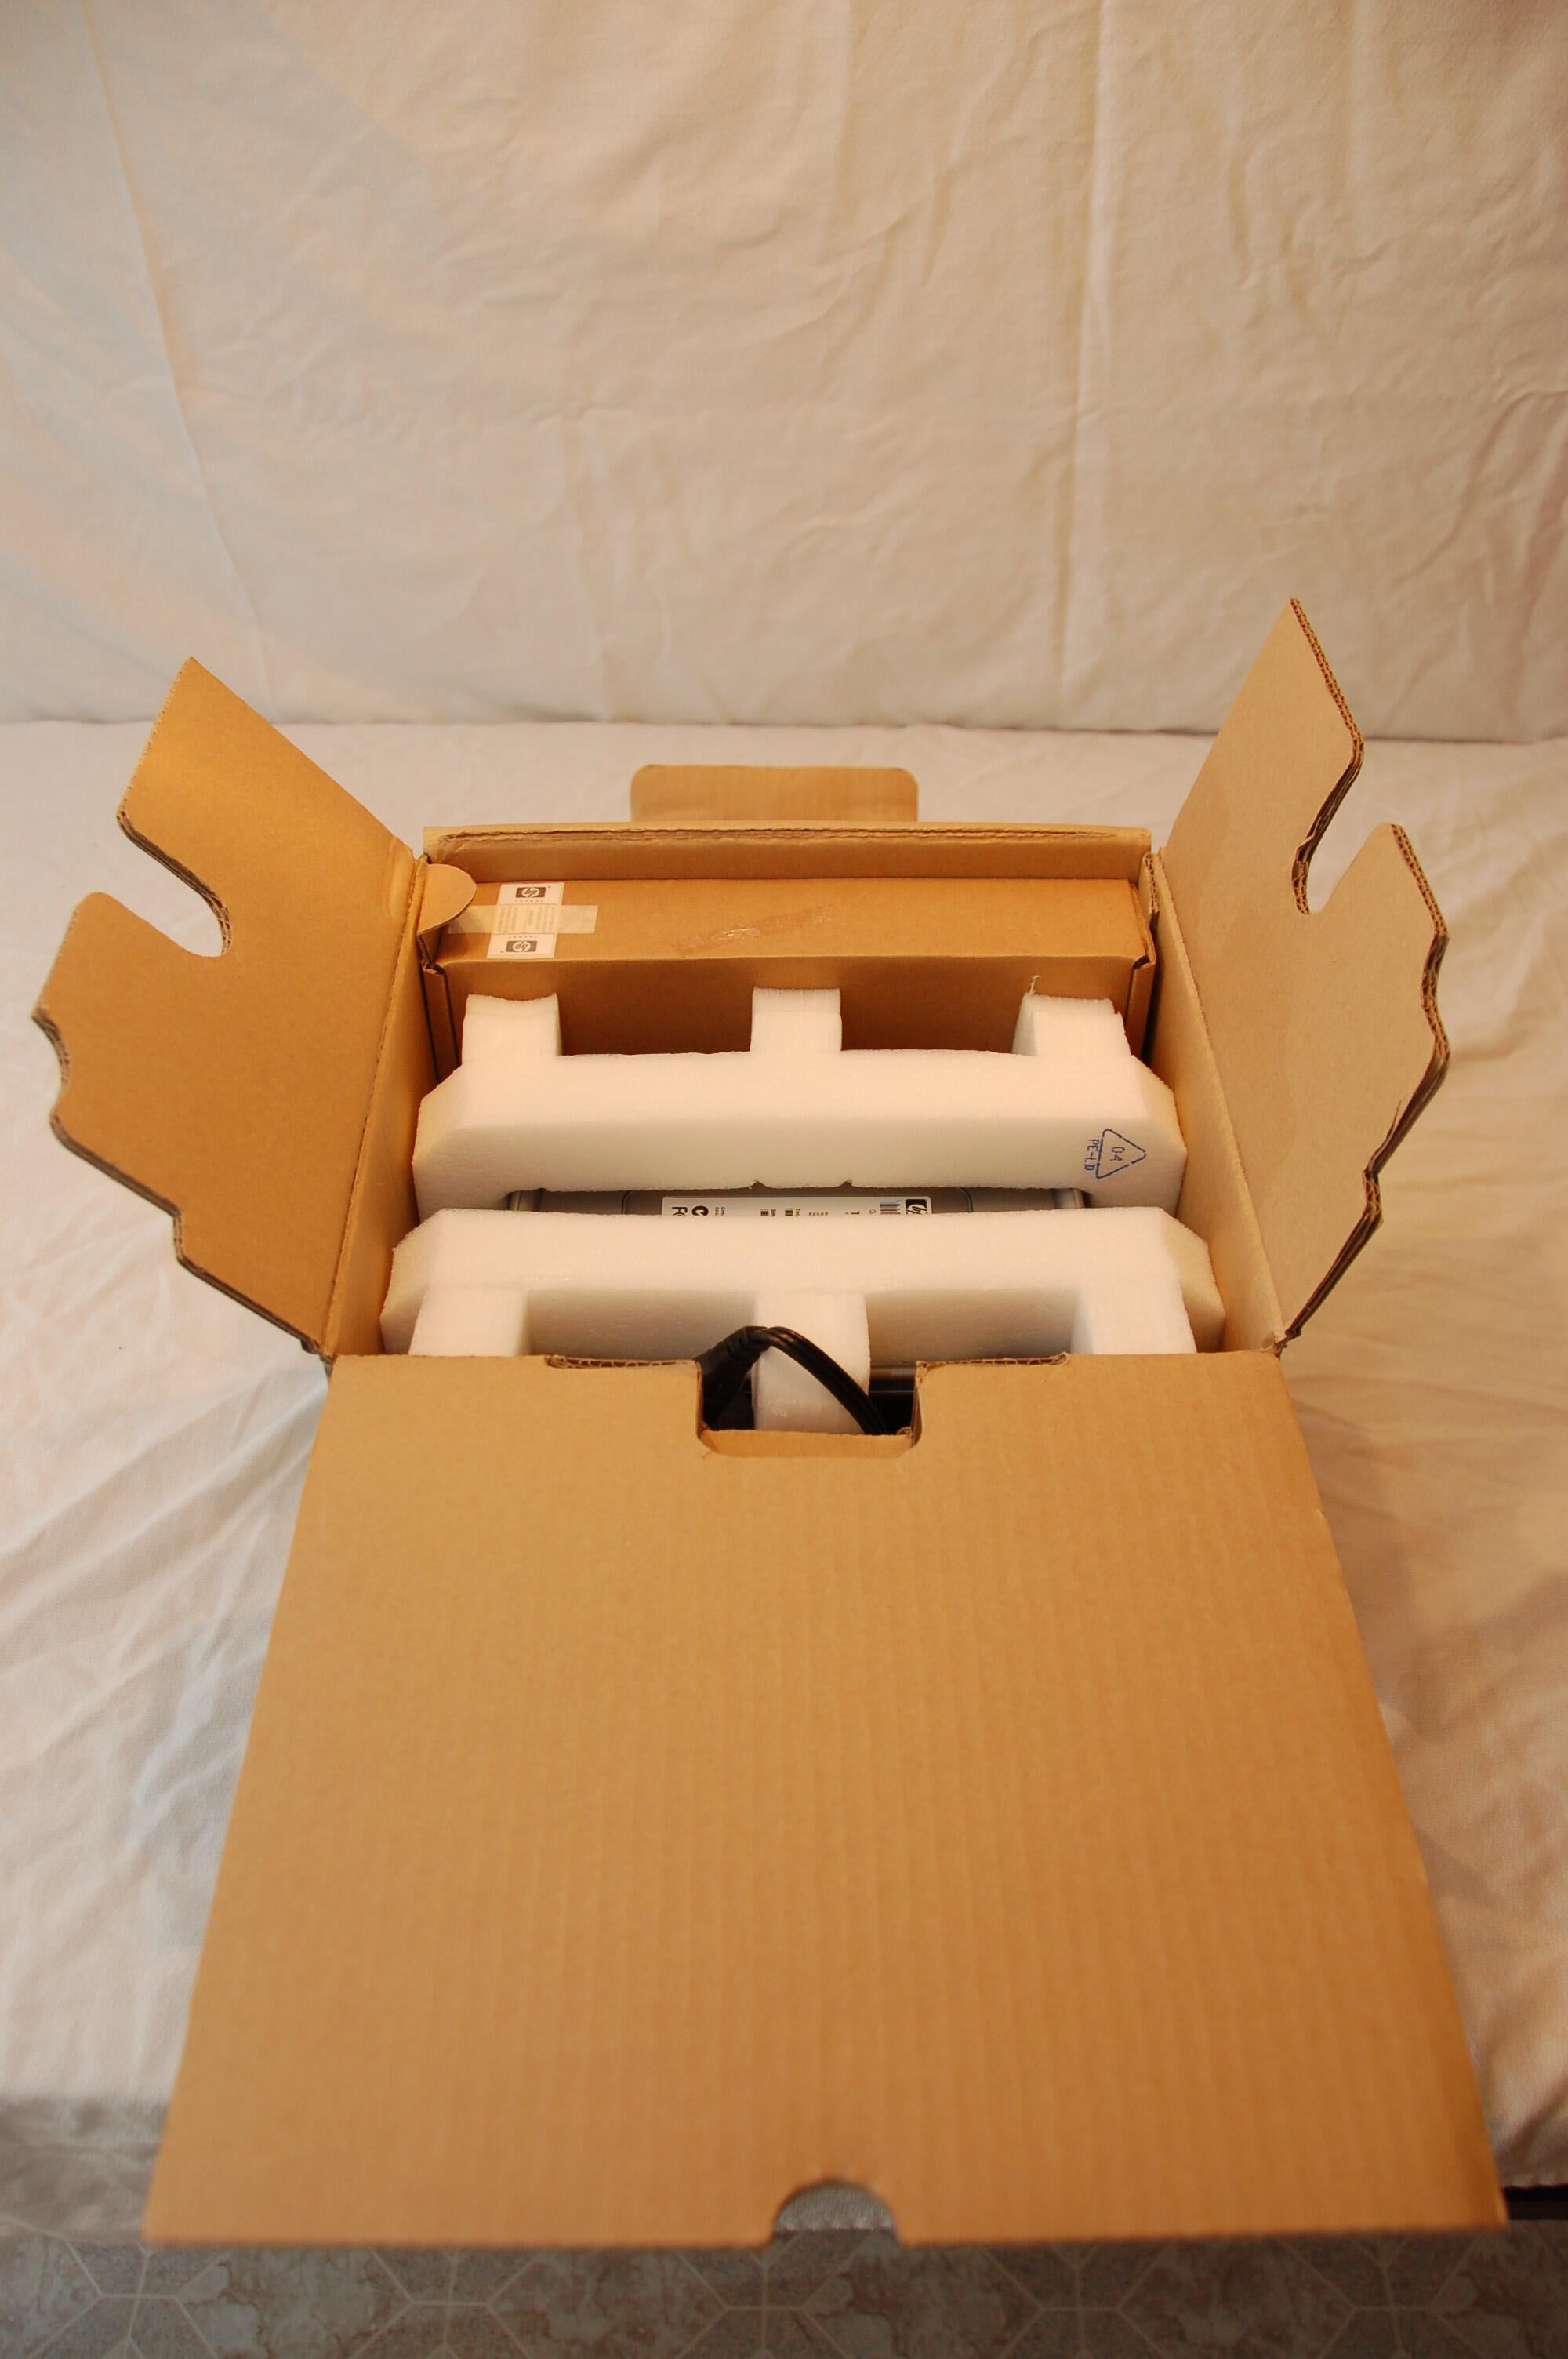
The HP Media Vault brings network attached storage to the masses in an affordable and easily configurable way.\n
\nWith hard drive prices falling and digital media use soaring, it was only a matter of time until the demand for user friendly NAS boxes were high enough to warrant a product such as the HP Media Vault.\n
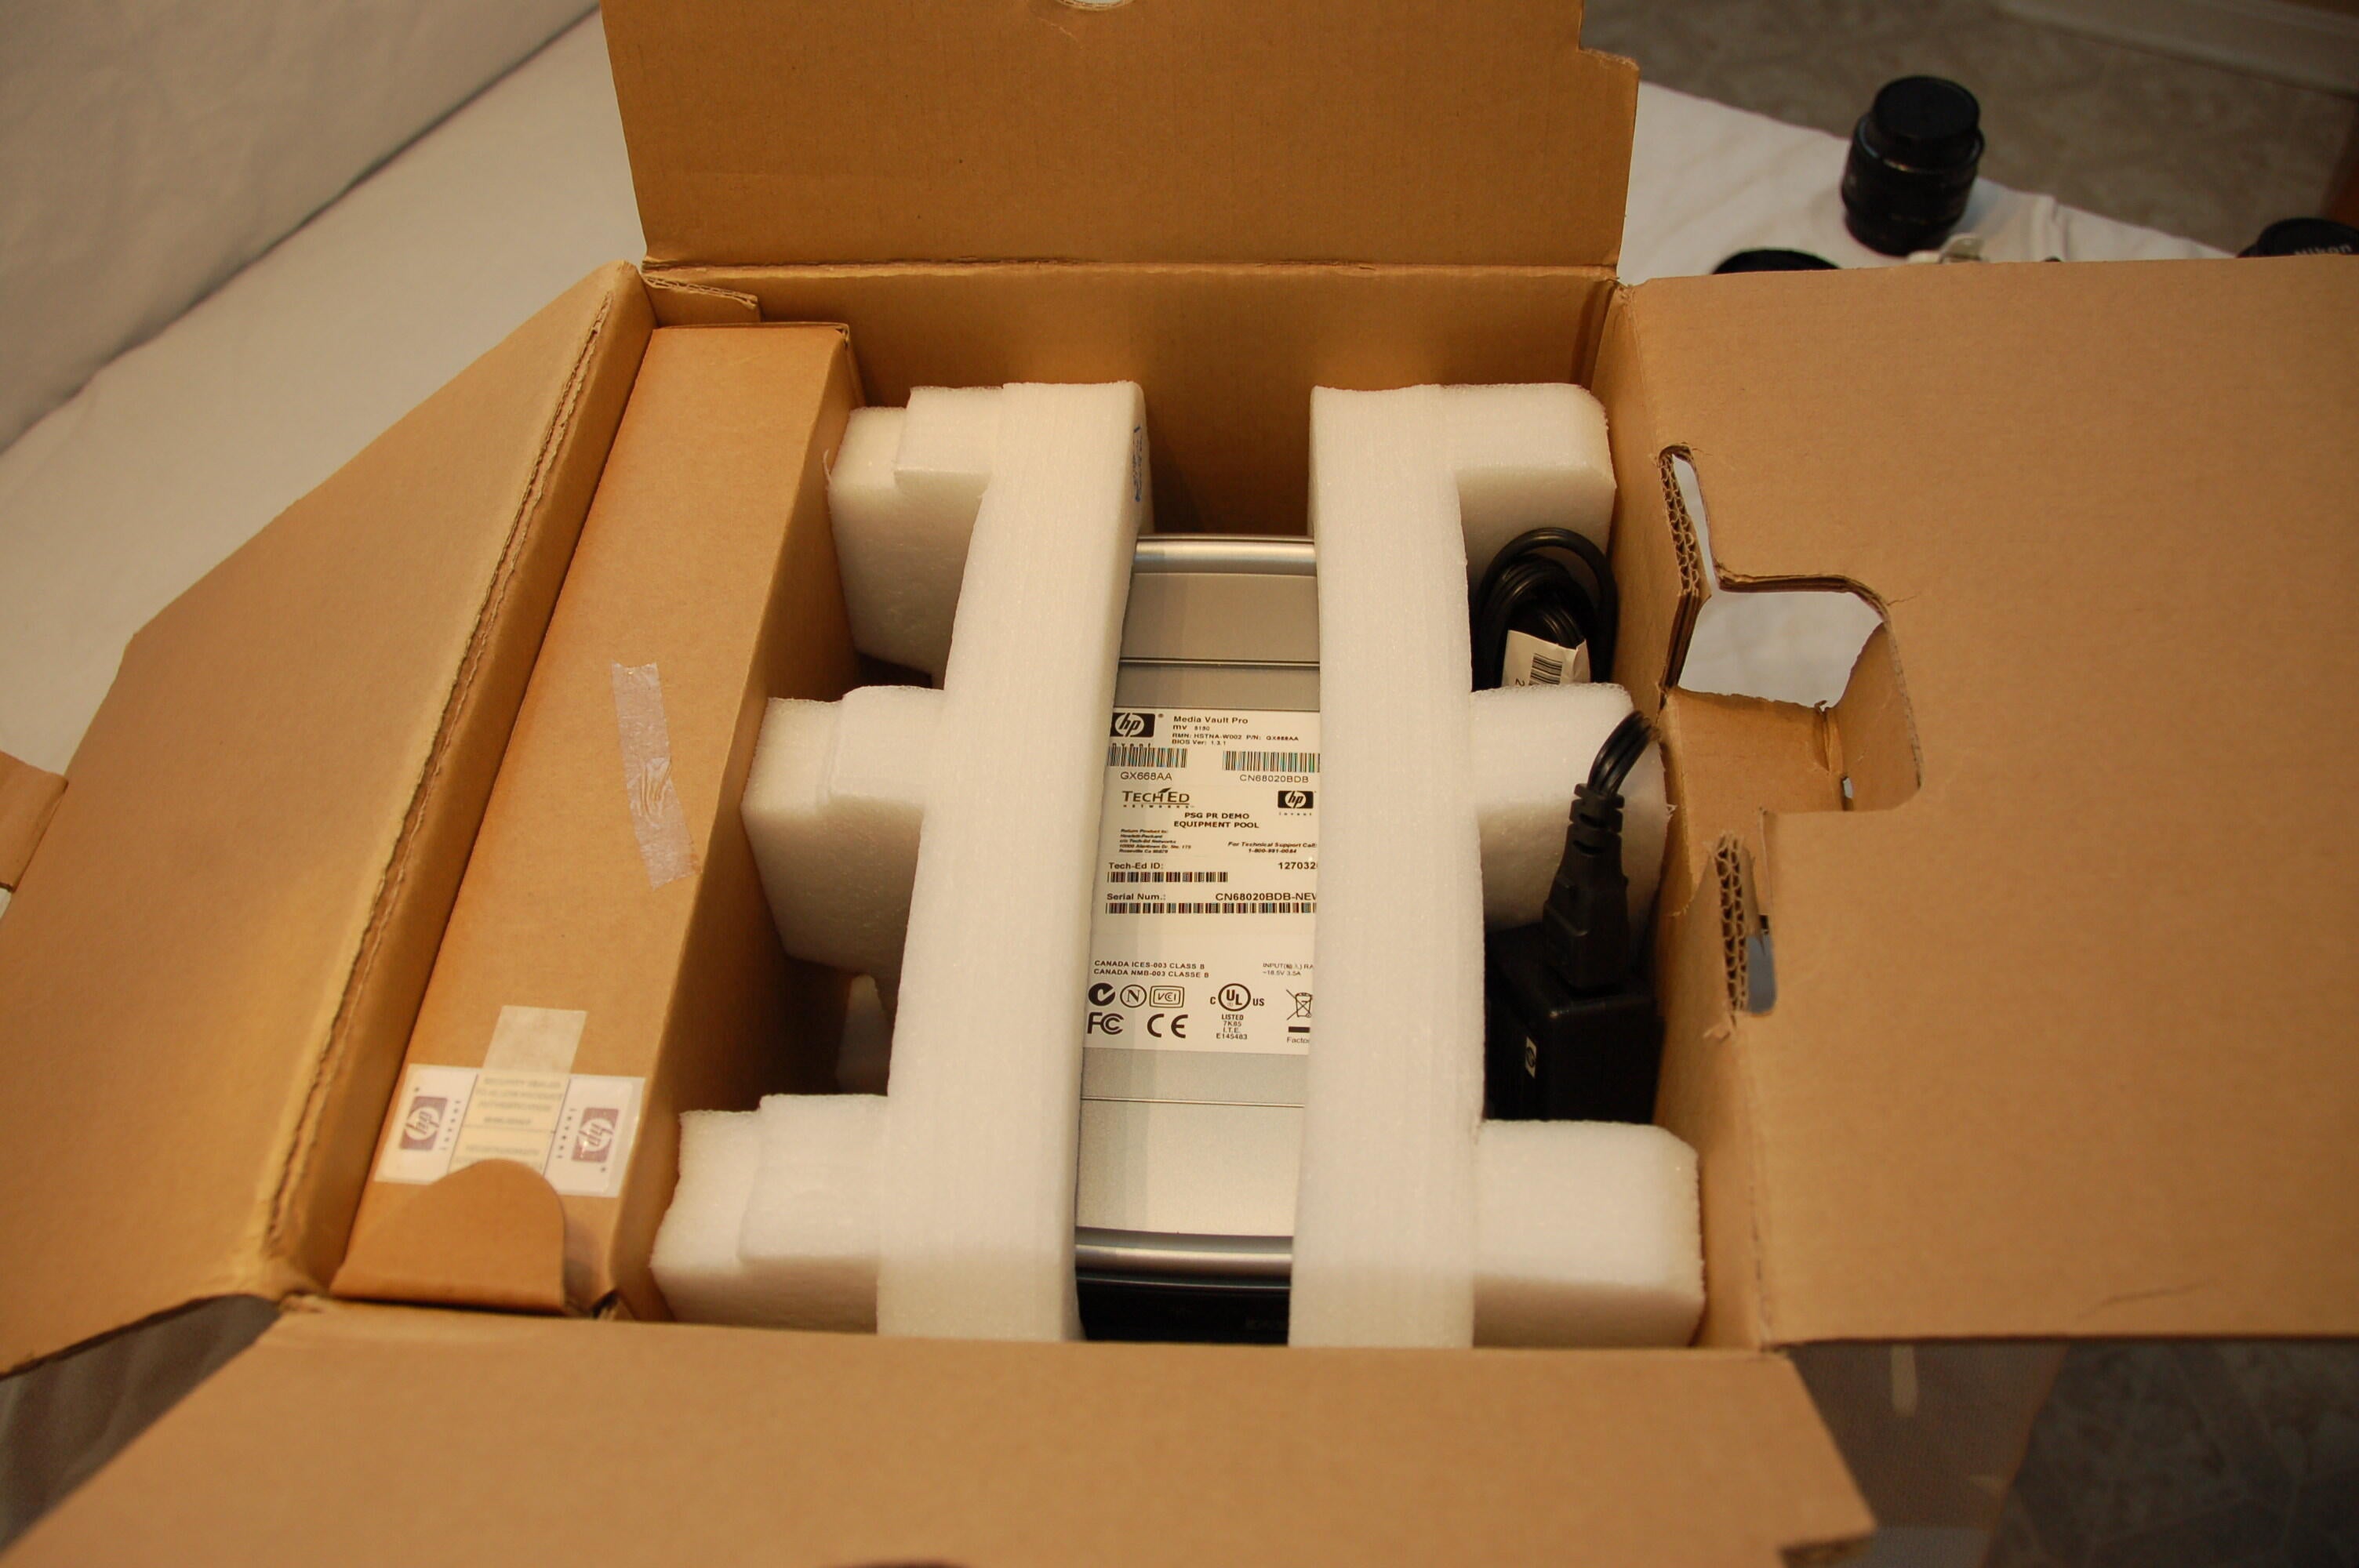
\nHaving had a RAID-5 home server for over 8 years for storage of photos, mp3s, videos, college documents etc, I was eager to crack this product open and see what made it tick. \n
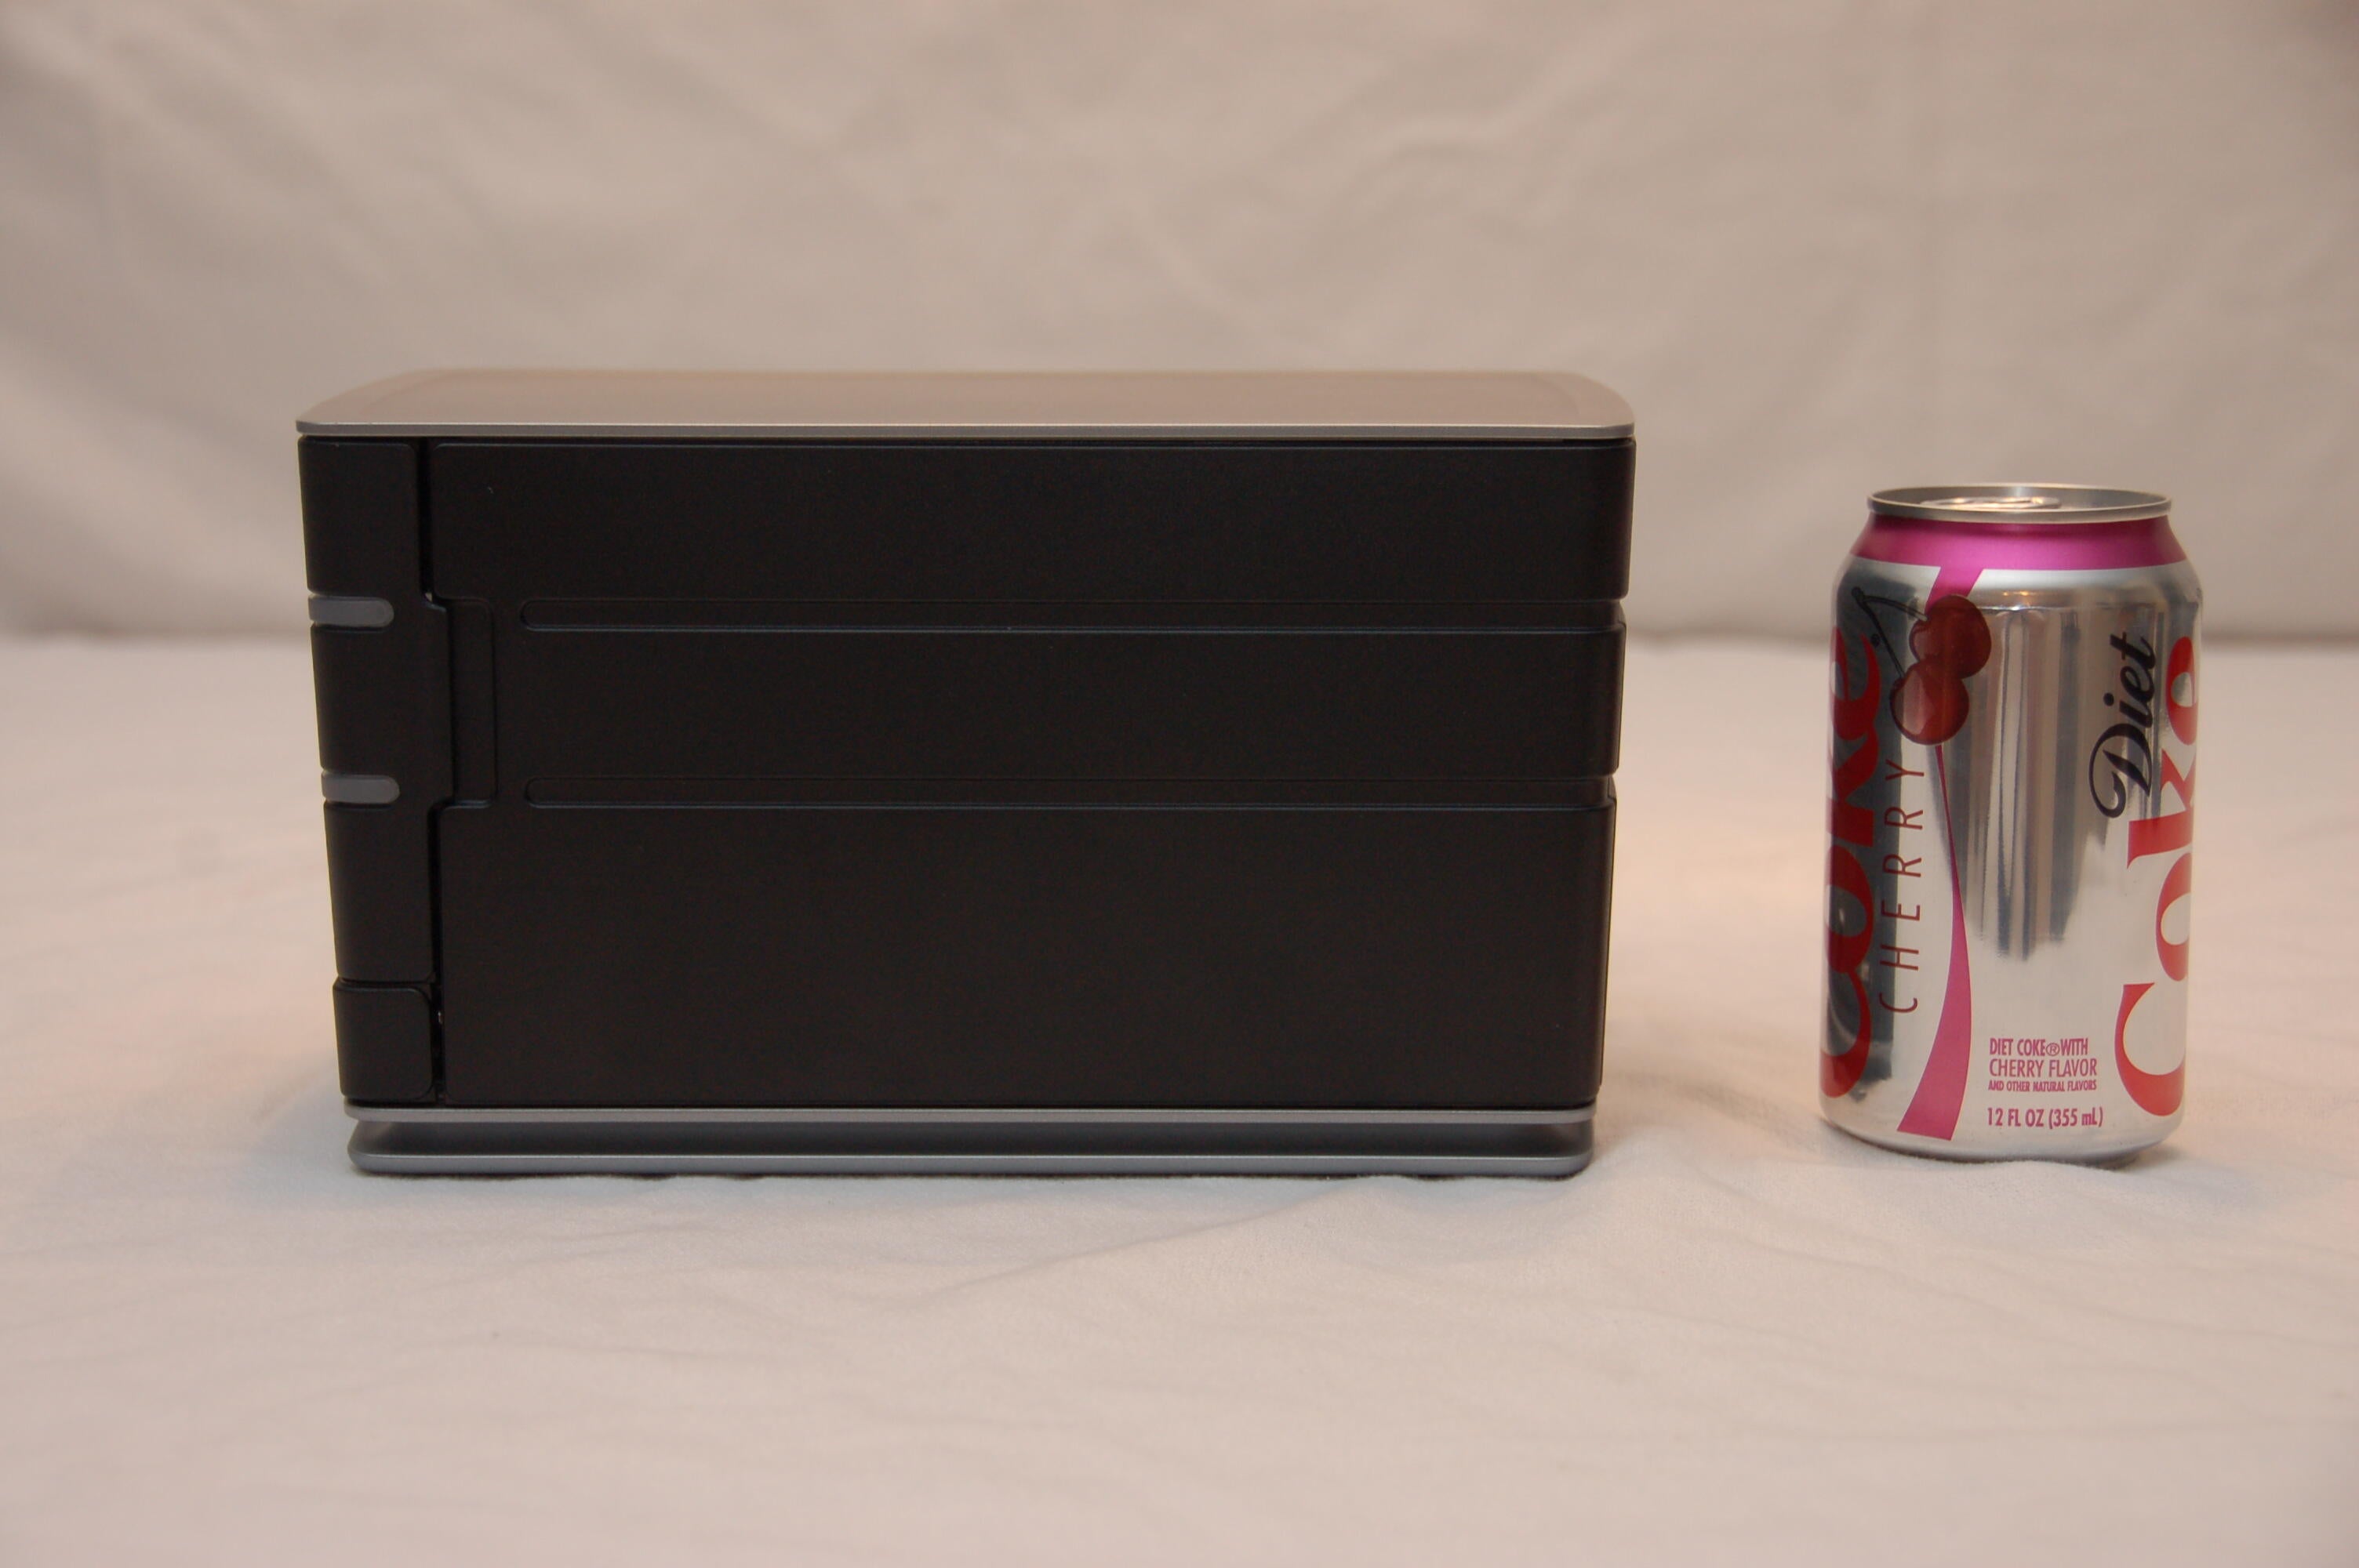
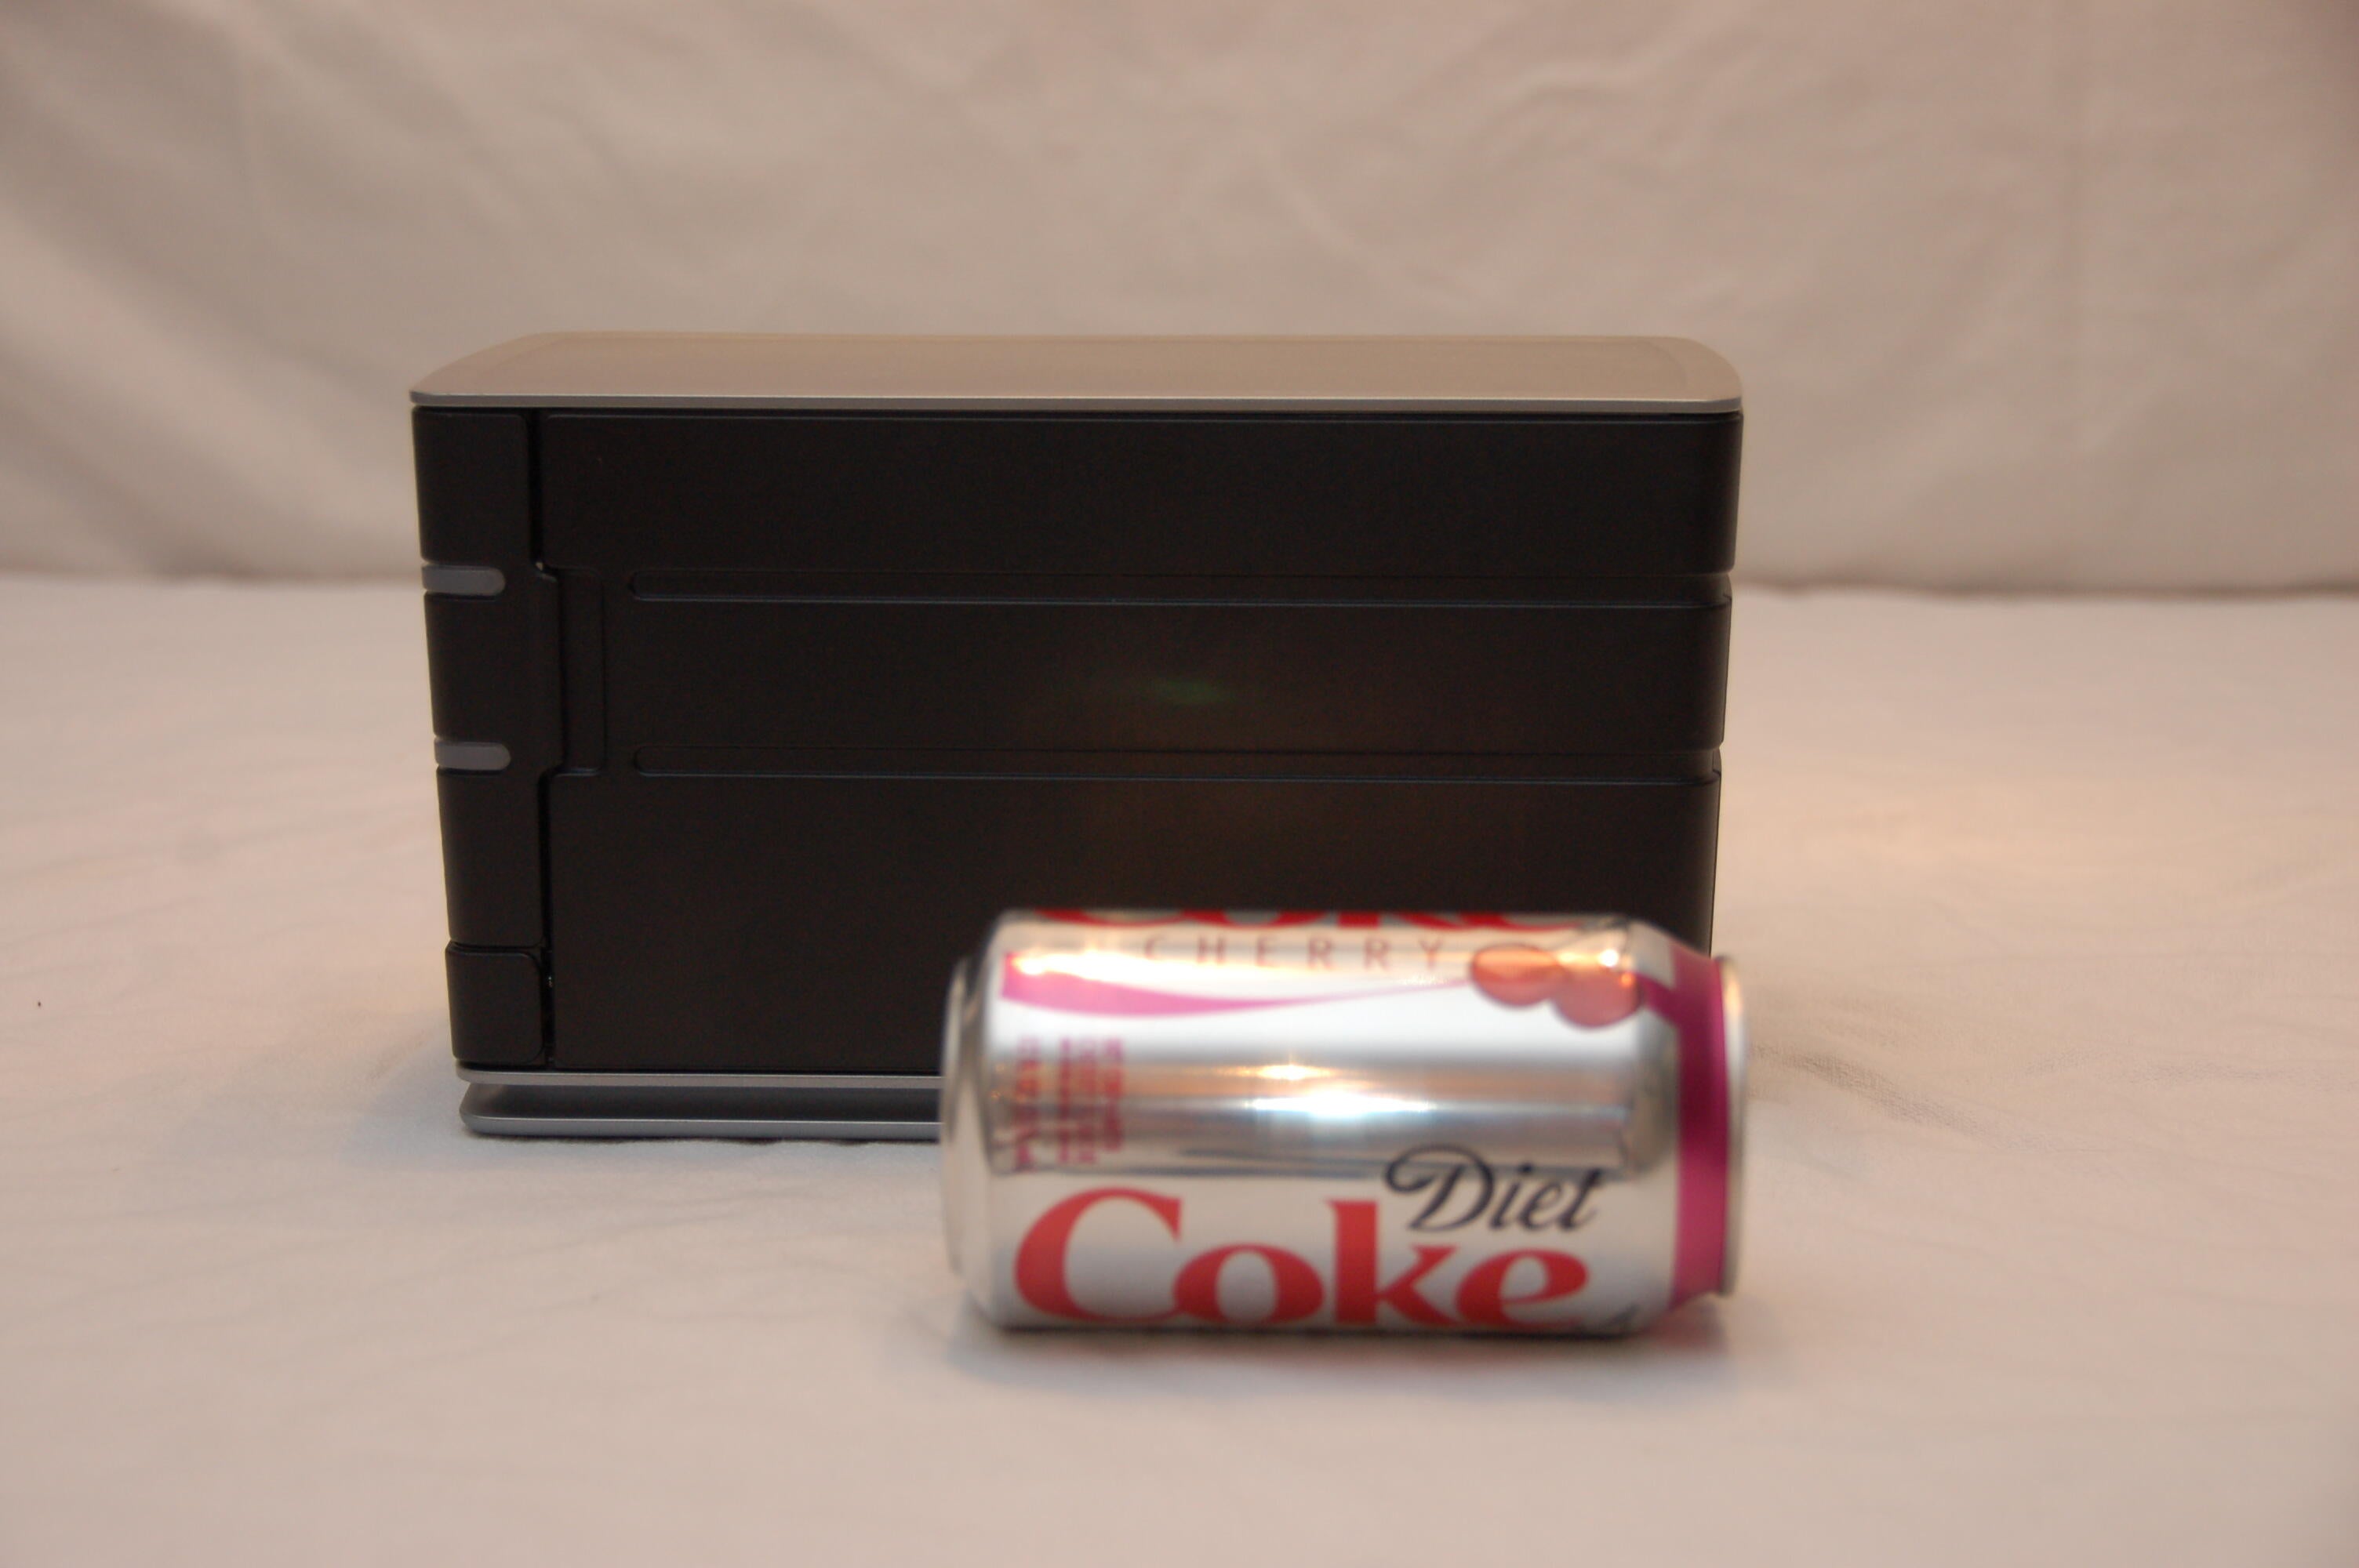
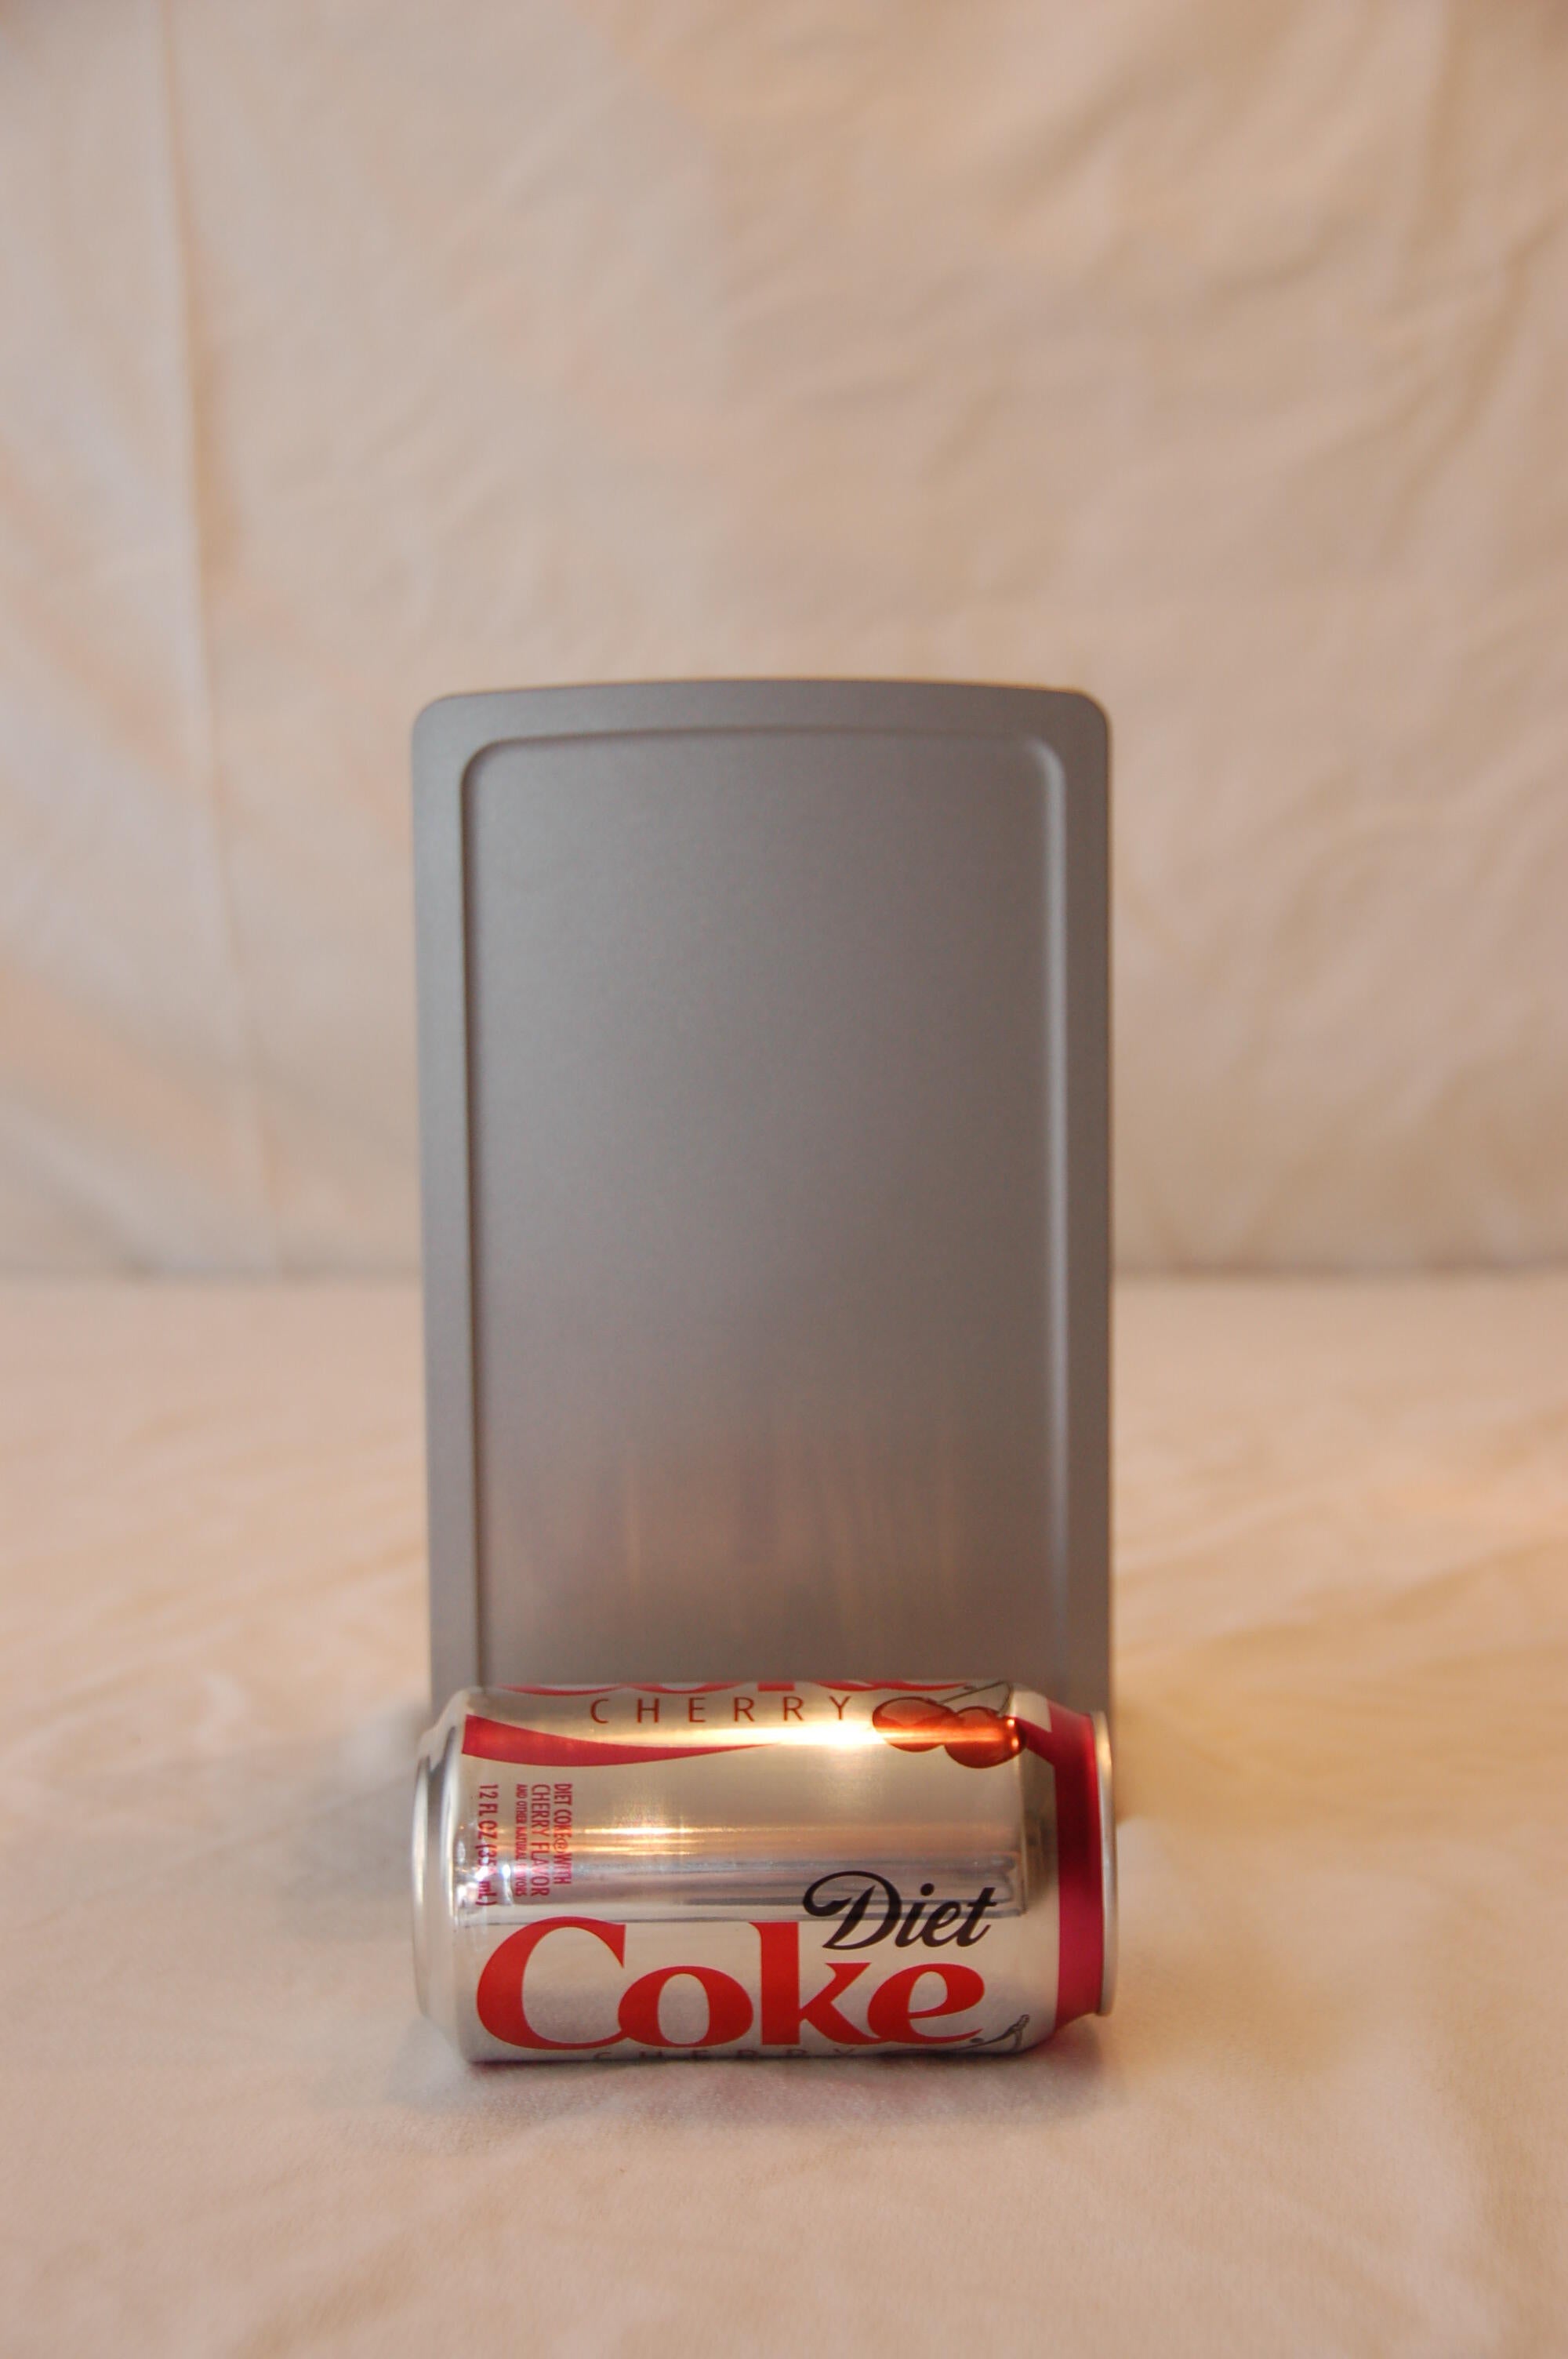
\nFront shot, door closed. The HP Media Vault is, by NAS comparison, tiny. It’s only 5.5″ high.
\nPhotos by Scott Wolf for \u00a9 TechRepublic
\nPhotos by Scott Wolf for \u00a9 TechRepublic
\nPhotos by Scott Wolf for \u00a9 TechRepublic
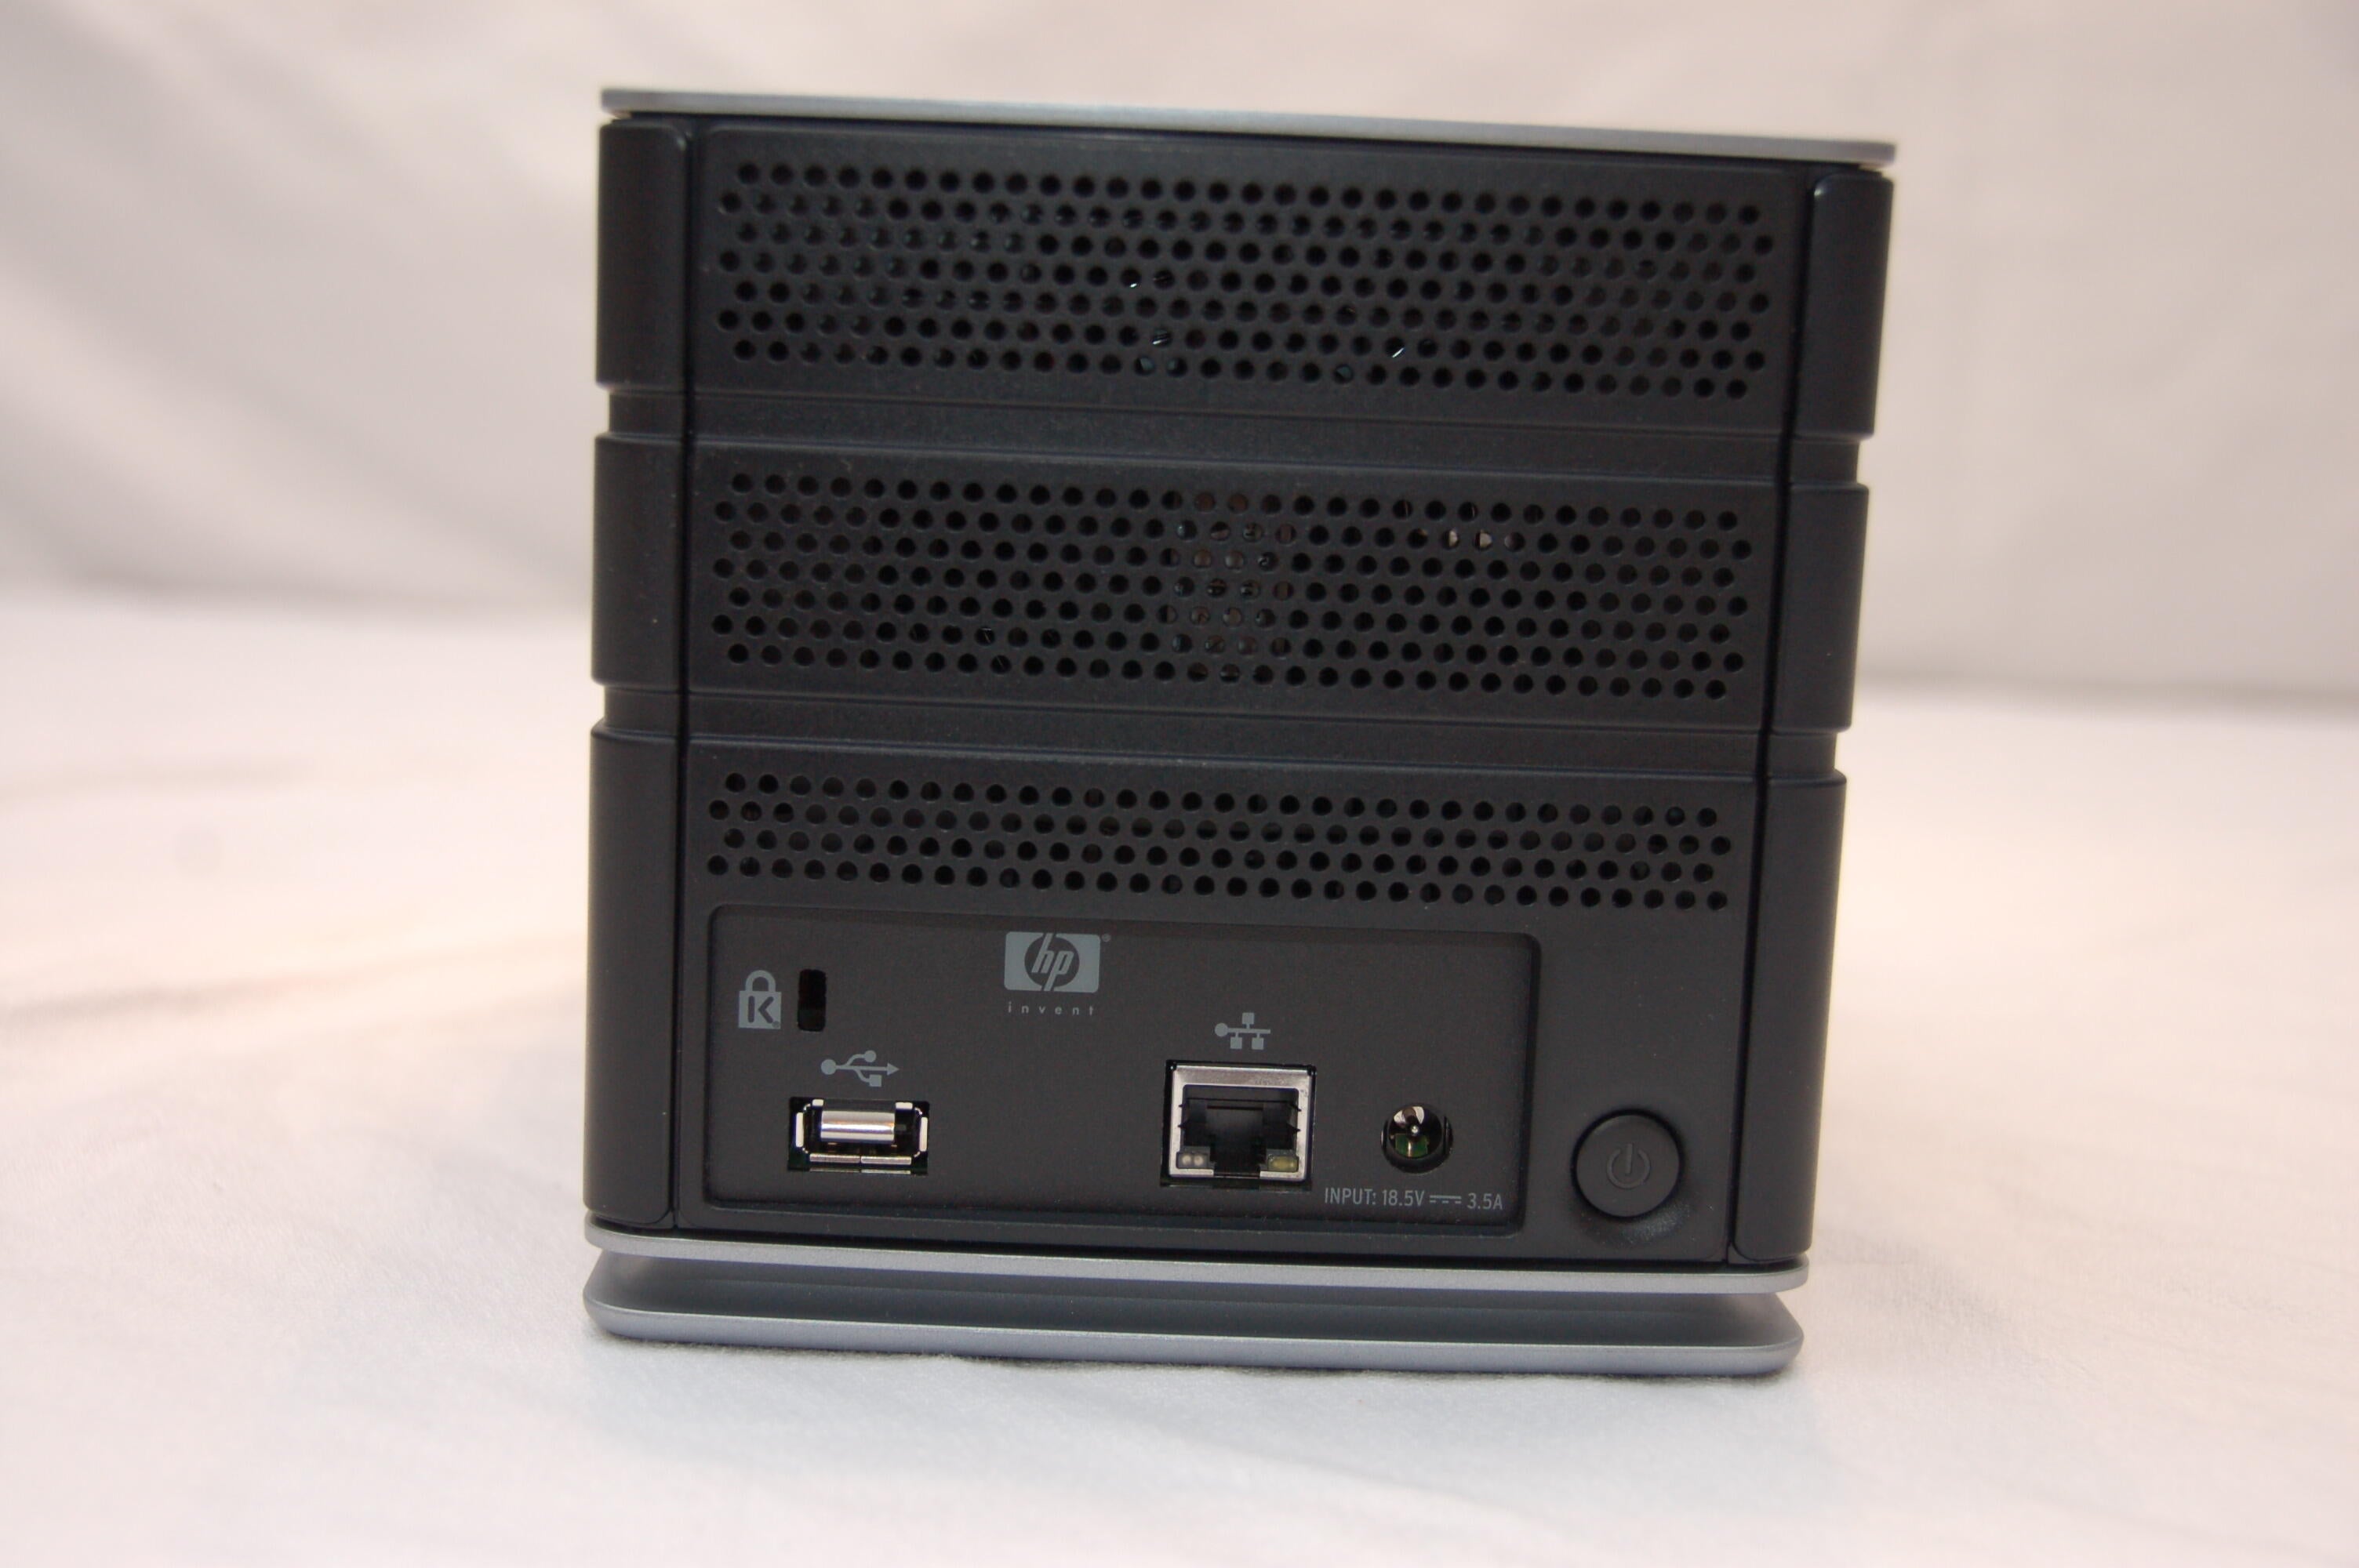
Rear Shot. (wolf whistle) From here you can see the rj45 port, power adapter port, and the Kensington security slot.
\nPhotos by Scott Wolf for \u00a9 TechRepublic
Sideshot – left.
\nPhotos by Scott Wolf for \u00a9 TechRepublic
Sideshot – right.
\nPhotos by Scott Wolf for \u00a9 TechRepublic
Top Shot.
\nPhotos by Scott Wolf for \u00a9 TechRepublic

Removing the drive was easy enough. Lift on the removable drive handle and pull forward.
\nPhotos by Scott Wolf for \u00a9 TechRepublic
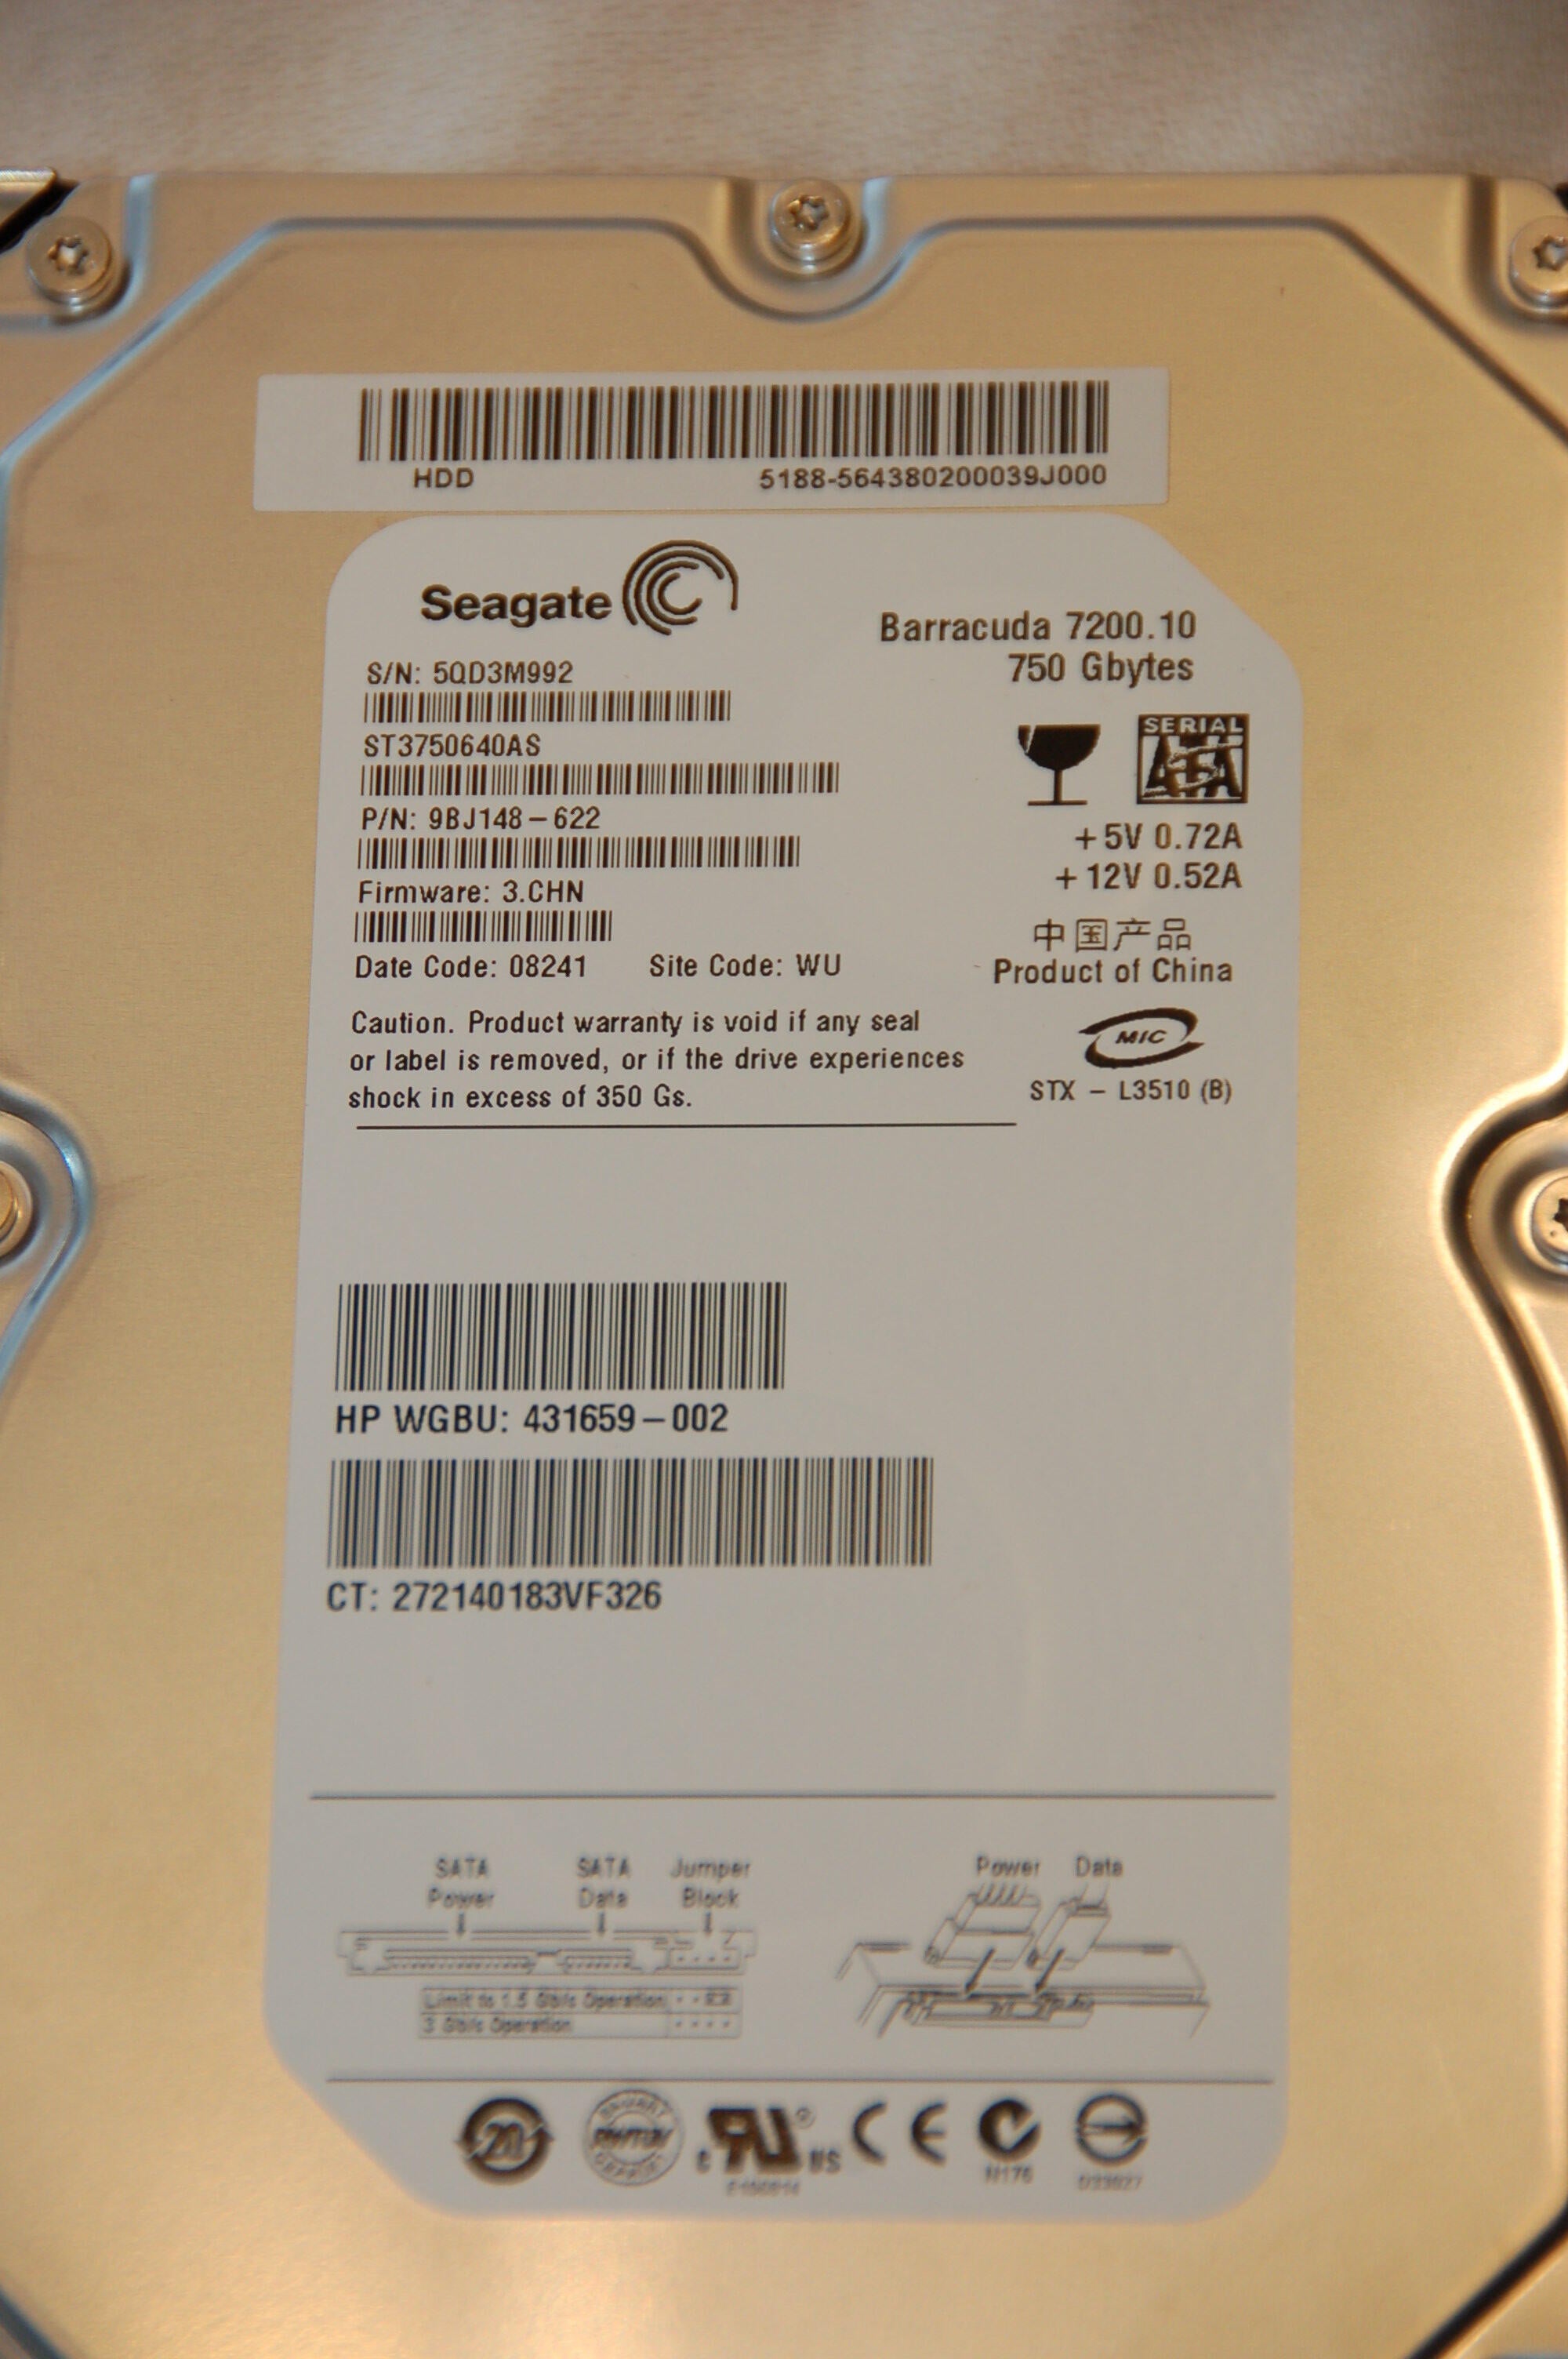
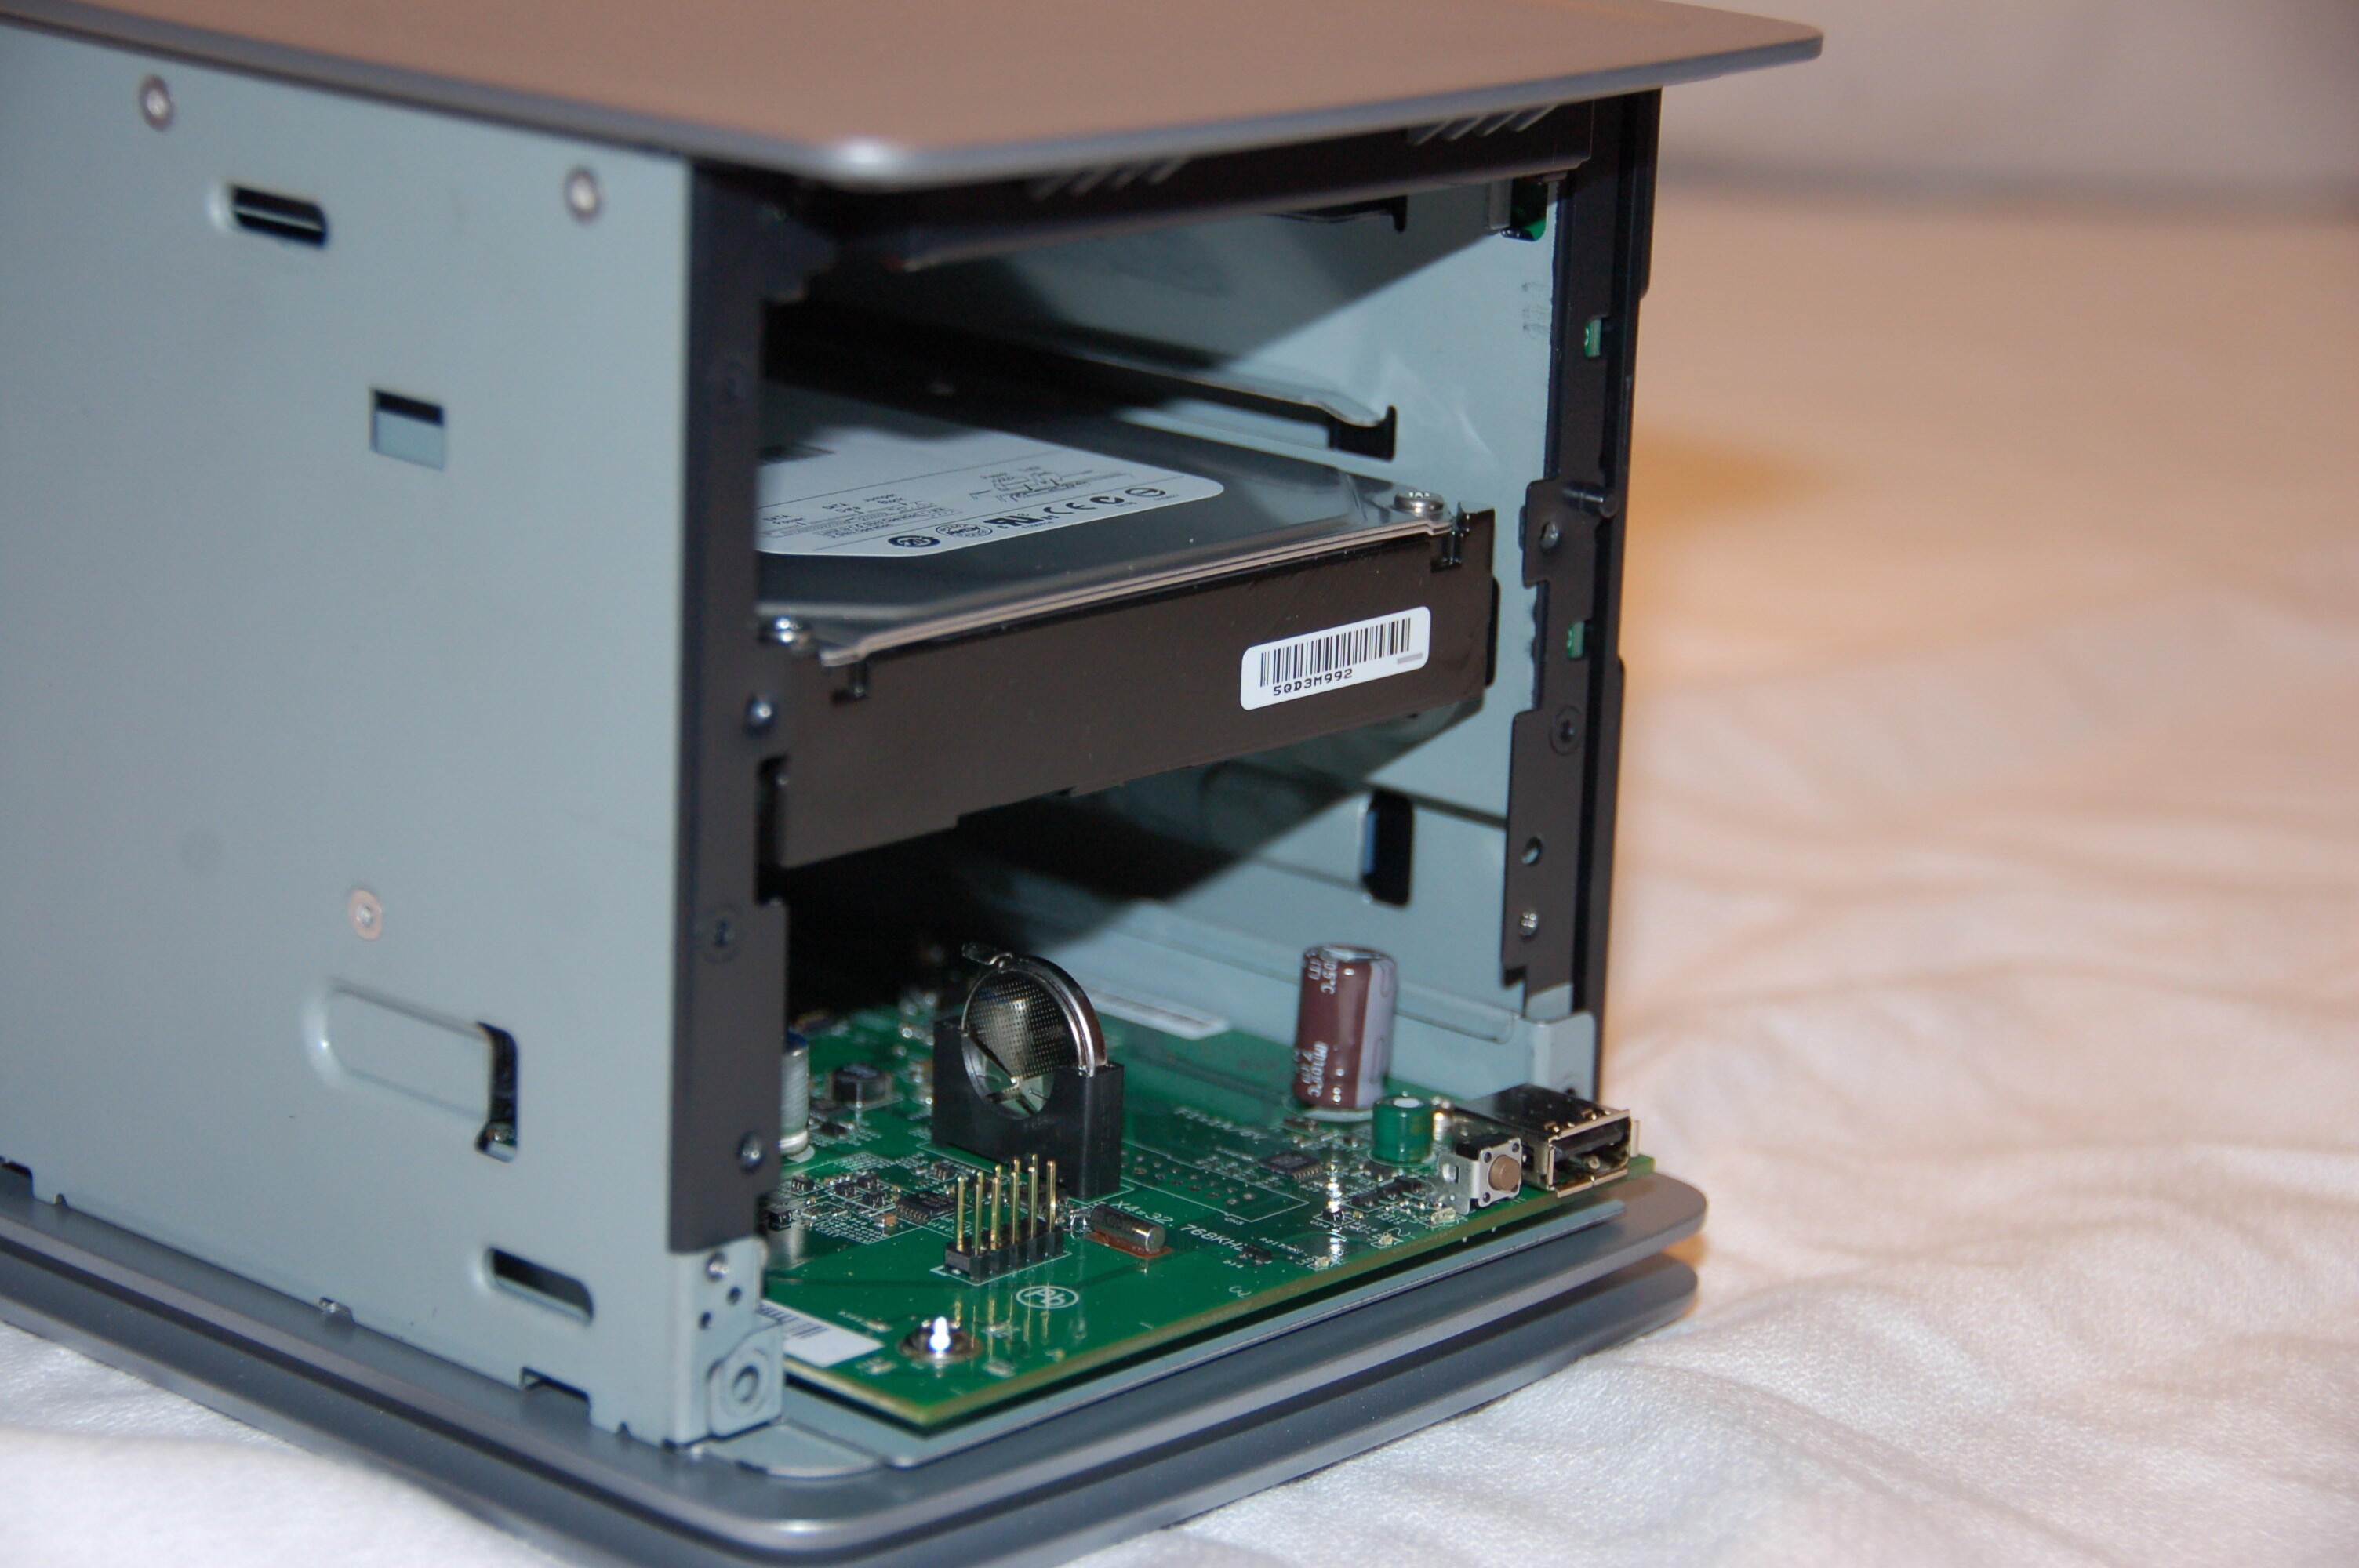
The drives in the unit are Seagate 750gb ST3750640AS SATAs. 7200RPM 16MB cache SATA 300.\n
\nI tried to verify the warranty status of the drive but it returned a status of “component drive” (The product you identified was sold as a system component. Please contact your place of purchase for service.)
\nPhotos by Scott Wolf for \u00a9 TechRepublic
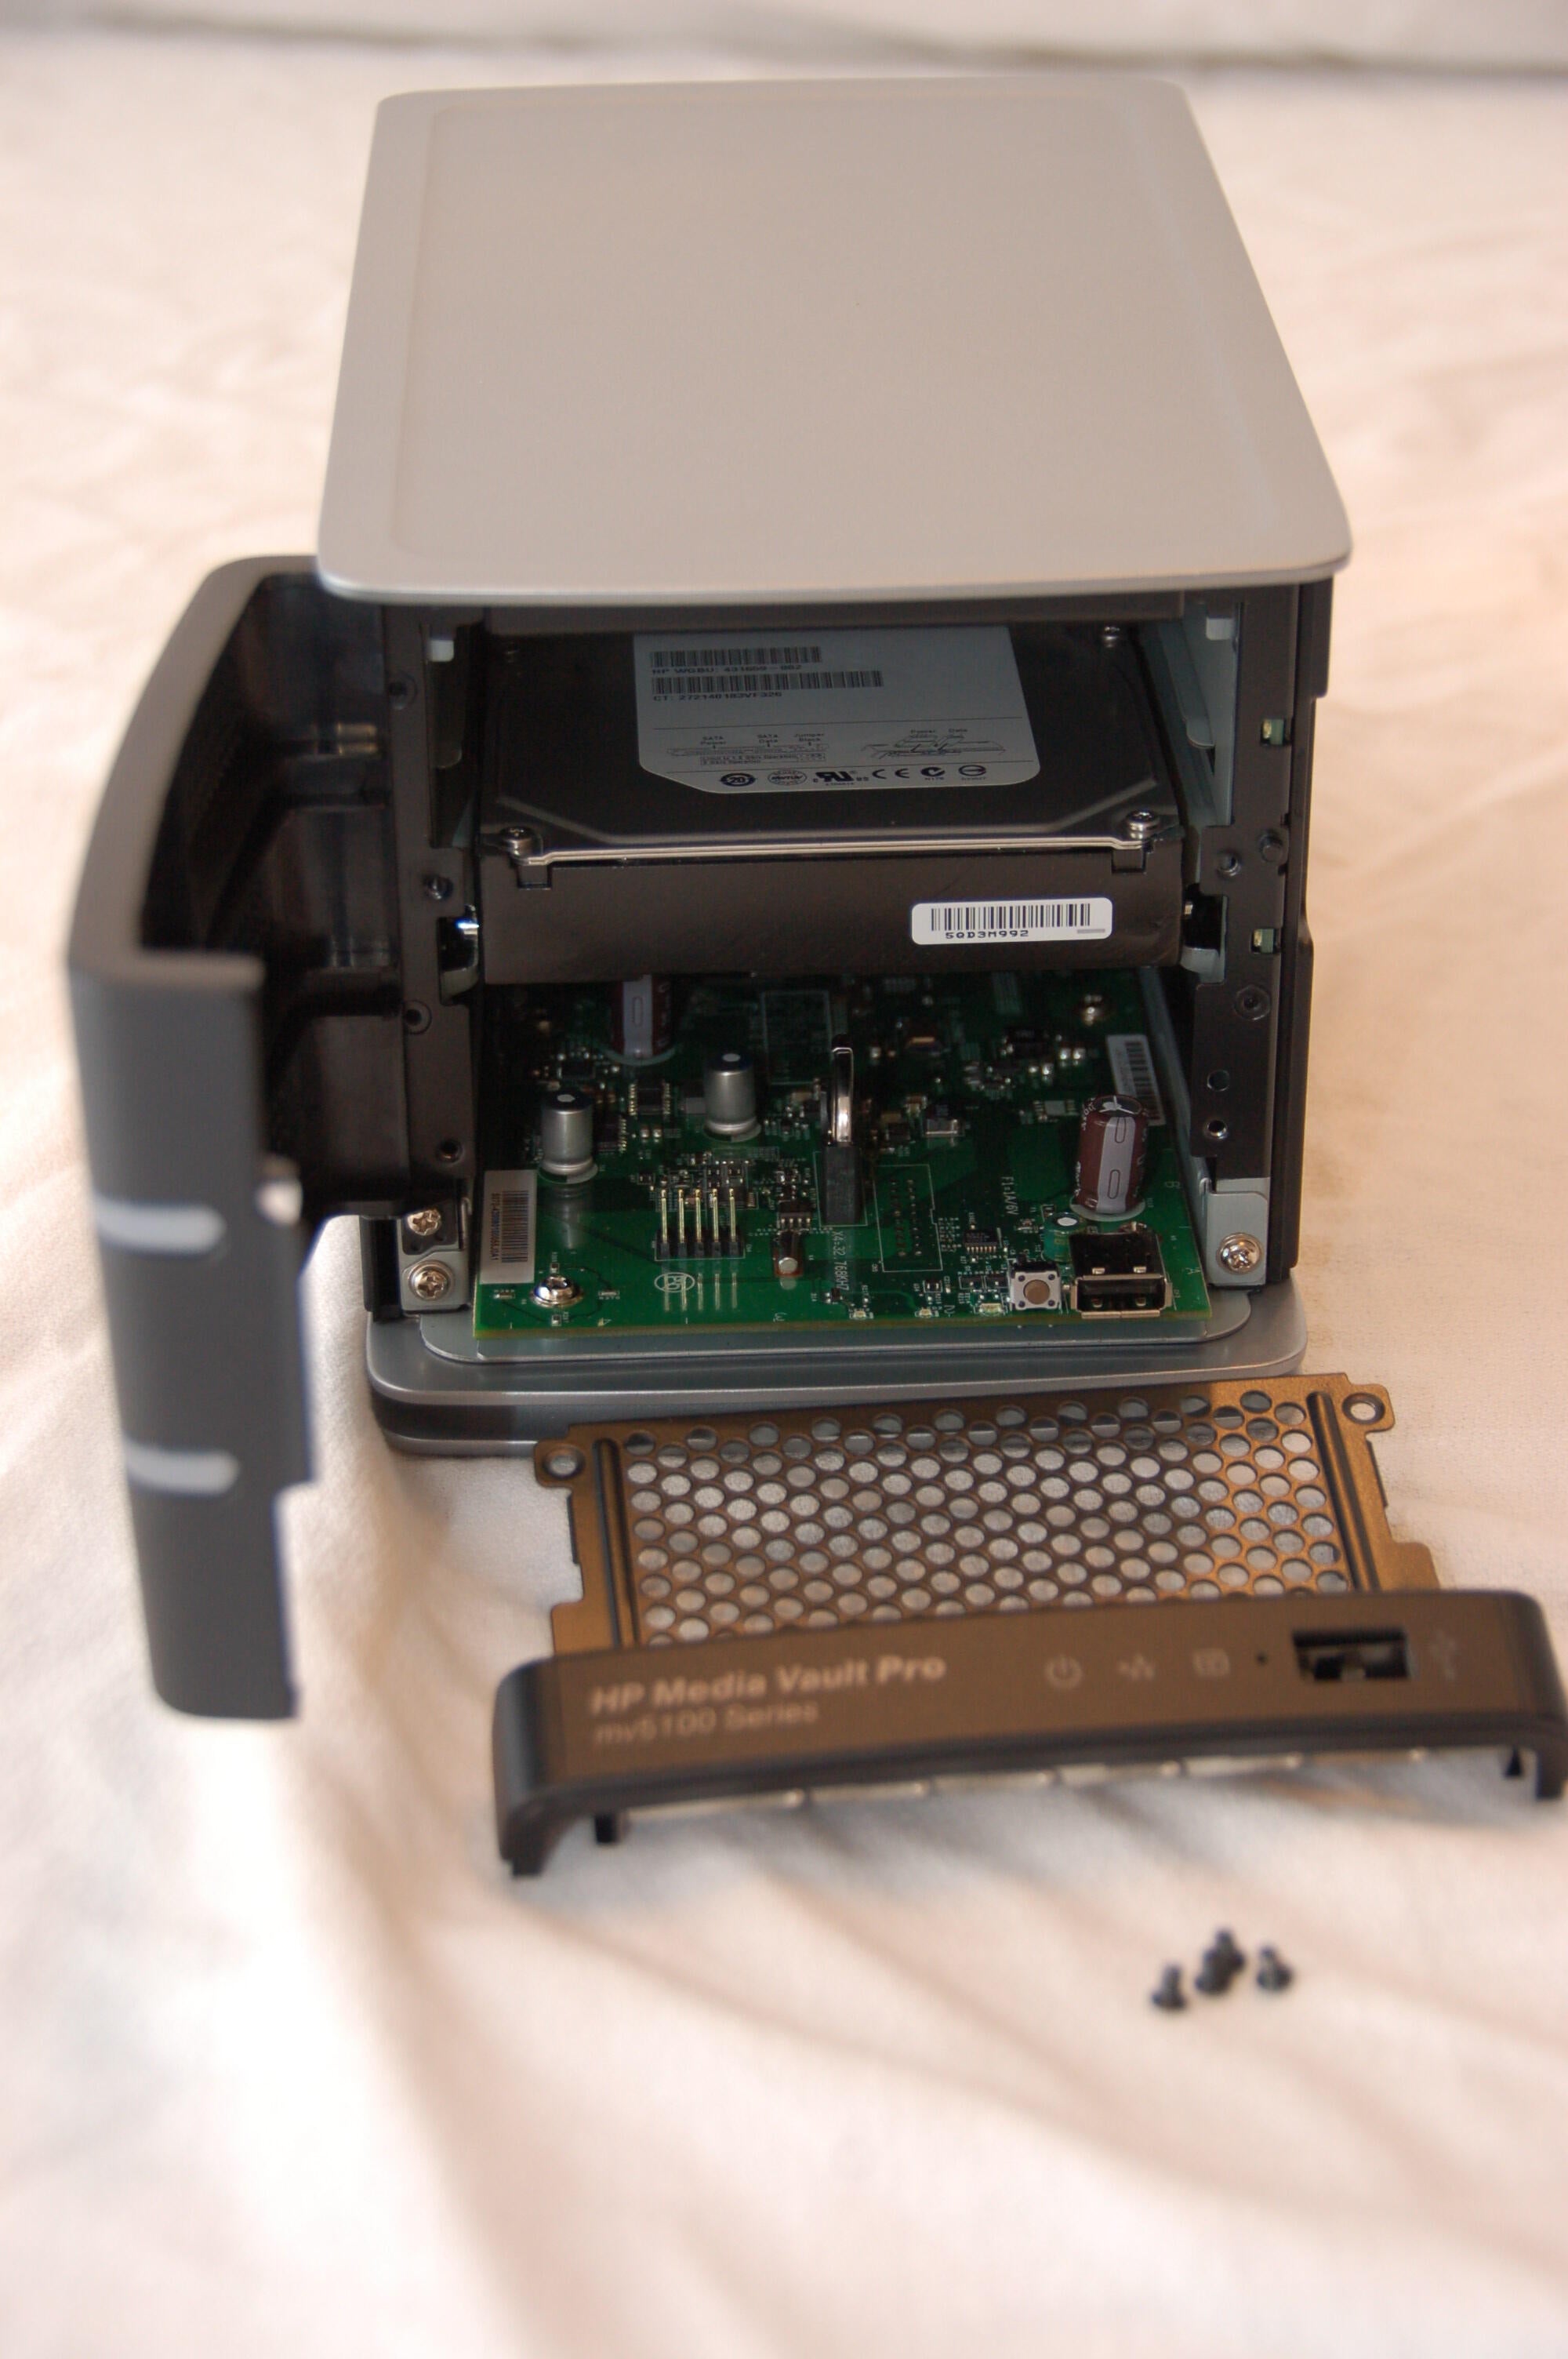
Four screws and the front plate was easily removed. This gave access to the internal hard drive and the motherboard.
\nPhotos by Scott Wolf for \u00a9 TechRepublic
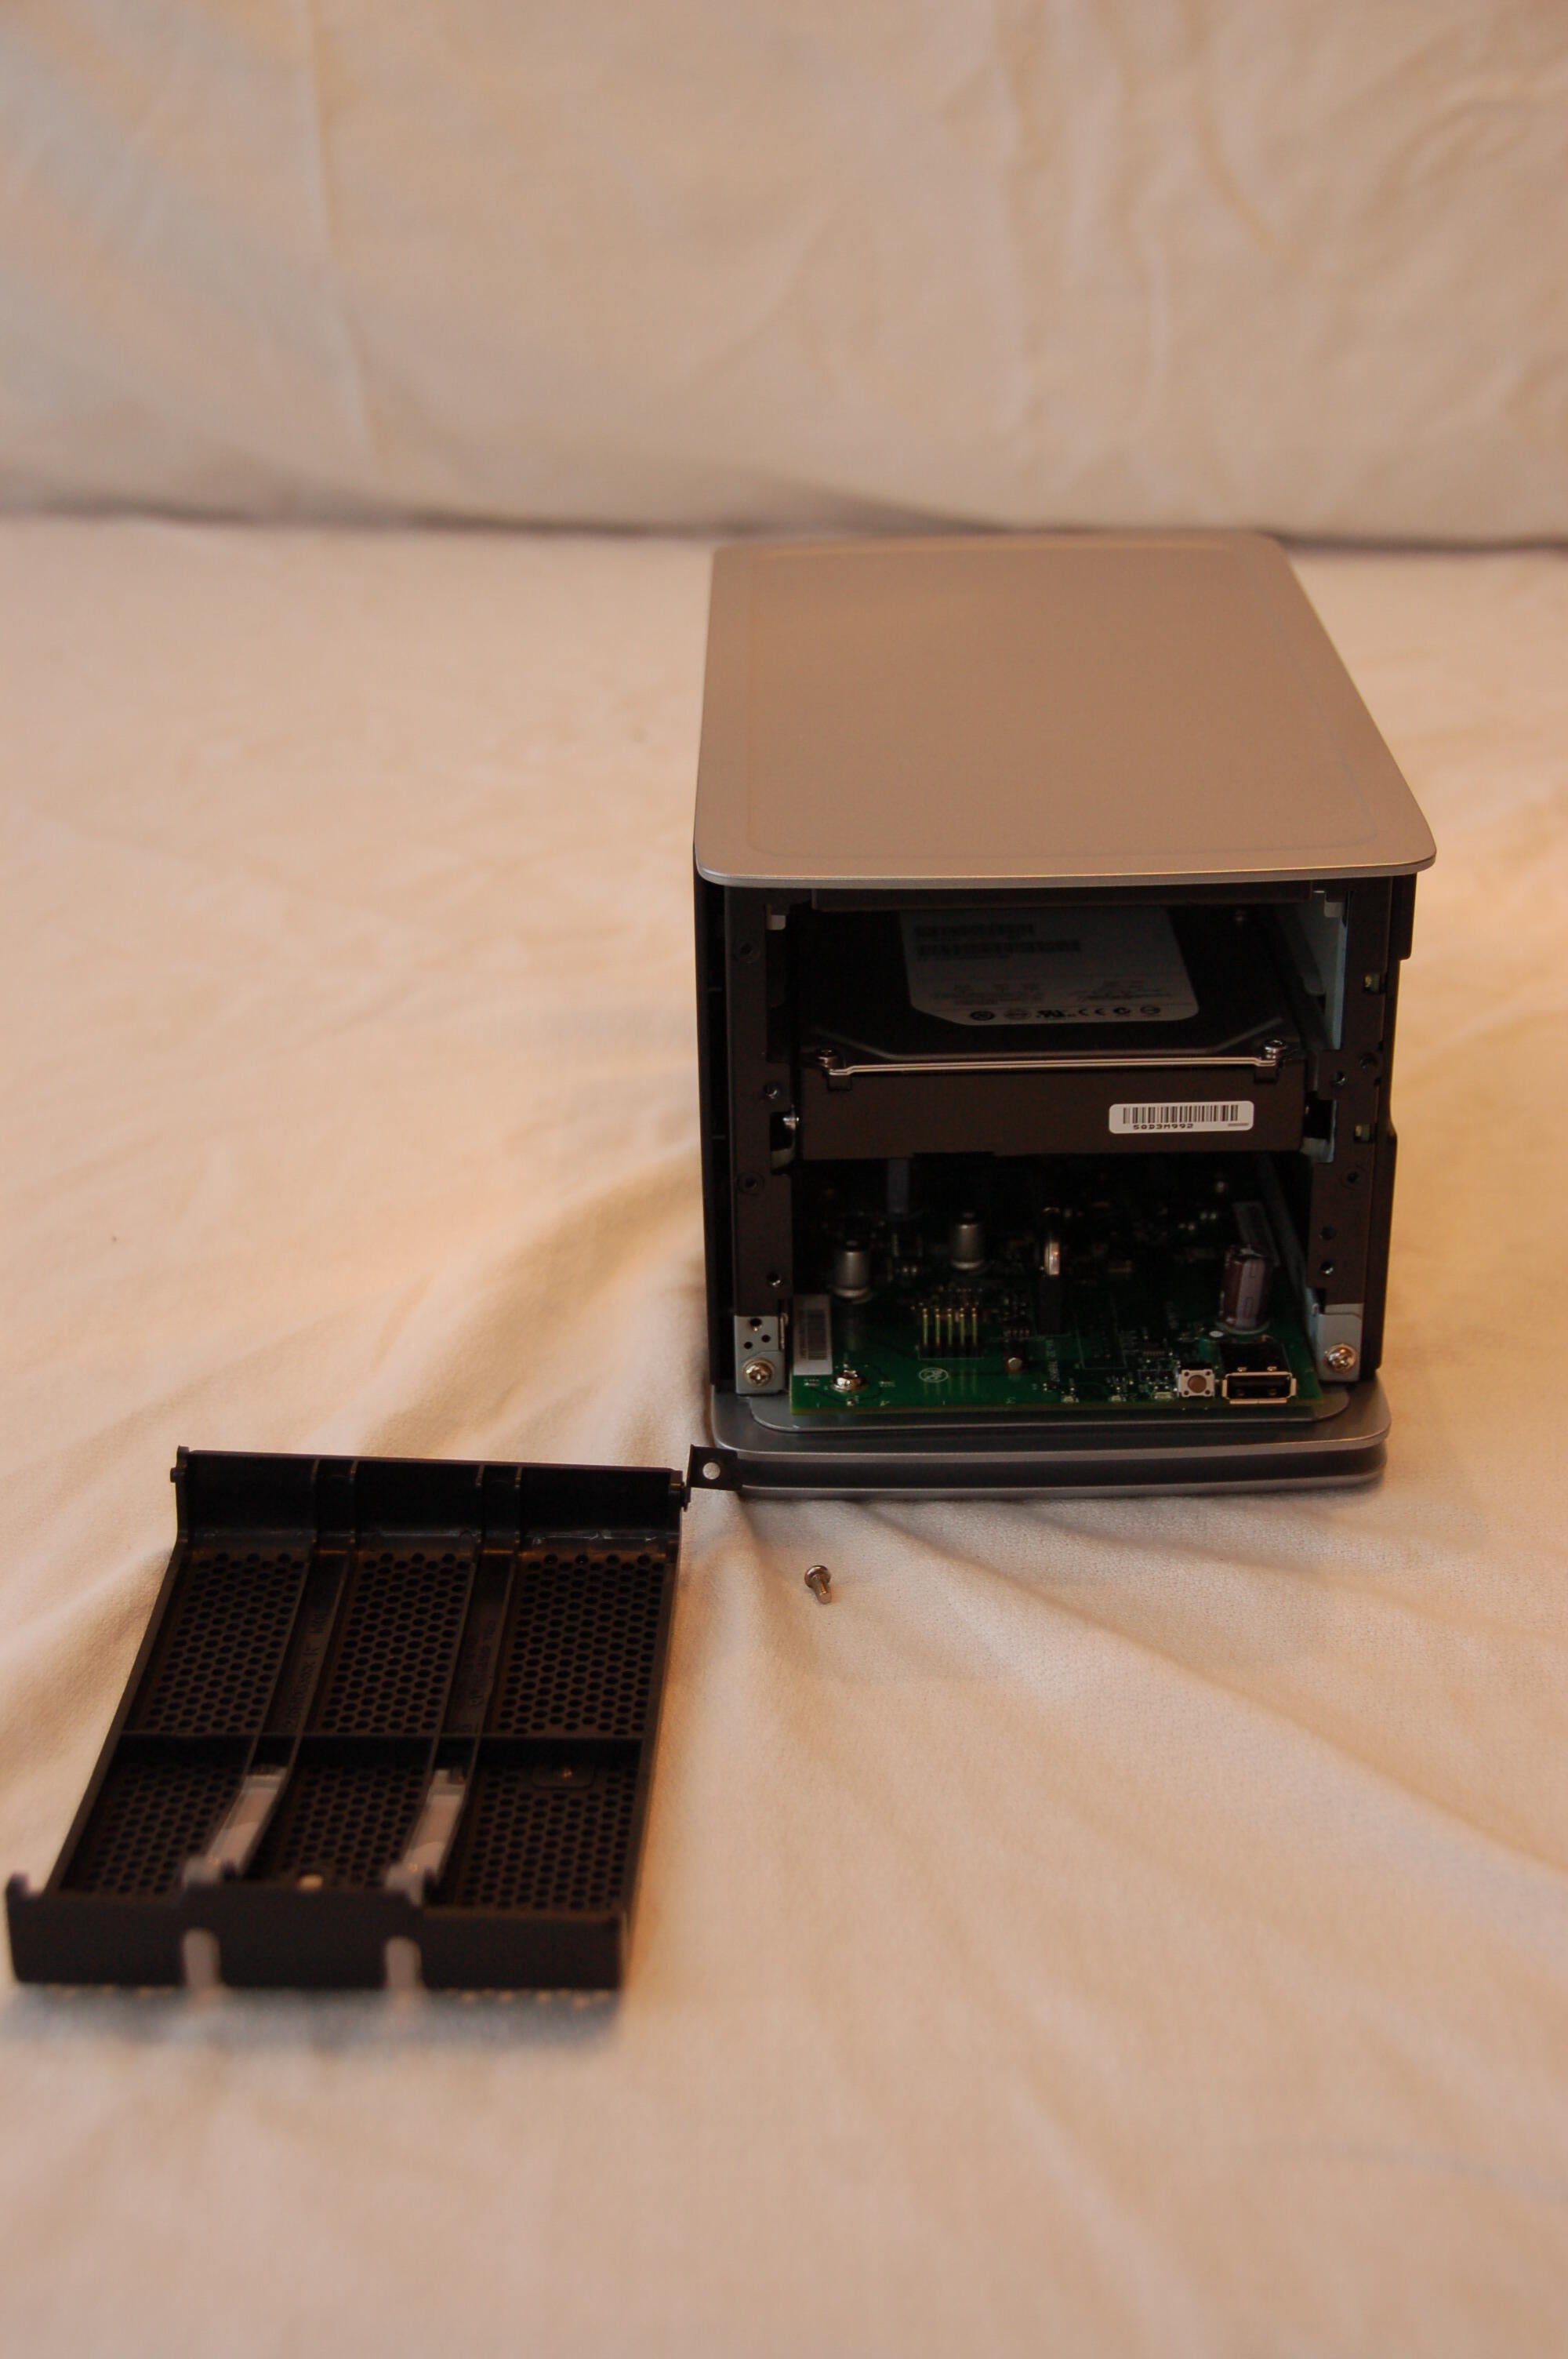
A single screw at the bottom of the door held it in place. The top of the door was held in place by a molded plastic post on the door.
\nPhotos by Scott Wolf for \u00a9 TechRepublic

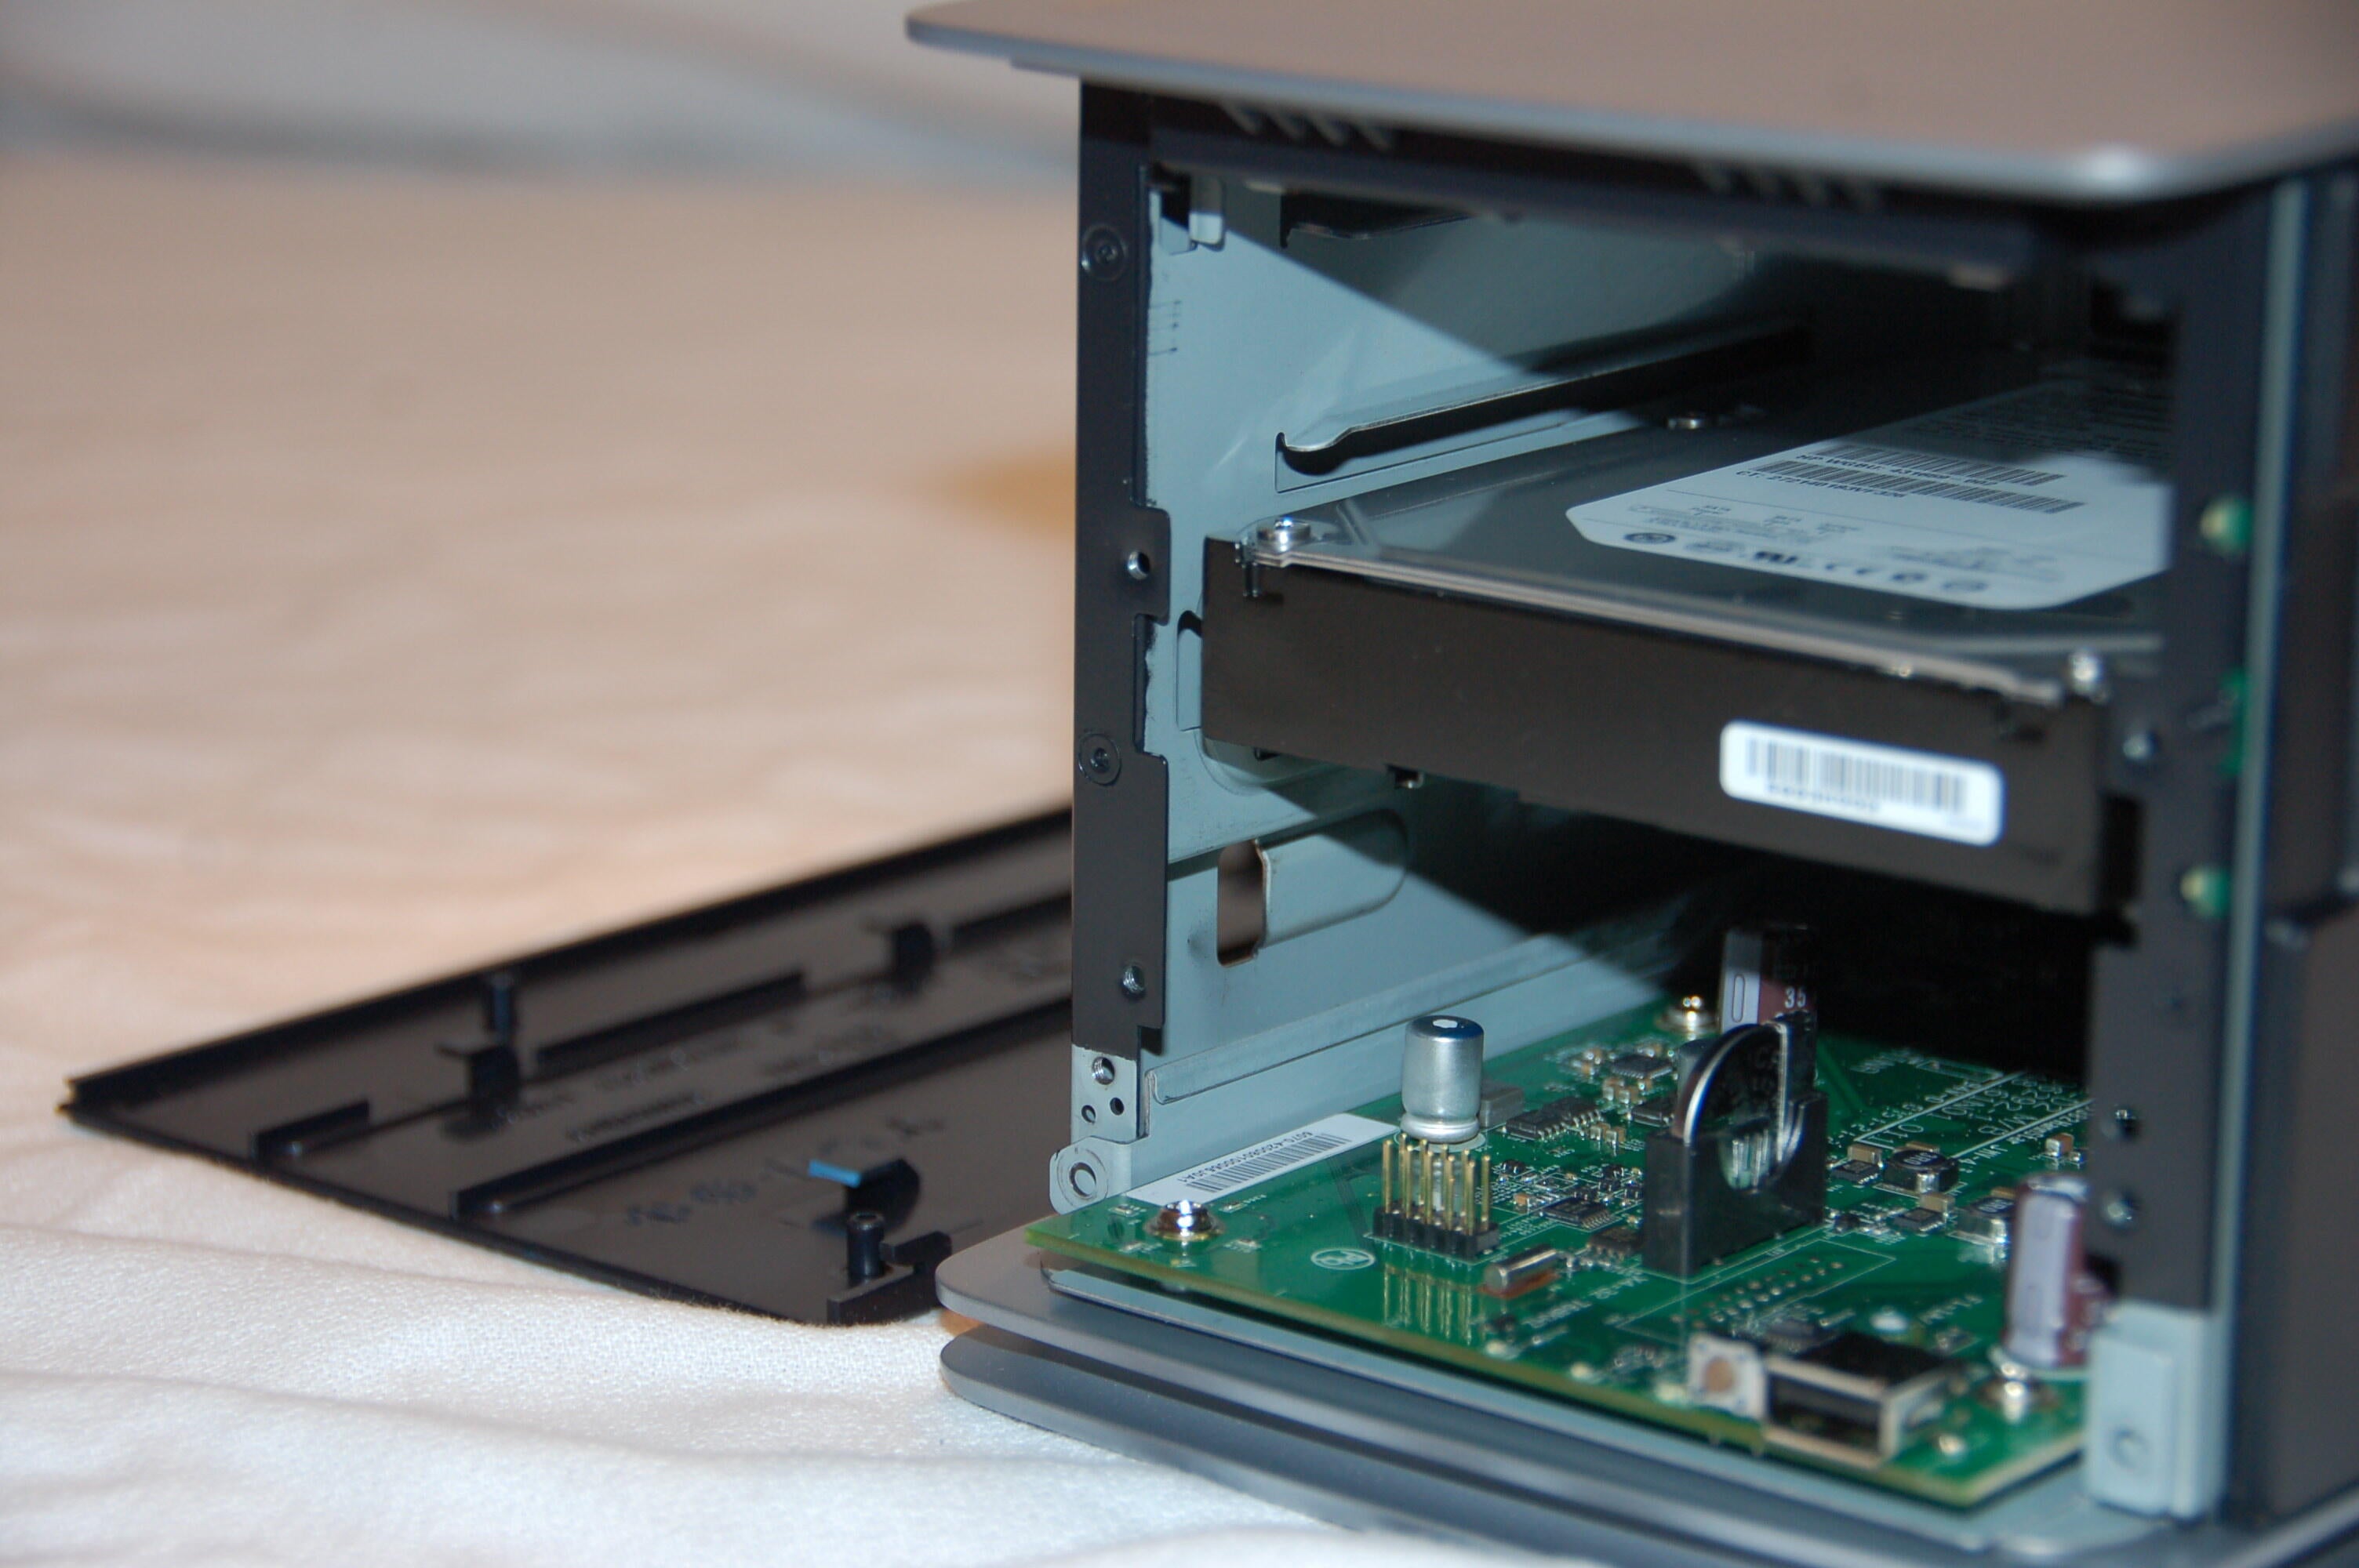
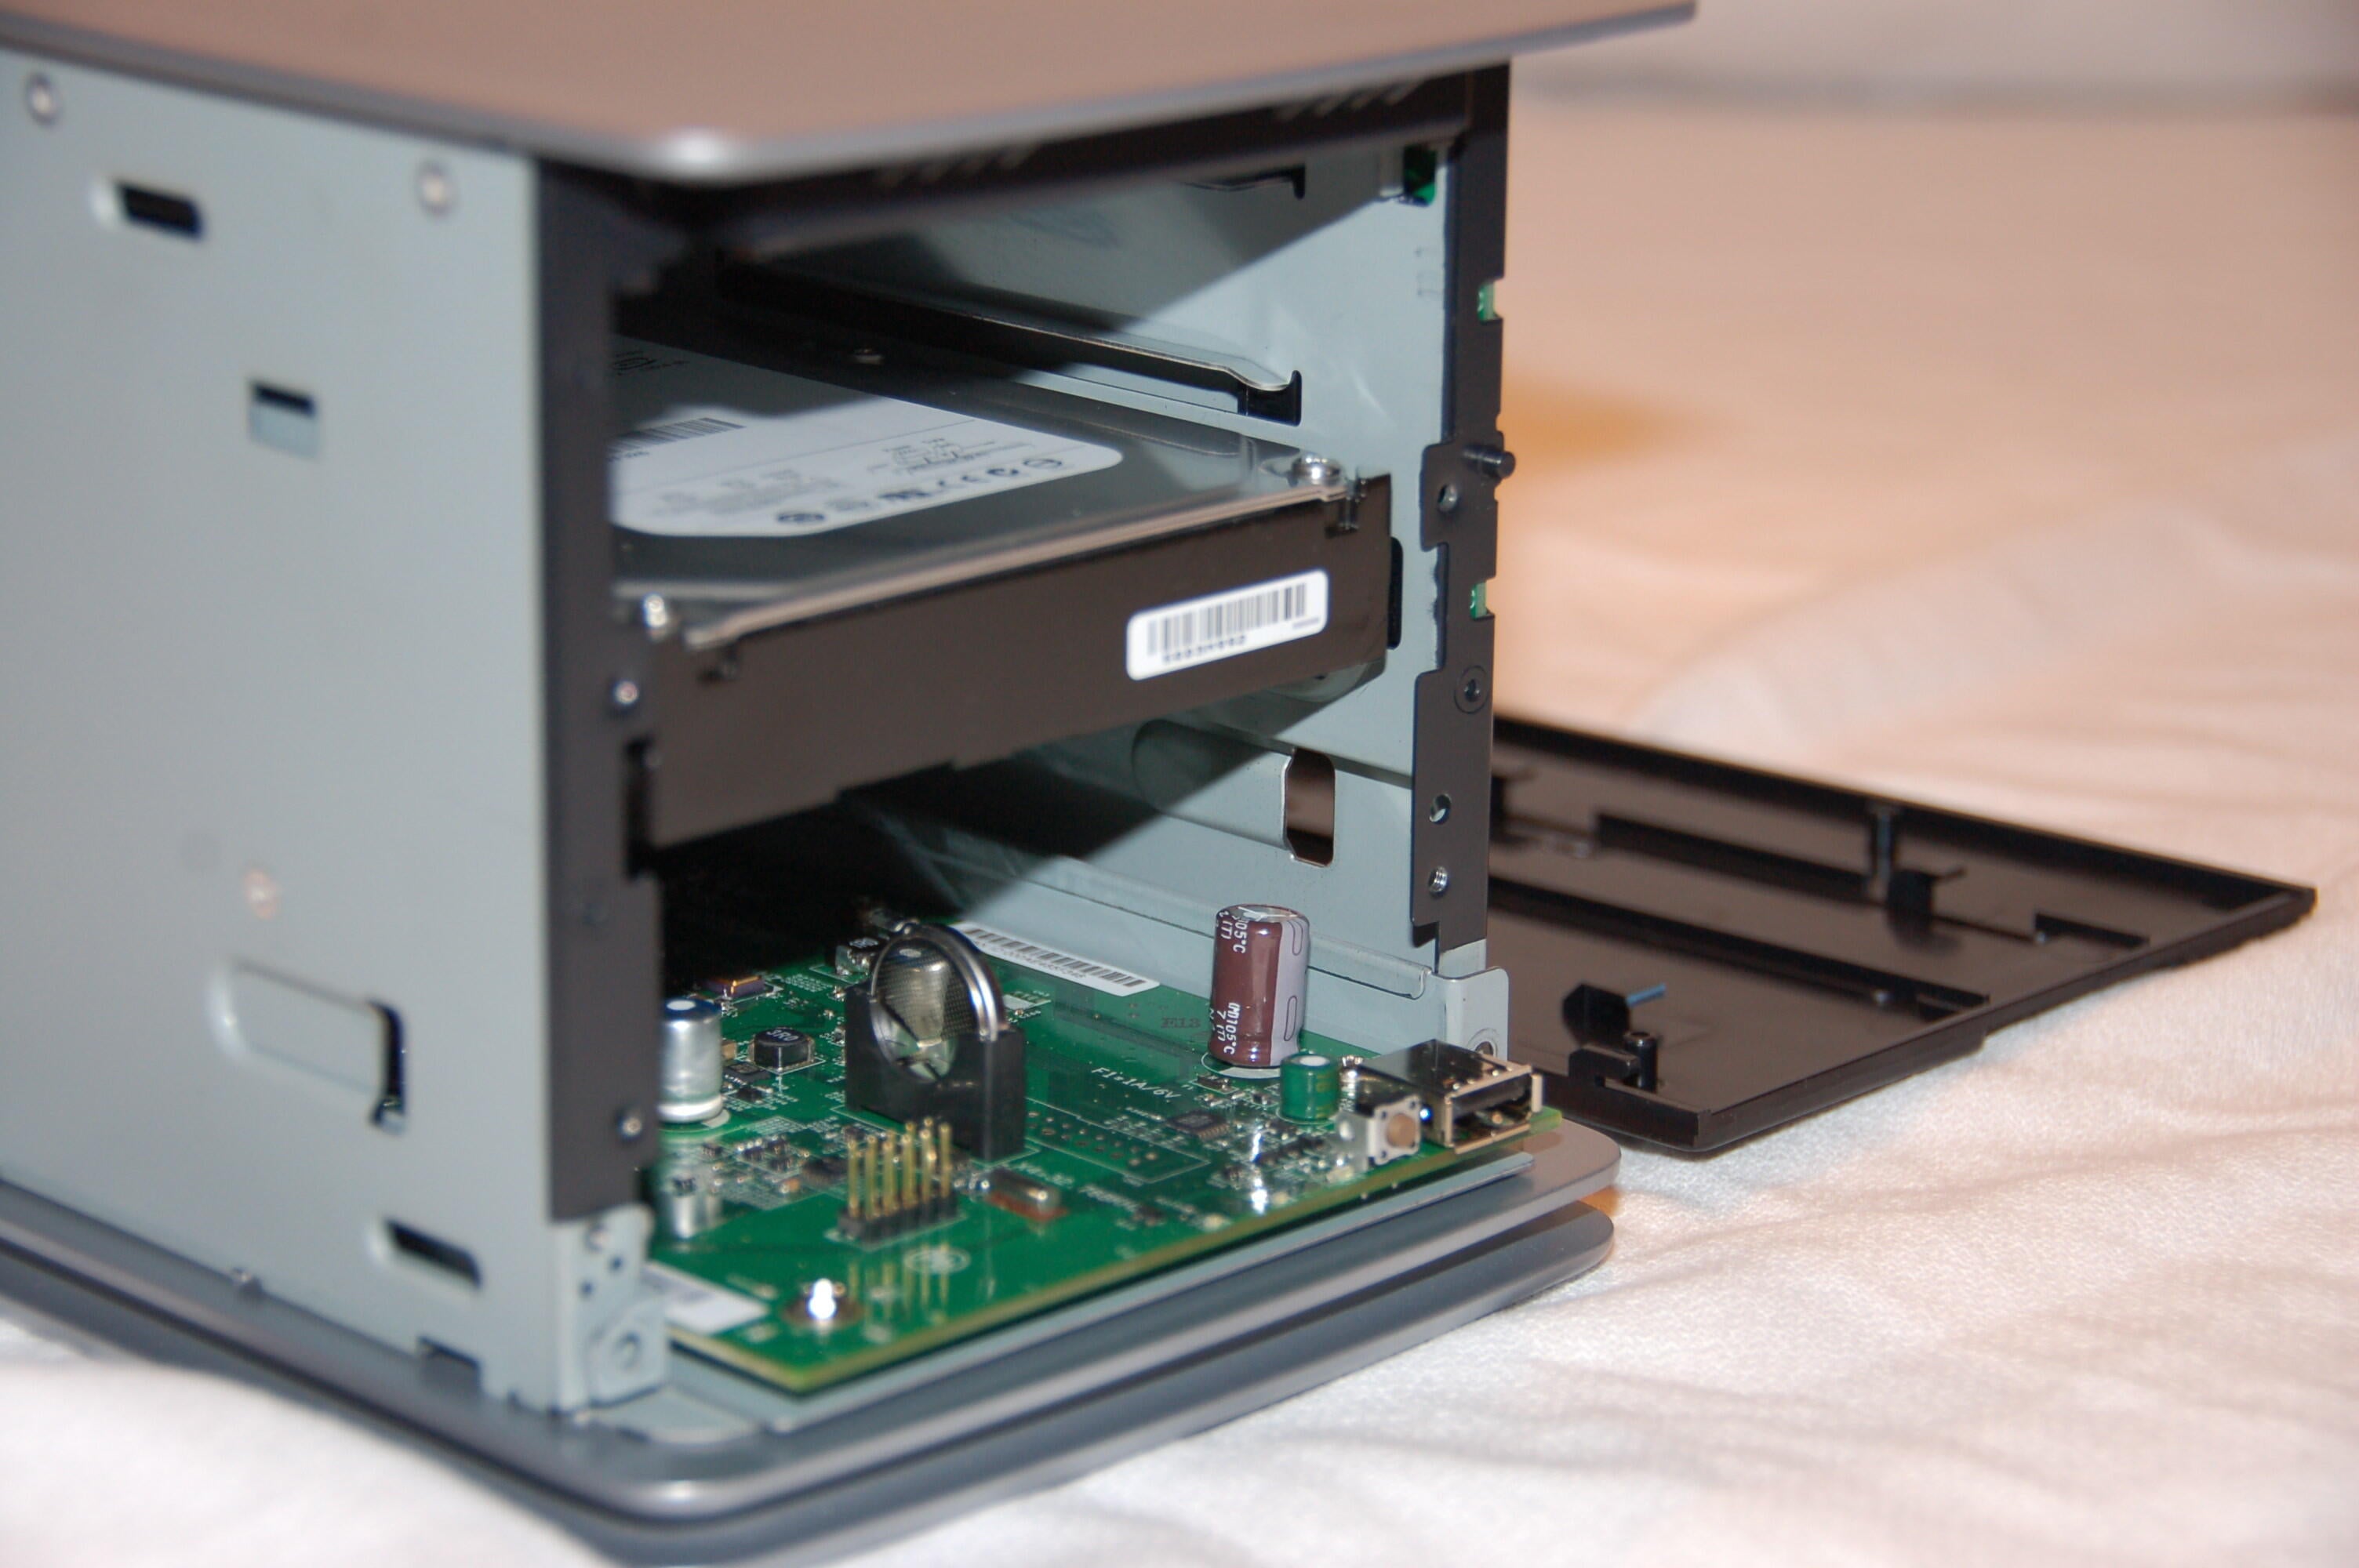
Here’s the front-less view of unit.
\nPhotos by Scott Wolf for \u00a9 TechRepublic
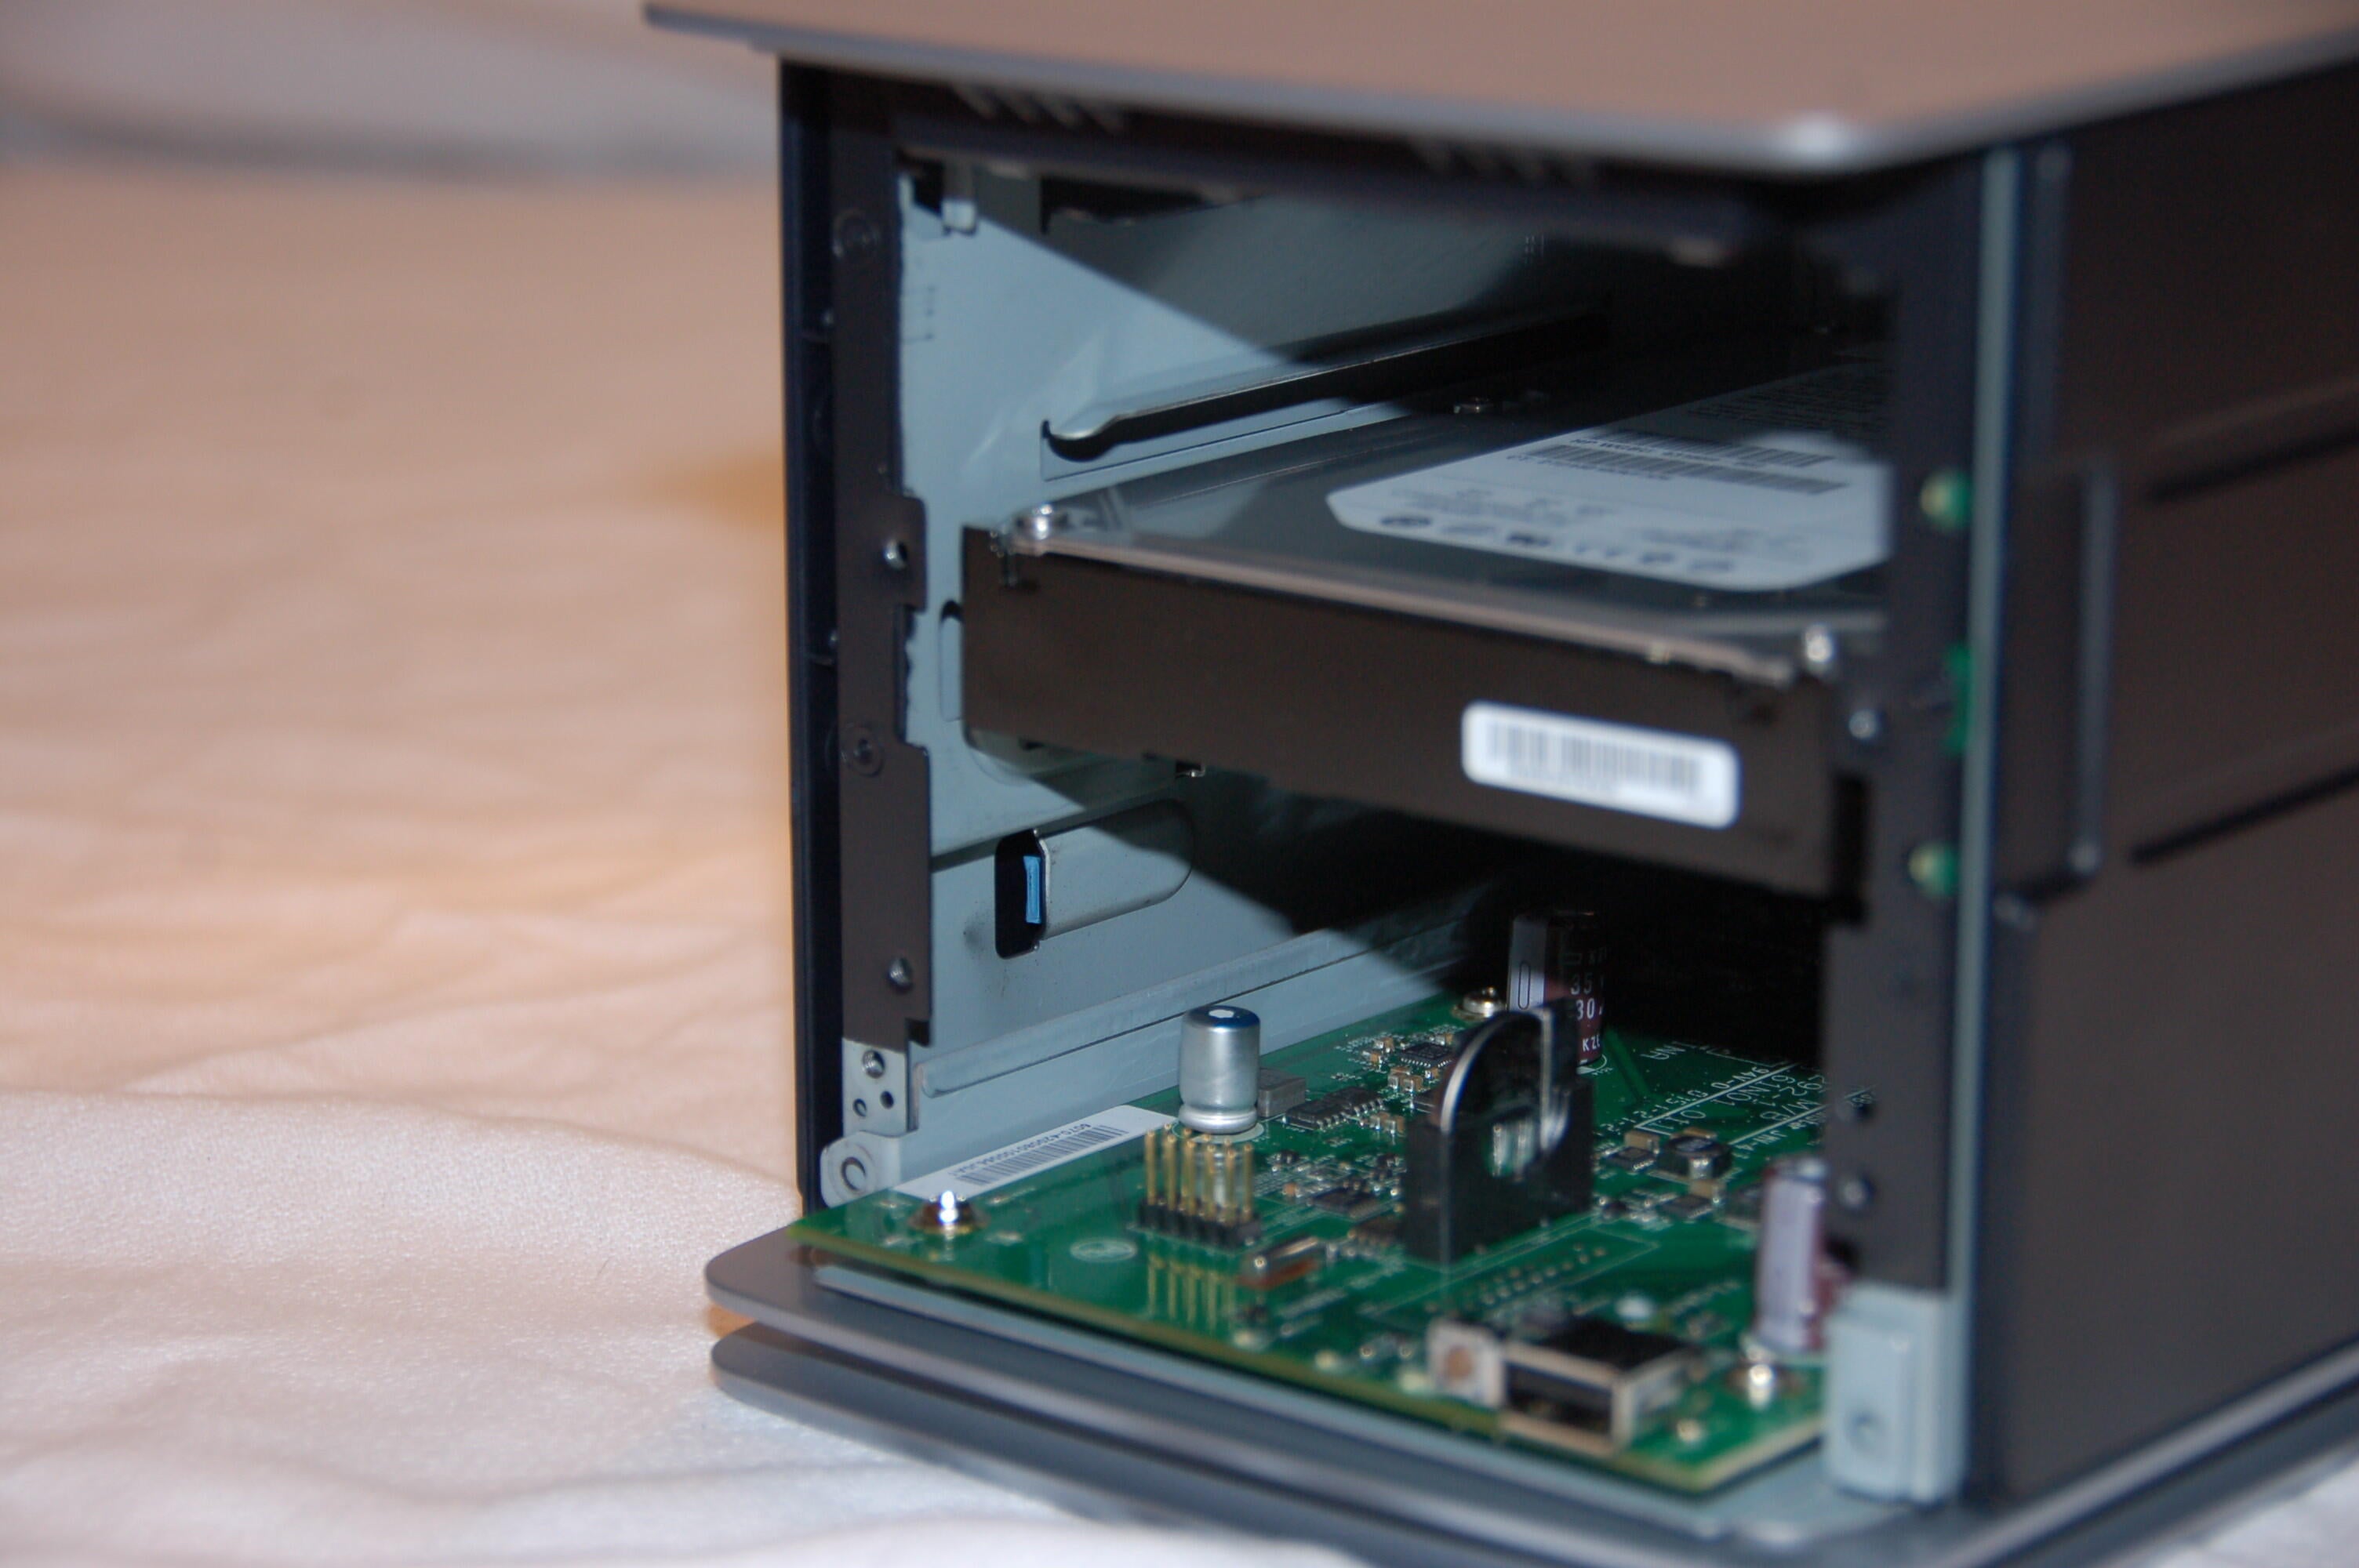
Different angle of front-less view.
\nPhotos by Scott Wolf for \u00a9 TechRepublic
To remove the side facade, you just need to depress the tab inside the front middle. In this picture, you can see where the rectangular hole is on the inside side wall, near the front. That’s where there tab held the side in place.
\nPhotos by Scott Wolf for \u00a9 TechRepublic
Same as before, depress tab and side removed easily.
\nPhotos by Scott Wolf for \u00a9 TechRepublic
Same as before, depress tab and side removed easily.
\nPhotos by Scott Wolf for \u00a9 TechRepublic

The drive simply pulls out.
\nPhotos by Scott Wolf for \u00a9 TechRepublic
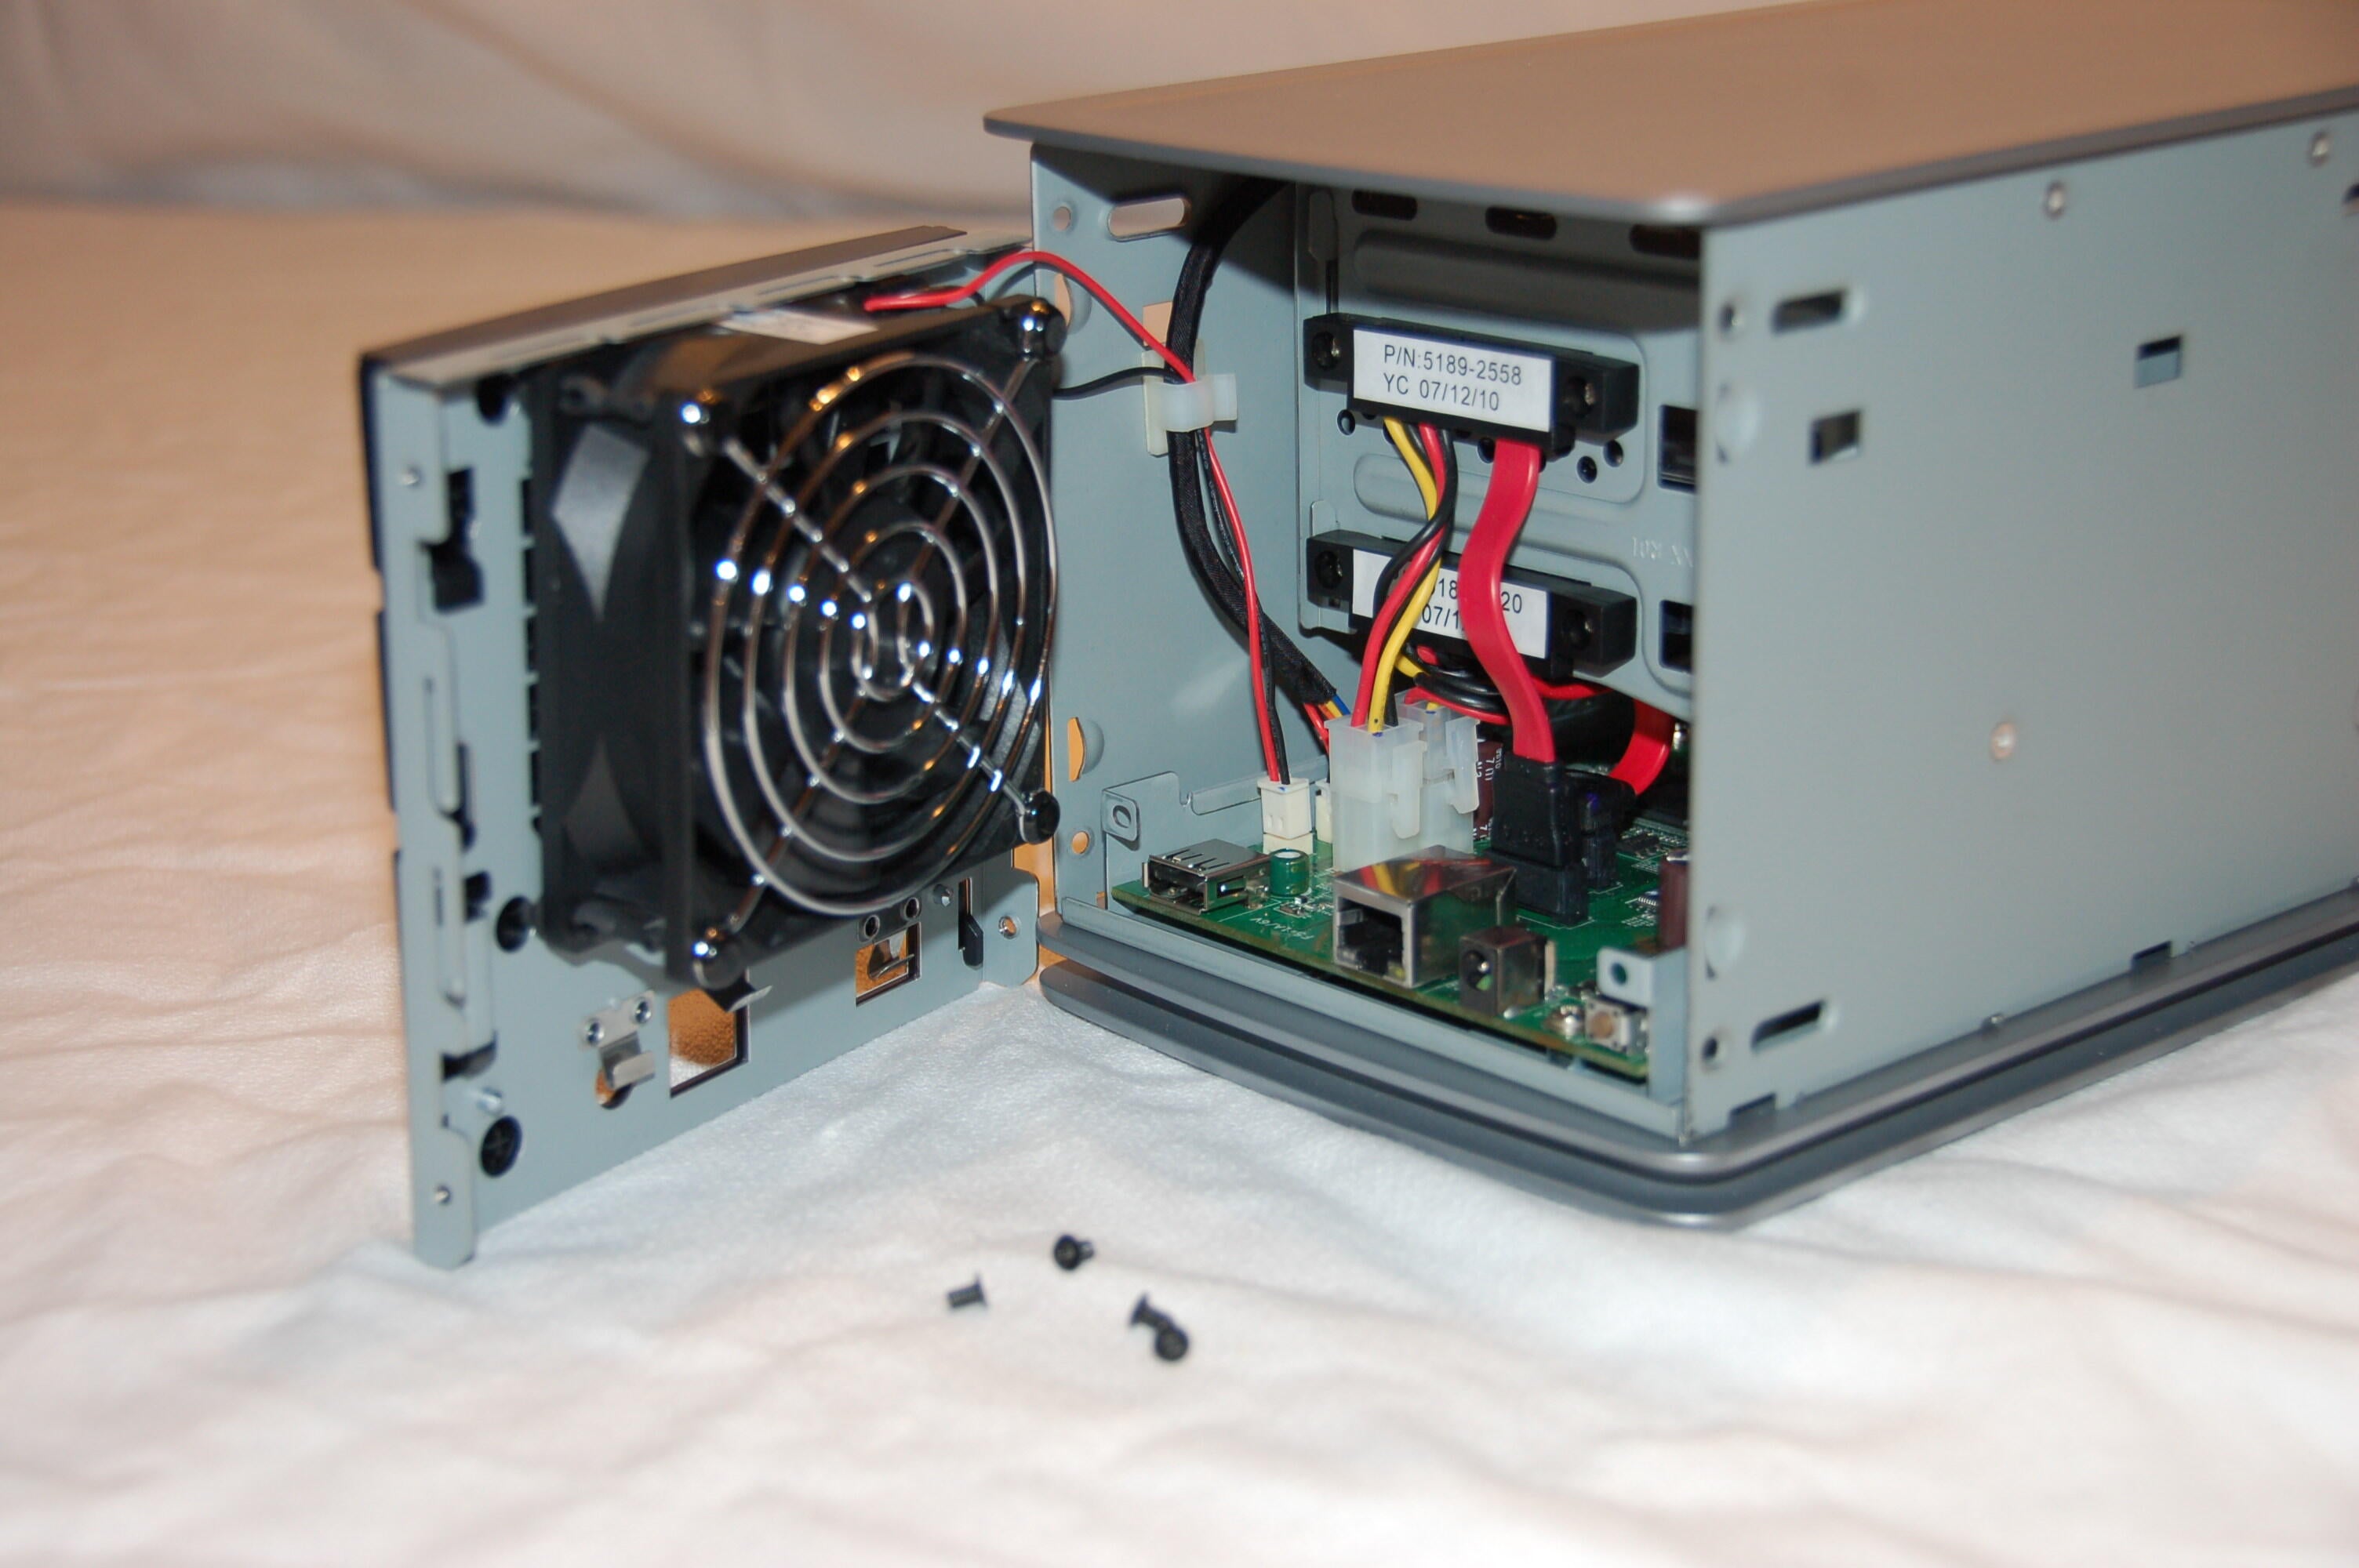
Removing the rear 4 screws easily detached the rear of the case. From here I unplugged the fan and un-routed the wires.
\nPhotos by Scott Wolf for \u00a9 TechRepublic
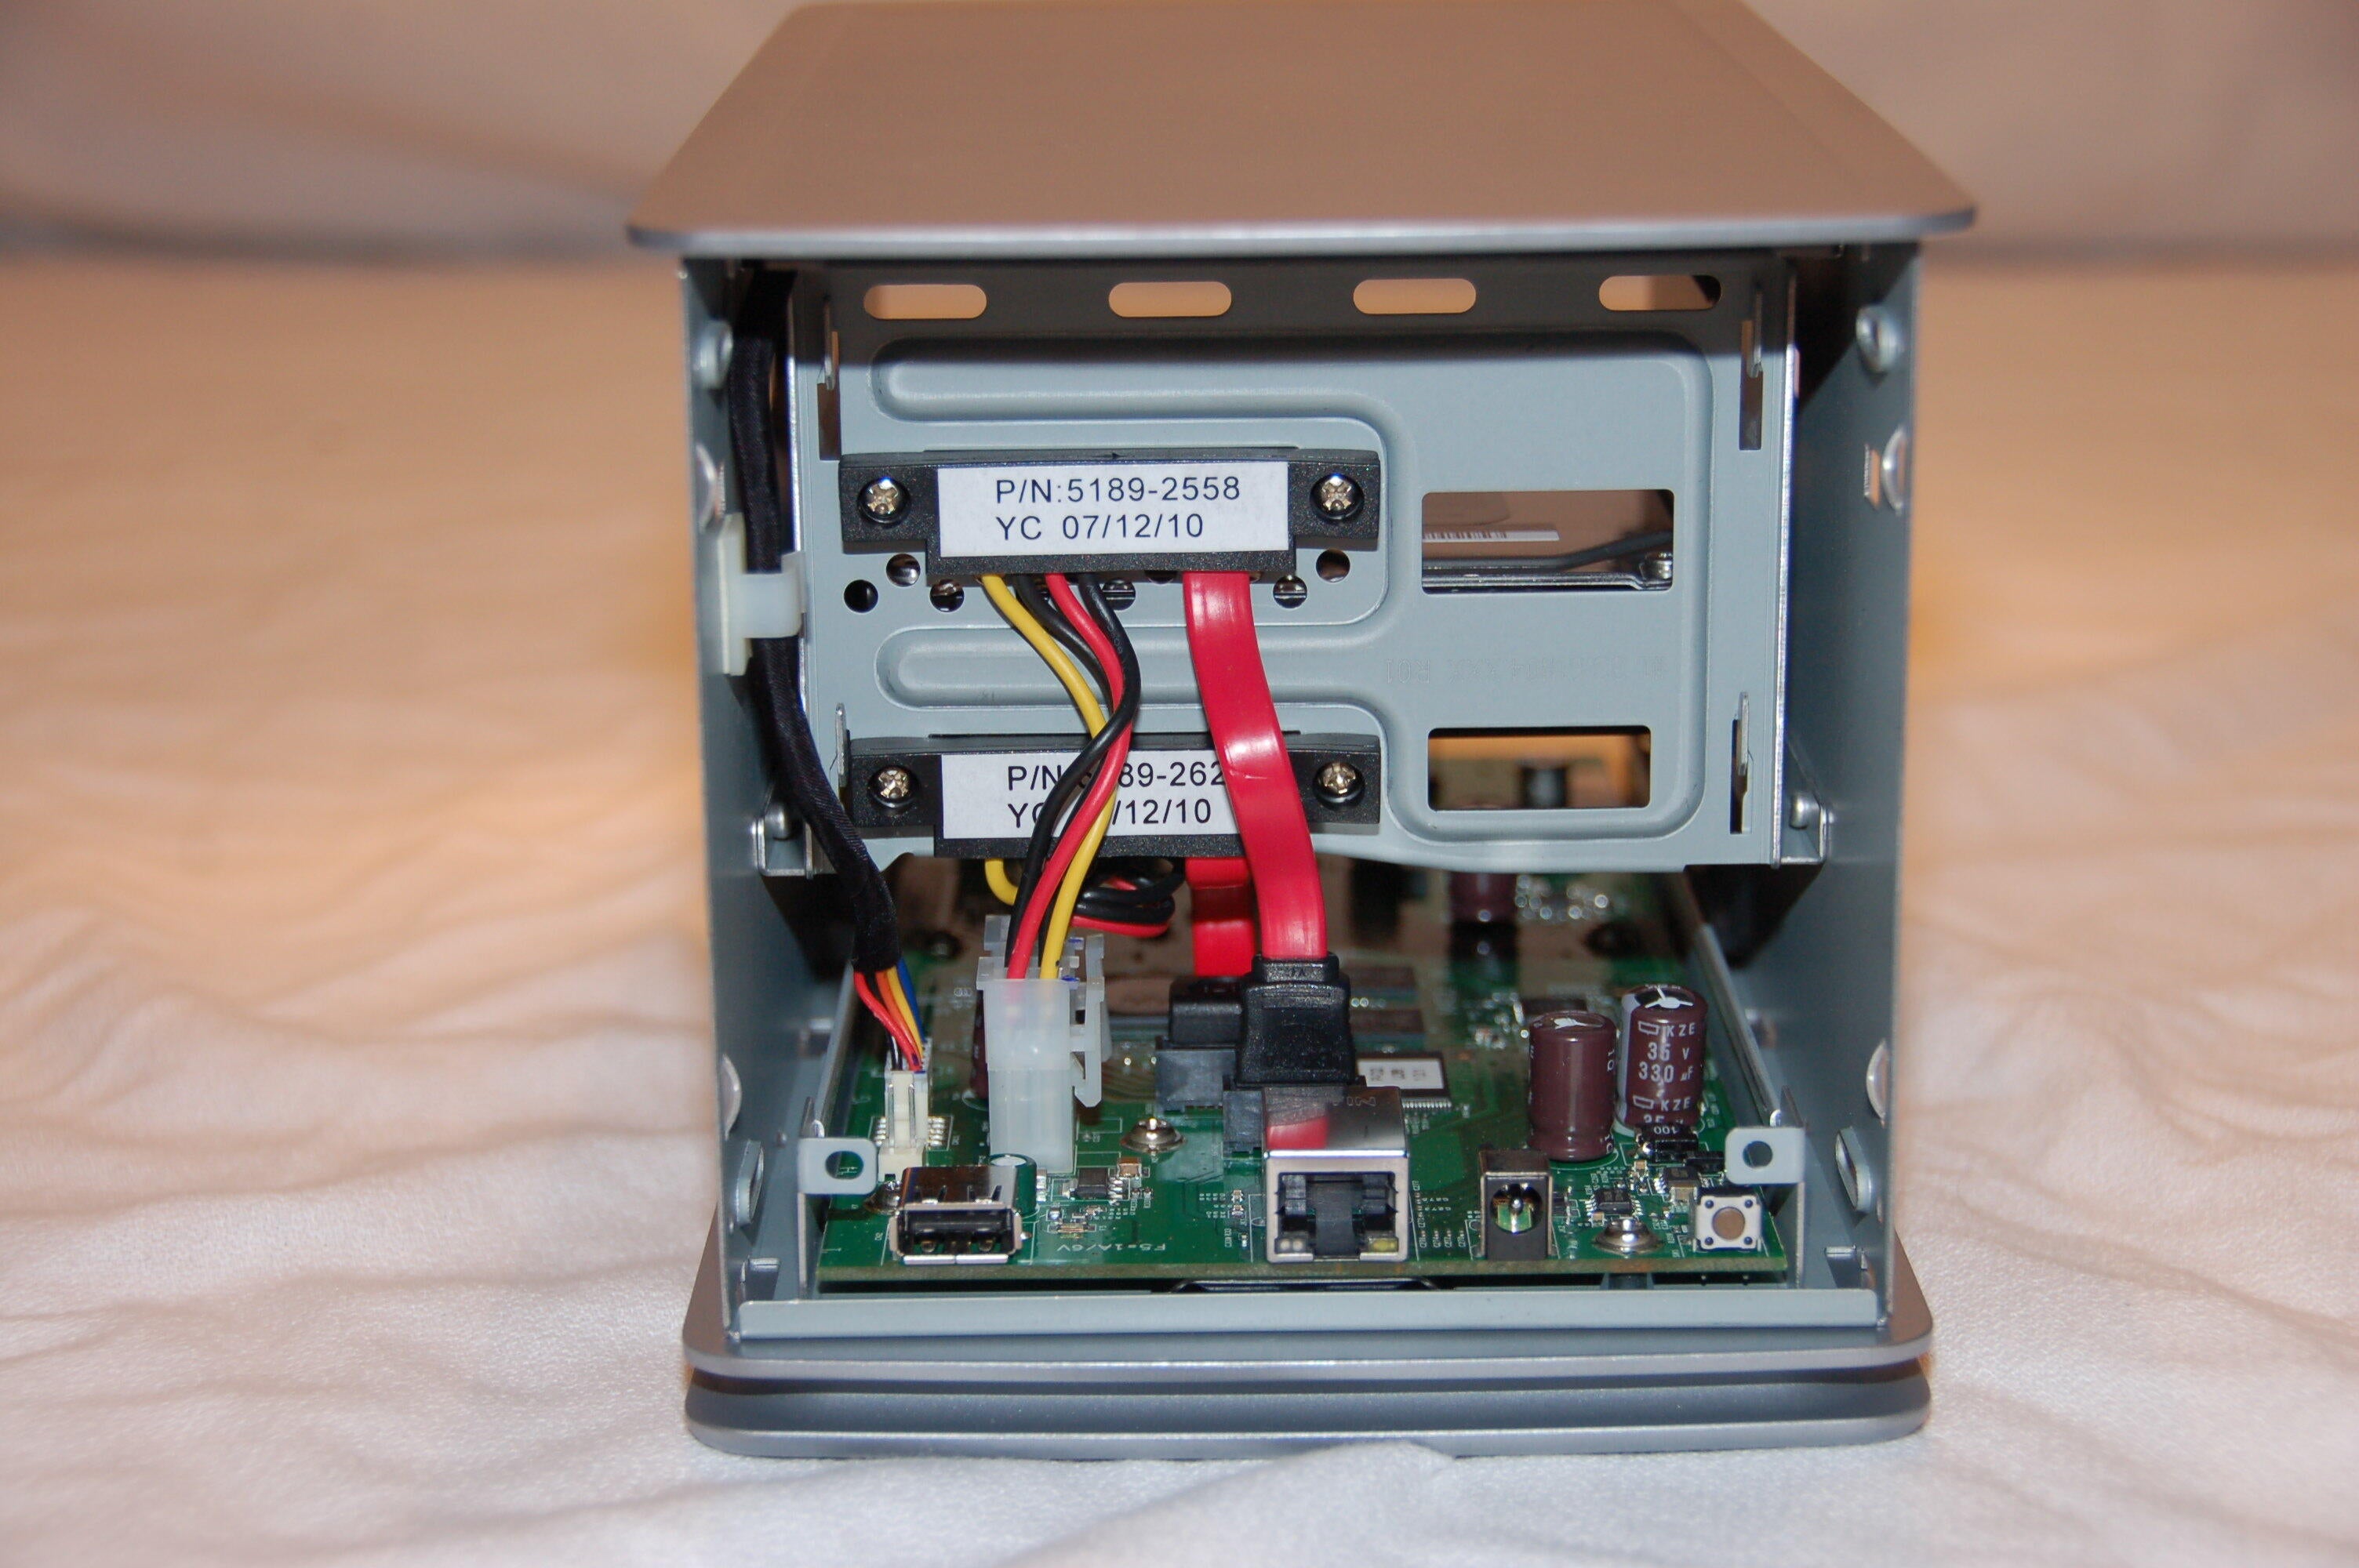
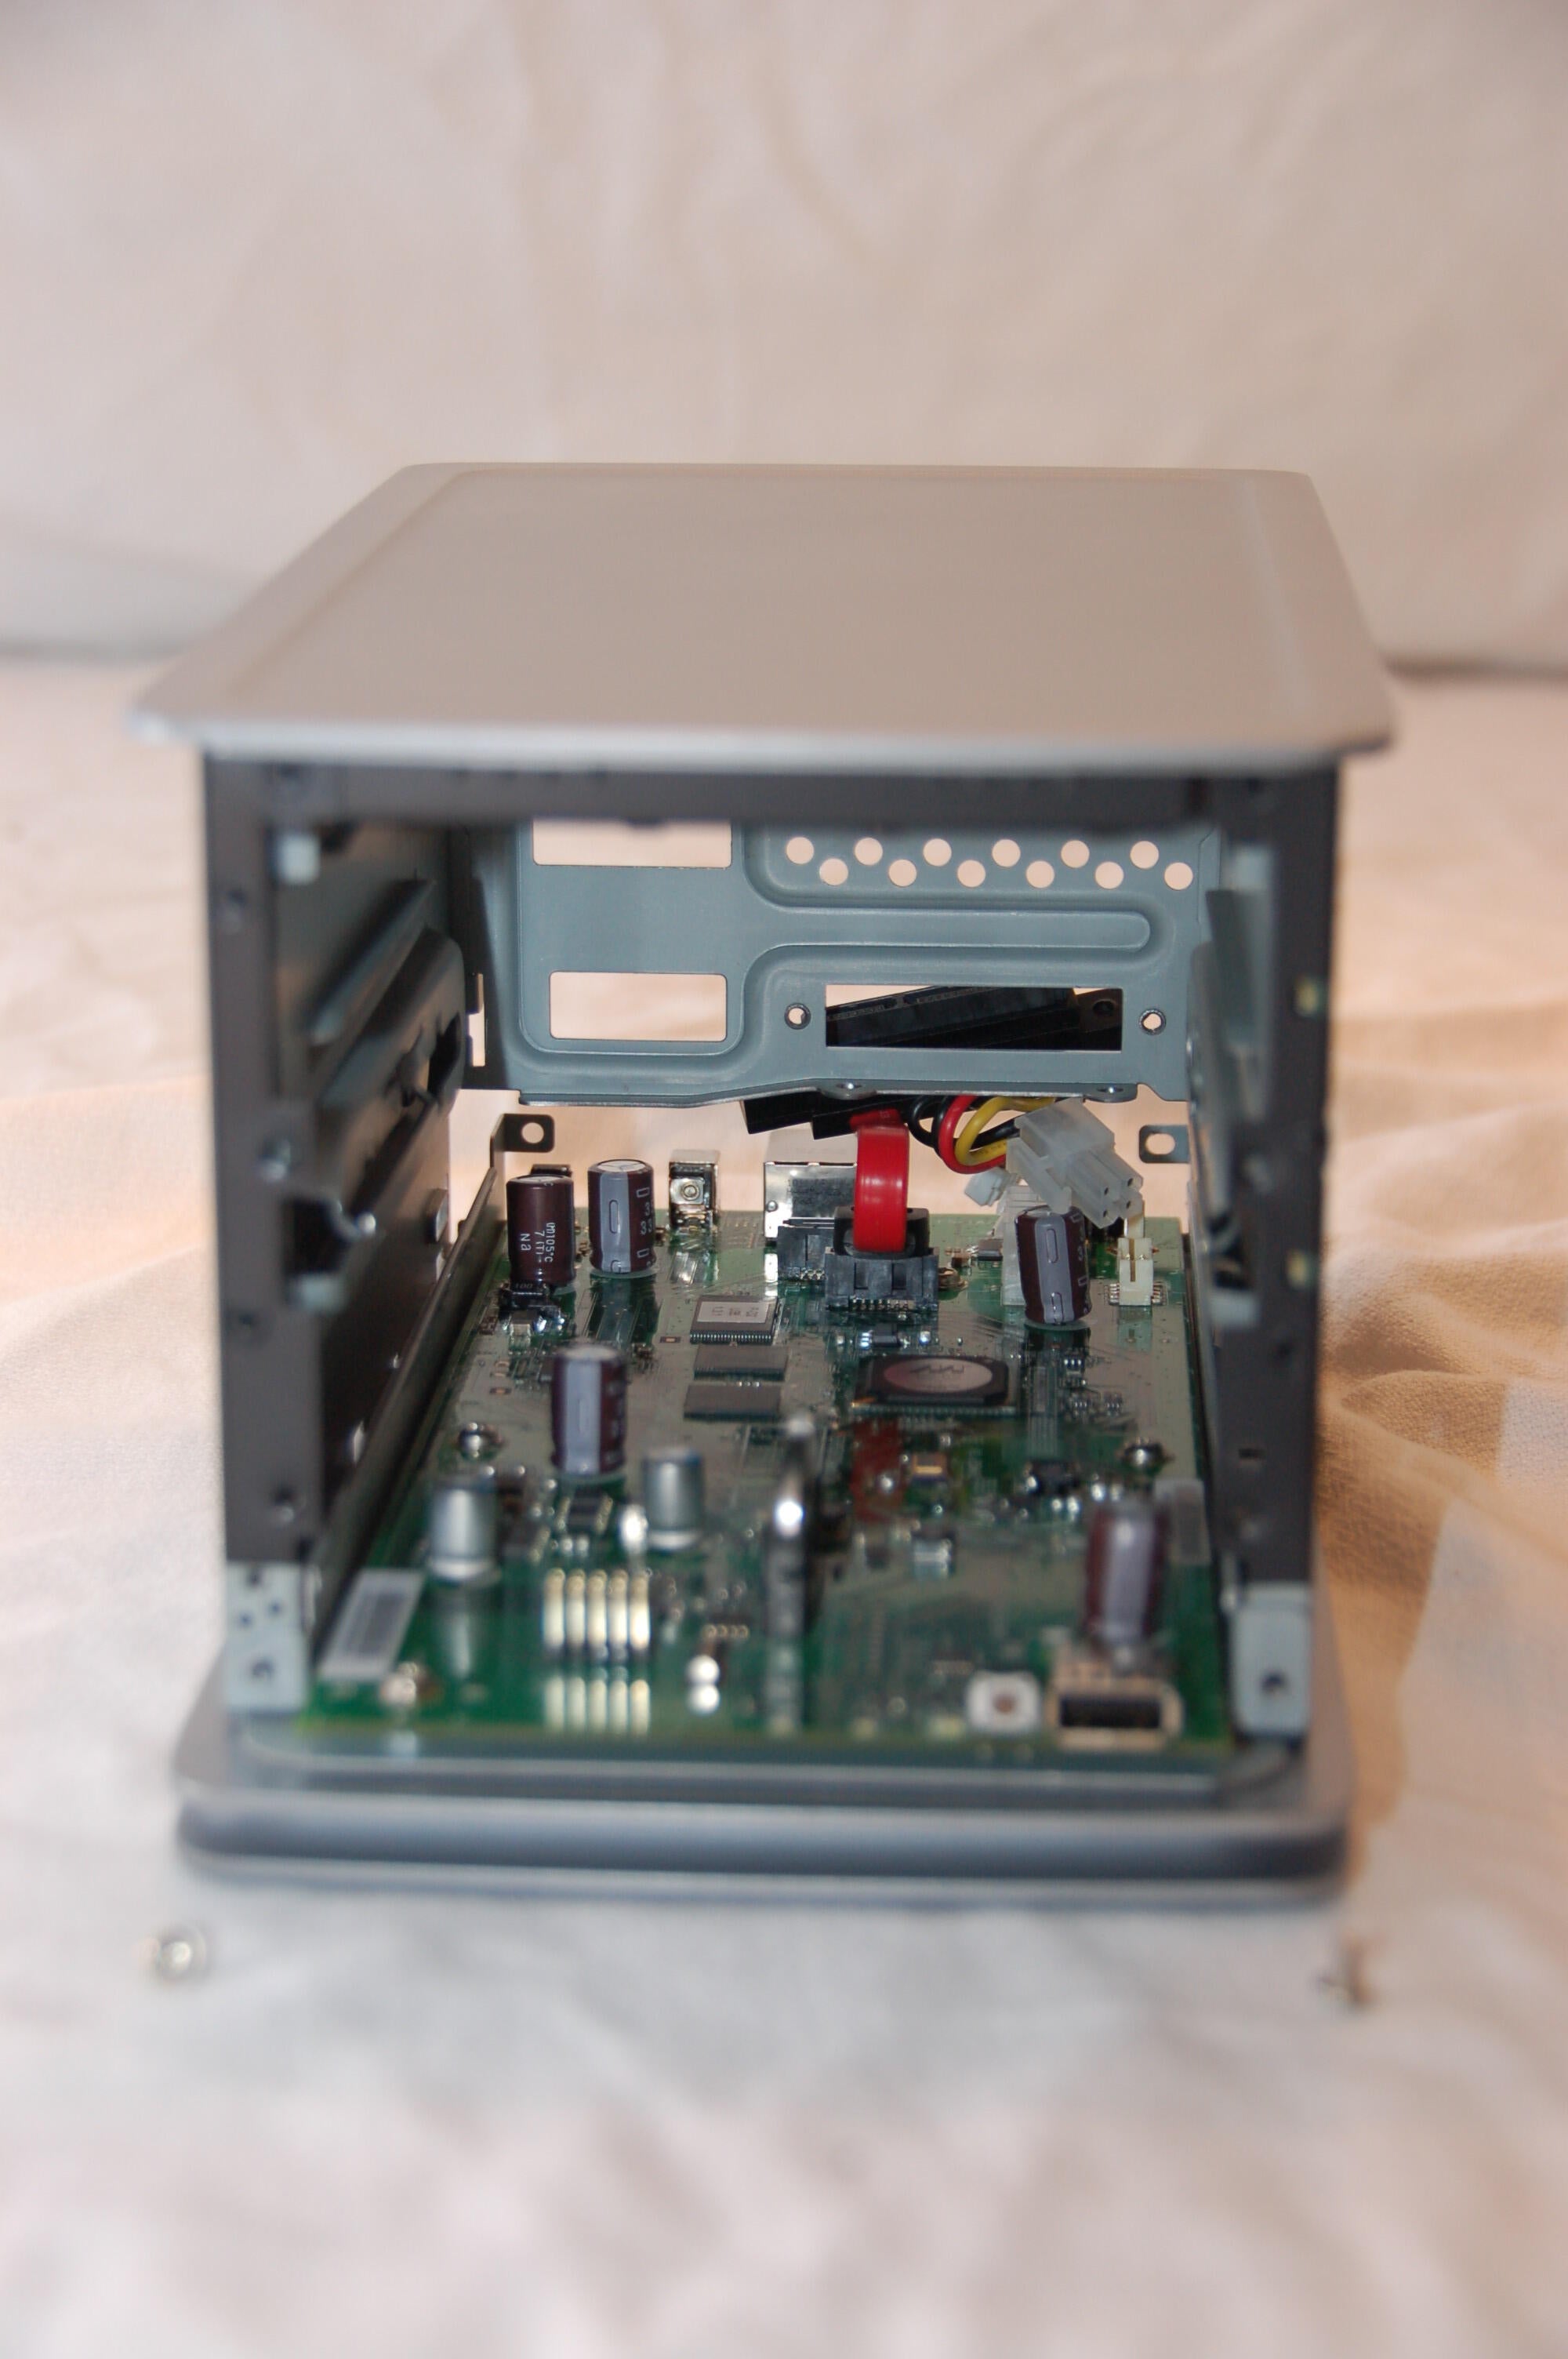
From the rear you can see two SATA power cables, two data power cables and a motherboard power cable that are screaming to be removed.
\nPhotos by Scott Wolf for \u00a9 TechRepublic
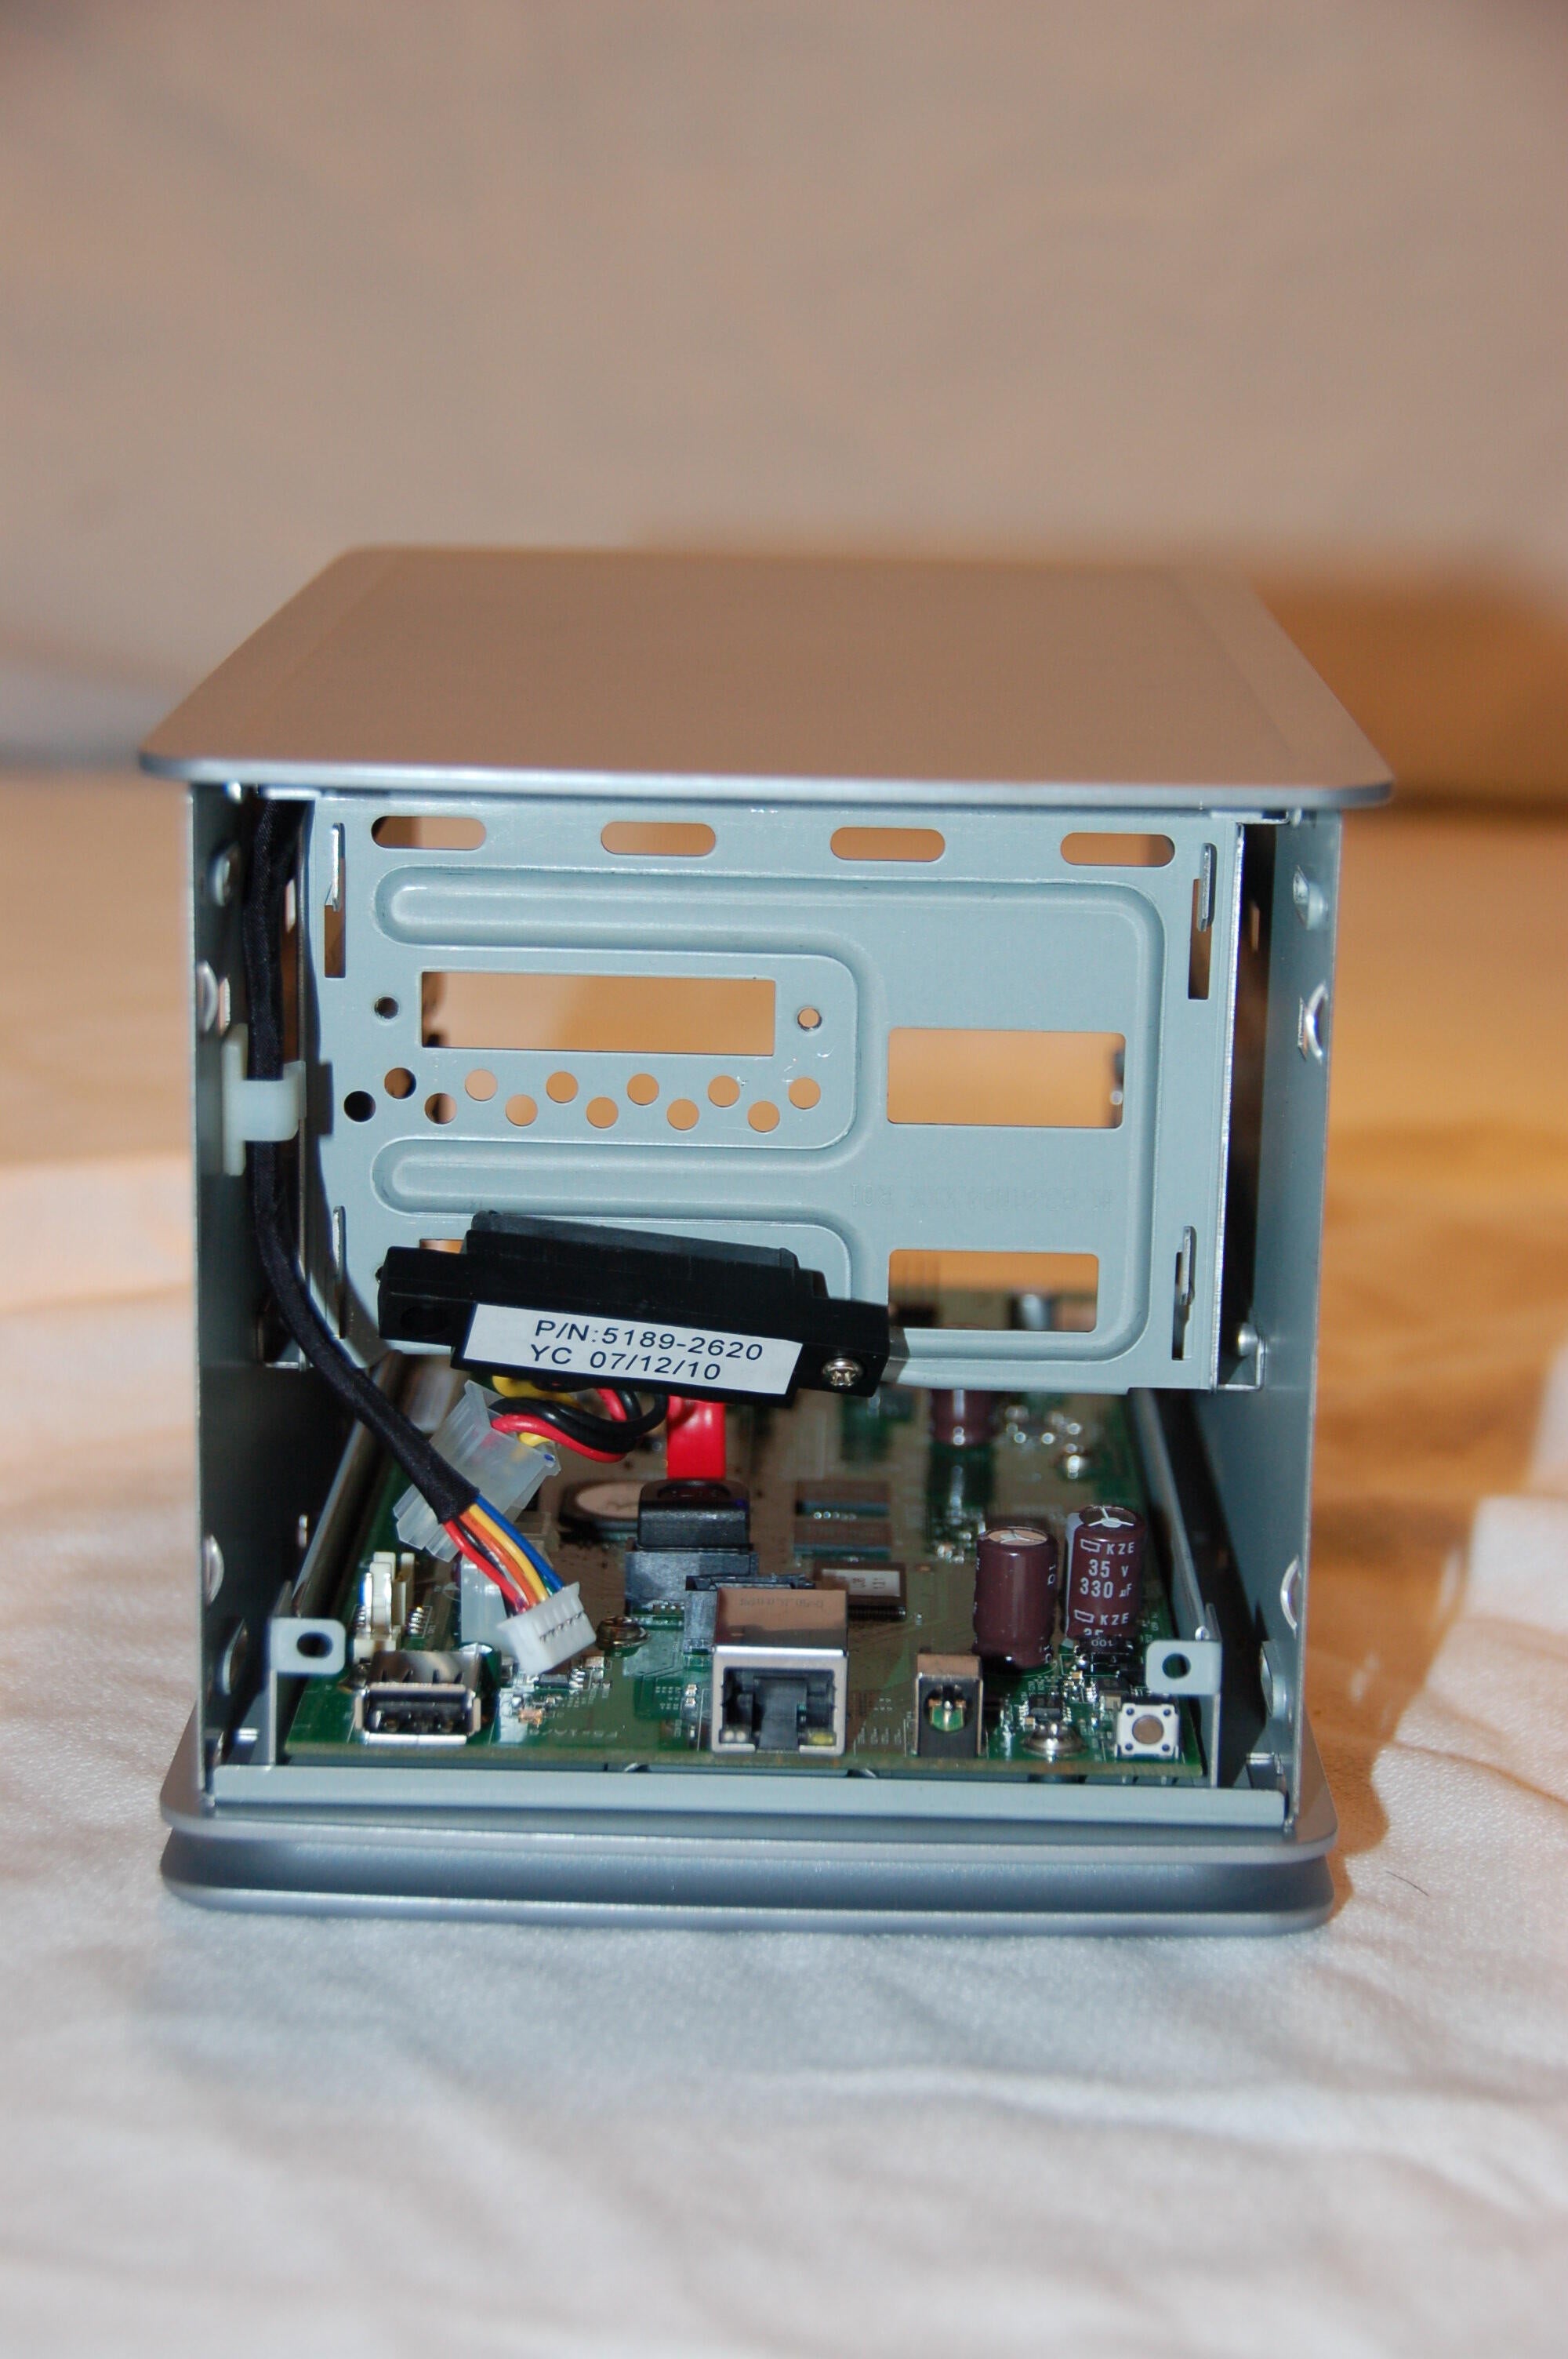
I probably could have just unplugged the SATA connectors, but they were easily removed by removing two screws each. From there they easily lifted out.
\nPhotos by Scott Wolf for \u00a9 TechRepublic
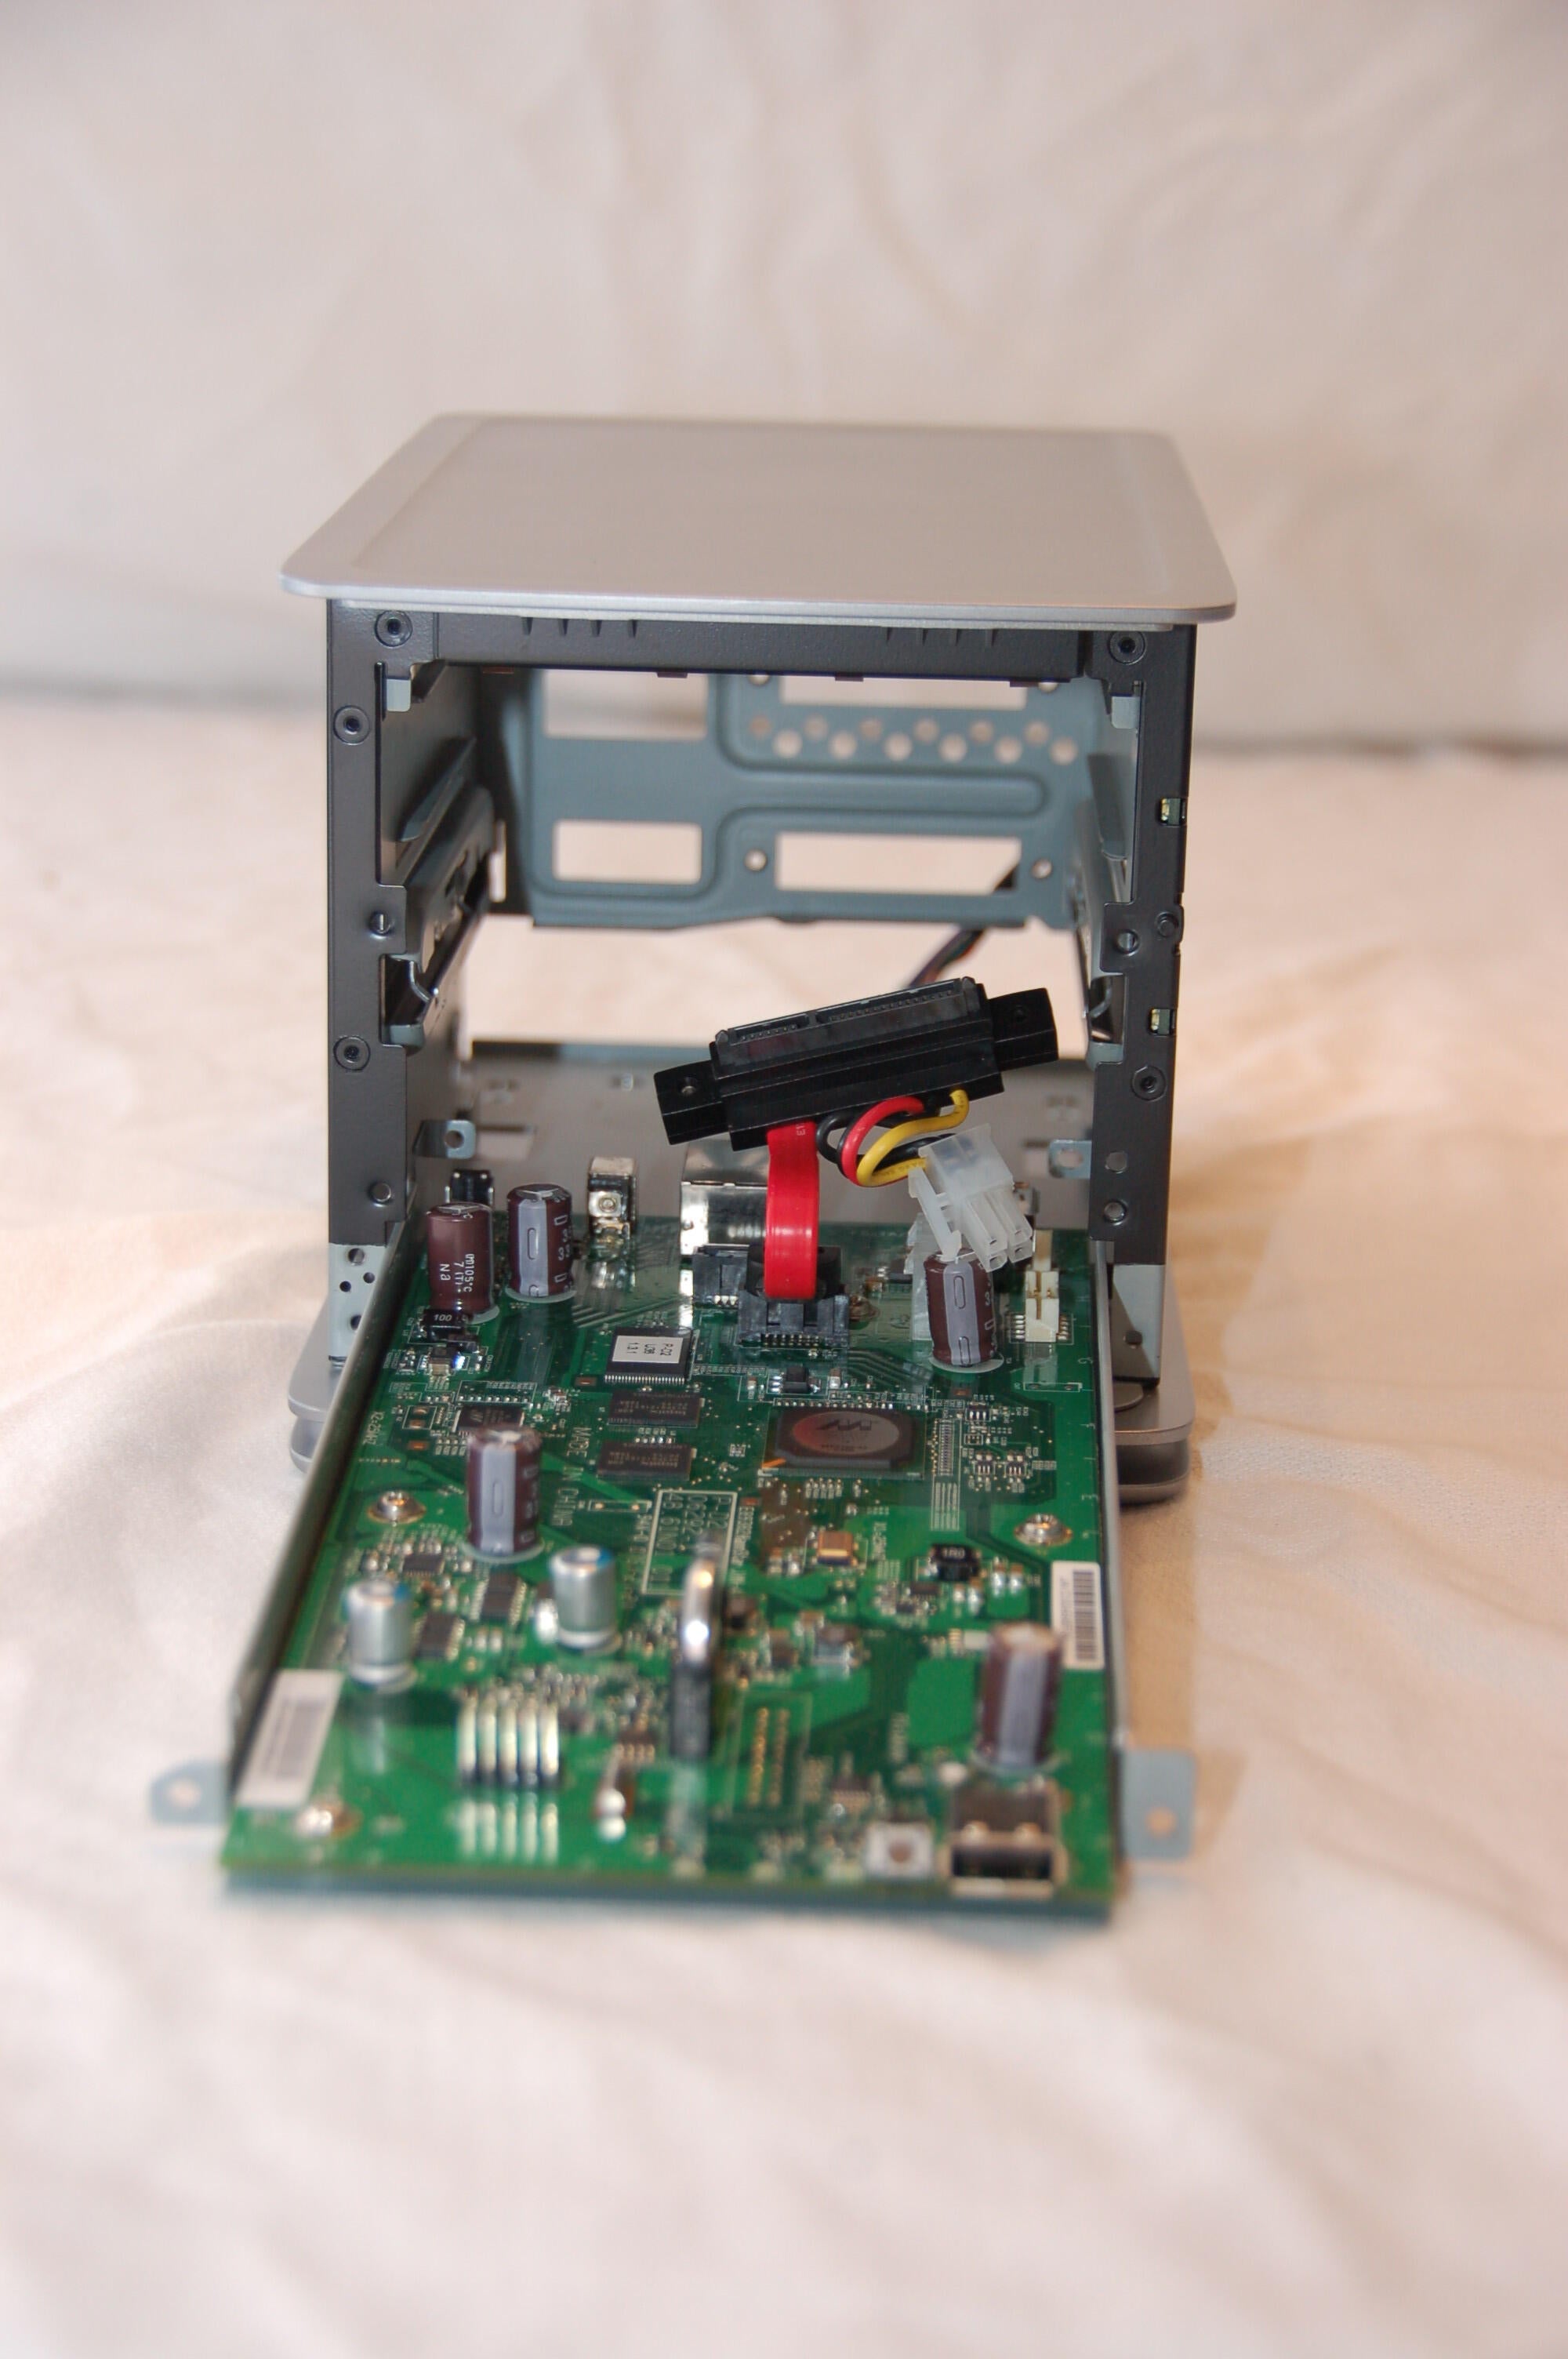
Sorry for the depth of field issue here. My fancy camera can sometimes be smarter than me. \n
\nFrom here you can (sort of) see that I removed the two screws holding in the motherboard. Now that there were no SATA cables holding the motherboard in place, the motherboard easily slid out.
\nPhotos by Scott Wolf for \u00a9 TechRepublic
Motherboard slid right out.
\nPhotos by Scott Wolf for \u00a9 TechRepublic
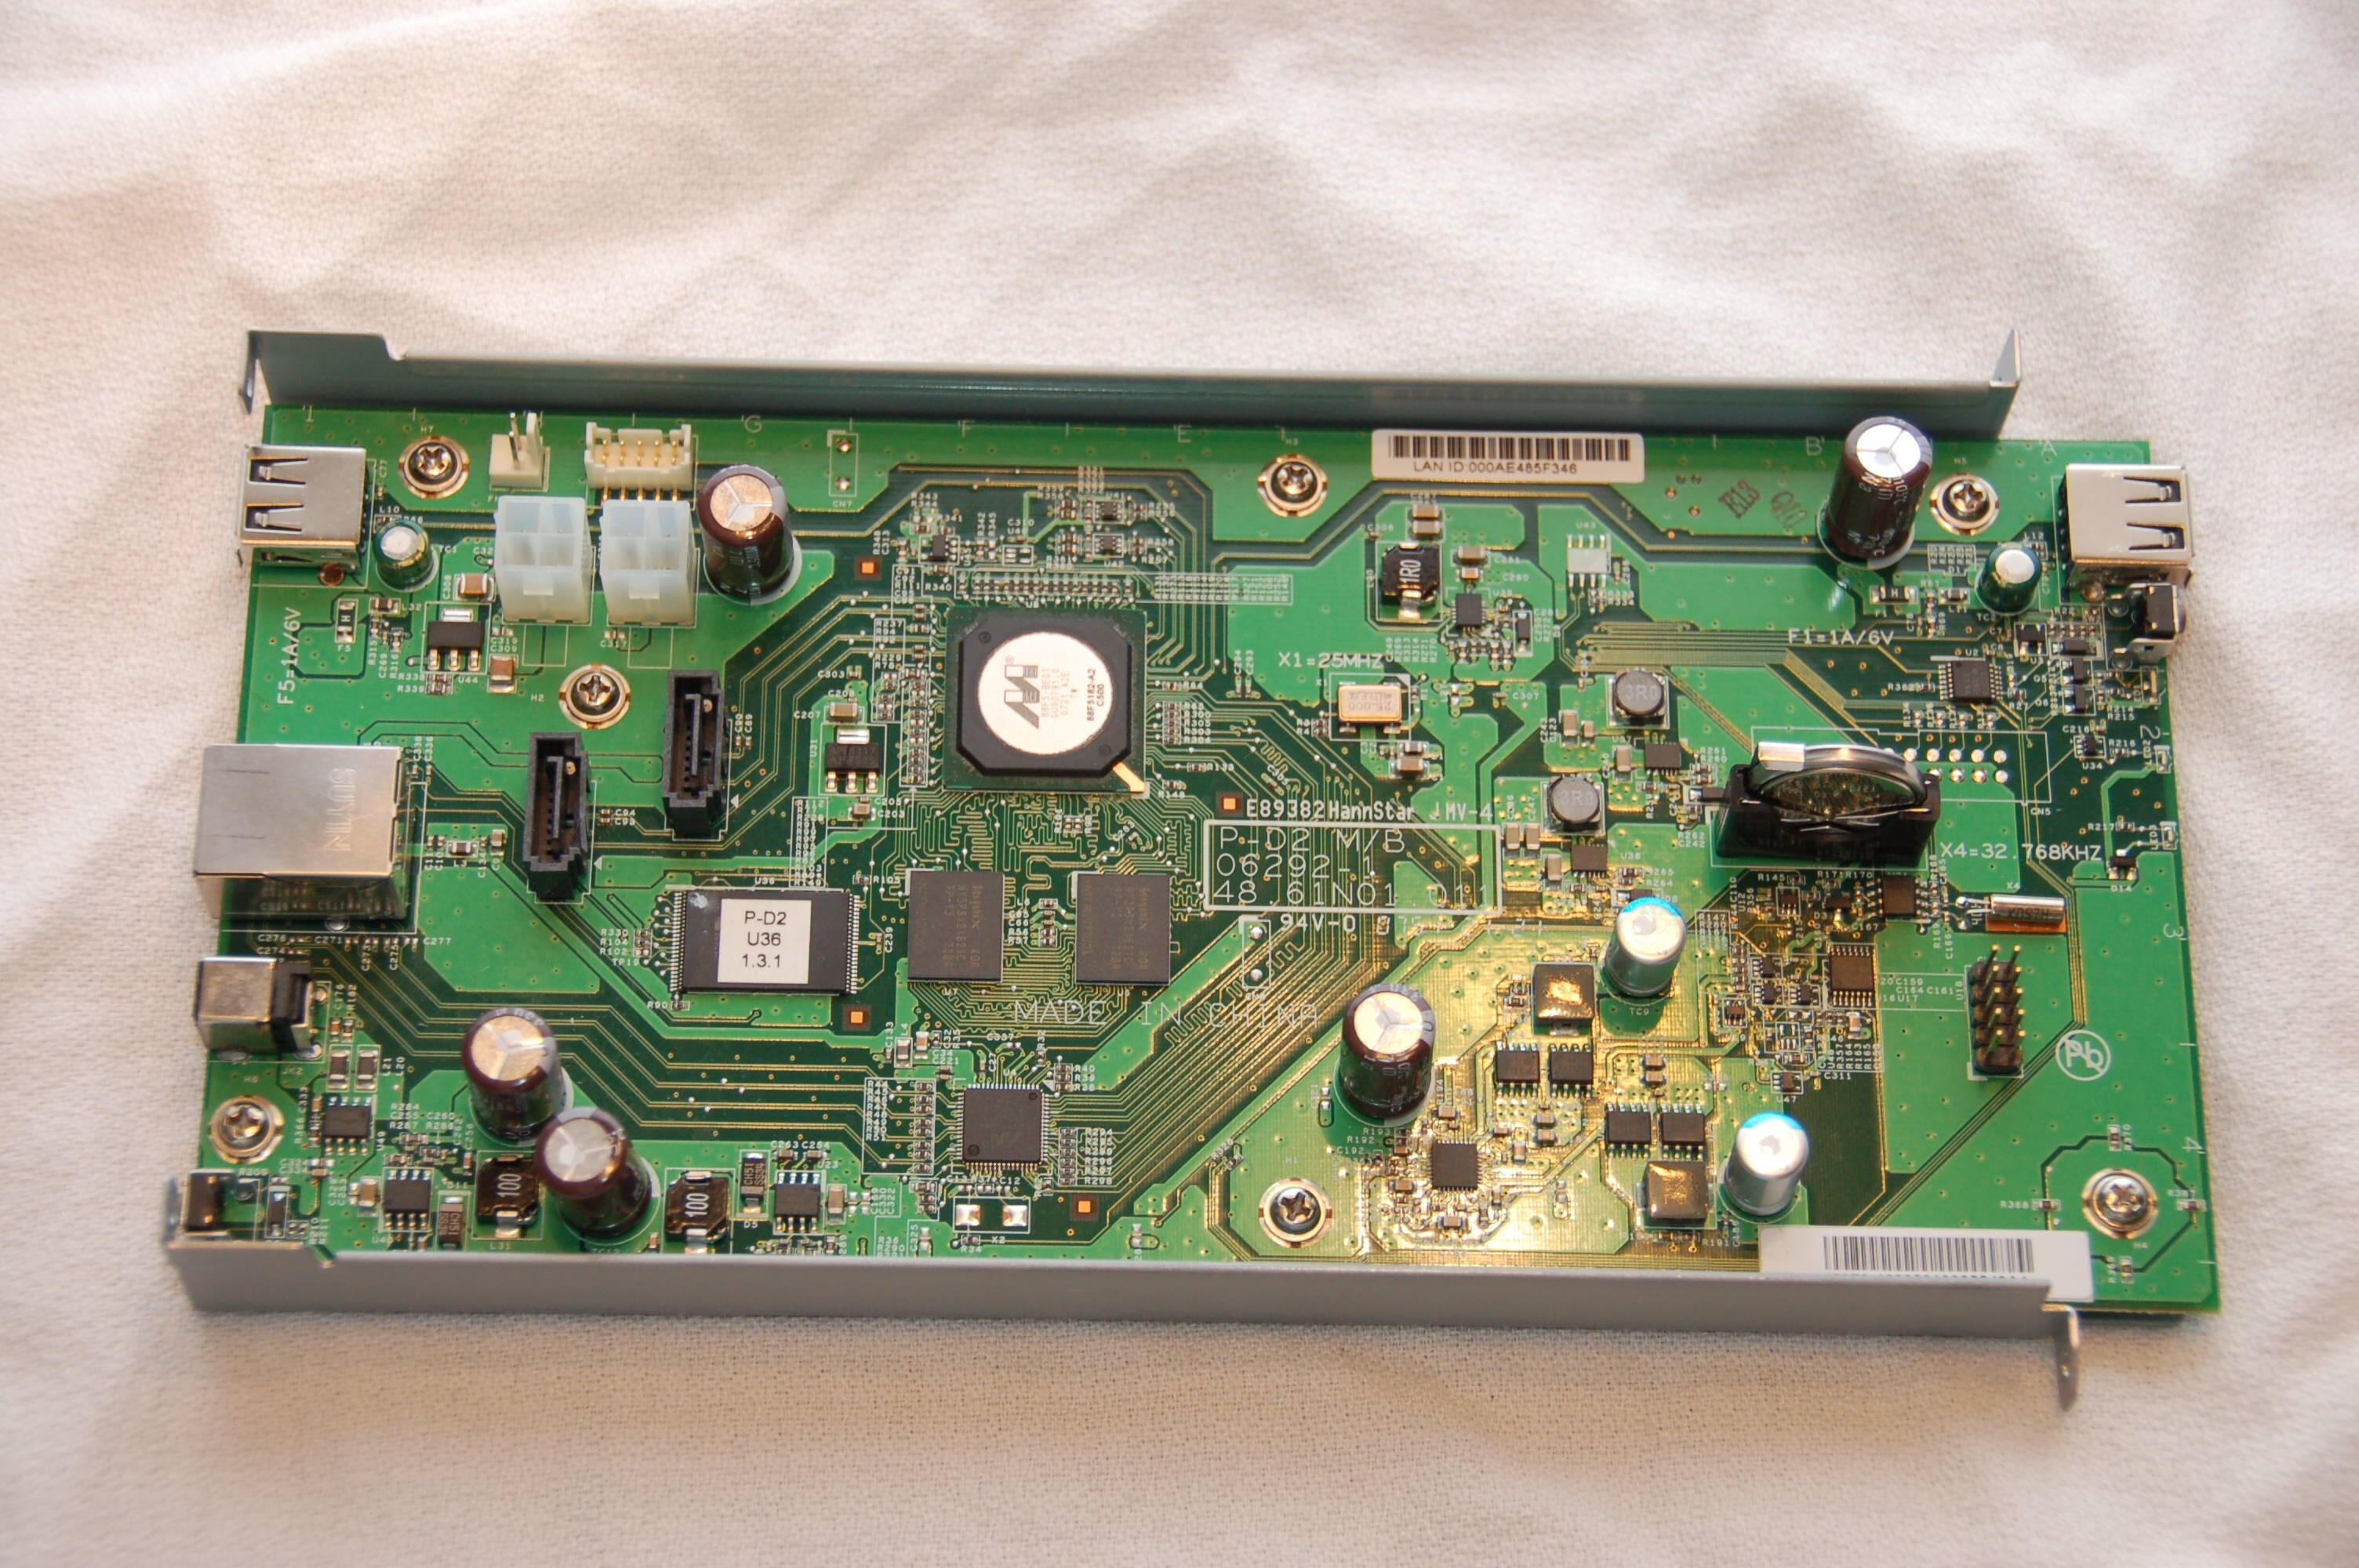
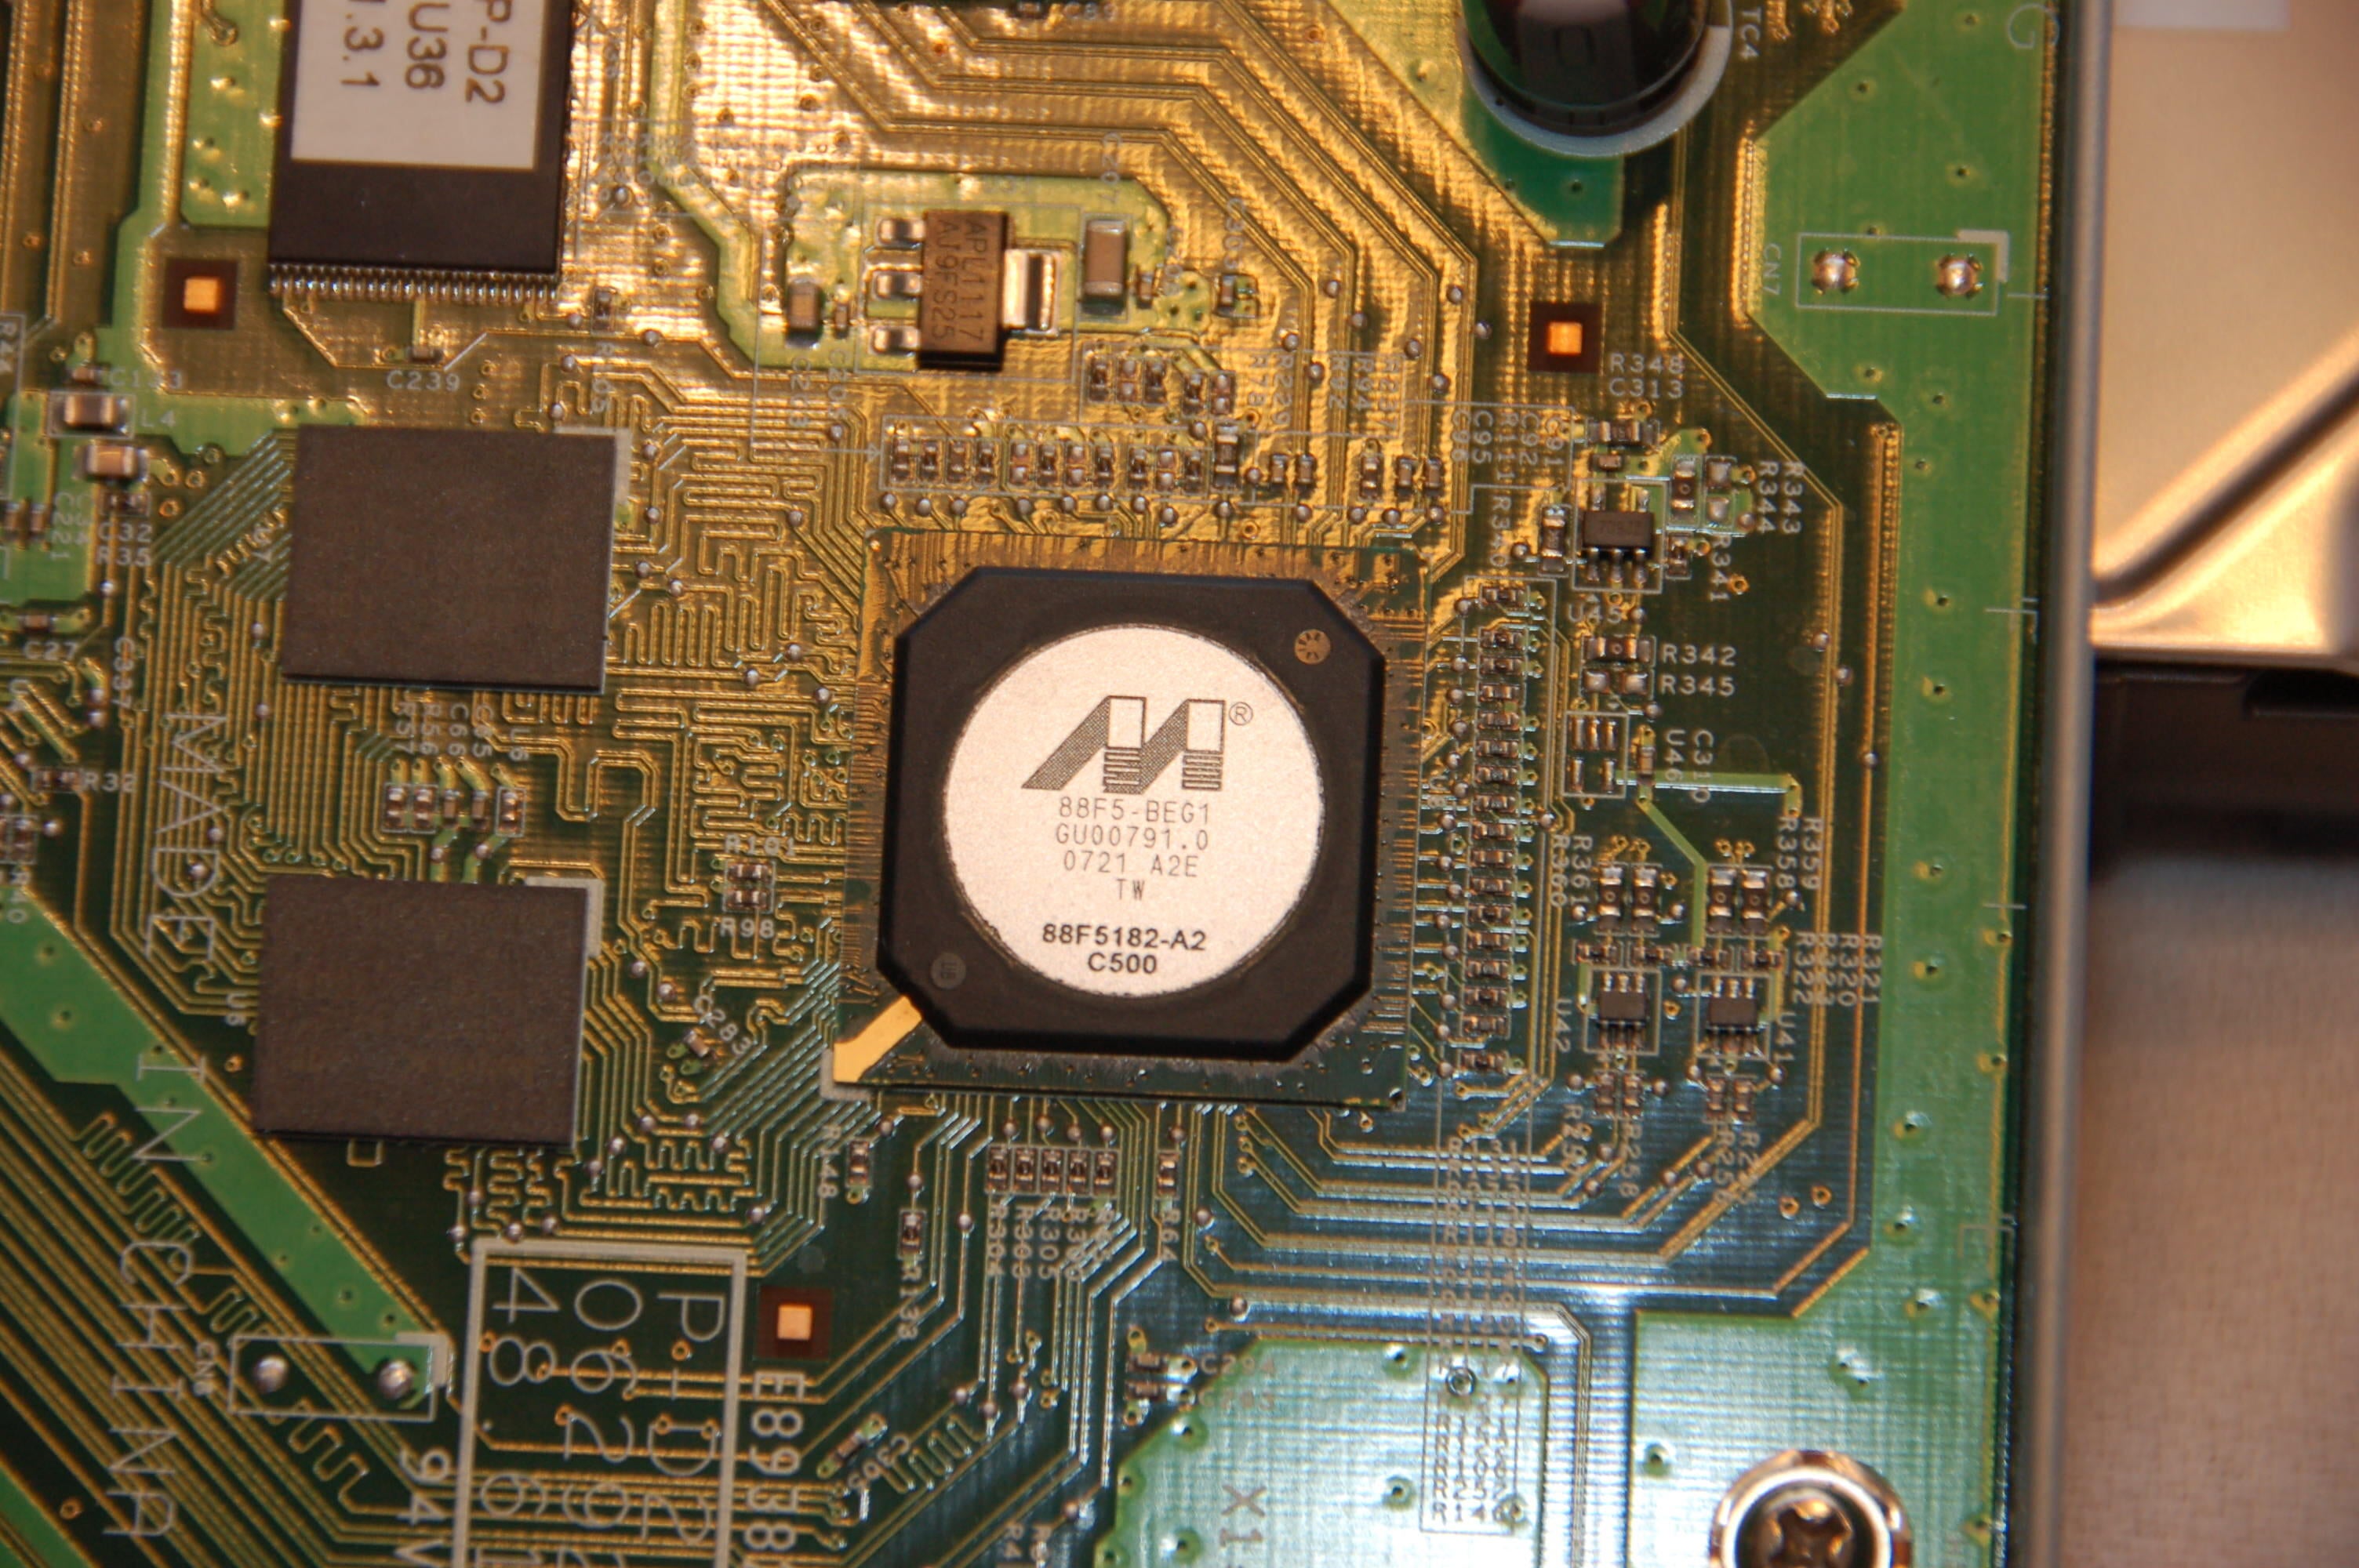
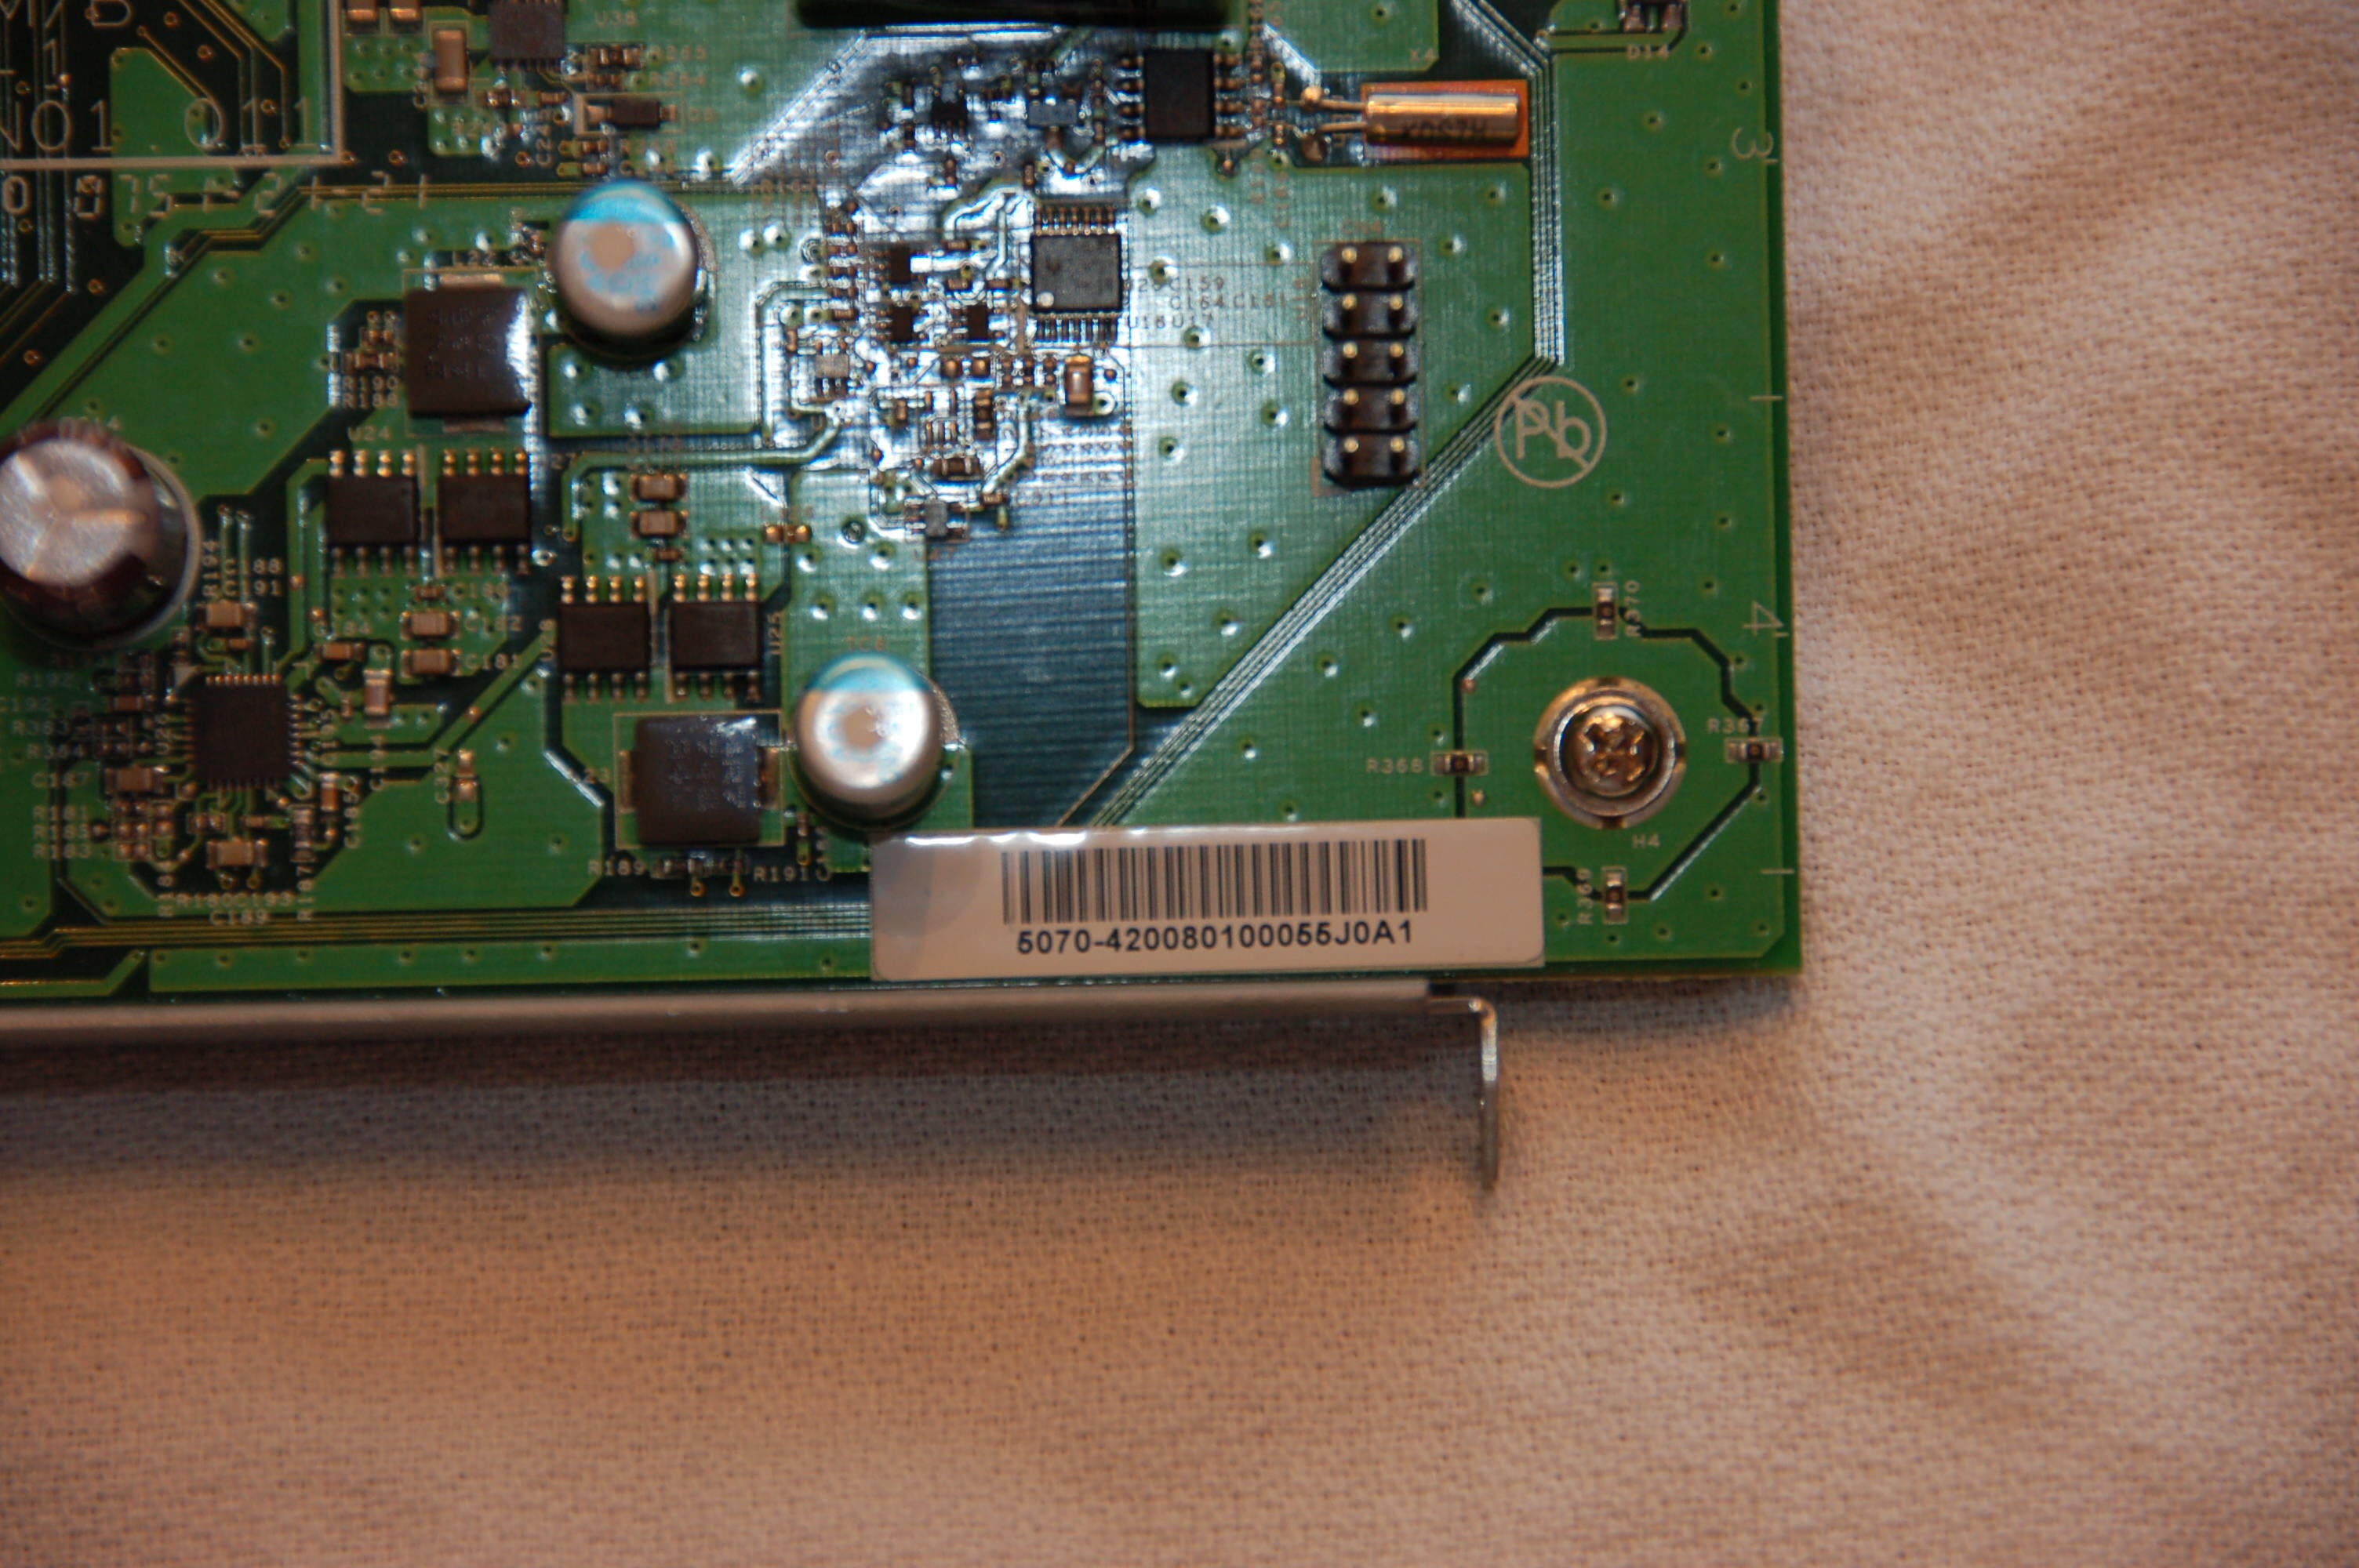
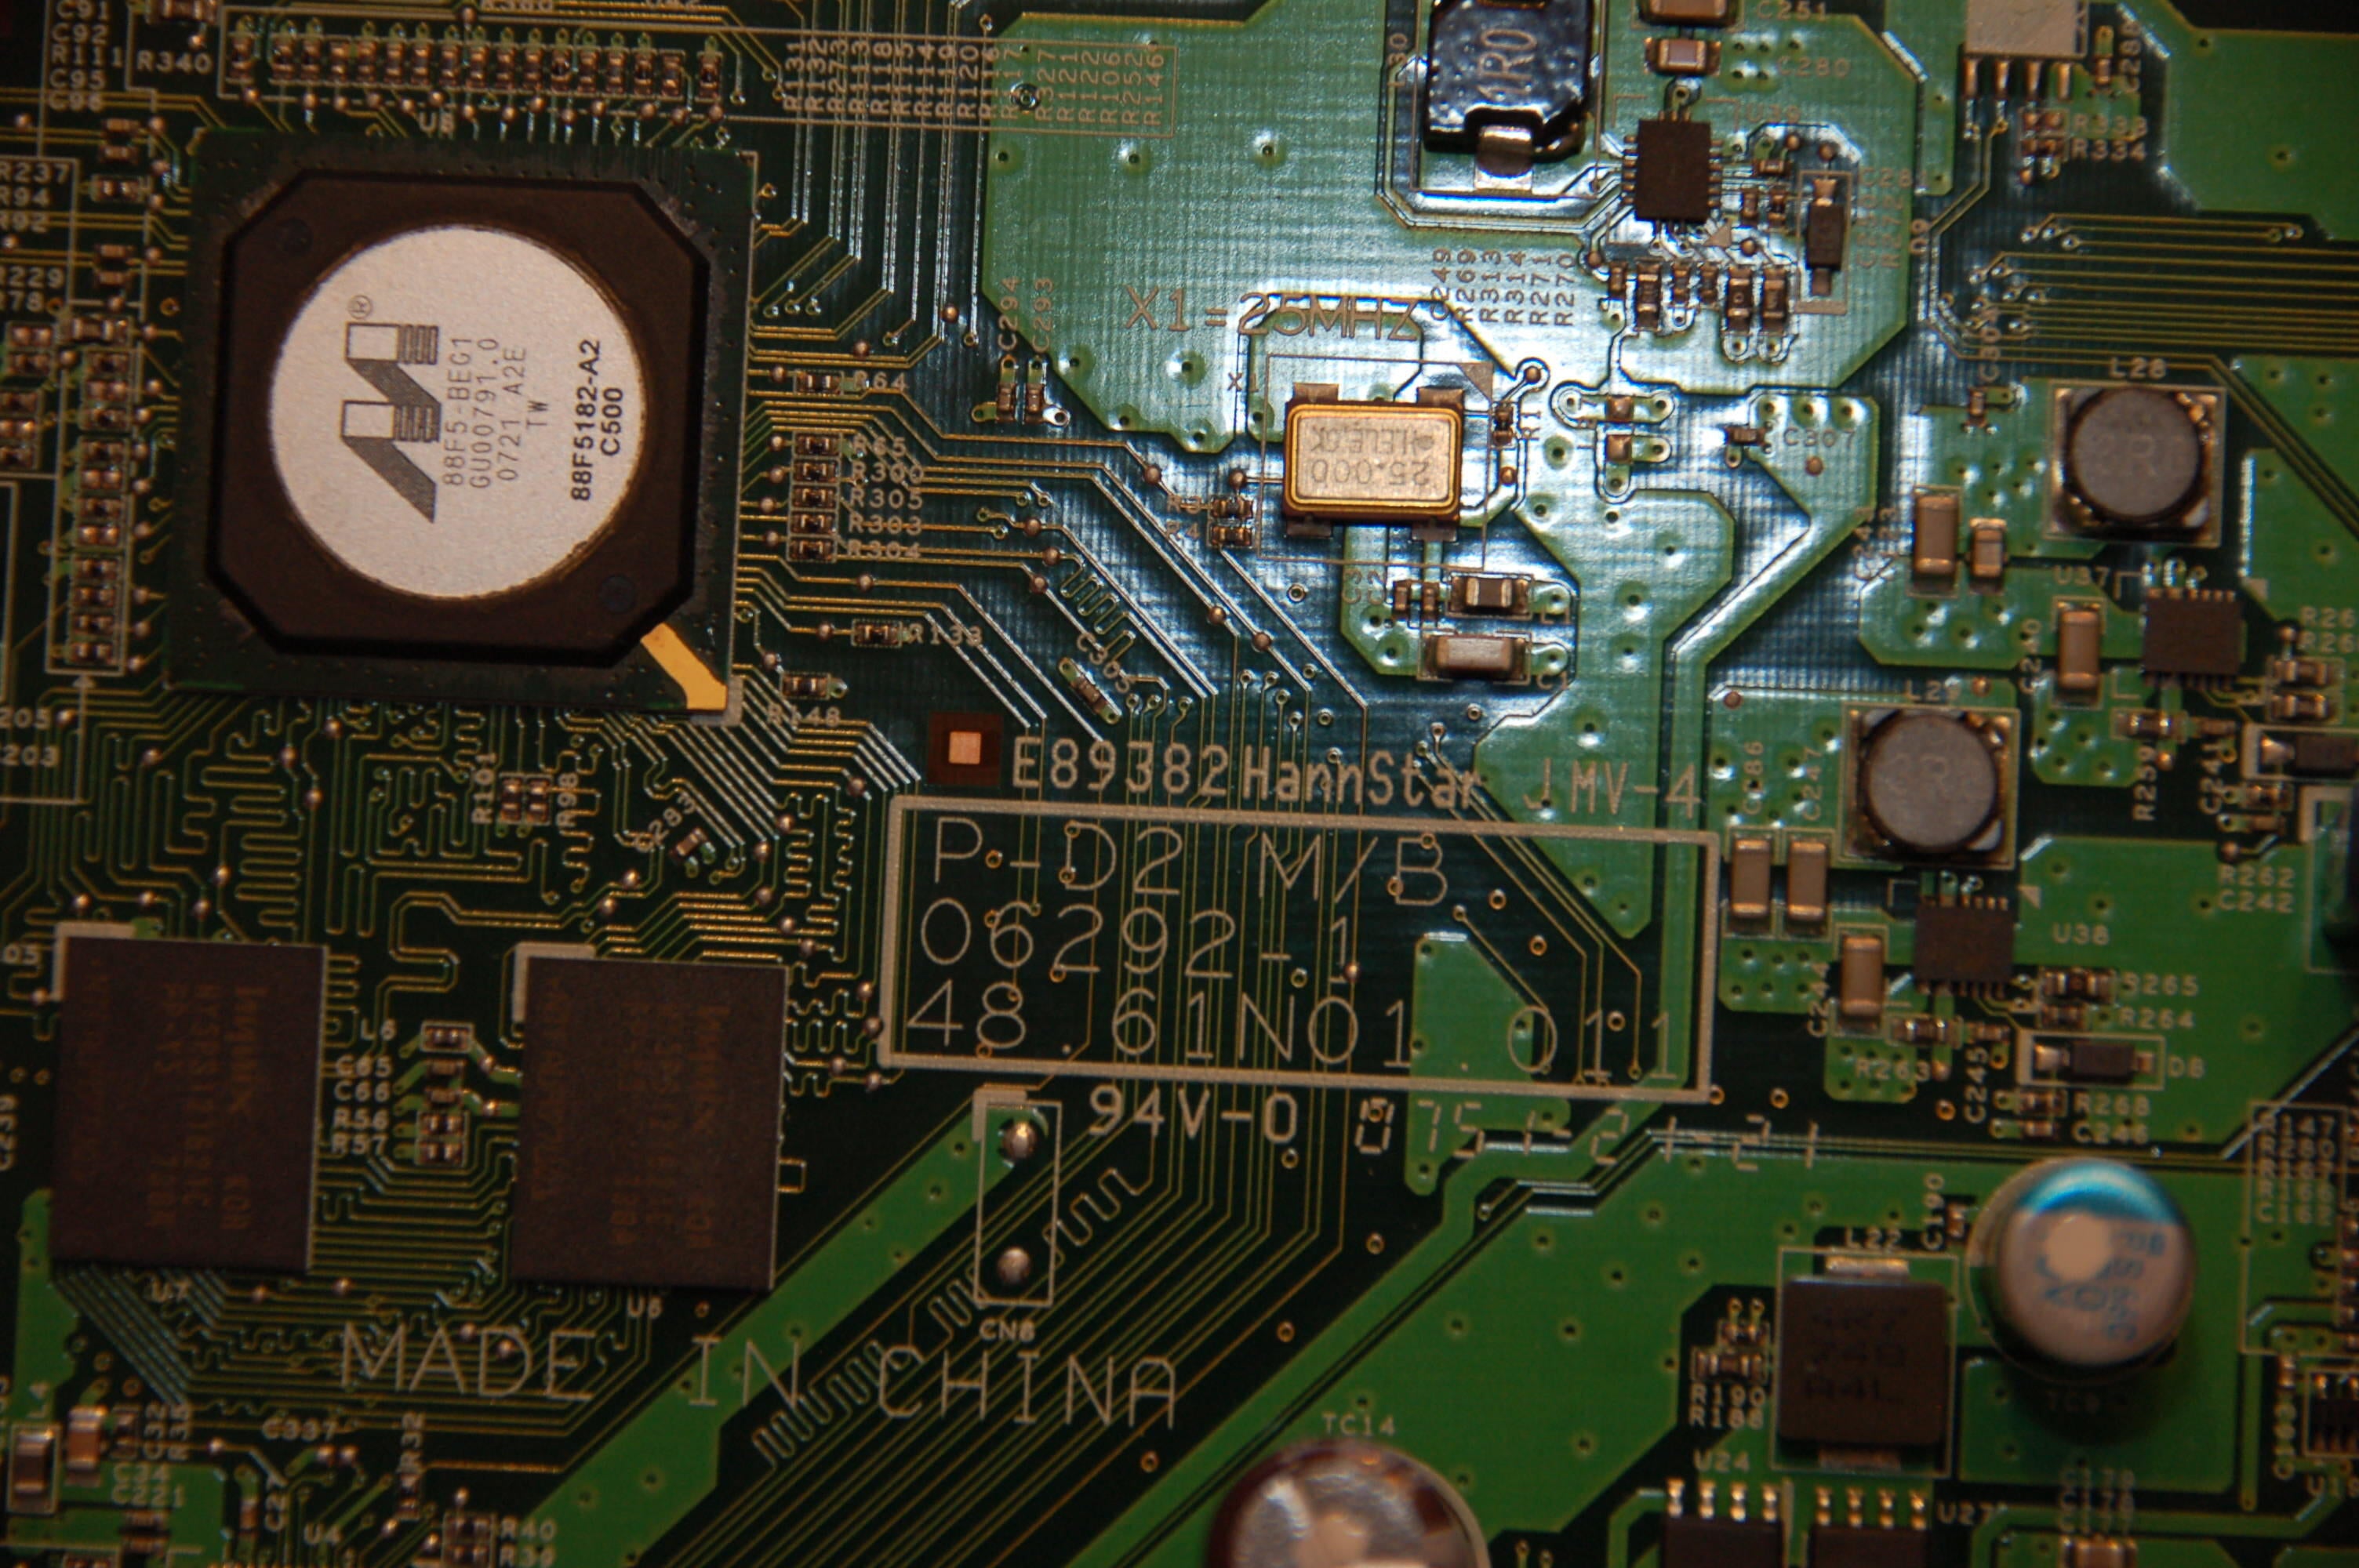
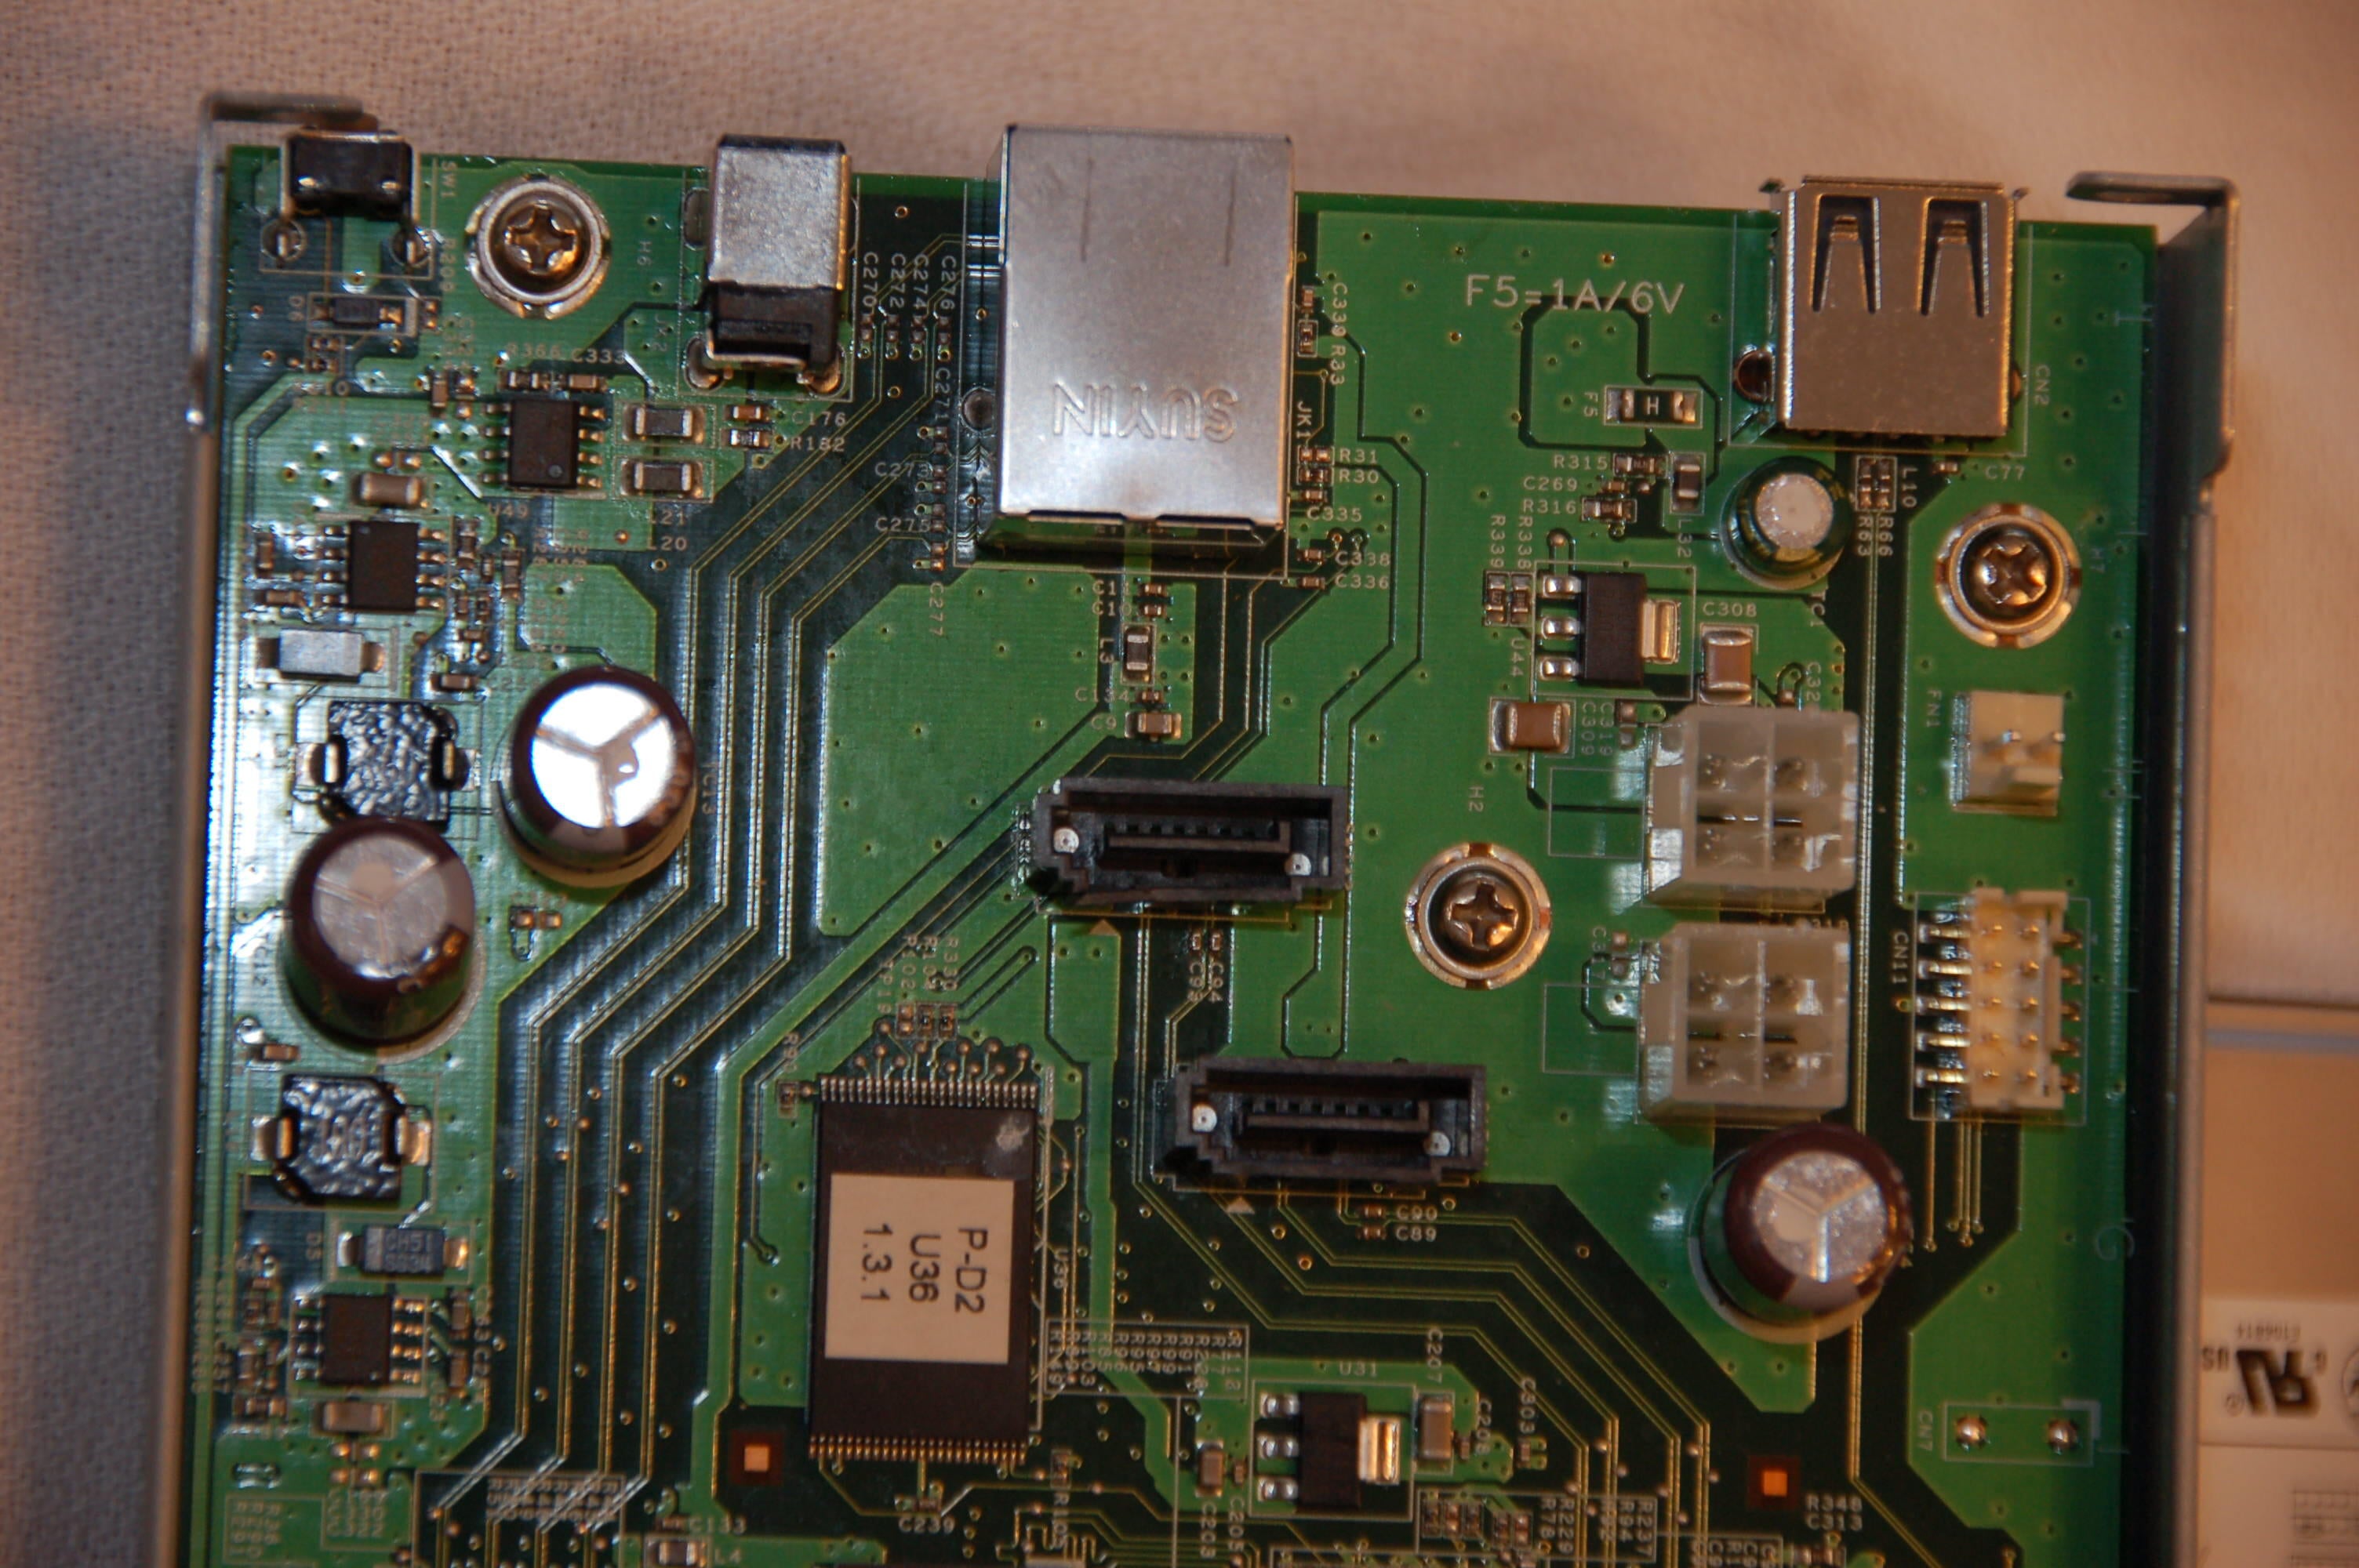
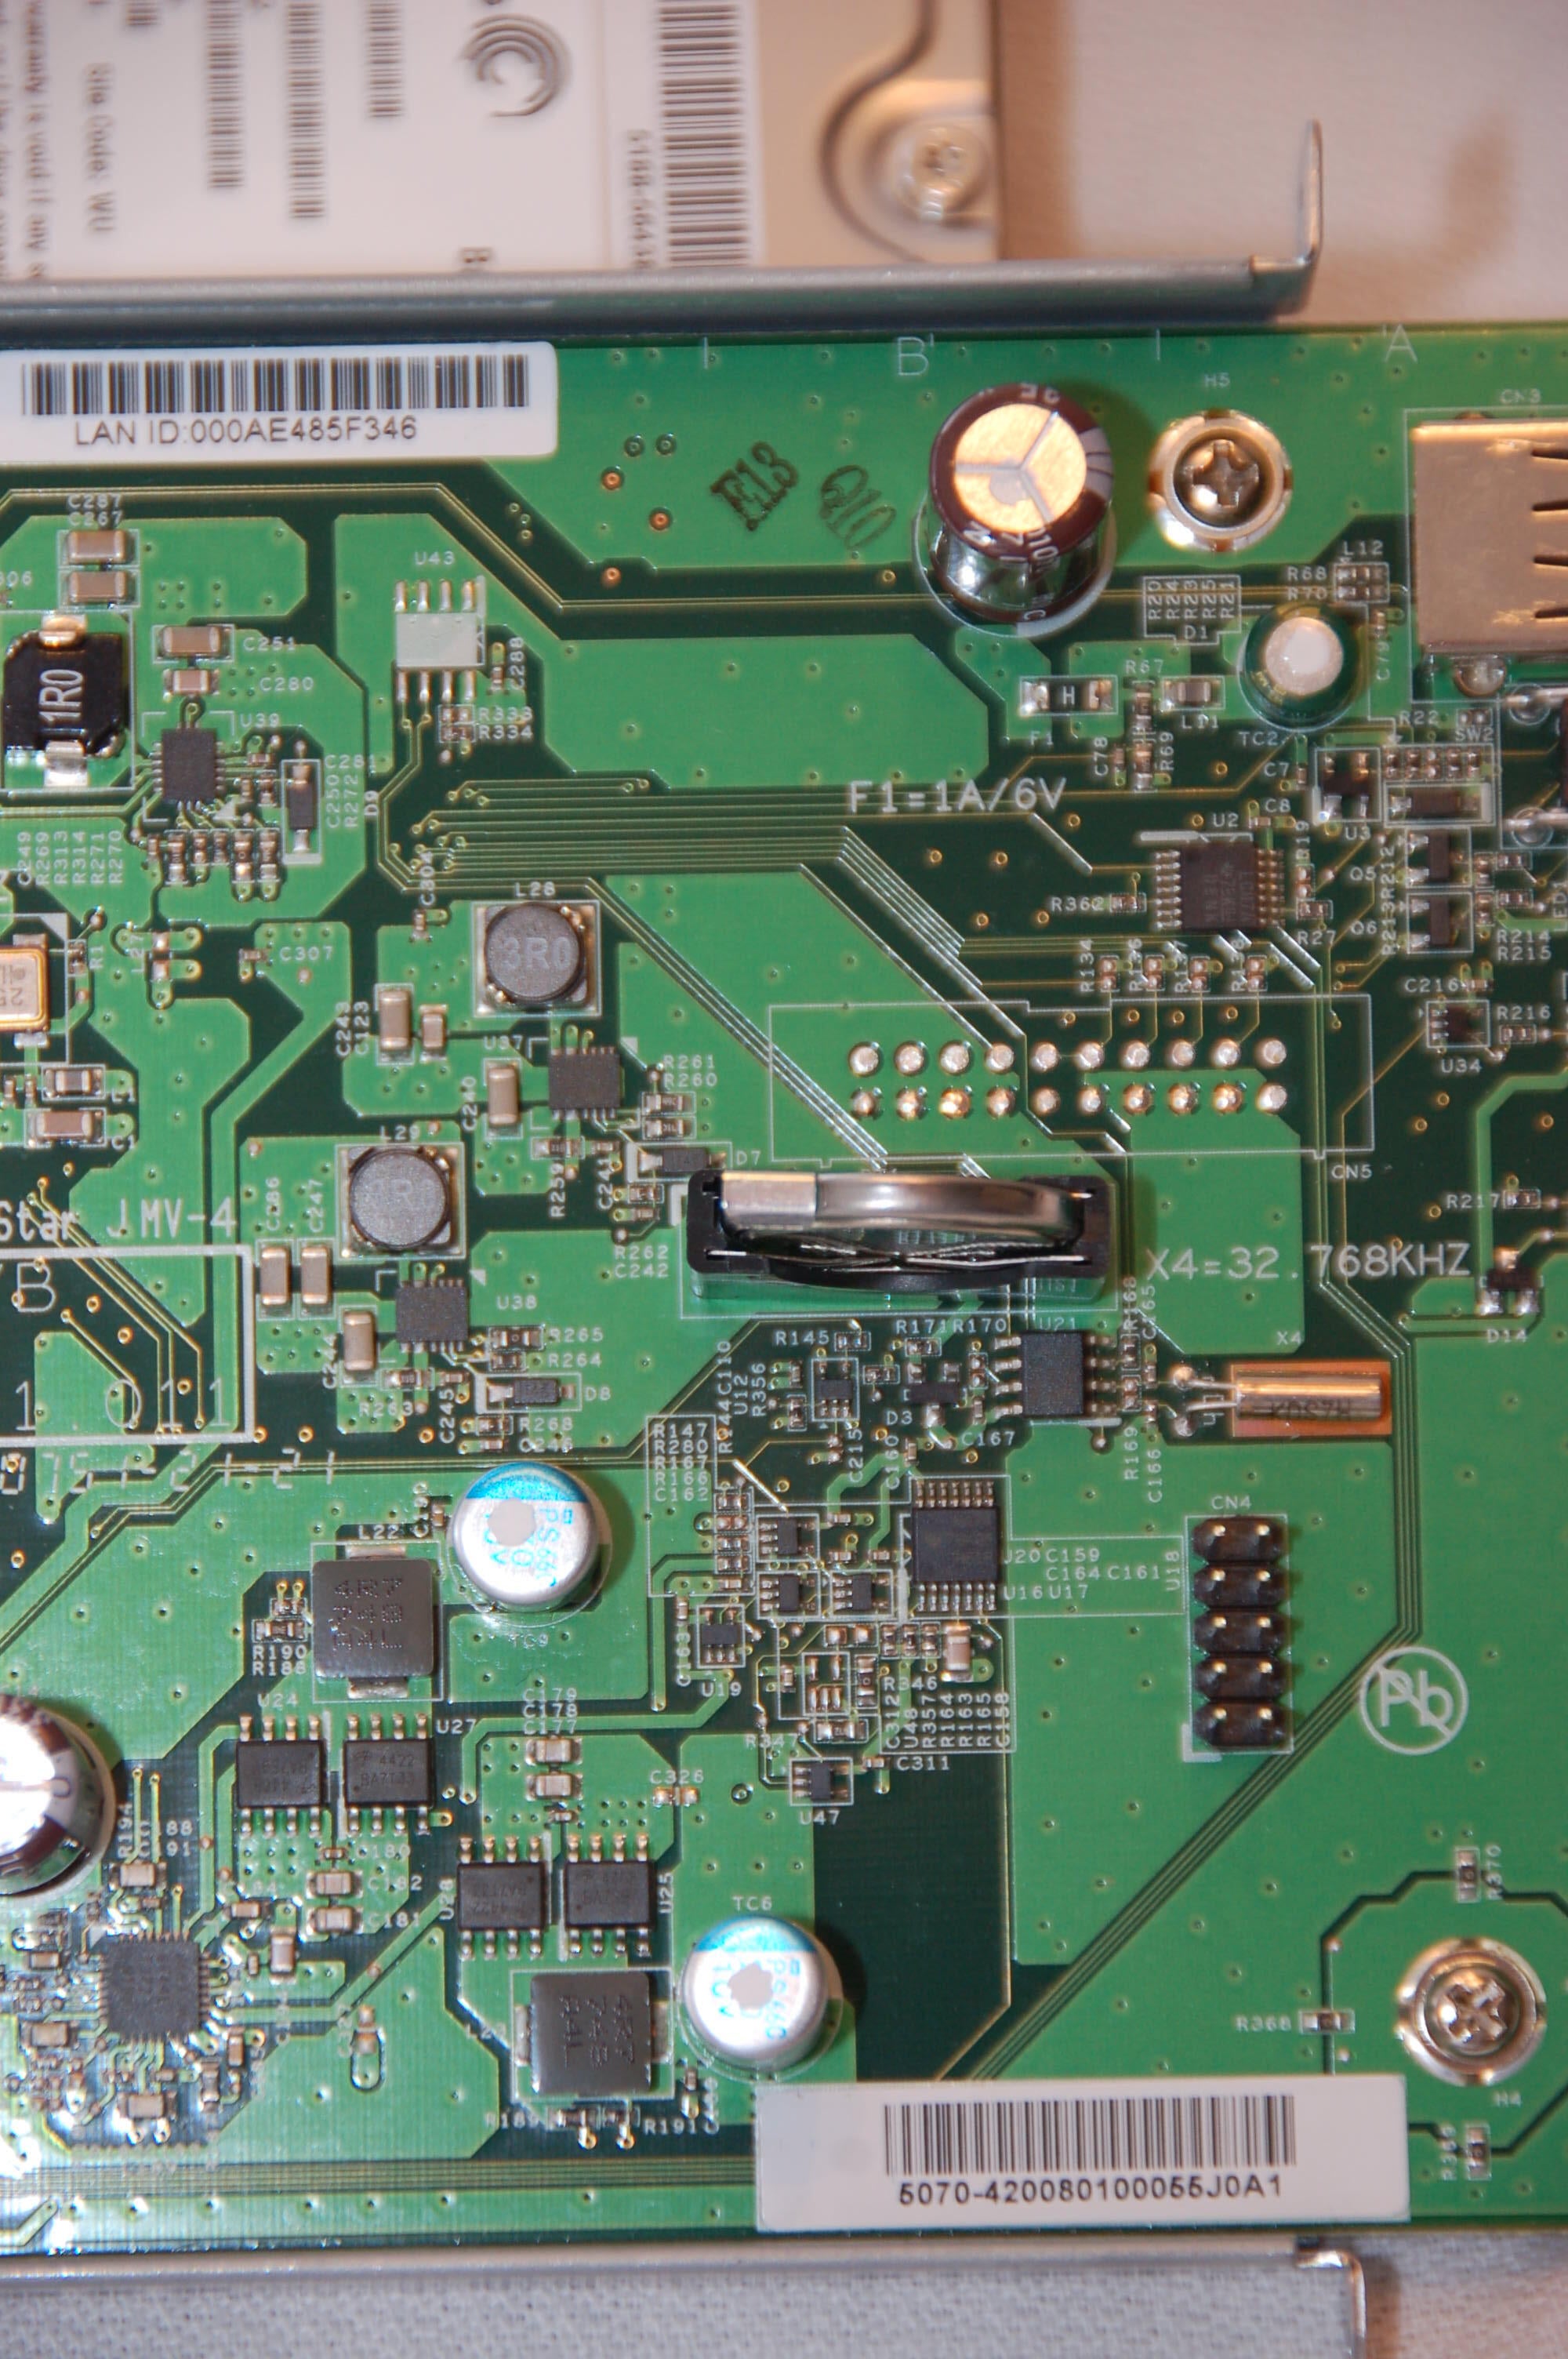
Not much to say here, full shot of motherboard. Closeup shots will follow.
\nPhotos by Scott Wolf for \u00a9 TechRepublic

\nPhotos by Scott Wolf for \u00a9 TechRepublic
\nPhotos by Scott Wolf for \u00a9 TechRepublic
\nPhotos by Scott Wolf for \u00a9 TechRepublic
\nPhotos by Scott Wolf for \u00a9 TechRepublic
\nPhotos by Scott Wolf for \u00a9 TechRepublic
\nPhotos by Scott Wolf for \u00a9 TechRepublic
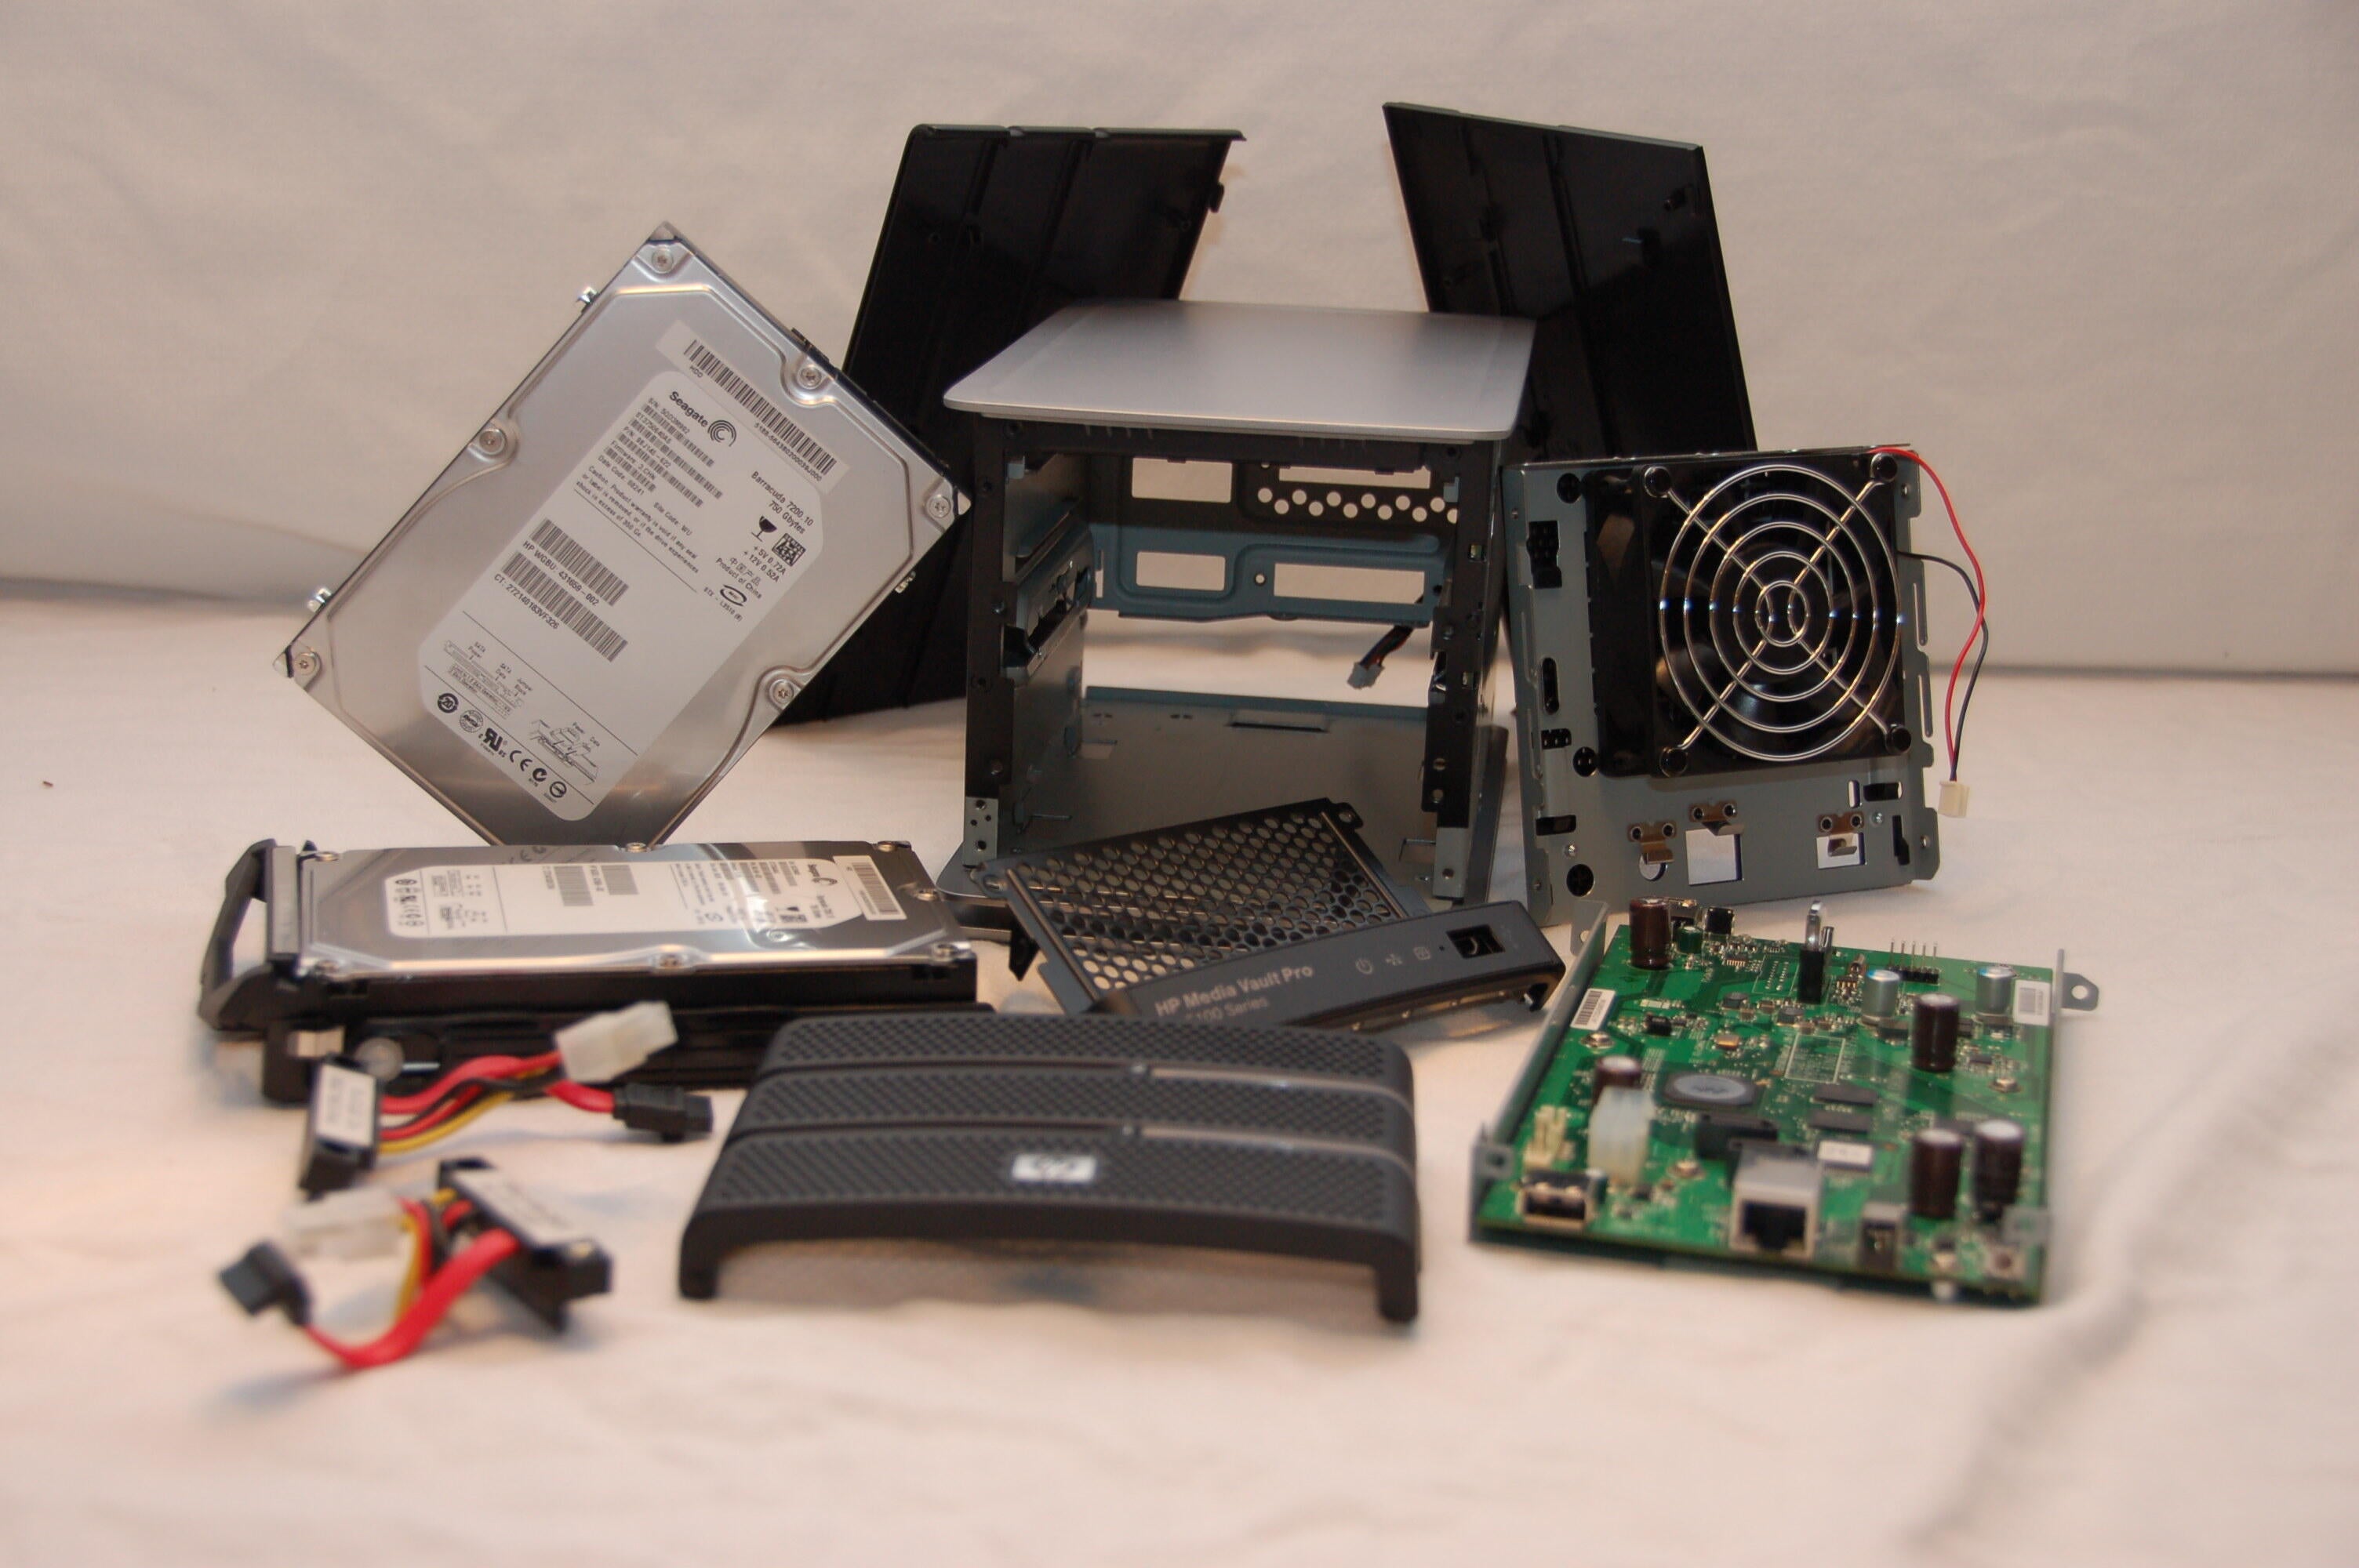
Here are all the parts that tore down. I could have torn the hard drives down some more, but I think TechRepublic wanted back a working unit.
\nPhotos by Scott Wolf for \u00a9 TechRepublic


