
\n\tMuch has been written, speculated and conjectured about the Nintendo Wii Remote. As a follow-up to our disassembly of the Wii we decided to crack open the Wii Remote to see for ourselves. To our surprise, although in hindsight it shouldn’t have been, the device maintains Nintendo’s design theme of simple and functional.
\n
\n\t\n\n
\n
\n\t\u00a9 CNET Networks, Inc / TechRepublic
\n\tMark W. Kaelin
\n
\n\t
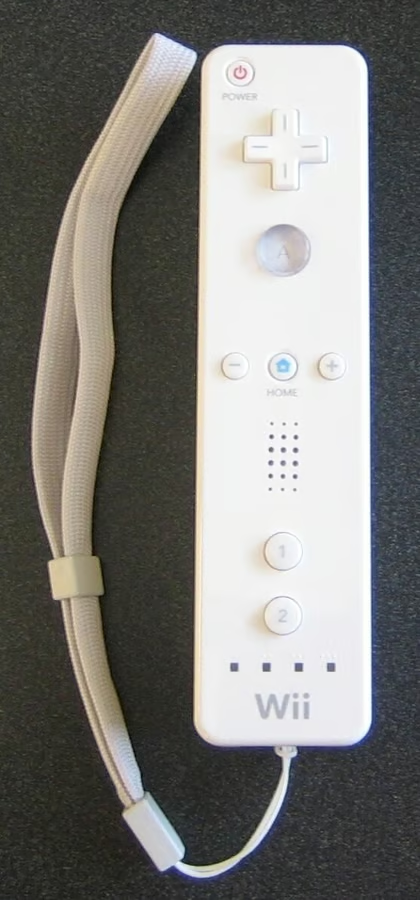
We start with a brand new Nintendo Wii Remote. This remote is new enough to already have the upgraded safety strap connection.
Of course I tested it out by doing some Wii bowling. It worked great — but will it once I crack it open?
© CNET Networks, Inc / TechRepublic
Mark W. Kaelin
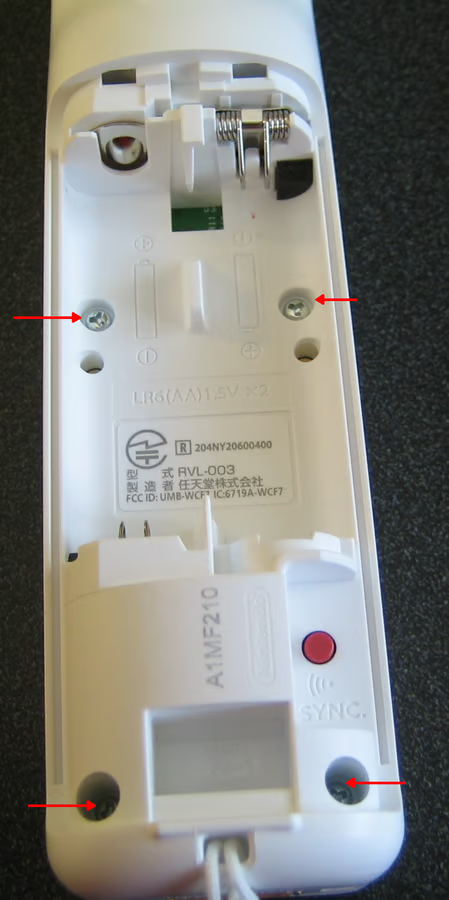
The Wii Remote is held together by four specially designed screws. And by specially designed I mean desinged not to be opened. You need a special screw driver. Fortunately, Bill Detwiler had already tracked one down for the original Wii gallery.
In addition to the screws, there are two clips near the IR end of the remote. These clips require some force to get open, but not too much.
© CNET Networks, Inc / TechRepublic
Mark W. Kaelin
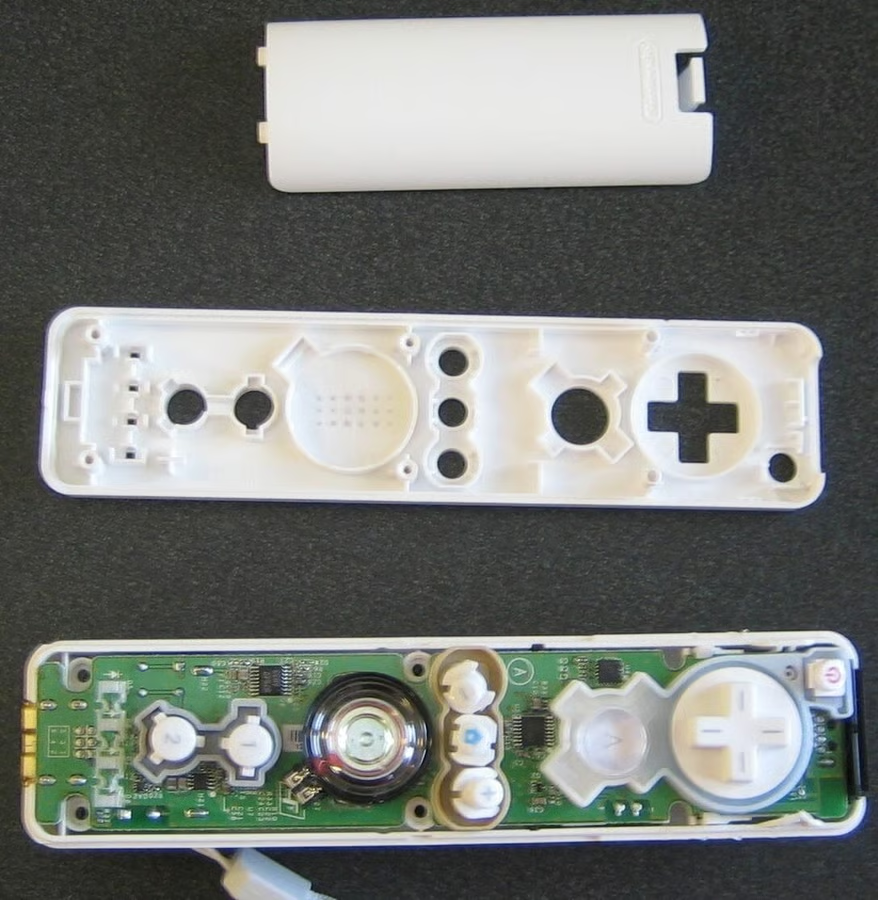
After some hair-raising pulling and prying, the top of the Wii Remote was removed.
© CNET Networks, Inc / TechRepublic
Mark W. Kaelin
The various buttons available on the Wii Remote lay on circuit relays. There are no more screws or connectors.
© CNET Networks, Inc / TechRepublic
Mark W. Kaelin
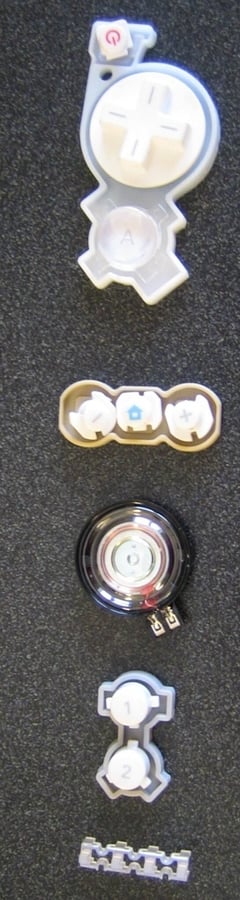
The buttons sit in a rubbery, spongy mesh. The buttons tend to fly off the mesh with every vibration.
The rumble feedback feature of the Wii Remote is apparently generated by the speaker which acts like a very small sub-woofer.
© CNET Networks, Inc / TechRepublic
Mark W. Kaelin
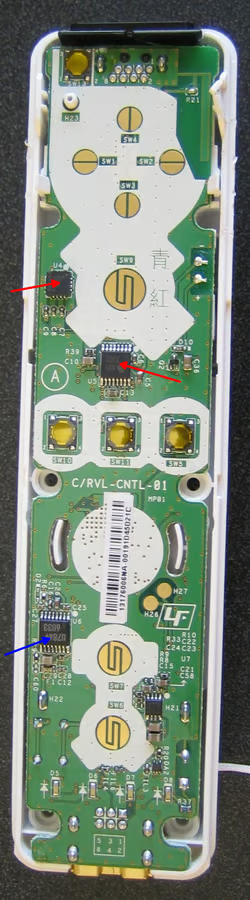
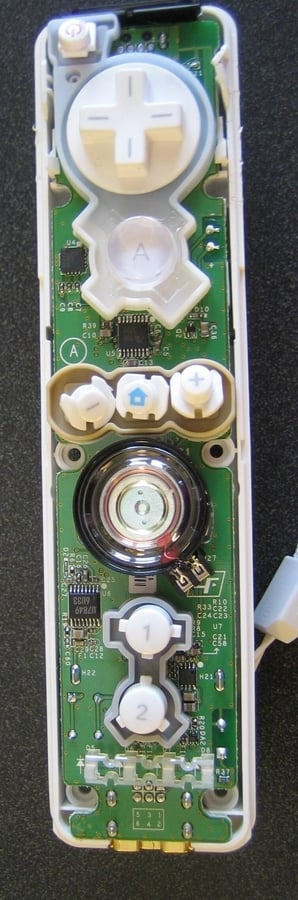
Not being an experient at reading circuit boards, I can’t say for sure, but the two chips marked by the red arrows seem the most likely candidates for the accelerometer.
The blue arrow points to what should be the sound control chip.
© CNET Networks, Inc / TechRepublic
Mark W. Kaelin
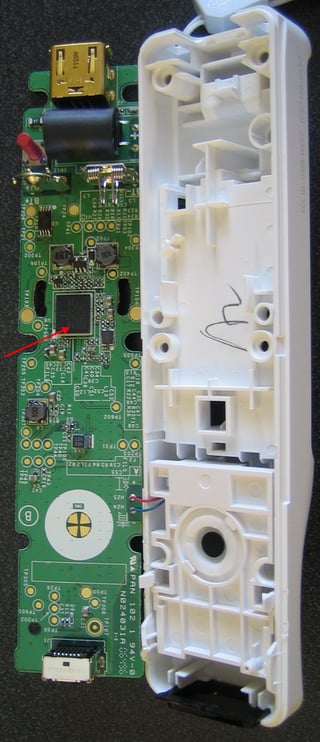
The largest chip on the board is the Broadcom bluetooth controller chip marked with the red arrow.
Note the huge capacitor up near the top of the photo. That is where the Wii Nunchuck gets connected — apparently some significant power has to be transferred when the Nunchuck is attached.
Also notice the pen mark on the plastic cover. I’m guessing that is some Quality Assurance mark. Some worker must have put this together by hand.
© CNET Networks, Inc / TechRepublic
Mark W. Kaelin
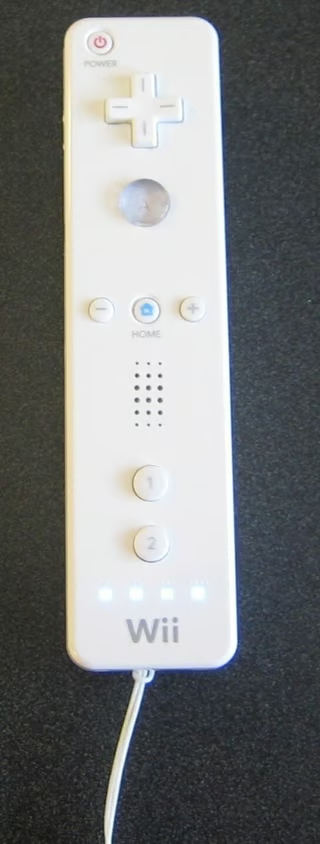
Contrary to what I had been told there were no springs or other tiny parts to contend with when cracking open the Wii Remote. So without too much effort, I was able to get the Wii Remote back together. And, to my surprise, it works just fine (note the LEDs).
Of course, I had to test it with some more Wii bowling. My high score so far is 217.
© CNET Networks, Inc / TechRepublic
Mark W. Kaelin

Mark W. Kaelin has been writing and editing stories about the information technology industry, software, hardware, gaming, finance, accounting, and technology geekdom for more than 30 years.


