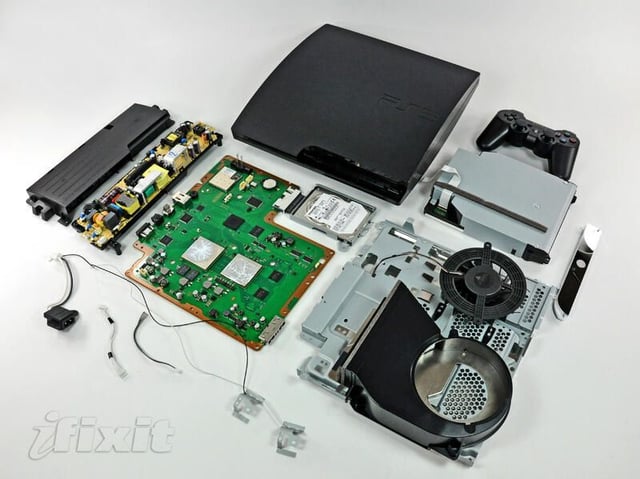
With the help of our friends over at iFixit, TechRepublic presents a cracked open look at the inside of Sony’s dramatically redesigned, cooler, sleeker PlayStation 3 Slim.
Photo by iFixit, used by permission. The original iFixit Teardown Photo Gallery can be found here.
iFixit is a one-stop-shop for the parts, tools, and repair manuals needed to fix iPods, iPhones, Macs, and more. They make it easy for anyone to repair their Apple hardware.
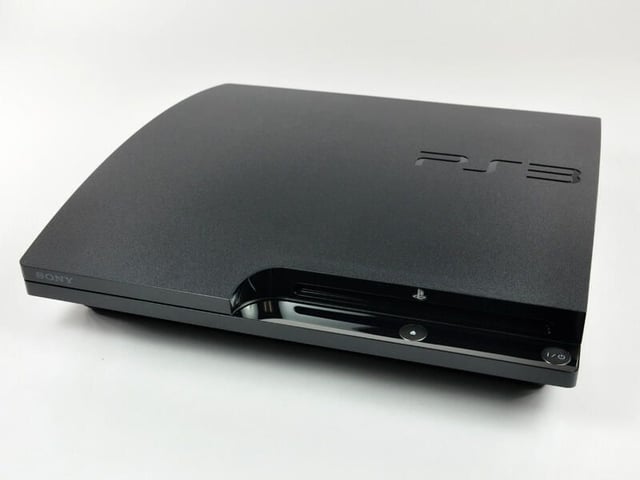
Photo by iFixit, used by permission. The original iFixit Teardown Photo Gallery can be found here.
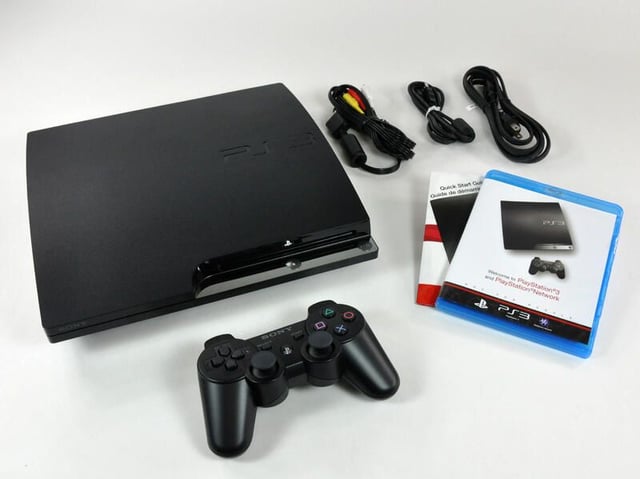
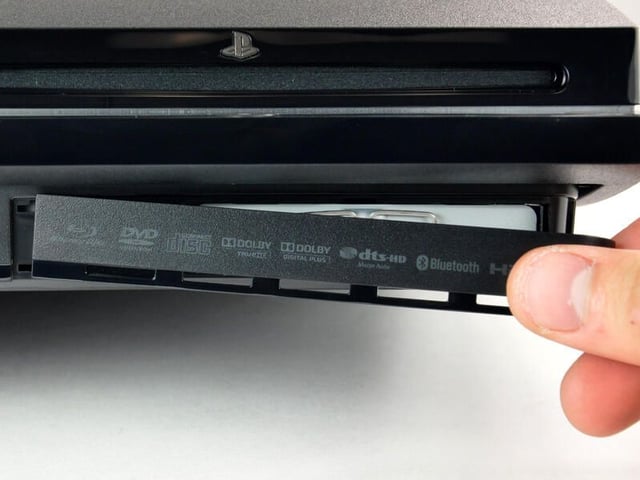
Along with the PS3 Slim you get:
Photo by iFixit, used by permission. The original iFixit Teardown Photo Gallery can be found here.
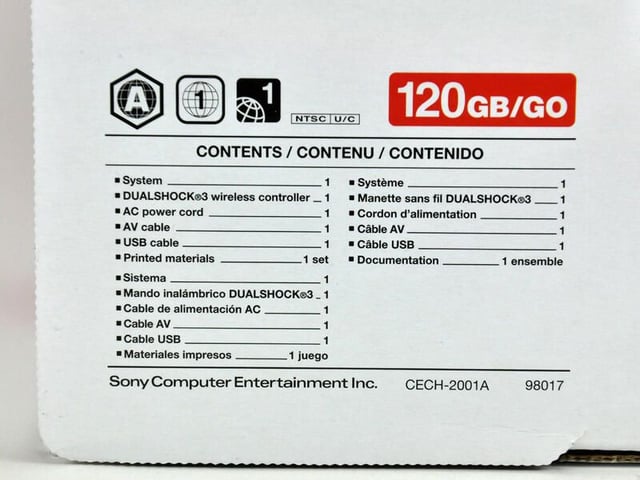
Photo by iFixit, used by permission. The original iFixit Teardown Photo Gallery can be found here.
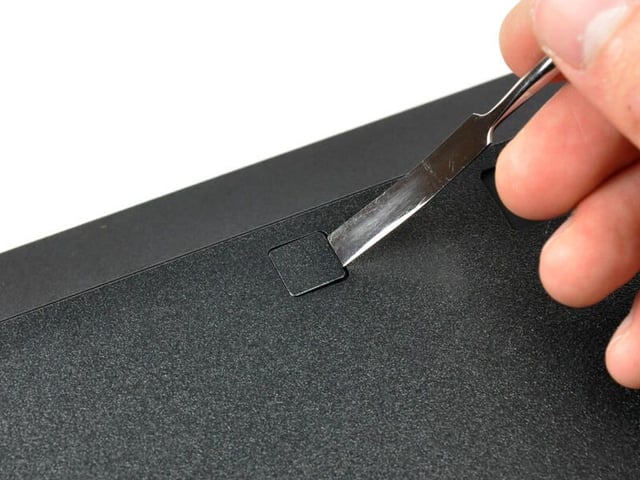
Next, remove the hard drive cover.
Photo by iFixit, used by permission. The original iFixit Teardown Photo Gallery can be found here.
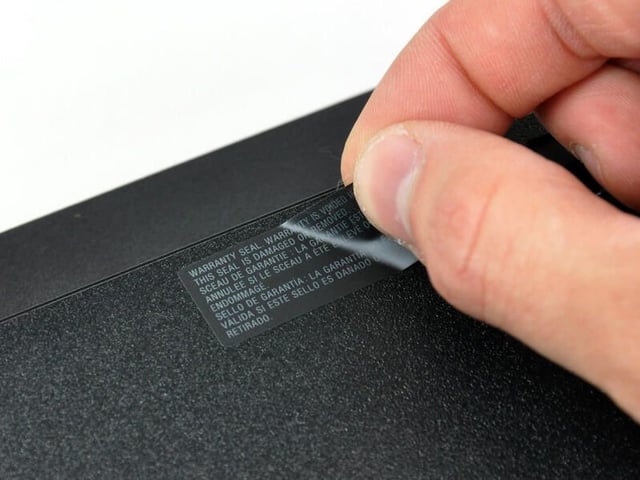
Photo by iFixit, used by permission. The original iFixit Teardown Photo Gallery can be found here.
Under the warranty sticker is another screw.
Photo by iFixit, used by permission. The original iFixit Teardown Photo Gallery can be found here.
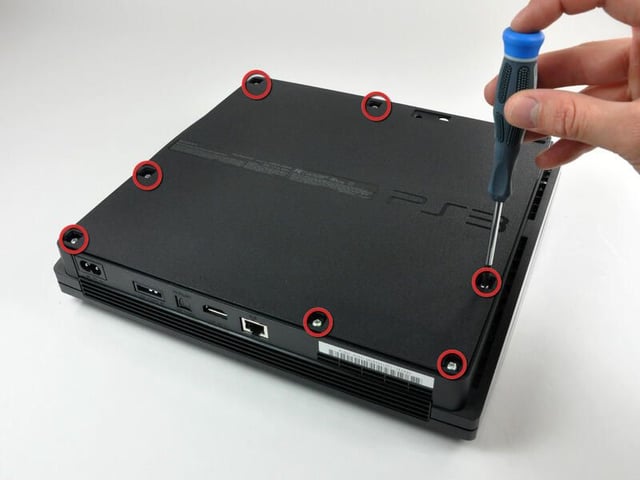
Seven Phillips screws need to be removed from the bottom. Interestingly enough, the rubber pad on the front-right corner of the PS3 has no screw hidden underneath it. Imagine our surprise when we removed it!
Photo by iFixit, used by permission. The original iFixit Teardown Photo Gallery can be found here.
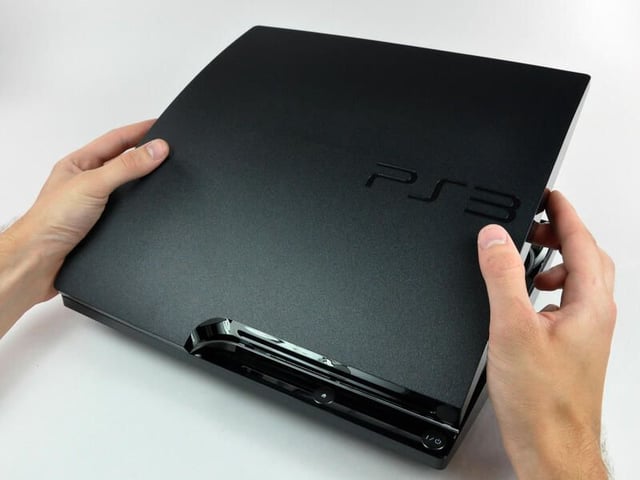
Photo by iFixit, used by permission. The original iFixit Teardown Photo Gallery can be found here.
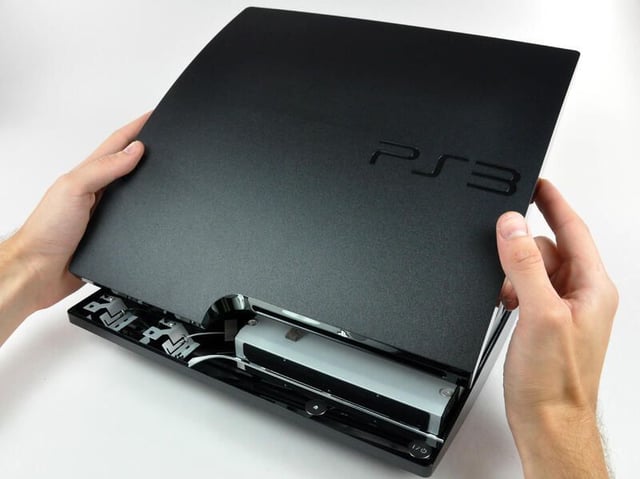
Photo by iFixit, used by permission. The original iFixit Teardown Photo Gallery can be found here.
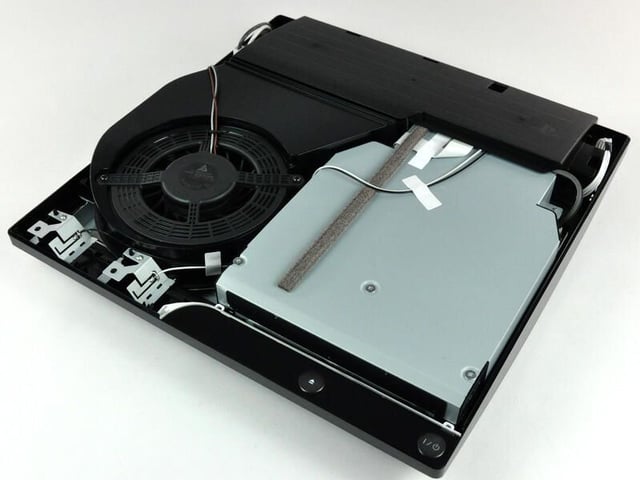
This 12V, 1.3A monster rivals the best fans found in desktop PC machines. Sony spared no expense.
Photo by iFixit, used by permission. The original iFixit Teardown Photo Gallery can be found here.

This is a brushless DC motor, which is fairly standard for fans in devices like this. Brushless motors are quieter than more traditional fans, but require fine computer control to function. It is not a maglev fan like Apple is known to use, however.
Photo by iFixit, used by permission. The original iFixit Teardown Photo Gallery can be found here.
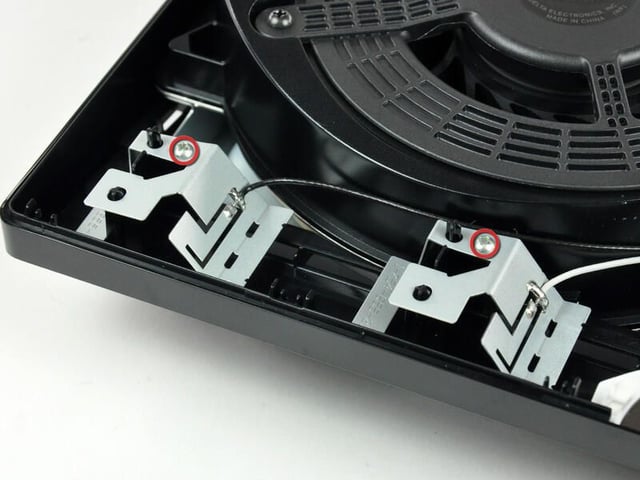
The Bluetooth and WLAN antennas, intentionally three-dimensional in design, are attached to the lower case with Phillips screws.
Photo by iFixit, used by permission. The original iFixit Teardown Photo Gallery can be found here.
Photo by iFixit, used by permission. The original iFixit Teardown Photo Gallery can be found here.
The AC inlet cable is devoid of a third ‘ground’ pin, surprising for a unit that draws nearly 250W.
Photo by iFixit, used by permission. The original iFixit Teardown Photo Gallery can be found here.
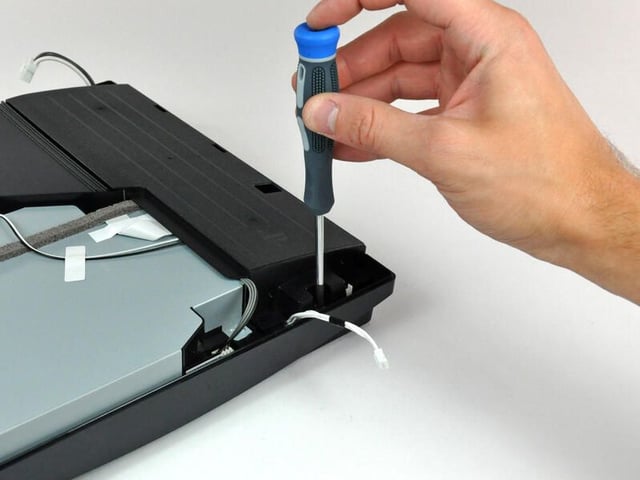
Photo by iFixit, used by permission. The original iFixit Teardown Photo Gallery can be found here.
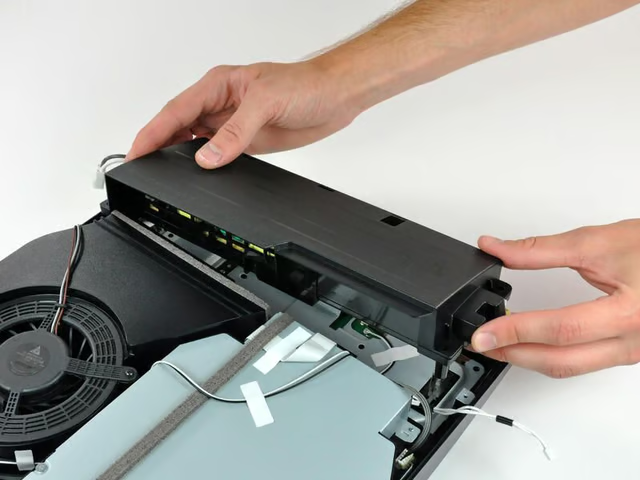
This is quite a bit smaller than the original PS3’s power supply, and presumably has better thermal characteristics.
Photo by iFixit, used by permission. The original iFixit Teardown Photo Gallery can be found here.
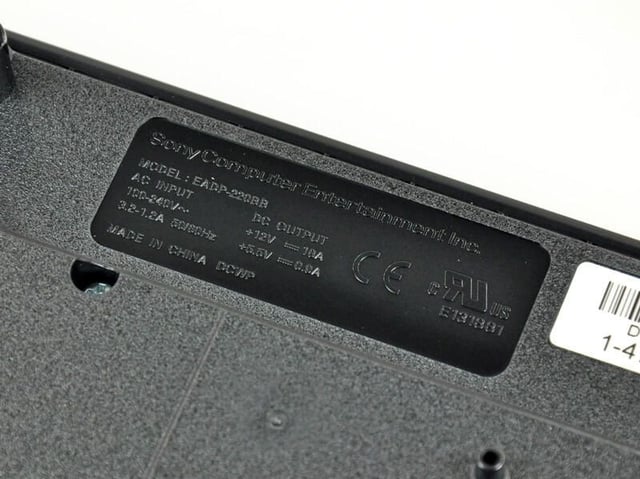
Much to the relief of users worldwide, the power supply is designed for inputs ranging from 100V to 240V AC.
Photo by iFixit, used by permission. The original iFixit Teardown Photo Gallery can be found here.
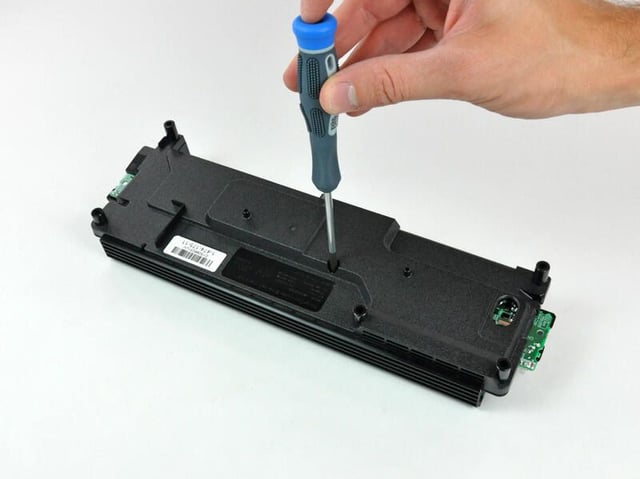
Photo by iFixit, used by permission. The original iFixit Teardown Photo Gallery can be found here.
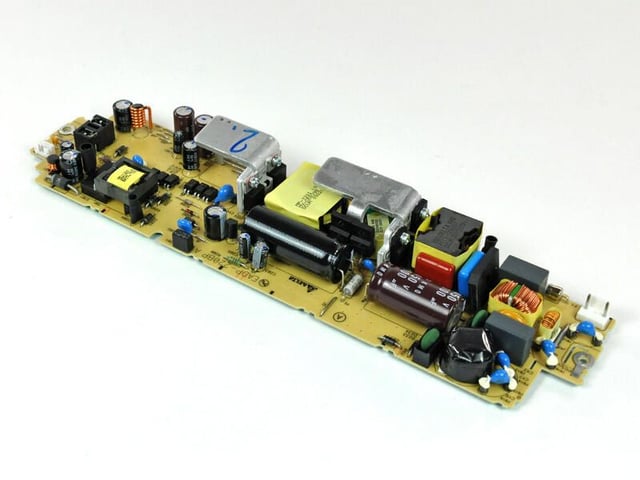
This is a startlingly compact unit. It will be interesting to see what the thermal dissipation is like. This puppy cranks out 18 amps at 12V DC! Fingers beware.
Photo by iFixit, used by permission. The original iFixit Teardown Photo Gallery can be found here.
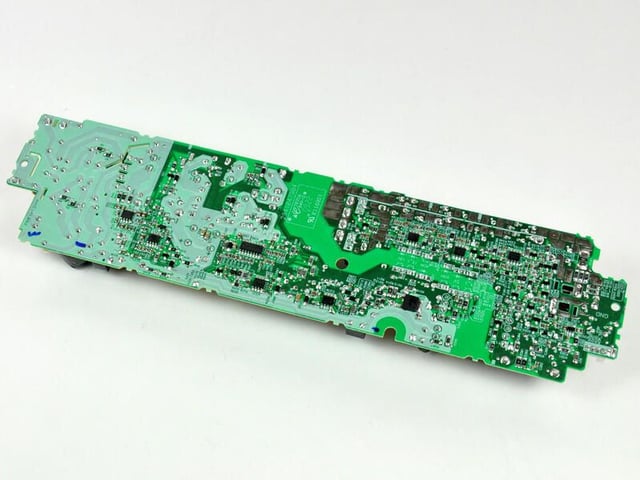
Photo by iFixit, used by permission. The original iFixit Teardown Photo Gallery can be found here.
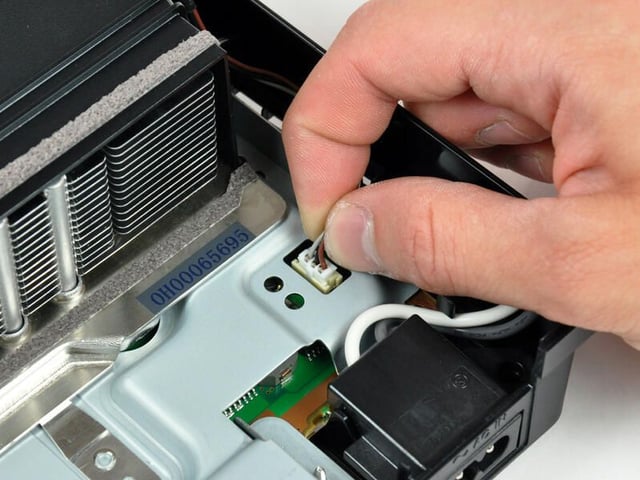
Photo by iFixit, used by permission. The original iFixit Teardown Photo Gallery can be found here.
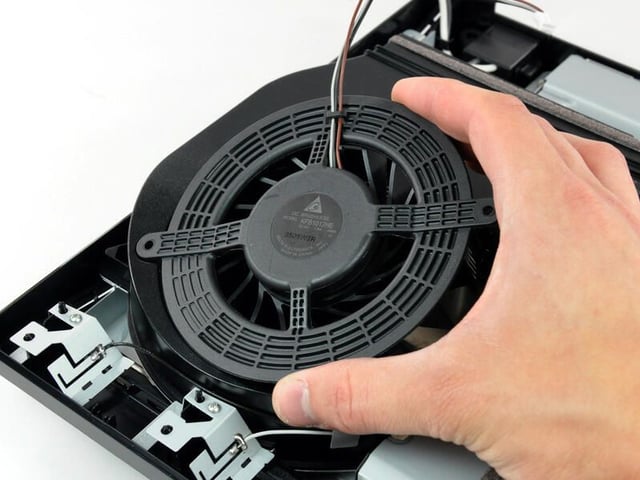
Photo by iFixit, used by permission. The original iFixit Teardown Photo Gallery can be found here.
This is the largest fan we’ve come across in a consumer electronics device of this size. Sony is really taking cooling quite seriously.
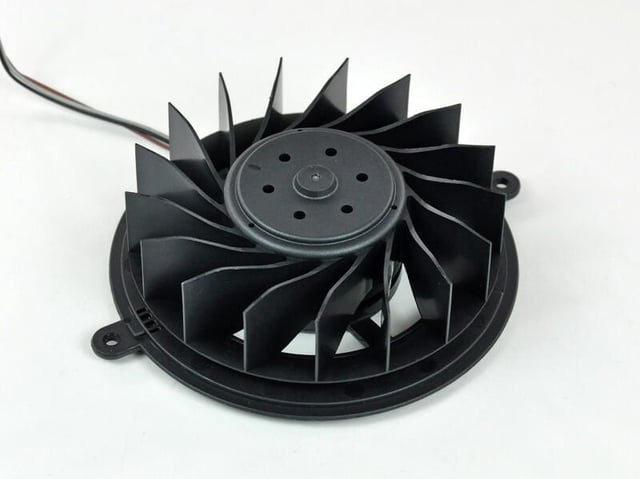
The ~95 mm diameter 17 blade impeller was definitely designed with quiet in mind. It is extremely stiff and presumably made of ABS plastic.
Photo by iFixit, used by permission. The original iFixit Teardown Photo Gallery can be found here.
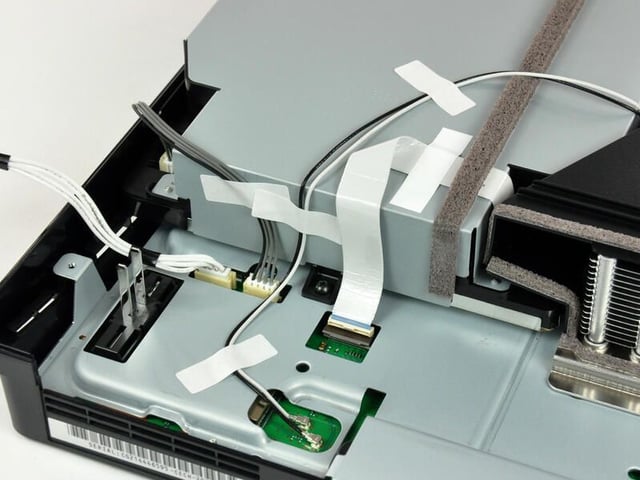
Photo by iFixit, used by permission. The original iFixit Teardown Photo Gallery can be found here.
Photo by iFixit, used by permission. The original iFixit Teardown Photo Gallery can be found here.
Photo by iFixit, used by permission. The original iFixit Teardown Photo Gallery can be found here.
Photo by iFixit, used by permission. The original iFixit Teardown Photo Gallery can be found here.
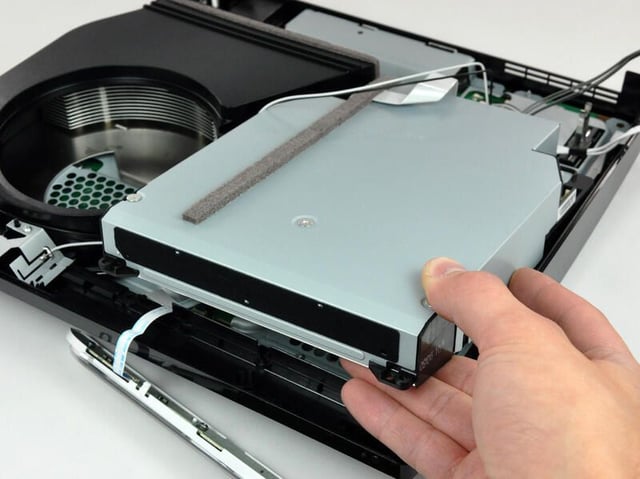
iFixit disassembled the drive, and found that it appears to be a proprietary Sony-manufactured part.
Photo by iFixit, used by permission. The original iFixit Teardown Photo Gallery can be found here.
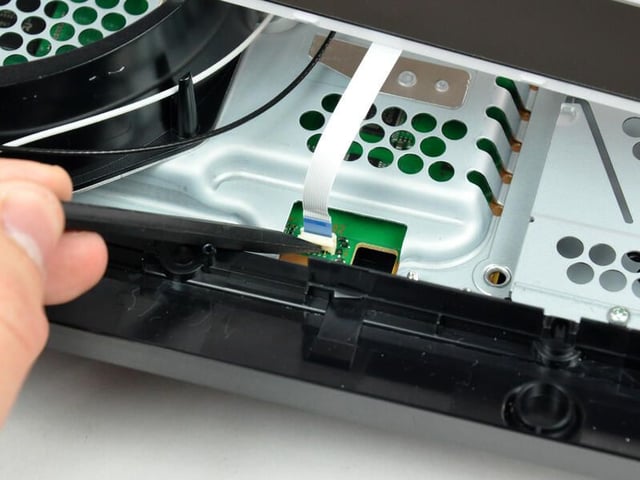
Photo by iFixit, used by permission. The original iFixit Teardown Photo Gallery can be found here.

Photo by iFixit, used by permission. The original iFixit Teardown Photo Gallery can be found here.
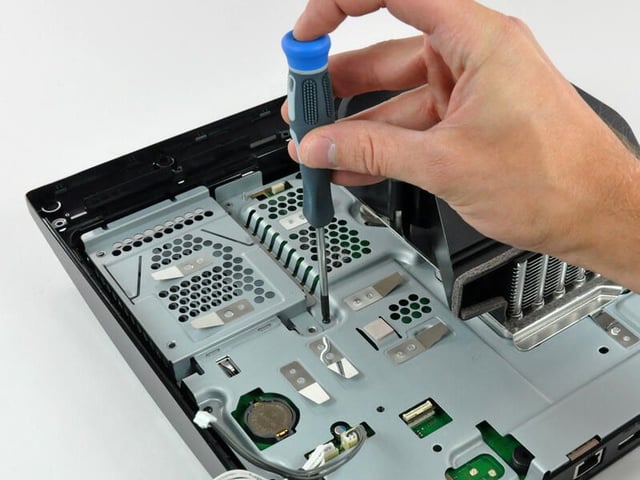
Photo by iFixit, used by permission. The original iFixit Teardown Photo Gallery can be found here.
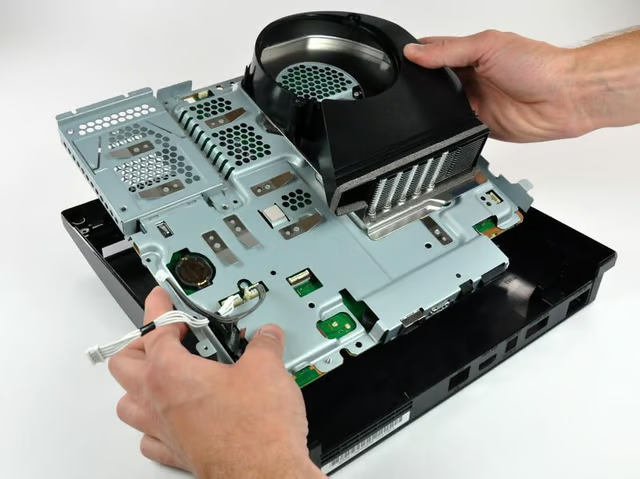
Photo by iFixit, used by permission. The original iFixit Teardown Photo Gallery can be found here.
The two identical matte finished brackets are designed to apply pressure to the center of the processors, keeping them firmly planted on their heat sinks.
Photo by iFixit, used by permission. The original iFixit Teardown Photo Gallery can be found here.
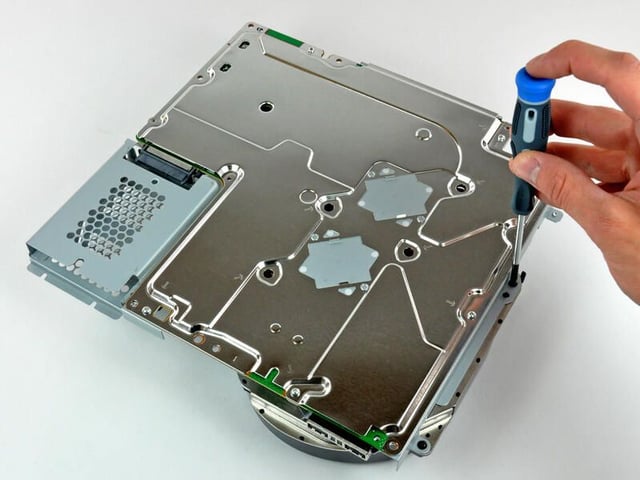
Photo by iFixit, used by permission. The original iFixit Teardown Photo Gallery can be found here.
Photo by iFixit, used by permission. The original iFixit Teardown Photo Gallery can be found here.
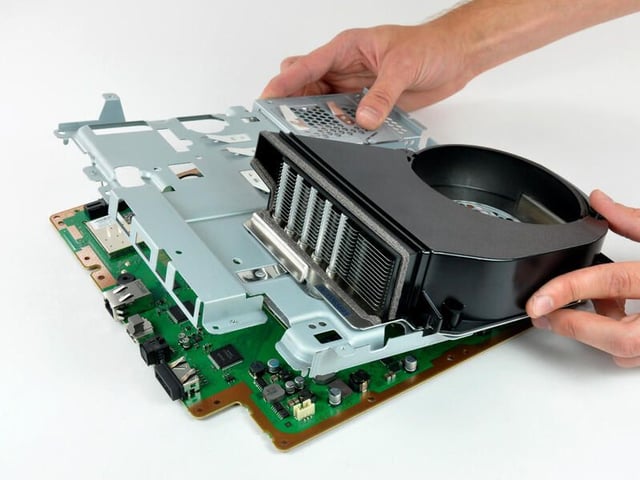
Photo by iFixit, used by permission. The original iFixit Teardown Photo Gallery can be found here.
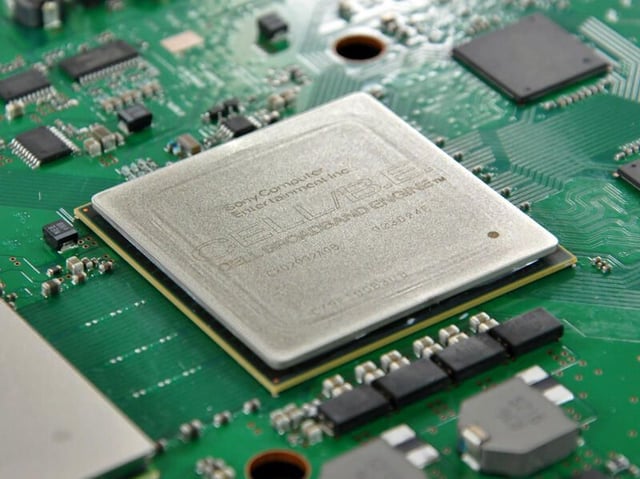
Photo by iFixit, used by permission. The original iFixit Teardown Photo Gallery can be found here.
Photo by iFixit, used by permission. The original iFixit Teardown Photo Gallery can be found here.
Photo by iFixit, used by permission. The original iFixit Teardown Photo Gallery can be found here.
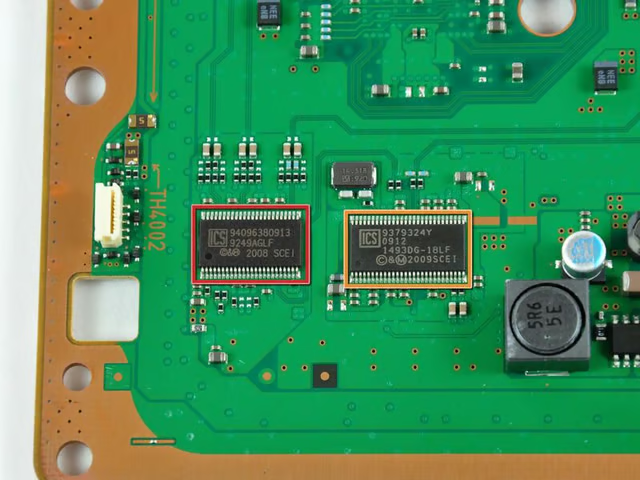
(Orange) Clock generator (1): ICS 9249AGLF
(Yello) Clock generator (2): ICS 1493DG
Photo by iFixit, used by permission. The original iFixit Teardown Photo Gallery can be found here.
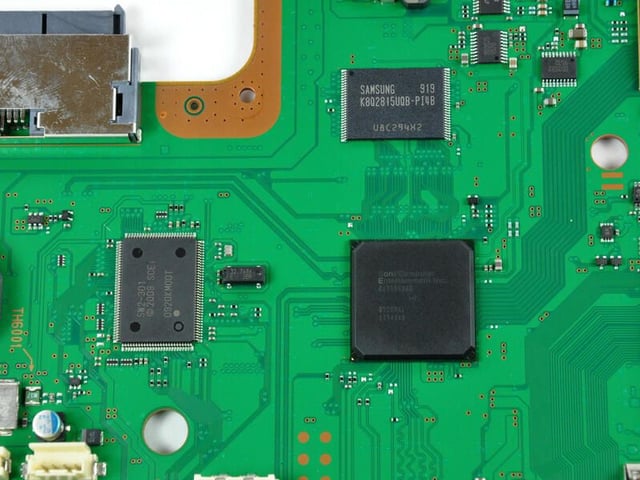
Samsung K8Q2815UQB-PI4B
SW2-301 0920KMOOT
Sony CXD9963G8
Photo by iFixit, used by permission. The original iFixit Teardown Photo Gallery can be found here.
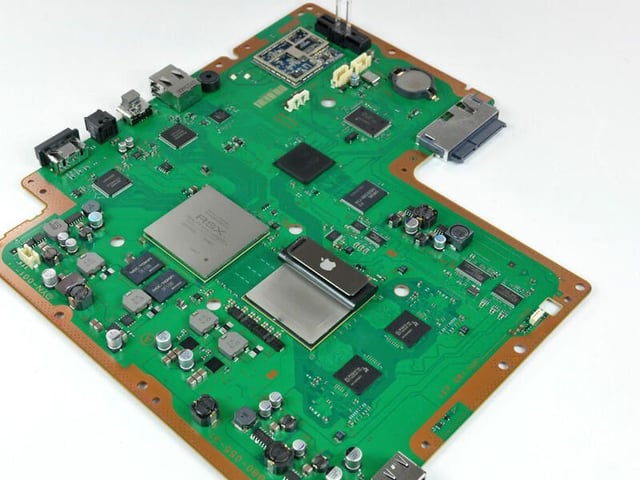
iFixit put the latest iPod Shuffle on top of the processor. The shuffle is just slightly longer, but the overall area of the processor is vastly larger.
Photo by iFixit, used by permission. The original iFixit Teardown Photo Gallery can be found here.

Mark W. Kaelin has been writing and editing stories about the information technology industry, software, hardware, gaming, finance, accounting, and technology geekdom for more than 30 years.


