Microsoft Virtual PC is available as a free download which can be used to create a clean system, which entails having a new system environment ready for either testing of applications or for general Web surfing or day to day activities. This is done to keep your main system clean of either junk from multiple installs or spyware and viruses.
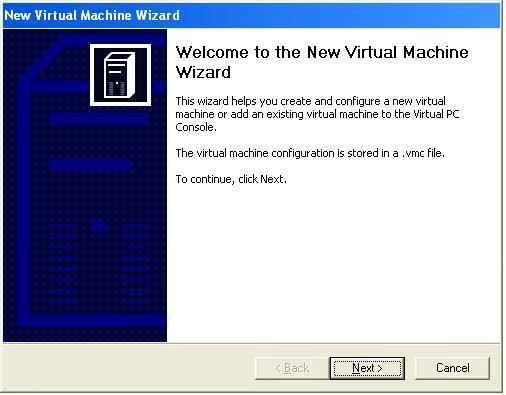
This is the introductory screen of the new Virtual PC Wizard. You can access this wizard by clicking “New…” from the Virtual PC console or selecting File | New Virtual Machine Wizard.
© CNET Networks, Inc.
By Josh Hoskins
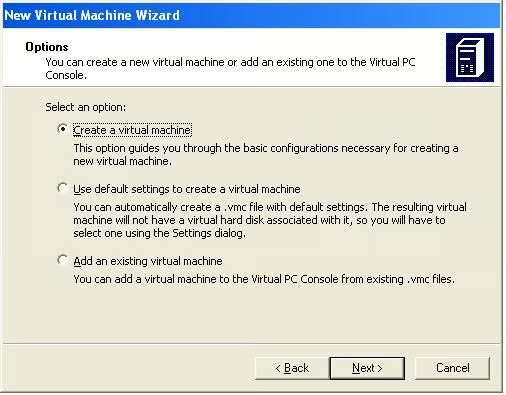
This is your initial wizard screen. You can select from the three options listed here. We will be using the first option (Create a virtual machine) as we are building this machine from scratch.
© CNET Networks, Inc.
By Josh Hoskins
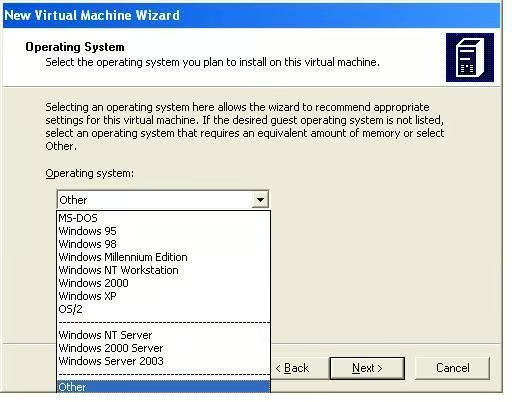
You will then select the operating system you will be installing on your virtual machine. This choice just provides system recommendations based on your operating system choice, but you are free to change any options during the course of the wizard.
© CNET Networks, Inc.
By Josh Hoskins

This is your RAM selection. You will notice the recommended RAM is listed (256MB for Windows 2003 Server). You are free to change this, but remember that this RAM will be taken out of your host PC’s RAM so don’t select more than you can spare to lose.
© CNET Networks, Inc.
By Josh Hoskins
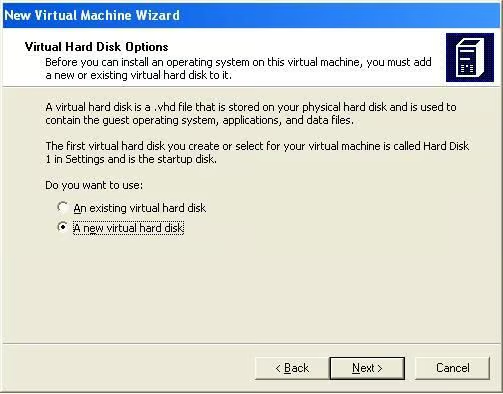
This is your virtual hard drive selection screen. From here you can choose to use an existing VHD or create a new one. As this is the creation of our clean environment, we will create a new virtual hard disk.
© CNET Networks, Inc.
By Josh Hoskins
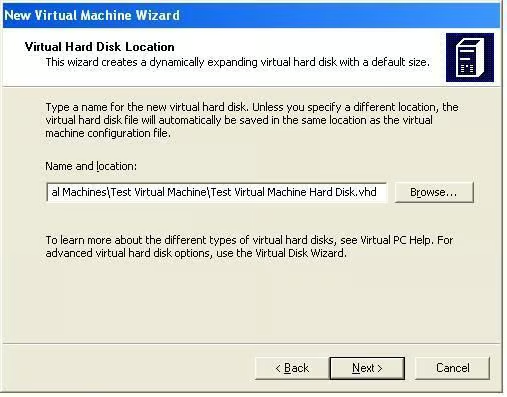
This is where you will locate your new virtual hard disk. Please take note of this location and file name as you will need to back them up to be able to recreate your clean environment.
© CNET Networks, Inc.
By Josh Hoskins
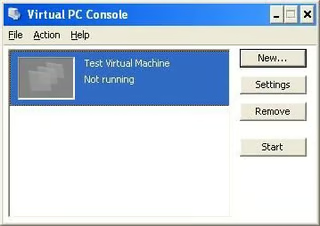
After creating your VHD your Virtual Machine is now ready to turn on. You can view the state of this and any other virtual machines you have in the Virtual PC Console application.
© CNET Networks, Inc.
By Josh Hoskins
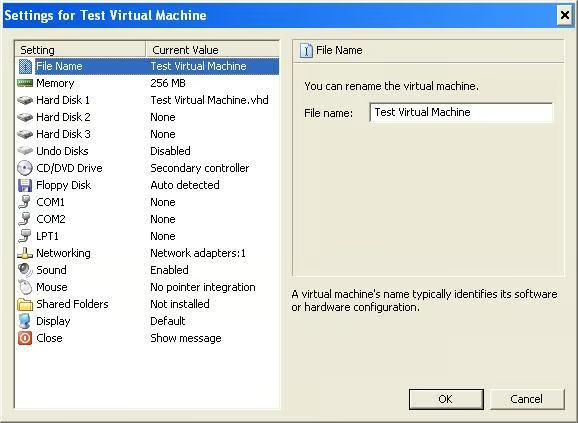
These are the settings for your new virtual machine (accessible from the “Settings” button on the Virtual PC Console. From here you can adjust many settings on your virtual system as well as reallocate or add hardware resources, though most hardware changes must be done while the virtual system is turned off.
© CNET Networks, Inc.
By Josh Hoskins
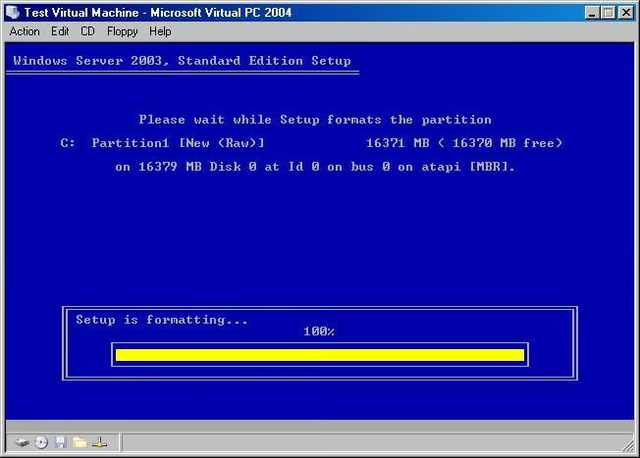
At this point you can start your virtual machine by clicking on it. If you have the proper media in your CD Rom drive you will be able to complete your installation just like on a normal system. One thing to watch out for though, if you use your mouse in the Virtual PC Window you must press the right ALT key to return mouse control to your main system. Once you have the virtual machine additions installed on your virtual machine you will no longer need to do this.
© CNET Networks, Inc.
By Josh Hoskins
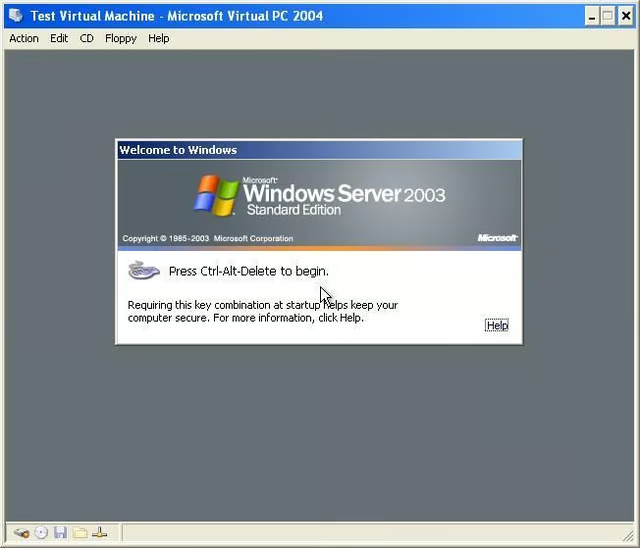
After completing your installation, you will have a full complete installation of your chosen operating system ready for whatever work you have planned for it.
© CNET Networks, Inc.
By Josh Hoskins
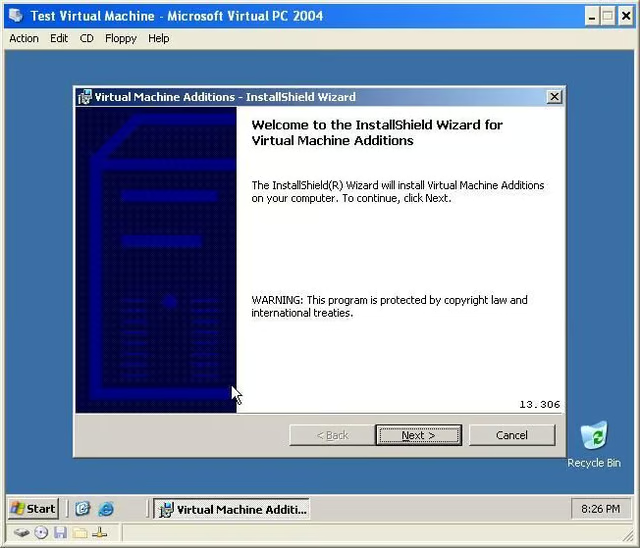
One of the first things you should do after installation is to install the Virtual Machine Additions. You can do this by selecting Action | Install of Upgrade Virtual Machine Additions after you have logged into the system. This will mount the ISO for the Virtual Machine Additions and begin the auto-run program. These additions will help your system run much more smoothly.
© CNET Networks, Inc.
By Josh Hoskins

Mark W. Kaelin has been writing and editing stories about the information technology industry, software, hardware, gaming, finance, accounting, and technology geekdom for more than 30 years.


