In December 2010, Dell upped the ante in the tablet game with the Inspiron Duo. Unlike other convertible tablets, which have rotating screens, the Duo’s screen flips 180 degrees. It also has a touch-sensitive display which eliminates the need for a stylus. Follow along as we crack open the Duo and see the hardware hidden inside.
Photo by: Bill Detwiler / TechRepublic
Caption by: Bill Detwiler
Photo by: Bill Detwiler / TechRepublic
Caption by: Bill Detwiler
Photo by: Bill Detwiler / TechRepublic
Caption by: Bill Detwiler
With the lid open and the screen in the standard position, the Inspiron Duo looks like any other small notebook or netbook.
Photo by: Bill Detwiler / TechRepublic
Caption by: Bill Detwiler
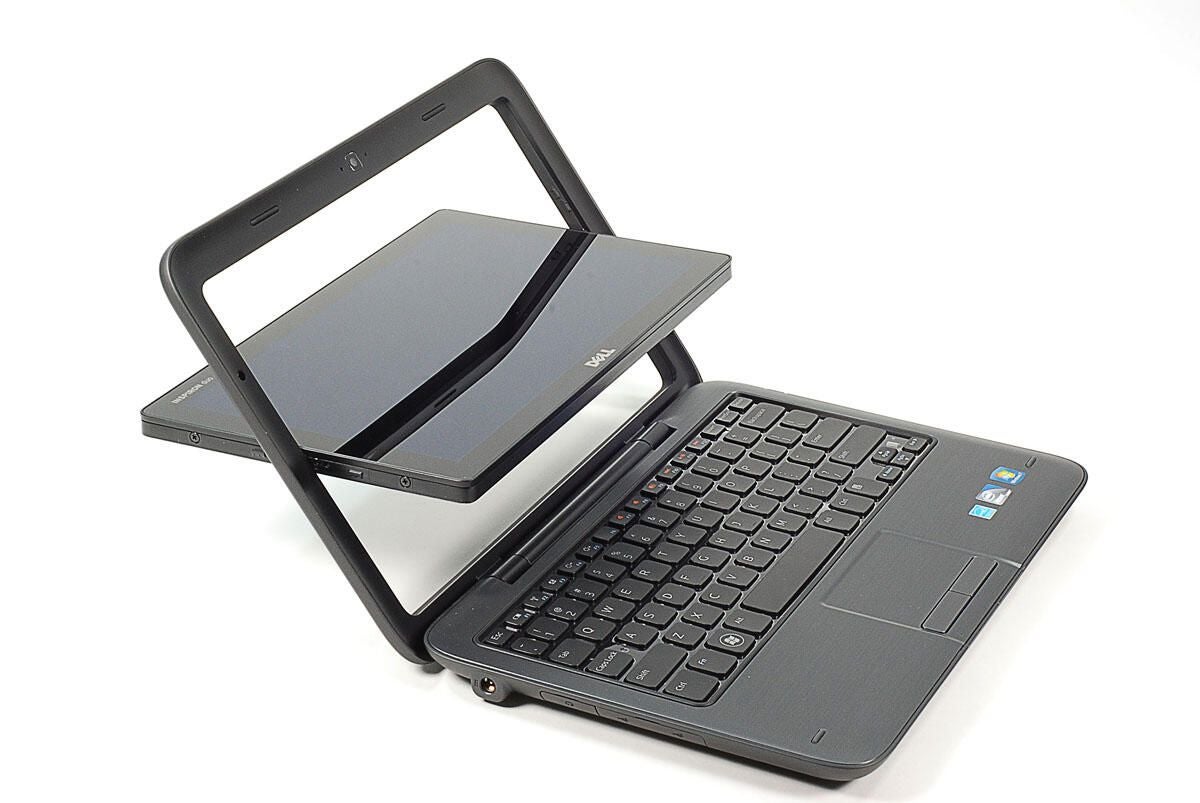
Gently pushing on the top of the screen you can flip it into tablet mode.
Photo by: Bill Detwiler / TechRepublic
Caption by: Bill Detwiler
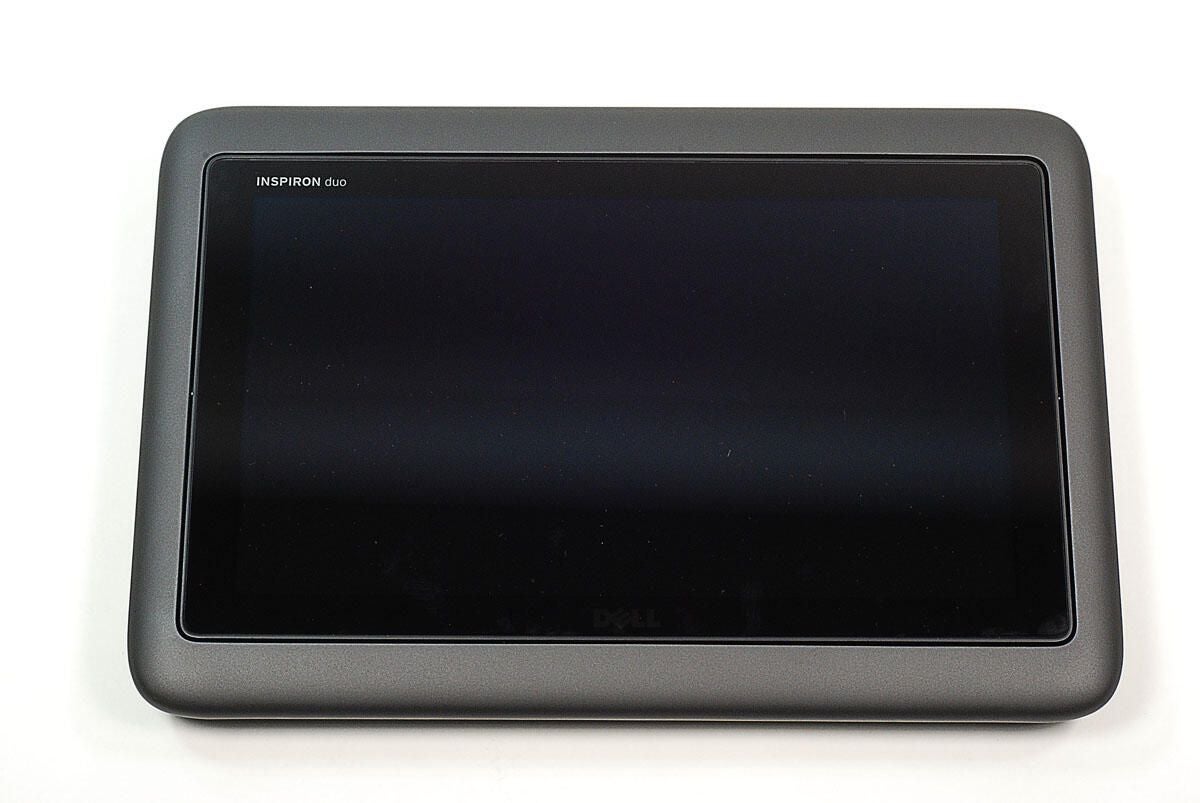
In the tablet position the screen is flipped to face outward and the lid is closed.
Photo by: Bill Detwiler / TechRepublic
Caption by: Bill Detwiler
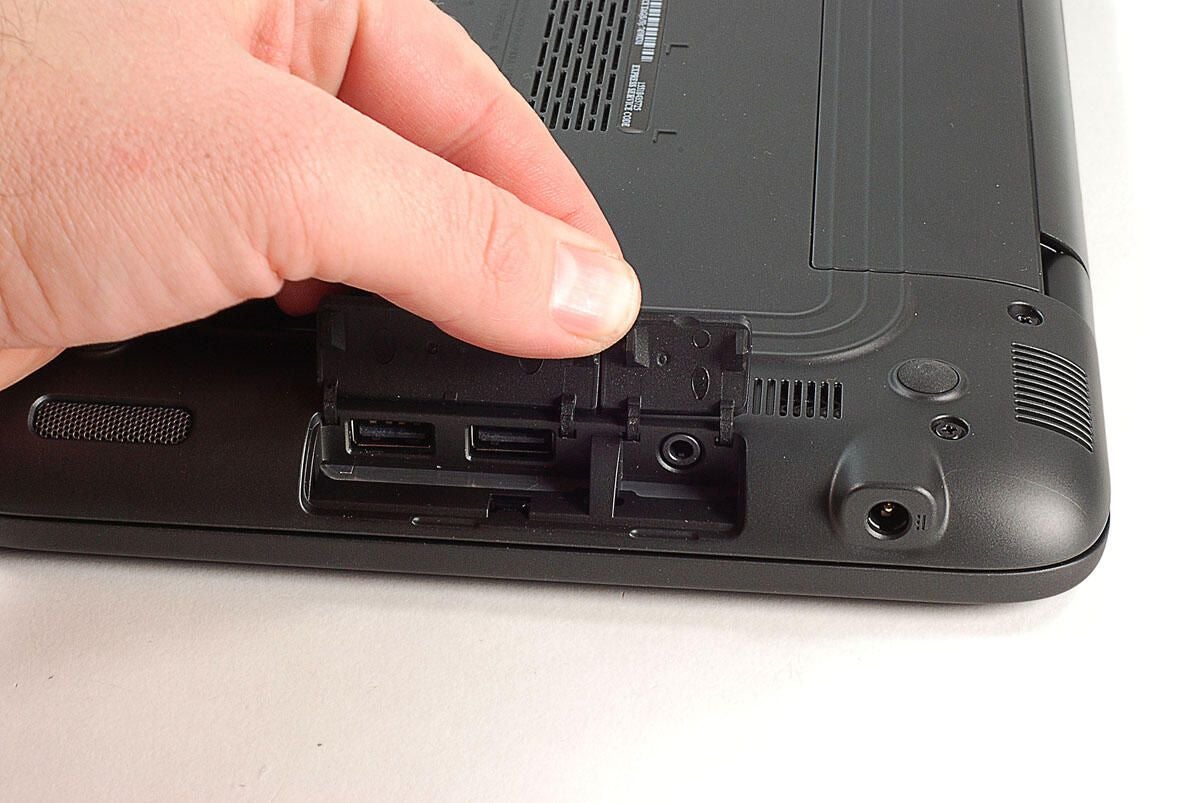
The audio-out/headphone jack and USB ports are hidden behind plastic covers.
Photo by: Bill Detwiler / TechRepublic
Caption by: Bill Detwiler

The removable “label panel” hides the Windows product key sticker, SIM card slot, and three more case screws. You’ll need to remove these screws next.
Photo by: Bill Detwiler / TechRepublic
Caption by: Bill Detwiler
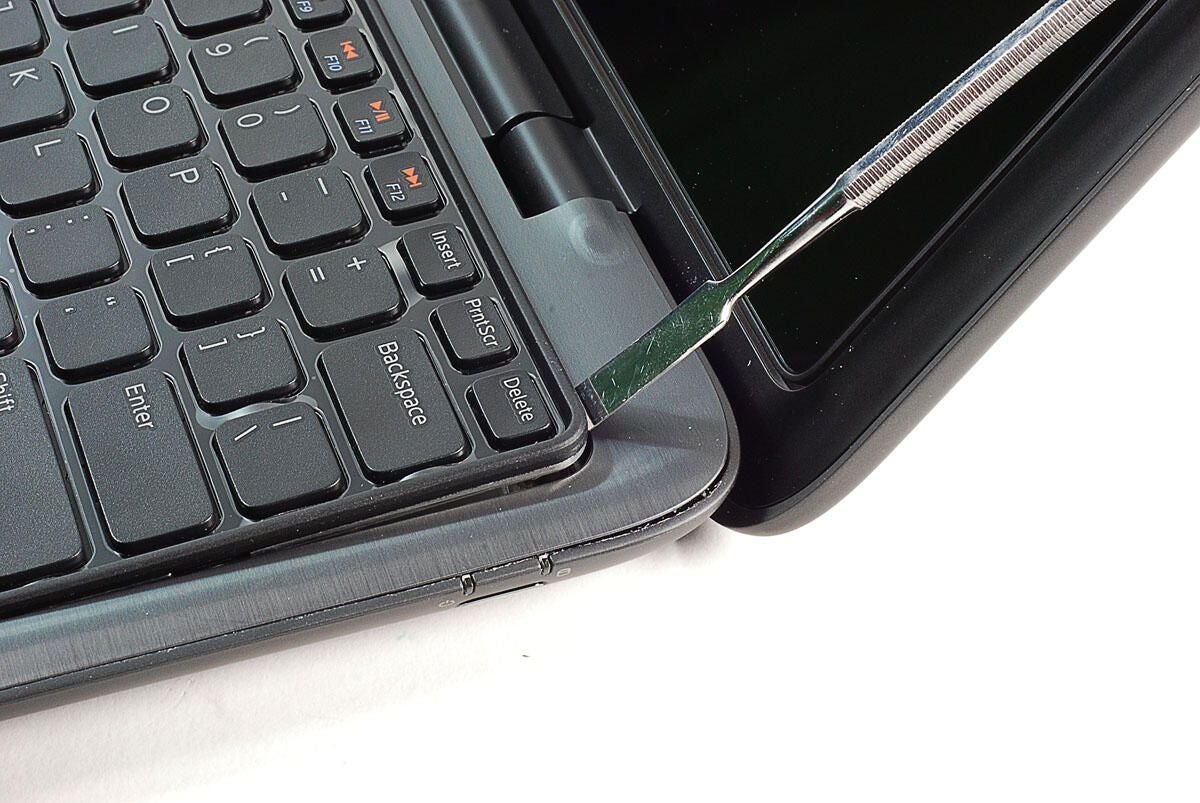
After removing the six exposed case screws and those hidden under the label panel, you’ll need to remove the keyboard. Underneath it are the last for case screws and several ribbon cables that must also be disconnected before opening the case.
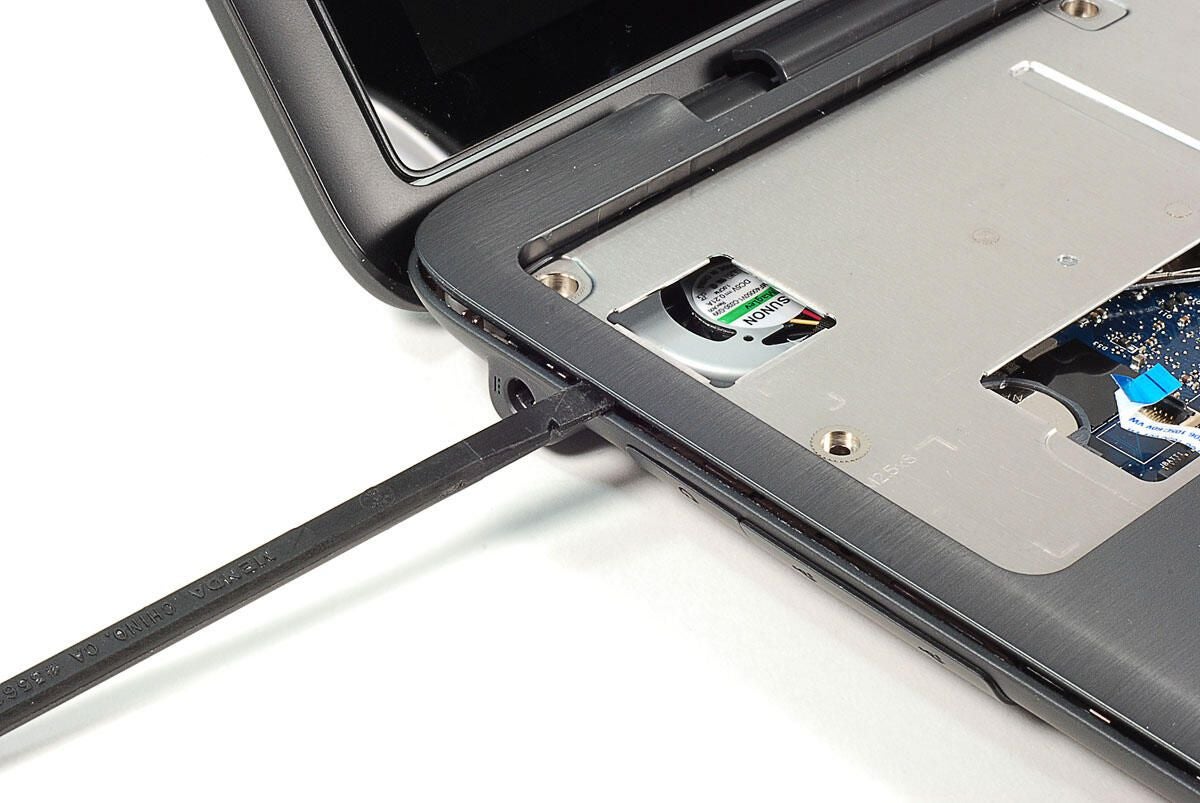
To remove the keyboard, gently pry up from the top using a thin metal blade or plastic spudger.
Photo by: Bill Detwiler / TechRepublic
Caption by: Bill Detwiler
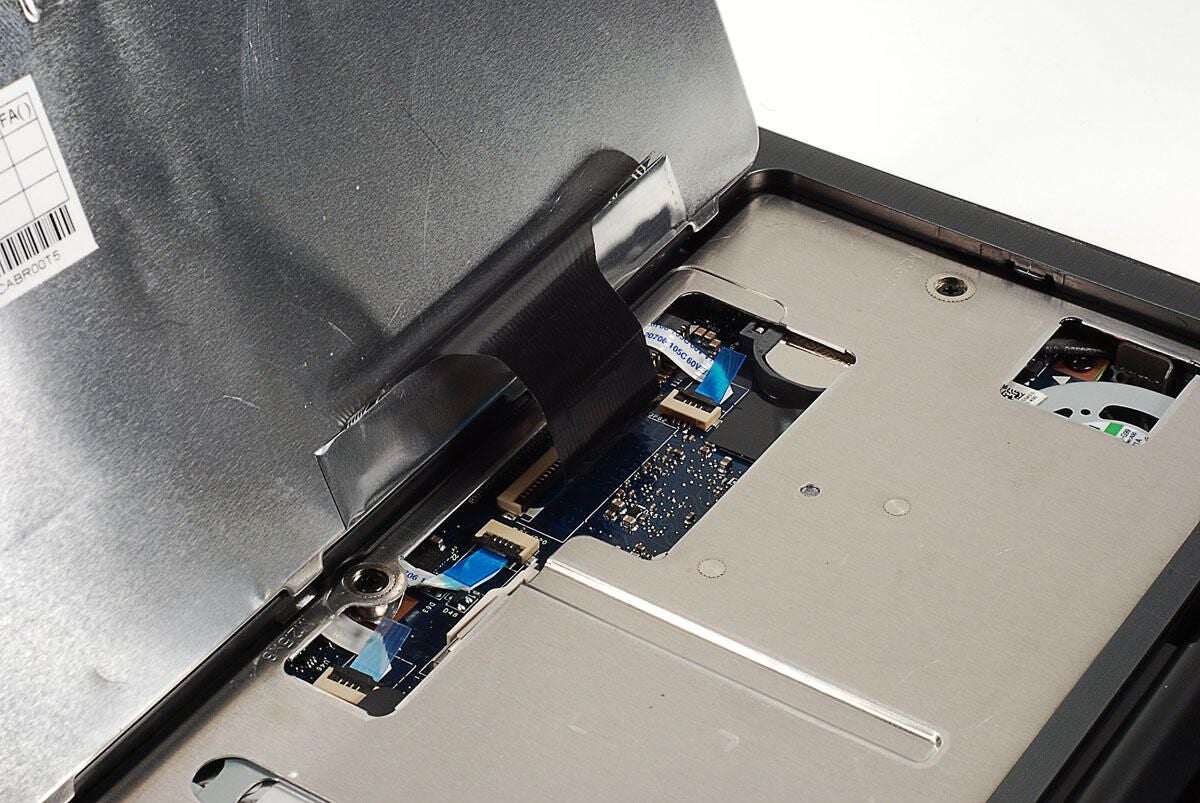
Take care when removing the keyboard. You’ll need to disconnect the keyboard’s ribbon cable before lifting it away from the Inspiron Duo.
Photo by: Bill Detwiler / TechRepublic
Caption by: Bill Detwiler
Photo by: Bill Detwiler / TechRepublic
Caption by: Bill Detwiler
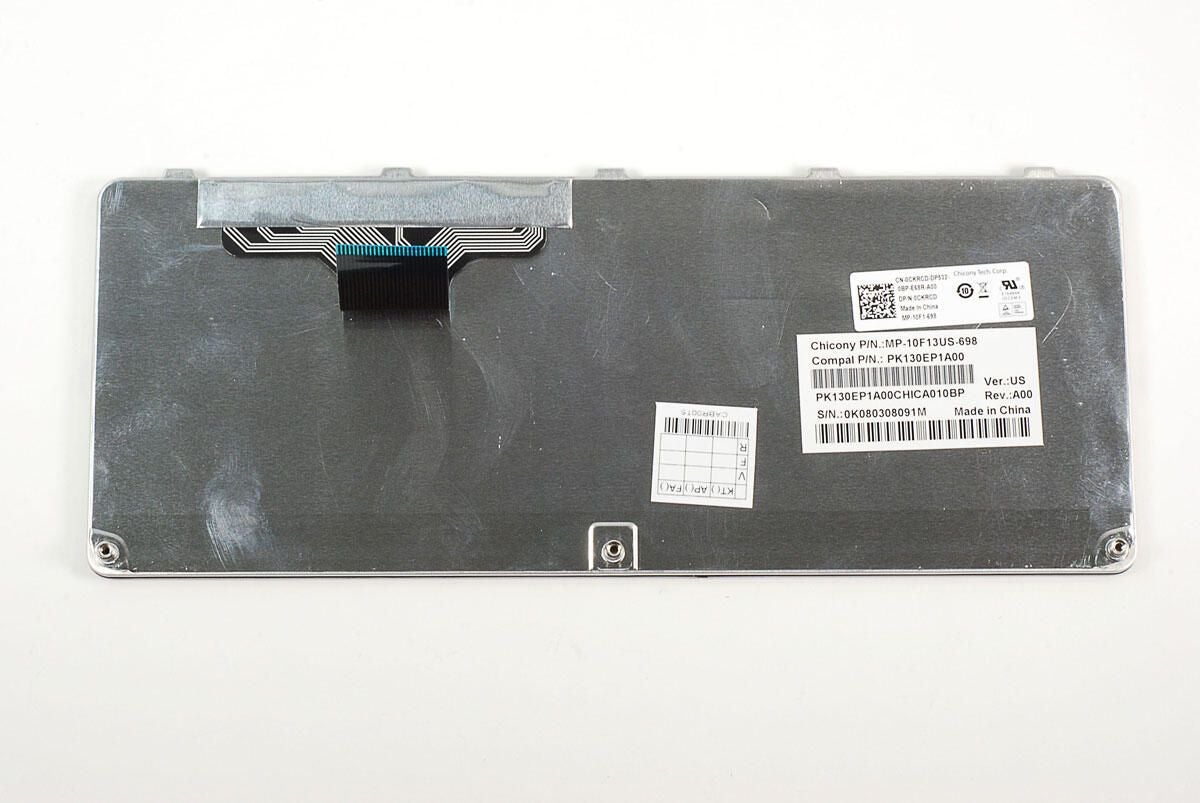
Photo by: Bill Detwiler / TechRepublic
Caption by: Bill Detwiler
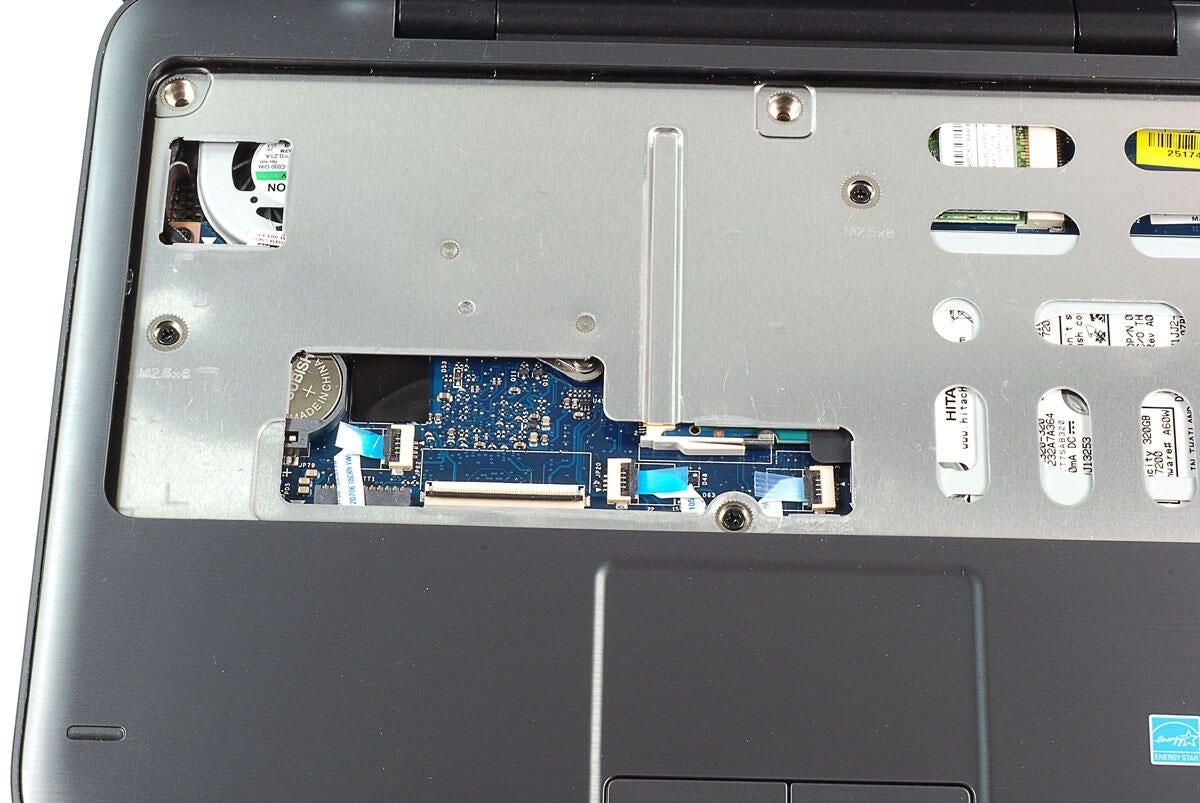
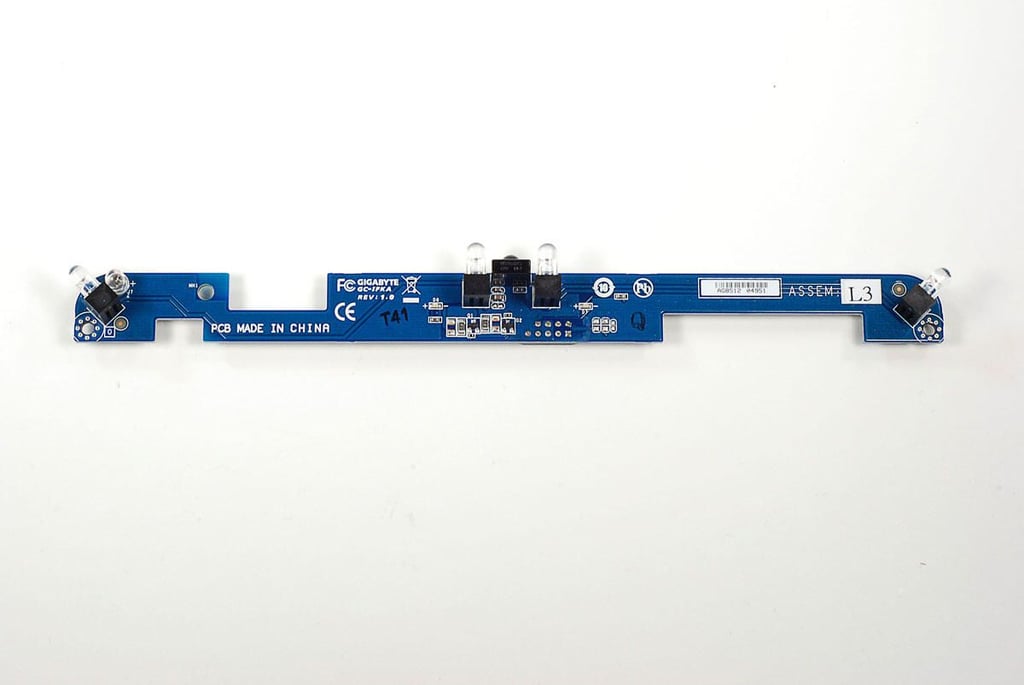
Three ribbon cables connect components mounted on the upper case panel to the mother board. You’ll need to disconnect these ribbon cables before continuing.
Photo by: Bill Detwiler / TechRepublic
Caption by: Bill Detwiler

The last four case screws are located under the keyboard.
Photo by: Bill Detwiler / TechRepublic
Caption by: Bill Detwiler
With all the case screws removed, you can pop loose the upper case panel with a thin plastic spudger. Start at one corner and work your way around the entire case.
Photo by: Bill Detwiler / TechRepublic
Caption by: Bill Detwiler
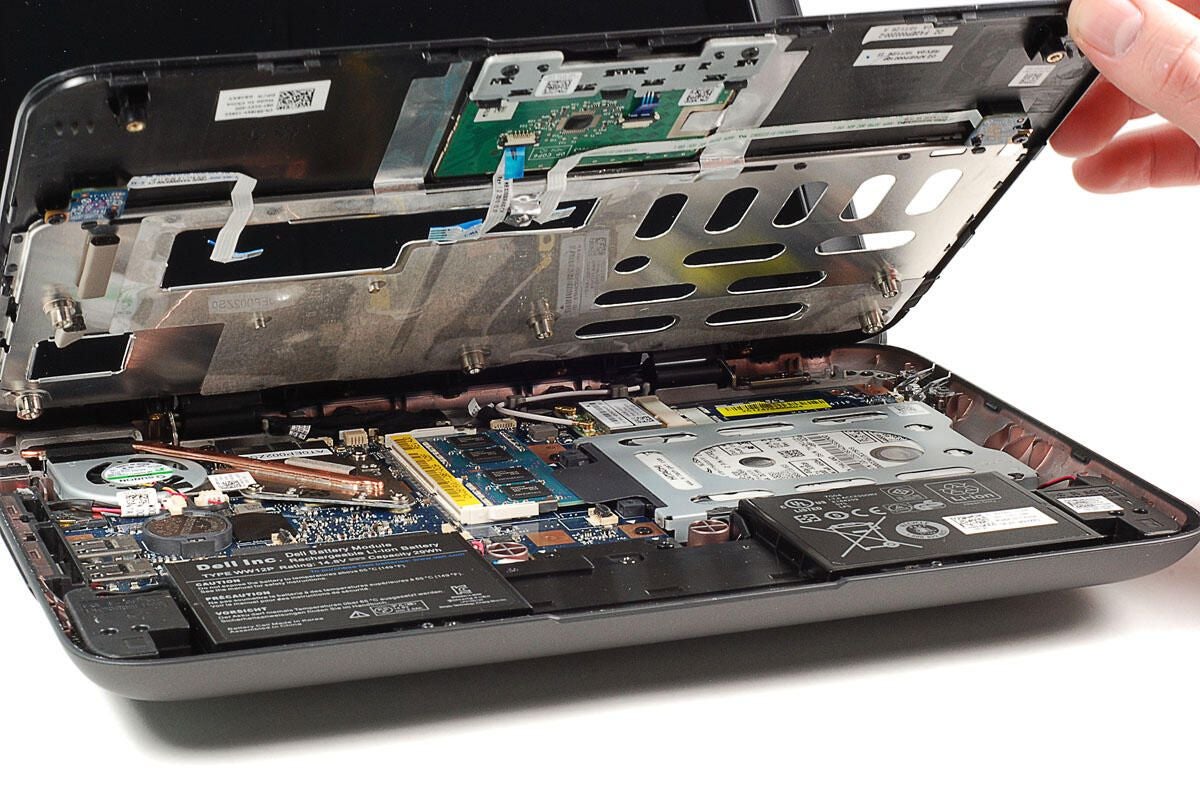
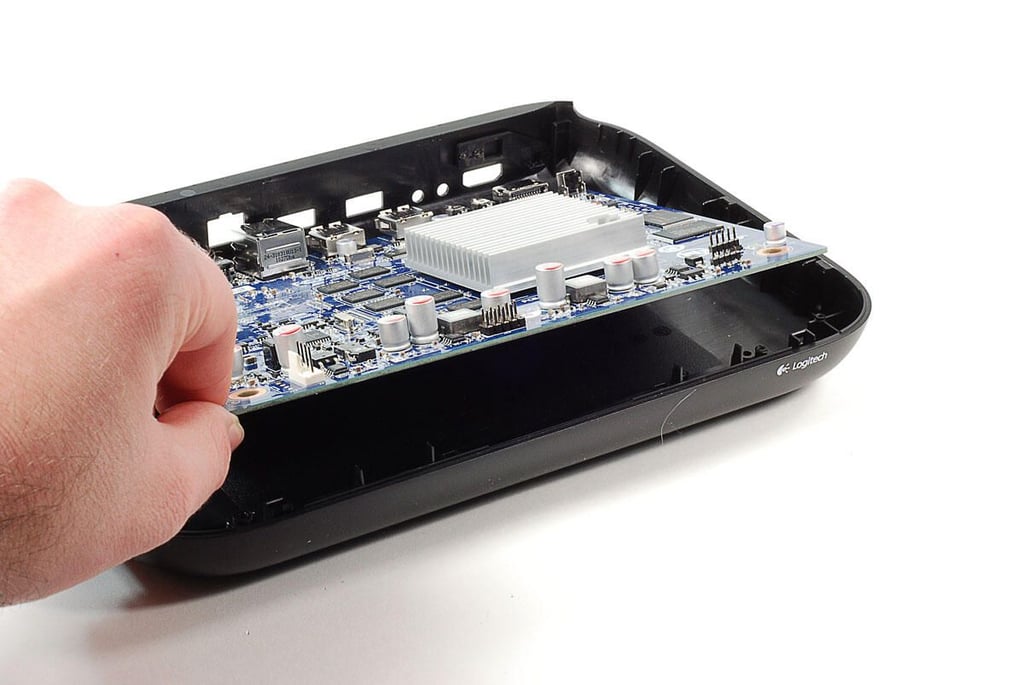
As we lift up the upper case panel, we get our first look inside the Dell Inspiron Duo.
Photo by: Bill Detwiler / TechRepublic
Caption by: Bill Detwiler
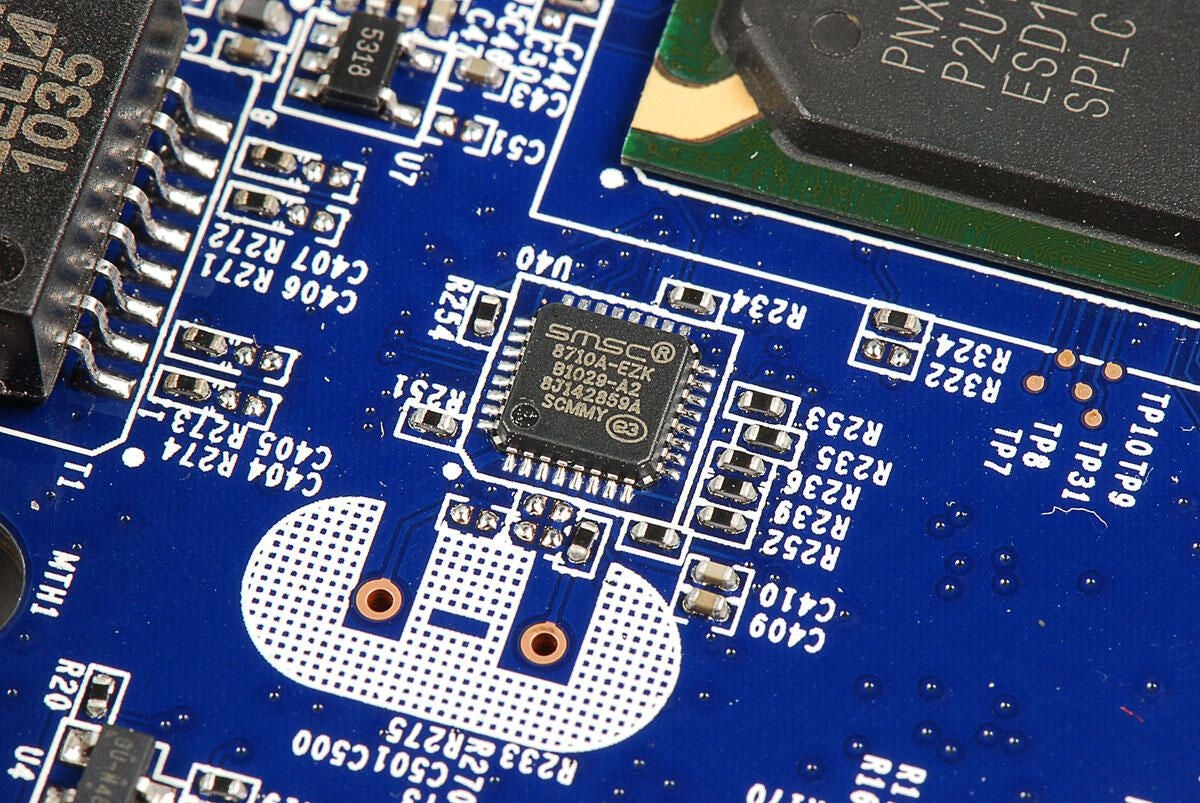
Photo by: Bill Detwiler / TechRepublic
Caption by: Bill Detwiler
I’m not sure what the two small PCBs on the underside of the upper case panel are. They are connected to the metal frame under the keyboard, so they could be sensors to determine when the keyboard is in place.
Photo by: Bill Detwiler / TechRepublic
Caption by: Bill Detwiler

Photo by: Bill Detwiler / TechRepublic
Caption by: Bill Detwiler
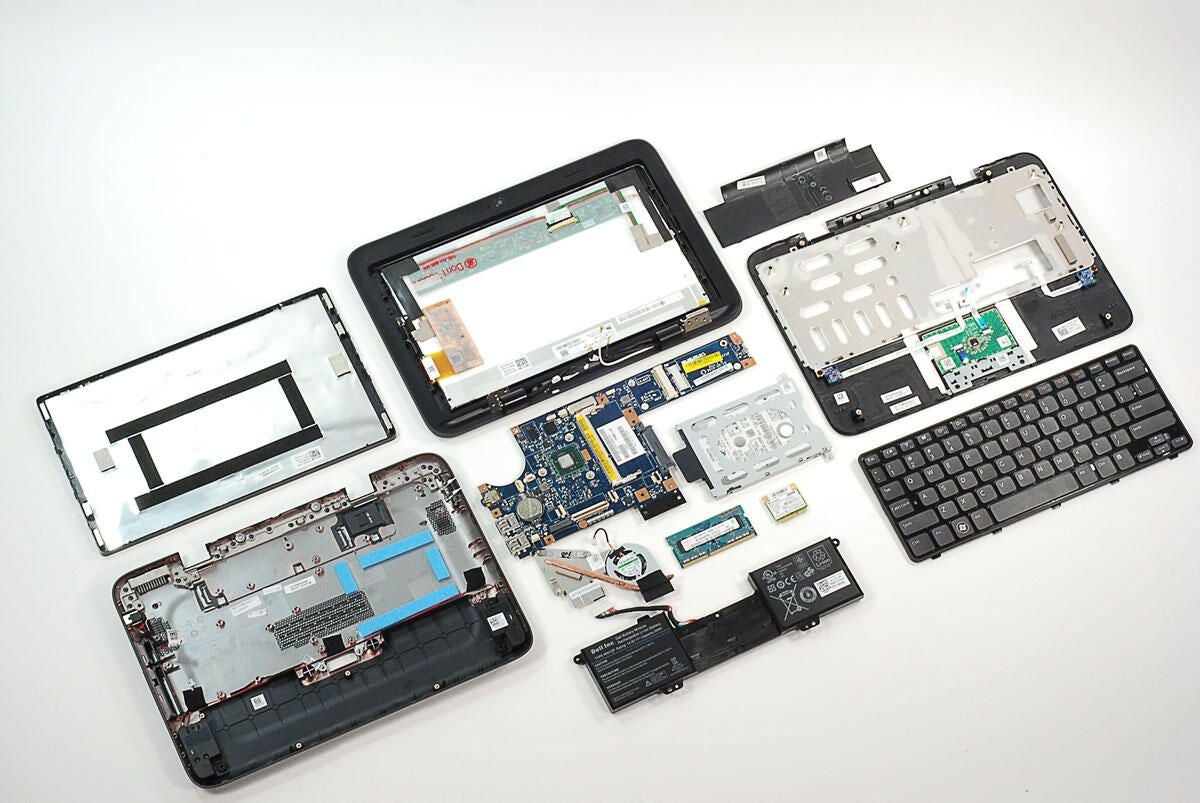
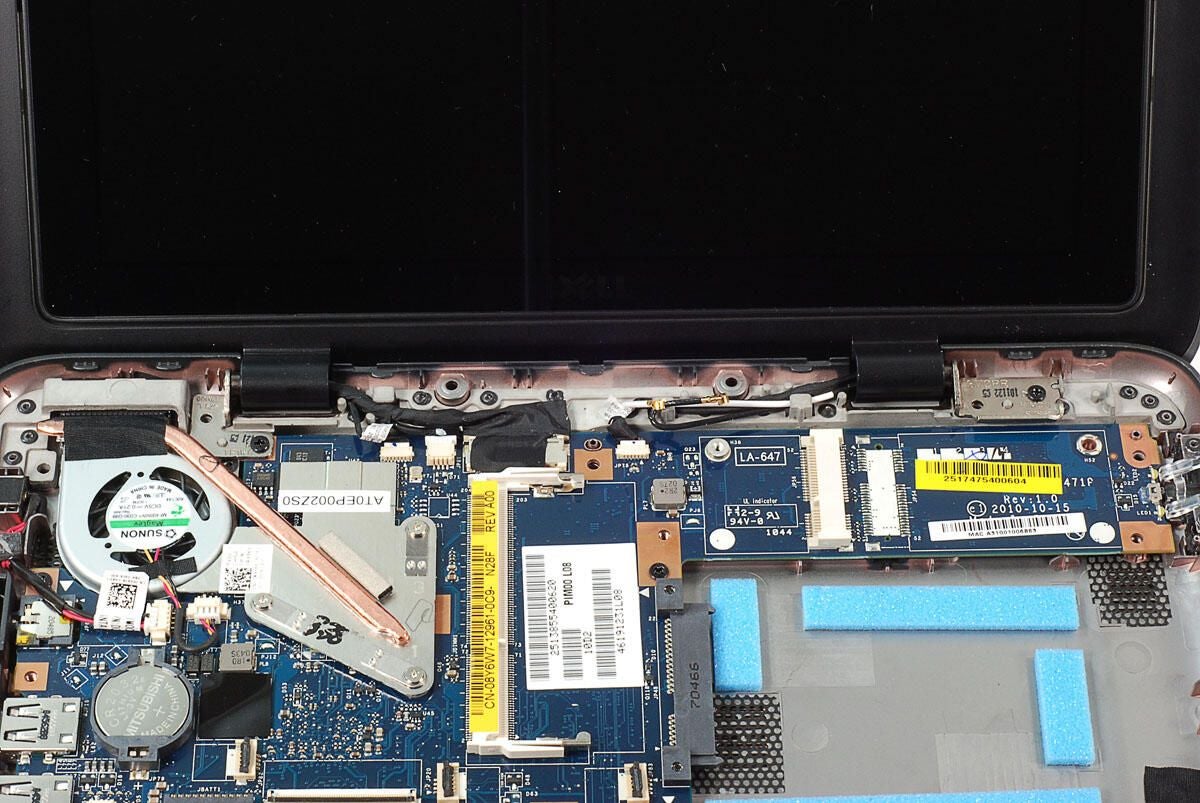
With the upper case panel removed, we can see the key hardware inside the Inspiron Duo (battery, mothetboard, HDD, cooling fan, RAM, wireless card, and speakers.
Photo by: Bill Detwiler / TechRepublic
Caption by: Bill Detwiler
Next we’ll remove the battery. First, we’ll disconnect the battery cable and then remove the three Phillips screws that hold the battery assembly to the case.
Photo by: Bill Detwiler / TechRepublic
Caption by: Bill Detwiler
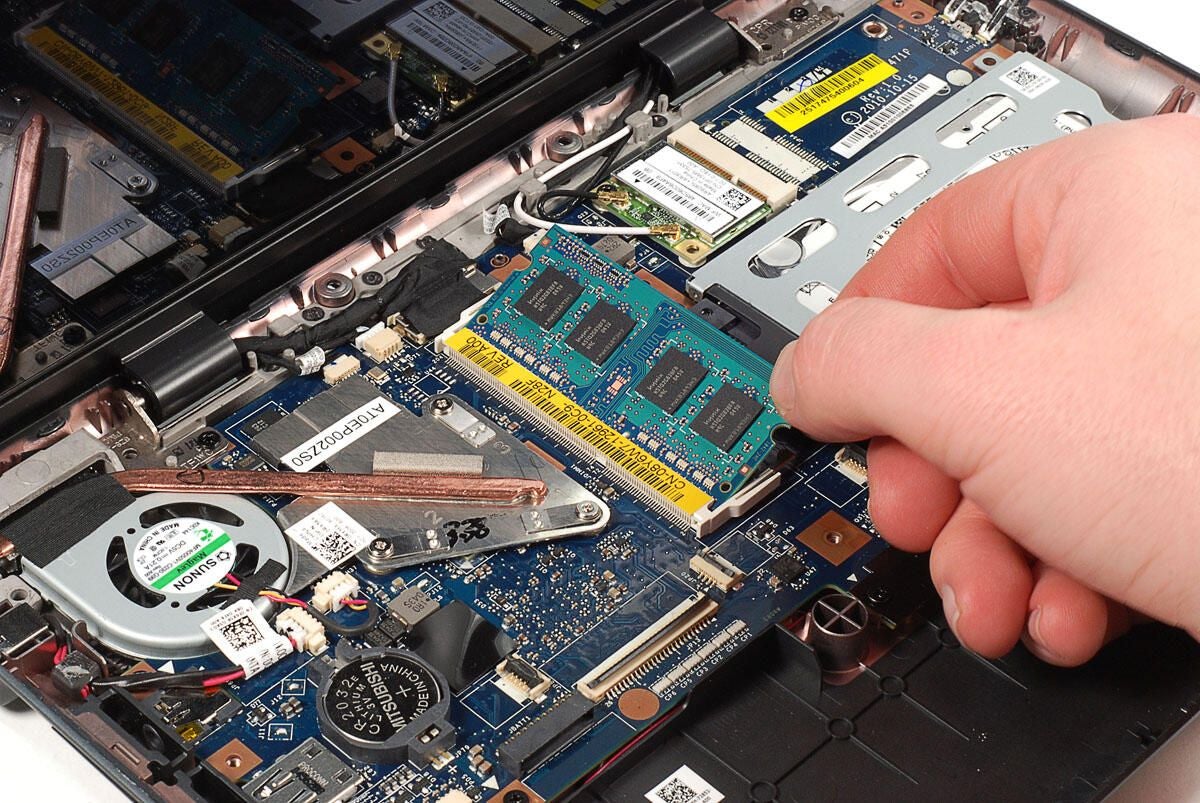
Photo by: Bill Detwiler / TechRepublic
Caption by: Bill Detwiler
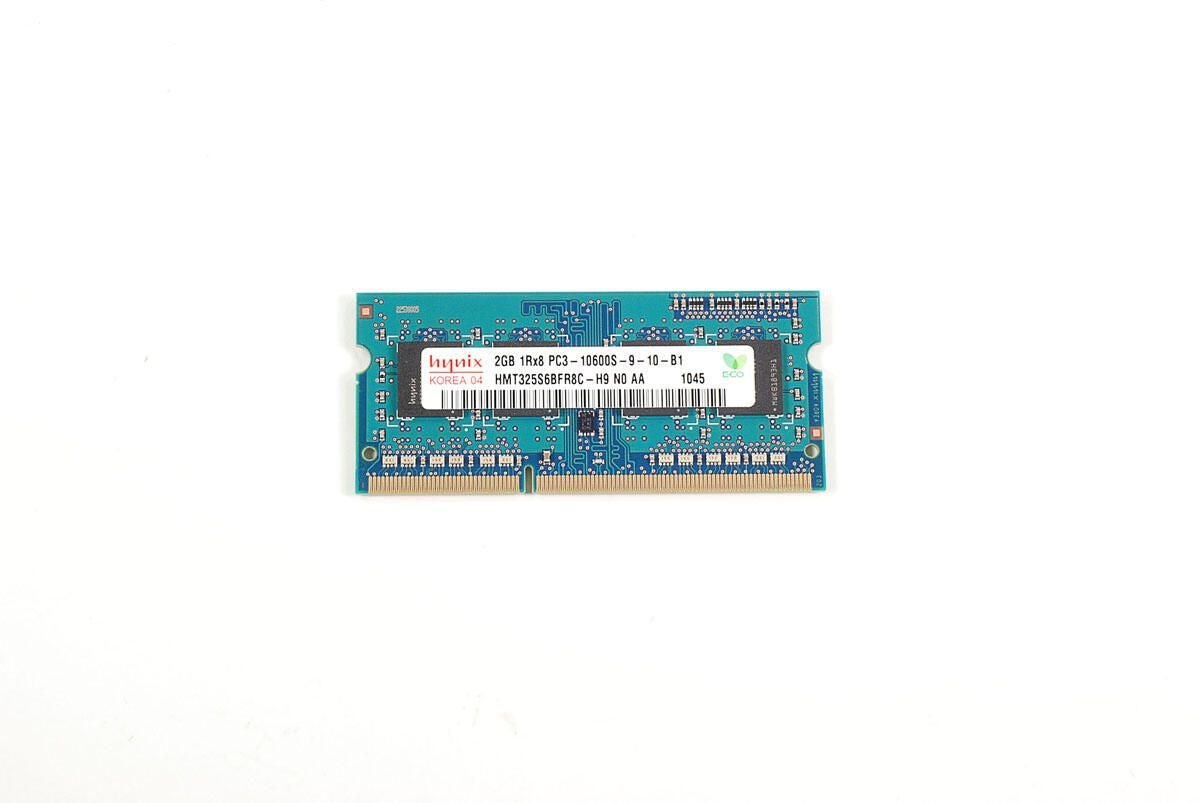
Hynix 2GB DDR3 SDRAM
Photo by: Bill Detwiler / TechRepublic
Caption by: Bill Detwiler
The hard drive is held within a metal bracket, which is attached to the plastic case with Phillips screws.
Photo by: Bill Detwiler / TechRepublic
Caption by: Bill Detwiler
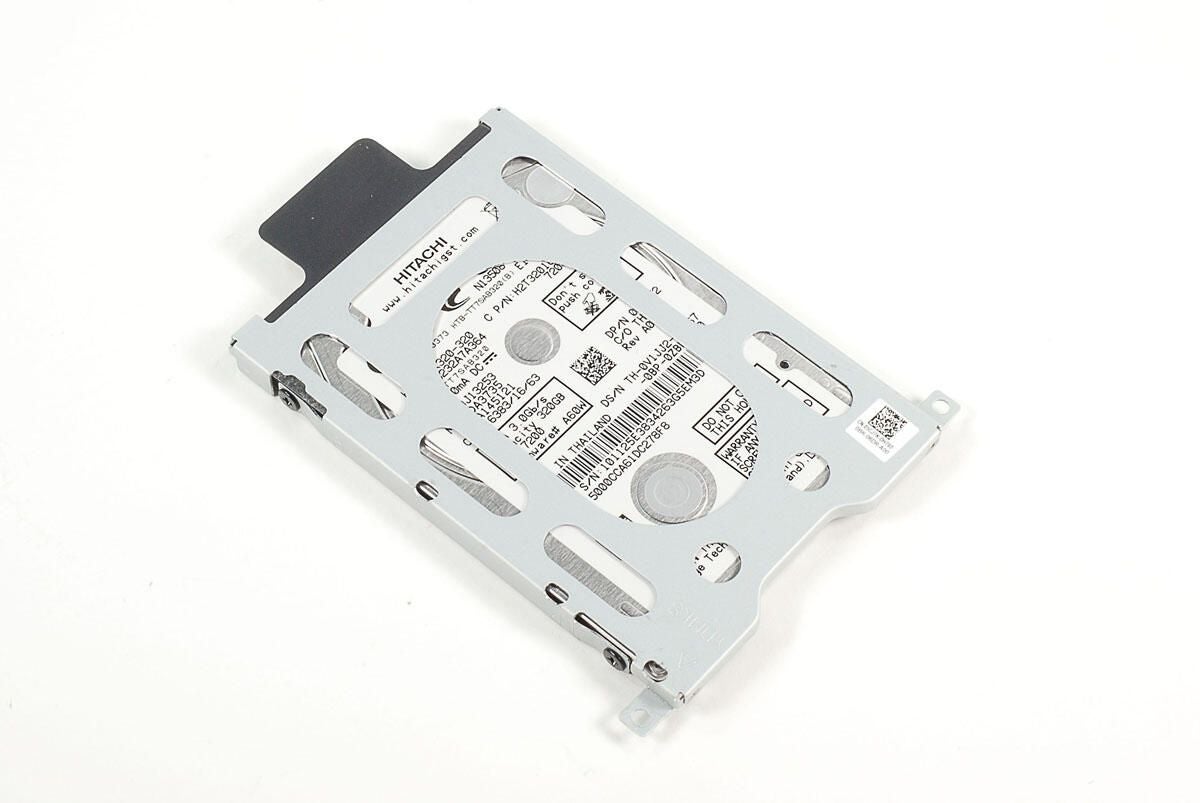
Four Phillips screws hold the drive to the bracket.
Photo by: Bill Detwiler / TechRepublic
Caption by: Bill Detwiler
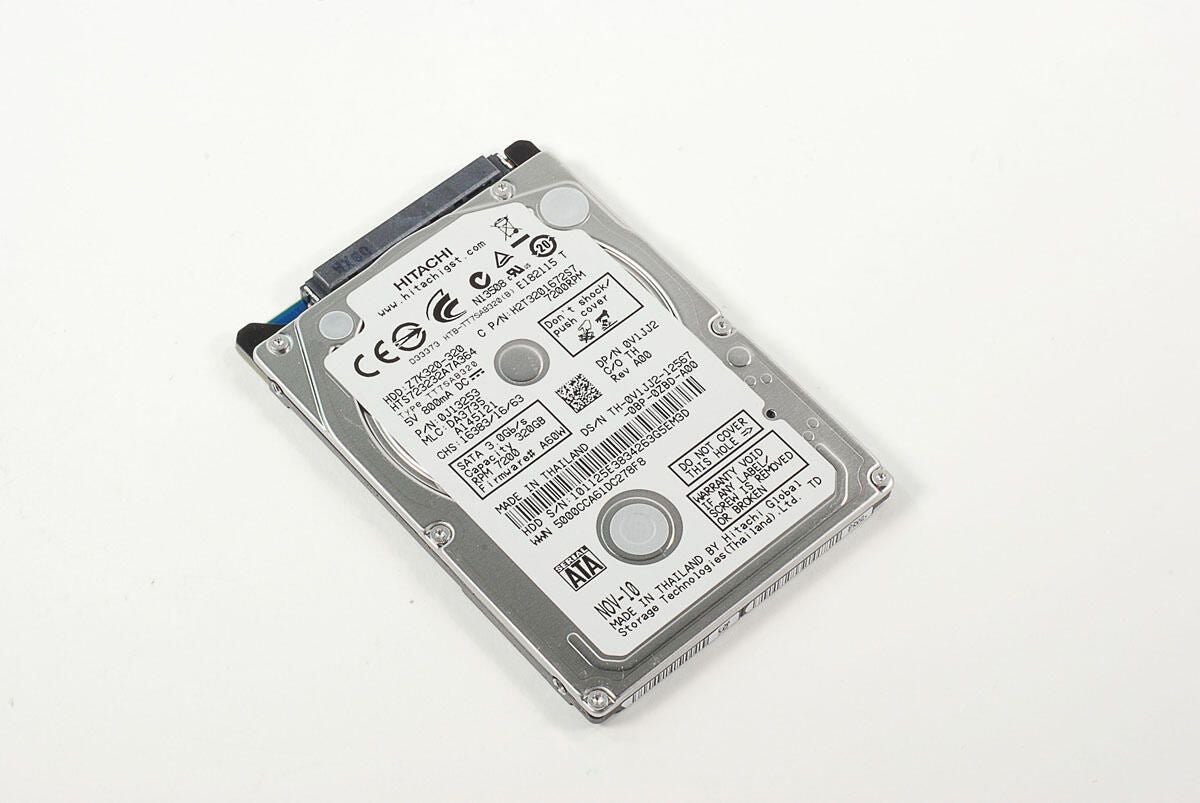
Hitachi 320GB 7200RPM SATA hard drive
Photo by: Bill Detwiler / TechRepublic
Caption by: Bill Detwiler
The Inspiron Duo’s wireless card is held in place with a single Phillips screw. We’ll need to remove it and the two antenna wire connectors before lighting the card away from the motherboard.
Photo by: Bill Detwiler / TechRepublic
Caption by: Bill Detwiler

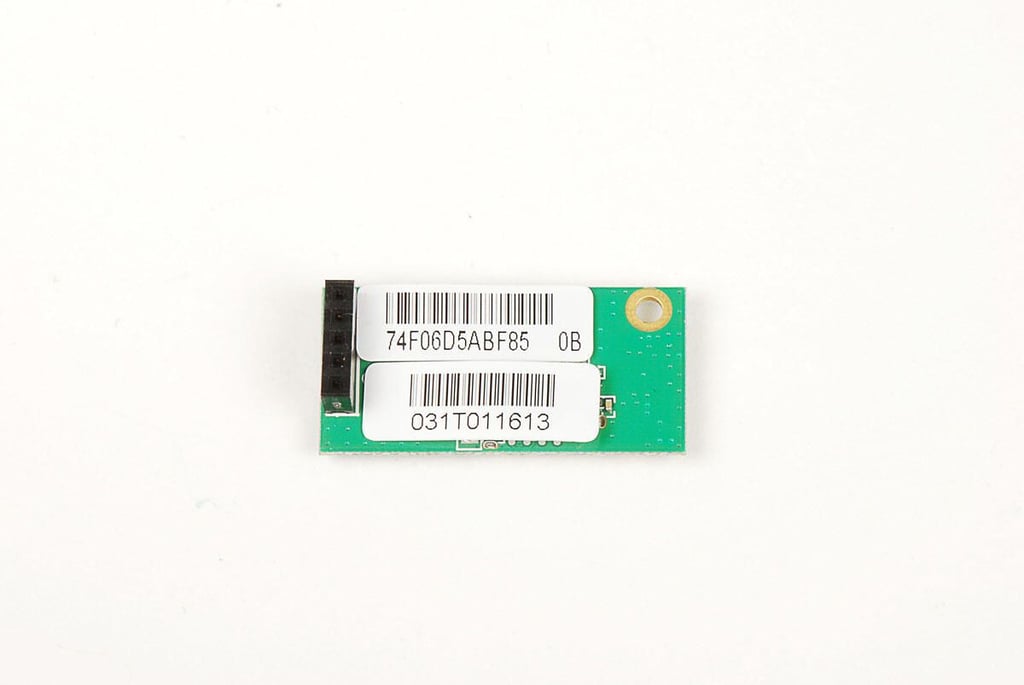
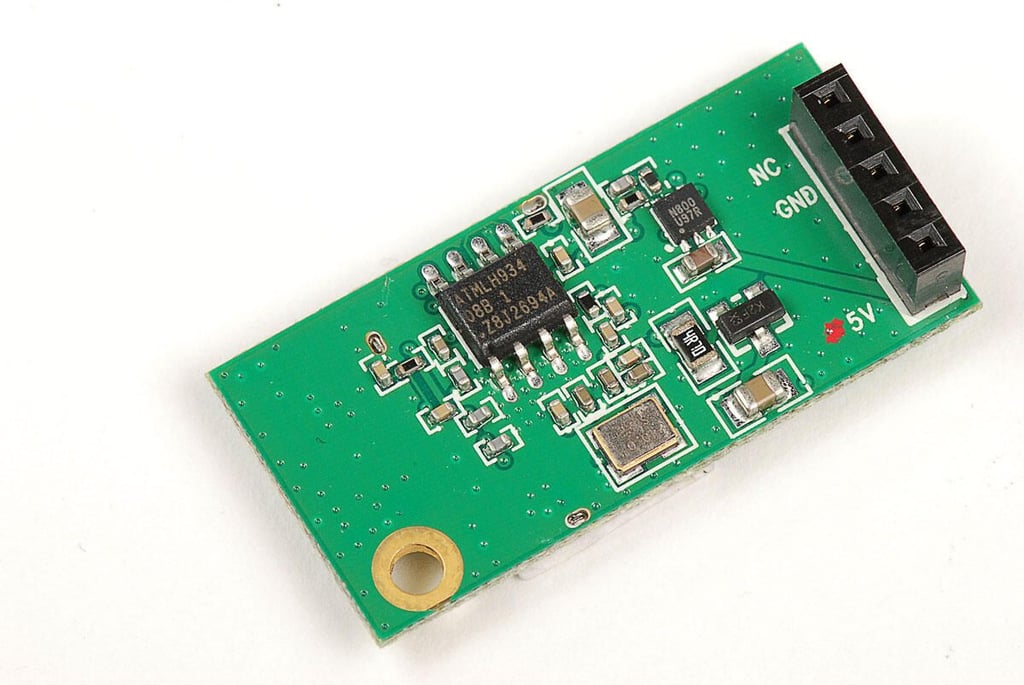
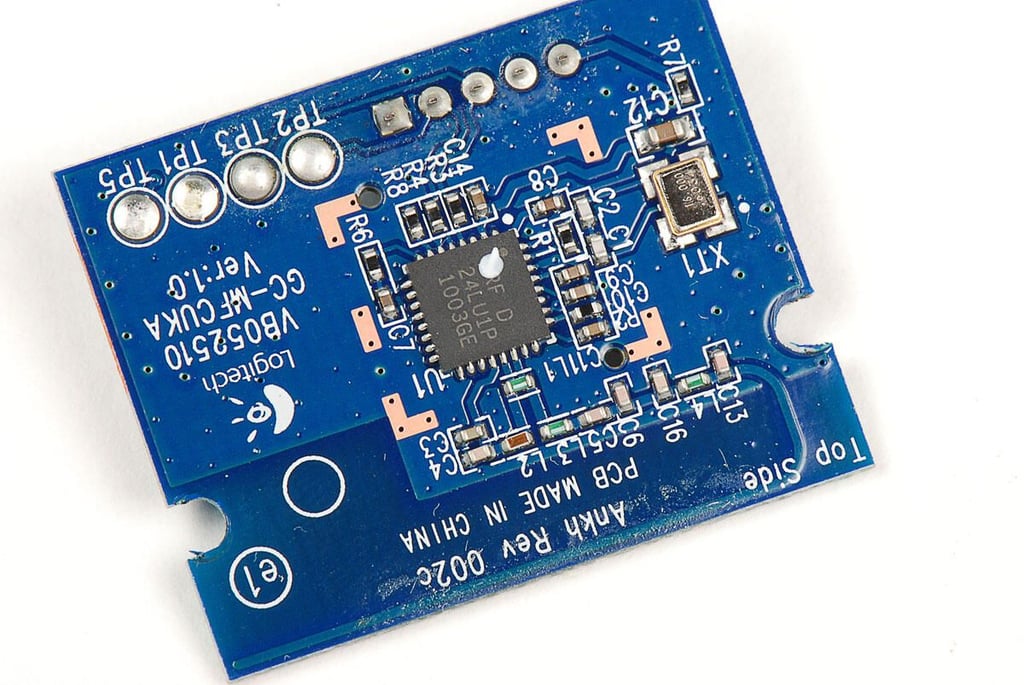
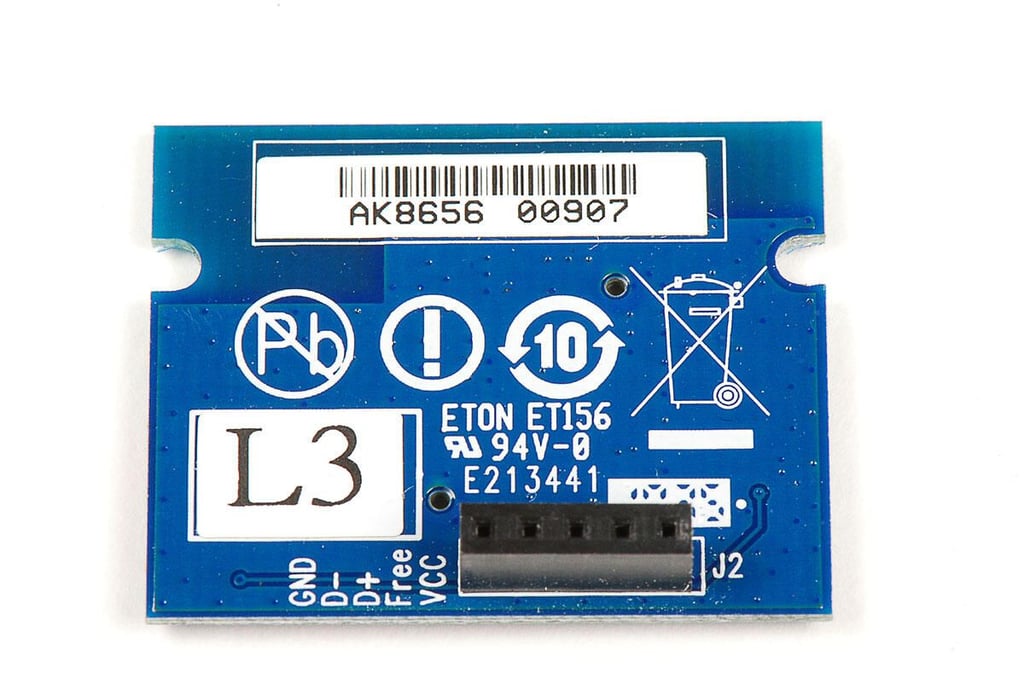
AzureWare AW-NB048H 802.11 b/g/n + BlueTooth card
Photo by: Bill Detwiler / TechRepublic
Caption by: Bill Detwiler
Next, we’ll remove the Inspiron Duo’s lid. Disconnect all the cables that connect the lid components to the motherboard. Then remove the Phillips screw holding each lid hinge to the case.
Photo by: Bill Detwiler / TechRepublic
Caption by: Bill Detwiler

Photo by: Bill Detwiler / TechRepublic
Caption by: Bill Detwiler
Photo by: Bill Detwiler / TechRepublic
Caption by: Bill Detwiler
Before removing the motherboard, you’ll need to disconnect the cables for the speakers and AC power connector. You might as well disconnect the cooling fan’s cable as well. We’ll remove the cooling fan and heatsink assembly in a few minutes.
Photo by: Bill Detwiler / TechRepublic
Caption by: Bill Detwiler
Next, remove the remaining Phillips screws the hold the motherboard to the case.
Photo by: Bill Detwiler / TechRepublic
Caption by: Bill Detwiler
With all the screws removed and cables disconnected, you can lift the motherboard away from the case.
Photo by: Bill Detwiler / TechRepublic
Caption by: Bill Detwiler
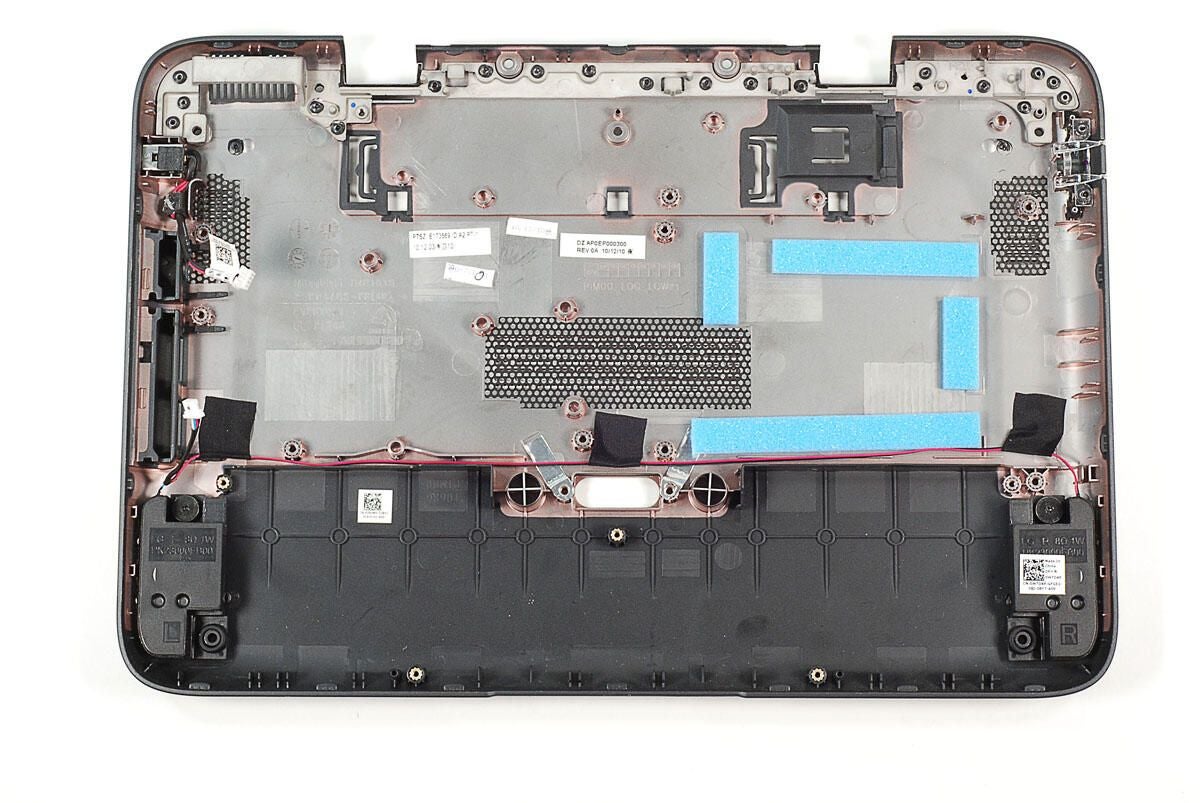
Photo by: Bill Detwiler / TechRepublic
Caption by: Bill Detwiler
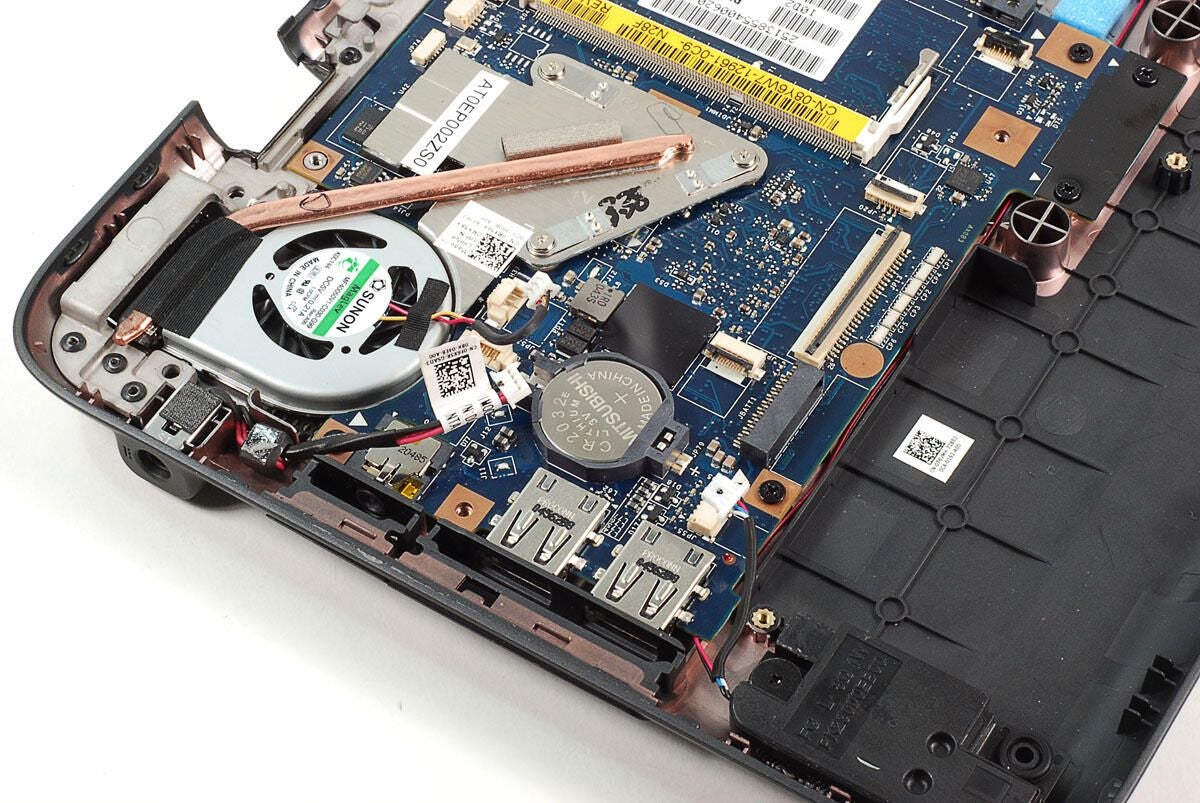
Only the speakers (bottom right) and AC power connector (top right) remain attached to the case.
Photo by: Bill Detwiler / TechRepublic
Caption by: Bill Detwiler
We’ll need to remove the heatsink/cooling fan assembly and black stickers before we get a good look at the chips on the motherboard.
Photo by: Bill Detwiler / TechRepublic
Caption by: Bill Detwiler
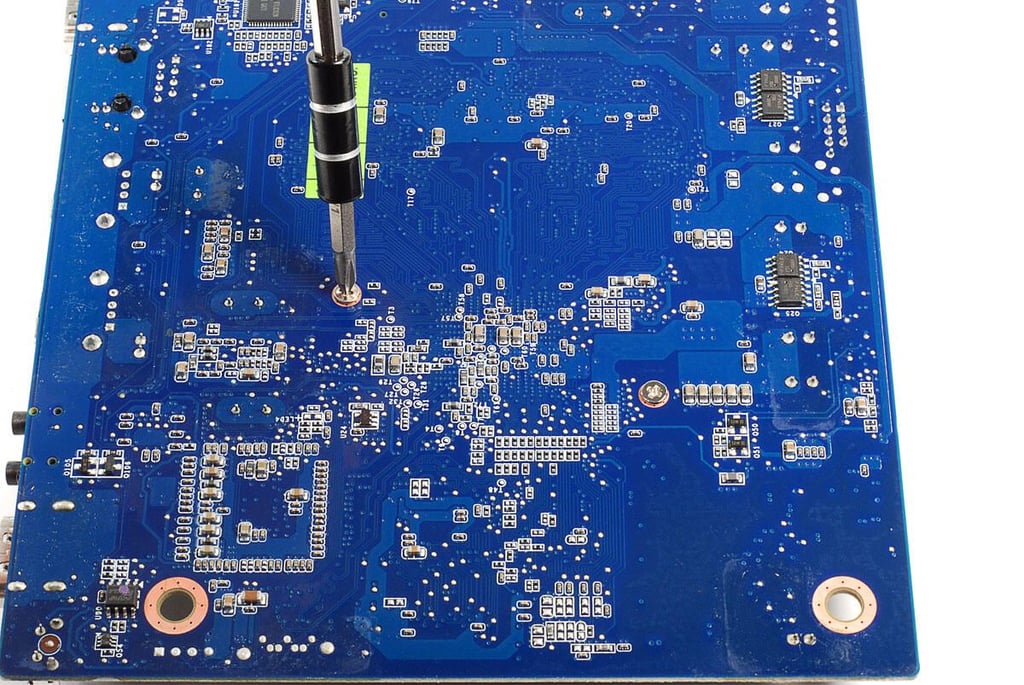
More black stickers cover chips on the underside of the motherboard.
Photo by: Bill Detwiler / TechRepublic
Caption by: Bill Detwiler
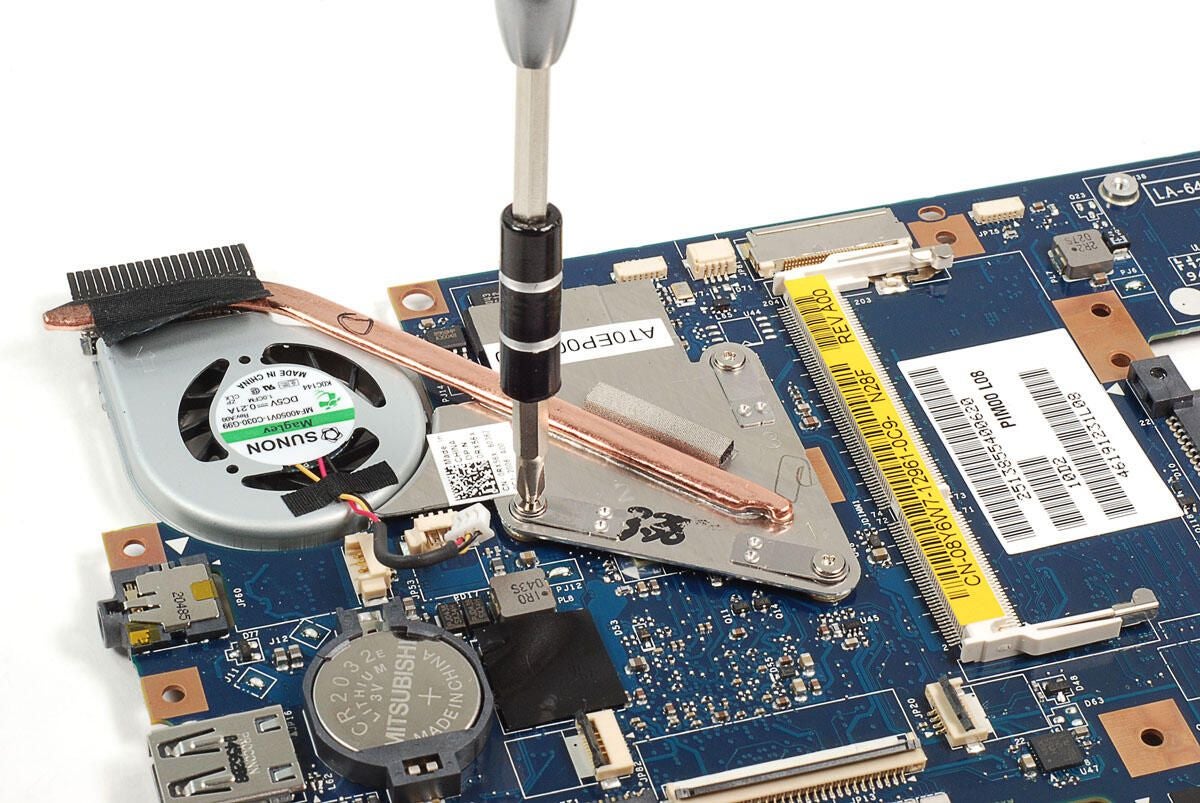
Three screws hold the heatsink and cooling fan assembly to the motherboard.
Photo by: Bill Detwiler / TechRepublic
Caption by: Bill Detwiler
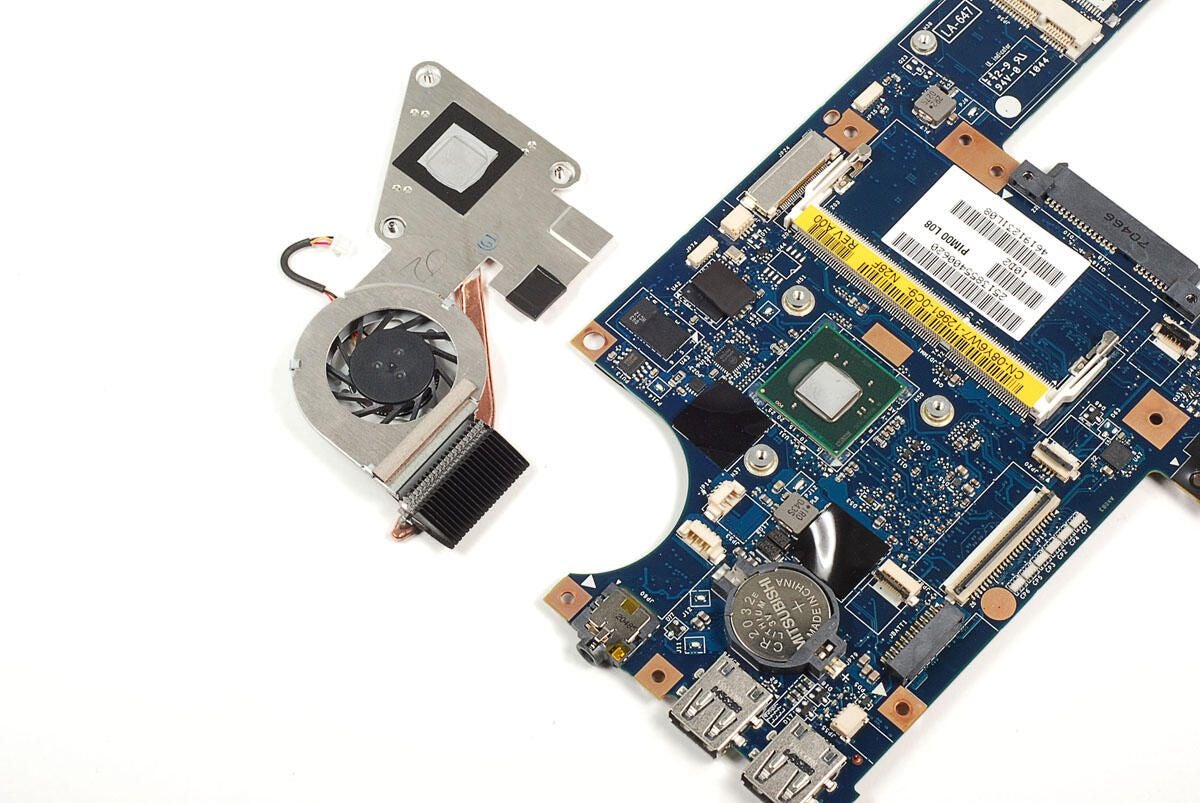
Photo by: Bill Detwiler / TechRepublic
Caption by: Bill Detwiler
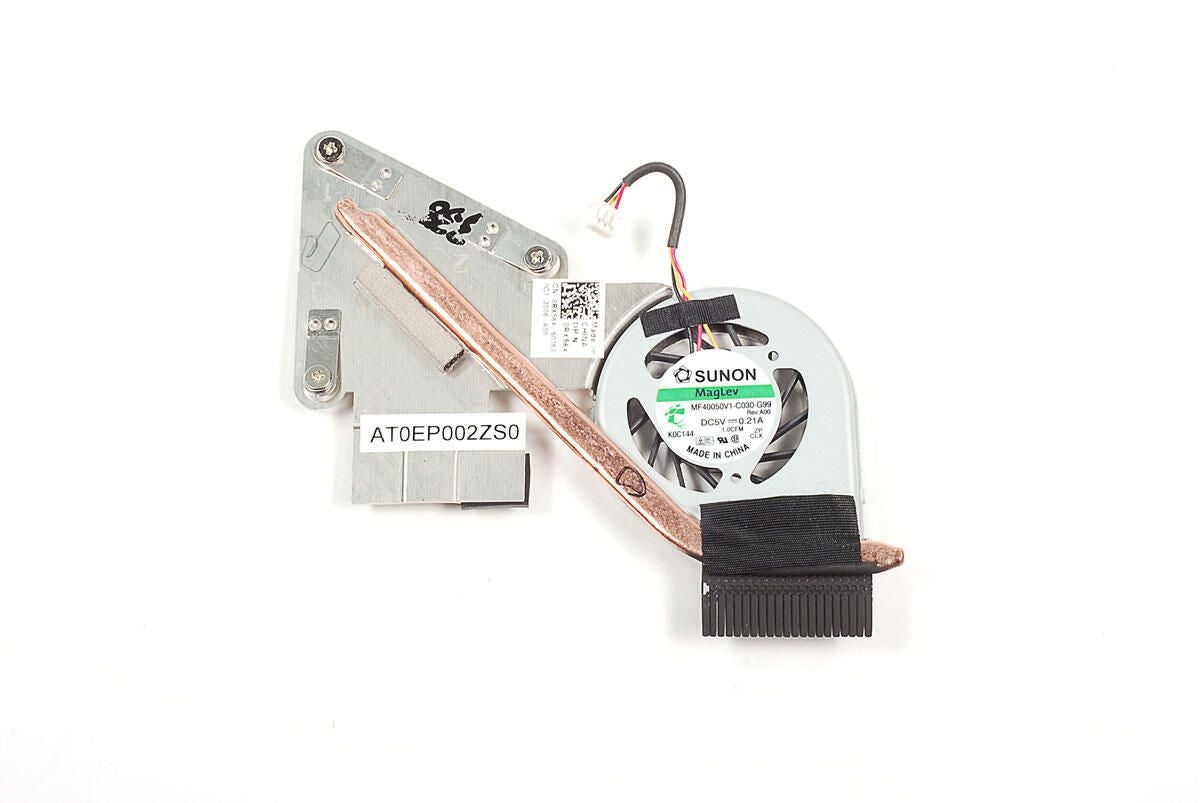
Photo by: Bill Detwiler / TechRepublic
Caption by: Bill Detwiler
With the heatsink/cooling fan assembly removed and stickers removed we get a better look at the Inspiron duo’s chips.
Photo by: Bill Detwiler / TechRepublic
Caption by: Bill Detwiler
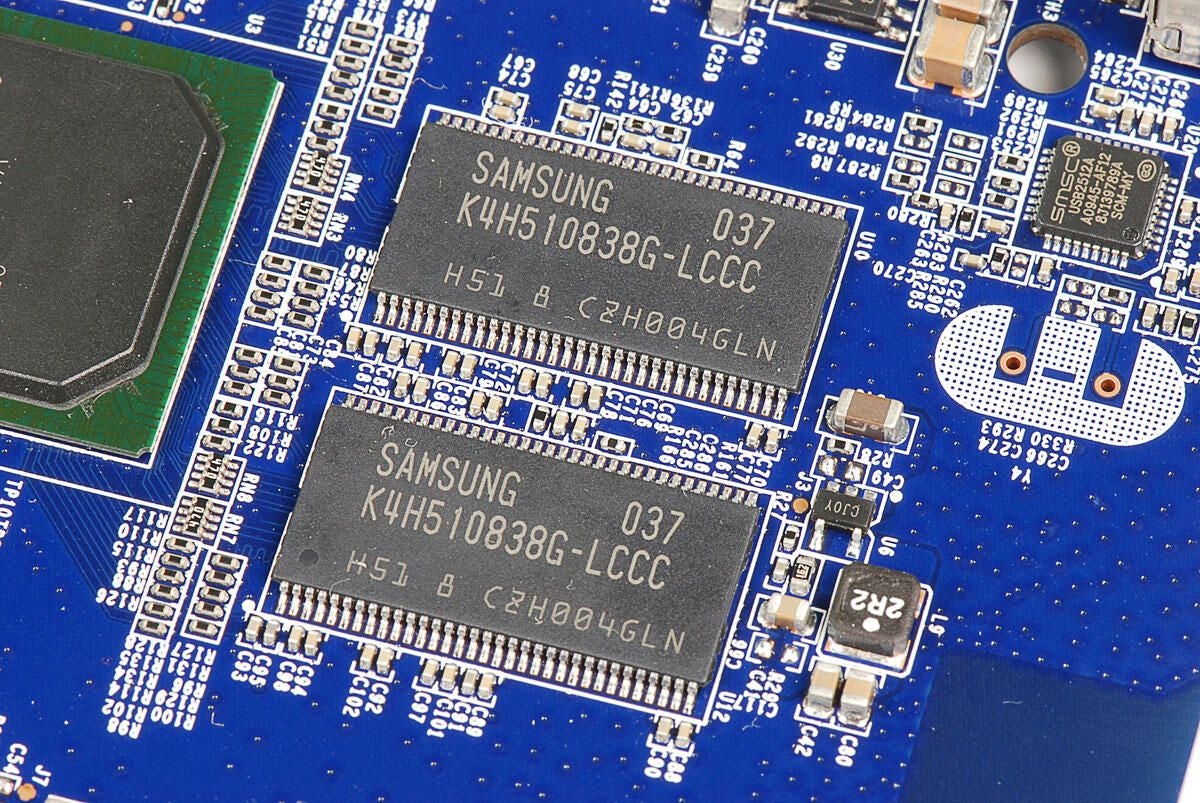
Samsung K4W1G1646E-HC12 graphics DRAM (1Gb 64Mx16)
Photo by: Bill Detwiler / TechRepublic
Caption by: Bill Detwiler
<>?a href=”http://www.broadcom.com/products/Consumer-Electronics/Netbook-and-Nettop-Solutions/BCM70015″Broadcom BCM70015 – Single-Chip High Definition Advanced Media Processor
Photo by: Bill Detwiler / TechRepublic
Caption by: Bill Detwiler

On Semiconductor ADP3211: IMVP6.5, 7-Bit, Programmable, Single-Phase, Synchronous Buck Controller
Photo by: Bill Detwiler / TechRepublic
Caption by: Bill Detwiler
Chip with markings 4XGK HM55 043 MLT
Photo by: Bill Detwiler / TechRepublic
Caption by: Bill Detwiler
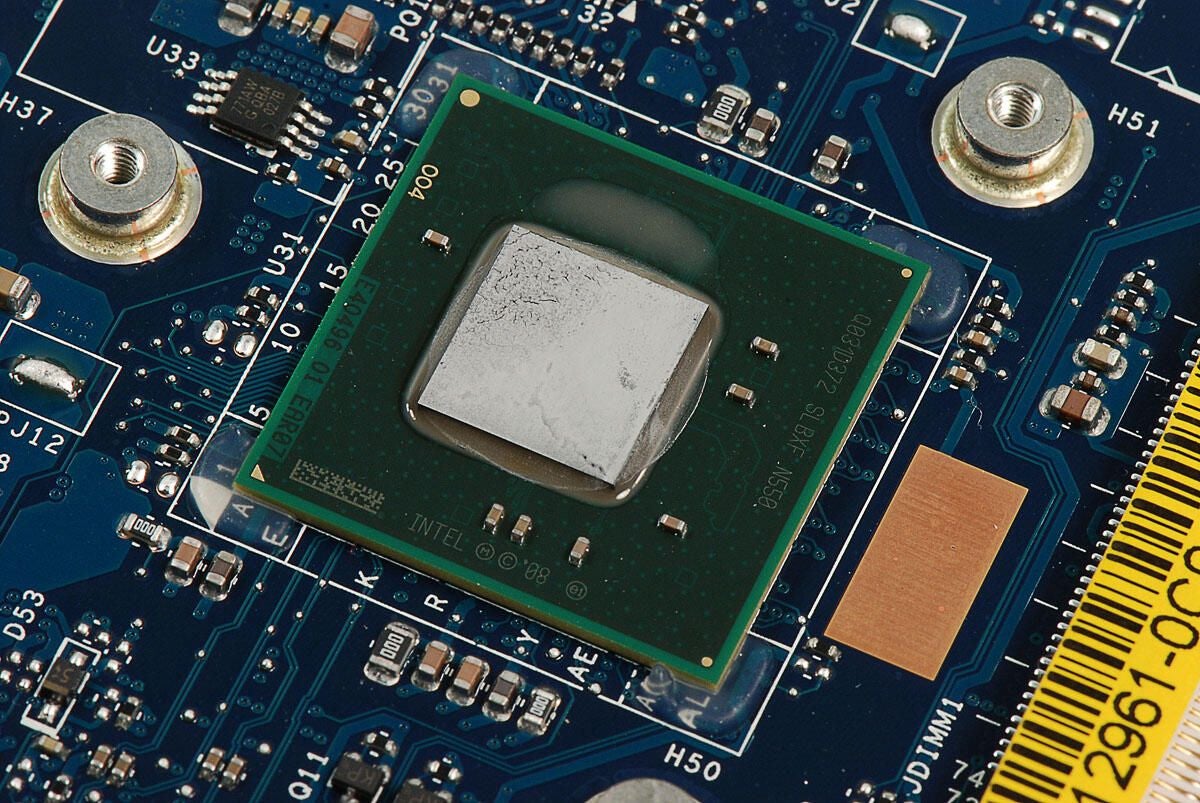
Intel Atom Dual Core Processor N550 (1.5GHz, 512K L2 Cache)
Photo by: Bill Detwiler / TechRepublic
Caption by: Bill Detwiler

Now let’s look at the main chips on the underside of the motherboard.
Photo by: Bill Detwiler / TechRepublic
Caption by: Bill Detwiler
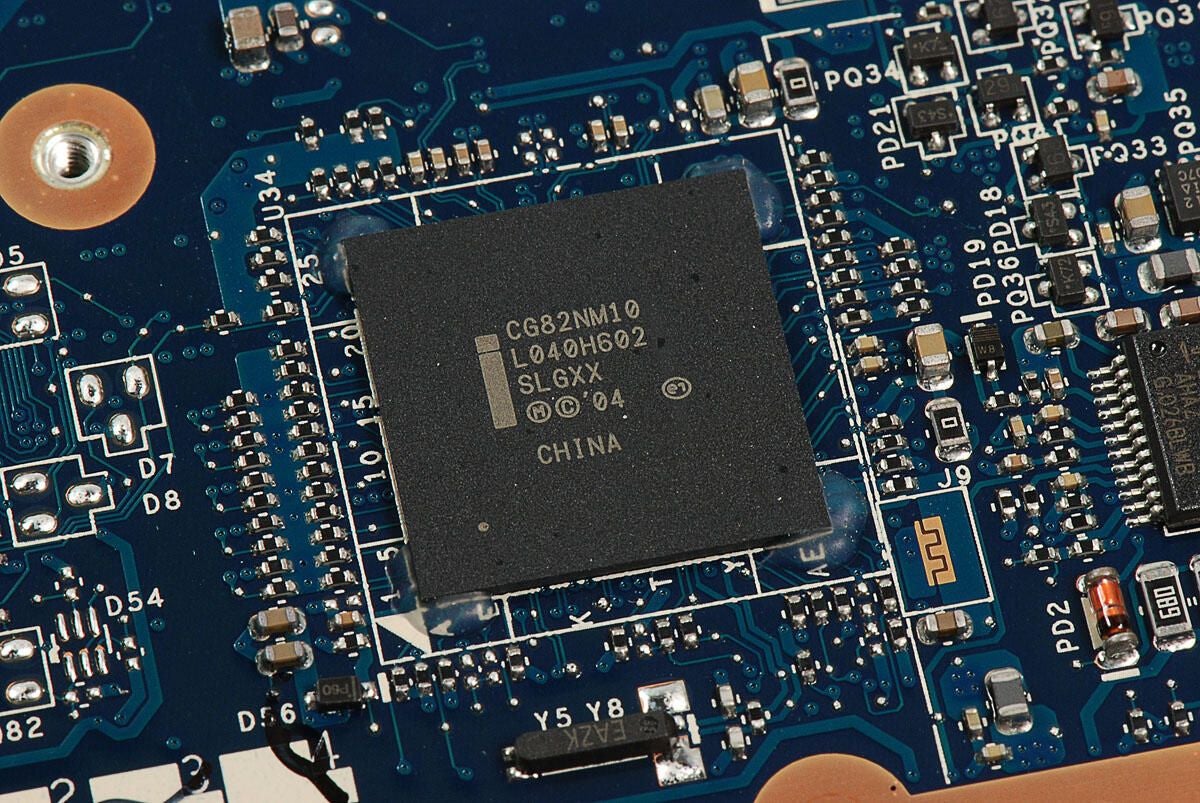
The Dell Inspiron Duo uses the Intel NM10 Express chipset, which consists of an Atom N550 CPU and a southbridge chip (shown here). The Intel CG82NM10 southbridge chip handles support for things like the HDD and external ports.
Photo by: Bill Detwiler / TechRepublic
Caption by: Bill Detwiler
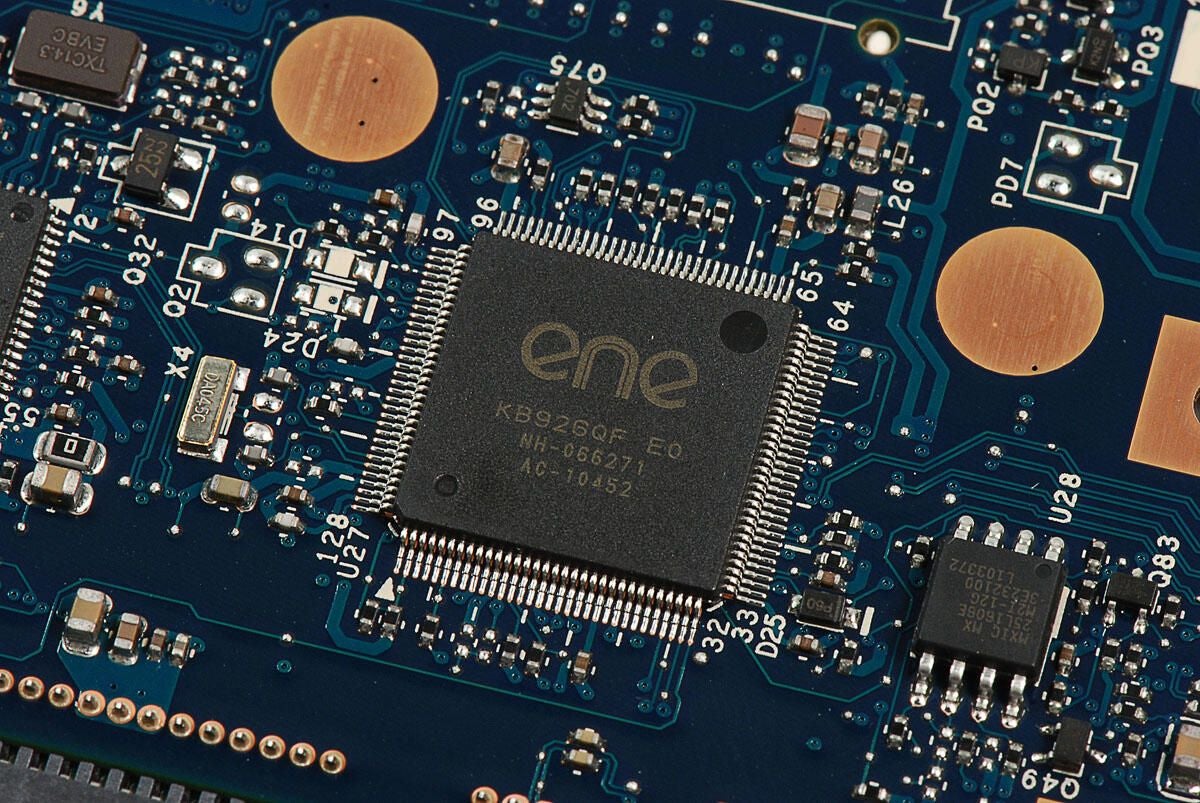
ENE Technology KB926QF E0 keyboard controller IC
Photo by: Bill Detwiler / TechRepublic
Caption by: Bill Detwiler

This chip is likely a Realtek RTM890N-397 Single-Chip Clock Generator for Intel Chipsets
Photo by: Bill Detwiler / TechRepublic
Caption by: Bill Detwiler
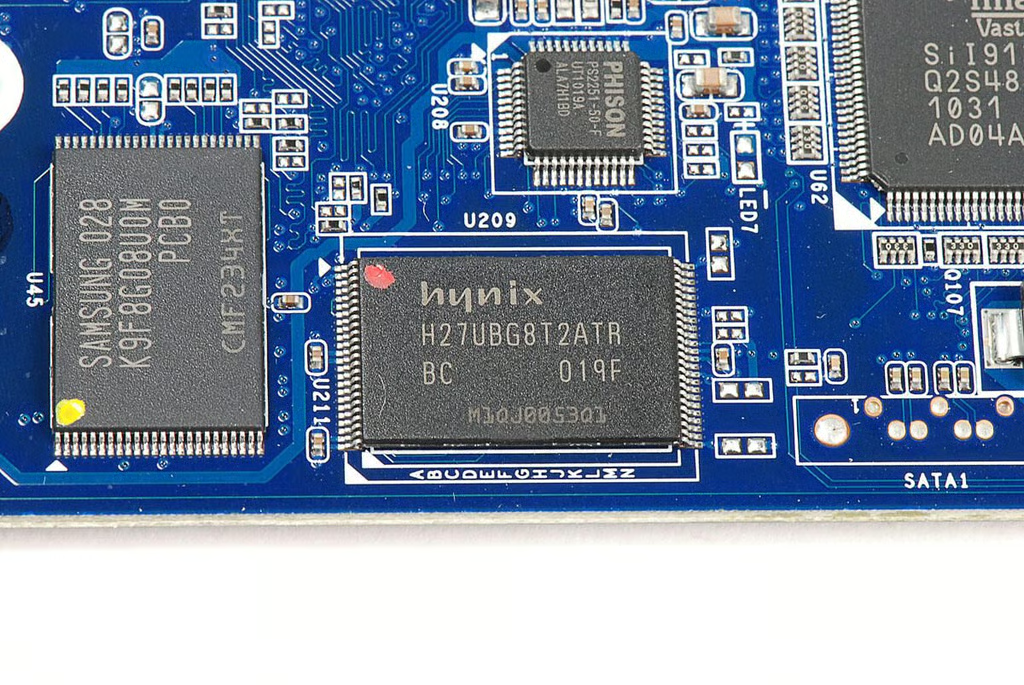
Macronix MX25L160 8E 16MB Serial Flash
Photo by: Bill Detwiler / TechRepublic
Caption by: Bill Detwiler
ISL6251 Low Cost Multi-Chemistry Battery Charger Controller
Photo by: Bill Detwiler / TechRepublic
Caption by: Bill Detwiler
Eight screws hold the cover to the display assembly (four on each side). You can access the screws by flipping the display perpendicular to the display housing.
Photo by: Bill Detwiler / TechRepublic
Caption by: Bill Detwiler
With all eight screws removed, you can use a plastic spudger or thin metal blade to pop loose the display panel.
Photo by: Bill Detwiler / TechRepublic
Caption by: Bill Detwiler

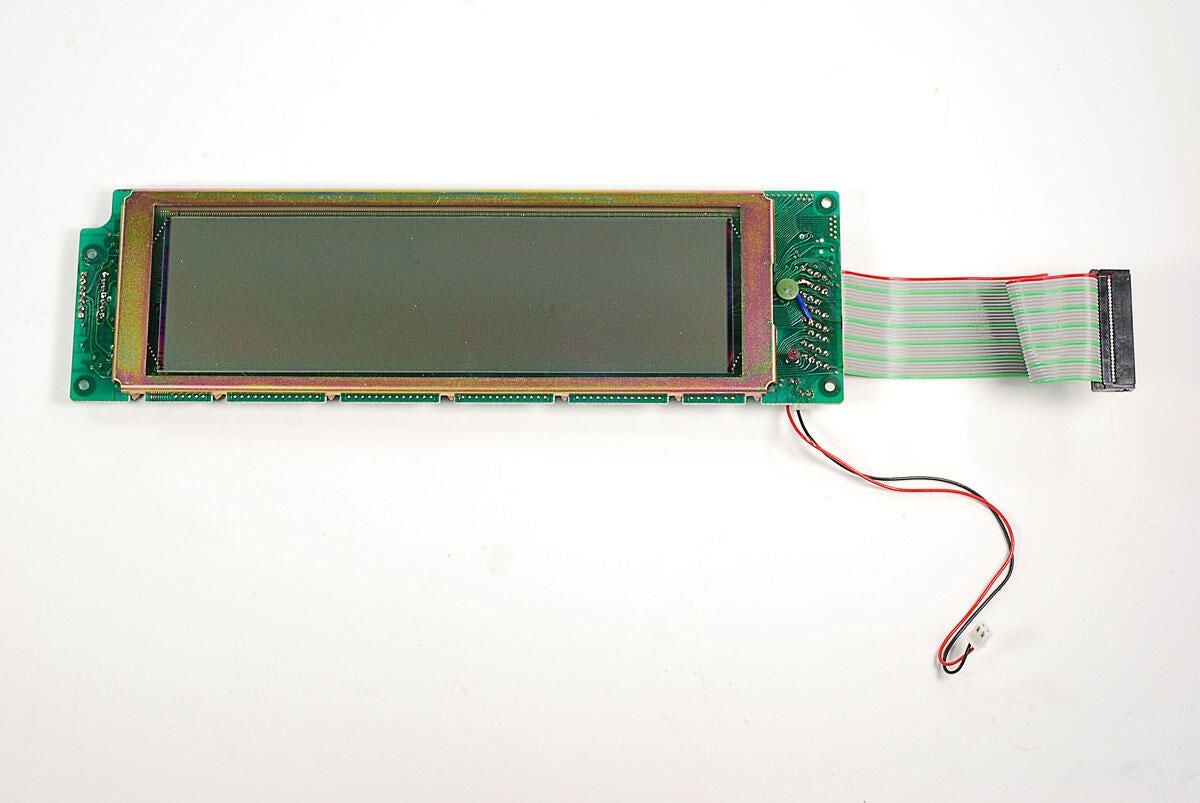
With the panel removed, you can see the back of the display.
Photo by: Bill Detwiler / TechRepublic
Caption by: Bill Detwiler
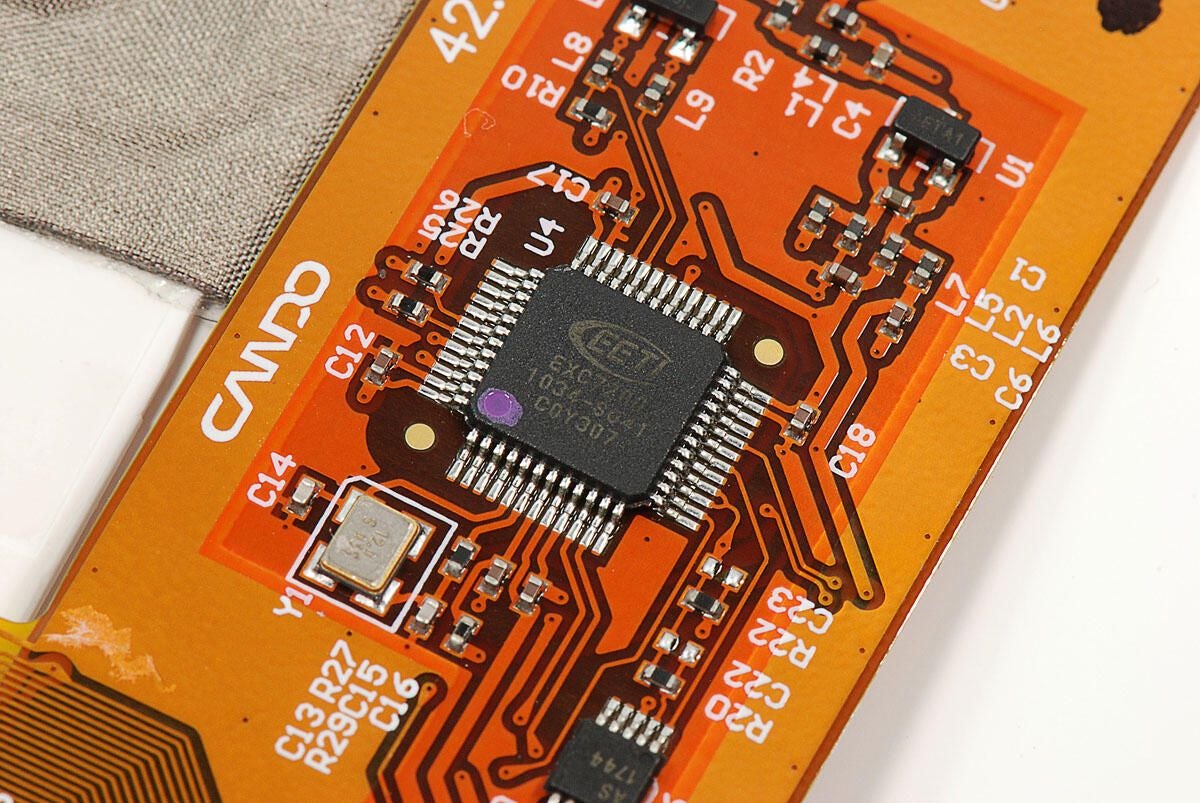
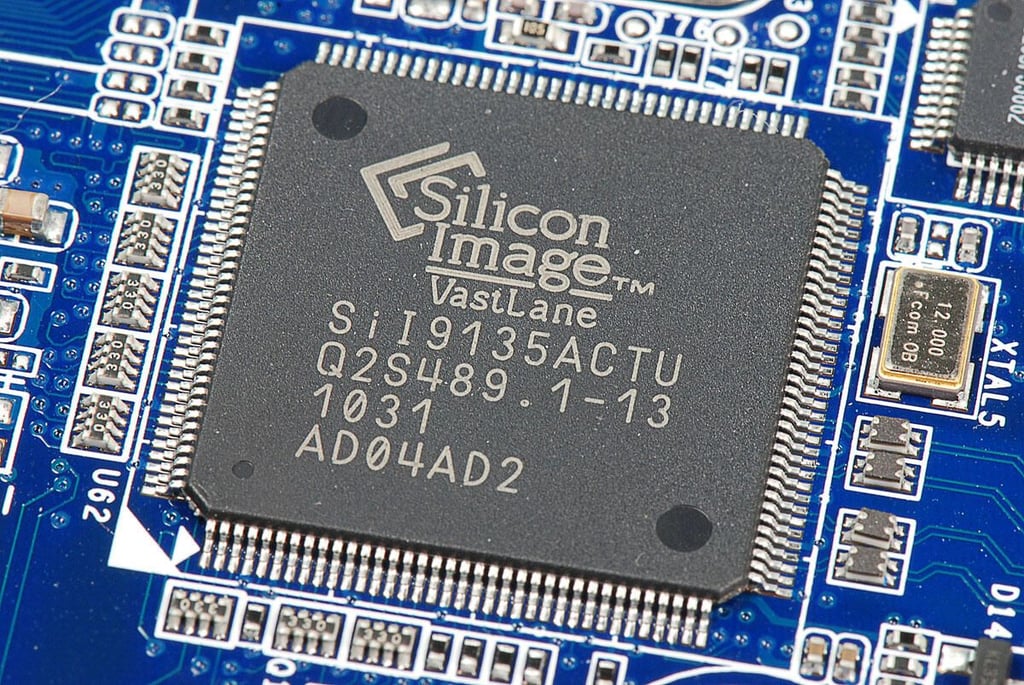
EETI EXC7200 capacitive touch controller for the touchscreen
Photo by: Bill Detwiler / TechRepublic
Caption by: Bill Detwiler
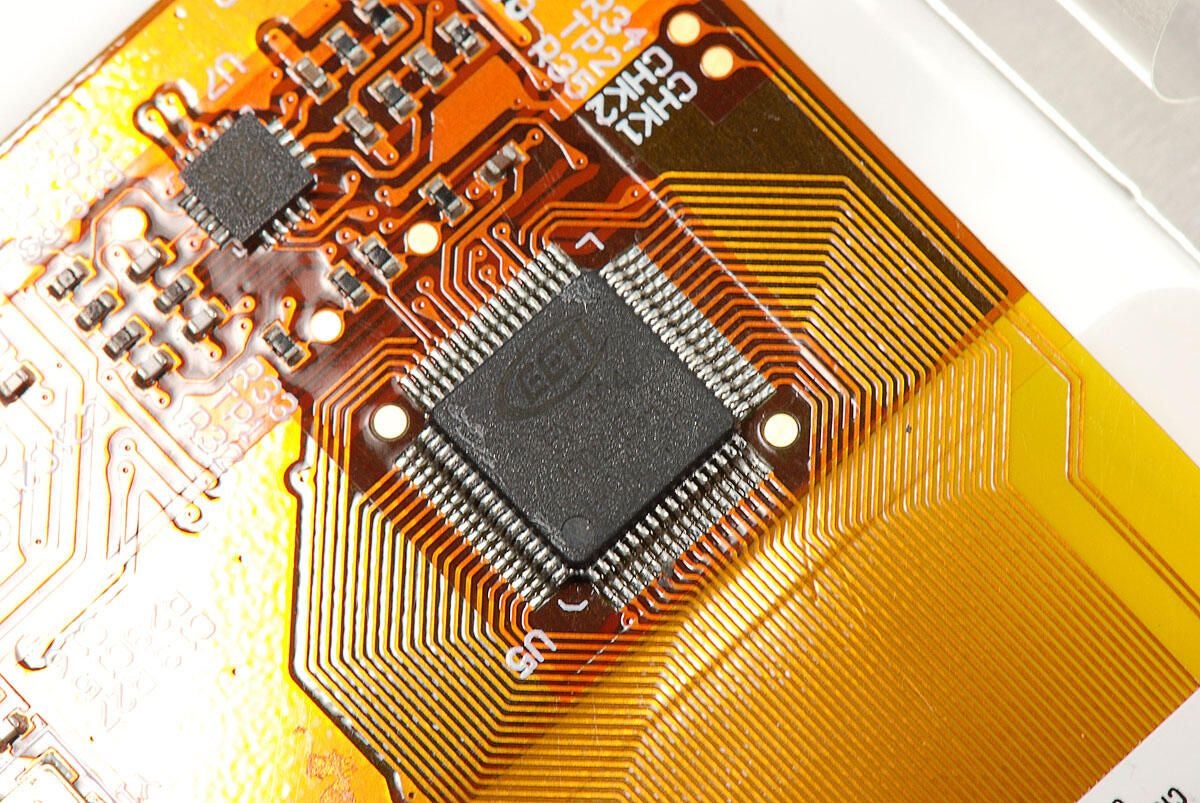
The EETI EX5404 works with the EETI EXC7200 to provide the Inspiron Duo’s touchscreen functionality.
Photo by: Bill Detwiler / TechRepublic
Caption by: Bill Detwiler
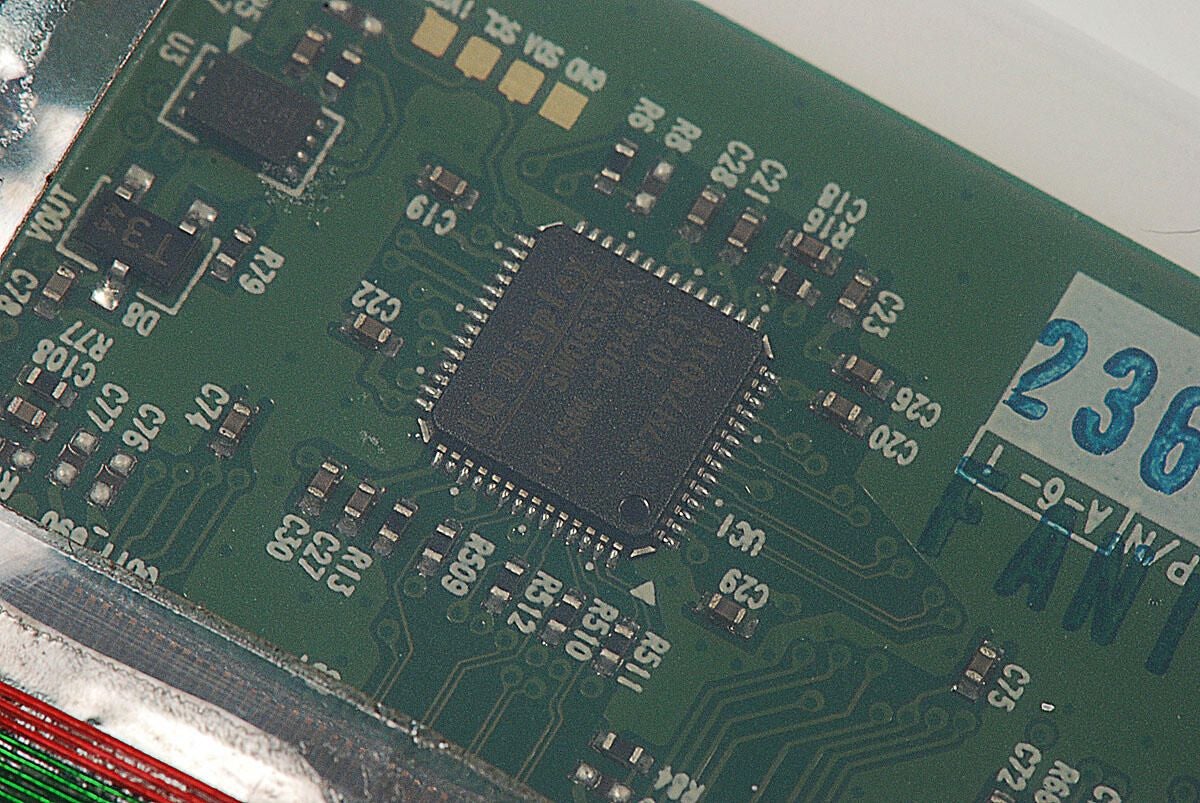
LG Display SW0633A LCD controller
Photo by: Bill Detwiler / TechRepublic
Caption by: Bill Detwiler
Bill Detwiler is the Editor for Technical Content and Ecosystem at Celonis. He is the former Editor in Chief of TechRepublic and previous host of TechRepublic's Dynamic Developer podcast and Cracking Open, CNET and TechRepublic's popular online show. Previously, Bill was an IT manager in the social research and energy industries. He has bachelor's and master's degrees from the University of Louisville, where he has also lectured on computer crime and crime prevention.


